Getting ready to start final assembly this weekend on the GT3.0 - the paint looks amazing! I'll update the thread next week with a bunch of progress photos. . .
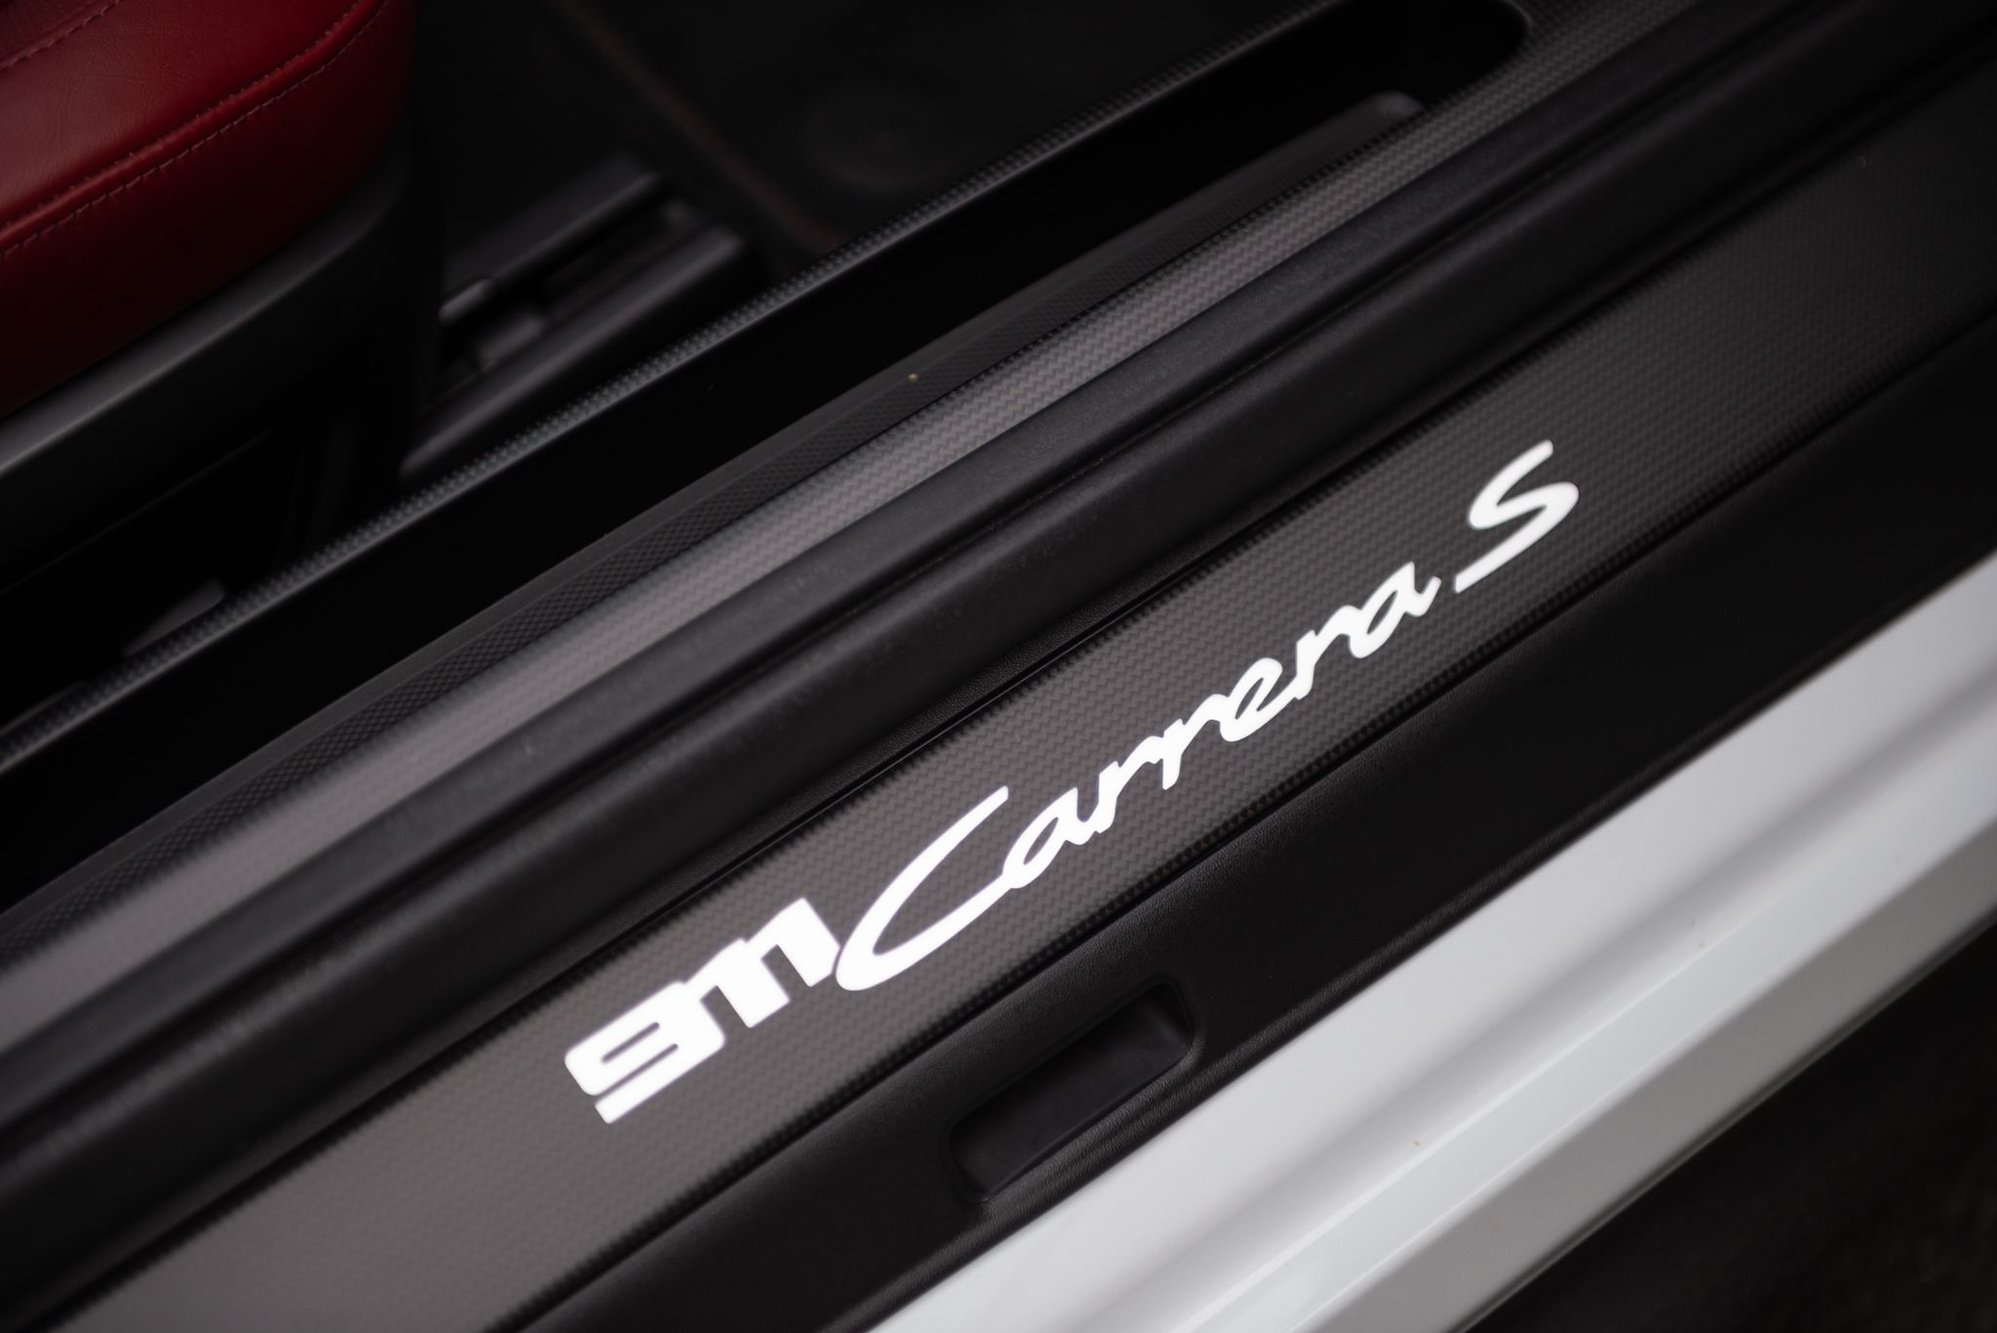
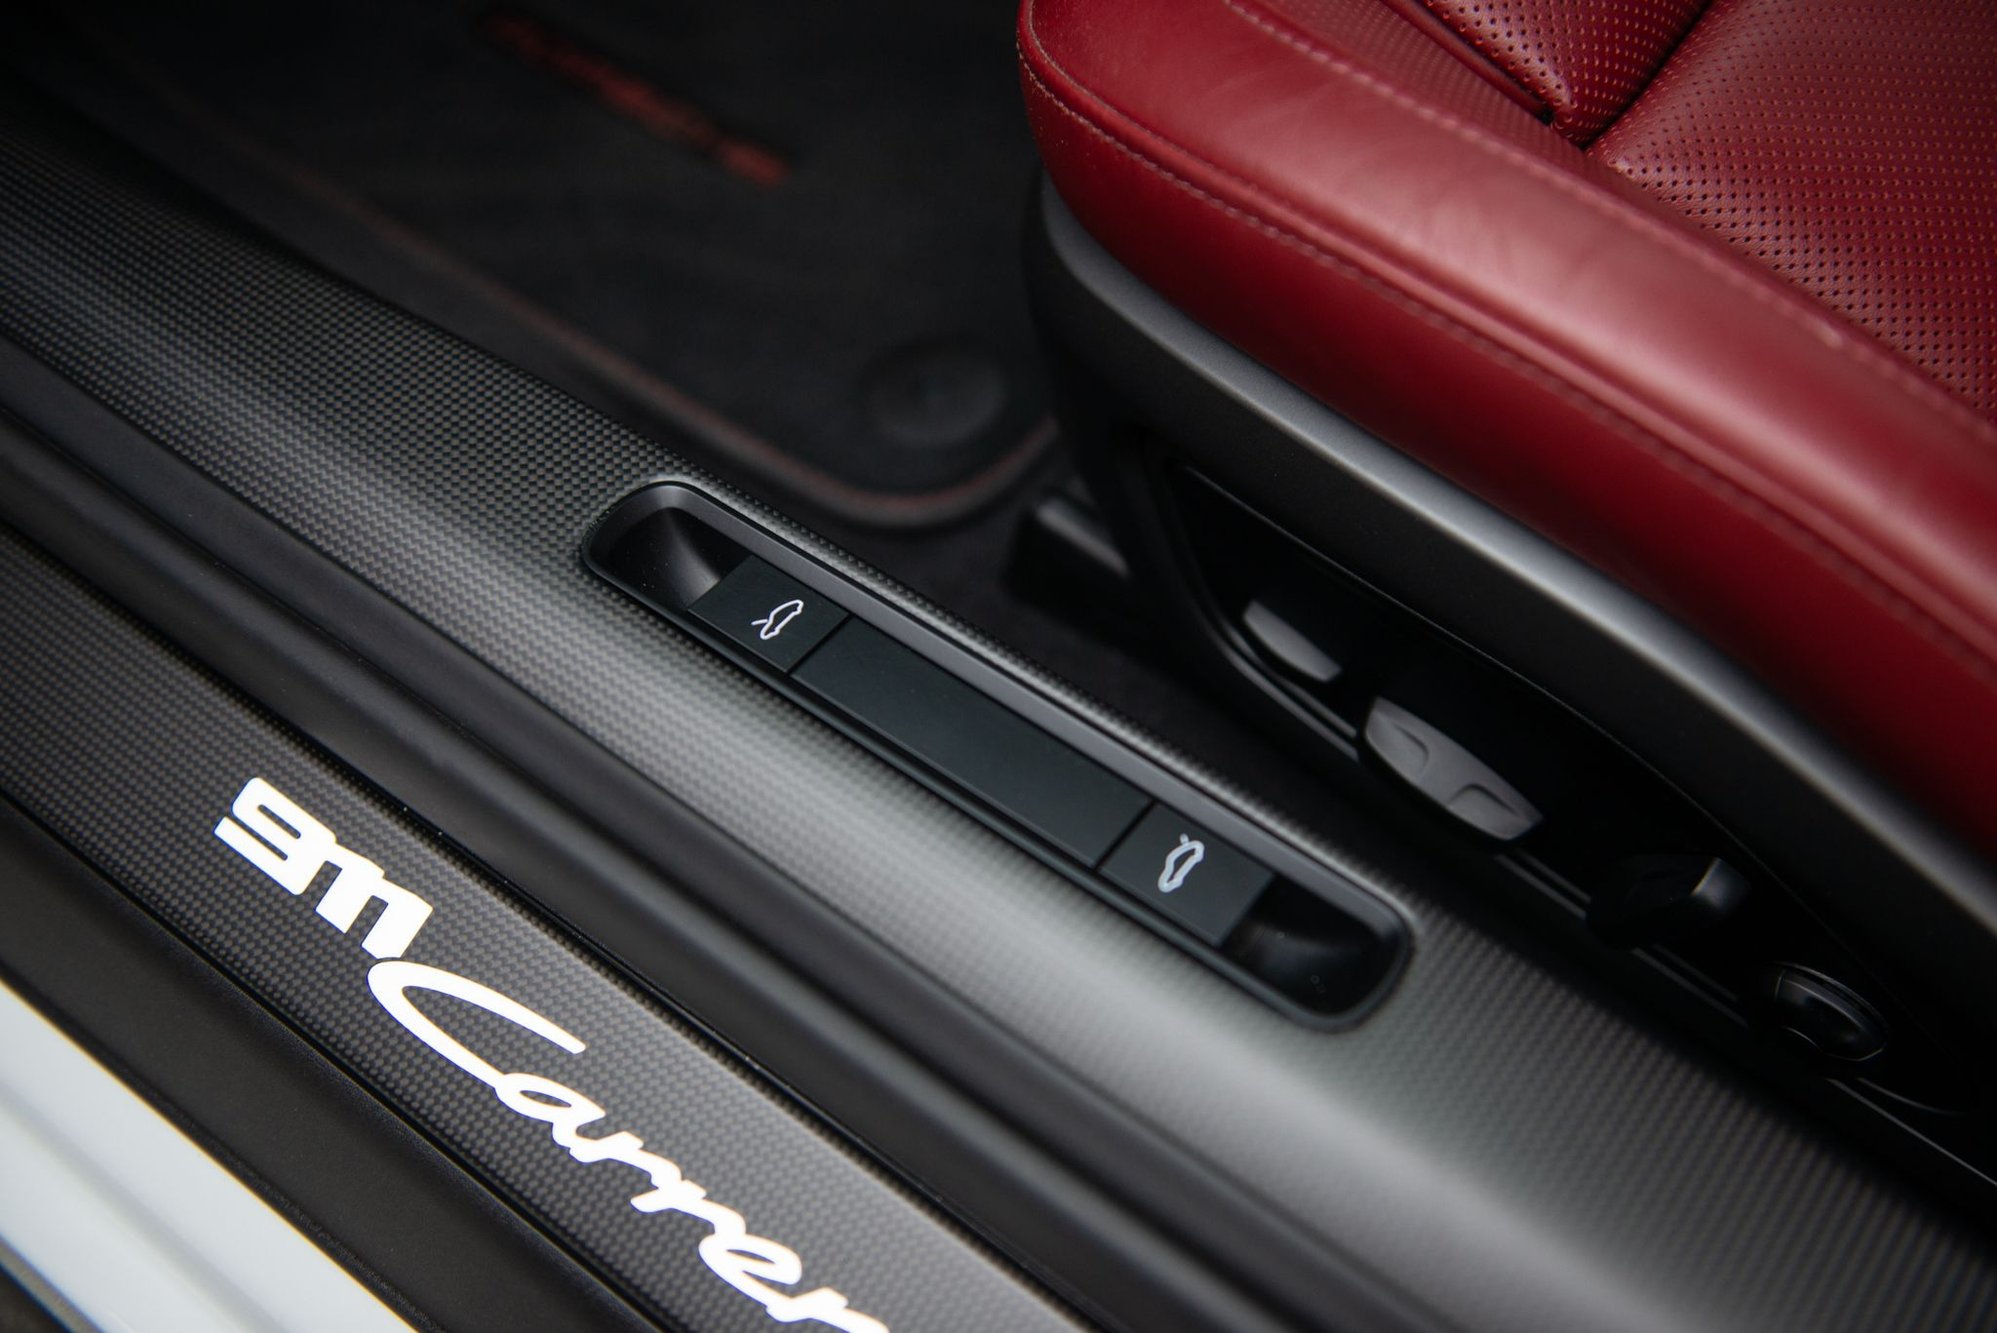
I upgraded to OEM version carbon illuminated. Used this thread for instructions and guidance…including help from Bones. 🙏🏼 Also shown is DB Carbon inner sills.
I upgraded to OEM version carbon illuminated. Used this thread for instructions and guidance�including help from Bones. 🙏🏼 Also shown is DB Carbon inner sills.
I have a custom leather/alcantara set of sills with Chalk deviated stitching and custom embossing [in the Alcantara] instead of model designation coming from Exclusive Design. Getting the adhesive off will be the only headache.
Getting ready to start final assembly this weekend on the GT3.0 - the paint looks amazing! I'll update the thread next week with a bunch of progress photos. . .
This Shmee150 video is actually recorded a WERKS 2 building where the Exclusive Manufakur team installs those factory optioned lit door sills. The below link goes directly to the timestamp where you can see how difficult it is to remove.
Note: Yes, the cars on the assembly line get installed with the standard door sill, and then when transported to the WERKS 2 building, the Exclusive Manfakur team has to remove the standard door one for the custom one you options your 911 with... Crazy I know, but that's how they do it (at least back int he 991 days).
I have the OEM carbon illuminated sills and I just want to add some Blue film in the backside - do I still have to go through all of this adhesive removal, etc. just to do that? If so, it might be easier to have some Blue letters cut and applied on the top.
I have the OEM carbon illuminated sills and I just want to add some Blue film in the backside - do I still have to go through all of this adhesive removal, etc. just to do that? If so, it might be easier to have some Blue letters cut and applied on the top.
I believe so if you want the OEM look. The LEDs are part of the actual assembly that is glued on to the body of the car... It's interesting that they use so much glue to hold in that piece...
Alternatively, you can order a new set "that is as close to OEM as possible", from here... Note, they do run 4 to 12 weeks back depending on how intricate you want a custom designed one to be.