When you click on links to various merchants on this site and make a purchase, this can result in this site earning a commission. Affiliate programs and affiliations include, but are not limited to, the eBay Partner Network.
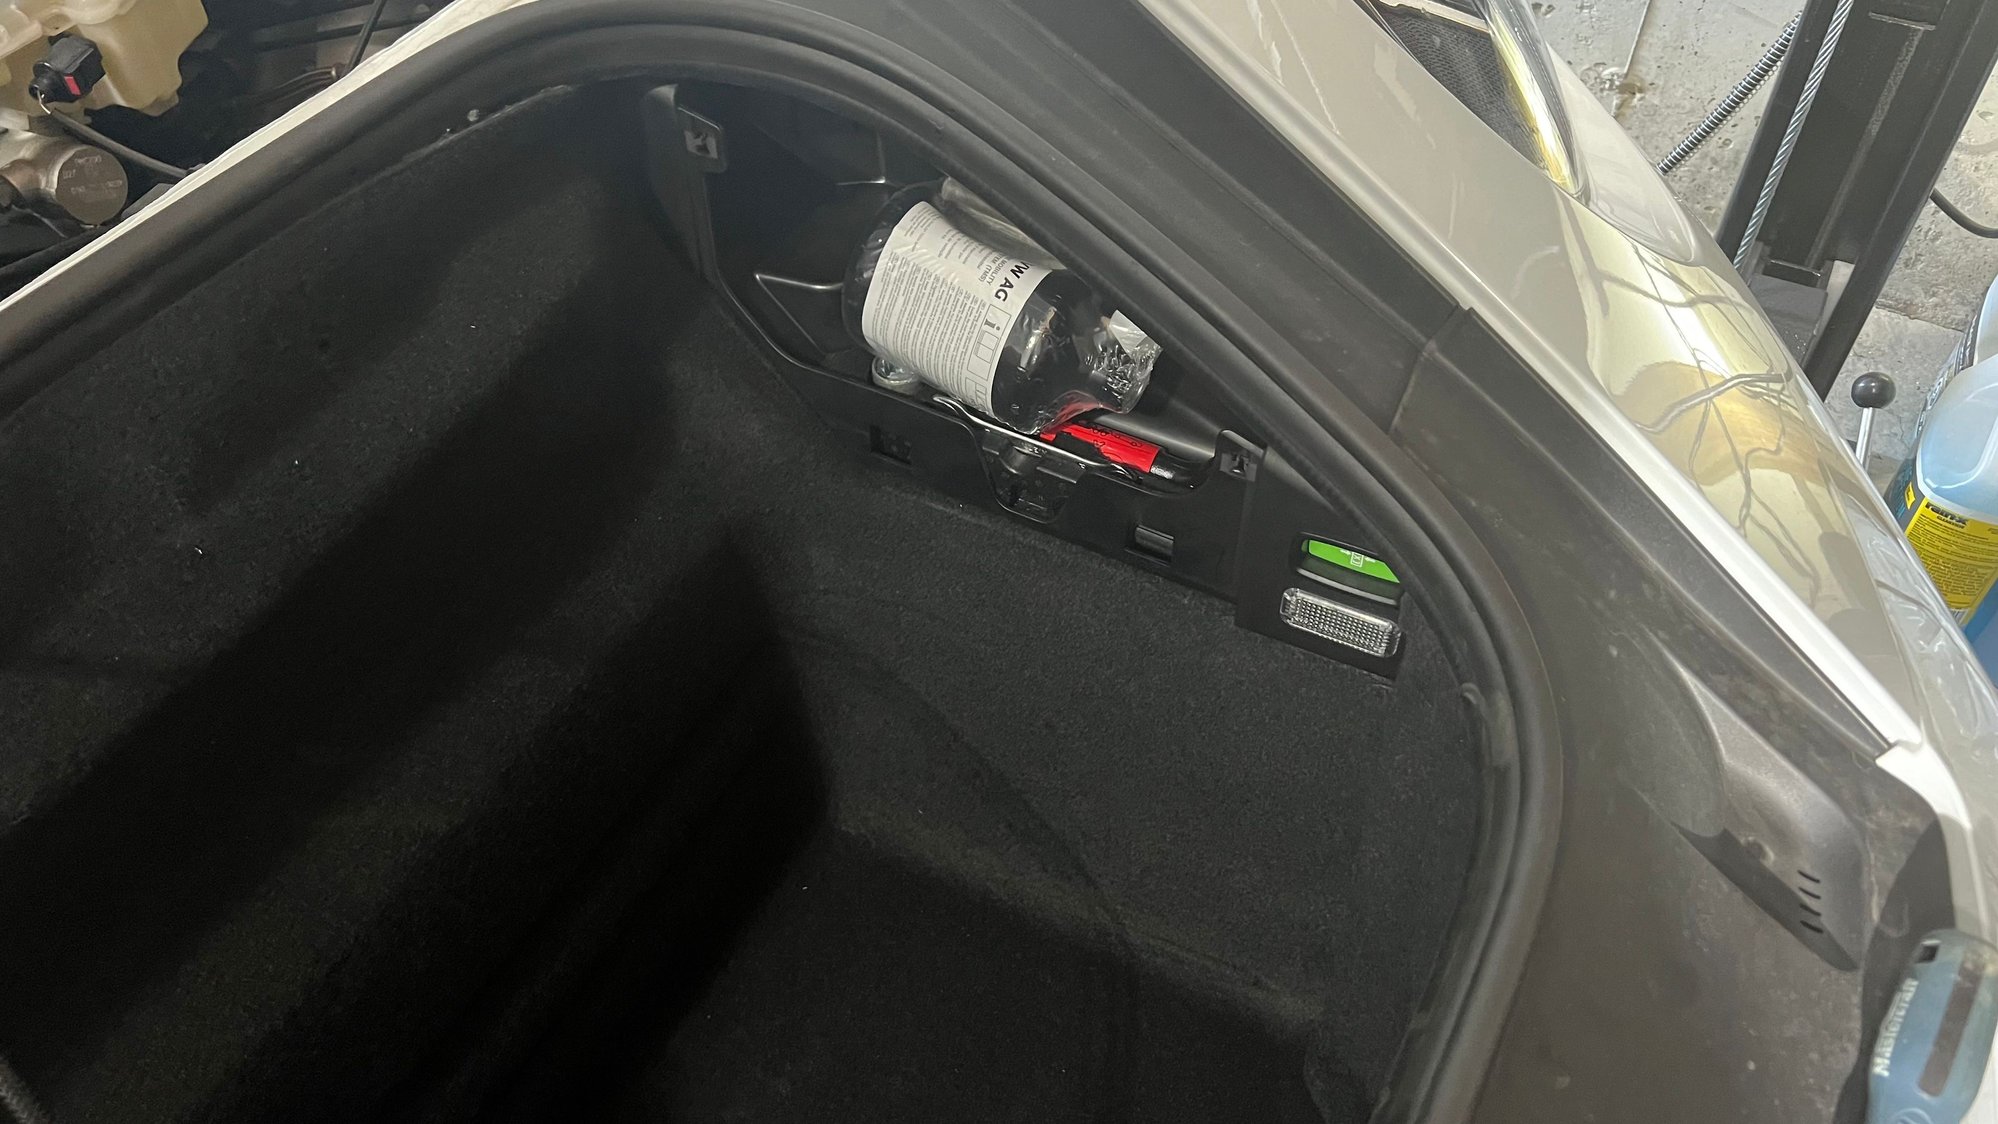
Pull out the Fix-a-Flat and the tools from that cubby, below the foam tray are 2 T30 screws that hold it in place. Once removed, you can pull that cubby piece out from the front and disconnect the two wire connections for the light and the emergency release switch there in green. I believe there is a tab at the back that sticks out and locates the cubby to the back of the frunk, so just be careful. You should be good to go then.
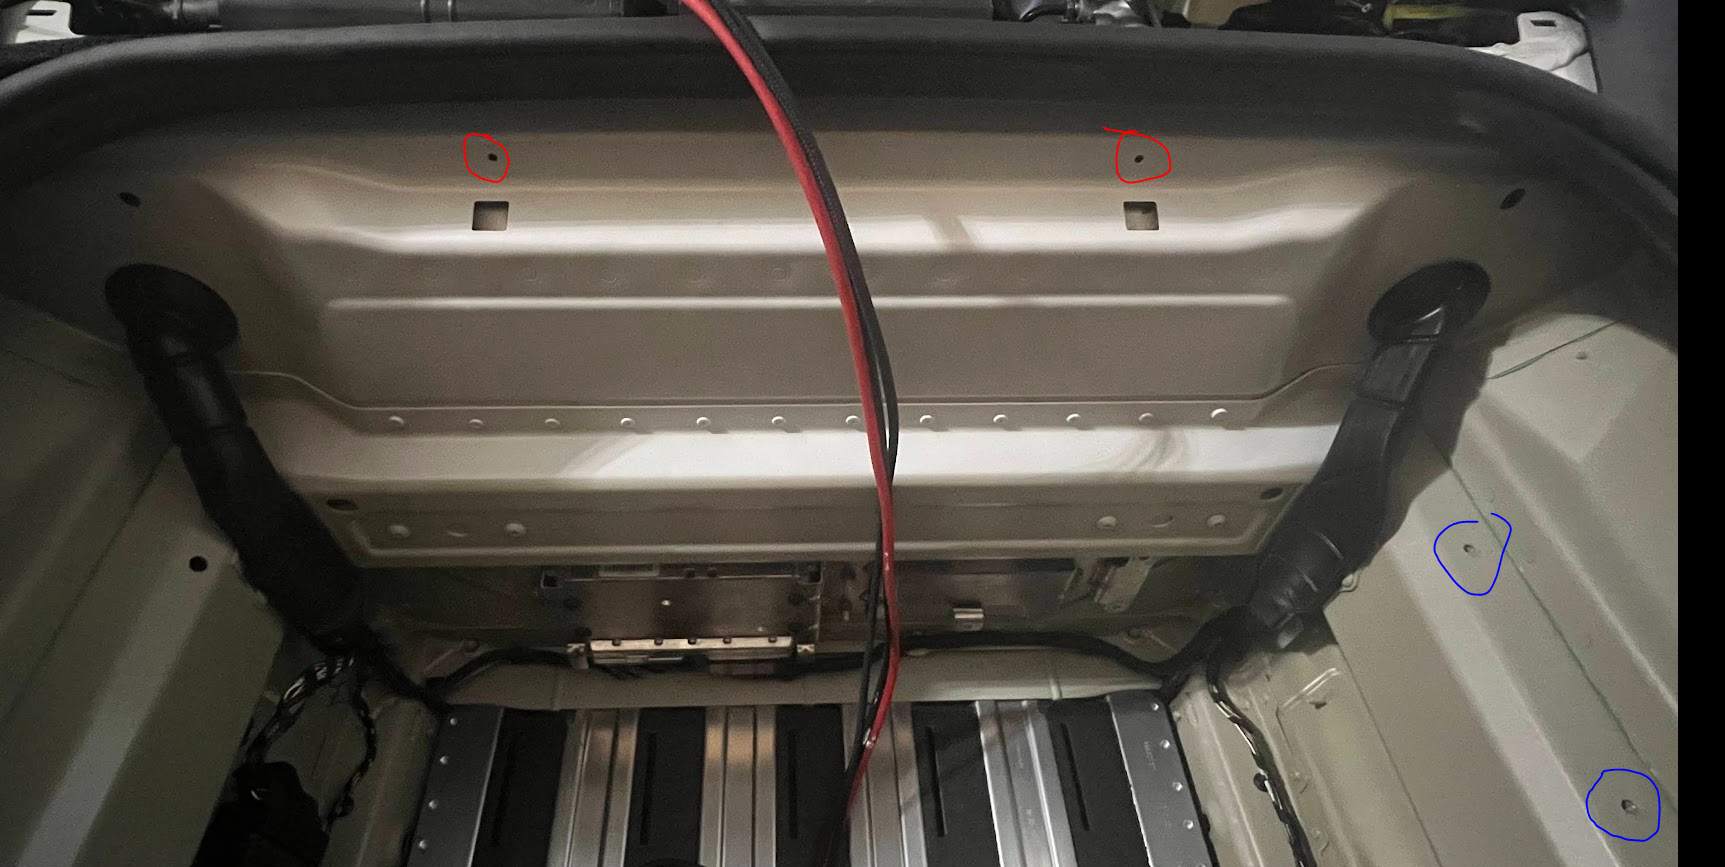
to unclip the top part of the black inserts/clips to remove the clips where the red circles are (prior to removing liner). Then use a T30 Torx as noted above to remove the two screws in the cubby. Watch for the wires as noted above. Then you remove the two pieces of liner.
j/k Subwoofer amplifier install...last piece of my audio journey. Though I may have someone do this as I can't figure out a clean way to get the cabling into the frunk without drilling!
j/k Subwoofer amplifier install...last piece of my audio journey. Though I may have someone do this as I can't figure out a clean way to get the cabling into the frunk without drilling!
Thanks, ended up figuring that out! For anyone else who's wondering...
Basically use a tool like this to unclip the top part of the black inserts/clips to remove the clips where the red circles are (prior to removing liner). Then use a T30 Torx as noted above to remove the two screws in the cubby. Watch for the wires as noted above. Then you remove the two pieces of liner.
This is what I did with mine....part of a major stereo upgrade.
That’s the spot. And if you look at my photos above you can see a similar access point drivers side firewall to drill through to get to the main cabin. Mine are routed the same.
What are those components in the front--the black one on the left, and the two silver ones on the back wall, lower, of the frunk?
M
No clue. Part of the cars components. I’m only putting a single JL Audio amp for the subwoofer in but haven’t installed it yet.
I’m using Stereo Integrity tweeters, M3 Carbon and TM8 mid bass drivers (all on sale today I believe) with a MatchUp 10 amp and Nav ZenV MOST150 interface which are under the passenger seat.

 05-24-2024, 08:41 AM