When you click on links to various merchants on this site and make a purchase, this can result in this site earning a commission. Affiliate programs and affiliations include, but are not limited to, the eBay Partner Network.
I finally had the chance to install the PPF kit for the center console panels and heated/cooled seat buttons. Whoever owned the care previous to me had the pieces wrapped in matte vinyl. It looked good except for around the edges you could tell.
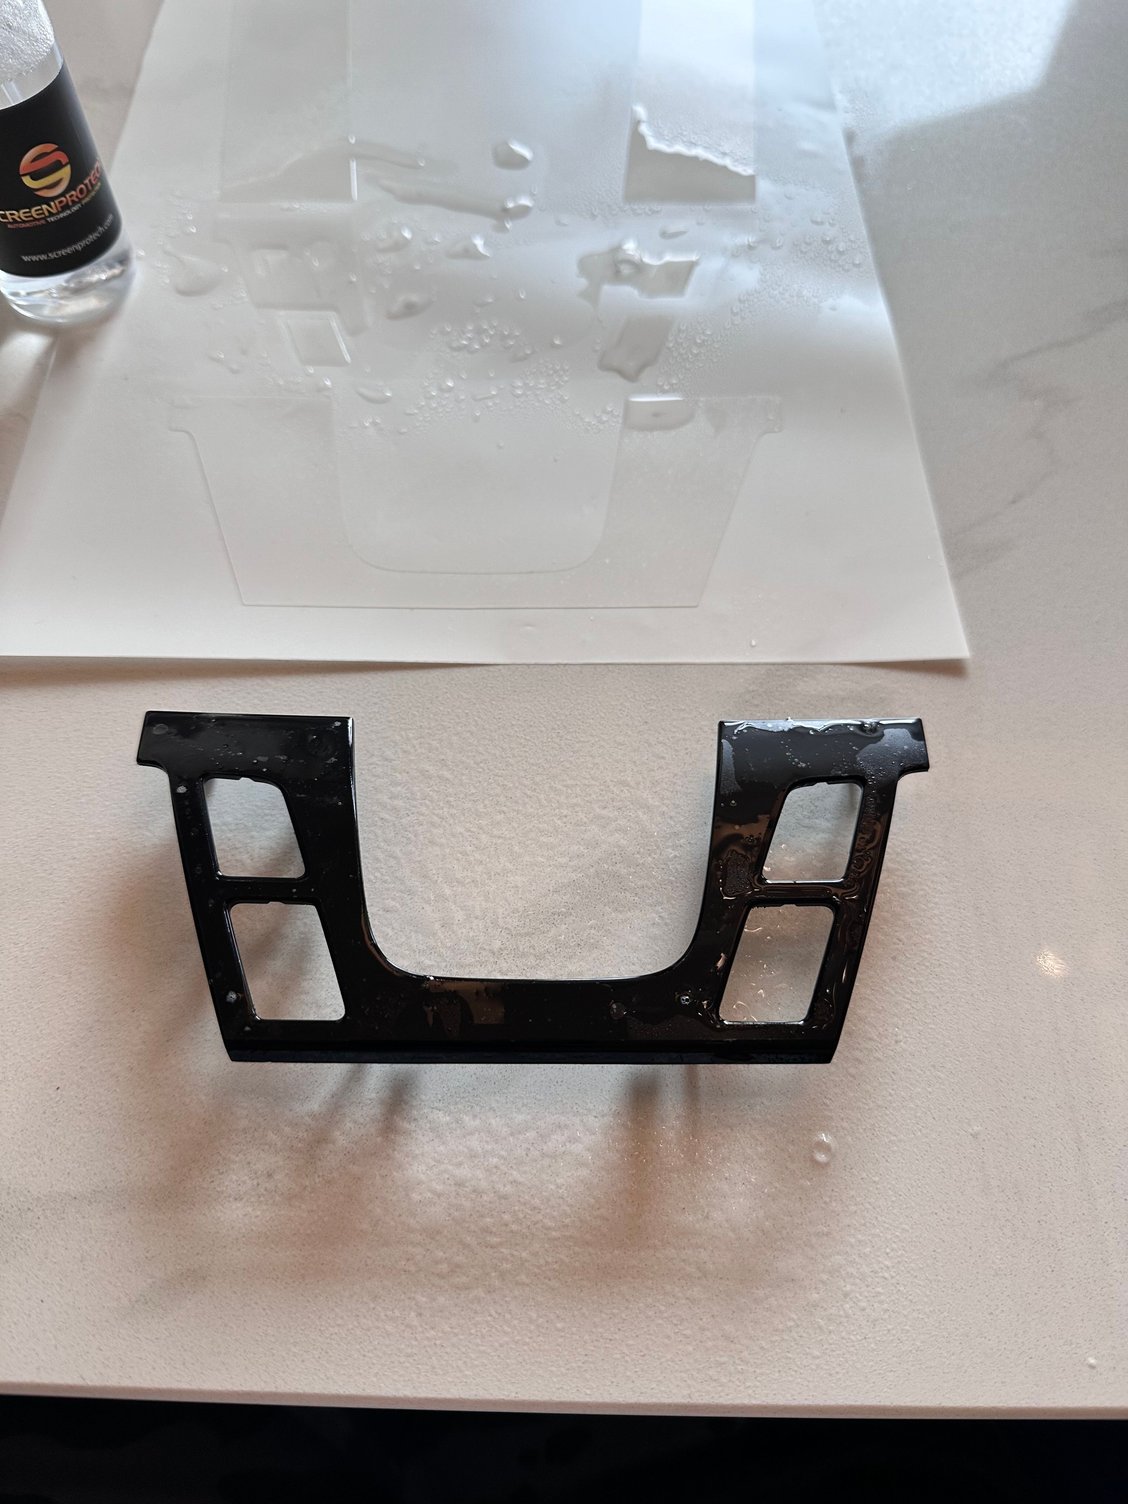
I ordered the matte kit from ScreenProtech and I opted not to install the nav screen, ac radio control panel, and gauge cluster film. The kit itself comes with everything you need to do the job. All you have to do is add water to their included bottle which has some soap in there already. The only downside was midway through the install, the bottle broke so I had to improvise and use another sprayer I had laying around. I would highly recommend removing the panels that I wrapped for ease of installation. I followed another thread on how to remove the 3 panels and it was very easy which had a YouTube video in the thread. You just need to take your time and have a pry tool.
The hardest part was the heated/cooled seats panel. I don�t know if removing the film from the backing messes up the shape but I spent the most time on it trying to align everything. I spent about 20 mins getting the film to lay right. The side panels near the shifter was the easiest. It took about 5 mins each to wrap. I would say the results were a 9.5/10 and I have some OCD when it comes to things like this. Hope this helps anyone who wants to have their panels be matte vs gloss.
In the pictures, the gloss edges come through a bit and look like gaps. How does it look in person?
After seeing the video on removal and also that Suncoast has the left and right parts for $80 ea, I'm almost tempted to but a set and a rattle can of matte paint. Problem is, I can't locate the bottom piece around the heating/cooling buttons without buying the entire assembly for $500. Does anyone have a part number for just that plastic trim piece?
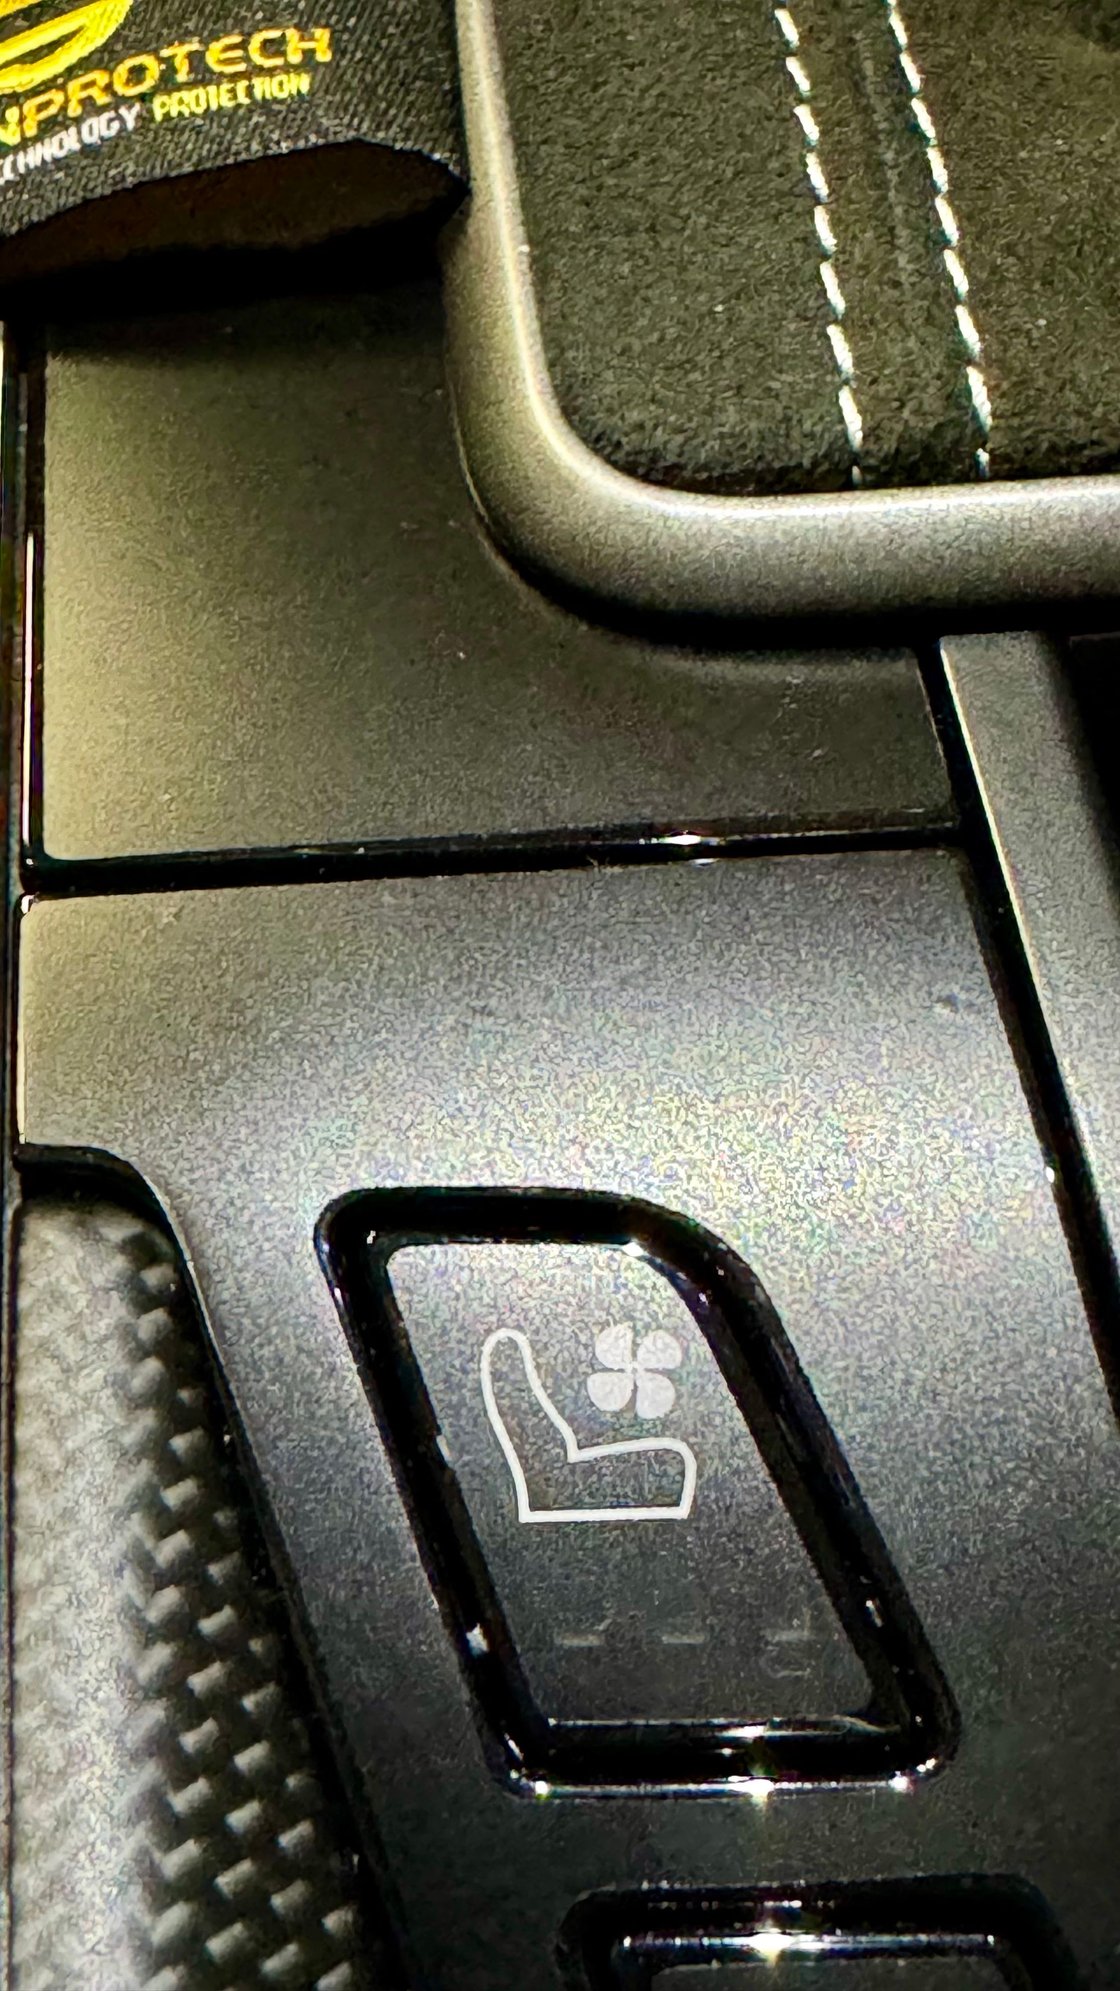
There is a very tiny gap where the film doesn�t go all the way to the edge. To my eye you really can�t tell but I think the camera picks up every reflection. You might could pry up your panel and see if the part number is printed underneath. I wasn�t looking to be sure if there was one printed or not.
I finally had the chance to install the PPF kit for the center console panels and heated/cooled seat buttons. Whoever owned the care previous to me had the pieces wrapped in matte vinyl. It looked good except for around the edges you could tell.
I ordered the matte kit from ScreenProtech and I opted not to install the nav screen, ac radio control panel, and gauge cluster film. The kit itself comes with everything you need to do the job. All you have to do is add water to their included bottle which has some soap in there already. The only downside was midway through the install, the bottle broke so I had to improvise and use another sprayer I had laying around. I would highly recommend removing the panels that I wrapped for ease of installation. I followed another thread on how to remove the 3 panels and it was very easy which had a YouTube video in the thread. You just need to take your time and have a pry tool.
The hardest part was the heated/cooled seats panel. I don�t know if removing the film from the backing messes up the shape but I spent the most time on it trying to align everything. I spent about 20 mins getting the film to lay right. The side panels near the shifter was the easiest. It took about 5 mins each to wrap. I would say the results were a 9.5/10 and I have some OCD when it comes to things like this. Hope this helps anyone who wants to have their panels be matte vs gloss.
Thank you for posting. I ordered the same kit from them and will install this weekend. Looks like you did an amazing job! Congrats 🎊
There is a very tiny gap where the film doesn�t go all the way to the edge. To my eye you really can�t tell but I think the camera picks up every reflection. You might could pry up your panel and see if the part number is printed underneath. I wasn�t looking to be sure if there was one printed or not.
Thanks! Now, to decide filming to and through the climate control panel too...
I think the matte finish is an improvement, but a full around-the-edge wrap would have improved the effect still more. In your particular case, the DB Carbon pieces (stick on, but nice fitting) would have been a nice alternative ... and they have the parts for just about everything in the 992 interior for a price.
I can't locate the bottom piece around the heating/cooling buttons without buying the entire assembly for $500. Does anyone have a part number for just that plastic trim piece?
@HappinessProcured, from other posts on RL, my understanding is that the part must or purchased as a complete assembly with the buttons, and the trim is not available separately. Sorry, I don�t have links to the posts I�ve read conforming this.
@HappinessProcured, from other posts on RL, my understanding is that the part must or purchased as a complete assembly with the buttons, and the trim is not available separately. Sorry, I don�t have links to the posts I�ve read conforming this.
True. According to Exclusive Option who provided my leather panels, the switch panel is only available as an entire assembly from Porsche (and there are three variations).
Great job!! But I don't have the guts to remove things like that.
Nice work though.
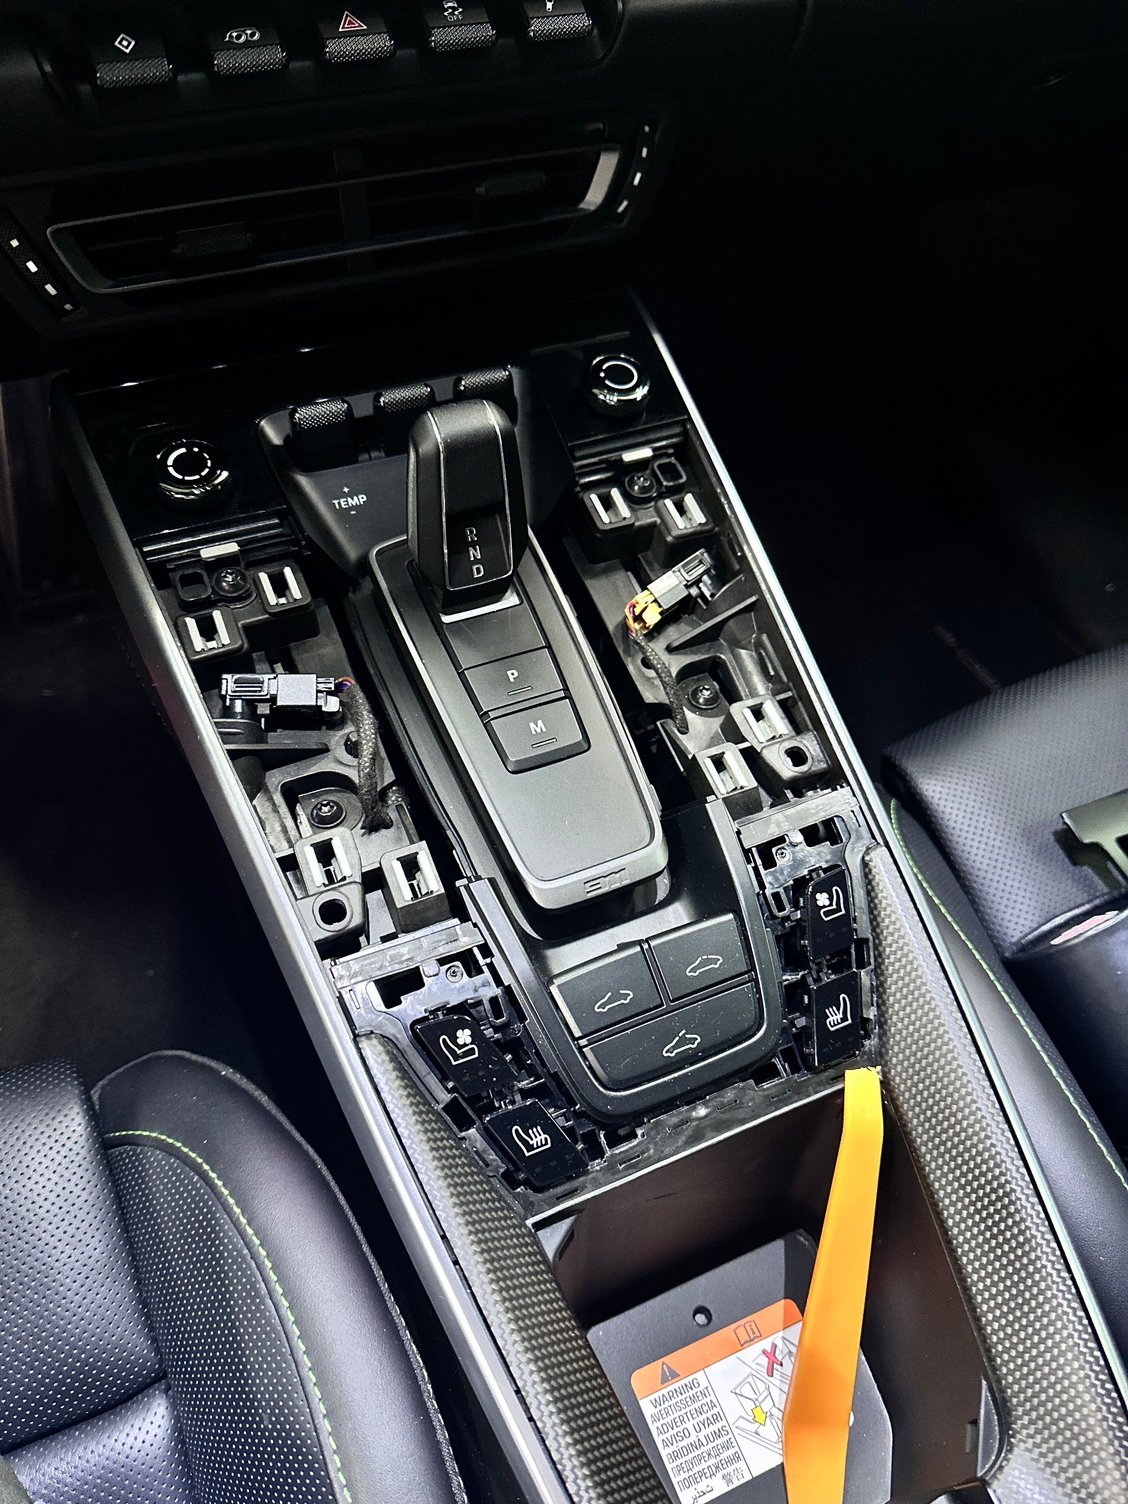
Its really easy to be honest. All you do is take cupholder out, pop out the seat heater control panel off ( I just used my fingers), and then pry up the 2 side pieces by the shifter. I used a pry tool because the panels were pretty tight.
Some notes, if you order via website, you get the PDK version by default, no way to select manual. You'll need to call them direct to request it, which I did not do. I emailed them, to which they missed my question about it being specific for MT or PDK. It arrived, and I couldn't be bothered to call them back for a replacement...
Instead, I removed the 4 parts from the center console to install myself, as BlitzIS stated above, it's pretty easy. Took about 2 hours to get the parts off, and then into the house for install in a wet lit area. The shifter boot comes up first, a little pulling force straight up with you fingers under the INSIDE of the boot edge, about where the stitching is, brings it right up. Next the lower piece surrounding the seat heat/cooling buttons comes up next after removing the center tray/ashtray/cupholder combo. I pried that up with a iFixIt plastic pry bars, a little pressure under the rear edge closest to the cupholder are, and my fingers also applying less pressure above it to ease the part up out of the clips. Seeing pressure above ensured I didn't pull it up and then the sudden release from the clips didn't send the thing flying or bending it if the other clips didn't release. Started on the left side side and moved to the other when I felt it give a little. Switch back to the left and then eased up a little more until it finally game all the way up. For the MT, the entire center just beneath the boot is one entire piece, unlike the PDK pictured above, in two separate halves. You'll need to remove the shift **** entirely; flip it inside out, and rotate the very bottom plastic retainer anti-clockwise until it snaps a little, then the shift **** comes straight up. Keep your head out of the way unless you wish to know what the shift **** smells like at high speed... The insides of the shifter linkage is very cool, highly recommend a gander while you're in there! Finally the surrounding cowling comes up like the previous part, some direct pulling motion straight up and the four corners brings it out of the clips. The film install on this part was a little tricky, I installed the PDK intended films, and then cut out the excess leaving about 2-3mm, which I then cut slits into, such that I could fold them downwards and in, so they could stick on the vertical edge. The extra film stayed down and sticky once a little dry, no need to respray it. Note that the shift boot actually covers this area anyways, so I wasn't super worried about getting exact clean cuts. That said a simple set of pocket knife scissors worked just fine as they are smaller and easier to get into the smaller area. Once everything is put back into place, the PPF goes right up and under the shift boot which looked very clean.
I then installed the center tach protector and promptly removed it while still wet for two reasons:
1. It's cut such that, you'll need to install with a relatively wet surface to allow the film to slide, so you can install it completely under the inner plastic bezel, otherwise the flip will stick up and look janky. Realizing this, I thought once fully set, it would be very difficult to remove later without the high probability of scratching something without removing the bezel.
2. The matted texture blurs the entire tach, and I was not a fan of this look. Over the other side displays and touch display, it's perfectly fine, I don't notice any visual changes to the images, but because the tach window sits about 1-2 cm away from the actual needle and the numbers, the blur is much more obvious.
Also installed the film pars on top of the two rotational dials and the seat temp buttons. Will probably regret later after more usage and the film possibly and/or eventually peels at the edges, but for now, I actually liked the matted texture. Honestly, I wish this was a detail that Porsche had done themselves, microtexturing plastic can't be that hard can it? And coupled with the matted carbon fiber option on the interior, it feels overall a lot more cohesive now. Anyways, post install pics below. Let me know you want more or need further clarifications on how to remove these parts if you're doing on your own.
Matted screen protectors on the left and right displays, nothing on the the center tach Matted protector on all black shiny surfaces, including the seat temperature augmentation buttons. Close up, there's about 0.5-1mm gap between the PPF and the edge of the plastic in which it protects.
Porsche 911 GT3 Artisan Edition Pays Homage to Japanese Culture
Slideshow: Porsche has created a Japan-only 911 GT3 Artisan Edition that blends track-ready hardware with design cues inspired by traditional Japanese craftsmanship.
Porsche Reveals Coupe Variant of the Electric Cayenne With a Fresh Look
Slideshow: Porsche's latest electric Cayenne Coupe blends dramatic styling with supercar acceleration, turning the brand's midsize SUV into a 1,139-horsepower flagship.


 The insides of the shifter linkage is very cool, highly recommend a gander while you're in there! Finally the surrounding cowling comes up like the previous part, some direct pulling motion straight up and the four corners brings it out of the clips. The film install on this part was a little tricky, I installed the PDK intended films, and then cut out the excess leaving about 2-3mm, which I then cut slits into, such that I could fold them downwards and in, so they could stick on the vertical edge. The extra film stayed down and sticky once a little dry, no need to respray it. Note that the shift boot actually covers this area anyways, so I wasn't super worried about getting exact clean cuts. That said a simple set of pocket knife scissors worked just fine as they are smaller and easier to get into the smaller area. Once everything is put back into place, the PPF goes right up and under the shift boot which looked very clean.