When you click on links to various merchants on this site and make a purchase, this can result in this site earning a commission. Affiliate programs and affiliations include, but are not limited to, the eBay Partner Network.
I need to pull the rear interior panels to get access to the fenders. I can’t seem to find any videos or instructions on removing the panels. I managed to get the carpet and rear cover off but can’t seem to figure out the disassembly of the remaining pieces. Does anyone have any videos or insight on how it’s done?
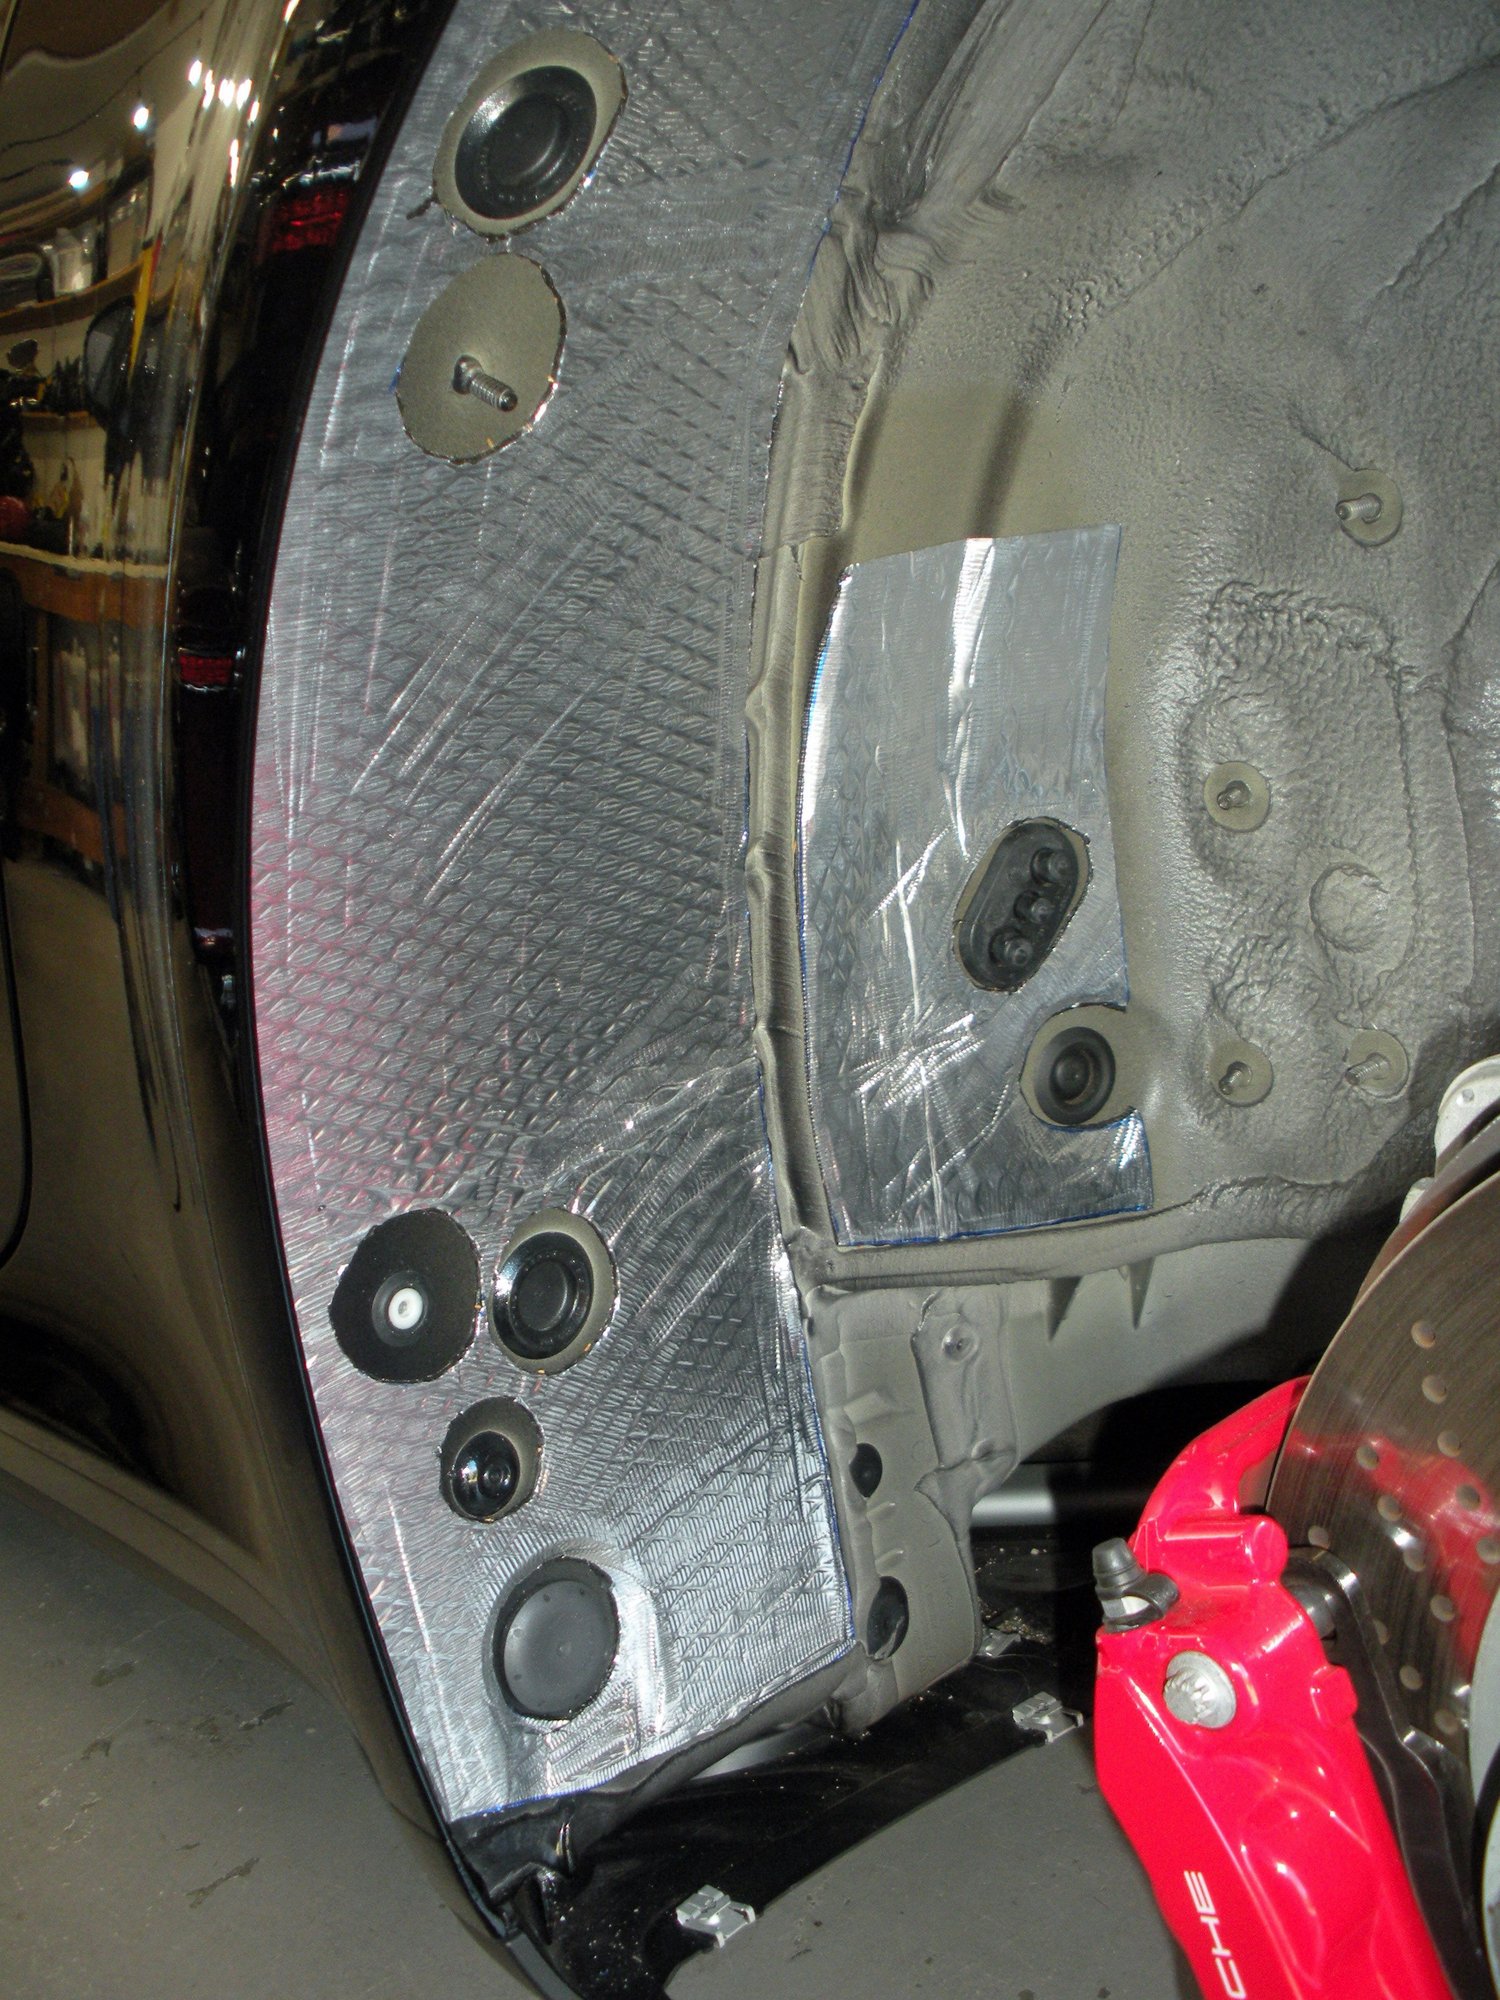
Sound deadening to get rid of the resonance and tire noise. All wrapped up and everything is buttoned up. Now all I hear is induction and exhaust and none of the other fatiguing noises. Addressed all the squeaks and rattles while I had it apart as well.
I did this to mine. I started with the rear panel under the rear window and worked my way forward. The panels and the carpeting is/are layered. Working from back to front works fairly well. This all requires removing the rear seats to get to the floor areas under and around the rear seats. Be VERY careful with the rear seat-belt wiring. The Seat Belt Buckle connectors are extremely fragile. Don't ask me how I know this.
Now, I did not remove the lower front quarter panel covers that cover the area under the rear quarter windows. I couldn't determine for sure, where to start with these panels without risking damage to various things that might be extremely difficult to reverse. So I'd be real curious how the OP did this. It does seem to be an effective echo chamber for the rear tires and I'd like to deal with this area.
Last edited by Bluehighways; 12-02-2023 at 09:02 PM.
I did this to mine. I started with the rear panel under the rear window and worked my way forward. The panels and the carpeting is/are layered. Working from back to front works fairly well. This all requires removing the rear seats to get to the floor areas under and around the rear seats. Be VERY careful with the rear seat-belt wiring. The Seat Belt Buckle connectors are extremely fragile. Don't ask me how I know this.
Now, I did not remove the lower front quarter panel covers that cover the area under the rear quarter windows. I couldn't determine for sure, where to start with these panels without risking damage to various things that might be extremely difficult to reverse. So I'd be real curious how the OP did this. It does seem to be an effective echo chamber for the rear tires and I'd like to deal with this area.
So after removing the rear ward cover then take off the C pillars. Then remove the B pillars. Then I started pulling up and out from the back and working my way to the front until I had it all released. It took considerable force to dislodge the friction tabs. I had to disconnect 2 speakers and the ambient lighting and the panel just comes off.
The fenders are completely hollow and it is indeed an echo chamber. A few sheets of CLD tiles to stop the resonance and then I put fiber mat lining on top and stuffed the remaining areas with fiber mat wherever I could since it doesn’t weigh hardly anything but does a phenomenal job of reducing noise.
For the doors I did CLD layer on the inner skin and then a layer of guardian foam. On the inside of the door card I did butyl rope in between overlapping plastic and did some more CLD on flat surfaces, then topped it off with fiber mat and reinstalled.
Car is a GT3 so I didn’t have seat belts or rear seats to contend with.
I probably spent 3-4 hours on the doors (I’ve removed 992 door cards before so there was no surprises to waste time on here). The rear took me a little longer with most of that disassembling and reassembling. I broke it off in 3 days. Knowing what I know now I could probably knock out everything in 8 hours.
. . . . . Then remove the B pillars. Then I started pulling up and out from the back and working my way to the front until I had it all released. It took considerable force to dislodge the friction tabs. . . . .
Thanks, I did not remove the B Pillar Covers. Also knowing the direction of effort and that a "considerable force" worked is useful information. That doing so did not damage any of the retaining clips, hooks, pins etc. that Porsche uses and that I could not visually locate is nice to know.
However I did install Kill Mat on the exterior sheet metal in the wheel wells. This definitely helped, but I'd love to get some Acoustic Foam in the interior area of the rear quarter panels.
.
Last edited by Bluehighways; 12-04-2023 at 02:48 AM.
Thanks, I did not remove the B Pillar Covers. Also knowing the direction of effort and that a "considerable force" worked is useful information. That doing so did not damage any of the retaining clips, hooks, pins etc. that Porsche uses and that I could not visually locate is nice to know.
However I did install Kill Mat on the exterior sheet metal in the wheel wells. This definitely helped, but I'd love to get some Acoustic Foam in the interior area of the rear quarter panels.
.
I have enough materials to probably do the rear fenders. I’m not going to make a special occasion of it so will just wait for a tire change.
The B Pillar needs to come out from the bottom and then pull down. It’s held in the top by a tongue. The panel is held on to the top edge of the sheet metal with friction clamps and all the remaining tabs are just hook style that keep it in place if that helps visualize it. Be aware the wires for speakers and ambient light is not very long so don’t pull it far before disconnecting.

 12-02-2023, 10:17 AM