When you click on links to various merchants on this site and make a purchase, this can result in this site earning a commission. Affiliate programs and affiliations include, but are not limited to, the eBay Partner Network.
this is a photo of the brackets taped to the bumper you can't really see them unless you get pretty close...its a nice set up , in Massachusetts we are required to have a plate to get through the annual car inspection...no plate no inspection sticker ...so this set up allows me to pop on the plate get a sticker and take the plate off. Porsche should of done a better job for all front plates...drilling into the bumper seems weird in a $100K car
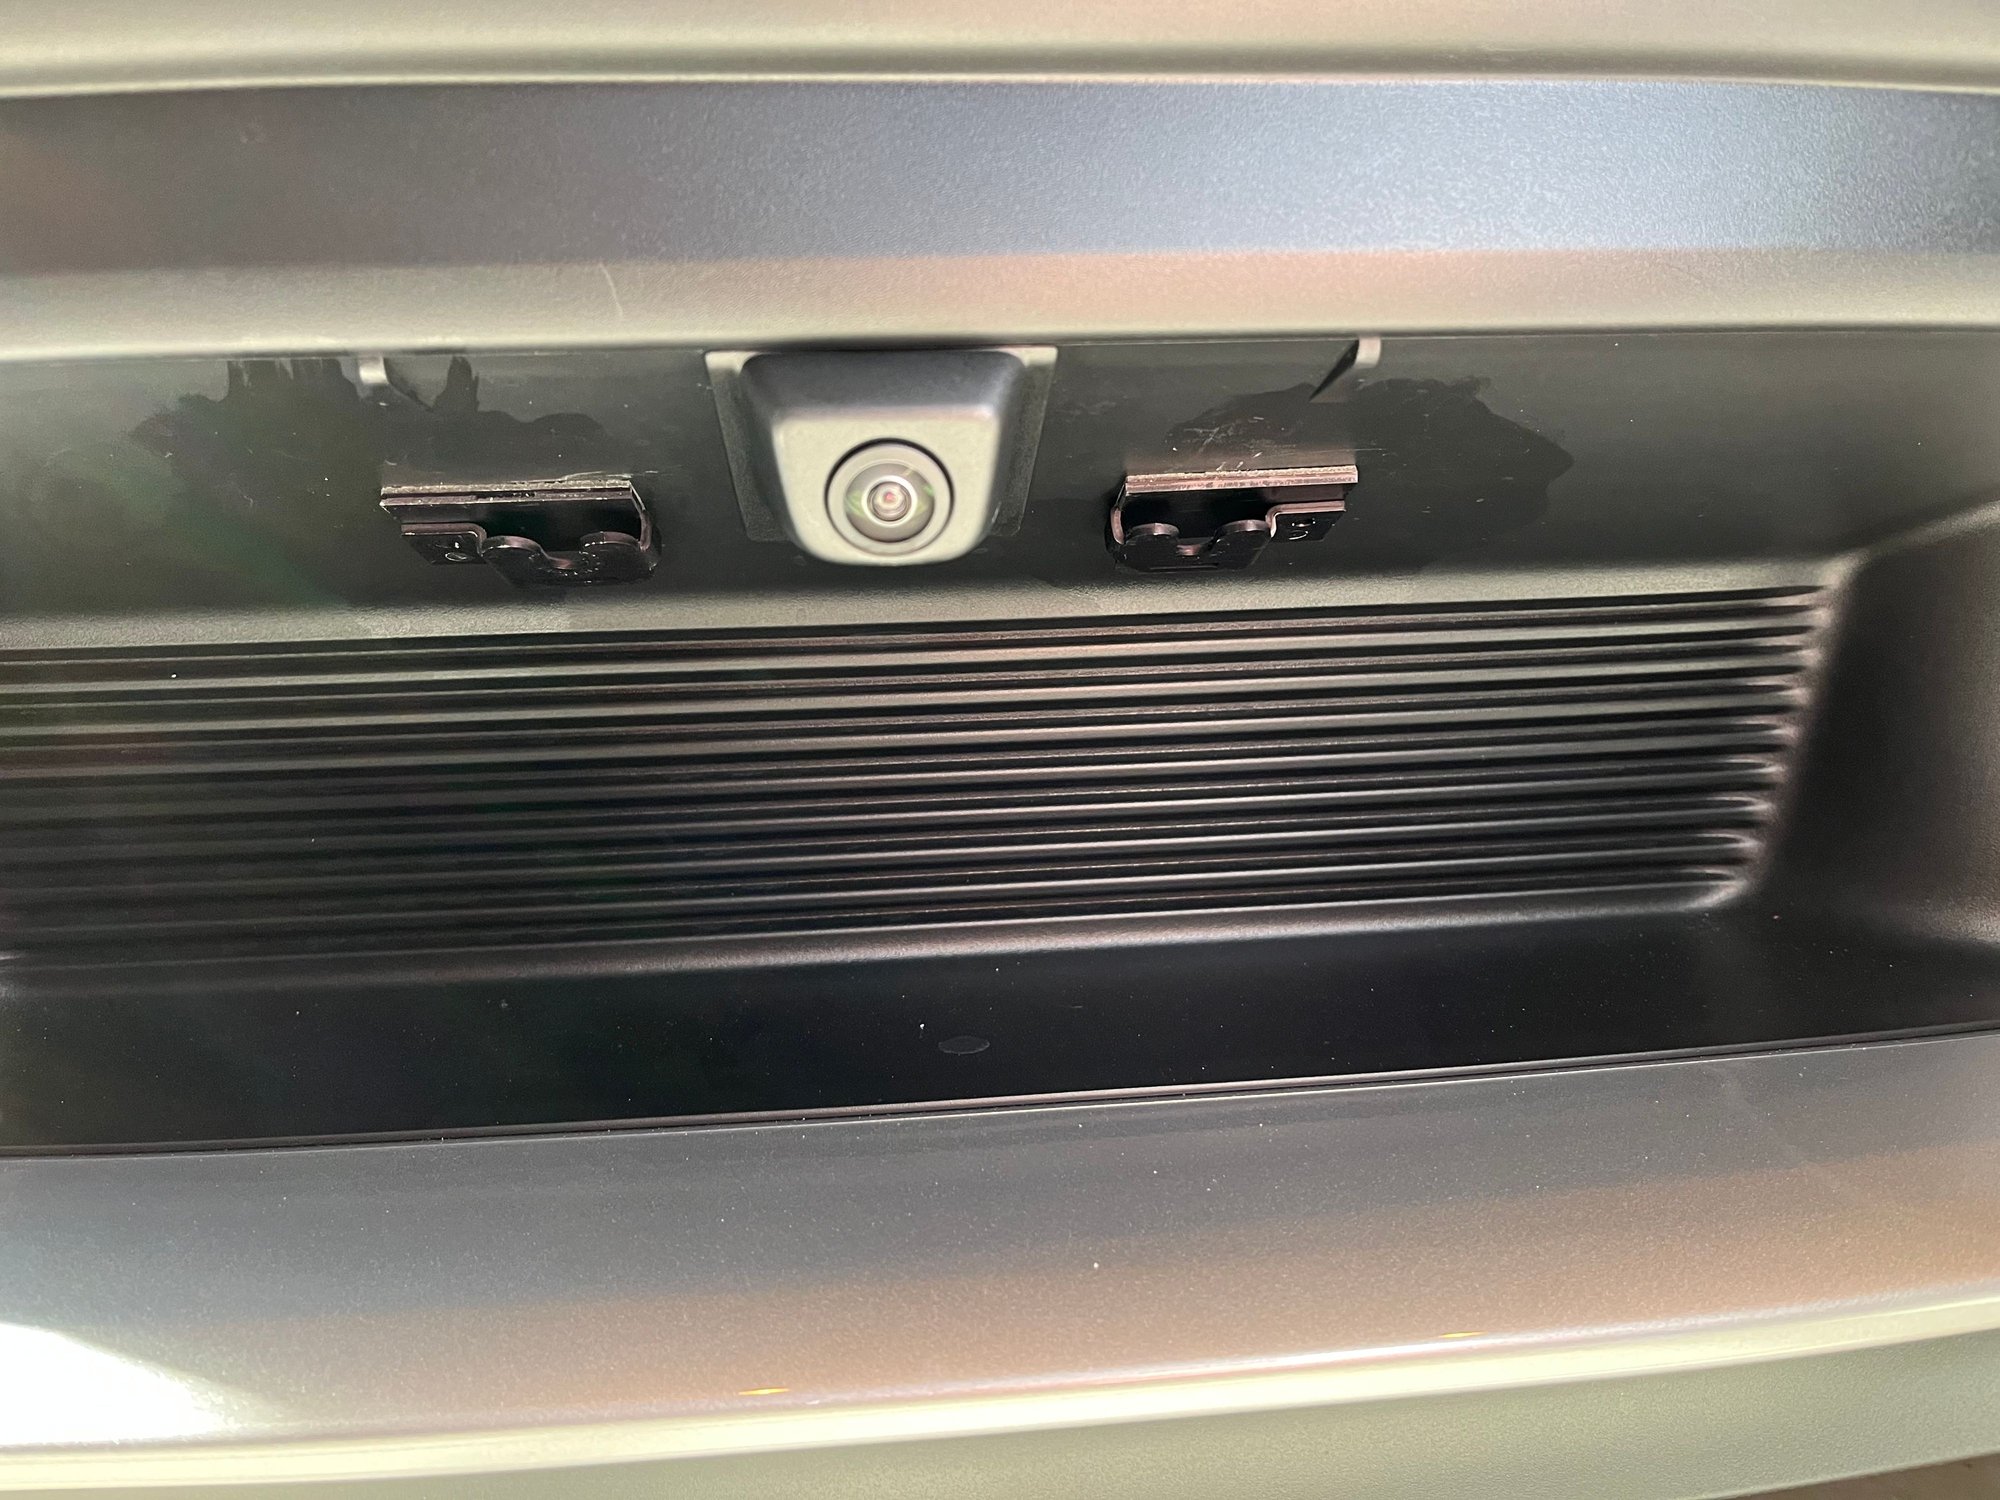
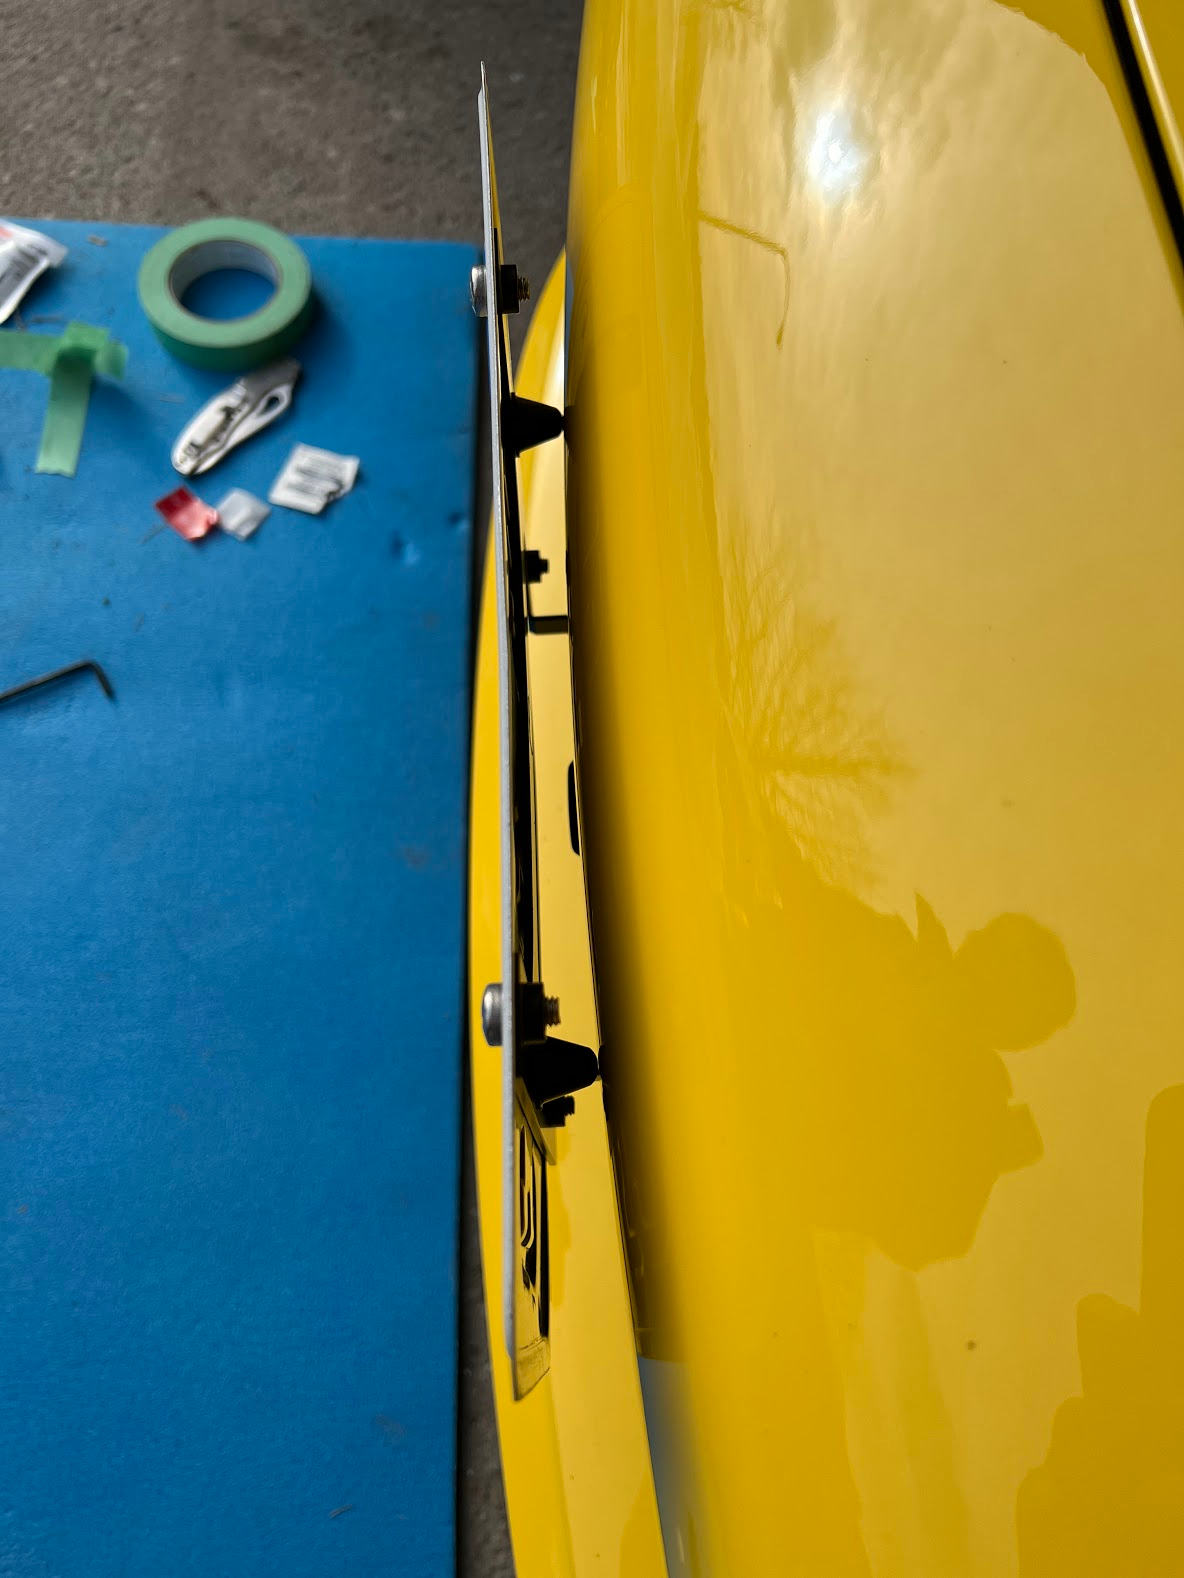
This is the first really close closeup I've seen of this center recess. (My 992 is sitting in Emden waiting to board a ship, so I can't just go out to the garage and look for myself. But I'd like to get some accessories ordered.) The "high" mount appears to project above the leading edge of the bumper - would seem to disrupt the aerodynamic flow over the hood.
This photo appears as though the ridges in the center panel are cosmetic - there do not appear to be slots for air to flow through. If that's the case, that this panel is solid, then why not mount the plate neither high nor low, but centered vertically. Maybe recessed just a mm or two. We wouldn't be blocking the air flow to anything.
thats my photo...its a camera issue if you put a plate in the middle it would it would have to go low for the plate to clear the camera ...I think most of us are using this temporary plate attachment to get an inspection sticker or slap on if we get pulled over...I have no intent of having a front plate on the car only when required or forced
Hi everyone. I finally picked up the Carbonio no-drill front plate mount. We got the "with ACC" version even though we do not have ACC on the car (it's a manual). This is because of the preference for a higher mounting position.
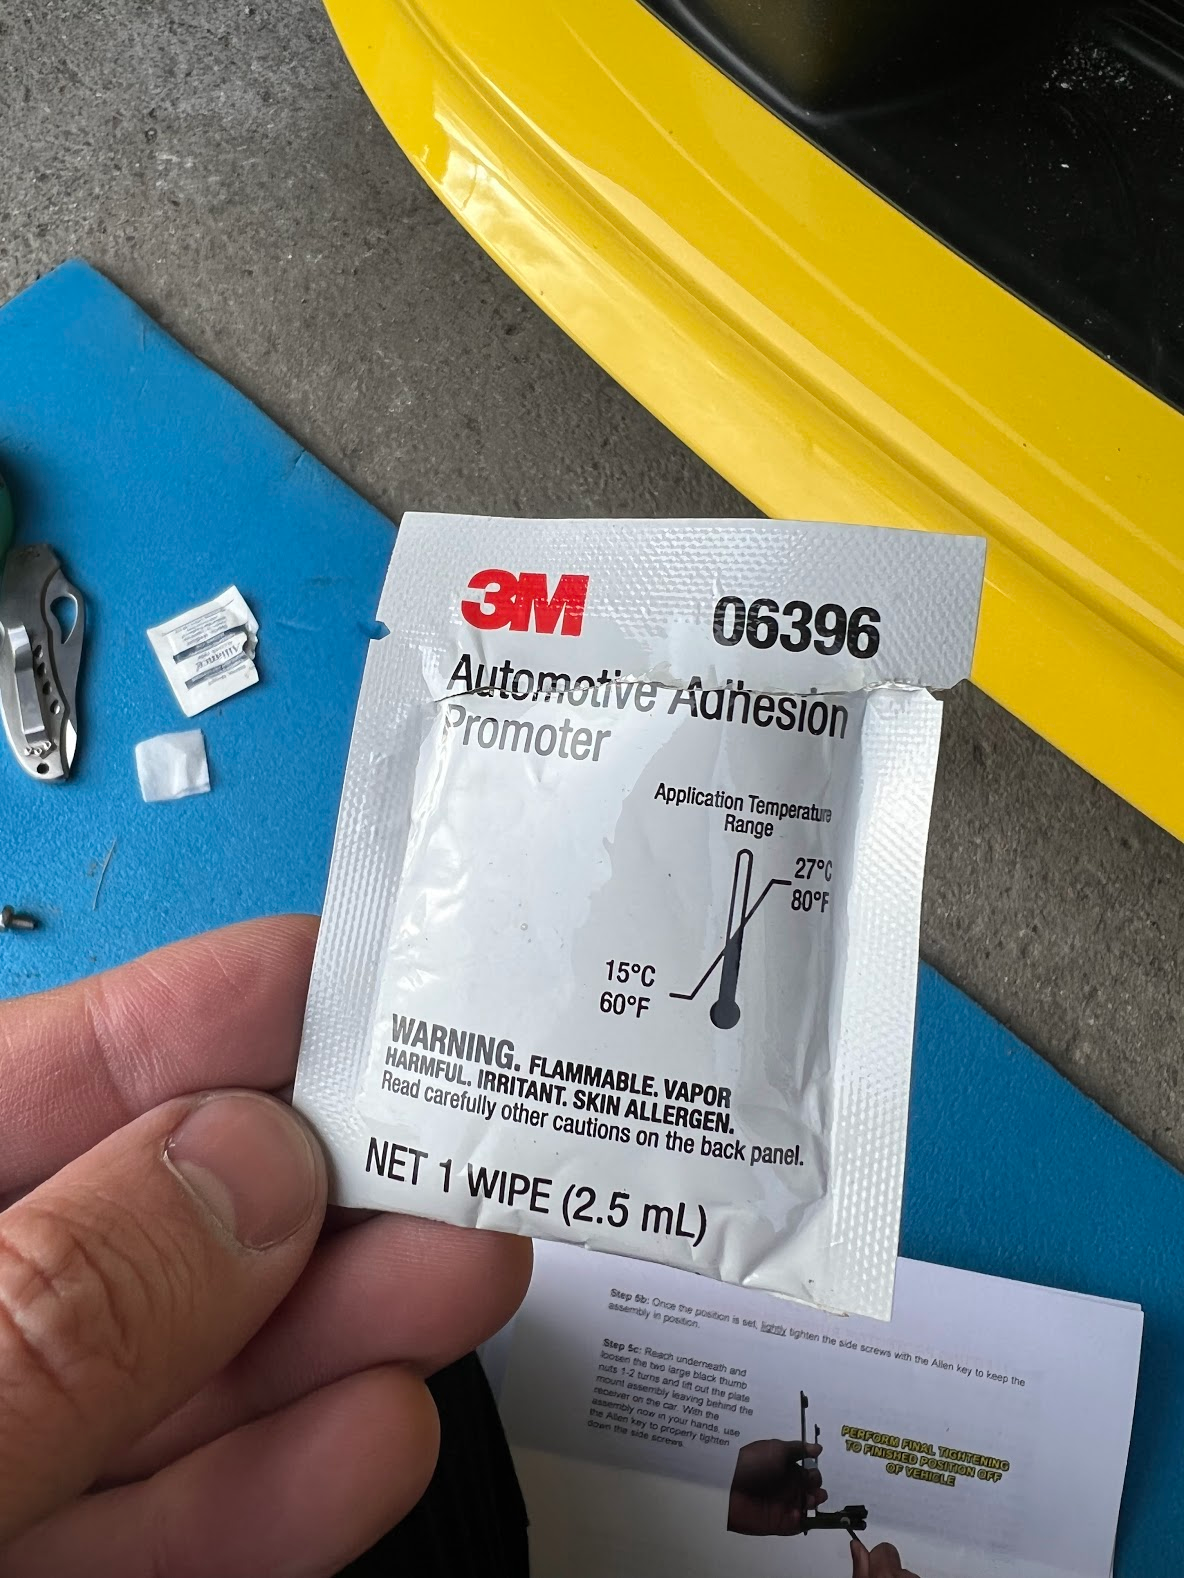
Looking back, I probably should have done this in the summer time since the adhesion promoter solution package indicates a warmer range of application temperatures. Nevertheless, here are some pictures of the process:
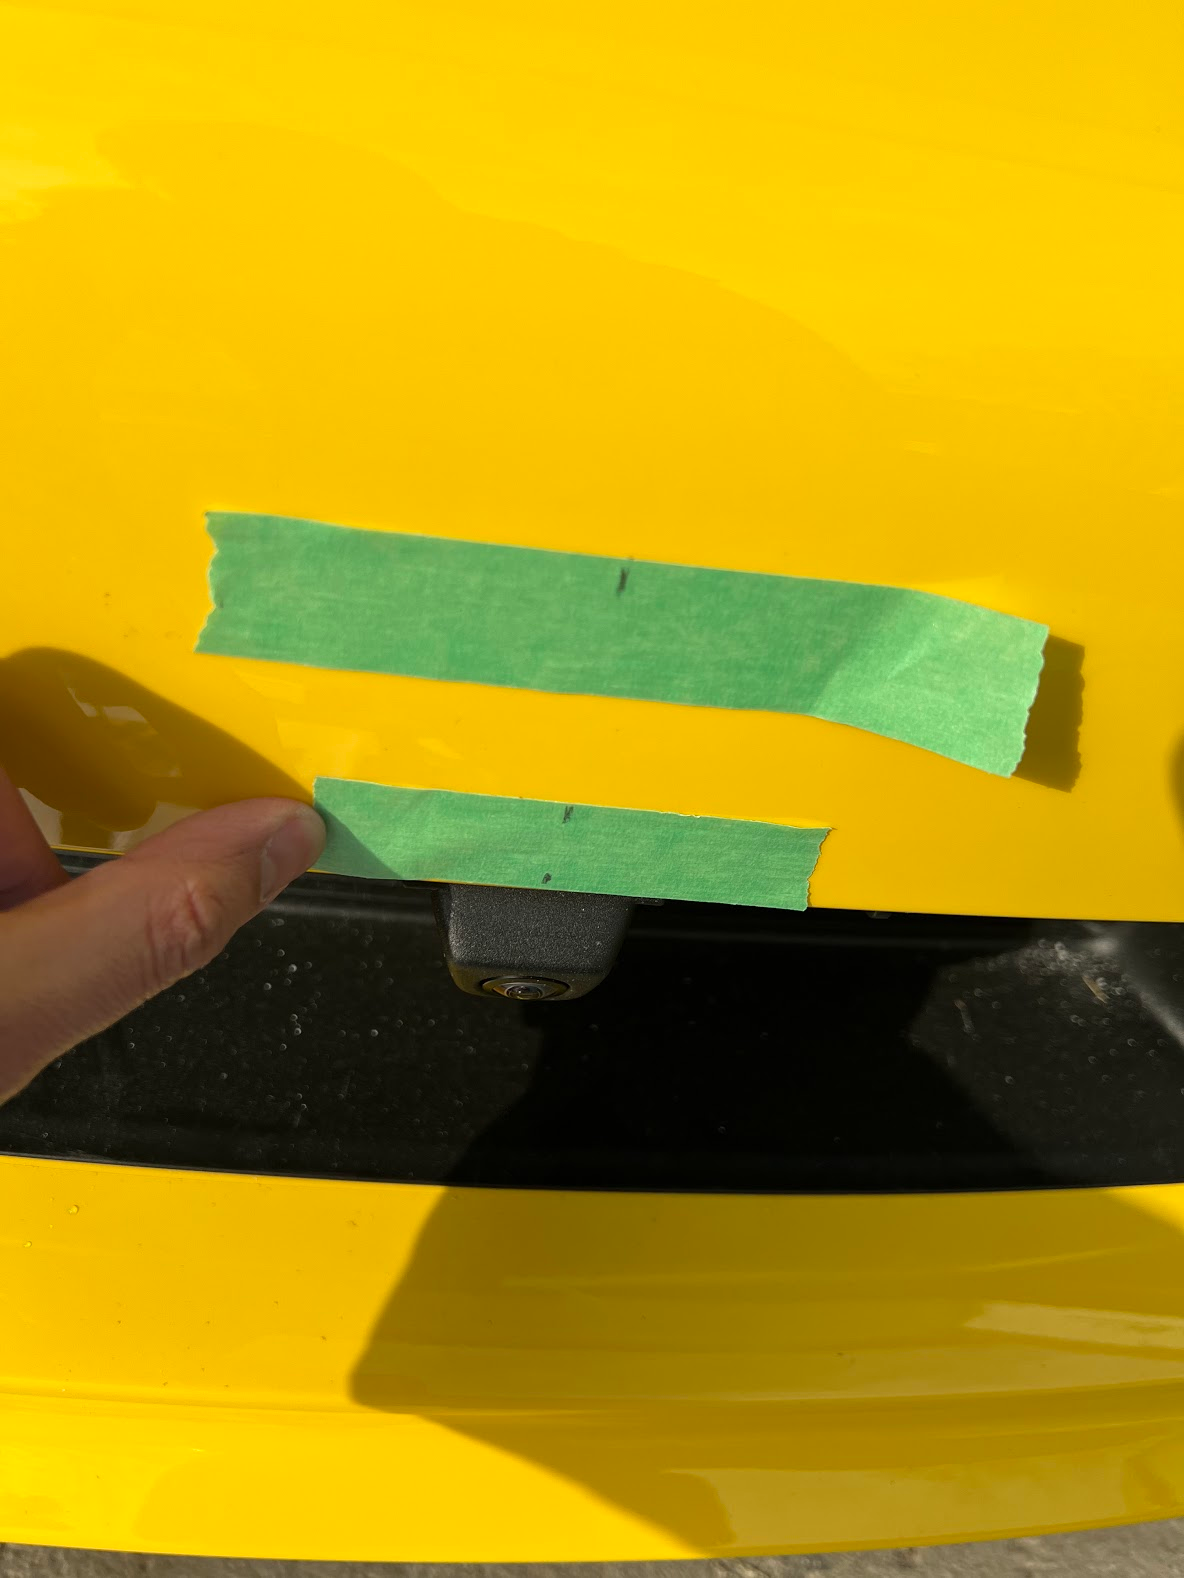
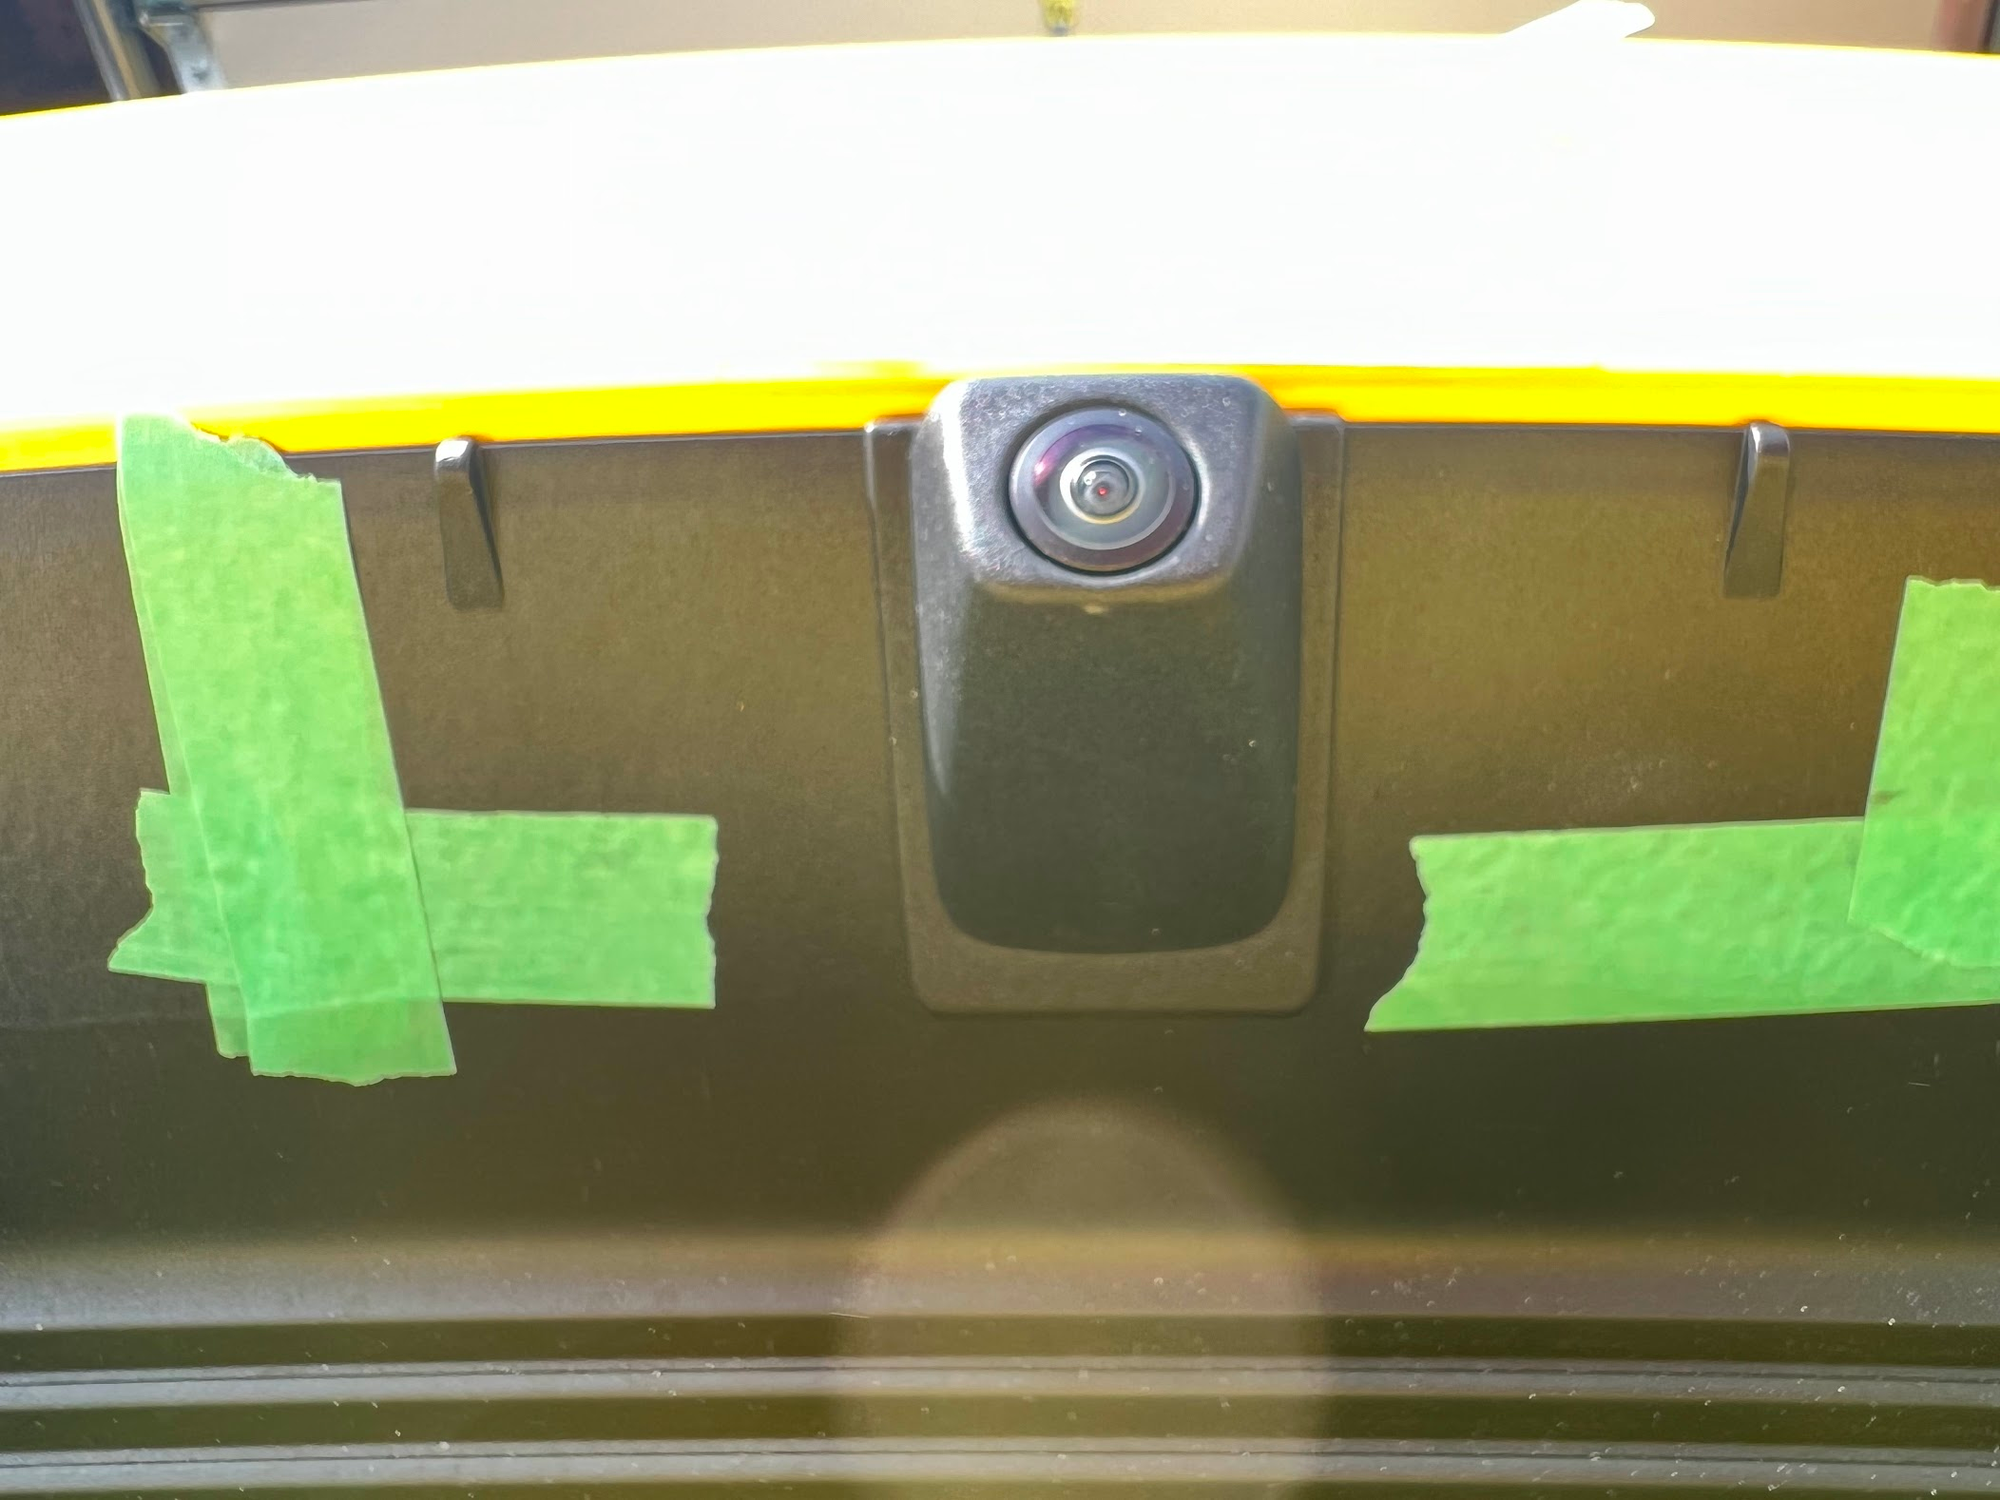
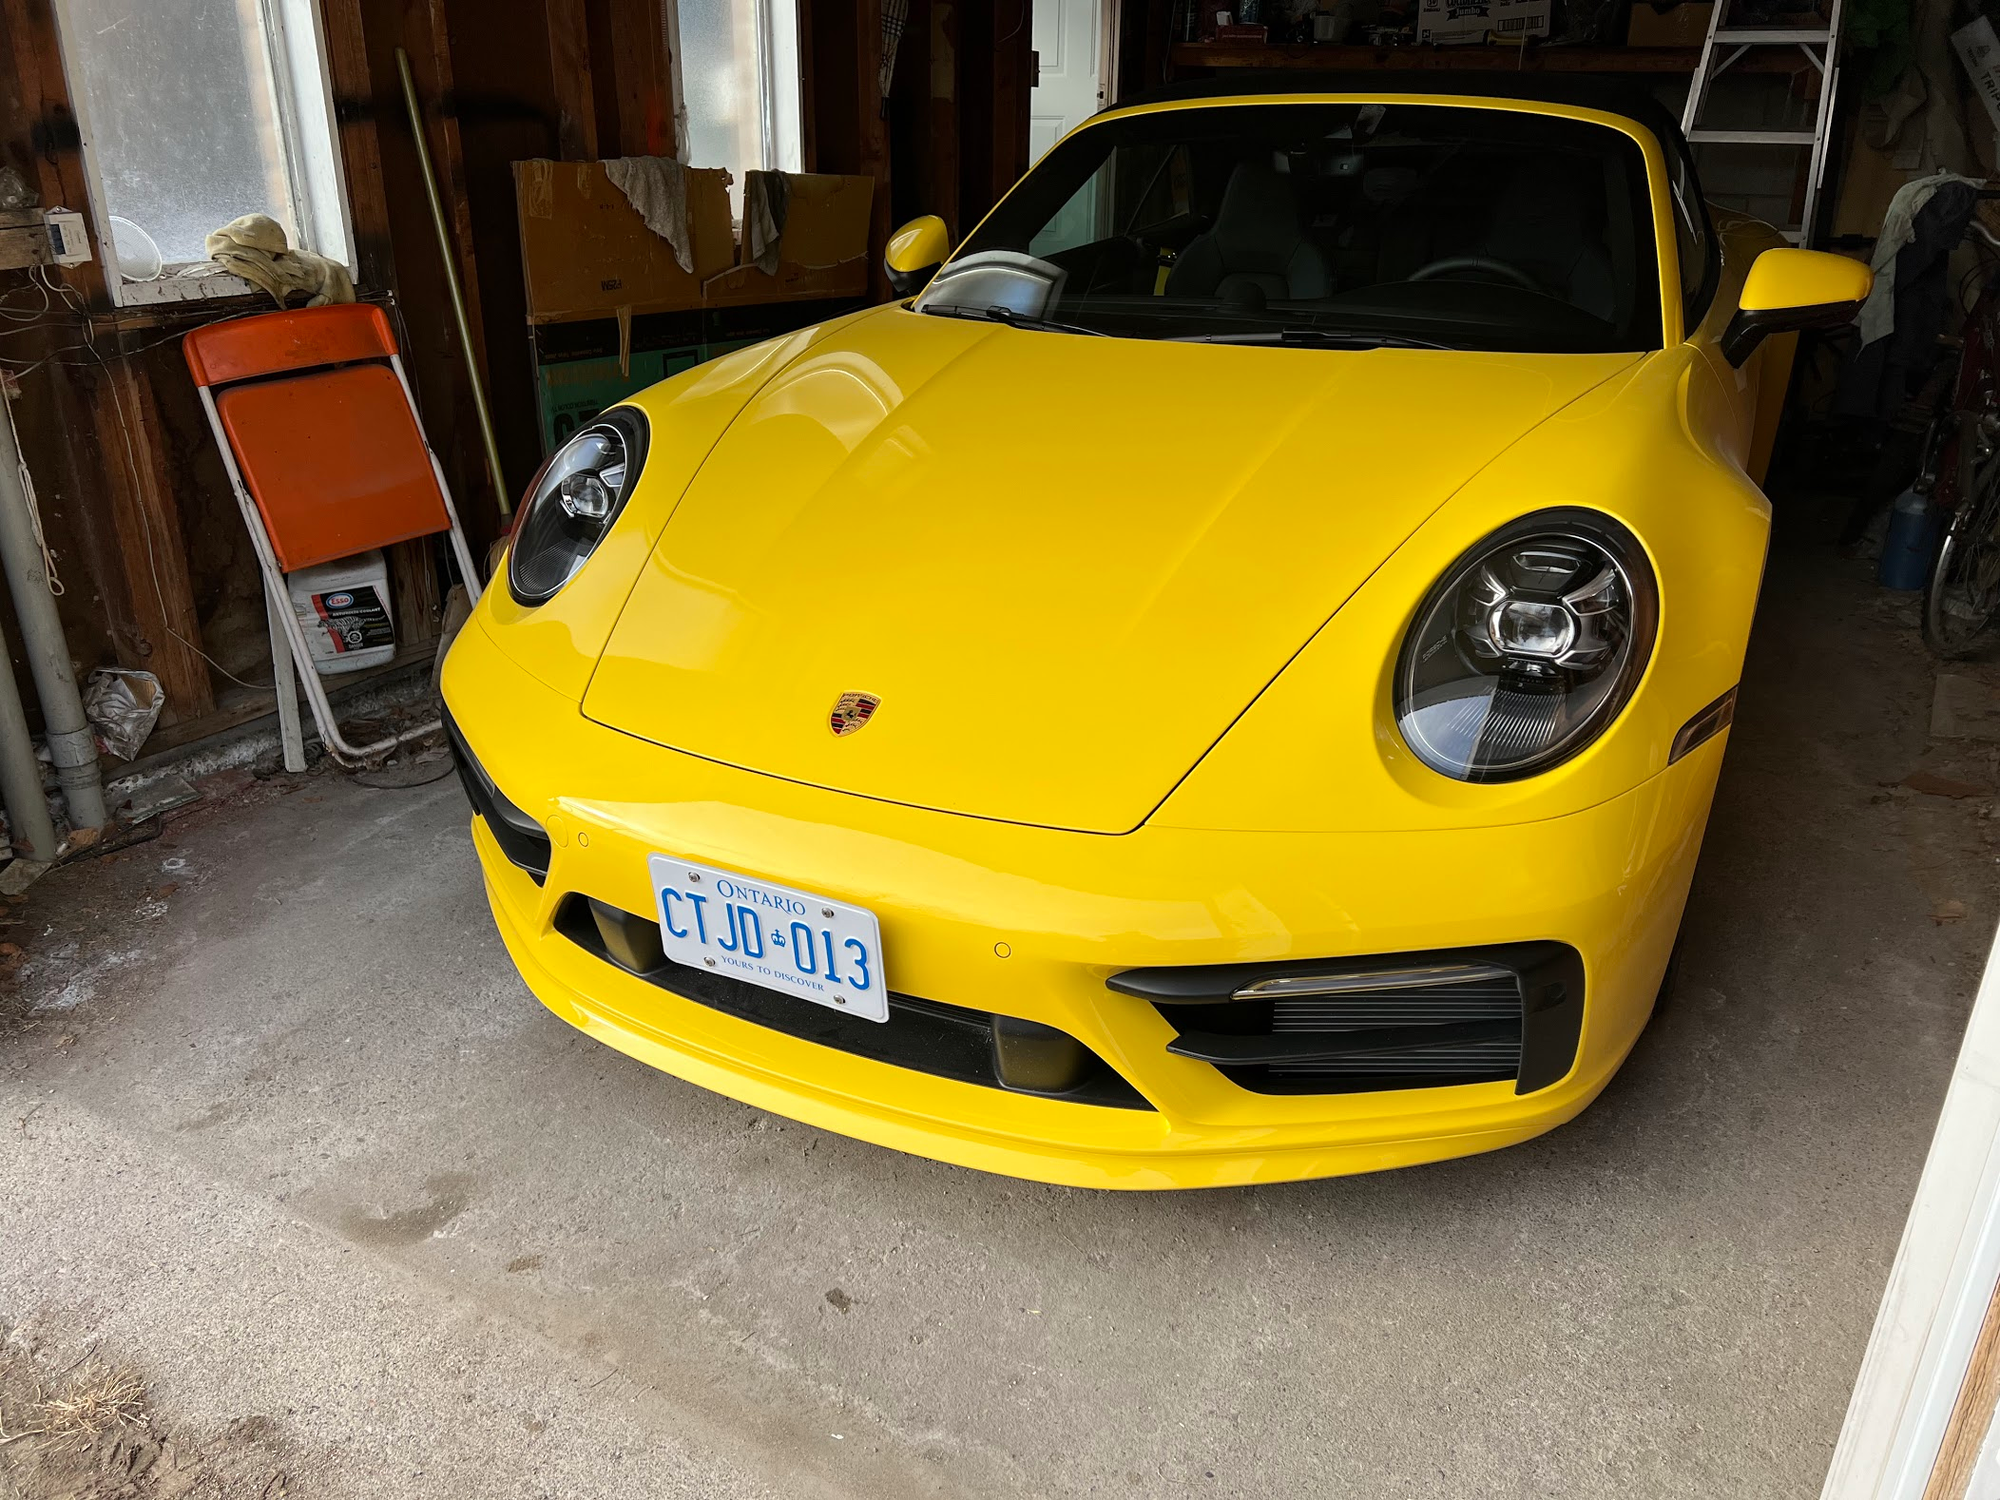
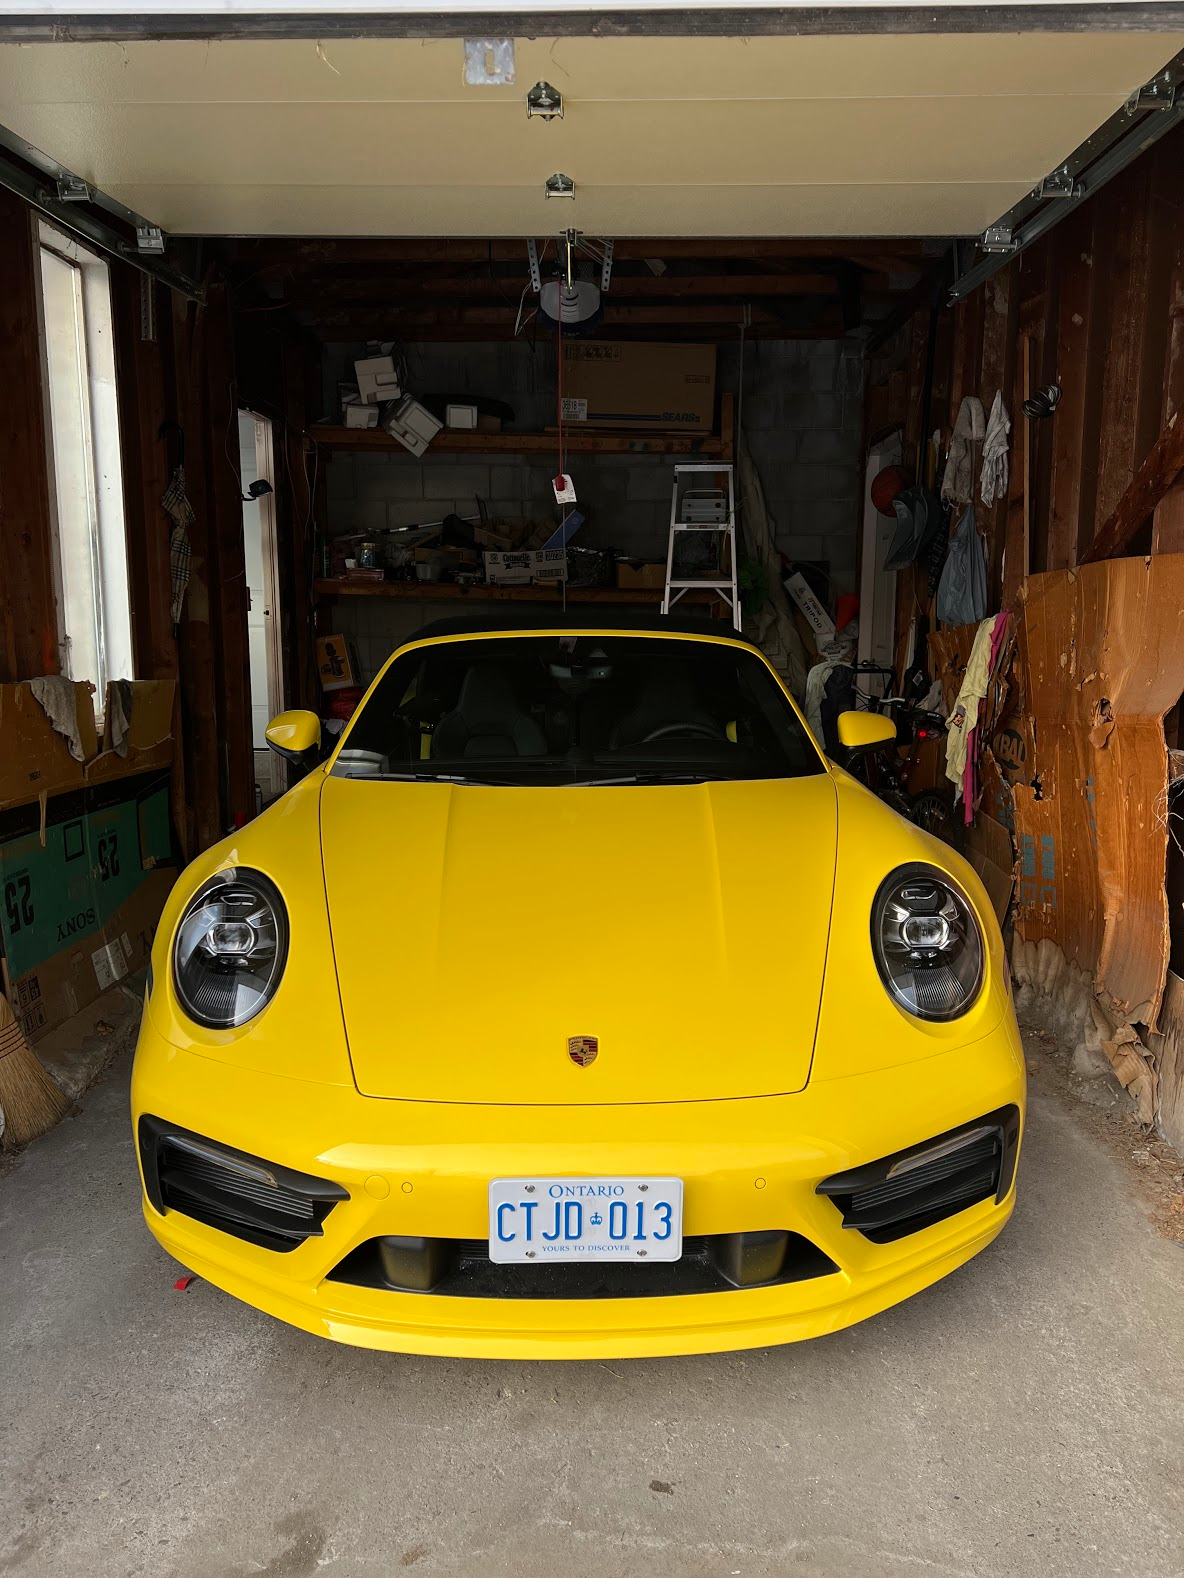
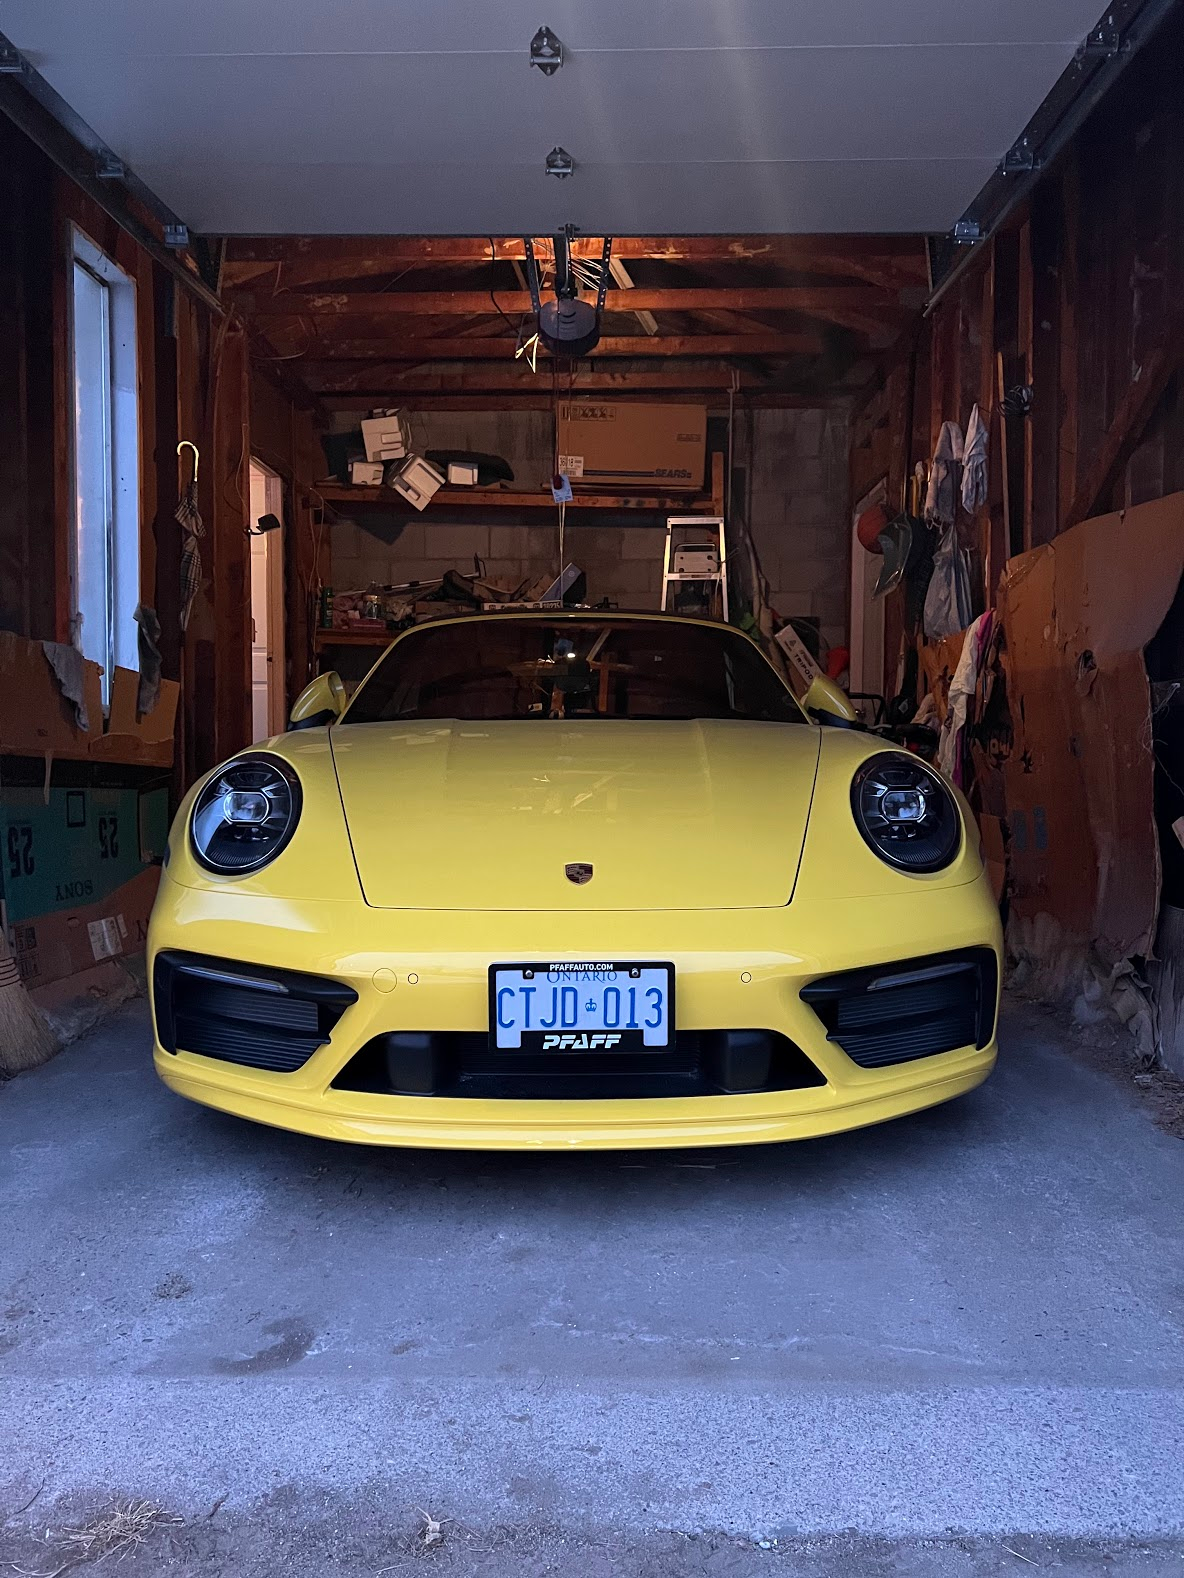
Used painters tape to try to mark a bunch of centre lines. I got my dad to hold the frame steady while I put down some tape to mark the spot for the adhesive pads. Make sure you place the pads deep enough, otherwise it won't adhere to a completely flat surface. This is the adhesive promoter solution. I am a little concerned since I did this in freezing weather here in Canada, but I'm just going to assume it's fine for now. They give you two plastic nubs that allow you to keep the plate steady against the bumper. How it looks from a profile angle. How it looks head-on. Added a transparent plastic frame (from the dealer) so it seems a little more put-together.


 01-30-2022, 05:46 PM