When you click on links to various merchants on this site and make a purchase, this can result in this site earning a commission. Affiliate programs and affiliations include, but are not limited to, the eBay Partner Network.
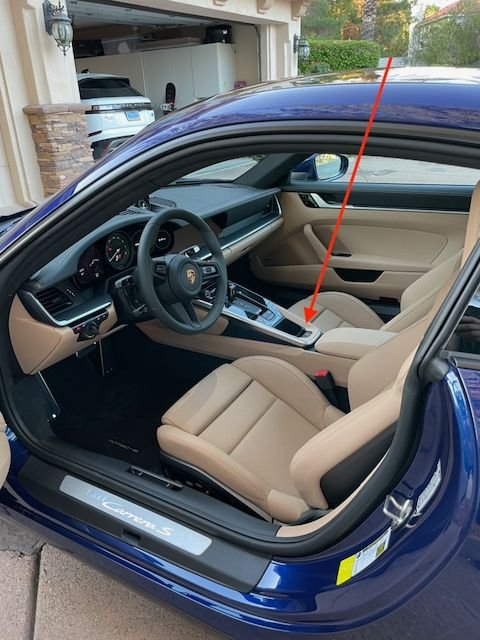
So I went with Mojave Beige/Black leather interior with the Leather Trim Inlays option. I'm not a fan of the tan color surrounding the cupholder, so I ordered a replacement piece in black leather from Suncoast. My simple question is, does anyone have any tips on removing this trim piece? I have some trim tools but don't know how/where it is clipped in. Rather than poking and prodding, I thought I'd ask if anyone knows how to best remove this piece. Thanks.
I replaced mine with the carbon fiber version. It just pops out using standard trim tools. When you get the new piece it will be obvious where you have to insert the trim tool to pry it out. I hope this helps.
Thanks, guys. Really appreciate it. Yep, couldn't have been easier, about a 30-second install.
EDIT: I'll just add in case anybody else wants to do this, as FD9NY said, it really is obvious once you look at the back of the replacement part. But just in case, you want to use the trim tool on the rear end first. Once that lifts up, you can just slide the entire piece rearward while lifting slightly up, and it pops right out. There are no clips, per se, just a few little tabs that slide into corresponding receptacles in the console. It's basically a press fit.


 05-10-2021, 05:52 PM