When you click on links to various merchants on this site and make a purchase, this can result in this site earning a commission. Affiliate programs and affiliations include, but are not limited to, the eBay Partner Network.
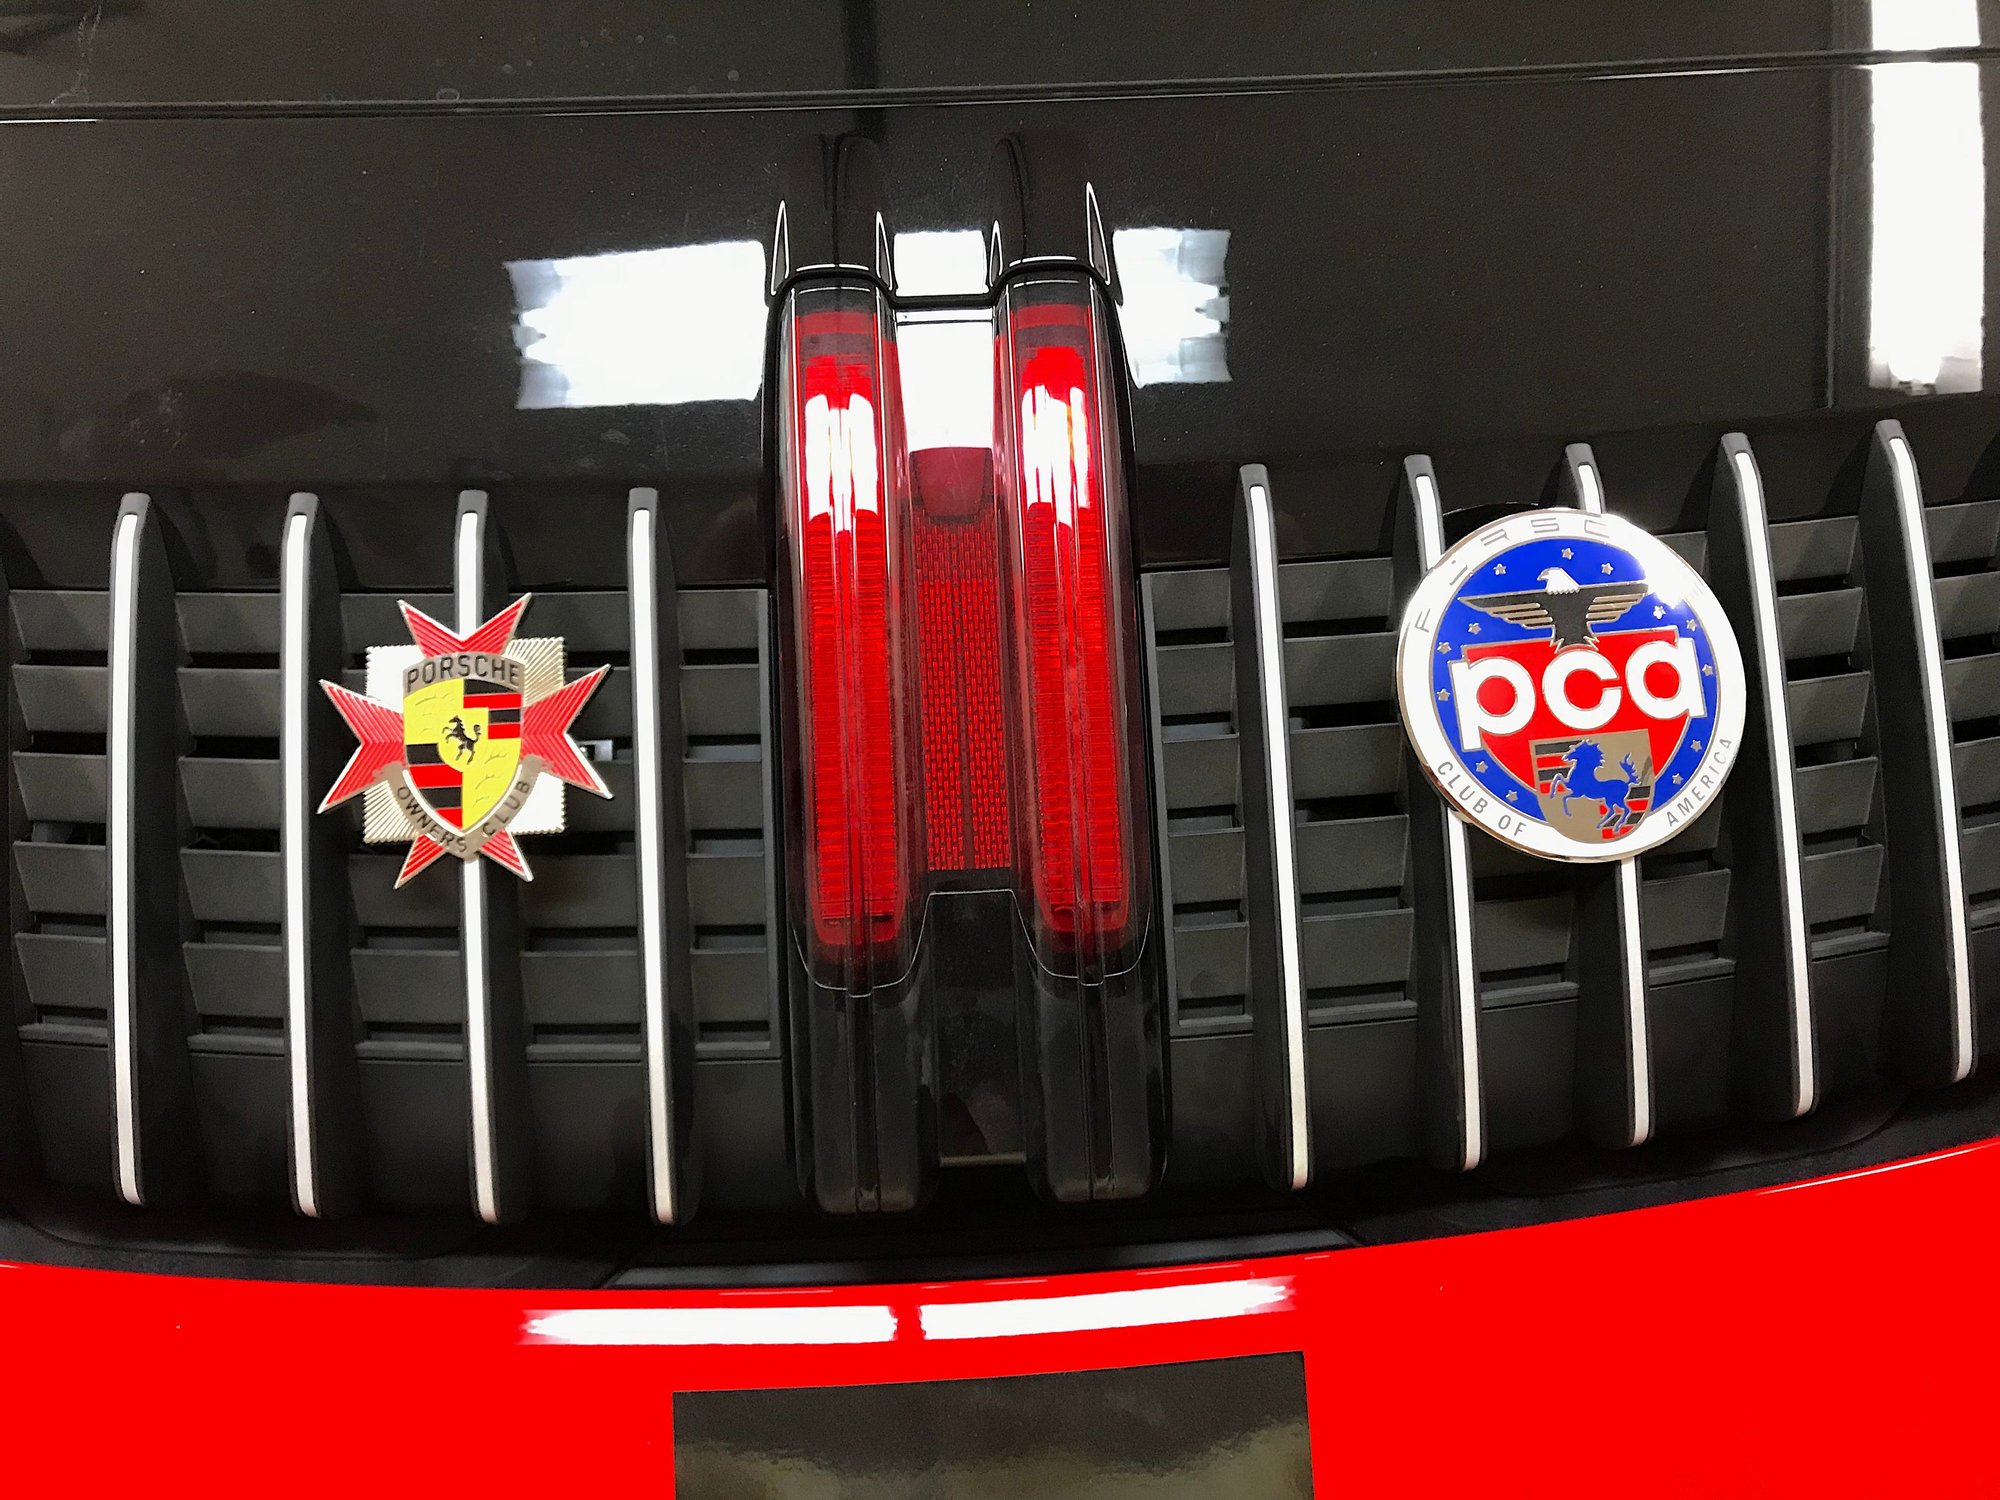
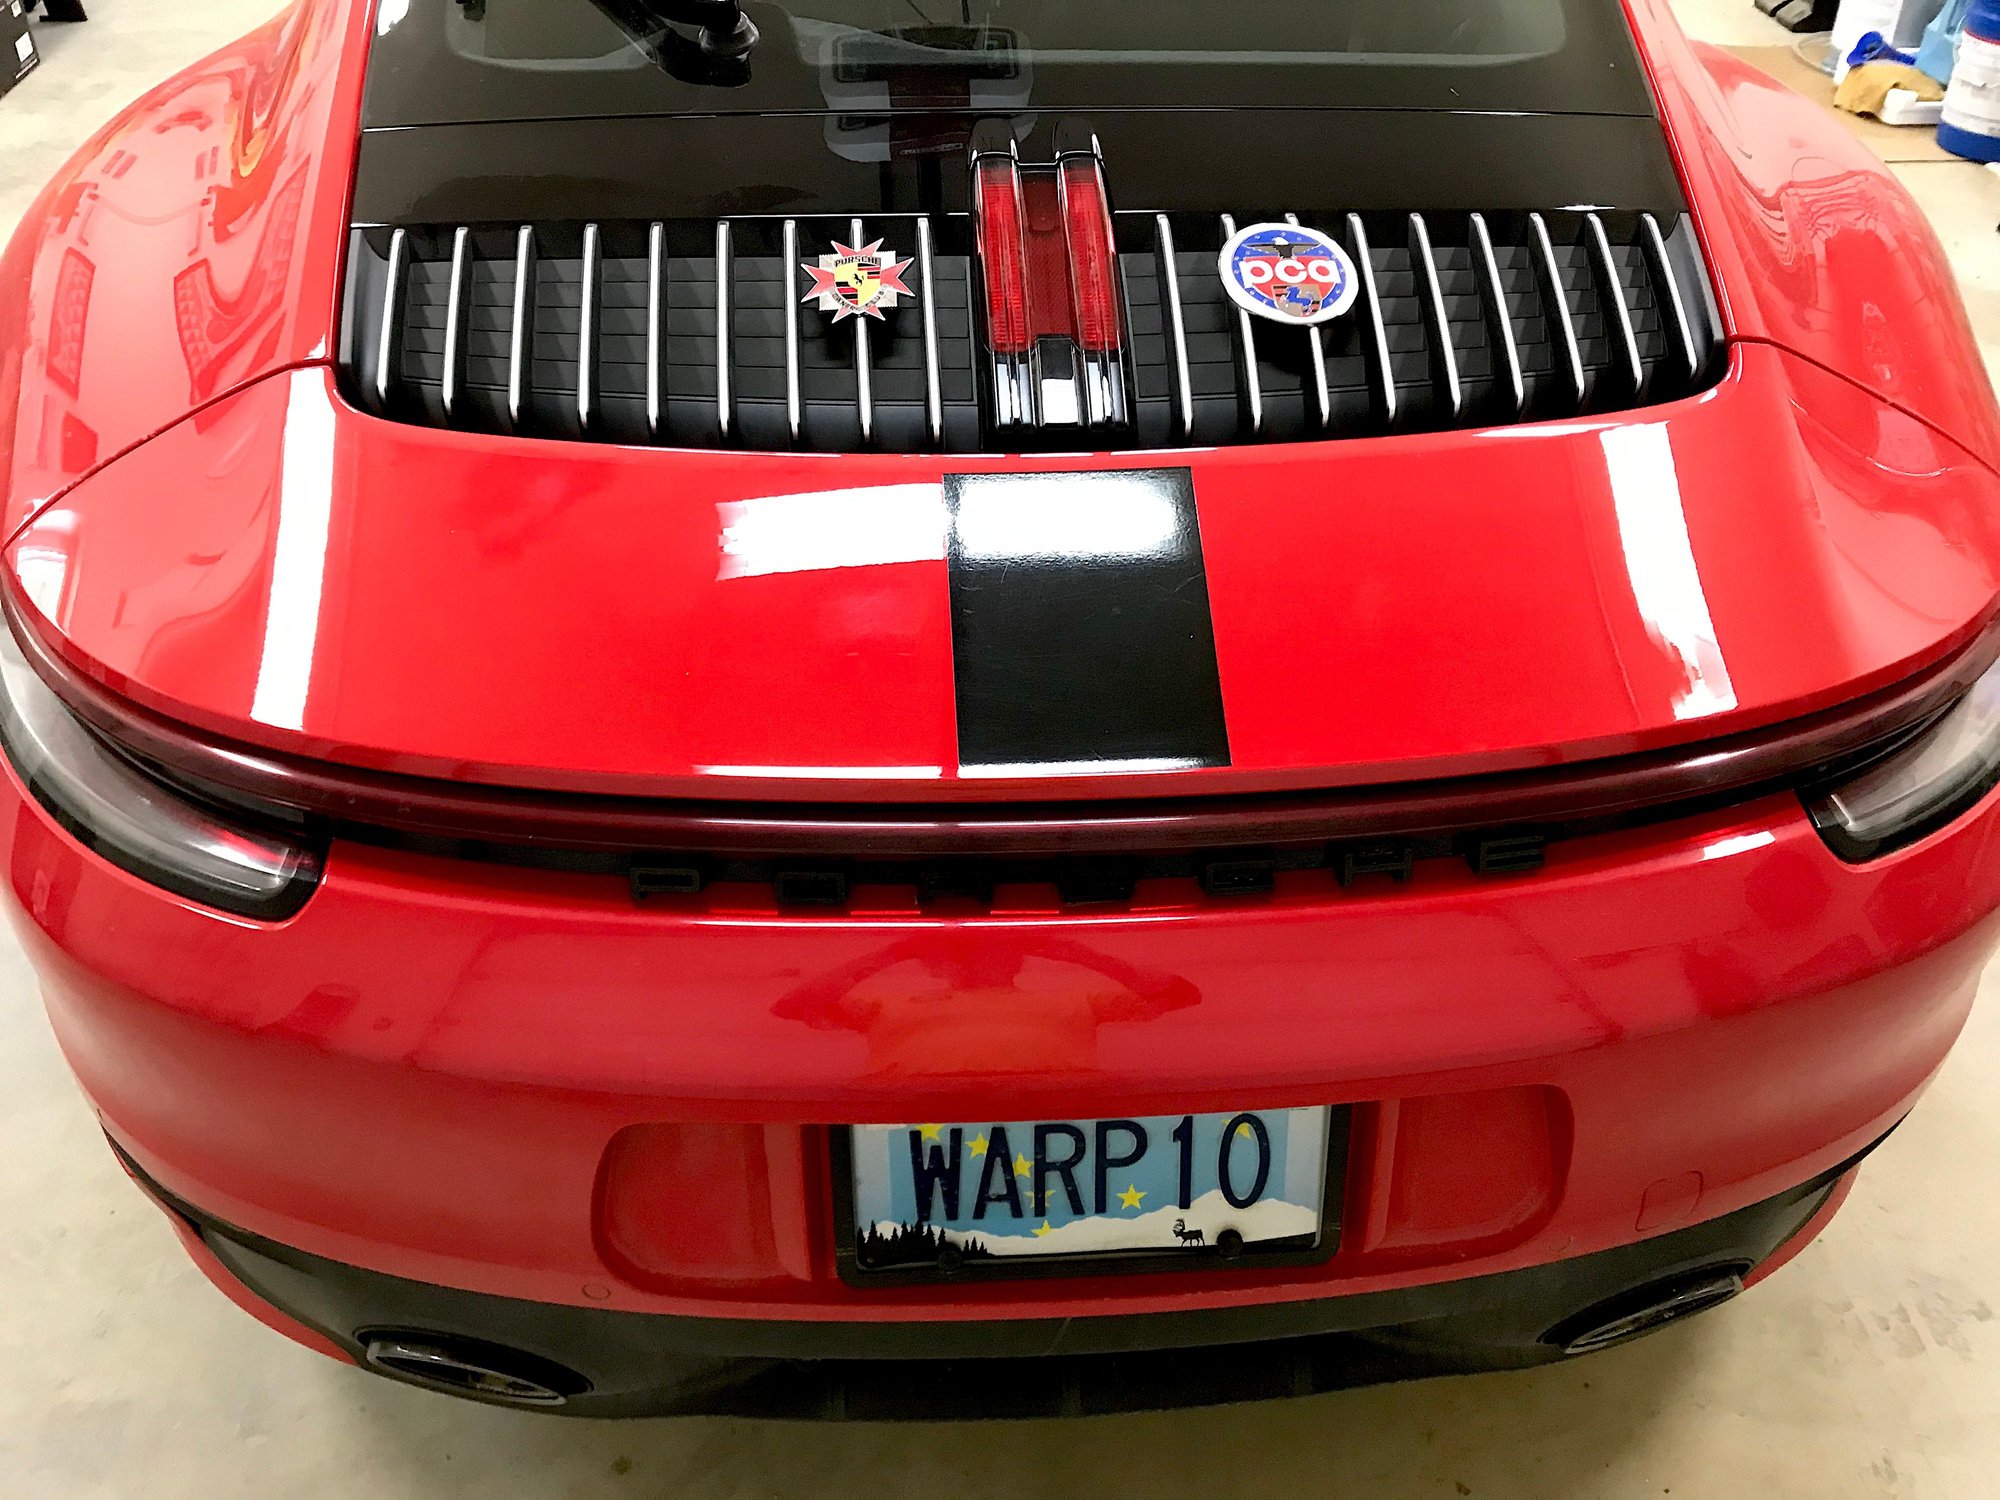
Thank you. I pondered long and hard to balance the PCA badge.
Many different ones are available (Etsy, eBay...) but though I was at Le Mans in 69 and 70 my 992 is not a 917 nor, other than plain idolatry, doesn't really pluck anything presently on my 992.
Vestiges of past trips in the Alps (we lived in Switzerland for 19 years) are cute but are a distant remembrance of my (very leaky) '70 911 Targa ...
As to the 356 badges yes, I had a 64 SC but not really relevant anymore other than to remind me how much time has elapsed since.
So this struck a relevant chord; the color match was a bonus!
One of my Siberians helped by nearly making me drop the securing nut. Finger tighten and a smidge more with pliers. Do NOT bend the retaining plate!
siberian
Siberian very very nice. I have a Martini Racing one waiting to mount but I still don't understand how they mount. I have two screws and nuts and mounting holes but a DITY of pics of how to do so would REALLY help me here gents. Please advise.
OK, so you have two holes on the back of the shield as well as two threaded screws at both ends, one backing plate and two nuts.
You place the screws onto the shield till snug. You then thread them through the louvers depending on where you want to align them.
Once that's done, there's a backing plate you slip onto the two protruding screws and then finger tighten plus a "scoche" the two nuts onto the backing plate.
Alternative, you spring me a space available and I'll come over to Hickam and do it as we share some poke. PM me if you have any more questions. Aloha from 65 North
I still don't understand how they mount. I have two screws and nuts and mounting holes but a DITY of pics of how to do so would REALLY help me here gents. Please advise.
You will discover that the openings through the grill are not exactly evenly spaced. Using your badge as a guide, hunt and peck (as it were) to find a set of openings that match the spacing of the badge retaining screws. With the retaining plate on one side of the grill and the badge on the outside, feed the retaining screws through the grill and tighten when the badge is best positioned to your liking within the limits that the openings in the grille allow.
.
OK, so you have two holes on the back of the shield as well as two threaded screws at both ends, one backing plate and two nuts.
You place the screws onto the shield till snug. You then thread them through the louvers depending on where you want to align them.
Once that's done, there's a backing plate you slip onto the two protruding screws and then finger tighten plus a "scoche" the two nuts onto the backing plate.
Alternative, you spring me a space available and I'll come over to Hickam and do it as we share some poke. PM me if you have any more questions. Aloha from 65 North
siberian
Like your alternative but probably not the most feasible option. I am headed to the East Coast next month with change of domiciles permanently but it is tempting.
Hmm don't think I have the backing plates...this is all I got from Suncoast. Am I missing something?
Yes, you�re missing the backing plate. Actually a strip that�s about an inch wide and as long as the diameter of the badge. It�ll have two holes that line up with the holes in the badge.
OK so you need to make or get a backing plate. I'll forward some pics tomorrow. Any chance you're flying to the East Coast via Eielson?
siberian
No am shipping the car to West Coast then driving to East Coast next month. Should be fun.
Originally Posted by Bluehighways
Yes, you�re missing the backing plate. Actually a strip that�s about an inch wide and as long as the diameter of the badge. It�ll have two holes that line up with the holes in the badge.
Copy if you have a pic of one send or part number also.
Originally Posted by siberian
The kit from Suncoast won't work. I'll send pics tomorrow of what you need. If I have it in my toolbox I'll send it over.
siberian
Yes let me know...was curious as to how it mounted and thought I was missing something or some part. No backing plate was sent correct with my order.
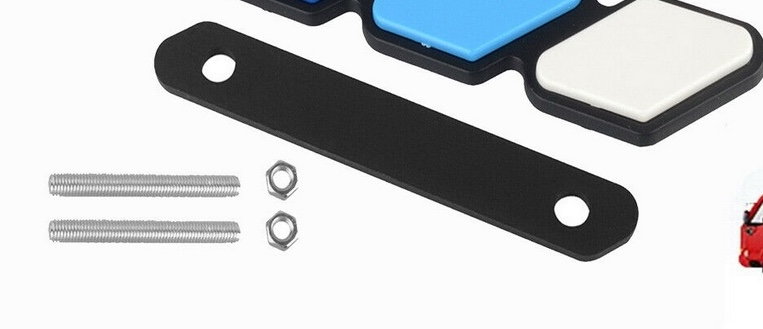
OK so this is the best picture I could find. In my case there isn't a hole it's actually two posts on the back of the badge that the studs fit onto. Forget the colored items, this is what came with mine IHIH.
You may have something similar in your treasure box such as part of a gauge bracket where you could cut off the legs and drill a couple of holes to fit the studs. Might want to use some spacers as well.
Safe travels and holler if we can be of further help.
Yes let me know...was curious as to how it mounted and thought I was missing something or some part. No backing plate was sent correct with my order.
@mdrobc1213 ,so having spent some time reflecting on this, I believe the way this is meant to be mounted is as follows:
1) Open engine compartment
2) Place washer on long screw
3) Push screws (one at a time) from the bottom through plastic slats where you want to mount it. Either temporarily thread it on the badge while you futz with the second screw or use a clothespin to prevent screw from slipping back out
4) Thread the screws onto badge using a deep socket and turn it manually until snug then just a "scoche" beyond.
So in this case you're working from the bottom up rather than top down. The only thing I don't like about that set up is the fact that unless the screw is the correct length as it makes it's way through you'll either need to add more washers or cut the screw with a Dremel to avoid it protruding through the top of the badge. Of course if it's too short, you'll have to take a trip the the hardware store and get a longer one.

 07-12-2022, 02:21 AM