When you click on links to various merchants on this site and make a purchase, this can result in this site earning a commission. Affiliate programs and affiliations include, but are not limited to, the eBay Partner Network.
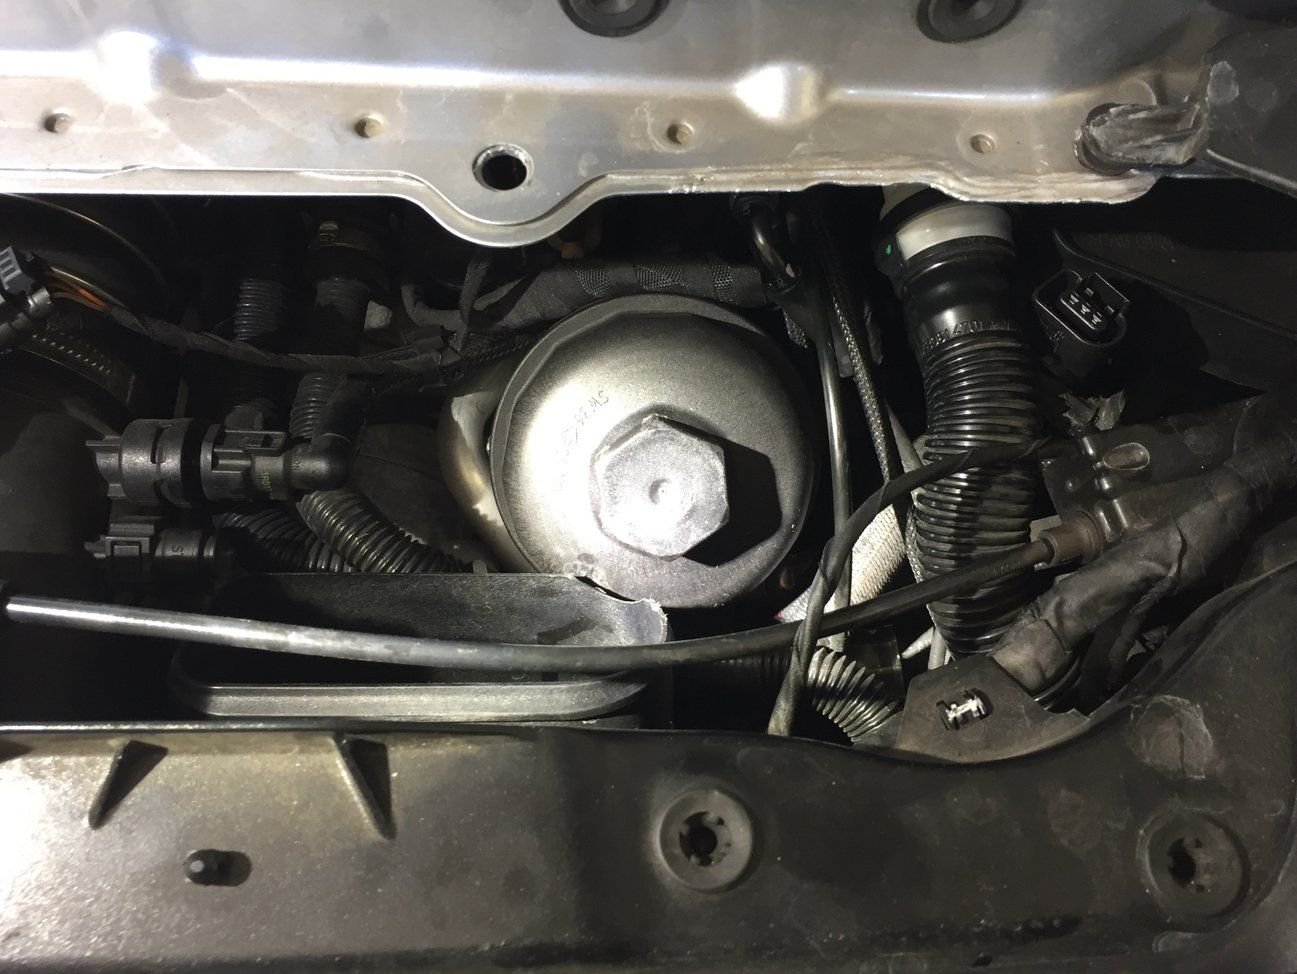
Yes, same on my fairly early production (August) 2017 991.2. Based on the herculean effort it requires for me to get the oil filter cap past the plastic down pipe, and the absence of same being reported by other DIYers, I theorize there was a running change introduced in the down pipe to allow more clearance. Mine is quite a rodeo.
I have the semi-circular cut out in exactly the same place, except mine looks slightly chewed on by a beaver as well.
Last edited by Rich_Jenkins; 06-28-2021 at 11:16 AM.
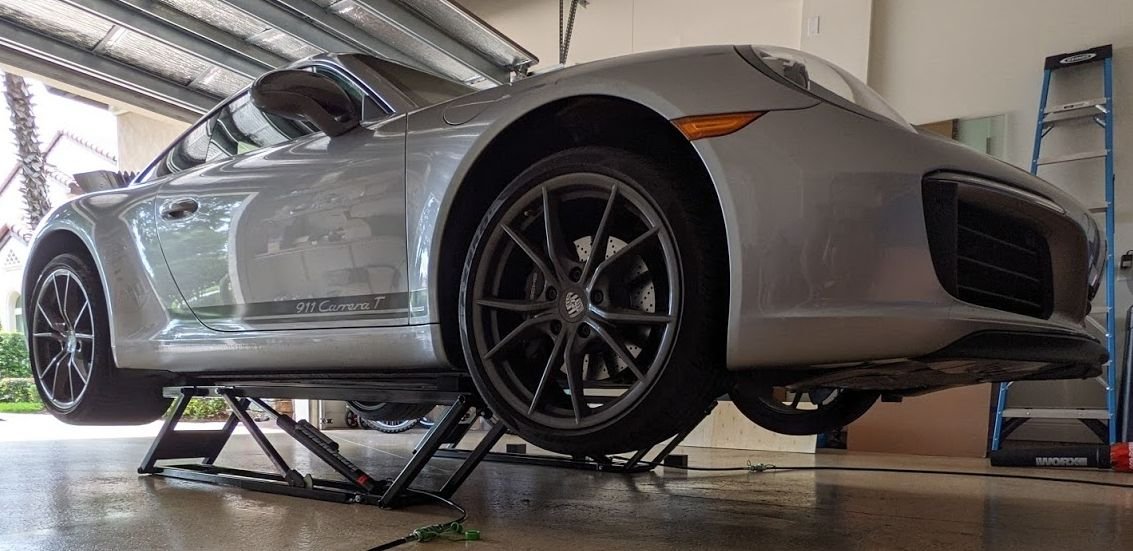
Thanks for this thread. Did my first 991.2 oil change using the collective wisdom presented here with some modifications and feedback below:
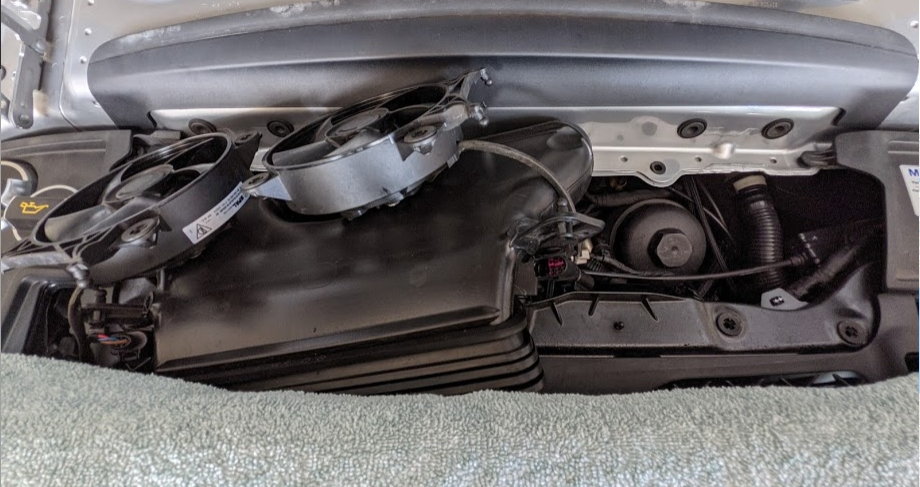
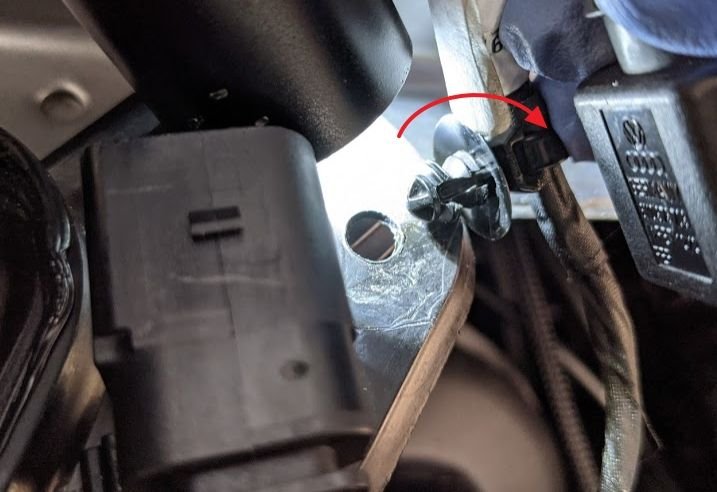
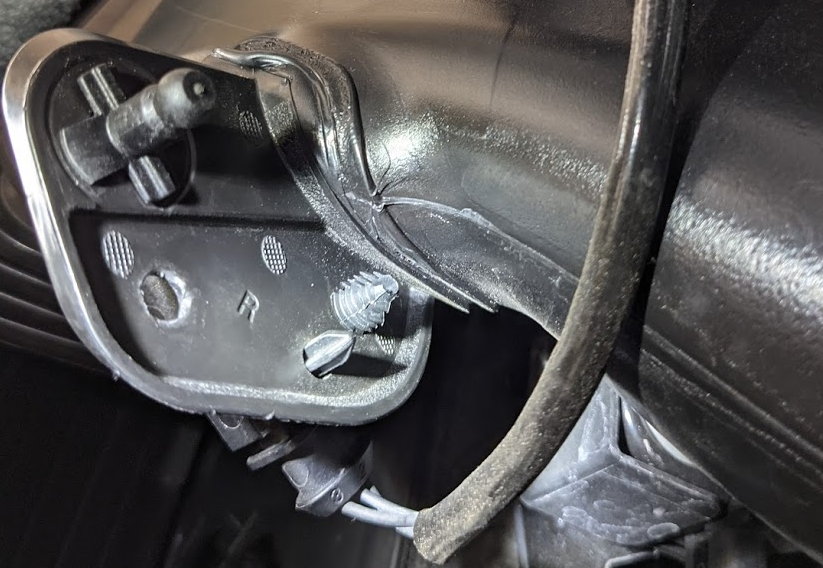
Only disconnected the right (US-passenger) fan. Left the female end of that fan's connector attached to the intake. Used an outward tilt of the mount for the wire of the male end of the connector to free it from the intake (at first I tested a trim tool to lift it straight up but hit resistance, then I tried the socket pressed from the bottom idea to no avail, finally I lifted the intake enough to look at the back side).
Shifting the intake and 2 fans to the left provided ample room to work on the filter housing. Preferred keeping the spoiler up so the workspace had more exposed plastic surfaces than painted metal ones.
Drained on Quick Jacks for 1hr. Added 8.5qt. Readout says 3/4 to the Max line.
For people like me who've never opened this trunk compartment before: At first I stupidly pressed on the plastic vents on top of the lid to close it but then I realized I should be pressing on the metal lateral sections instead.
Question: On my E39 M5 the housing is similar and on that car I routinely pour some fresh oil there before capping the filter housing. Any need for that here to prevent wear on the first startup?
Question: On my E39 M5 the housing is similar and on that car I routinely pour some fresh oil there before capping the filter housing. Any need for that here to prevent wear on the first startup?
Same here on my E46 ZHP.
I do not think you are hurting anything, but there's a considerable amount of oil that remains in these cars after a drain. Exactly how much, in the .2 engine, I'm not sure. But the Factory Service Manual for the .1 lists "Filling capacity after disassembling engine" as 10.1 liters (ref section WM170155, page 434). I would guess the turbo engine would be similar. FWIW the next section on the actual oil change doesn't mention anything about putting a small amount of oil in the reservoir prior to inserting the new filter and screwing the cap on.
I get lambasted every time I say this but I actually added 9.3 qts of oil on my first oil change. And this was after initially adding 7.5, driving about 15-20 minutes, then adding a bit more after following the on screen prompts. My oil gauge reading sits perfectly near the top line of the max fill line, just like it did before the oil change. And I checked it again a few weeks later. The only thing that I can think of that caused my car to allow that much oil was letting it drain while on an incline with the rear wheels elevated on race ramps. Nonetheless, everyone freaks out when I say how much oil I added but it is what it is.
I have an interesting side-take on this. Our car has only had the engine lid opened a few times (car just turned 25,000 miles). I changed the oil once; other services at the dealer. The service rep texted me to say the struts were weak; should they change them? (Tab a bit over $360.) I declined. When I got the car home...guess what? For sure that silly little lid will not stay up! How can these silly little struts that are supposed to hold up the silly little engine lid fail after so few times being used?
............ How can these silly little struts that are supposed to hold up the silly little engine lid fail after so few times being used?
They fail due to the seals drying out, from lack of use. When you open the lid the oil in the strut baths the seal keeping it from leaking the pressurized gas.
So open your lid every now and then to make your struts last longer
They fail due to the seals drying out, from lack of use. When you open the lid the oil in the strut baths the seal keeping it from leaking the pressurized gas.
So open your lid every now and then to make your struts last longer
Heat from the engine also kills them. In my Ferrari I covered them in a heat sleeve and that helped them last longer.
I have an interesting side-take on this. Our car has only had the engine lid opened a few times (car just turned 25,000 miles). I changed the oil once; other services at the dealer. The service rep texted me to say the struts were weak; should they change them? (Tab a bit over $360.) I declined. When I got the car home...guess what? For sure that silly little lid will not stay up! How can these silly little struts that are supposed to hold up the silly little engine lid fail after so few times being used?
Up to you, that seems a little steep.
Coincidentally I just had the two replaced N/C under my OEM warranty on my '17 C2.
When I took mine in a couple weeks ago for this, the car did not take but 15 minutes to get back to me in the waiting room, so I can't imagine it is hugely difficult to pop off the old struts and install the new ones. At $360, I could believe they are charging you list price / OEM cost (maybe buck fifty) and an "hour" (shop rate) for the mechanic at $200 an hour to do a job the guy can do in five minutes.
Part was 991-512-551-21. FCP Euro has them as a kit of two for $84:
Hmmm. Given no obvious leaks, maybe if I open/close the lid many times they'll start working again . Lack of use makes sense. My go-to source for many years has been Evan and Jason at getPorscheparts.com (and while I still had BMWs, getBMWparts.com). They've helped me with some major purchases (eg., a complete wheel/tire set for our 991.2 Carrera sent from Germany to SoCal). They have them in stock; will order and DIY the job. My final thought? Back in the good old days when we had oil dipsticks "lack of use" for an engine lid would never have happened.
Hmmm. Given no obvious leaks, maybe if I open/close the lid many times they'll start working again . Lack of use makes sense. My go-to source for many years has been Evan and Jason at getPorscheparts.com (and while I still had BMWs, getBMWparts.com). They've helped me with some major purchases (eg., a complete wheel/tire set for our 991.2 Carrera sent from Germany to SoCal). They have them in stock; will order and DIY the job. My final thought? Back in the good old days when we had oil dipsticks "lack of use" for an engine lid would never have happened.
Check your coolant level once per month. That will exercise the lid.

 06-27-2021 | 09:35 PM


 . Lack of use makes sense. My go-to source for many years has been Evan and Jason at getPorscheparts.com (and while I still had BMWs, getBMWparts.com). They've helped me with some major purchases (eg., a complete wheel/tire set for our 991.2 Carrera sent from Germany to SoCal). They have them in stock; will order and DIY the job. My final thought? Back in the good old days when we had oil dipsticks "lack of use" for an engine lid would never have happened.