When you click on links to various merchants on this site and make a purchase, this can result in this site earning a commission. Affiliate programs and affiliations include, but are not limited to, the eBay Partner Network.
Paint Code/Color for Carrera S Wheels (Bright Silver Paint)
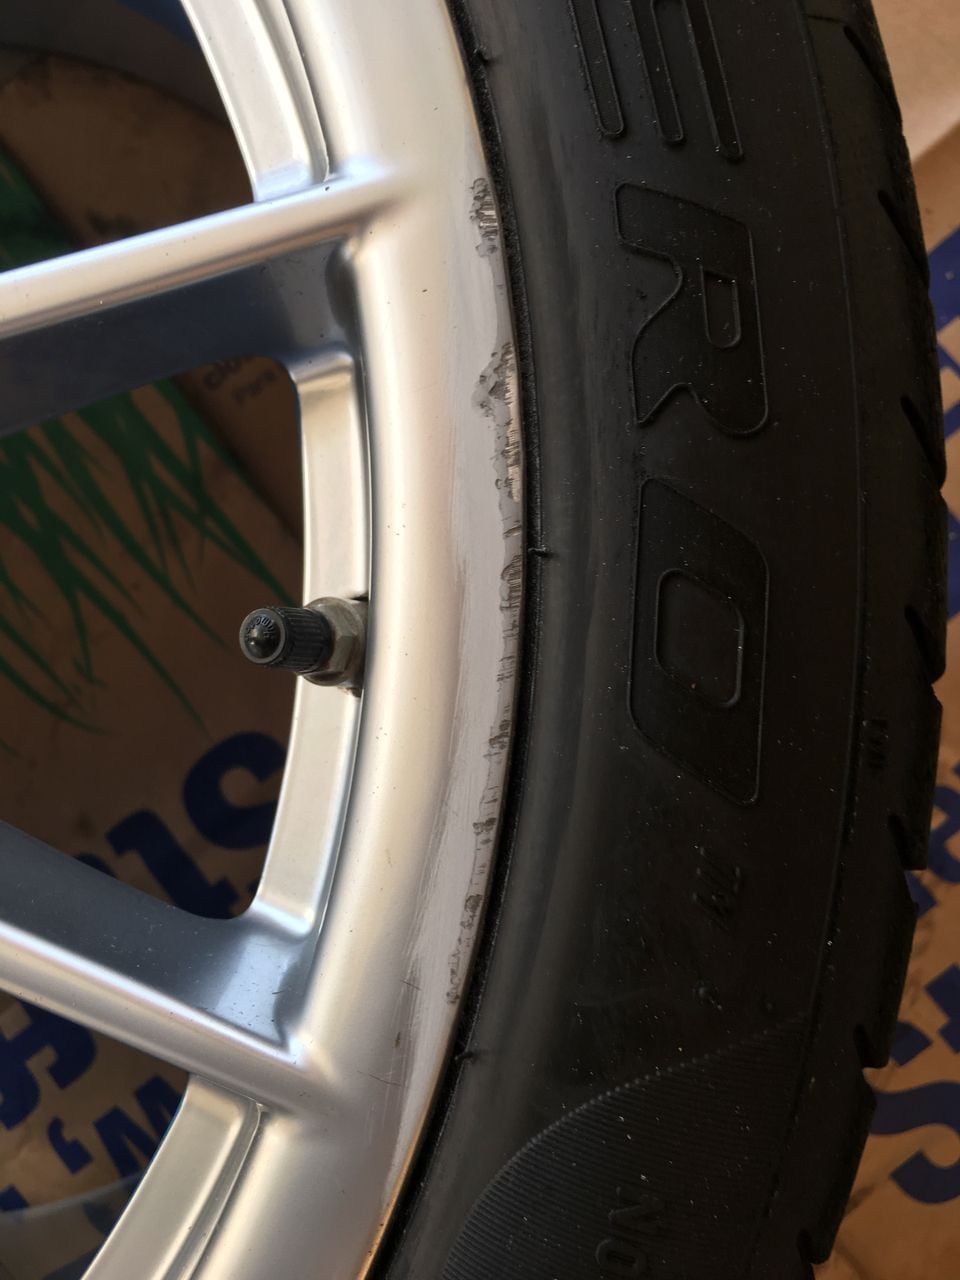
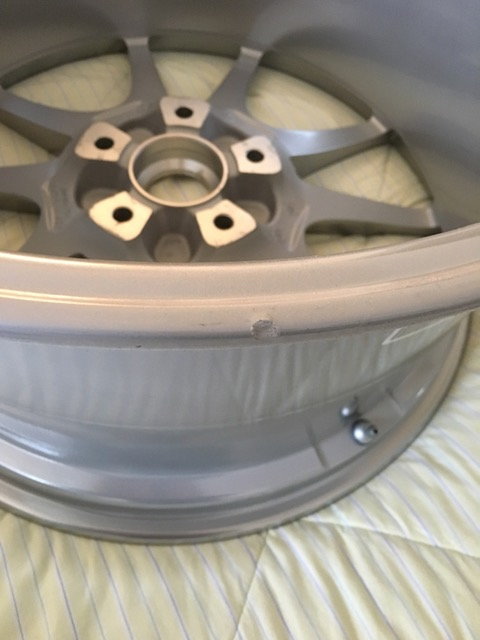
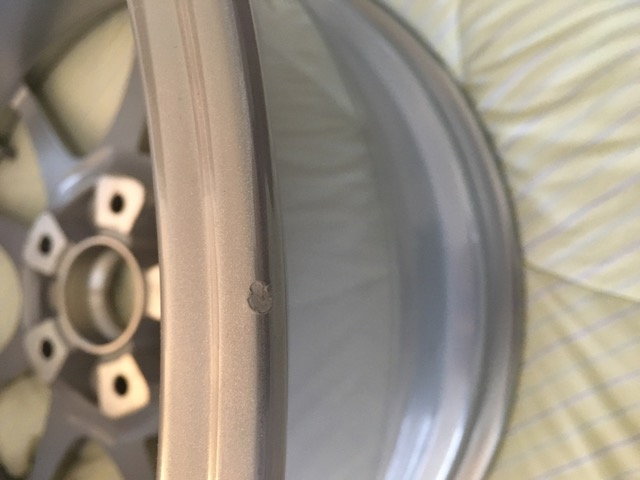
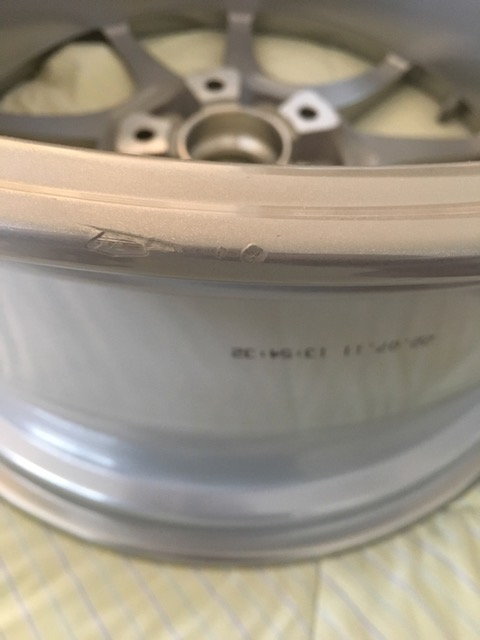
I picked up a set of new Carrera S take offs for a good price. One of the rear wheels, on the inside lip, has minor damage from the machine that was used to remove the tire. The rest of the wheel, and the other 3 wheels, are otherwise perfect. I could leave the wheel as-is since it is cosmetic and on the inside of the wheel, but I am VERY PICKY about things so I am going to repair the wheel. I have the skills and equipment to make the repair myself, but I am coming up short on the color code of the bright silver paint on the wheel. I have heard it could be Arctic Silver or GT Silver, but have found nothing definitive. If anyone can help I'd appreciate any info. Thanks
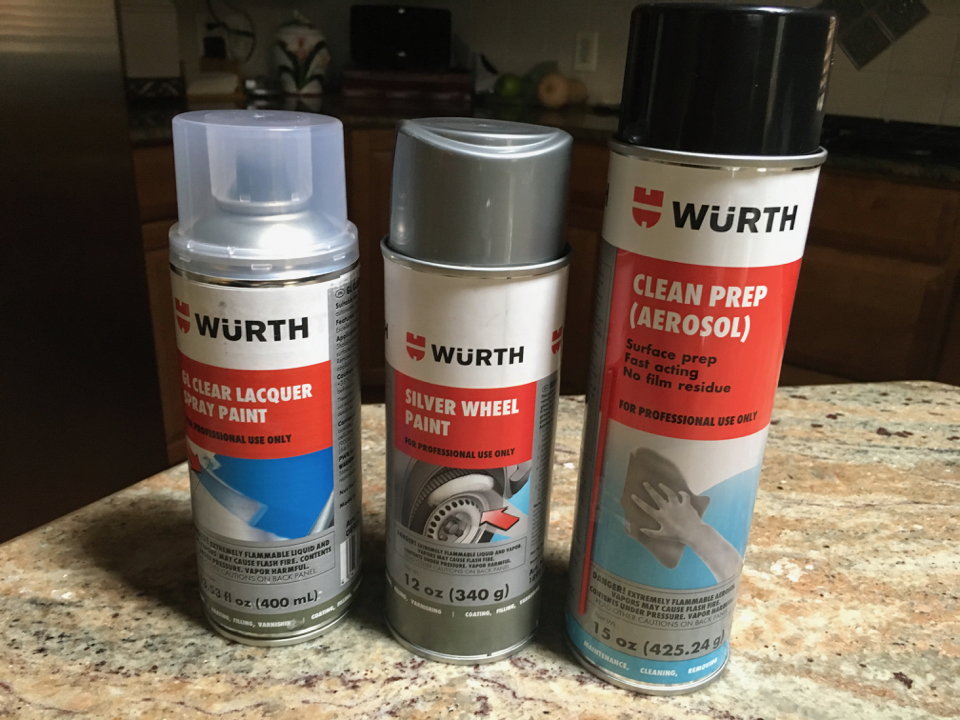
My car also came with some curb rash on the back right that I just fixed up using the Wurth paint set. I personally think it came out a little more metallic than the rest of the wheel, but you'd be hard pressed to notice unless you specifically look for it. If you truly want a 100% match this isn't it due to the flakes being a tiny bit larger, but I think it made the rash 99% disappear.
If you use this, be careful with the clear coat. It is sort of thick and will quickly build up and sag. I had to sand down and repaint part of my fix. Even then I did it again, gah!, but this one was subtle enough I gave up and left it. Also FYI, the clear coat goes on looking milky, but turns clear as it dries. (That scared me at first!)
Here are some photos, I forgot to take the first one until I had started sanding. If you look carefully you can see where the metal flakes change even though I tried my best to fade in a blend.
Curb rash after initial sanding just to flatten
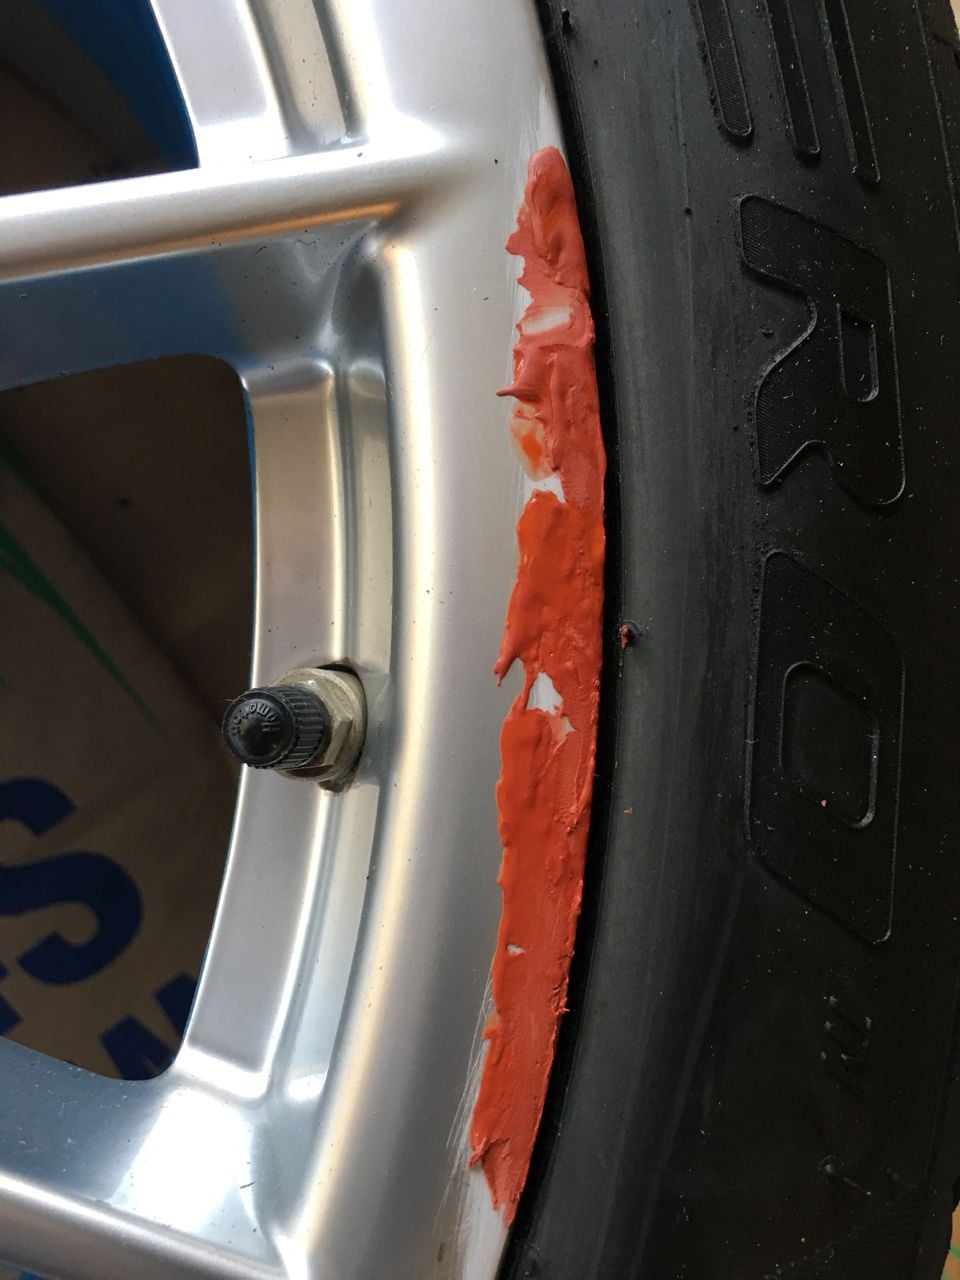
Bondo Spot Putty
Sanded putty. I think I did one other tiny putty fix-up after this photo but forget to take a picture.
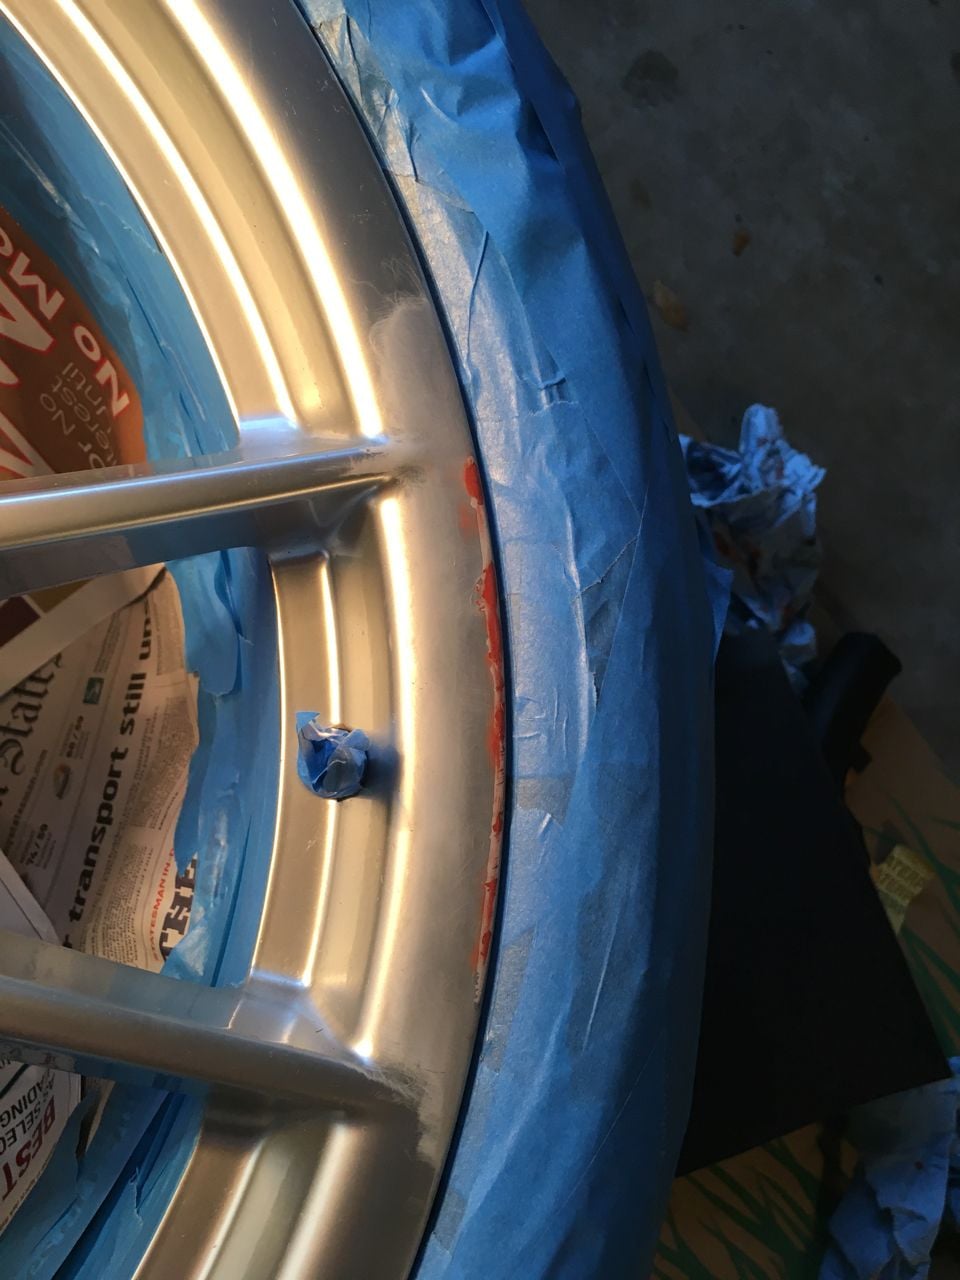
Before clear coats. There is also some silver overspray dry dust on the left of the spoke but that wiped off after that coat was fully dried.
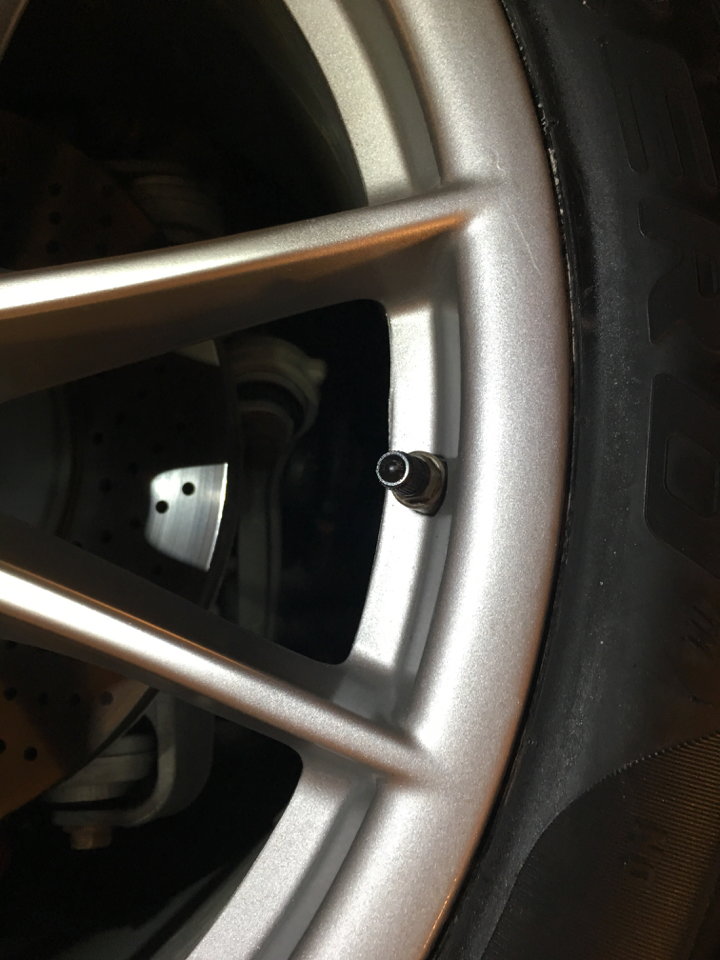
Final (sag by upper spoke, I may sand it down carefully sometime if it bugs me enough but I seem to be the only one to see it at a casual glance
Well....looks like there are 3 variants of Arctic Silver, 92T/L92U/X1. Anyone know which is correct for later manufacture date wheels? Guess I can always take the wheel to the PPG automotive paint supply store and match to their chips, but knowing the correct code is best.
See attached pics for what I'm going to repair; 3 separate areas. I'll be using an epoxy filler for the gouges, primer with hardener, Arctic Silver base coat, and clear coat with hardener, followed by buffing.
My car also came with some curb rash on the back right that I just fixed up using the Wurth paint set. I personally think it came out a little more metallic than the rest of the wheel, but you'd be hard pressed to notice unless you specifically look for it. If you truly want a 100% match this isn't it due to the flakes being a tiny bit larger, but I think it made the rash 99% disappear.
If you use this, be careful with the clear coat. It is sort of thick and will quickly build up and sag. I had to sand down and repaint part of my fix. Even then I did it again, gah!, but this one was subtle enough I gave up and left it. Also FYI, the clear coat goes on looking milky, but turns clear as it dries. (That scared me at first!)
Here are some photos, I forgot to take the first one until I had started sanding. If you look carefully you can see where the metal flakes change even though I tried my best to fade in a blend.
For the relatively small dings you are fixing, a possible technique to consider is to cut a hole a bit larger than the repair in a piece of stiff paper, then hold it a couple of inches from your target and shoot the spray through that from about a foot away. The clear coat will then need a slightly larger hole to cover this metallic. This will reduce overspray significantly yet still give you a soft blended edge. I did that on another repair on a prior car and it turned out well.
Kudo's to my dad for his sage advice on that one (and many others).
Also FYI, when I had my wing sprayed on my prior car they also produced the three arctic silvers and we compared them. Two are very close, one has a hint of a blue. So your choice is important, I think you'd be fine with two of them but certainly not the third (or vice-versa). If you can't find out, I'd just recommend the most common one, the paint shop mentioned something about the blue one being more rarely used.
Thanks for the tip. I'll either do that or mask barely outside of the repair area and shoot the base, and then mask just outside of that and shoot the clear. After the clear has set decide if I'll leave as is or wet sand with 1500/2000 and buff. I learned a long time ago that the smallest repair area possible is best when blending a small area. I'll be using an airbrush so controlling the spray in a small area is pretty easy.
I'll be on the lookout for the 'blue' Arctic Silver and make sure I avoid it. I'm going to take my wheel to the PPG dealer and use his color cards to match the paint. Doesn't matter so much with this repair because of where it is, but in the future if I ever need to repair the front side I want the correct base.
After reading your last post, I just realized that the damage you are fixing is on the inside of the wheel (and it was staring me right in the face, duh!). I would suggest that you not bother... and I'm fairly OCD about these things myself. The inside rim on the OEM BBS-made Carrera S III wheels come from the factory looking pretty much unfinished, so you are already ahead of the game.
After reading your last post, I just realized that the damage you are fixing is on the inside of the wheel (and it was staring me right in the face, duh!). I would suggest that you not bother... and I'm fairly OCD about these things myself. The inside rim on the OEM BBS-made Carrera S III wheels come from the factory looking pretty much unfinished, so you are already ahead of the game.
Guess I'm a little more OCD than you are
I debated fixing/not fixing because as you point out the damage is very minor, but while there's nothing mounted to the rim now is the time to do it. Won't take a lot of time and in the end it will look as if nothing ever happened.
youre basically filling chips. I would sand them out harshly with maybe 180 or 220, fill w/ any filler/bondo. Block smooth with 220, prime, use spray cans, block, with 320, prime. sand w/ 600, base, c/c
use very small amounts and keep small areas. very small amount of thin clear. dont mask any areas, youll have lines on every tape spot, just mask the whole barrel in the middle


 01-06-2017, 01:23 PM