When you click on links to various merchants on this site and make a purchase, this can result in this site earning a commission. Affiliate programs and affiliations include, but are not limited to, the eBay Partner Network.
Ok i'm tired of hearing my doors vibrate with the music so I'm going to remove the door panels and check all the fasteners and probably add some sound deadening (or something) here and there to try to stop this.
Since my vibration goes away with slight pressure on the top of the door panel I might just add a piece of foam weather stripping (maybe 1/2" open cell material) to fill the void from behind.
I have the same vibration/buzzing noise in both doors so hope the fix translates.
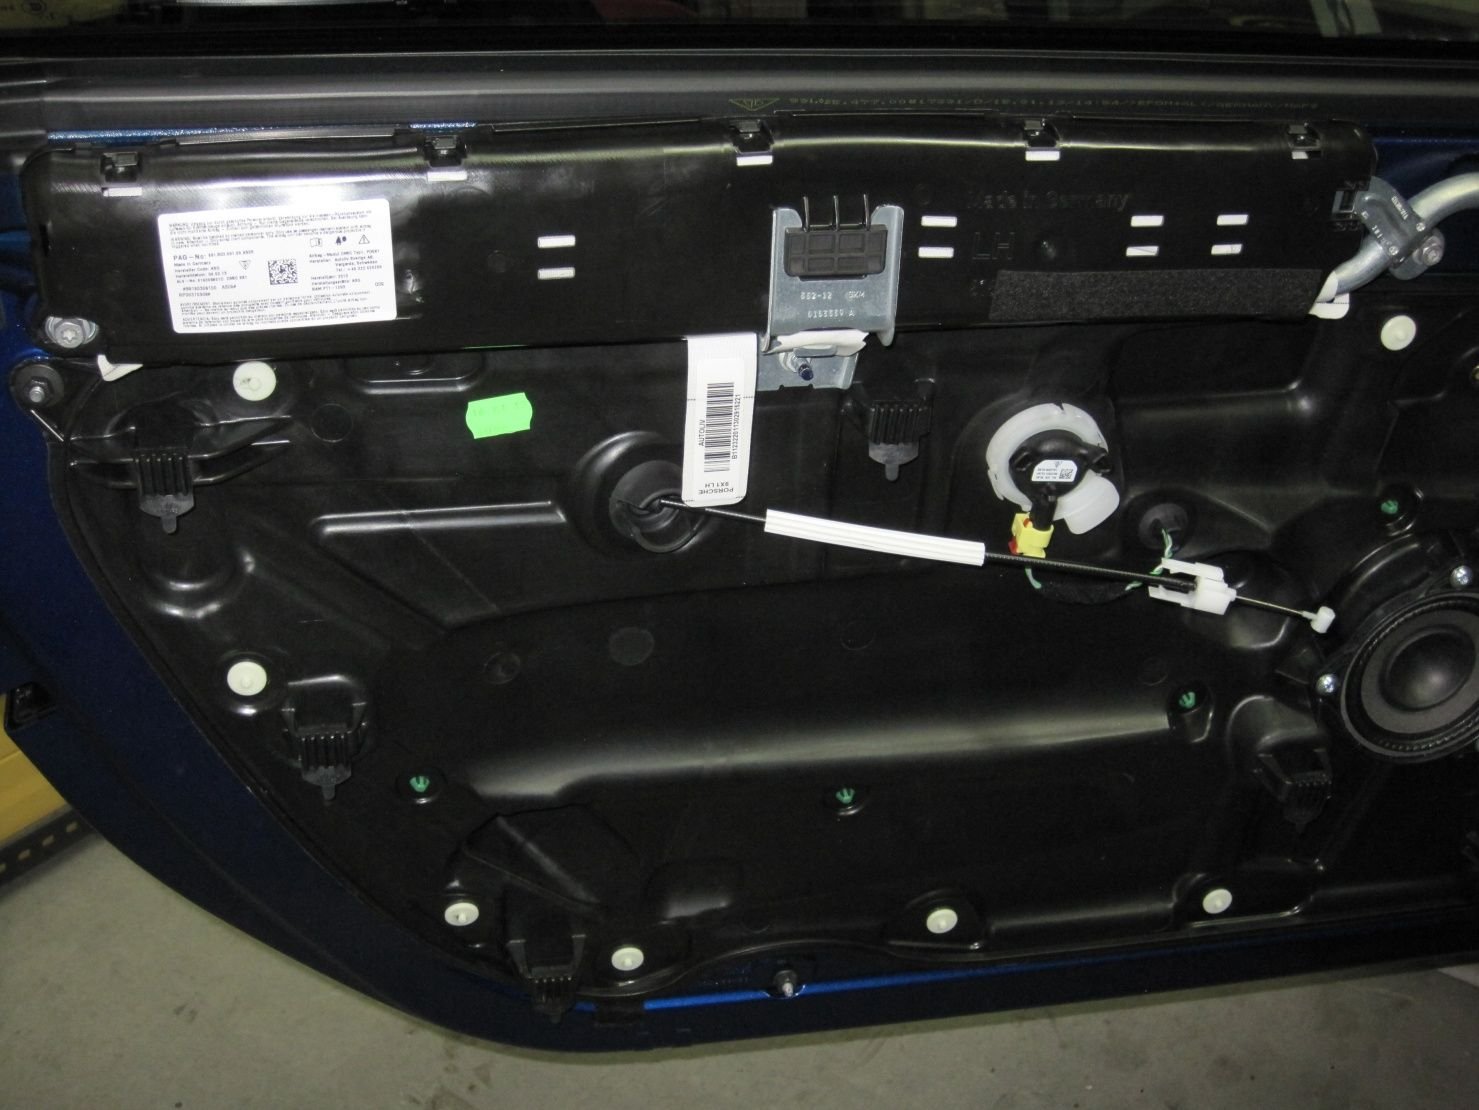
I've searched and read some DIY's but I would love to see if anyone has a good picture of what the back side of the door panel looks like.
Well, I don't have a pic on-hand at the moment, so perhaps someone else will post up for us. But two things- first the panel in the Cayman is nearly identical if I recall, so you can rely on that if nothing else. Second, I do have the WM's covering removal and installation of the panel and related trim so if you need any details to go with the pic just let me know. And yes, I've had my panels off, more than once! Lol.
The air bag assembly that runs across the door, is there a plastic flap that covers that up in this picture? In looking at that this picture from the DIY it might be the cause of my issues. My vibration sounds like a plastic bag in front of a woofer.
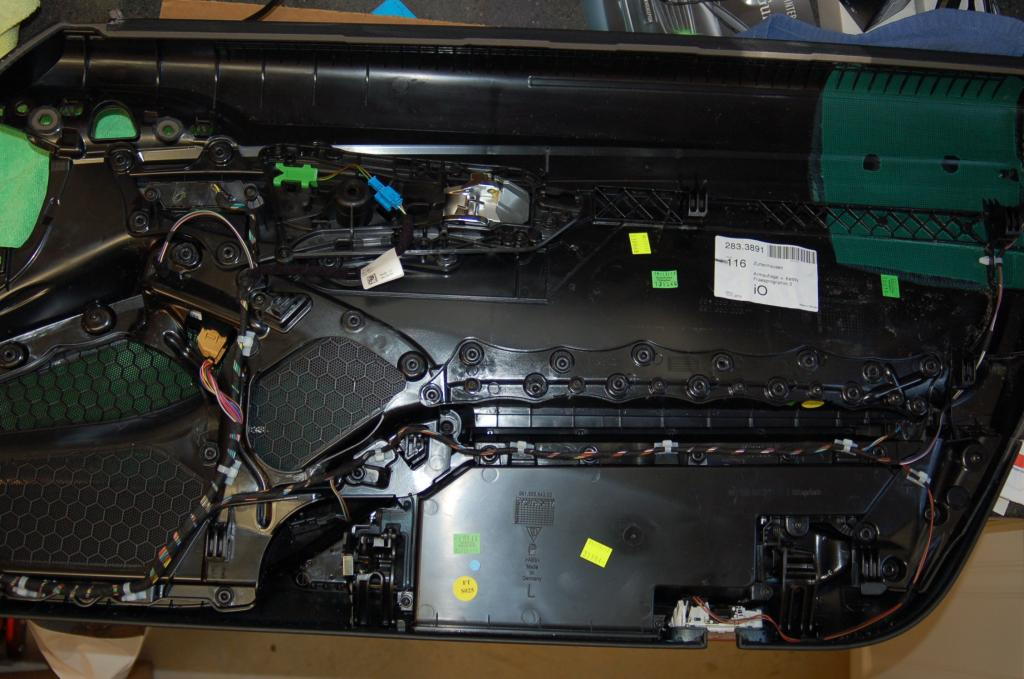
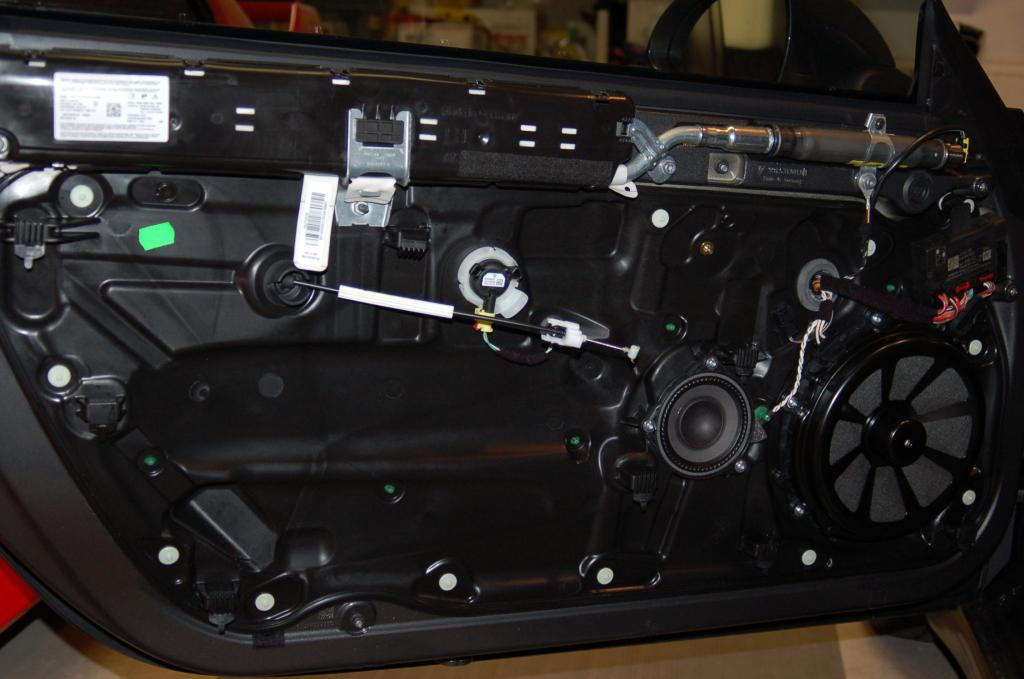
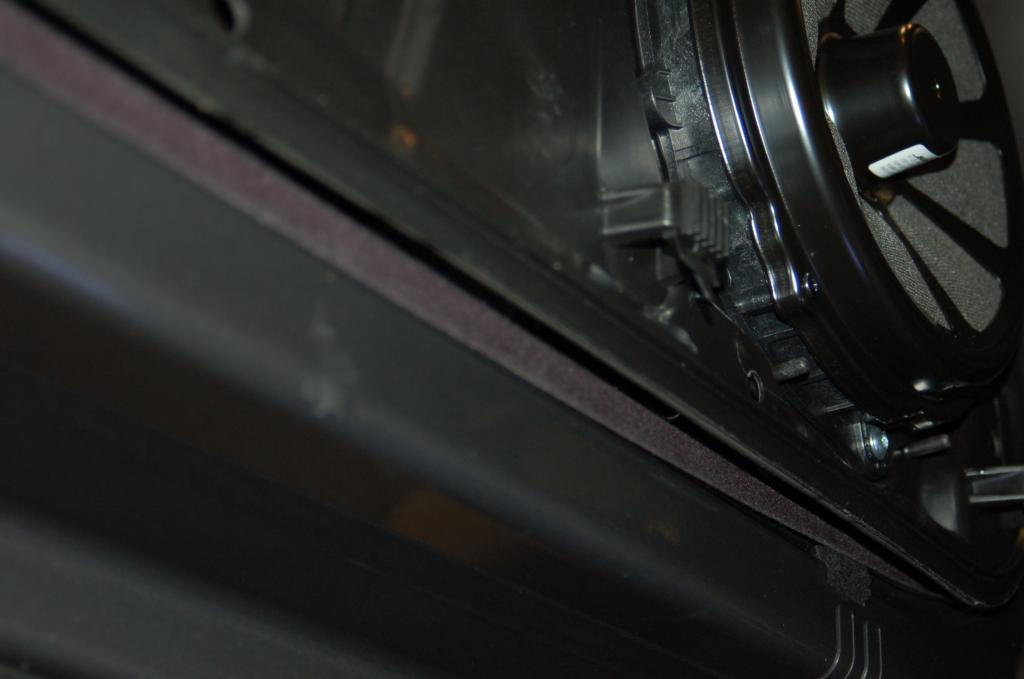
Here's a picture of the panel removed and of the door after removing the panel. You'll notice that there is a second panel left on the door. I had to place some felt strips under the second panel to quiet my door buzzing (third picture).
FWIW, I'll have a short vid posted today of the removal and install process for the door panel.... For those curious. Really is a very easy procedure to remove!
There's quite a bit going on behind the door card. No wonder there's so many vibration type issues with audio systems. I'll post up what I get into....especially if it stops my issues. I will probably go a bit over board while I have the door panel off. Might put something behind and around the speaker assembly to deaden the door a bit.
Originally Posted by plenum
FWIW, I'll have a short vid posted today of the removal and install process for the door panel.... For those curious. Really is a very easy procedure to remove!
Excellent and thanks in advance. It's these tidbits that give other DIY'er confidence in working on their own cars.
For those who like to see someone else do something rather than look at still pictures, I go step-by-step through removal and then re-installation of the driver-side interior trim panel on my own '14 C4S. Removal is very simple, should take you all of 15 minutes, 20 if you've never done anything like this before. Note that this is a good way to discover what might be causing rattles or other annoying noises, and you can access the speakers for upgrades, etc. However, I do not remove the sub-panel in this video. I will do that on a separate DIY.
Thanks!
PS: I'm not a professional - mechanic or vlogger - so apologies for the quality of the vid.
excellent video ...helps the newbies from breaking things!
I would suggest first covering all 4 trim piece surrounding areas ( esp the aft piece and below triangle piece ) with two -three layers of 2inch wide blue painters tape in case of a slip with the tool for first timers who usually use too much force ! Plastic trim tools can still score a surface irreversibly ! Always pry with fingertip/ wrist motion only , NEVER from the elbow / shoulder . Newbies are best to tuck their elbow firmly against their body when removing small trim ....to avoid disaster !
The four upper bolts are actually Torx ( " star " ) head and are size T30 ..if you are the type who would take on a project like this , your tool box is not complete without an inexpensive , widely available Torx head ratchet socket set from any larger hardware or home improvement big box store. Many, many bolts in cars are now Torx head since each head is sized by number which result in perfect driver seating in the head vs Philips head screws which are prone to stripping when loosening since many just grab any Philips from their tool box , even if too small or too large for a screw's " cross " , resulting in too loose a contact that strips/ reams out the cross or just the tip of a too big a driver that also gives same disastrous result !

 01-10-2016, 12:51 AM