When you click on links to various merchants on this site and make a purchase, this can result in this site earning a commission. Affiliate programs and affiliations include, but are not limited to, the eBay Partner Network.
My calipers were turning an odd shade of purple after a few years of track abuse so I decided to repaint them. I didn't want to paint them to pretend they were "big reds" and given that my car is silver and my wheels are black, no other color made sense to me so I painted them black. Below is my process and a bunch of pics. Upfront I made a few mistakes that just really irritated me and caused delays.
Mistakes:
1. I did not blow out all of the brake fluid in one caliper (brain fart) and it leaked out before I cured the paint. It immediately ate the paint for breakfast and I had to redo that portion on the back-side of the caliper. Note, you do not need anything more than your mouth and your air. Open the bleeder valves and blow into where the brakeline comes into the caliper (after totally clean). Easy but if you suck in, you'll be gargling some bad stuff...
2. I baked the calipers after the clear coat and the decals burned and yellowed. Temps were only around 200 degrees or so, so either I did not add enough clear coat or the decals were crap. I had to completely resand the face and purchase new (and hopefully better) decals. Note the finished product is not as good because I got impatient and there are imperfections now.
3. When installing tonight, I got brake cleaner on my not yet cured clear coat on the front portion of one of my rear calipers. I did not cure them this time on my grill and I paid for it. Honestly I do not know the right answer here. To cure or not to cure (on clear coat), that is the question. Note, absolutely cure the paint!
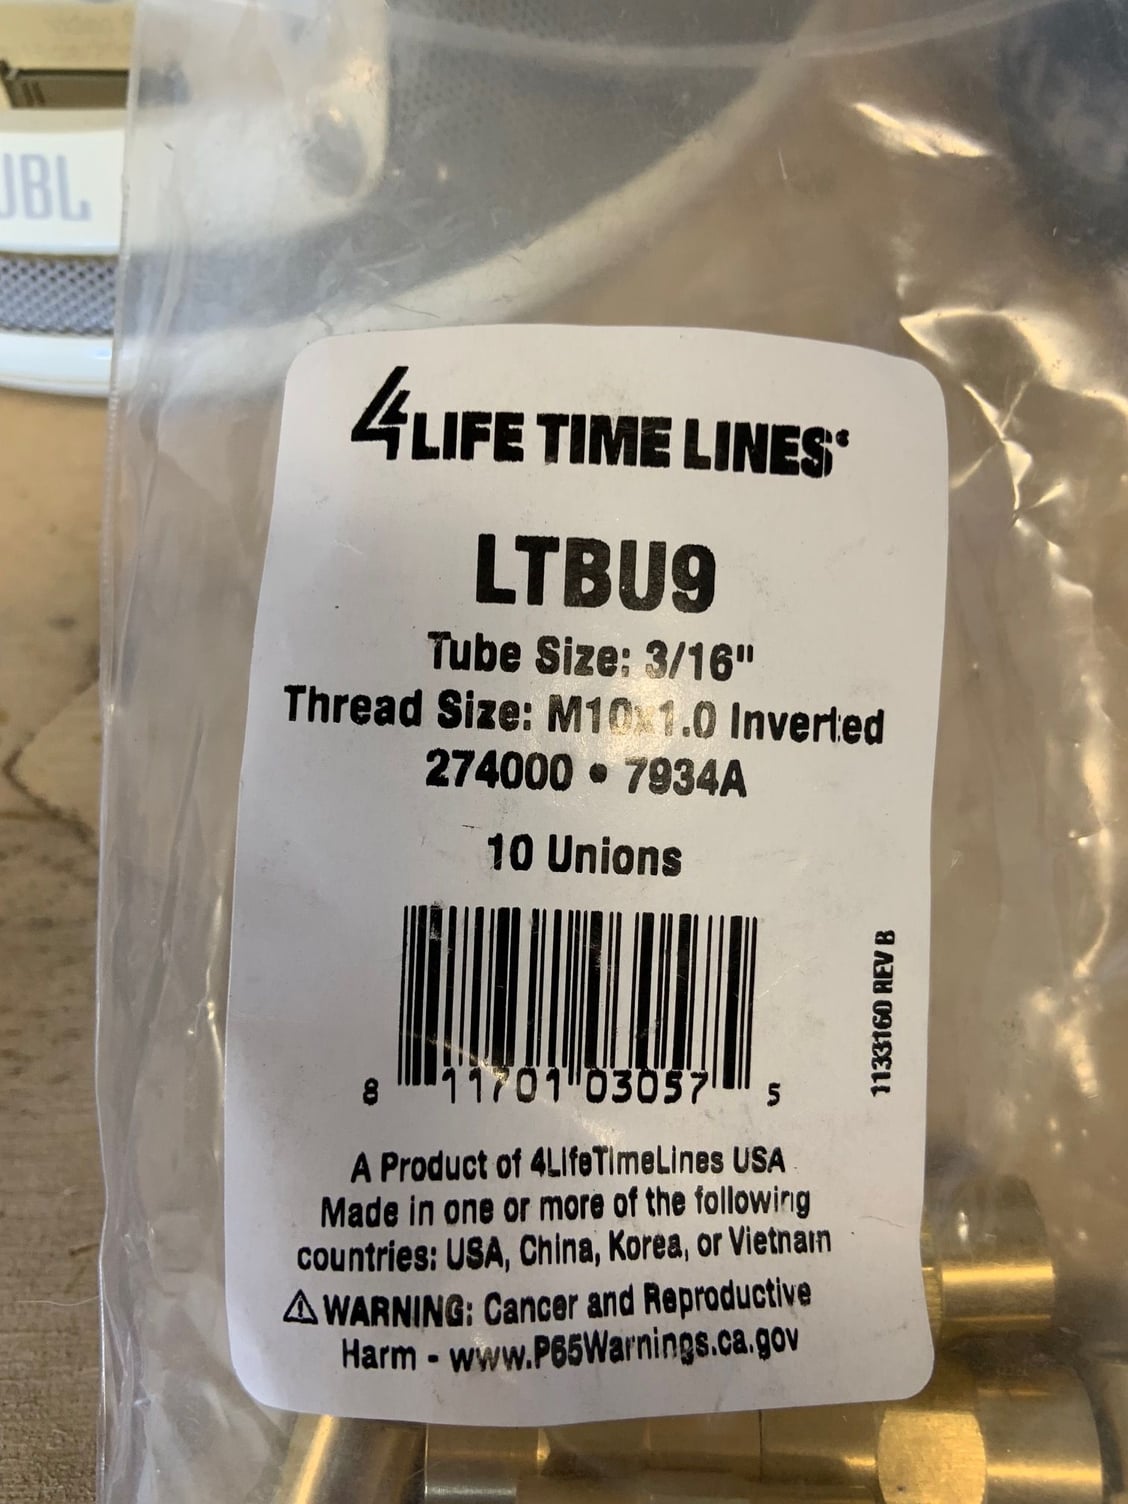
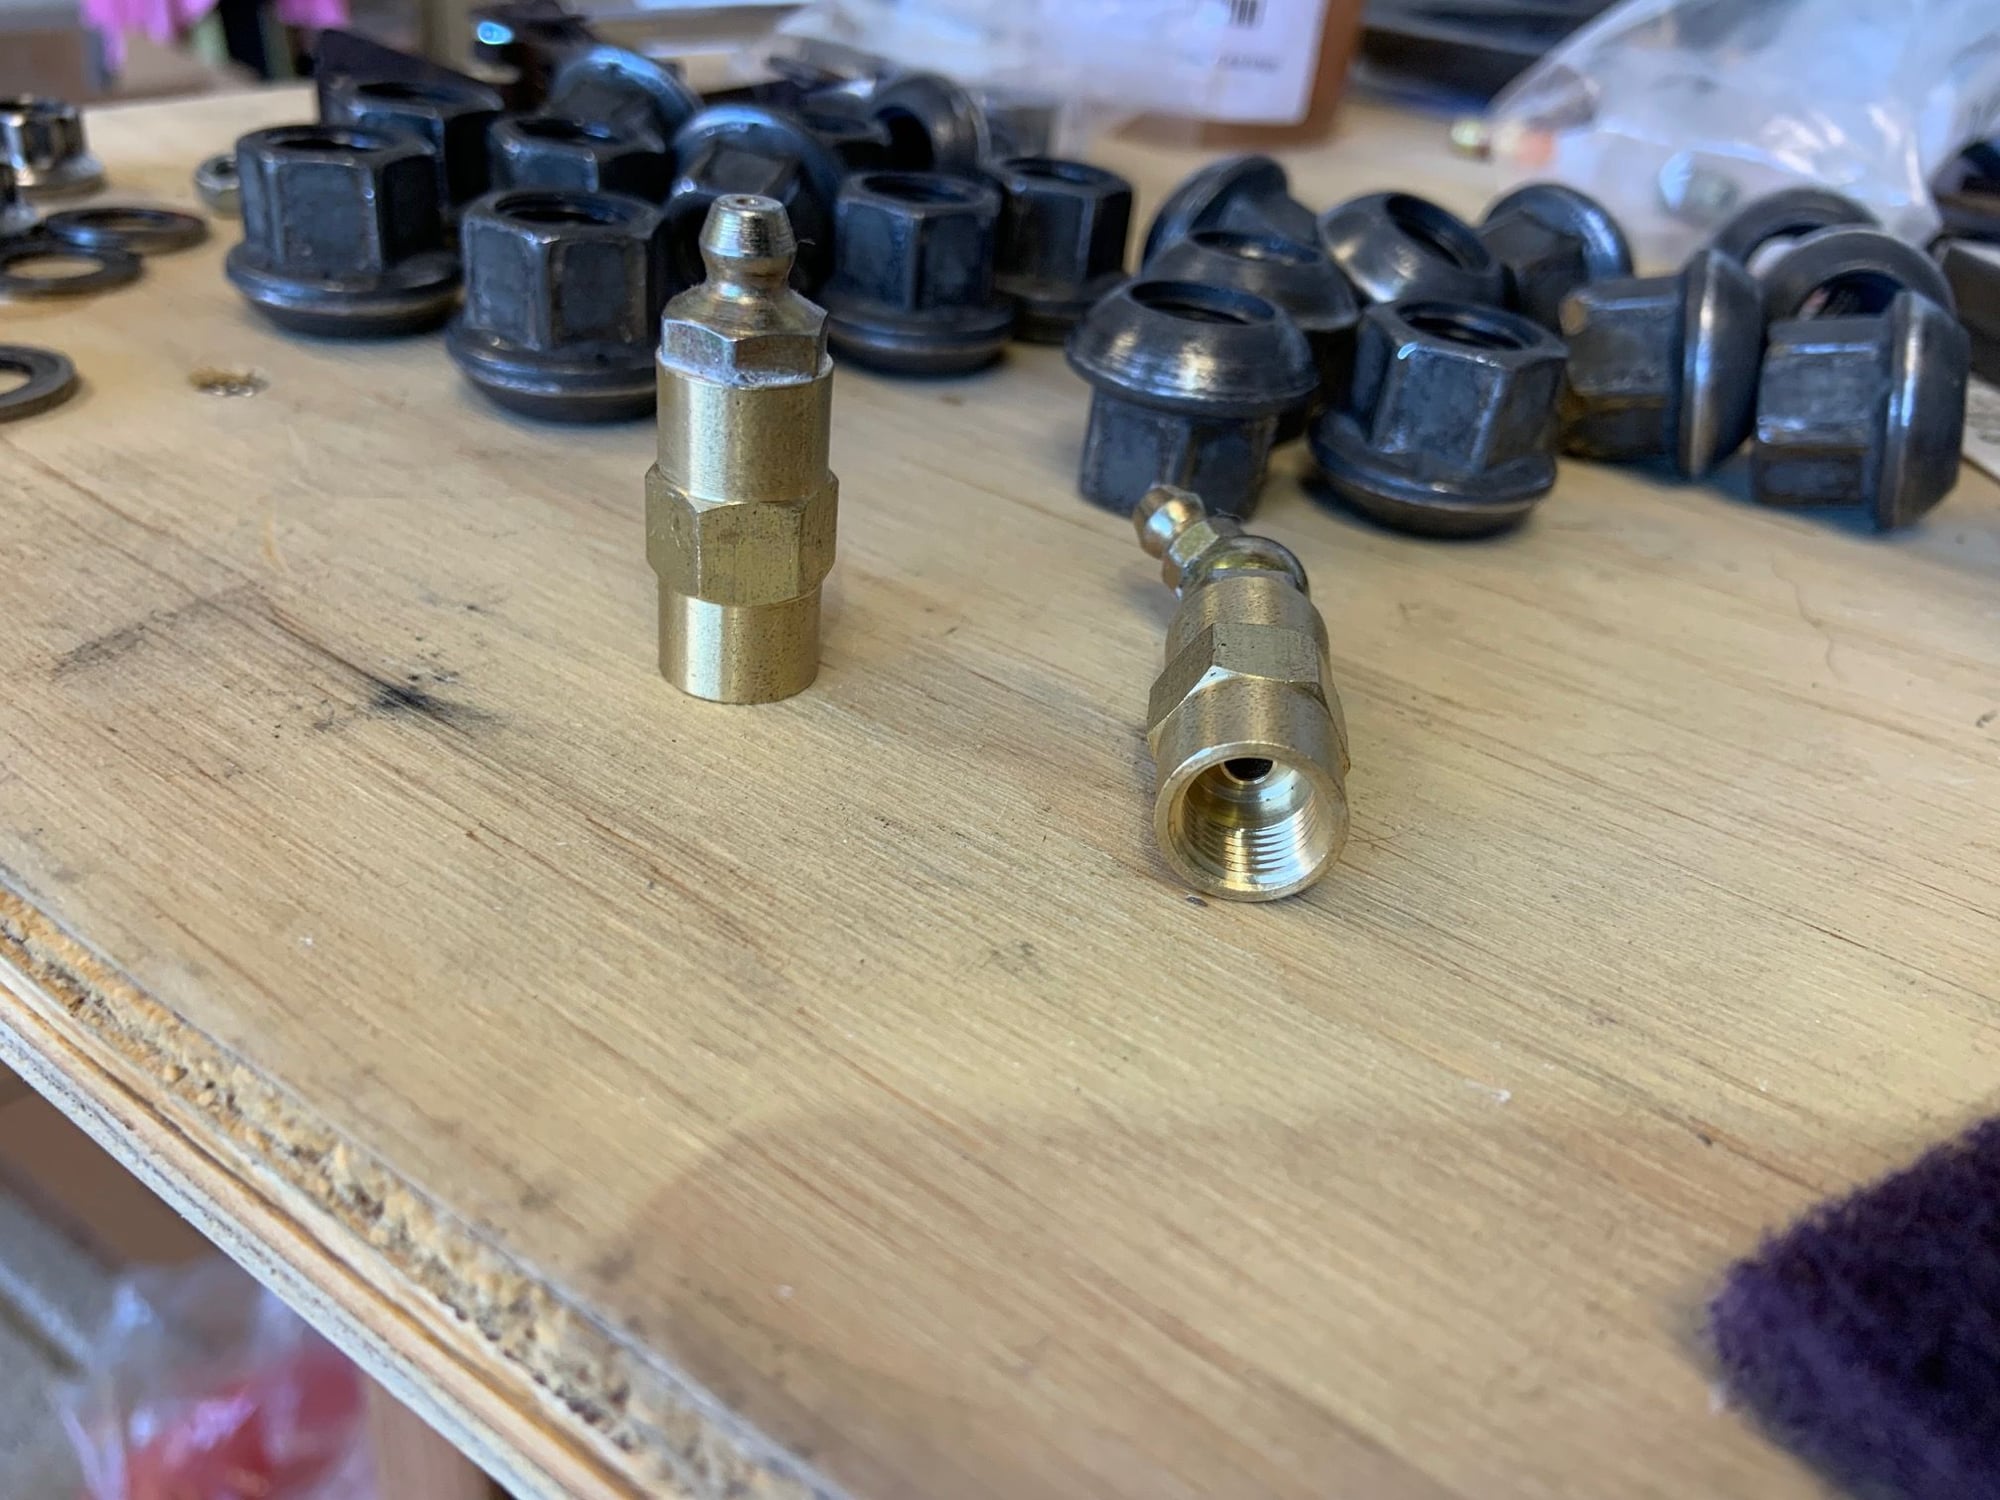
4. I screwed up a bit on finding a way to stop brake fluid from coming out once I removed the calipers. @polobai has a thread here where he uses a female to female fitting and bought a male plug fitting to block the brake fluid. I bought the same F2F fittings he did but I gambled (and lost) that I could use hot clue to plug the other side. That did not work well (brake fluid is corrosive stuff) so I was lucky that my local Ace had some grease fittings that worked. My advice is to either follow what Polobai does or get some 3/16 tube and zip ties to stop the flow. Polobai's way really is the best, IMO.
Process:
1. Cleaned calipers first with brake cleaner. Then wire-wheeled the calipers followed by sand paper and a scotch pad. More brake cleaner so that all of the grime is gone. This took me the longest; about 6.5 hours and used 2+ cans of brake cleaner. I finished off with isopropyl alcohol to clean oils from my fingers. Compressed air would help blow off any dust or fuzz.
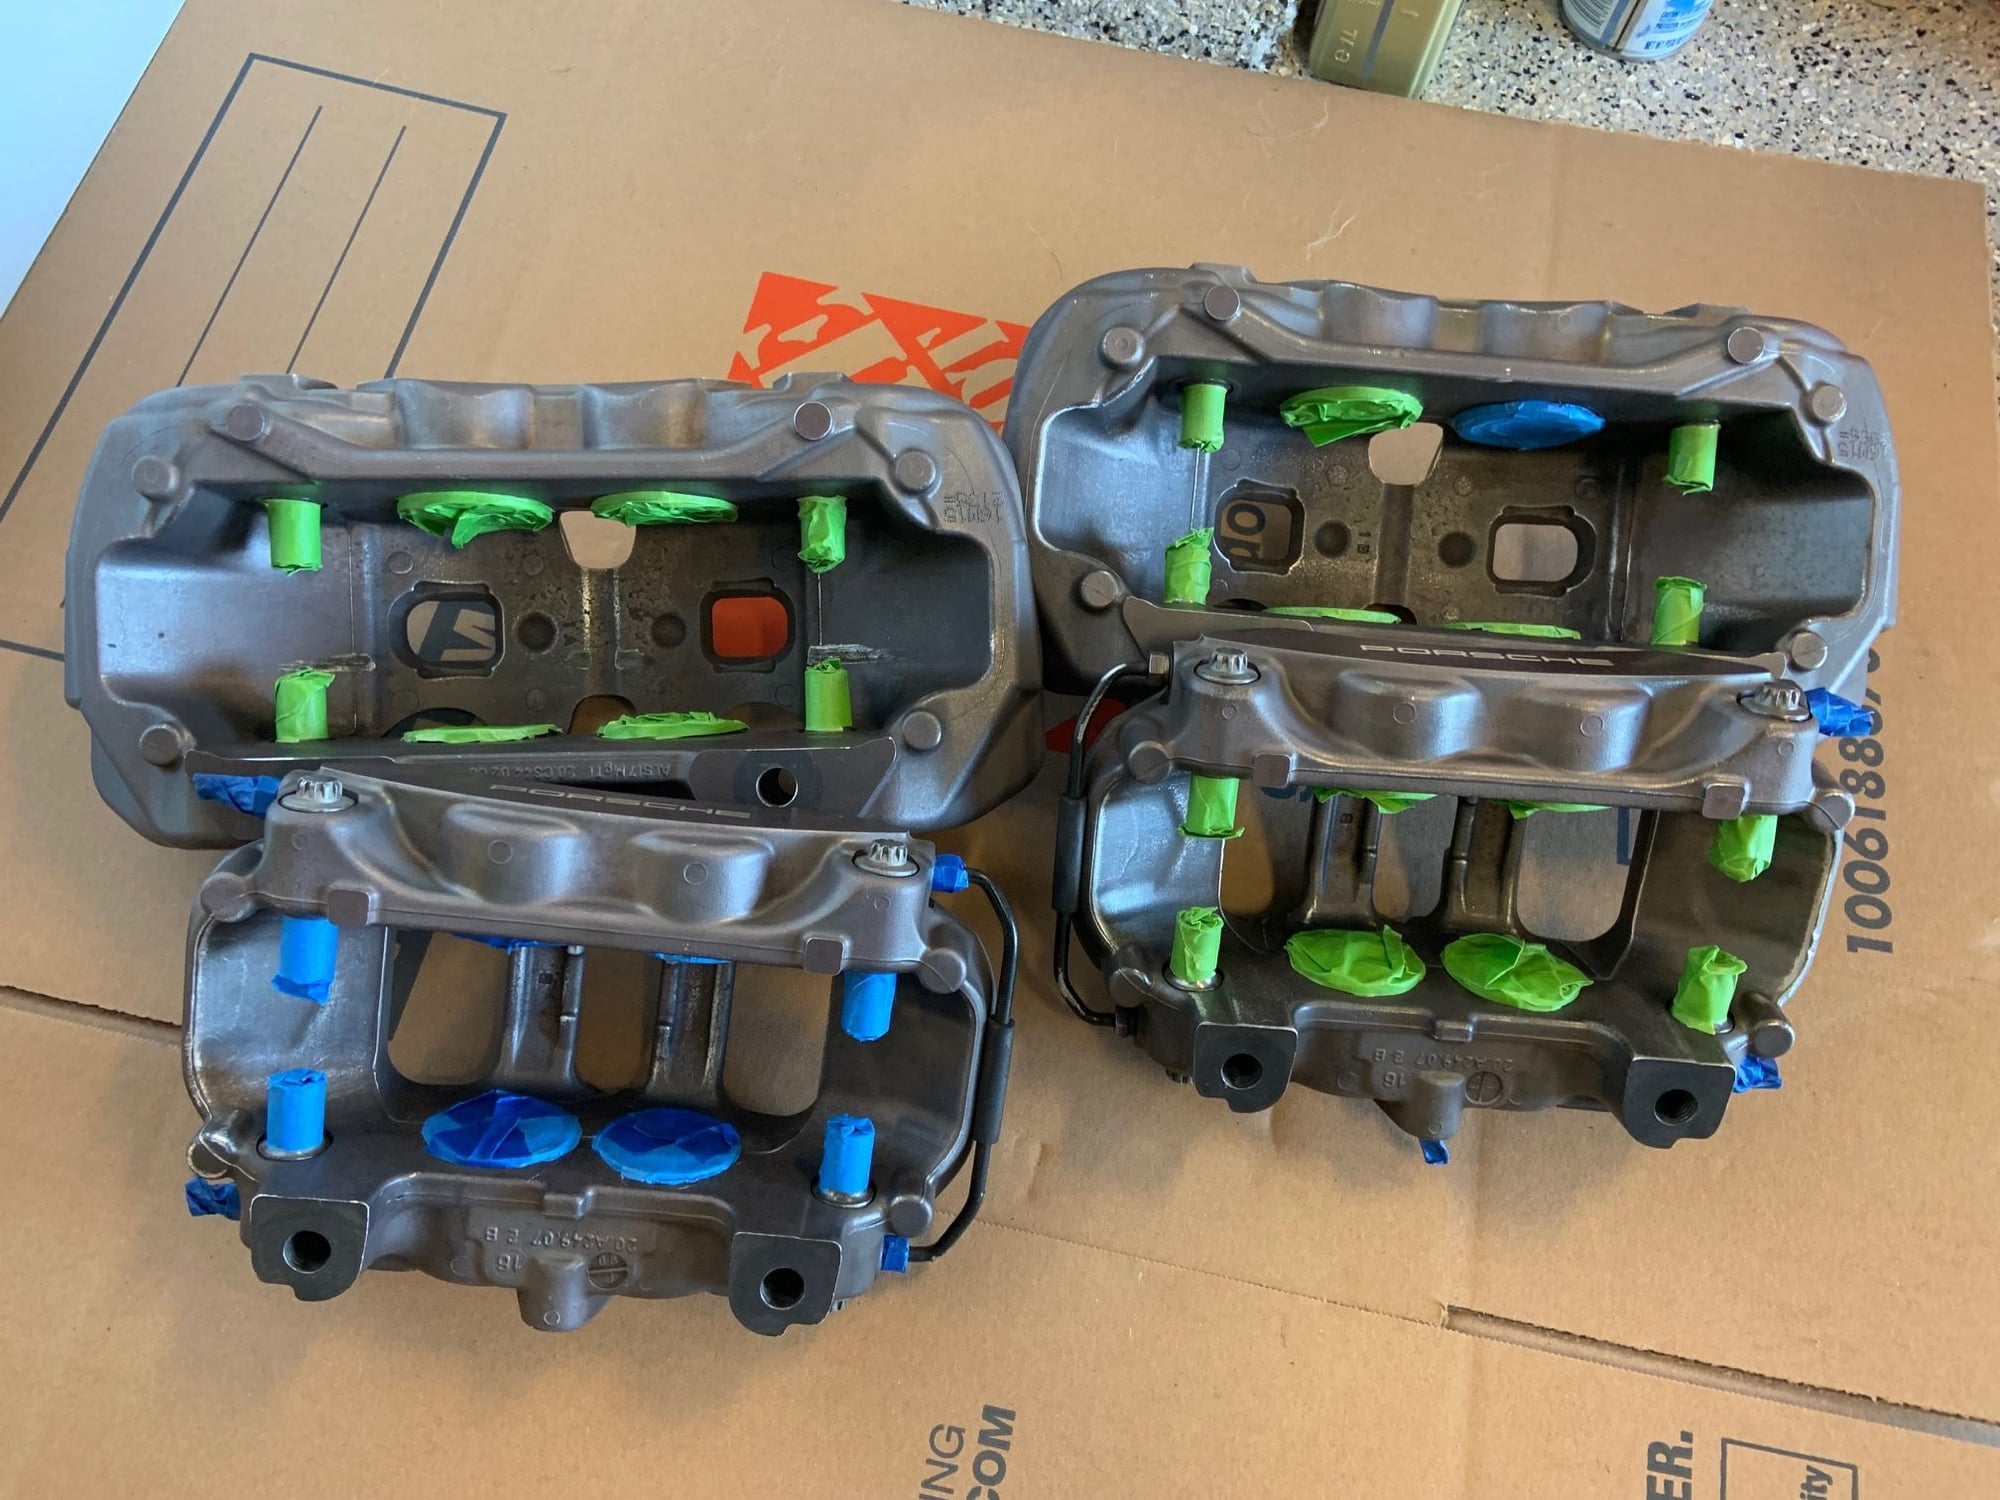
2. Taped everything off. For the pucks I recommend wrapping tape around them and then folding in vs covering in tape and then using a razor blade to cut to shape. The first option is MUCH quicker and worked well.
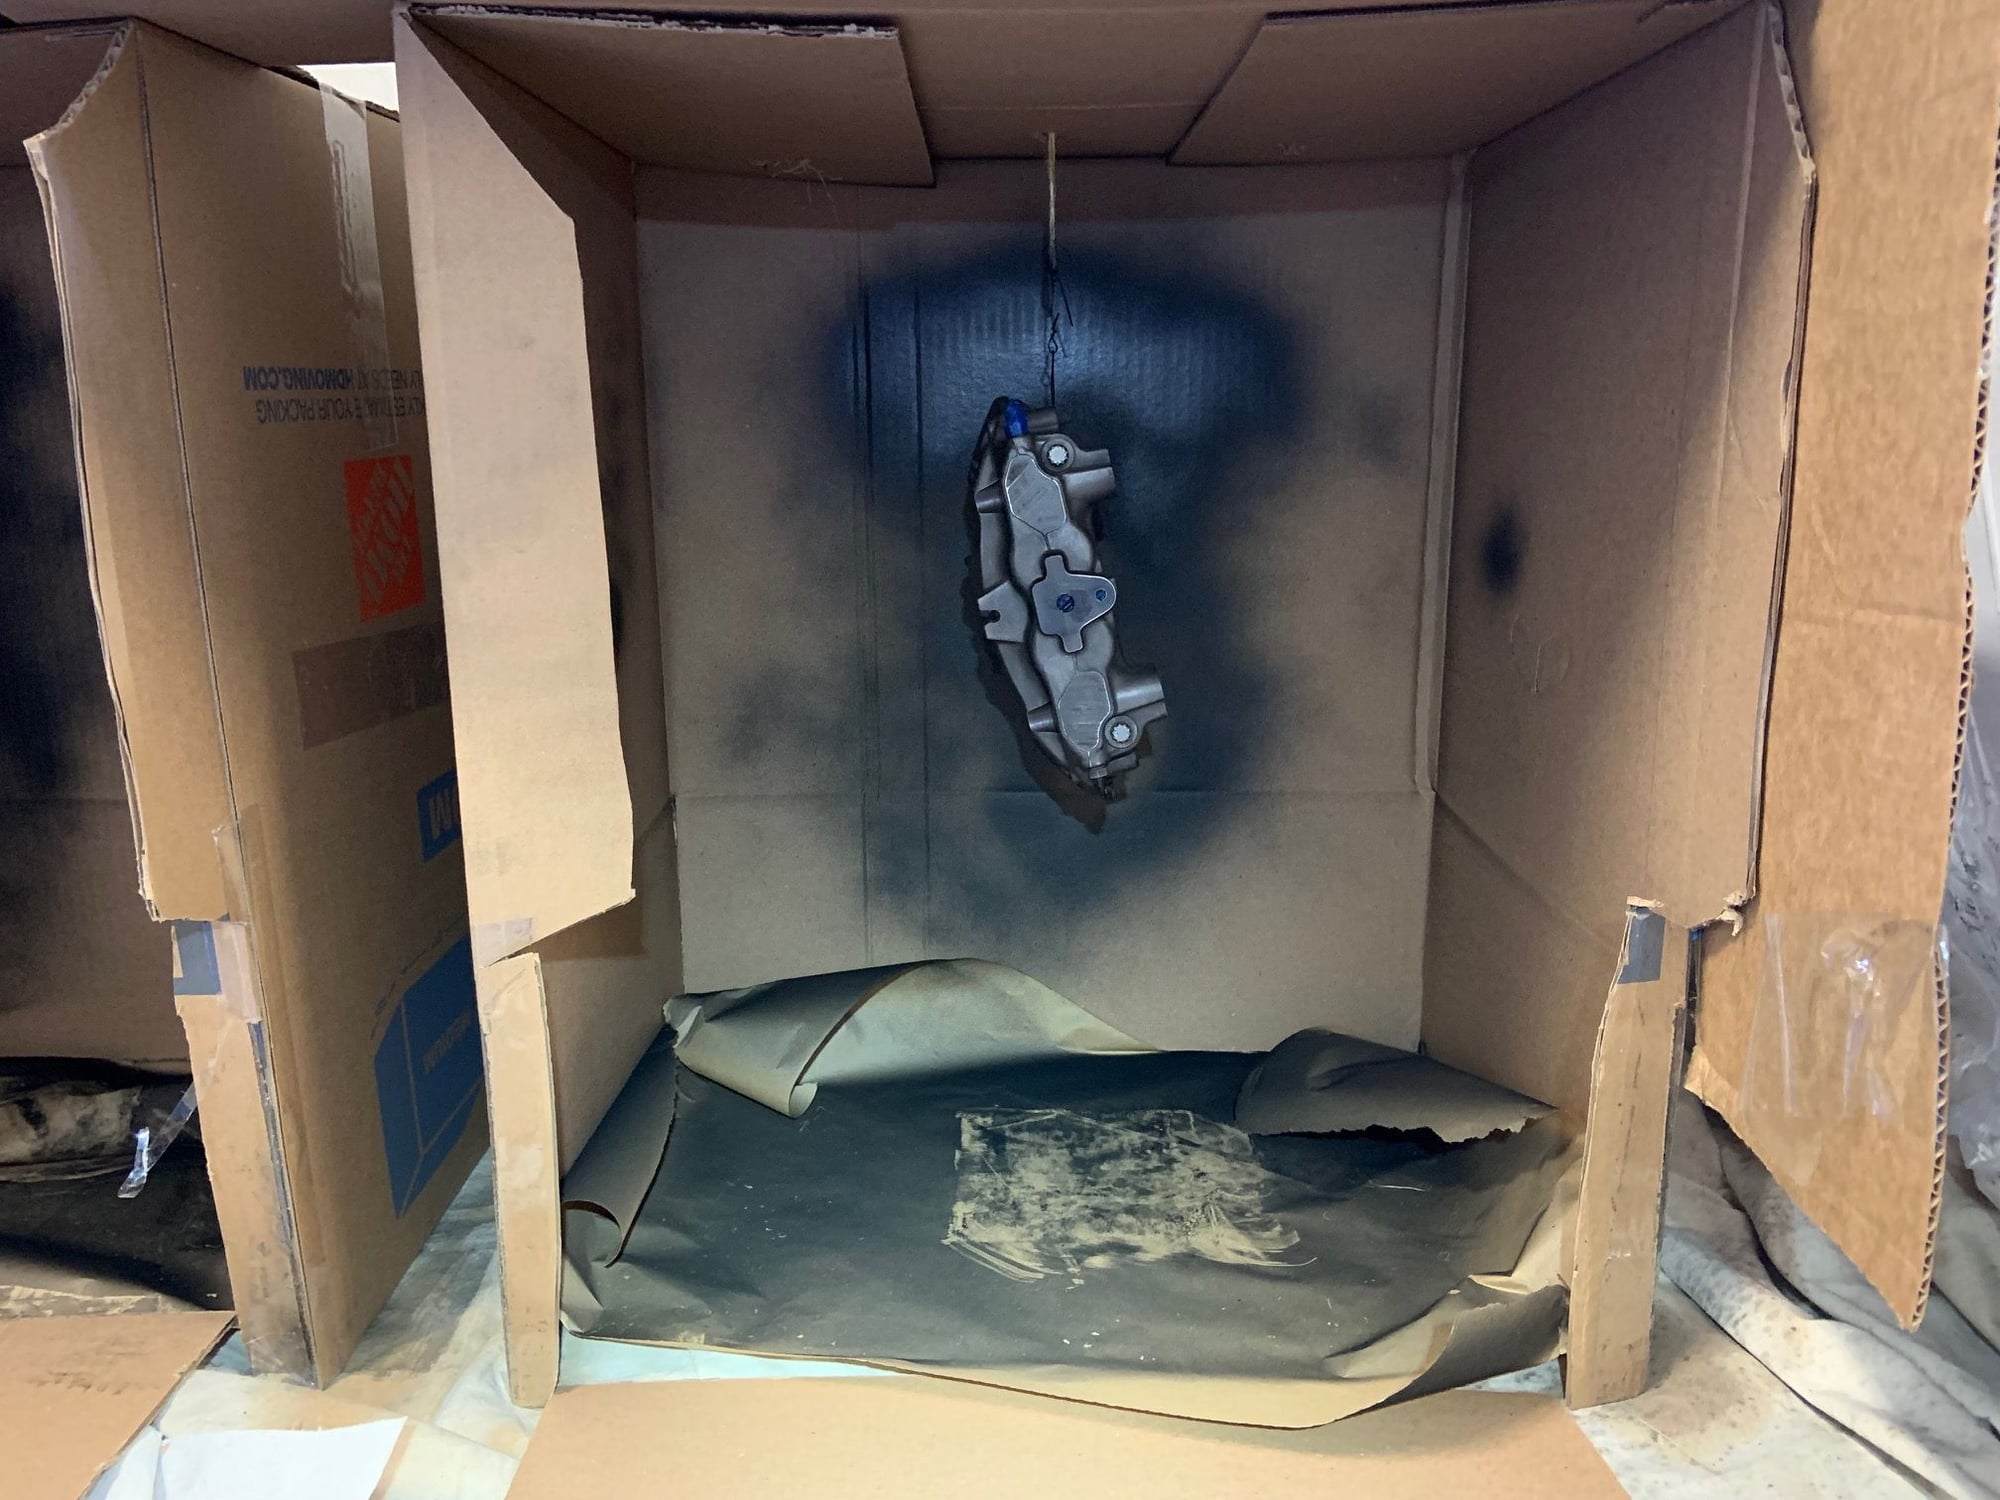
3. Painted 3 coats per instructions. Two lighter coats followed by a heavier one. I hung my calipers via the posts that hold the pads and it mostly worked well. Make sure if you do this that you can get underneath. I could not easily do that and it caused me some pain in the form of some touch up prior to curing on the grill.
4. I cured on my grill for 2 hours at 200 degrees. I tried it in my oven and it did not smell good (wife was not happy) so I barbecued them. Worked well - 2 burners on med heat and one burner off (where the calipers were), I recommend patience here and suggest you wait at least 24 hours before you do the cure session as I lost some paint on the bottom-side of the caliper. I think Polobai had a similar issue so please follow my advice and just WAIT.
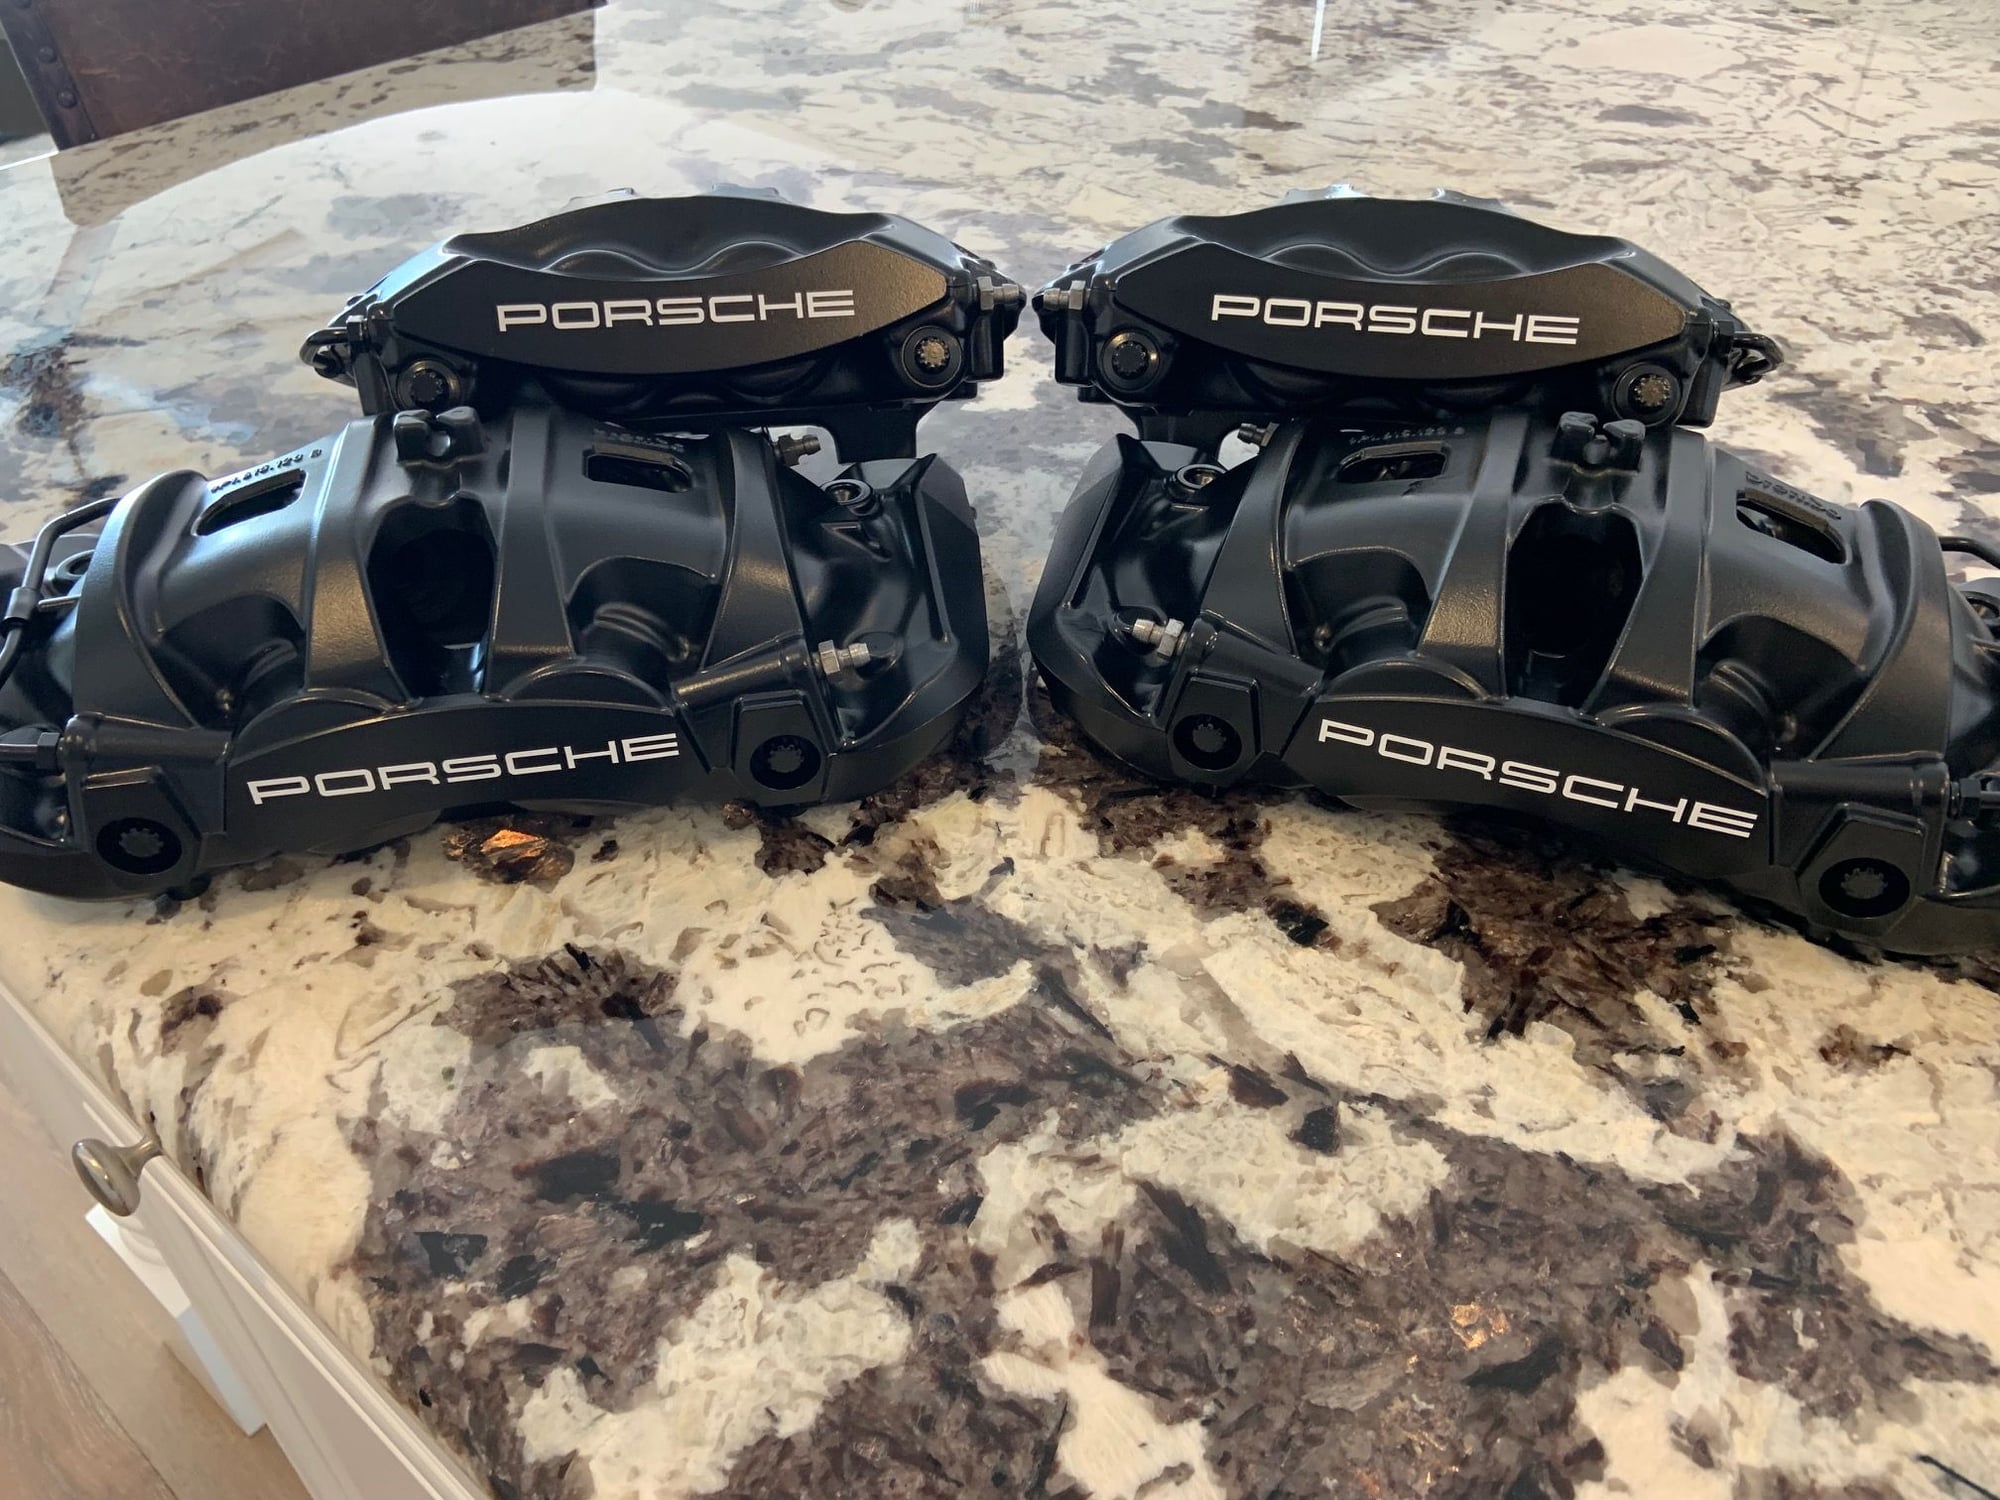
5. Applied decals and then 3-4 coats of clear coat. You see my challenges above and take heed.
Technical
1. Front calipers have four items you need to disconnect. 1 is the caliper bolts (studs in my case); a small bolt (again stud in my case) that holds a bracket in place; the ABS brake sensor and the brake line. The caliper bolt is I believe a T55 Torx, the small bolt is 10mm as is the brake line, and the ABS sensor is removed by gently prying from the veeeery outside and levering in while pulling the sensor. This last part is delicate but very easy once you have done it once or twice.
2. Rear calipers have essentially the same four items listed above though the bracket on the rear caliper comes off the caliper itself vs the upright (on the front). Note that the ABS sensor is disconnect in a different place than the front - look for where the ABS connects into the bracket that is attached to the caliper.
3. Bleeder valve is 11mm
4. A small box or very small collapsible stool will help you rest the caliper while you fully disconnect it (brake line).
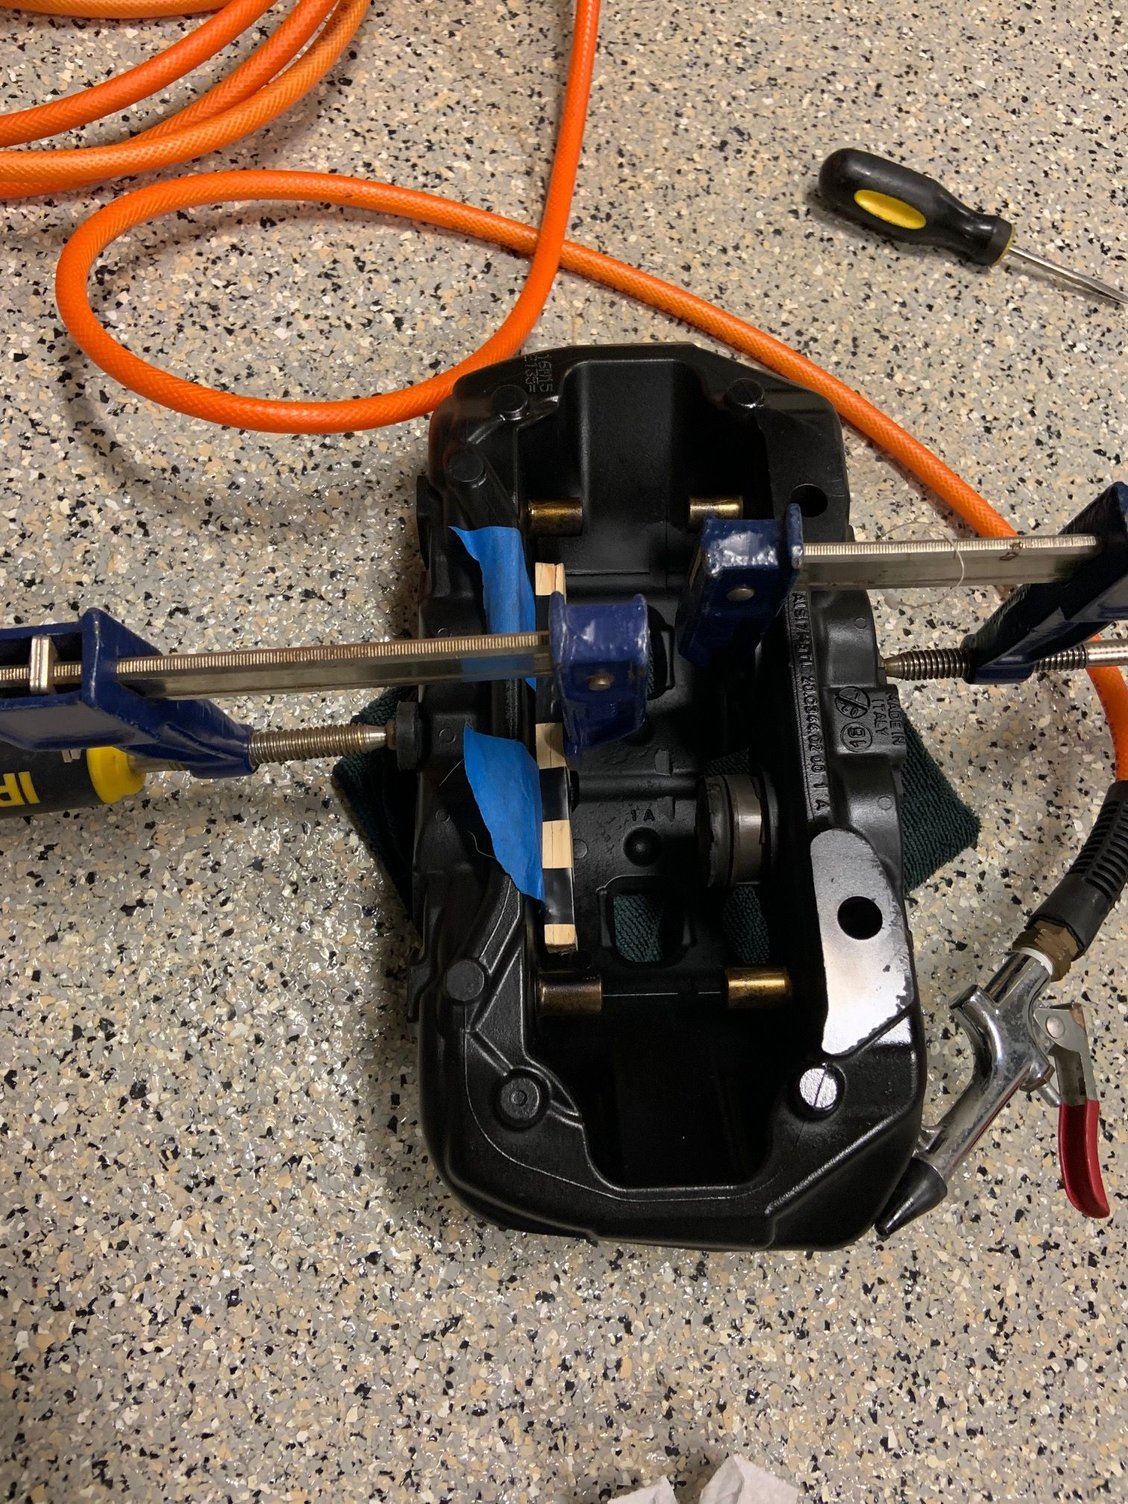
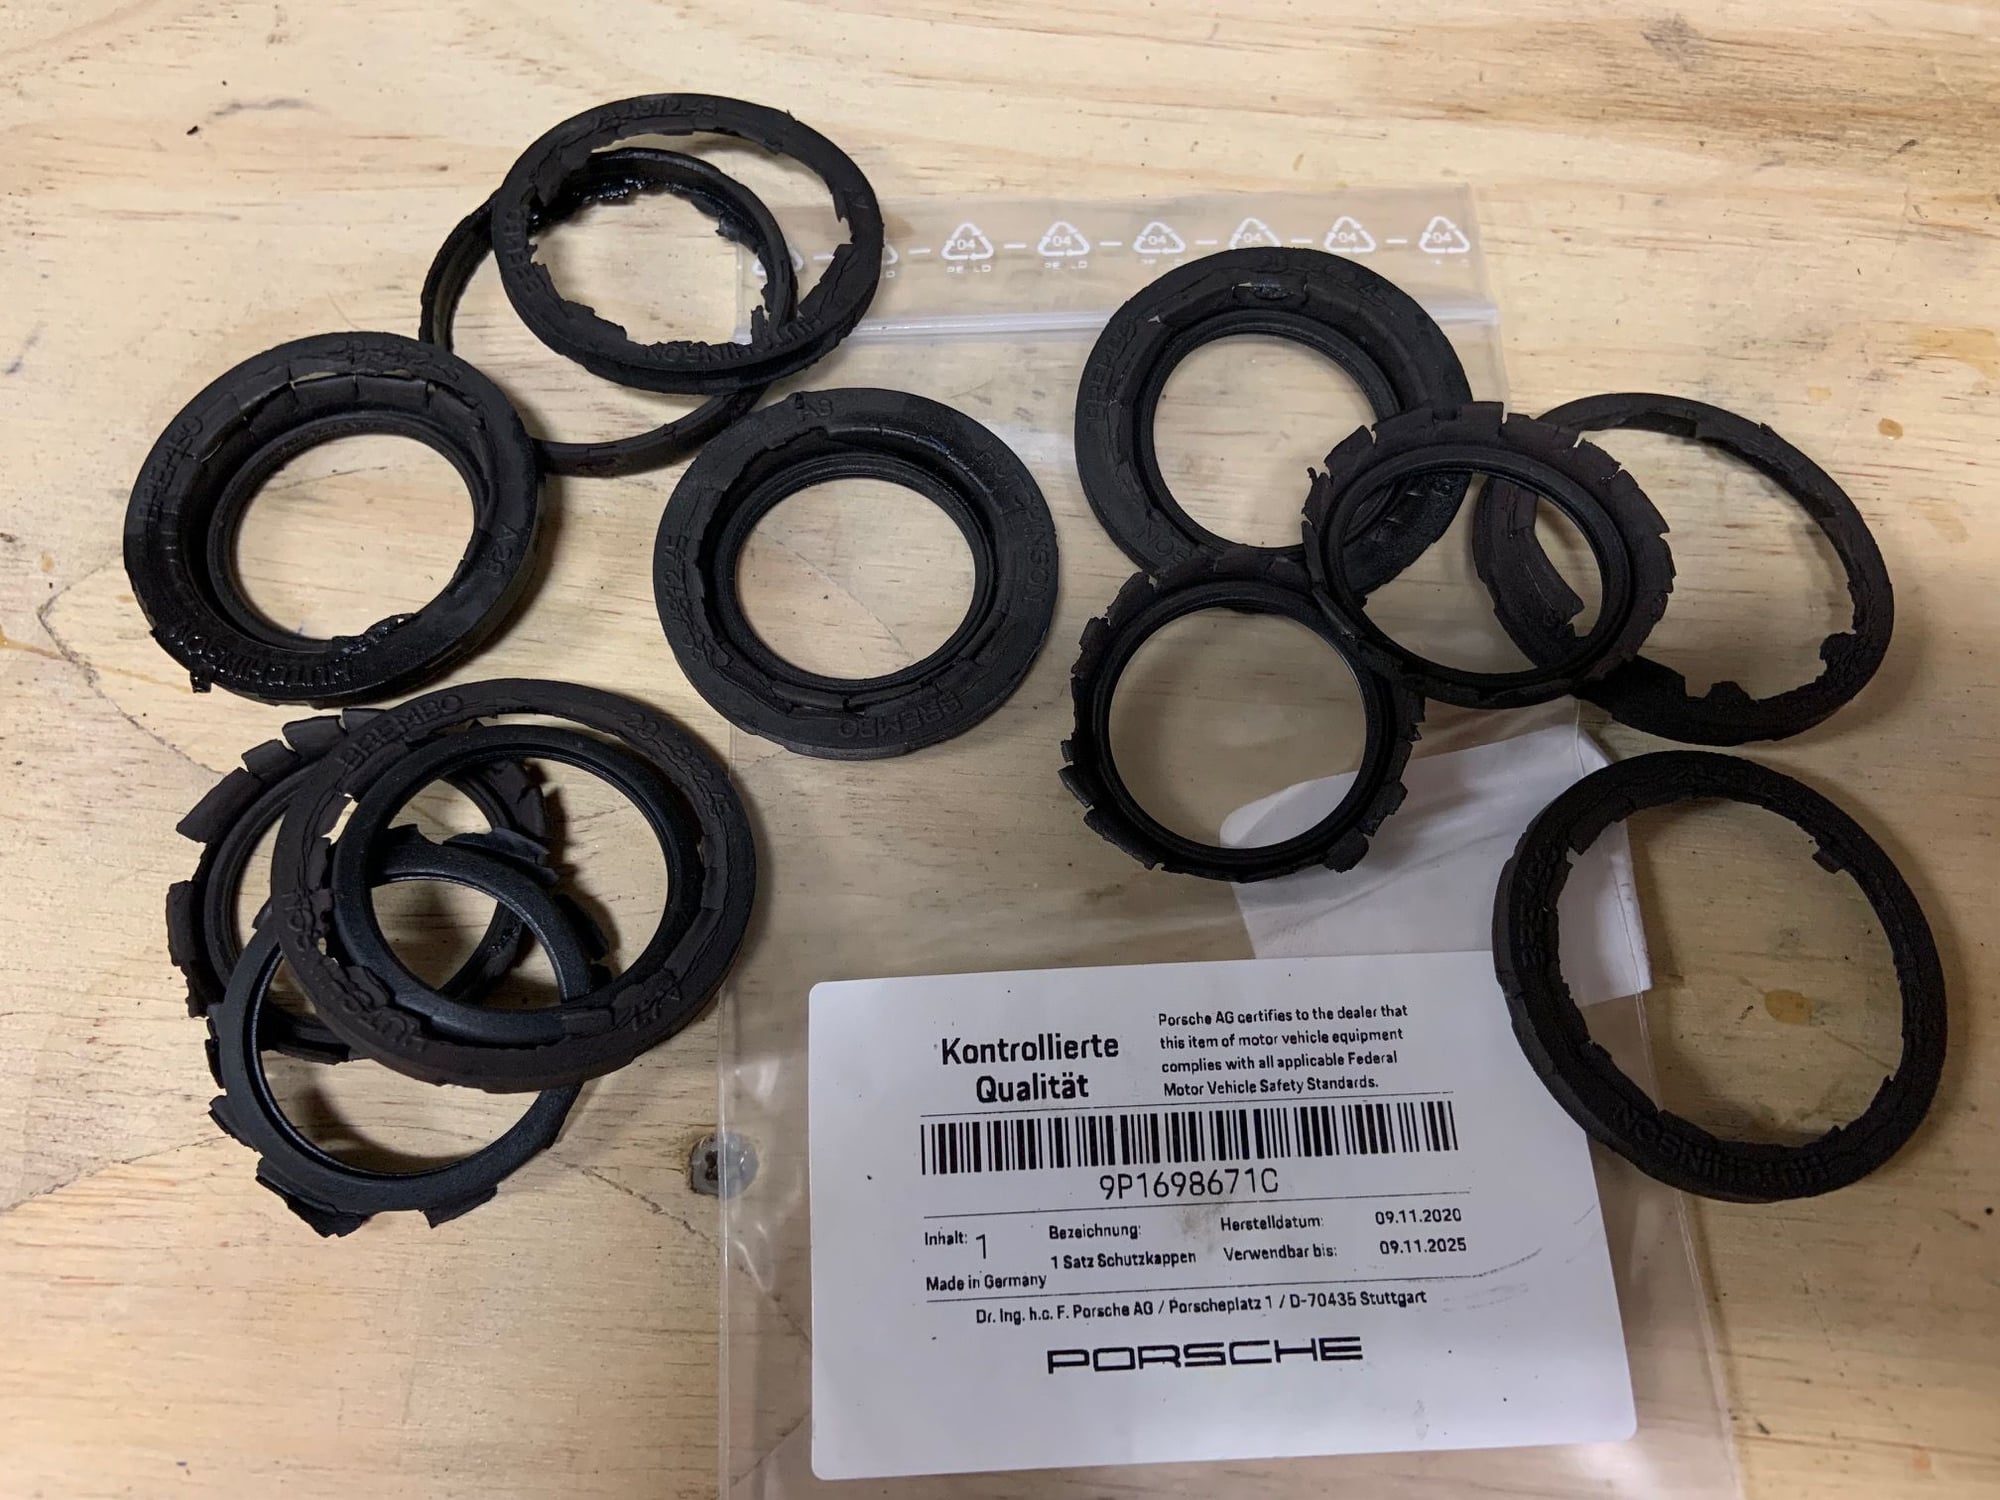
5. My dust boots (see pic) were absolutely toast. I replaced the fronts but the rears are on back order for 5 weeks (sigh covid).
6. I used 1.8 cans of paint and almost 1 can of clear coat.
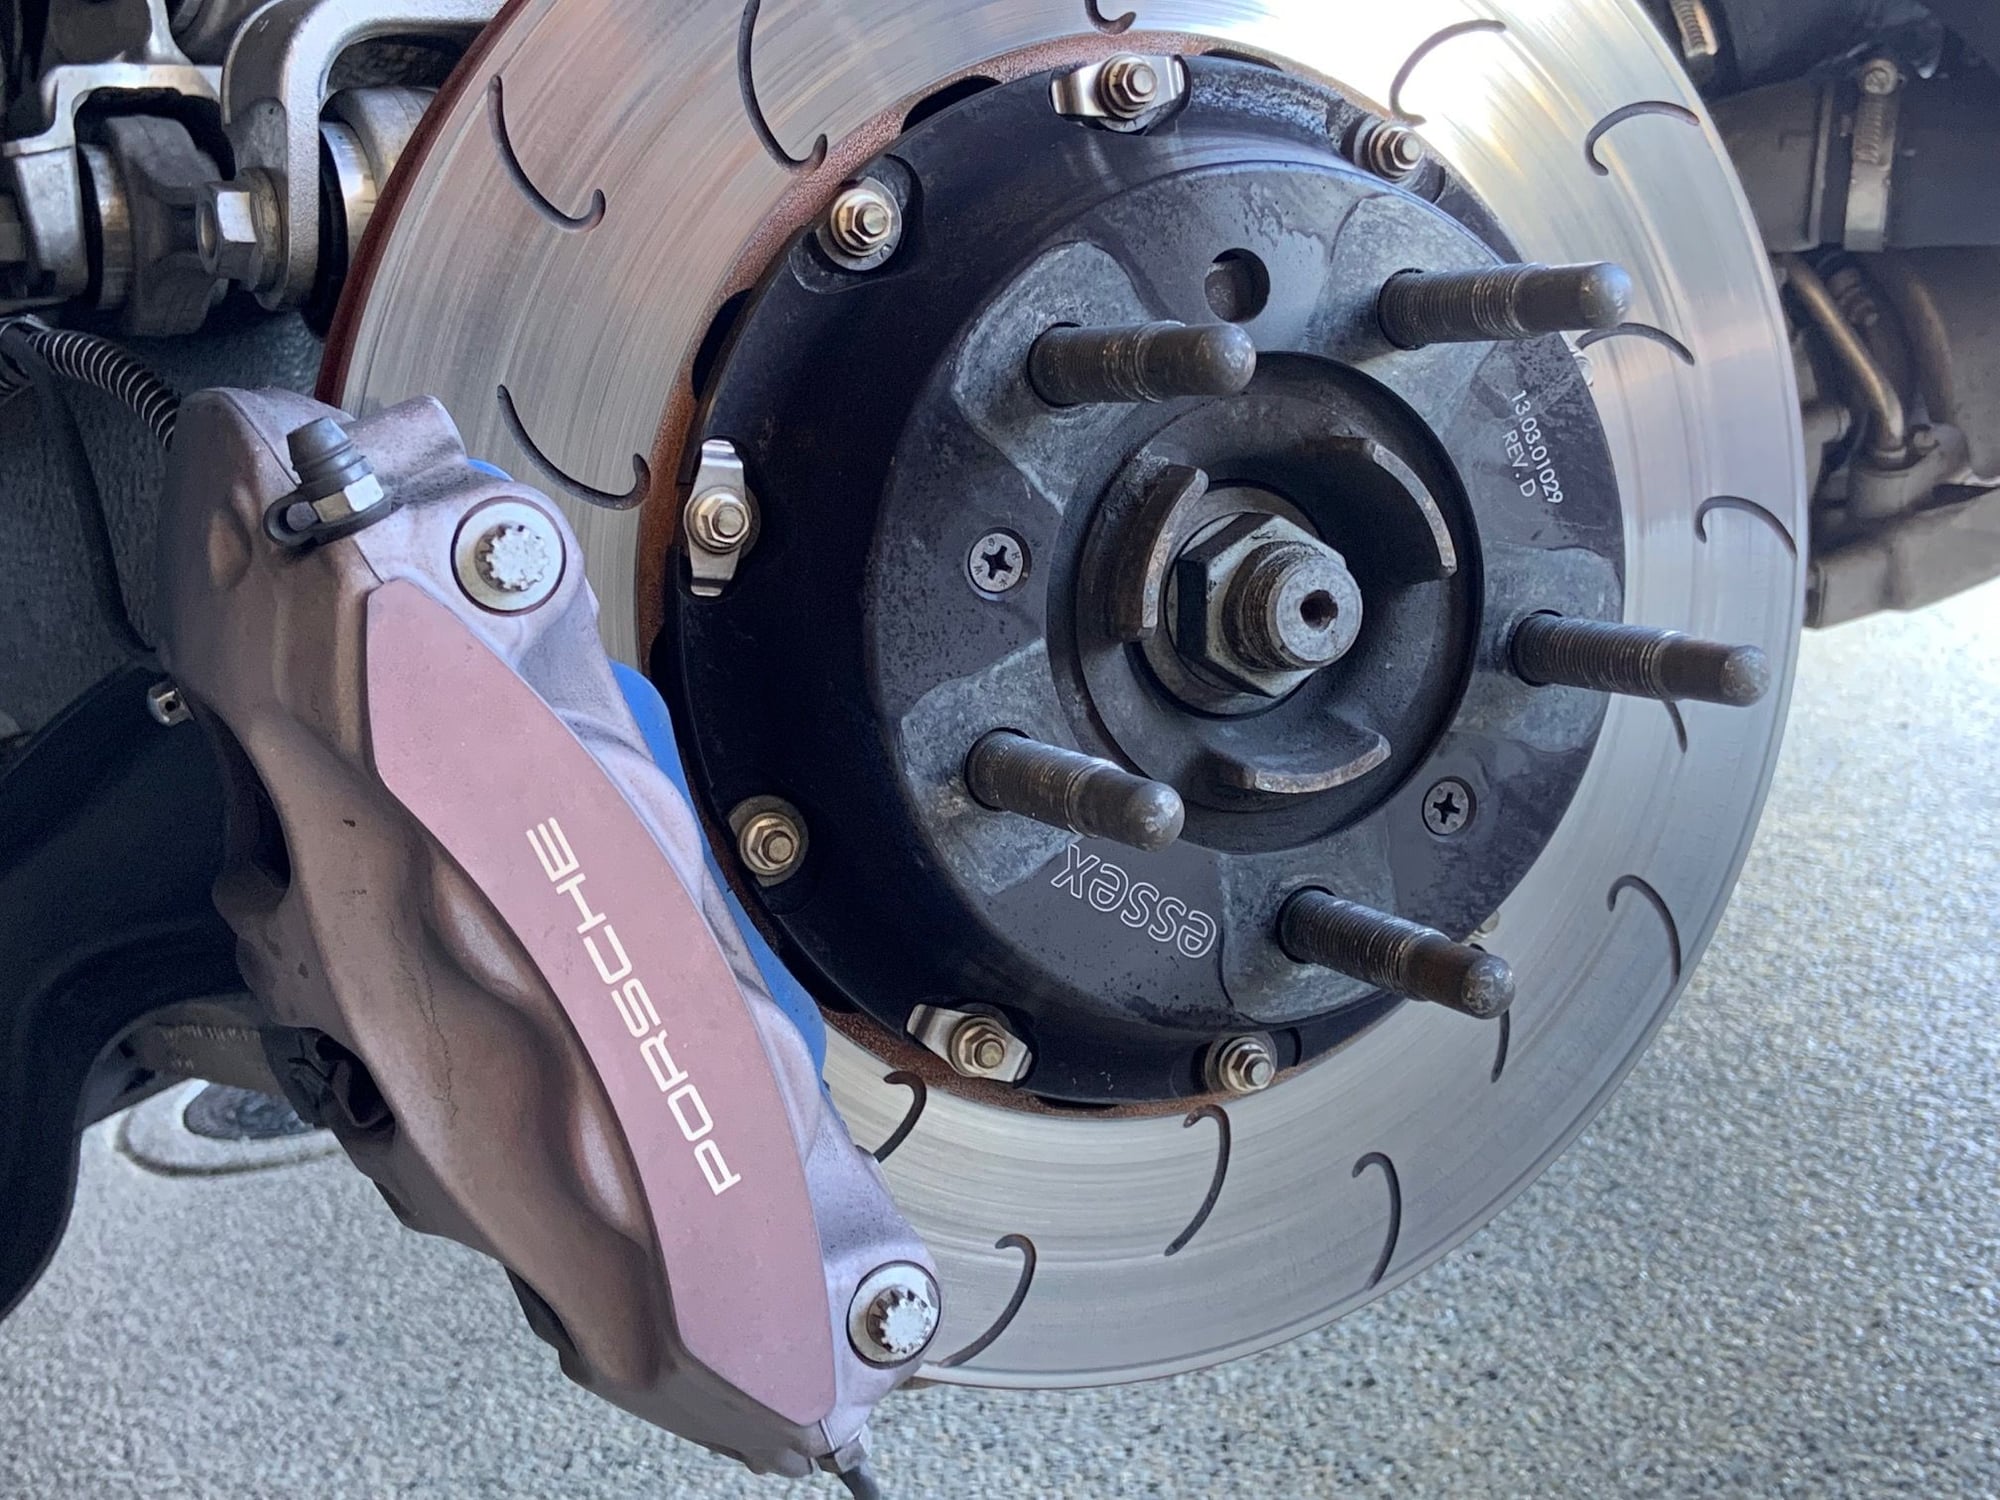
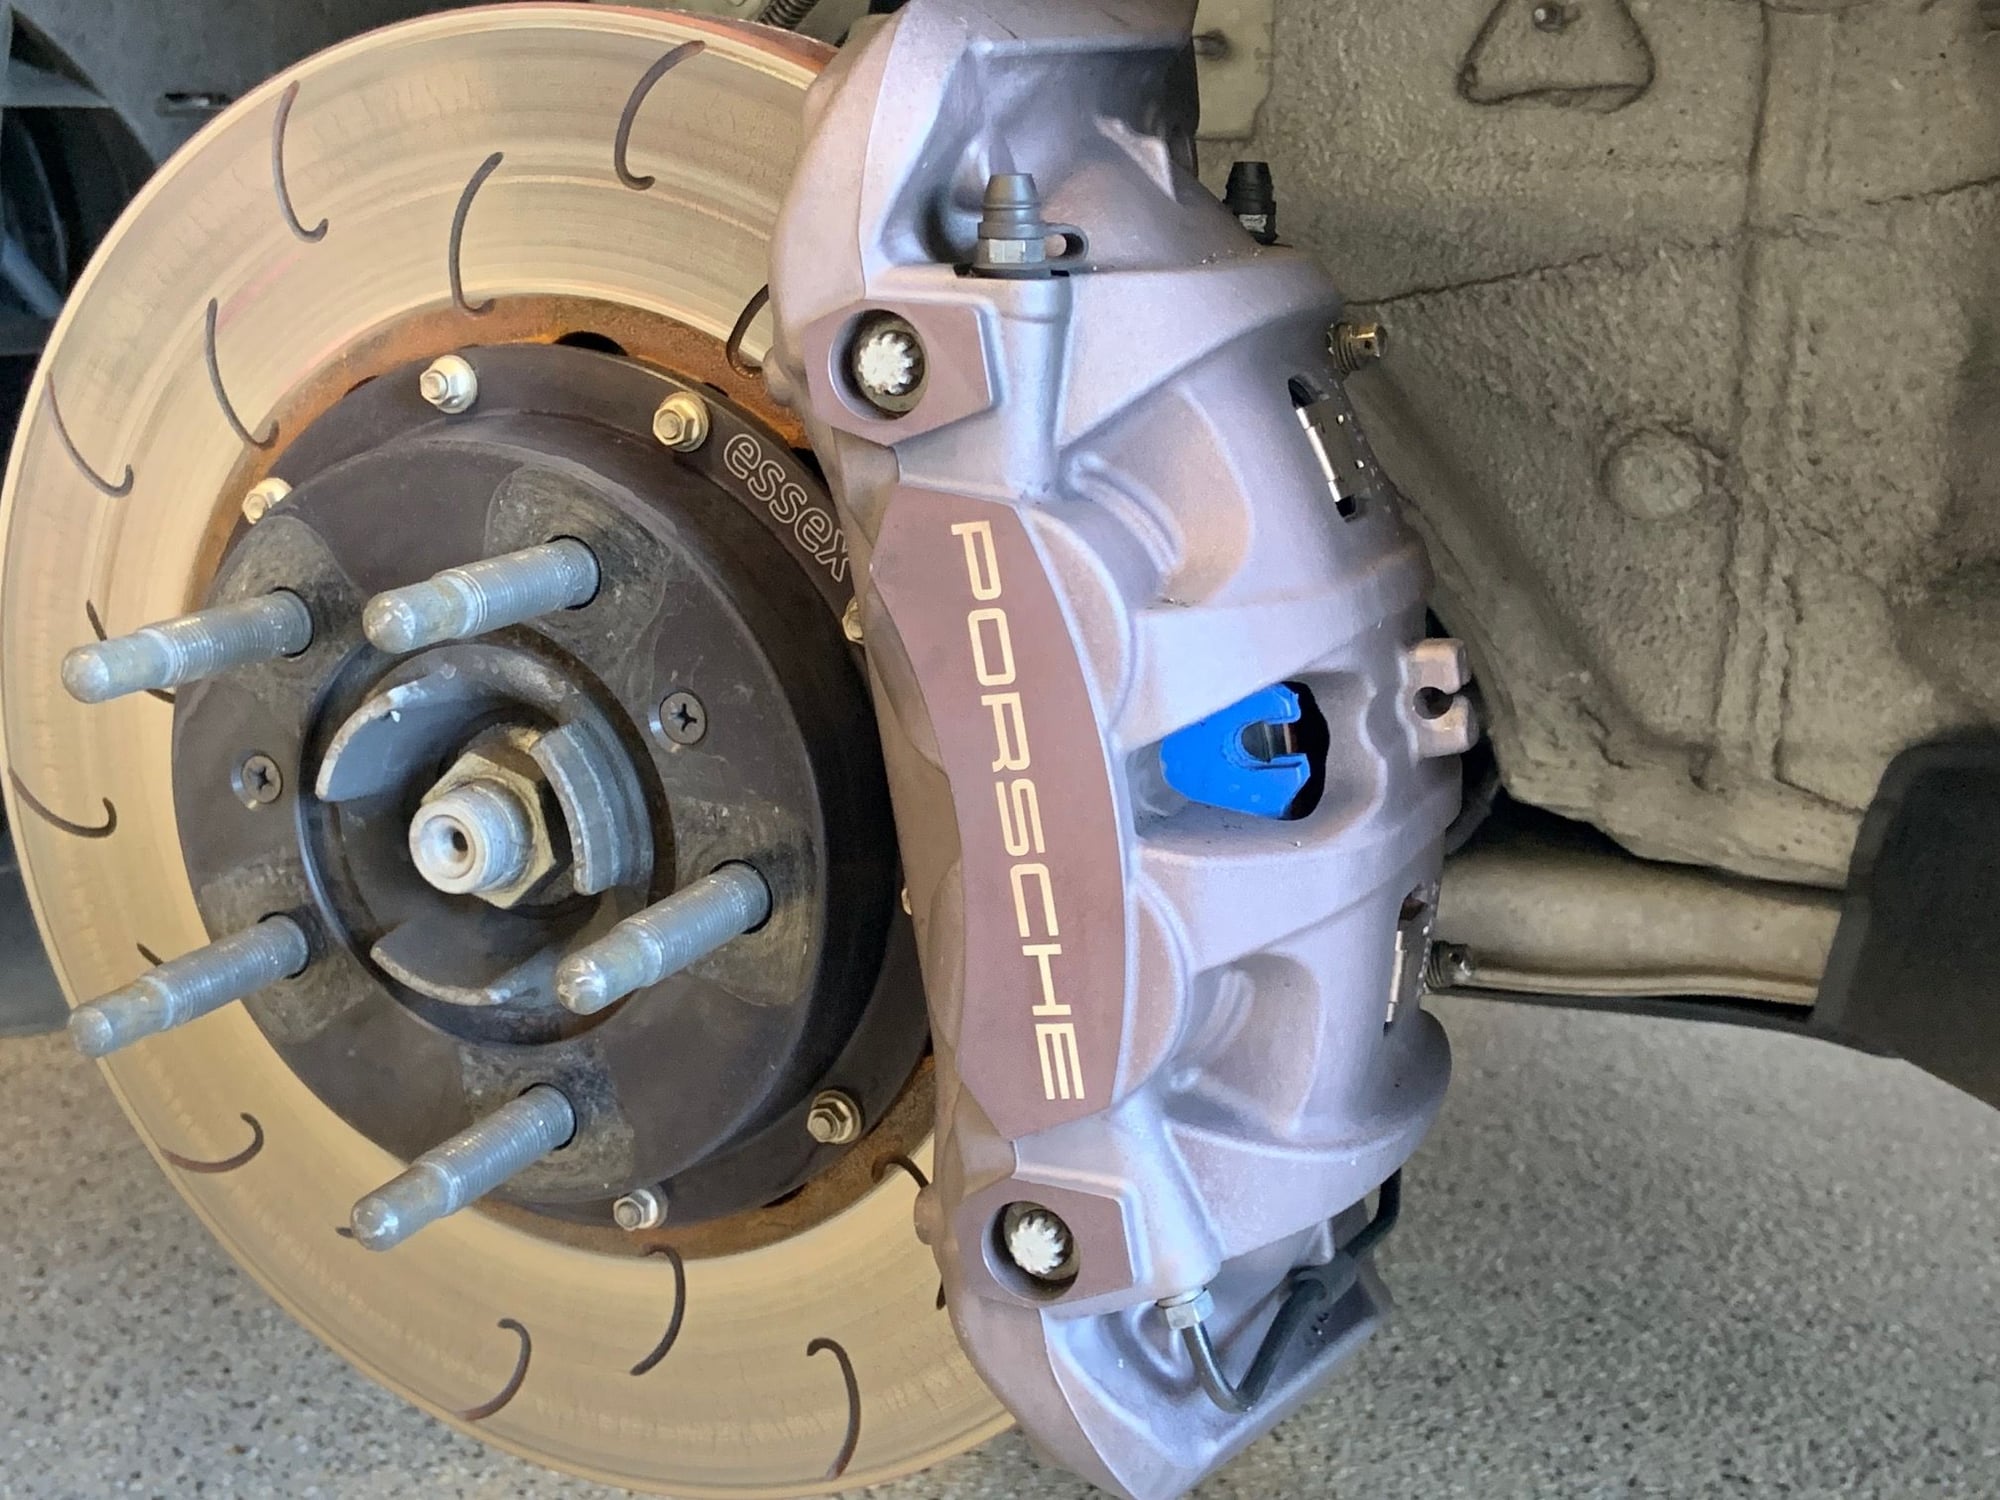
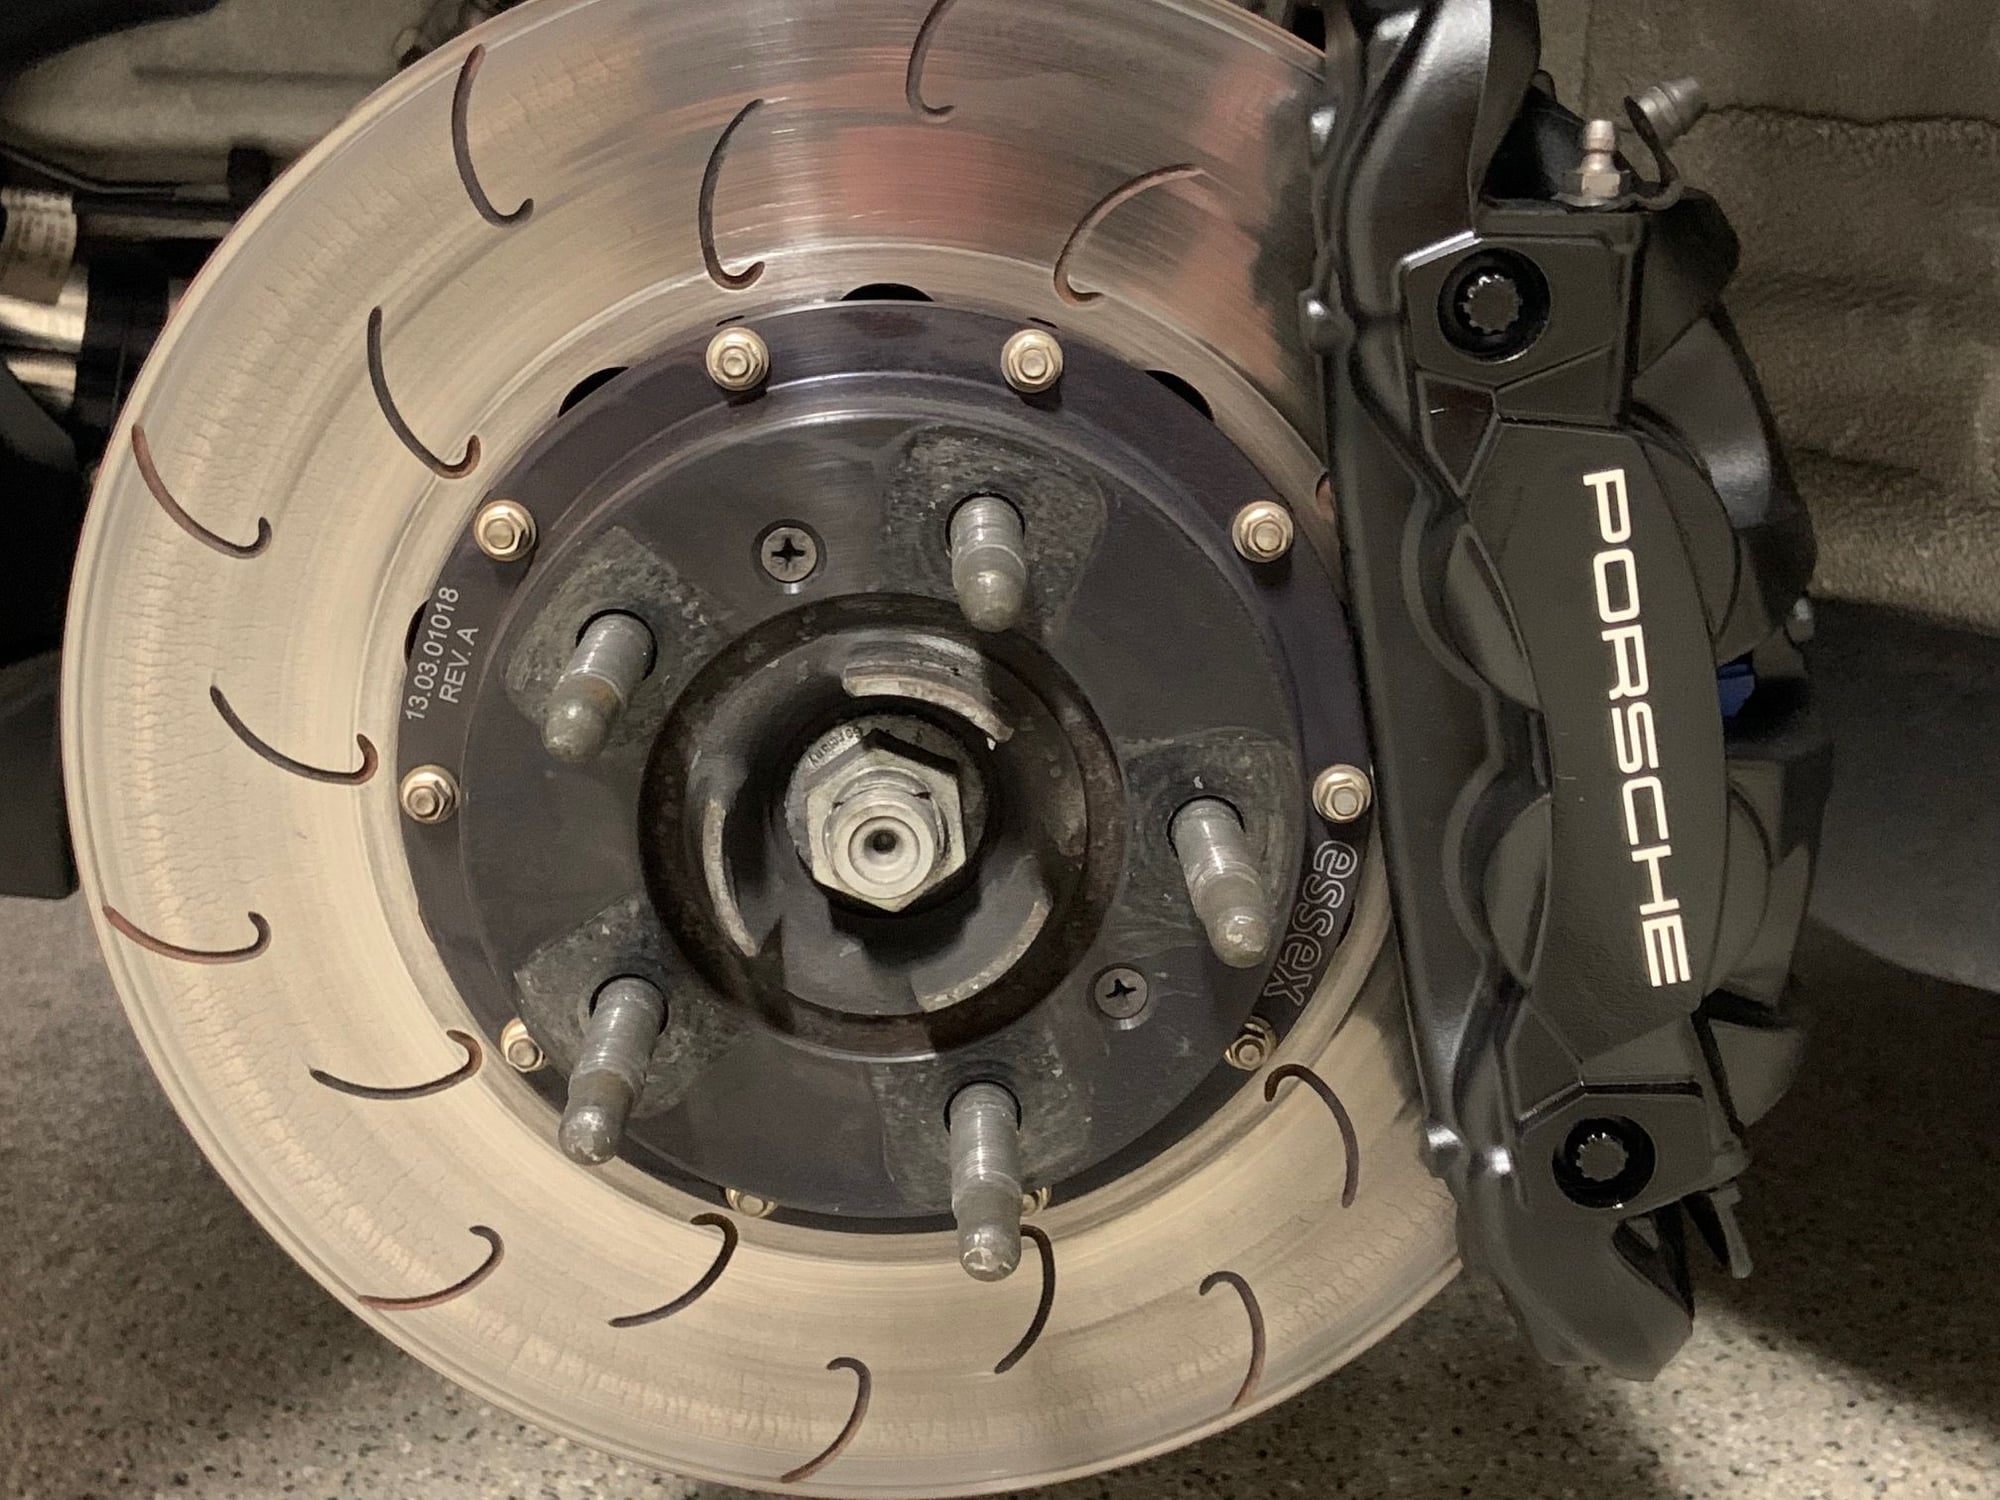
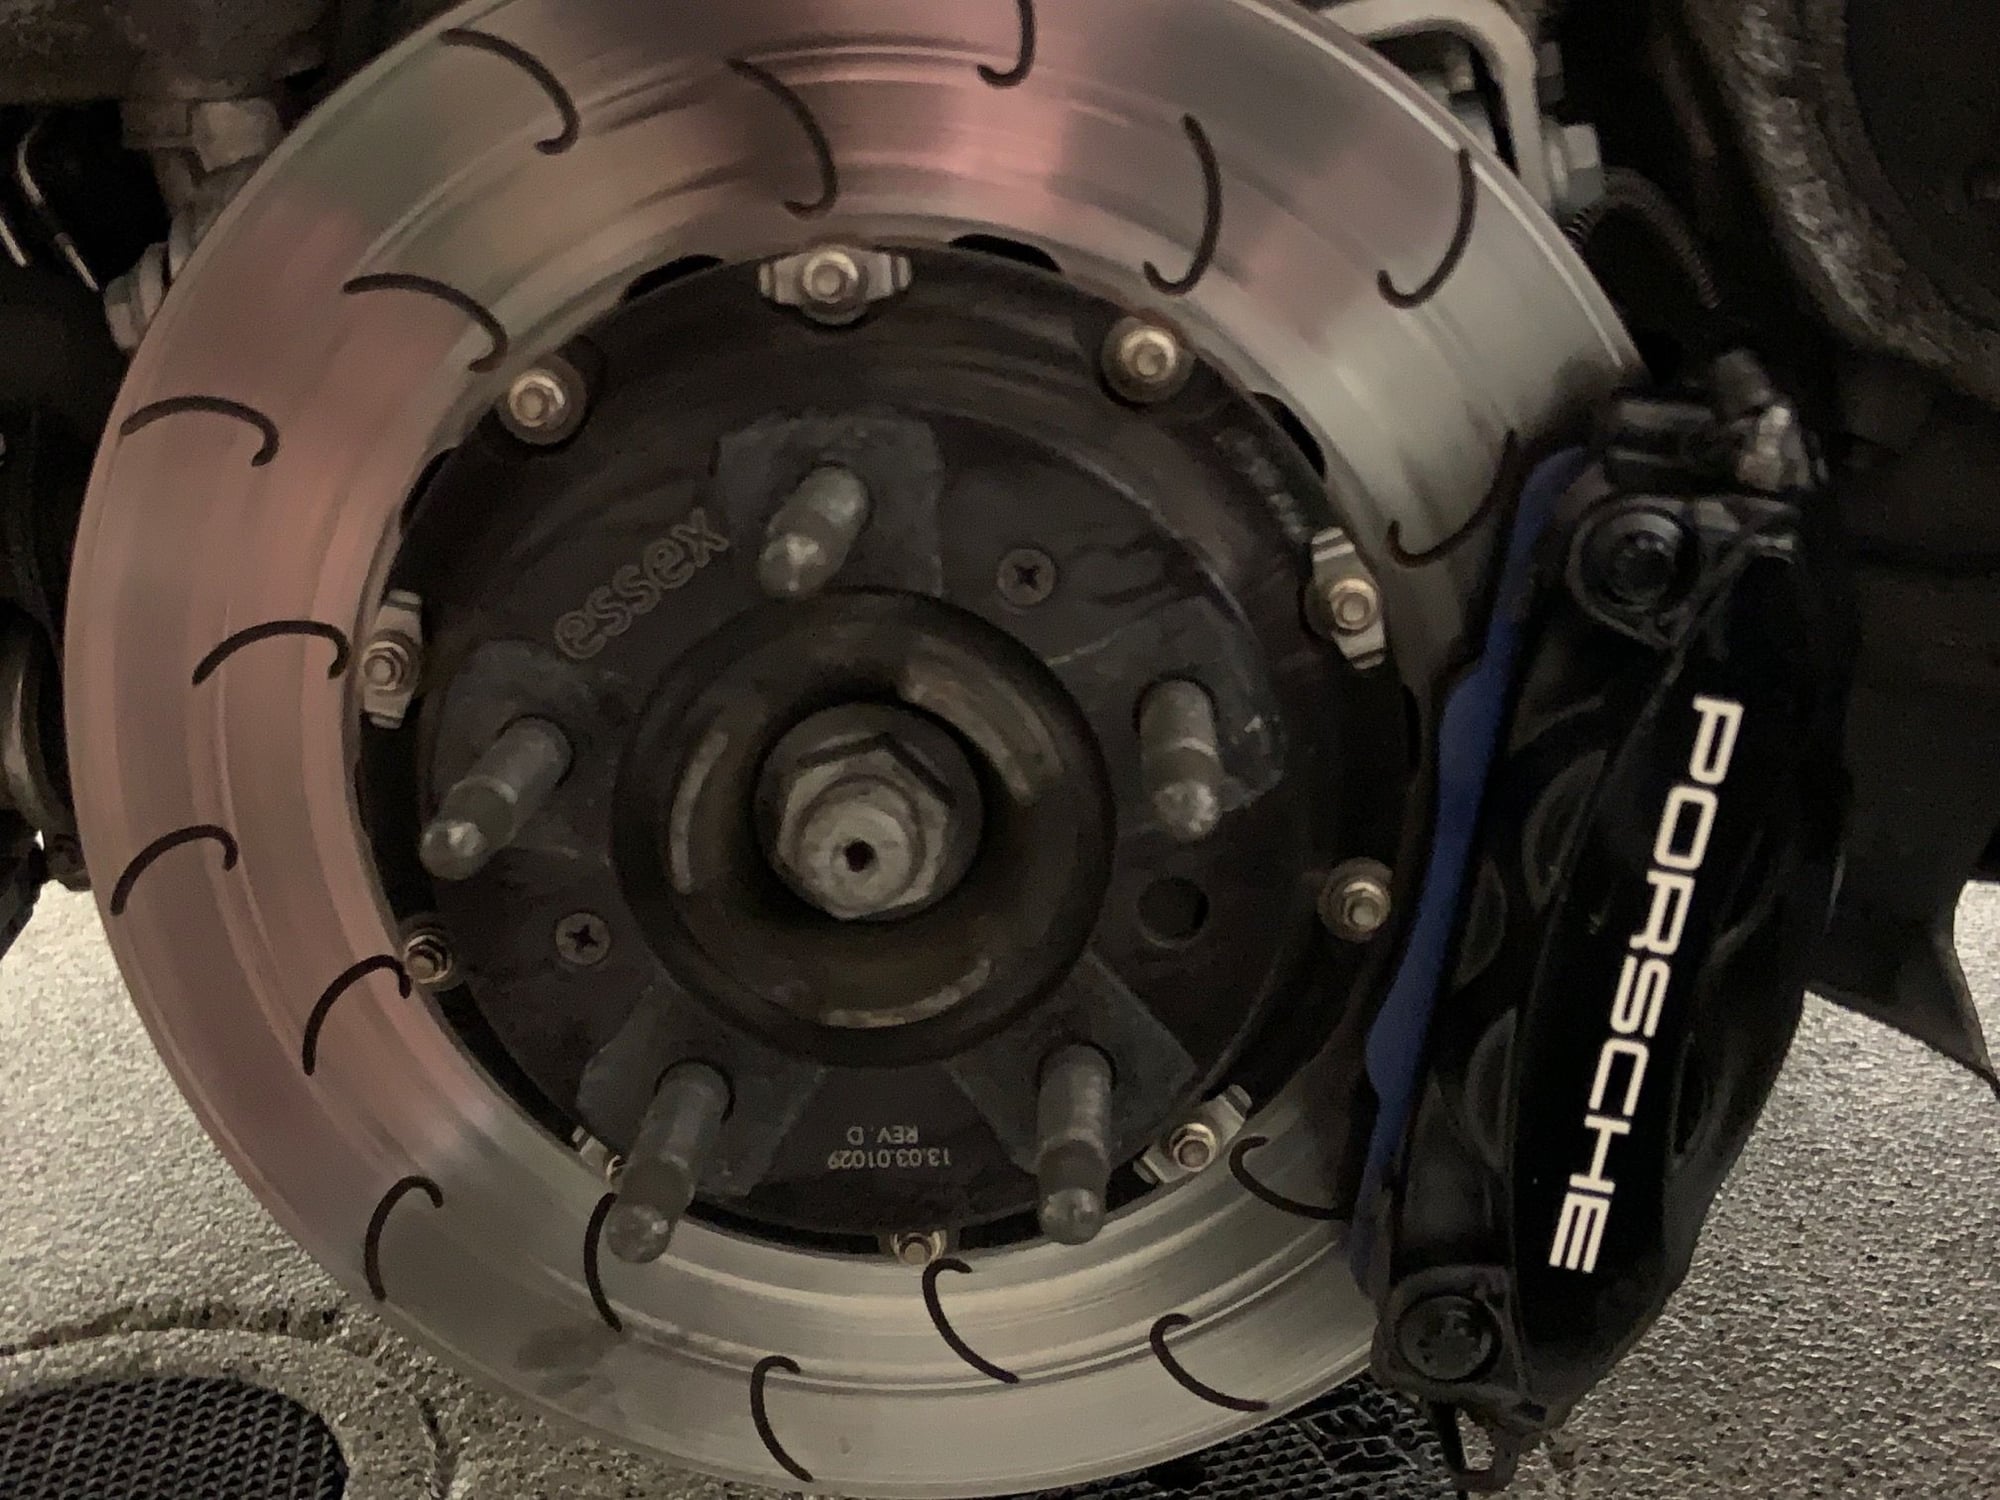
Rear brakes - going purple
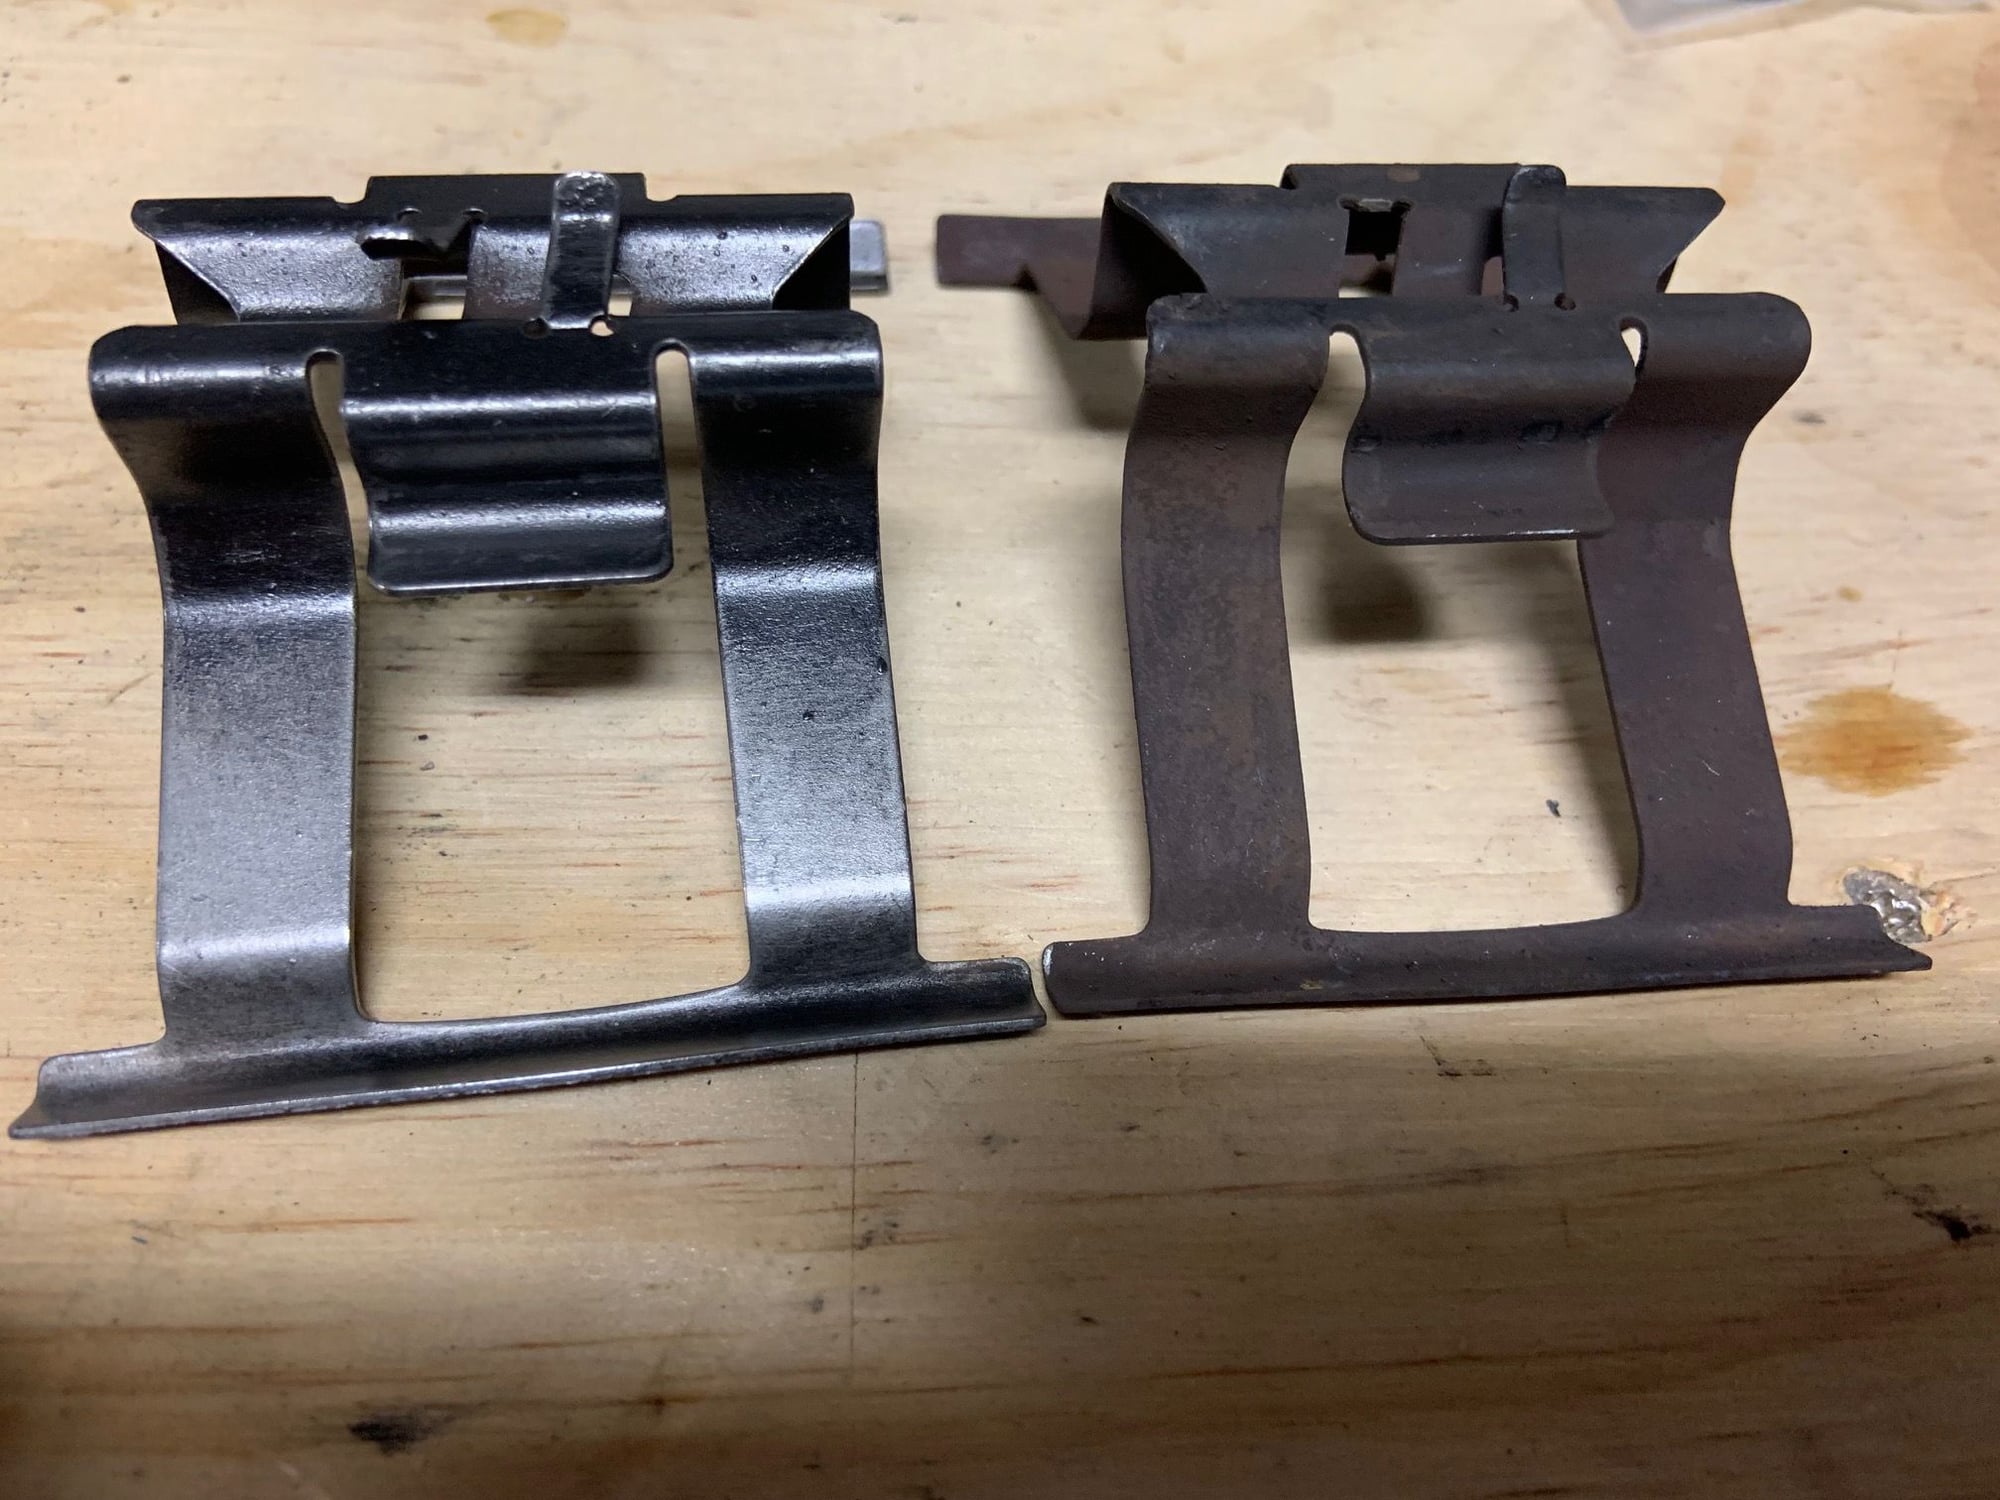
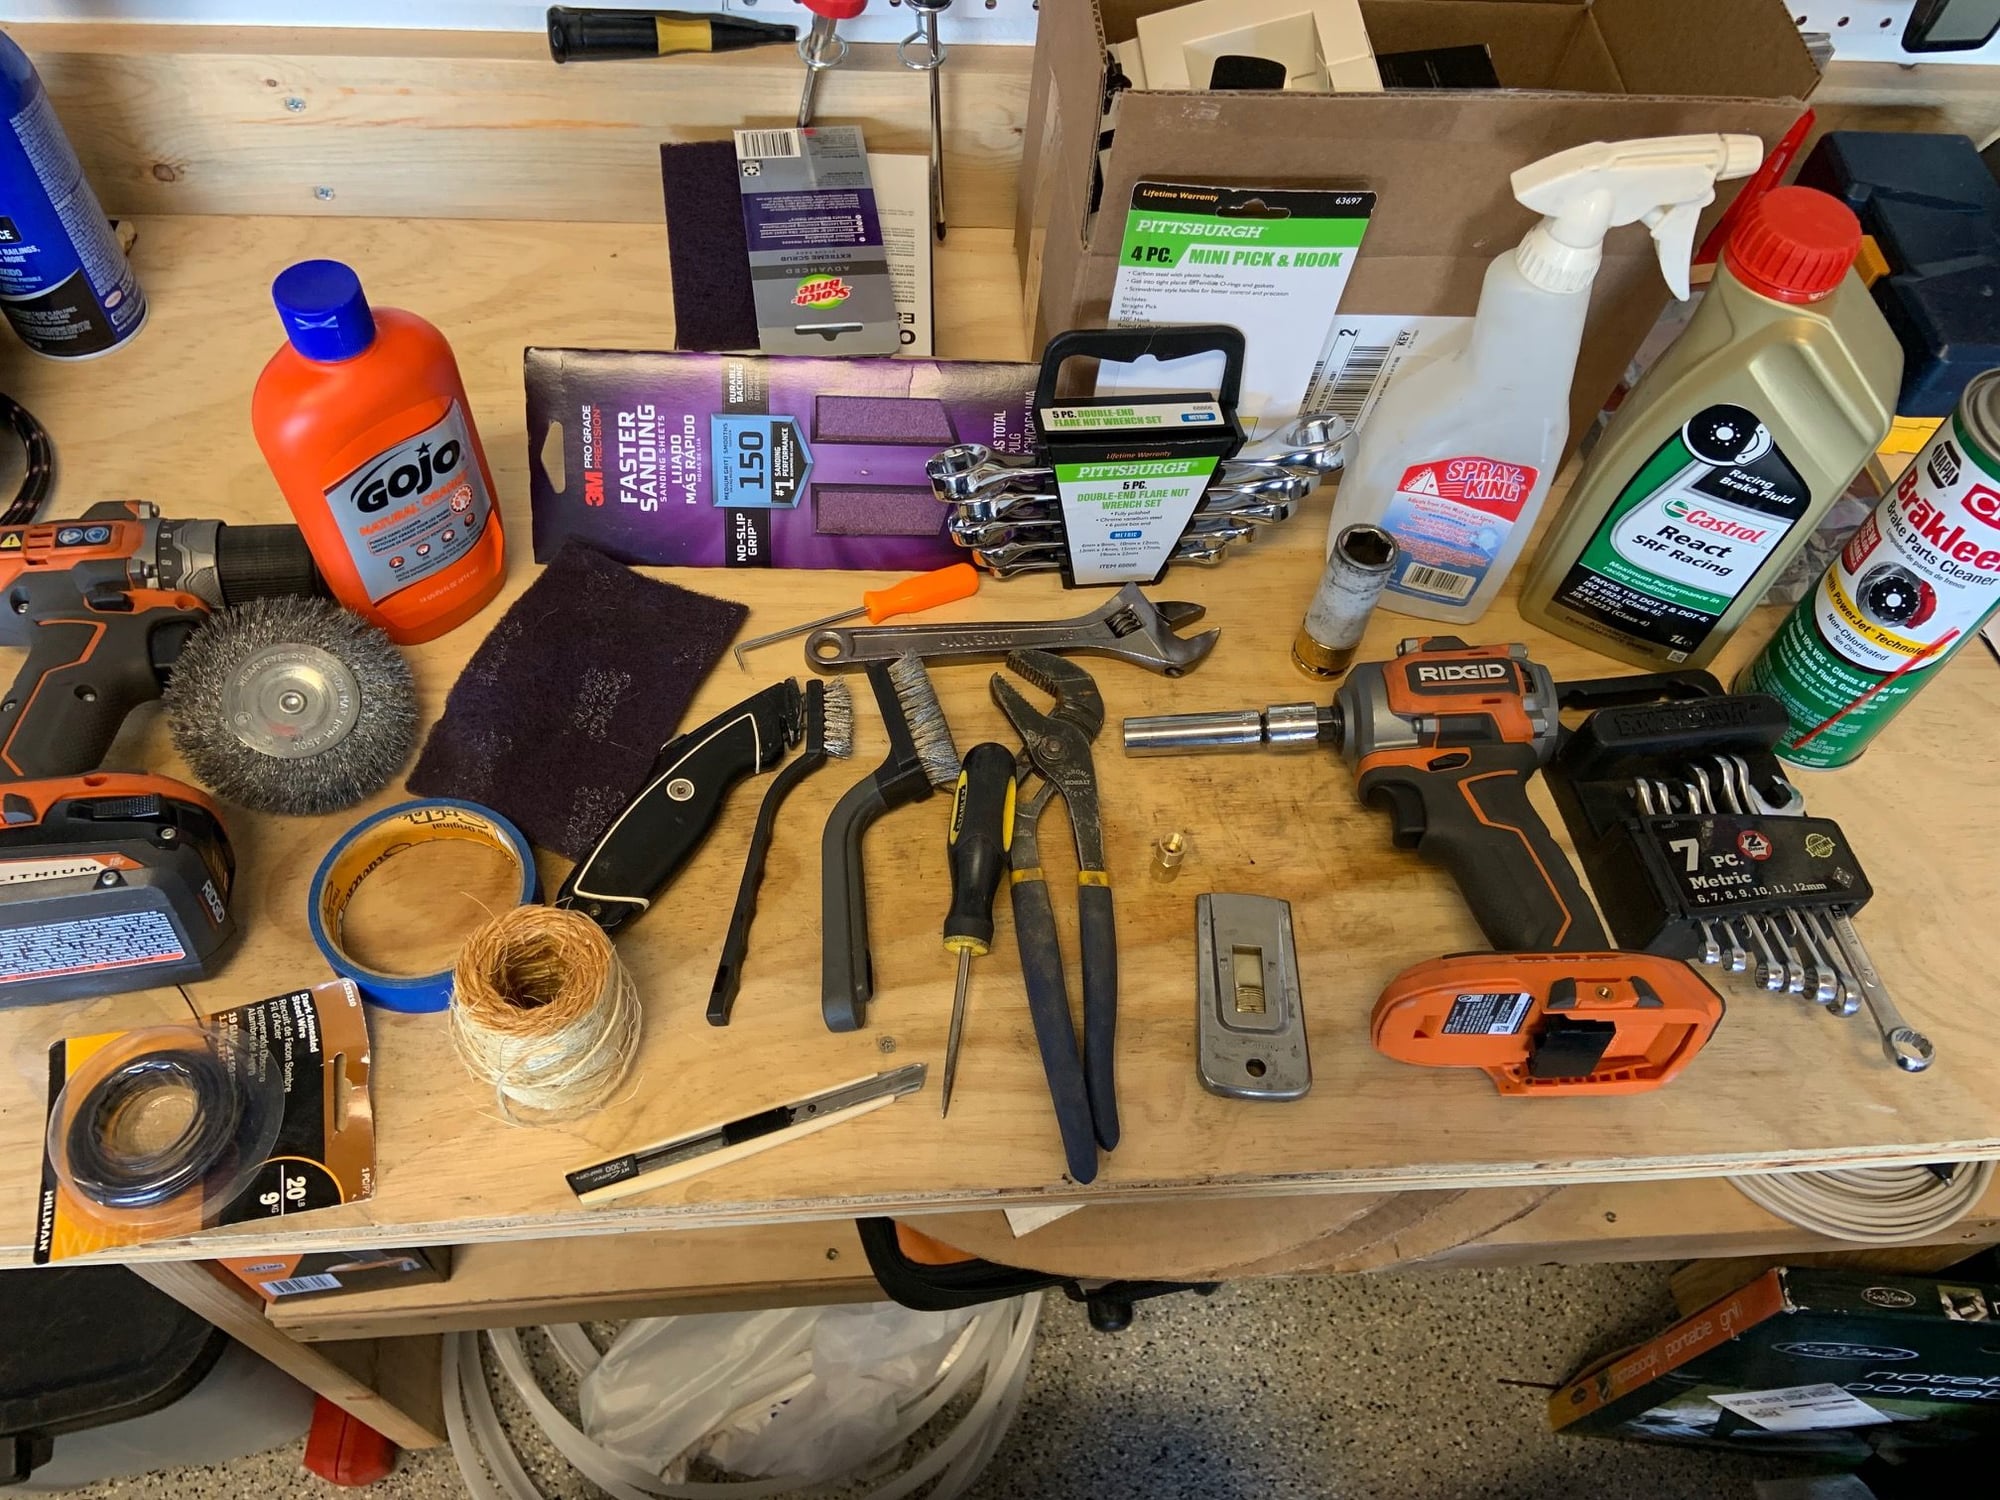
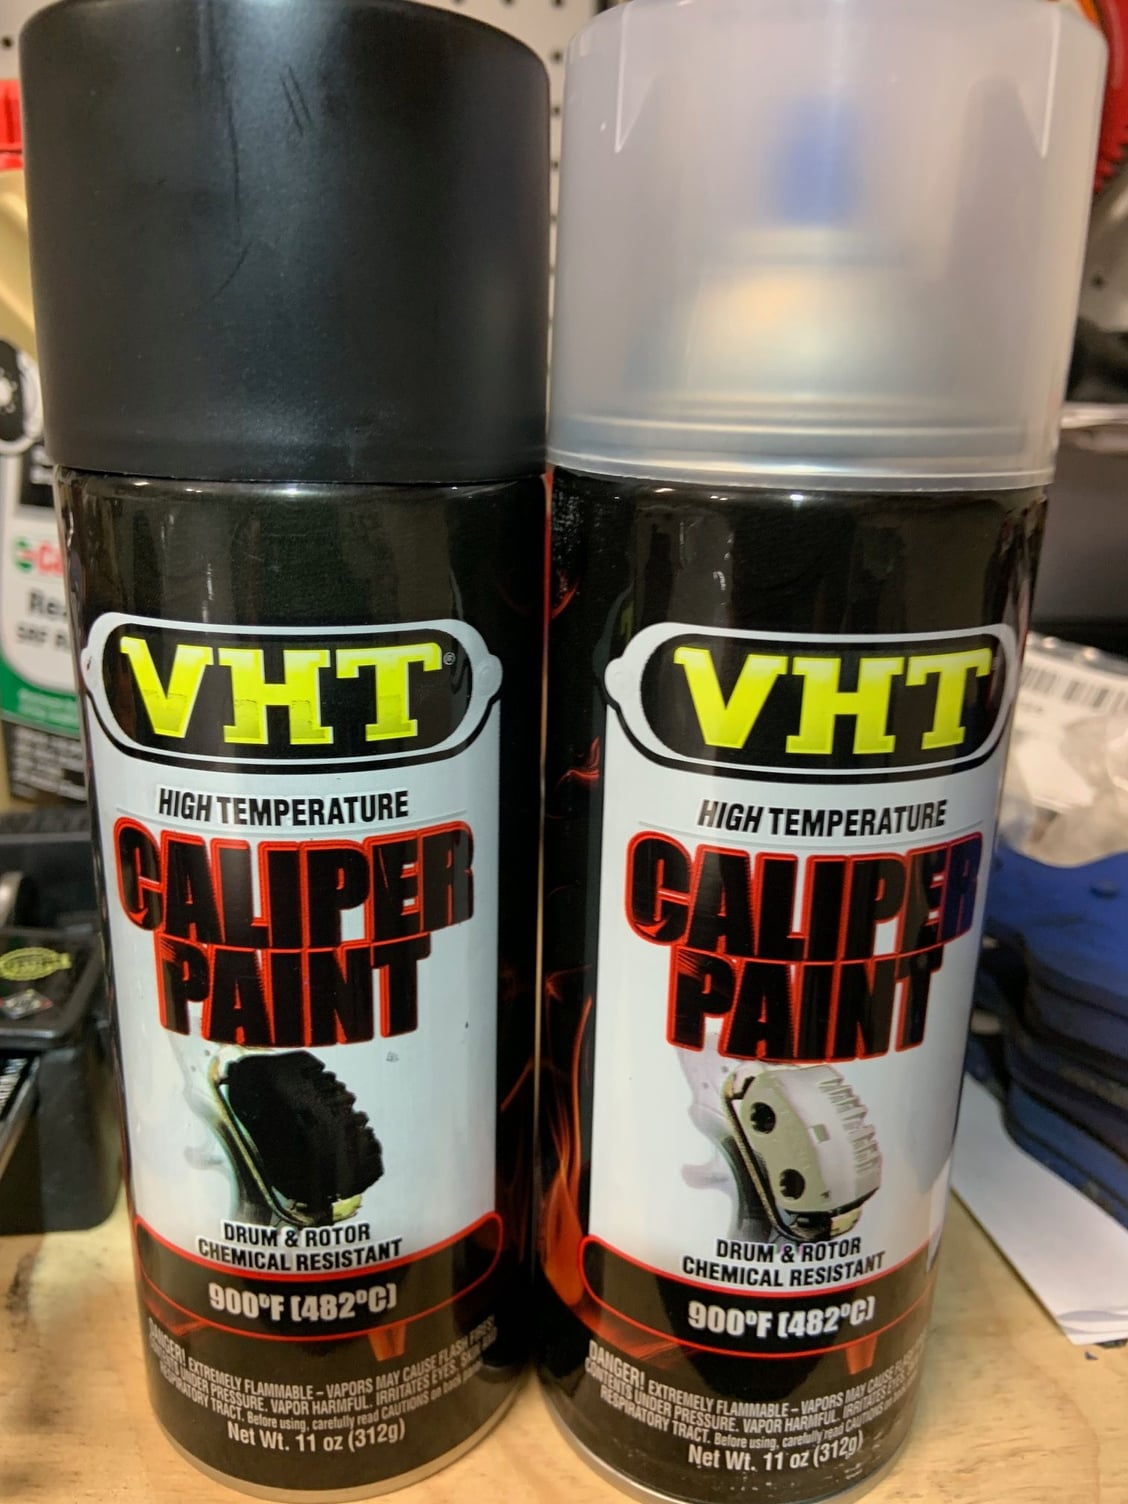
Front Brakes - from gray to purplish Fittings Polobai bought. Grease fittings I had to buy to stop brake fluid from leaking Cleaned calipers Tape job Paint station BBQing some goodness Was super happy here - pre clear coat. Post clear coat and a bunch of screw-ups. More flaws that just pi** me off. Clean brake hardware vs 4 years of wear. Most of the stuff I used to do the job Paint and clear coat Had to used compressor here to get pistons out so I could replace the boots. Be careful, a few may shoot out like a rocket. Toasted boots. They have done their duty. Front caliper Rear caliper
Awesome work, congrats!, I’m sure the imperfections bother you, but I certainly cannot see them on the pics.
I’m not familiar with VHTs caliper paint longevity though I’m assuming is decent. But given the amount of prep work you had to do, I would say that maybe going with powder might be a reasonable option. A lot easier to fix a minor screwup, just dust off and reapply powder, and might be more durable? (not sure here). Just a cheap kit from Eastwood and you’re set to go. I’ve used the HF kit to do my Audi’s calipers and they turned out really good, but Eastwood guns would be better. And you’ll be able to reuse next time they start fading. Just a thought.
I�m not familiar with VHTs caliper paint longevity though I�m assuming is decent. But given the amount of prep work you had to do, I would say that maybe going with powder might be a reasonable option. A lot easier to fix a minor screwup, just dust off and reapply powder, and might be more durable? (not sure here). Just a cheap kit from Eastwood and you�re set to go. I�ve used the HF kit to do my Audi�s calipers and they turned out really good, but Eastwood guns would be better. And you�ll be able to reuse next time they start fading. Just a thought.
I've been using VHT paints since 2010 and like their stuff for calipers, engine blocks, roll cages, suspension. That said, if/when my 991 calipers get nasty I'll consider the powder coat route.
Looks dope-you really put those brakes to work to turn those calipers! You should have let me know, I would have happily sent you the brake line plugs I used or anything else you needed (I still owe you for grabbing that gts bumper for me!). Looks killer-how do you like the j hook rotors? Those are on my list when mine need replacing.
Awesome work, congrats!, I�m sure the imperfections bother you, but I certainly cannot see them on the pics.
I�m not familiar with VHTs caliper paint longevity though I�m assuming is decent. But given the amount of prep work you had to do, I would say that maybe going with powder might be a reasonable option. A lot easier to fix a minor screwup, just dust off and reapply powder, and might be more durable? (not sure here). Just a cheap kit from Eastwood and you�re set to go. I�ve used the HF kit to do my Audi�s calipers and they turned out really good, but Eastwood guns would be better. And you�ll be able to reuse next time they start fading. Just a thought.
Originally Posted by XLR82XS
I've been using VHT paints since 2010 and like their stuff for calipers, engine blocks, roll cages, suspension. That said, if/when my 991 calipers get nasty I'll consider the powder coat route.
I had thought about powder coating but did not research it. I have a feeling that the paint job may not be up to the abuse of coming on and off multiple times a year and if that is the case, I'll go the powder coat route. We'll see pretty quickly as track season starts next week for me!
Nice work! Gotta admit, I kinda miss the purple ish color. Like a badge of track honor. But those rubber boots were toast!
Thanks! Yeah - will see if I can make the black fade!!! I may need to tune the car so I can go faster to get the brakes hotter...
Originally Posted by Ksdaoski
Great job
Thanks!
Originally Posted by polobai
Looks dope-you really put those brakes to work to turn those calipers! You should have let me know, I would have happily sent you the brake line plugs I used or anything else you needed (I still owe you for grabbing that gts bumper for me!). Looks killer-how do you like the j hook rotors? Those are on my list when mine need replacing.
I like the J Hooks but TBH when I replaced my stock rotors I was slow on the track (note, still not very fast). I chose the two-piece as over time it will cost less and I believe it will keep everything cooler. With SRF, the rotors and the Endless pads I've not experienced any fade. It does also appear that rotor wear is less with these than with stock and I have a much more aggressive pad. I was told the J-Hooks wear a bit odd - it grooves in the middle and you can see that happening to me so we'll see if the uneven wear will effect things over time.
Here is a pic with my shoes on - did a ceramic coat on them so I hope it holds up.
Just curious, since you planned to remove the pistons/seals for a rebuild, wouldn't it have been easier (better?) to remove them all prior to paint? Your results look great BTW.

 01-12-2022, 02:38 AM