When you click on links to various merchants on this site and make a purchase, this can result in this site earning a commission. Affiliate programs and affiliations include, but are not limited to, the eBay Partner Network.
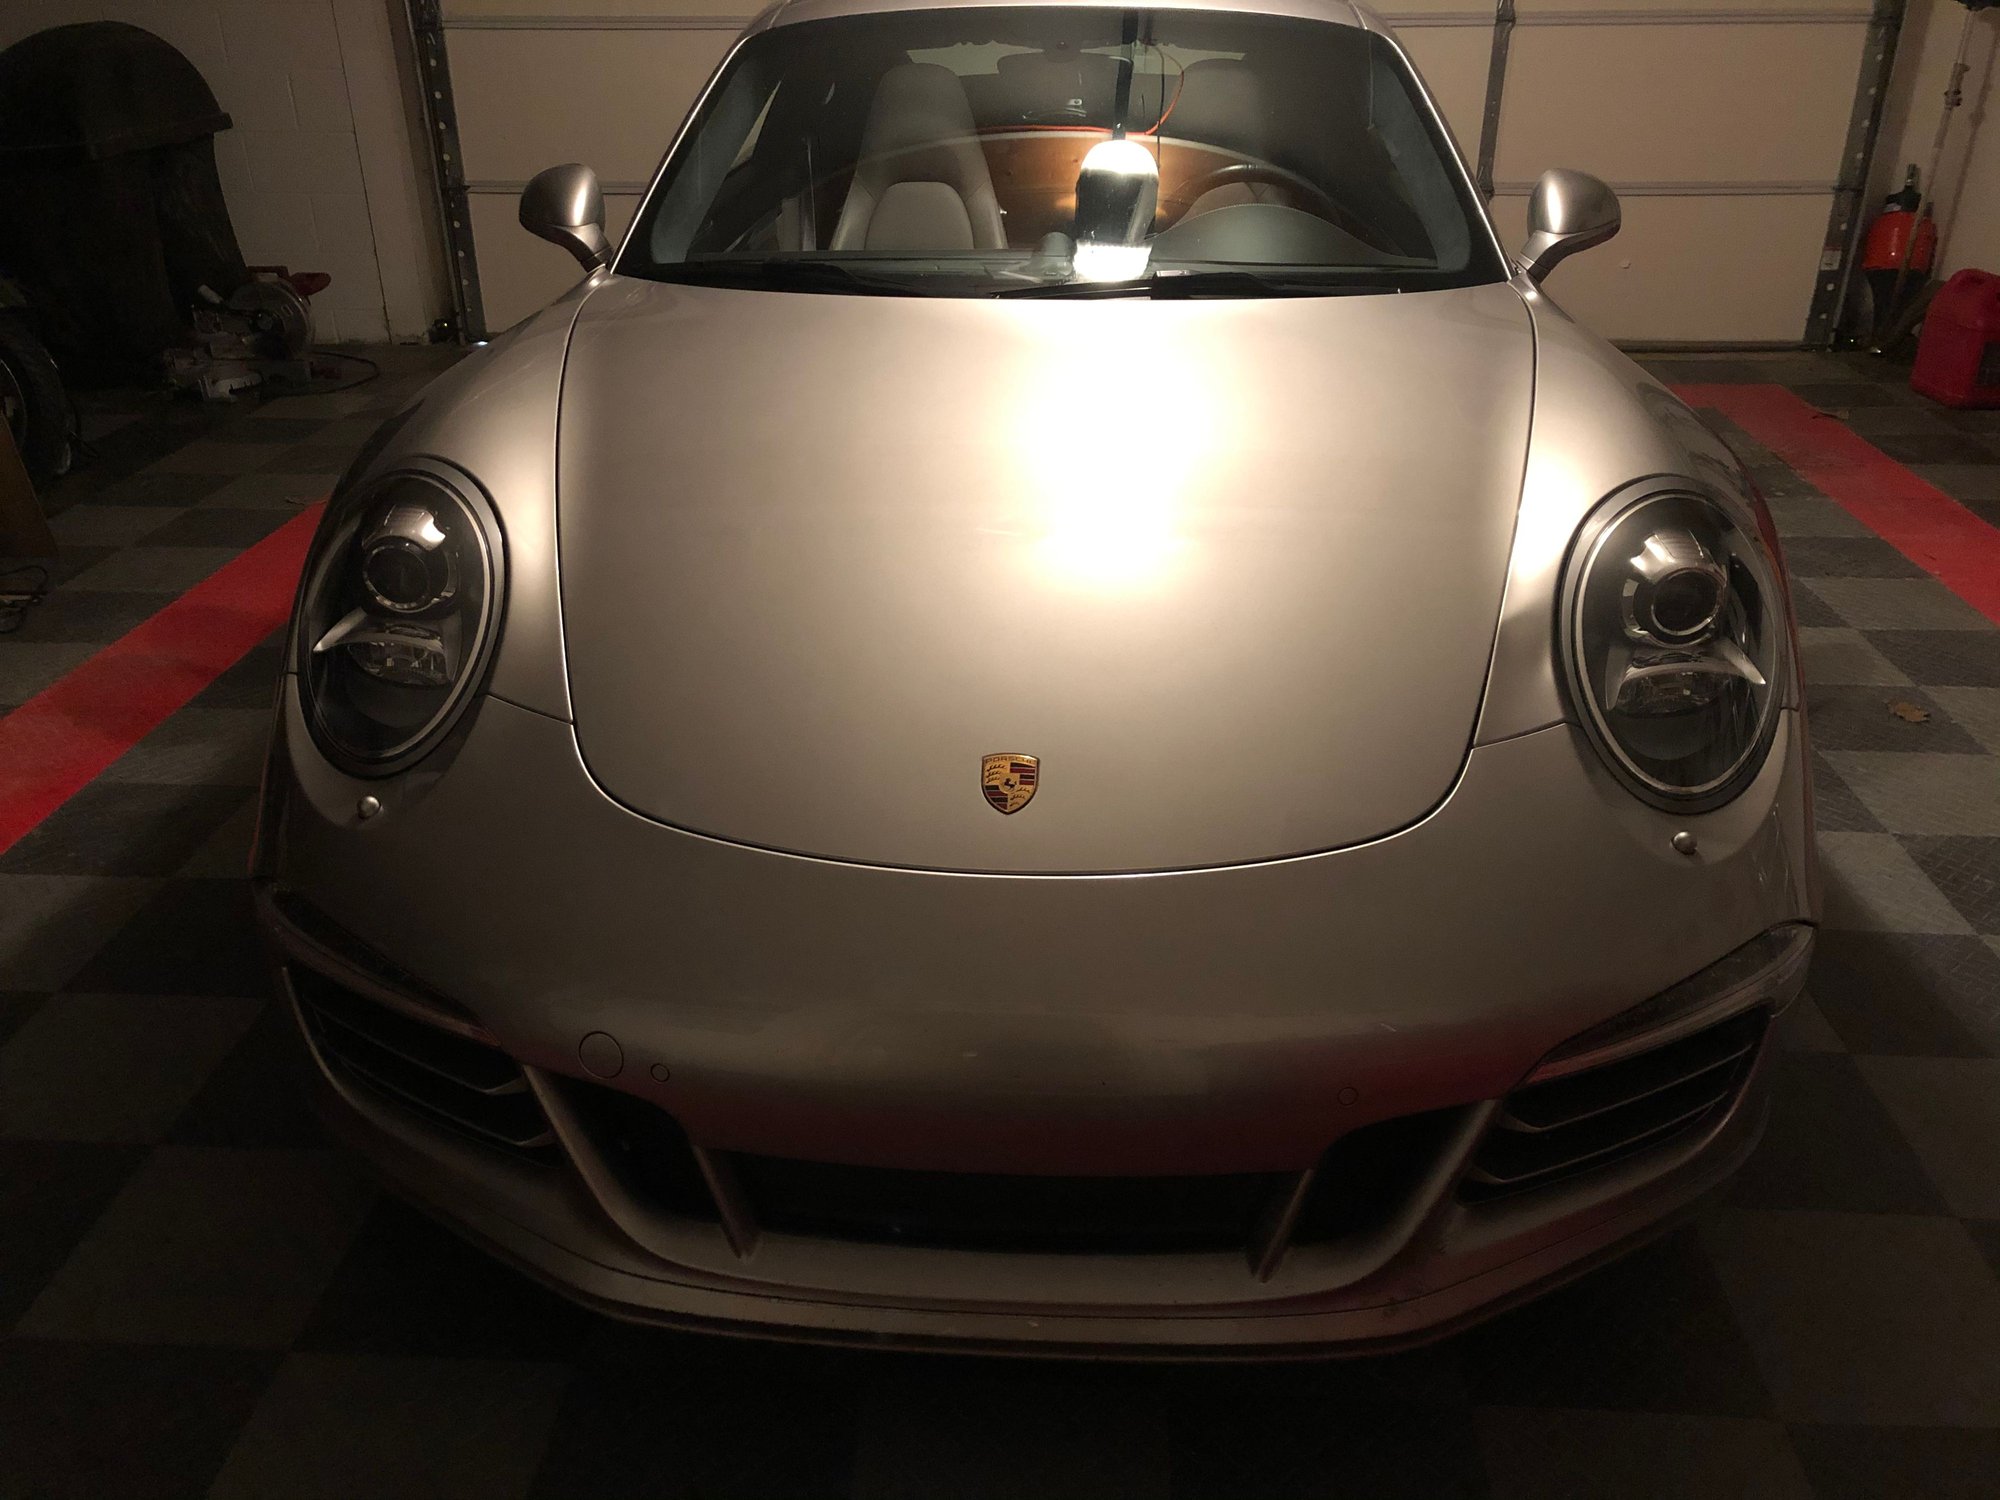
Front bumper repair after hitting gosh knows what a few months ago.
Well as some of you know when I was traveling through Tulsa OK around Thanksgiving during what had to be the windiest evening ever a box or cooler found its way in front of my car and I popped it a good one on the passenger side. It broke my bumper grill fins and lip spoiler up pretty good plus it popped the lens off my side marker.
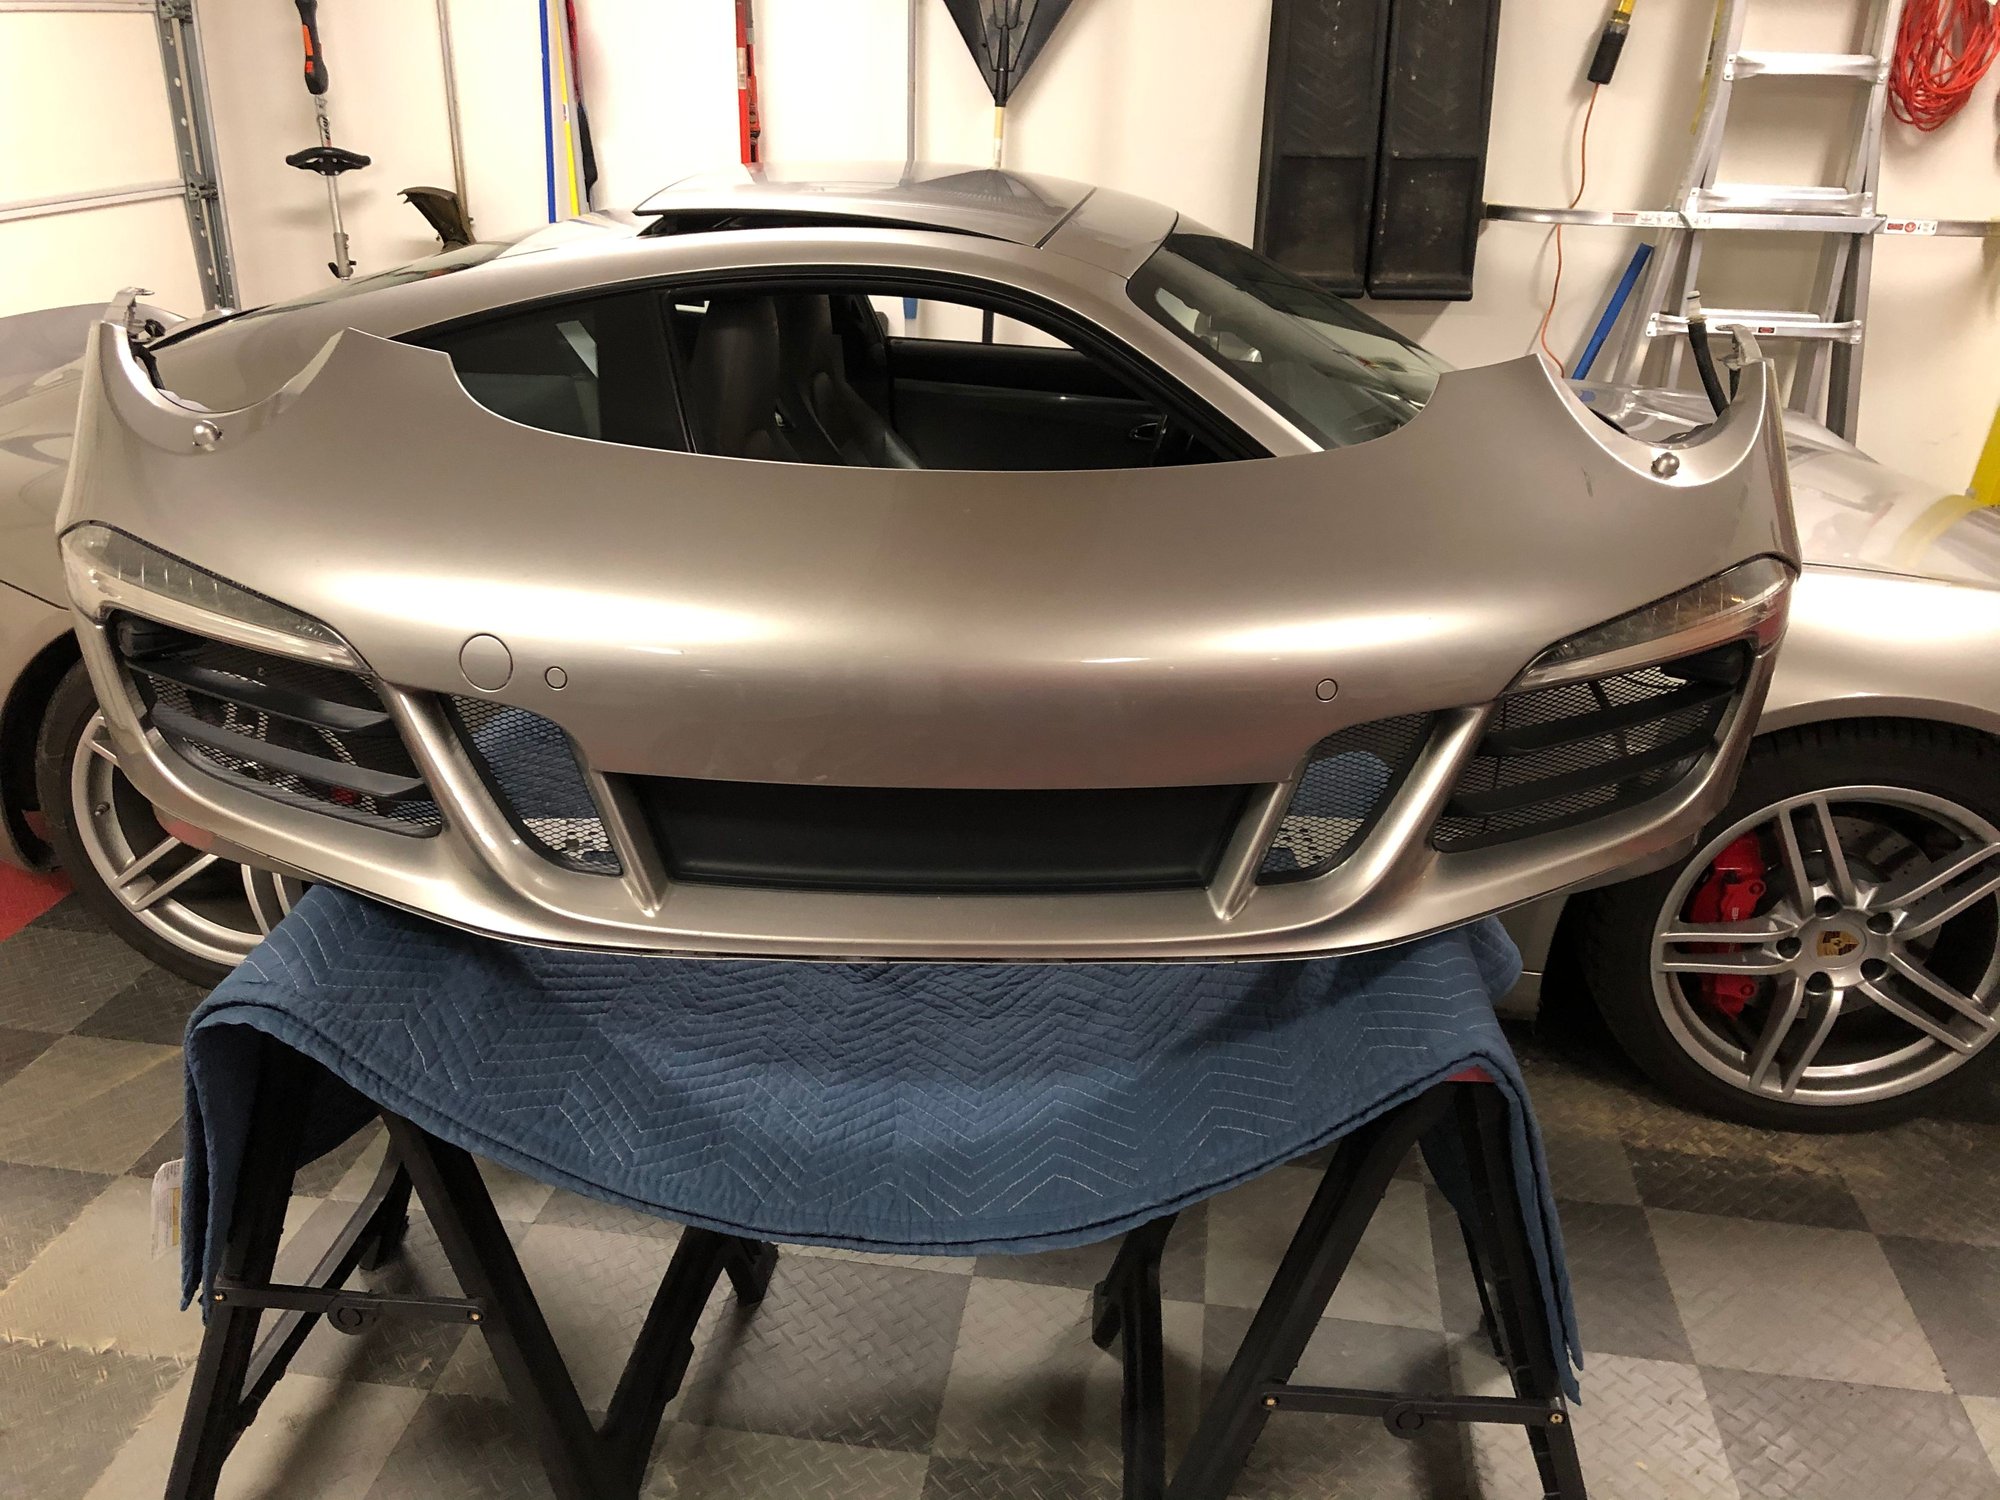
This week I finally got around to removing the bumper to see what all was screwed up and ordered new parts to fix me up.
Parts purchased:
Bumper Fin (x2)
Air Duct
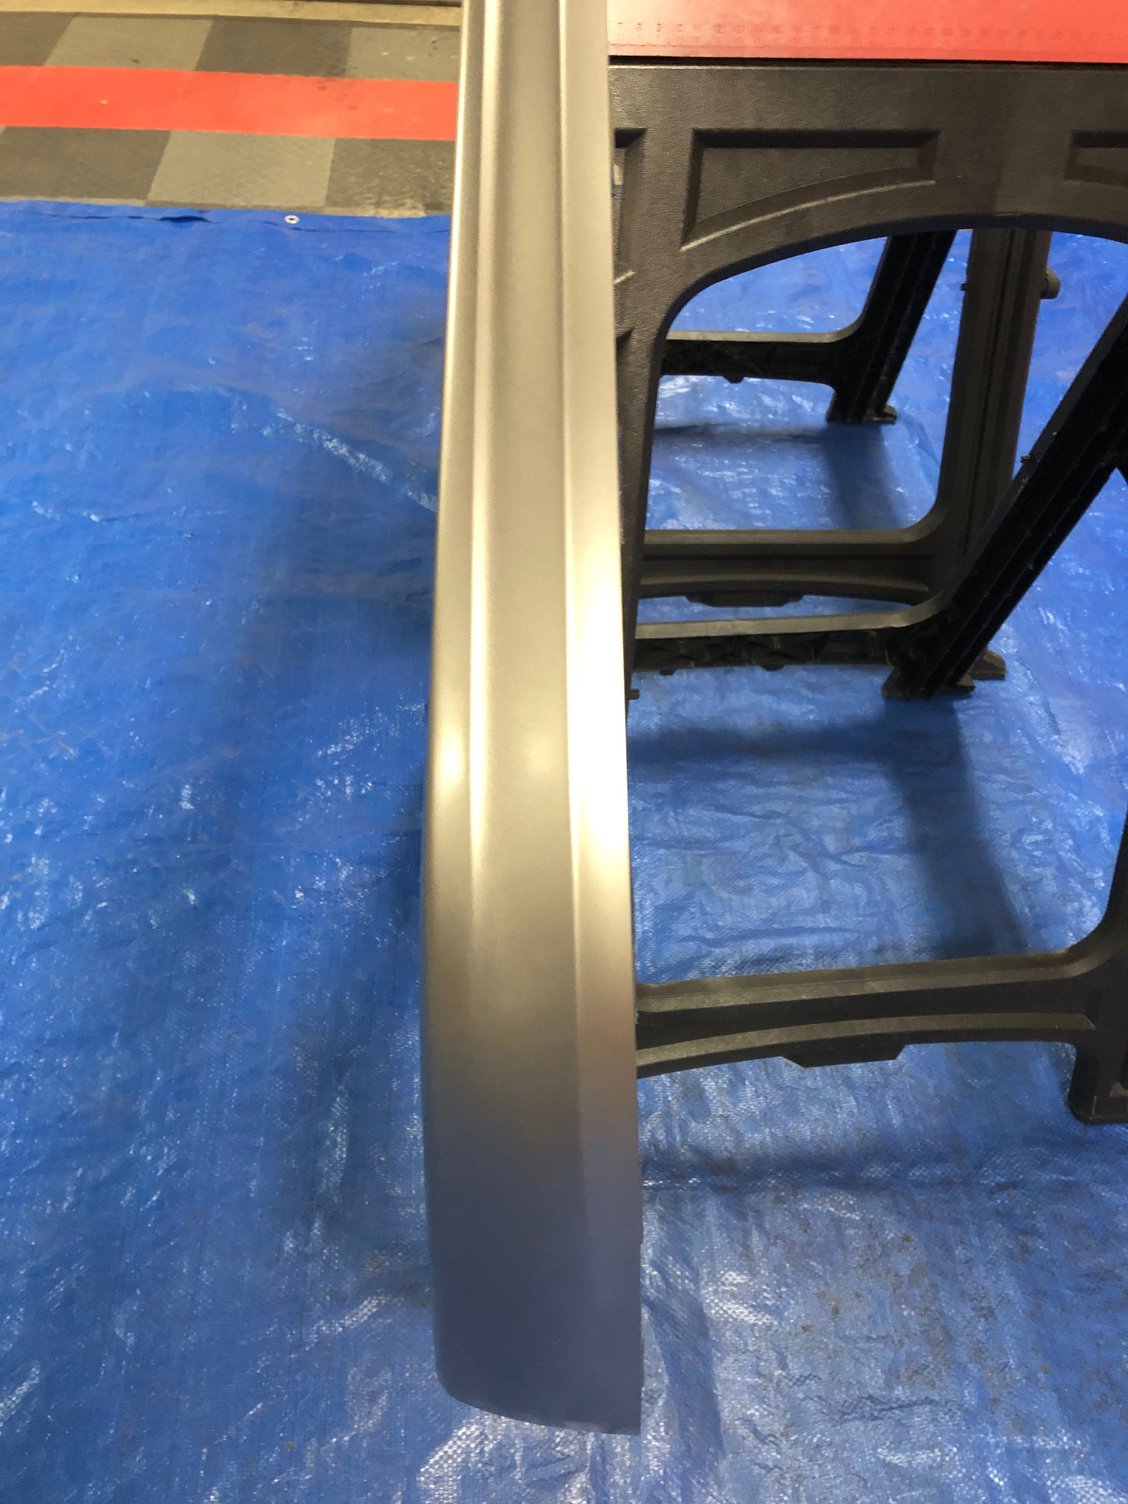
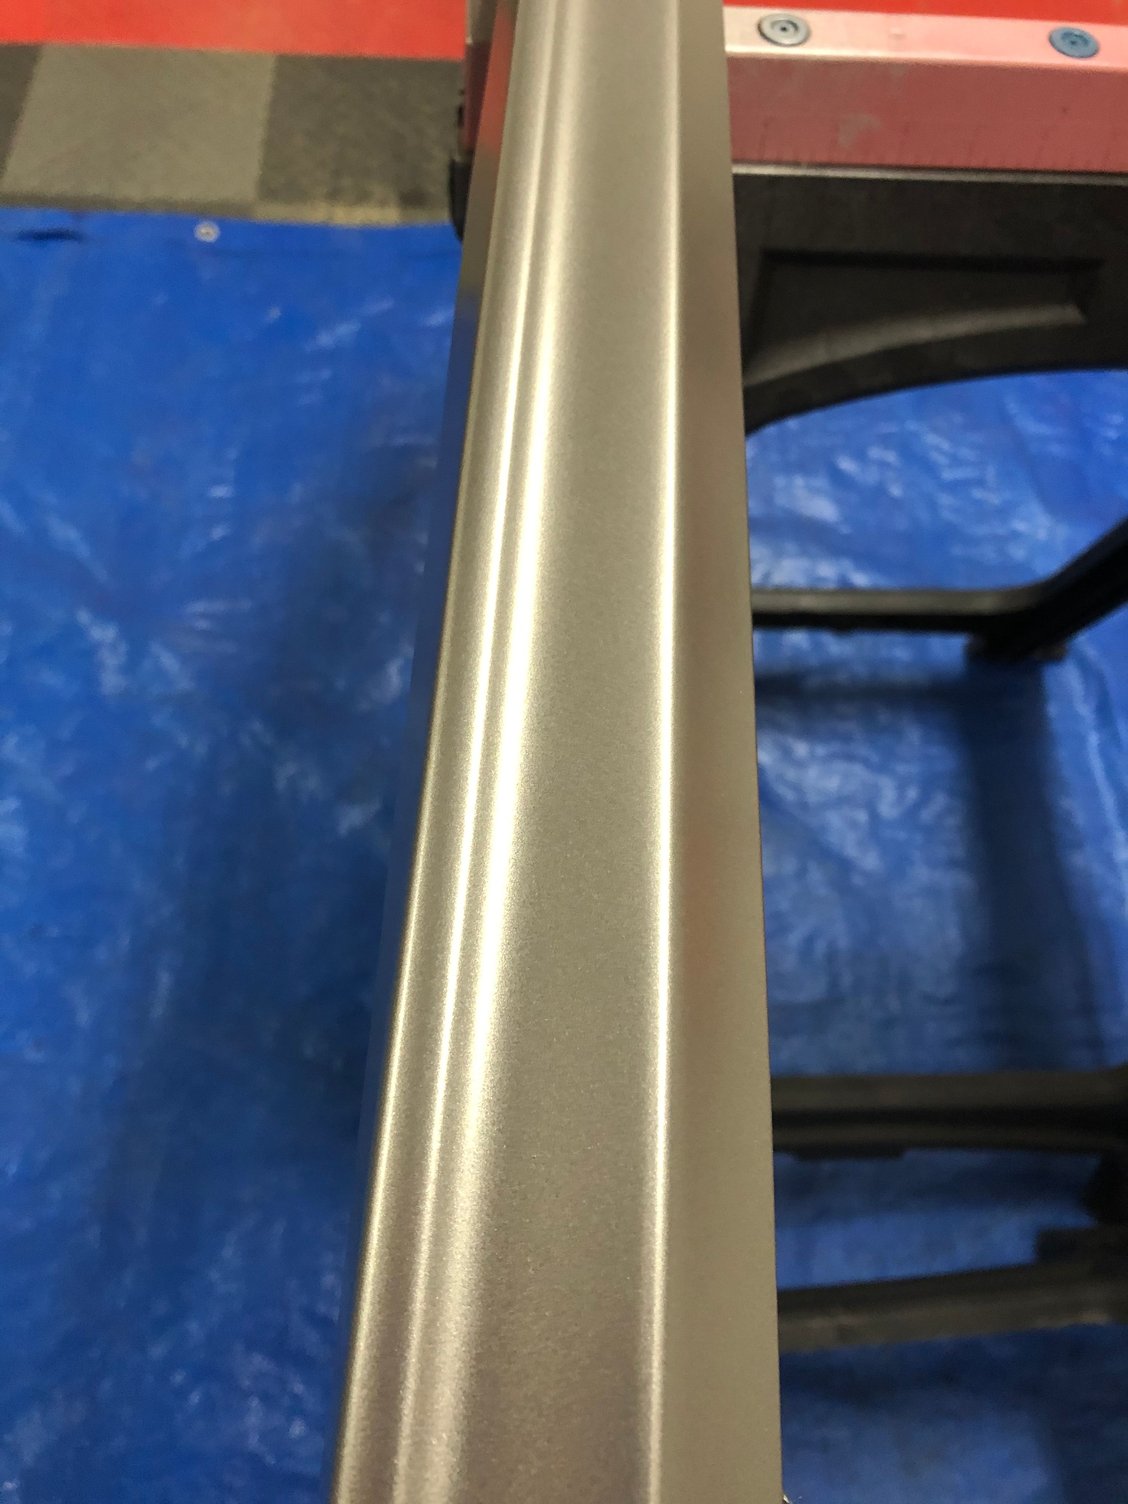
Lip Spoiler
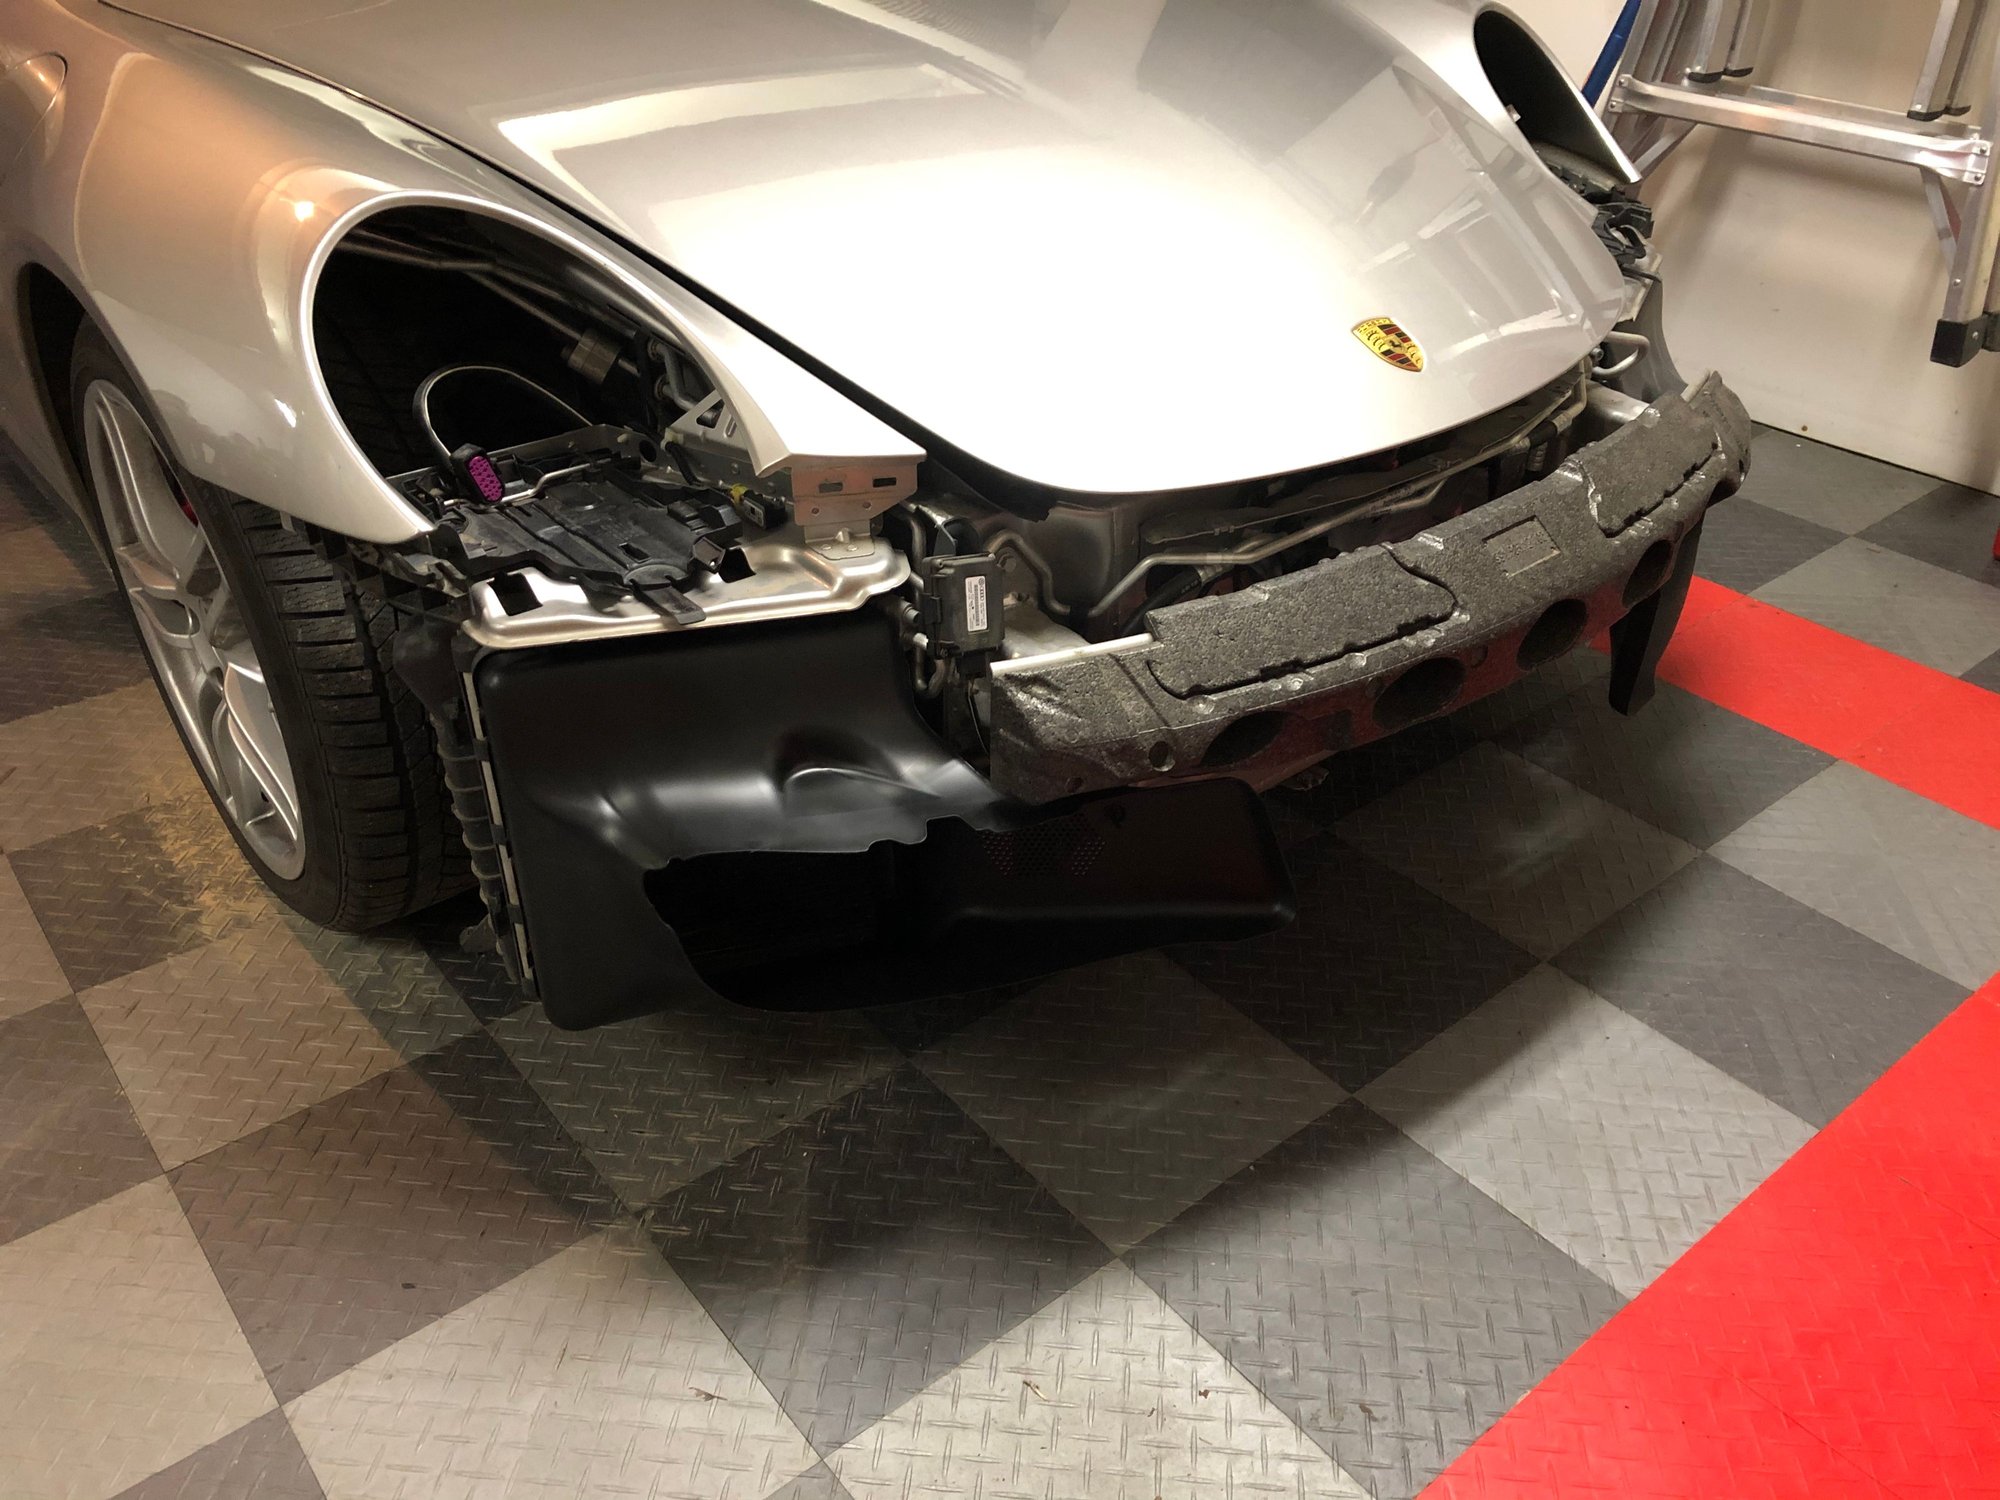
Car damage:
And the deer damage from a few months ago: (dent by drivers headlight)
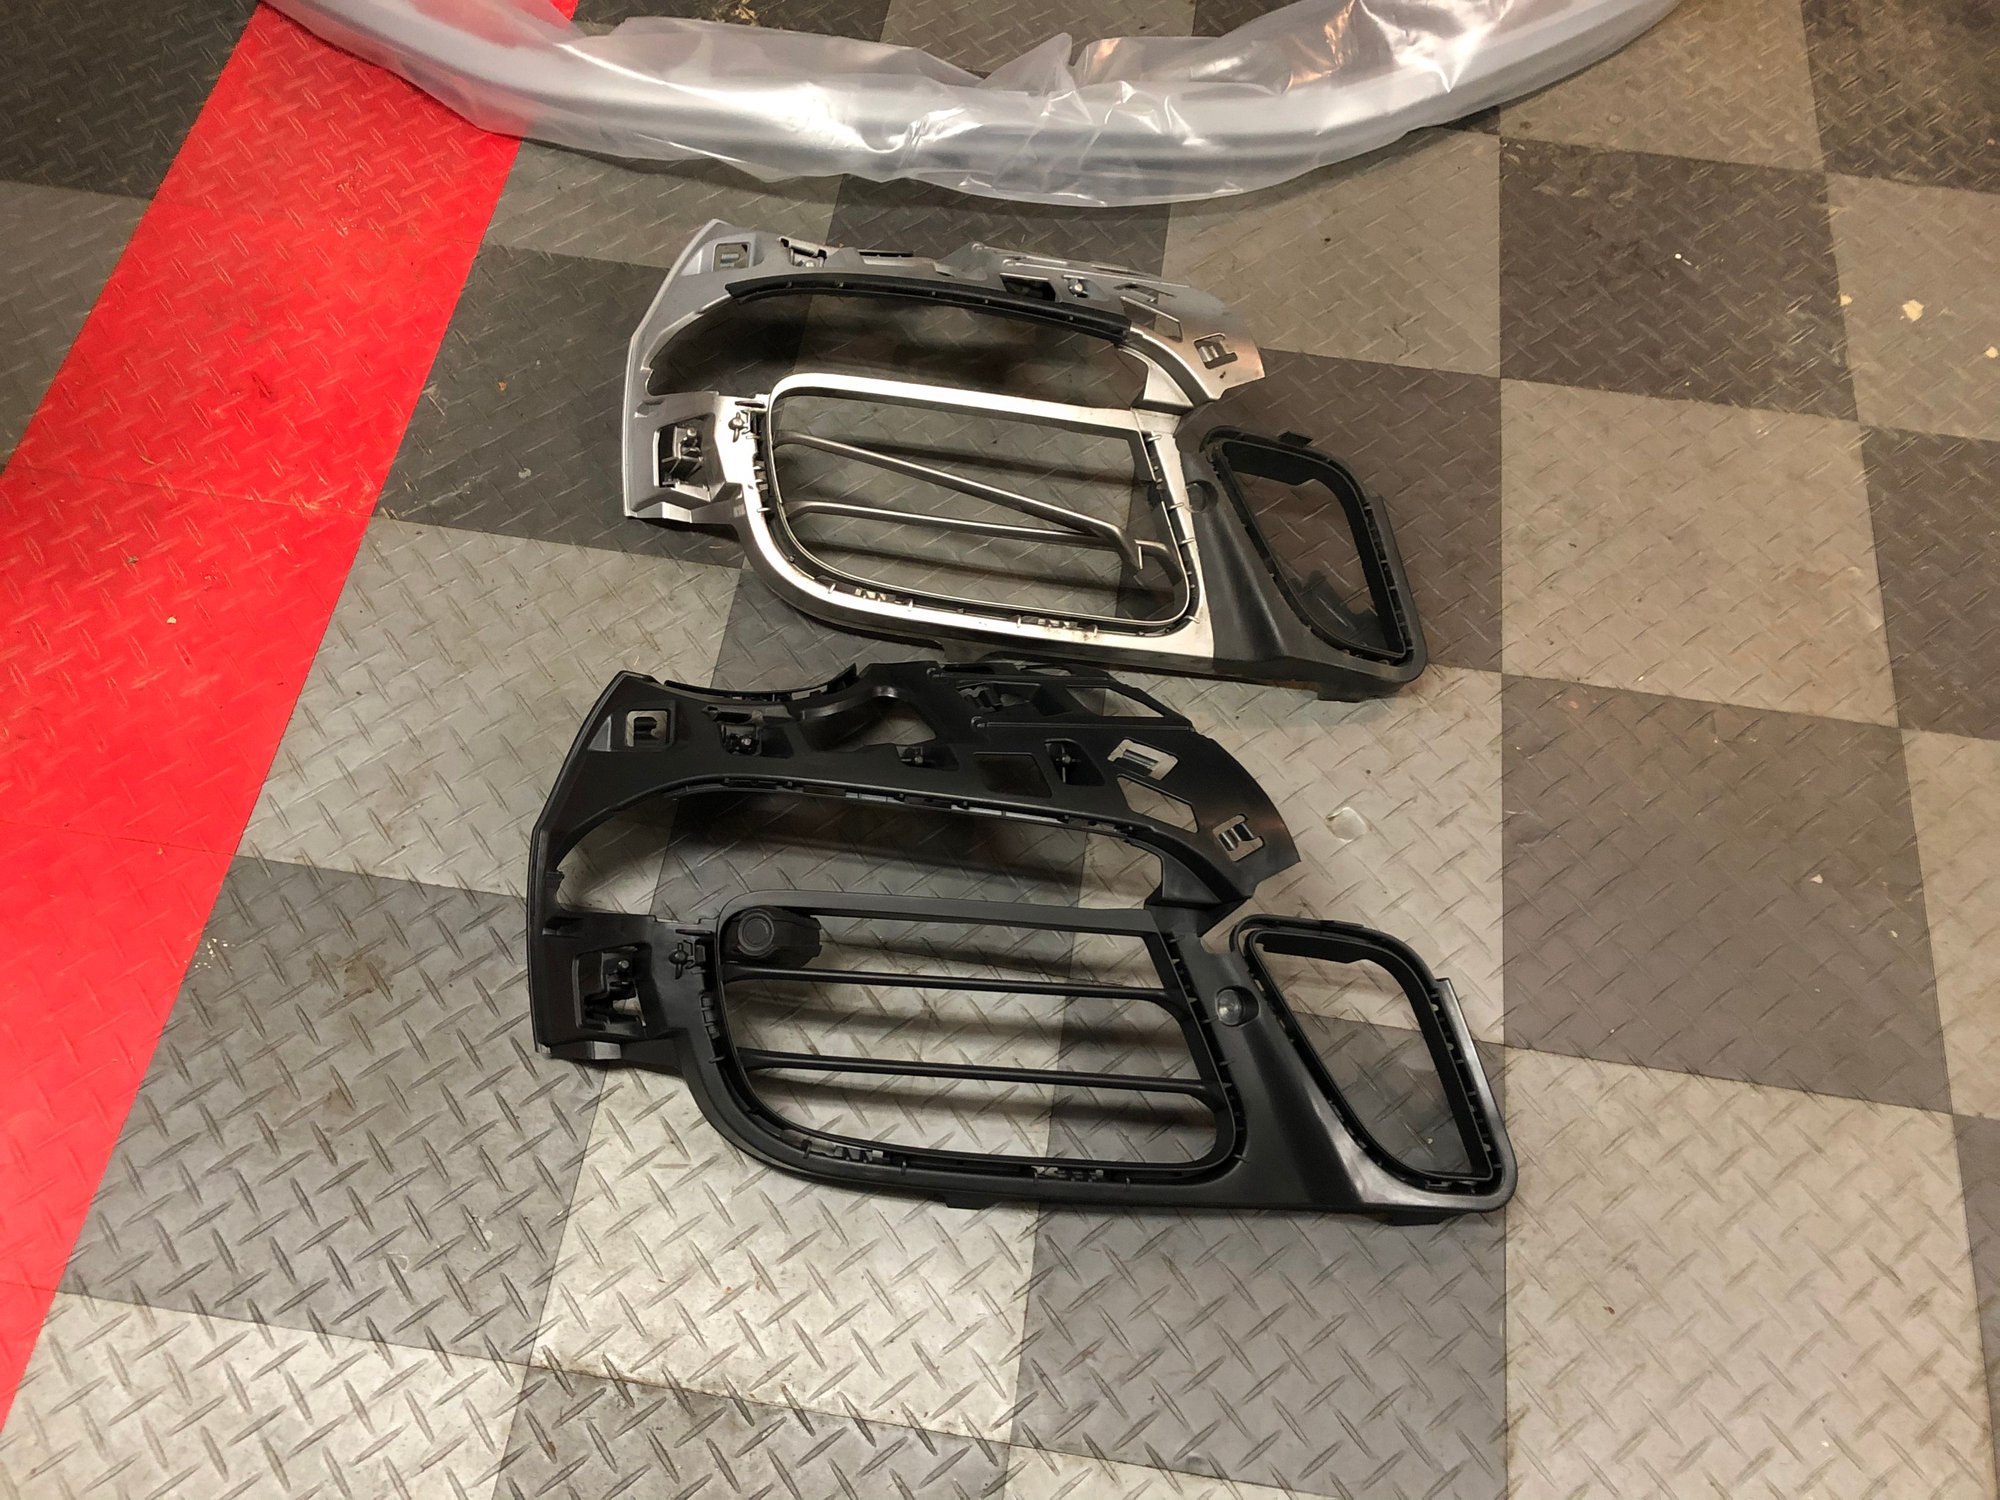
When I ordered the bumper fins which in fact is a big piece of molded plastic that holds everything on the inside of the bumper ..... I was planning on just painting it to match like my car was optioned, but the replacement piece is a textured plastic not smooth so I decided to change out the other side as well so they both would be black.
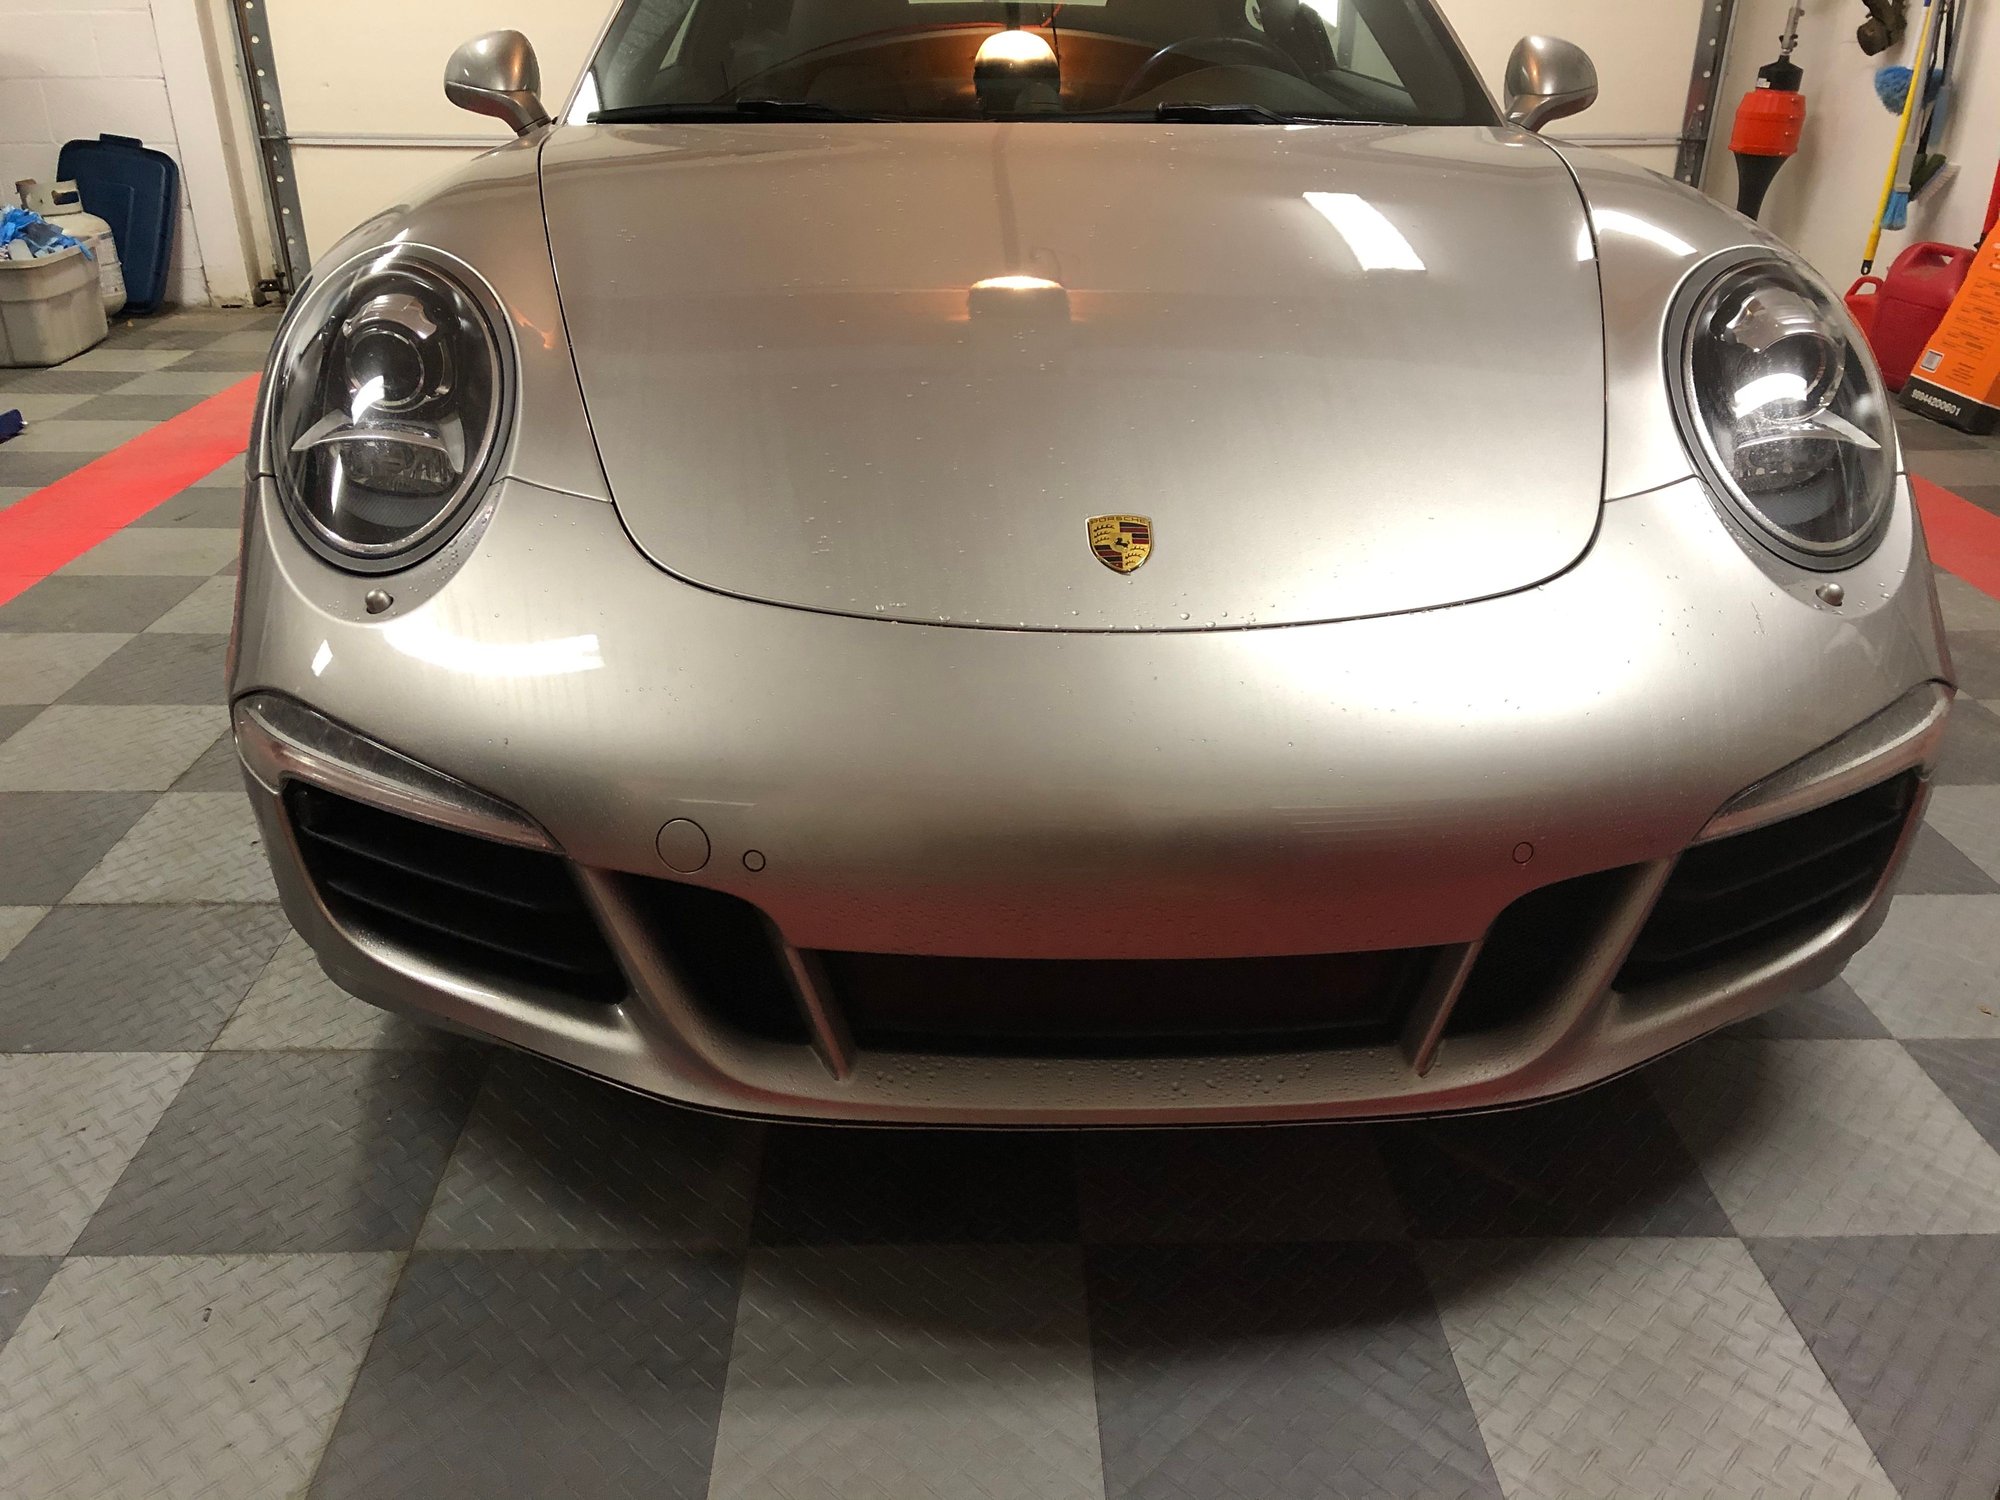
Got my bumper back together tonight and reinstalled my Rennline screens:
This plastic retainer piece has so many tabs that it was a PITA to remove. The tabs are so stiff they break if manipulated enough to remove the piece.
Went from painted fins to black:
New duct piece just snaps in place:
I do have a new lip spoiler but it needs painted before installation. Paint is ordered (https://www.automotivetouchup.com/) so it might take a few days/weeks to get according to the web site. So I'm going to drive around w/o it for a while.
Tomorrow a mobile dent guy is coming over to take car of some dents I've accumulated over my 6 years of ownership and hopefully pull my fender back where it needs to be from hitting a deer a few months ago. Everything (minus the lip spoiler) should be back on the car tomorrow.
Last edited by CSK 911 C4S; 01-25-2020 at 08:04 PM.
I did order the Rennline kit that had the center screen but since I don't have the center radiator it won't fit/install.
The current screen have been installed for 4 years....... I just had to remove and reinstall after replacing the bumper fin pieces.
I do like the look of the newer screen kits that come with a screen the since of the entire opening so even us that don't have the center radiator could install.
BTW: The spray paint for the lip spoiler is being delivered today. I should be able to get a few coats of base on today.
Whats the part number on those bumper fins. One of mine seems to be have chewed by a dog or animal prior to purchase
If you have the 991.1 sport design bumper the parts I replaced are:
I purchased all through my local dealer.
Pricing was on point, 24 hour turn around when I ordered the pieces before 10am, and no charge for shipping.
991-505-983-01 Sport Design Lip Spoiler - $225
991-505-986-00-1E0 Retaining - Fin Piece - Left Side - $160
991-505-986-00-1E0 Retaining - Fin Piece - Right Side - $160
991-575-984-00-1E0 Air Duct - Right Side - $103
Last edited by CSK 911 C4S; 01-17-2020 at 12:42 PM.
Did you paint yourself? Do you have a certain process you follow?
The only piece i'm going to paint is the lip spoiler and it's supposedly primed and ready for paint. Right now it's still wrapped up so I'll see when my paint arrives today just how well it's prepped.
The factory painted fins that were on my car were a smooth plastic and the replacement pieces are a textured plastic so I decided to change both out to black to avoid all the paint prep and sanding. Plus over all I like the black fins better.
Once I paint the lip spoiler I'll post up how the color match really is. I'm hopeful. Automotivetouchup.com has a few DIY videos that I've watched so it should be pretty straight forward.
Last edited by CSK 911 C4S; 01-17-2020 at 12:44 PM.
Great DIY job! You saved a ton of $$$ and you know it�s done right, no short cuts!
If there was structural damage or the bumper itself was cracked and needed to be replaced the car would be at a body shop.
I'm already dealing with the insurance co with the fender and headlight after hitting 2 deer so I didn't want to rock the boat with a 2nd claim so soon.
A few steps forward and then took a few steps back today.
Forward steps:
1) Dents repaired. Door ding and rear panel ding I'm 100% satisfied. The dents caused by hitting deer I'm about 85% satisfied. Fender to hood gap looks better and the headlight fits like it should but the dent on that little piece between the headlight and the hood which was pushed in is now out but not really 100%. Once everything is back together I bet I'll be happier. I was trying to avoid replacing a fender, painting..... etc.
2) Paint arrived for the lip spoiler. I'll paint tomorrow.
Backward steps:
During the process of dent removal and installing and removing the headlight a few times I noticed the light not fitting just right. Upon further inspection a tab is broken on the light mounting tray. Part is now ordered but with Monday being a holiday I'll get it Wednesday. So delayed in putting everything back together since the bumper has to be removed to get to the bolts that hold the tray in place. Oh well it will give the paint on the spoiler a few days to cure before installation.
Thank you for sharing your experience! One thing that I noted in your post is that when dealing with plastic "tabs" yes they can be quite stiff and a PITA to deal with - the potential for breaking is nerve-wracking! Next time you can try a trick that I picked-up some years back.... If you have a heat gun or even a hair dryer around, try heating the tabs. I've found that most of the time a bit of heat makes the tabs, and even the slots the tabs are inserted pliable (don't heat so much you mar the surrounding paint tho!). Being pliable you won't break them off as easily.... YMMV of course.
I have the spoiler balancing on some deep well sockets secured to the horses so I could paint the edges of the spoiler.
After 3 coats with 10-15 minutes between coats I'm going to give it a good 30 minutes before the 4th coat.
I only masked the mounting tabs before painting to try to avoid any pealing from tab movement once installed.
BTW this paint is very strong solvent/odor wise. I spray with the garage door open ...... wait a few minutes........ and then close to keep the heat in and it's still getting me pretty good. A good respirator would be an upgrade if doing this again.


 01-16-2020, 11:31 PM