When you click on links to various merchants on this site and make a purchase, this can result in this site earning a commission. Affiliate programs and affiliations include, but are not limited to, the eBay Partner Network.
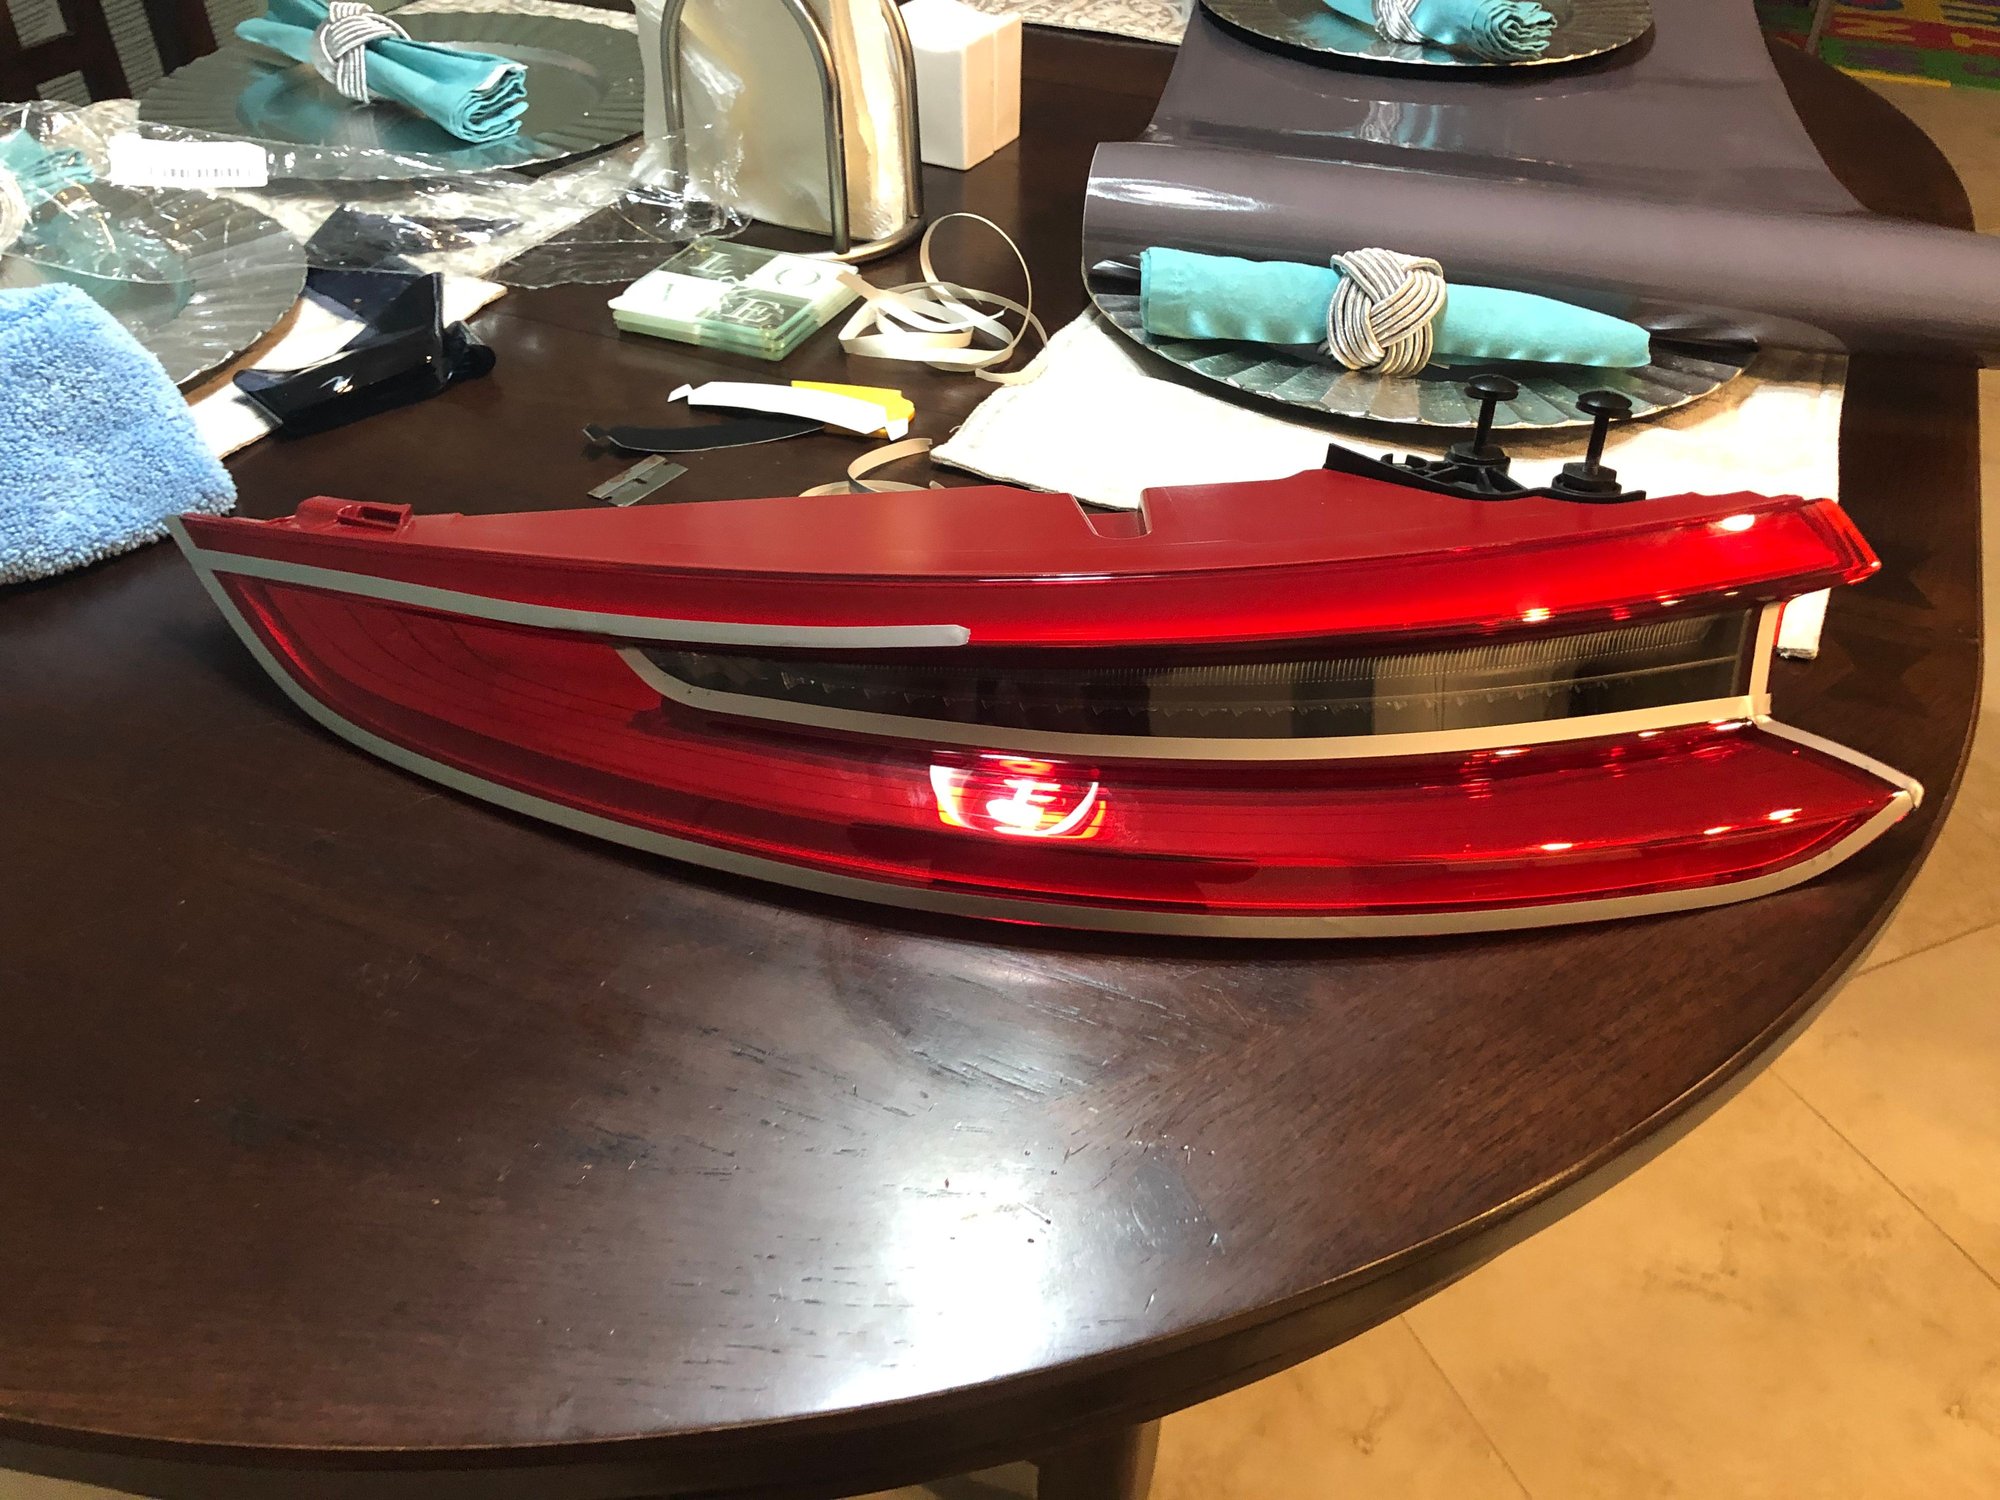
Hi guys-here is another diy I tackled the other day. Unfortunately my car didn’t come specced with the oem tinted tail option (which I think looks great). I didn’t feel like shelling out $800 to Suncoast for the part when I feel it’s something that I can replicate myself. My original plan was to physically open up the tail lamp and paint the interior chrome pieces black and re-assemble (I have opened and resealed countless headlamps and tail lamps) however these tails cannot be opened by heating and melting the adhesive as they are sonically welded. Instead they would have to be cut off and separated from the housing with a hot knife or a dremel and then resealed. I have only done this to one other set of tails and it was not the easiest to say the least. Something I was willing to try on my 911-but it could end up costing me $800 if I messed up. I decided to try a safer approach and see how it turned out-tinting the lights with smoked tail light film. Materials needed:
Tail light film (1 foot by 2 foot long) (I used vivvid light smoke air release film)
heat gun/hair dryer
squeegie with felt tip
razor blade/knifeless tape
1/4 inch pinstripping tape
microfiber and something to clean the tails with (alcohol, wax/grease removers, etc)
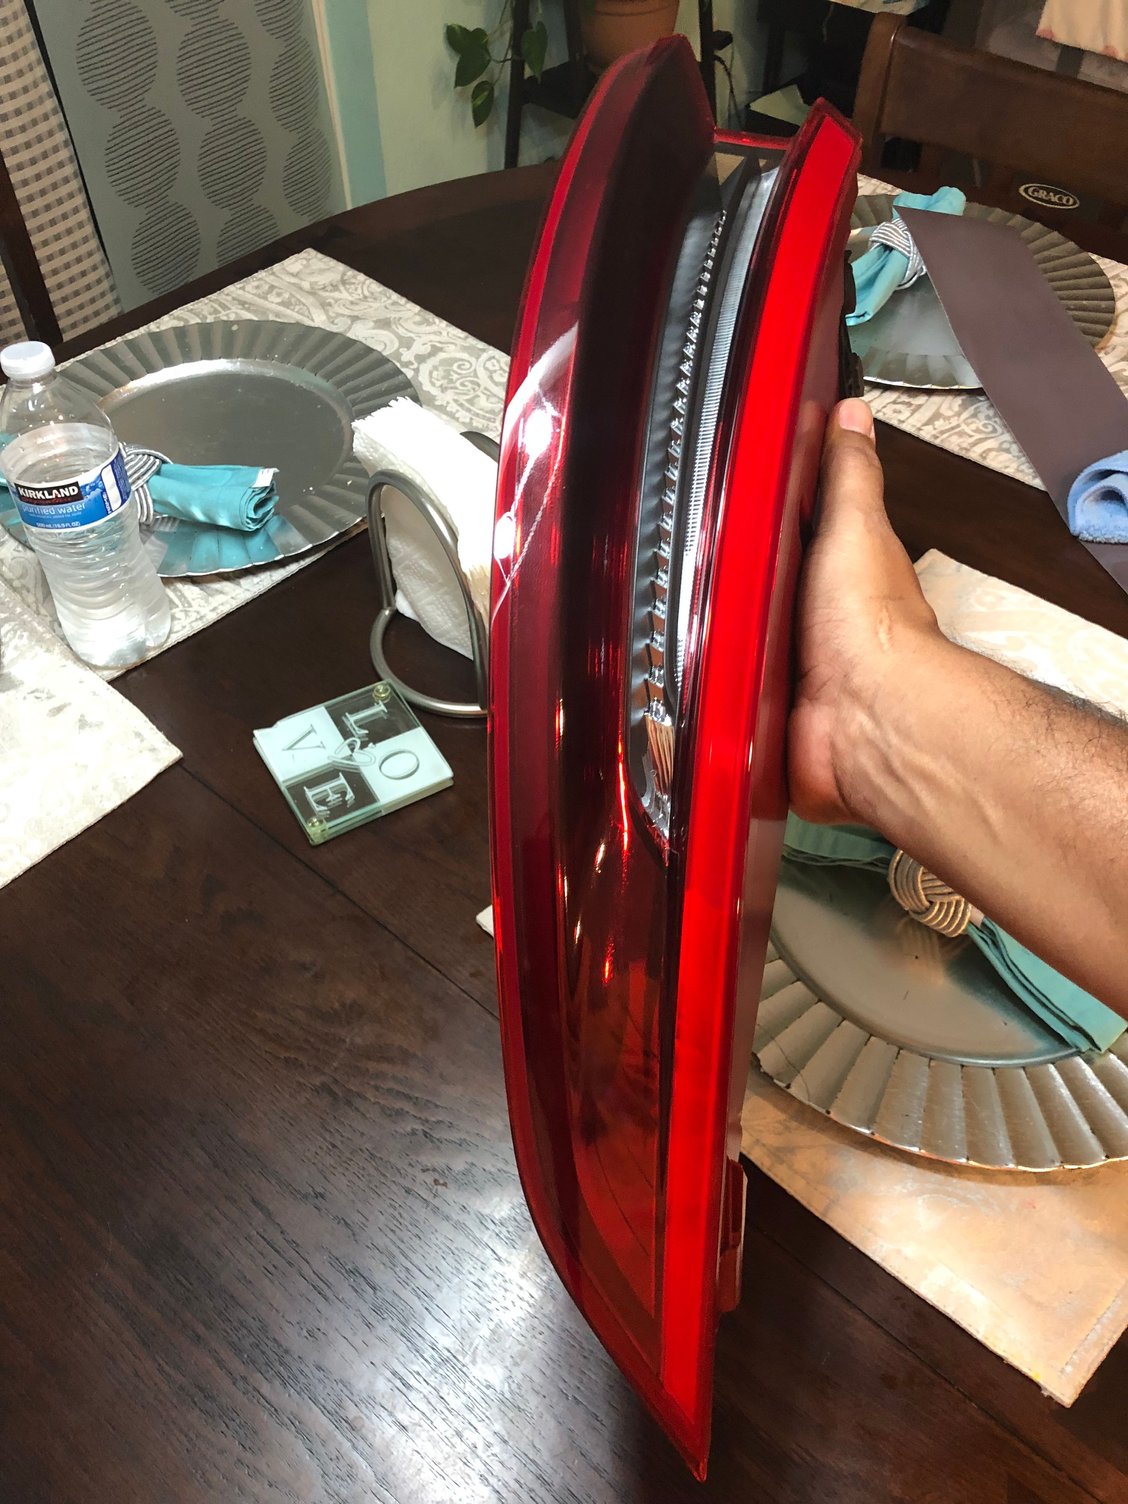
Oem tinted tail (notice how the only the lower section is tinted and there is about a 1/4 edge that is not). Pinstriping laid out-this will serve as a guide to cutting the film in a straight line.
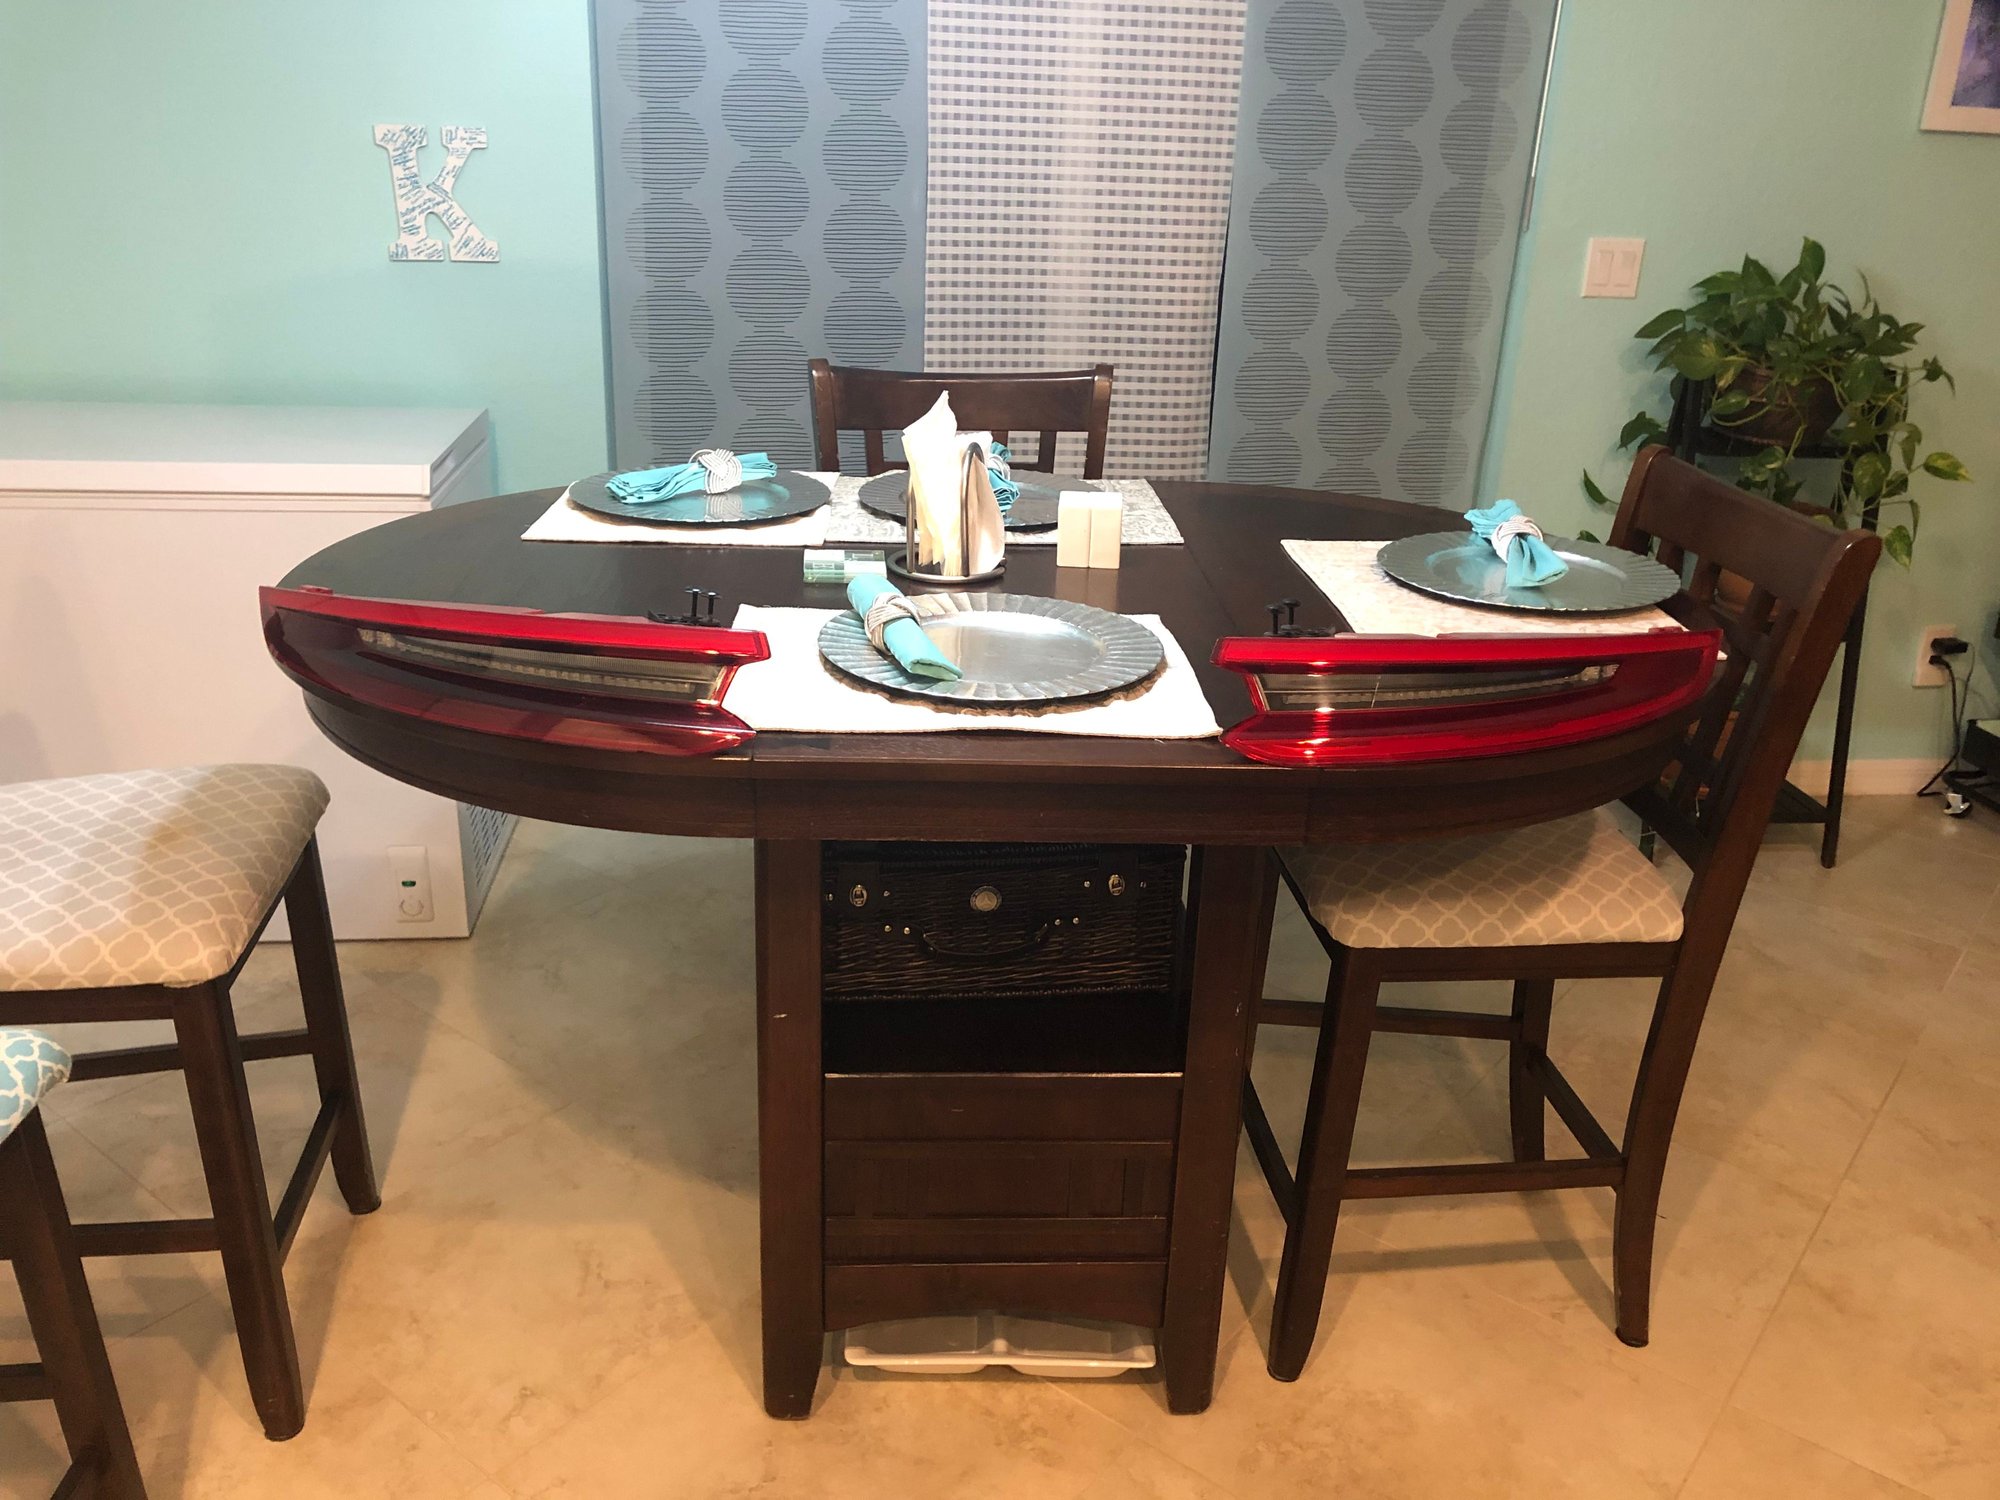
First step is to remove the tails from the car so it’s easier to work with (simple-lots of writeups on how to do this online so I will skip that part).
Clean the tails to ensure and fingerprints, dust wax/grease is removed.
Next lay out either the 1/4 pinstripe around the tape to serve as a cutting guide for your razor blade or use knifeless tape if the film is thin enough. For me my film was too thick for the knifeless tape option.
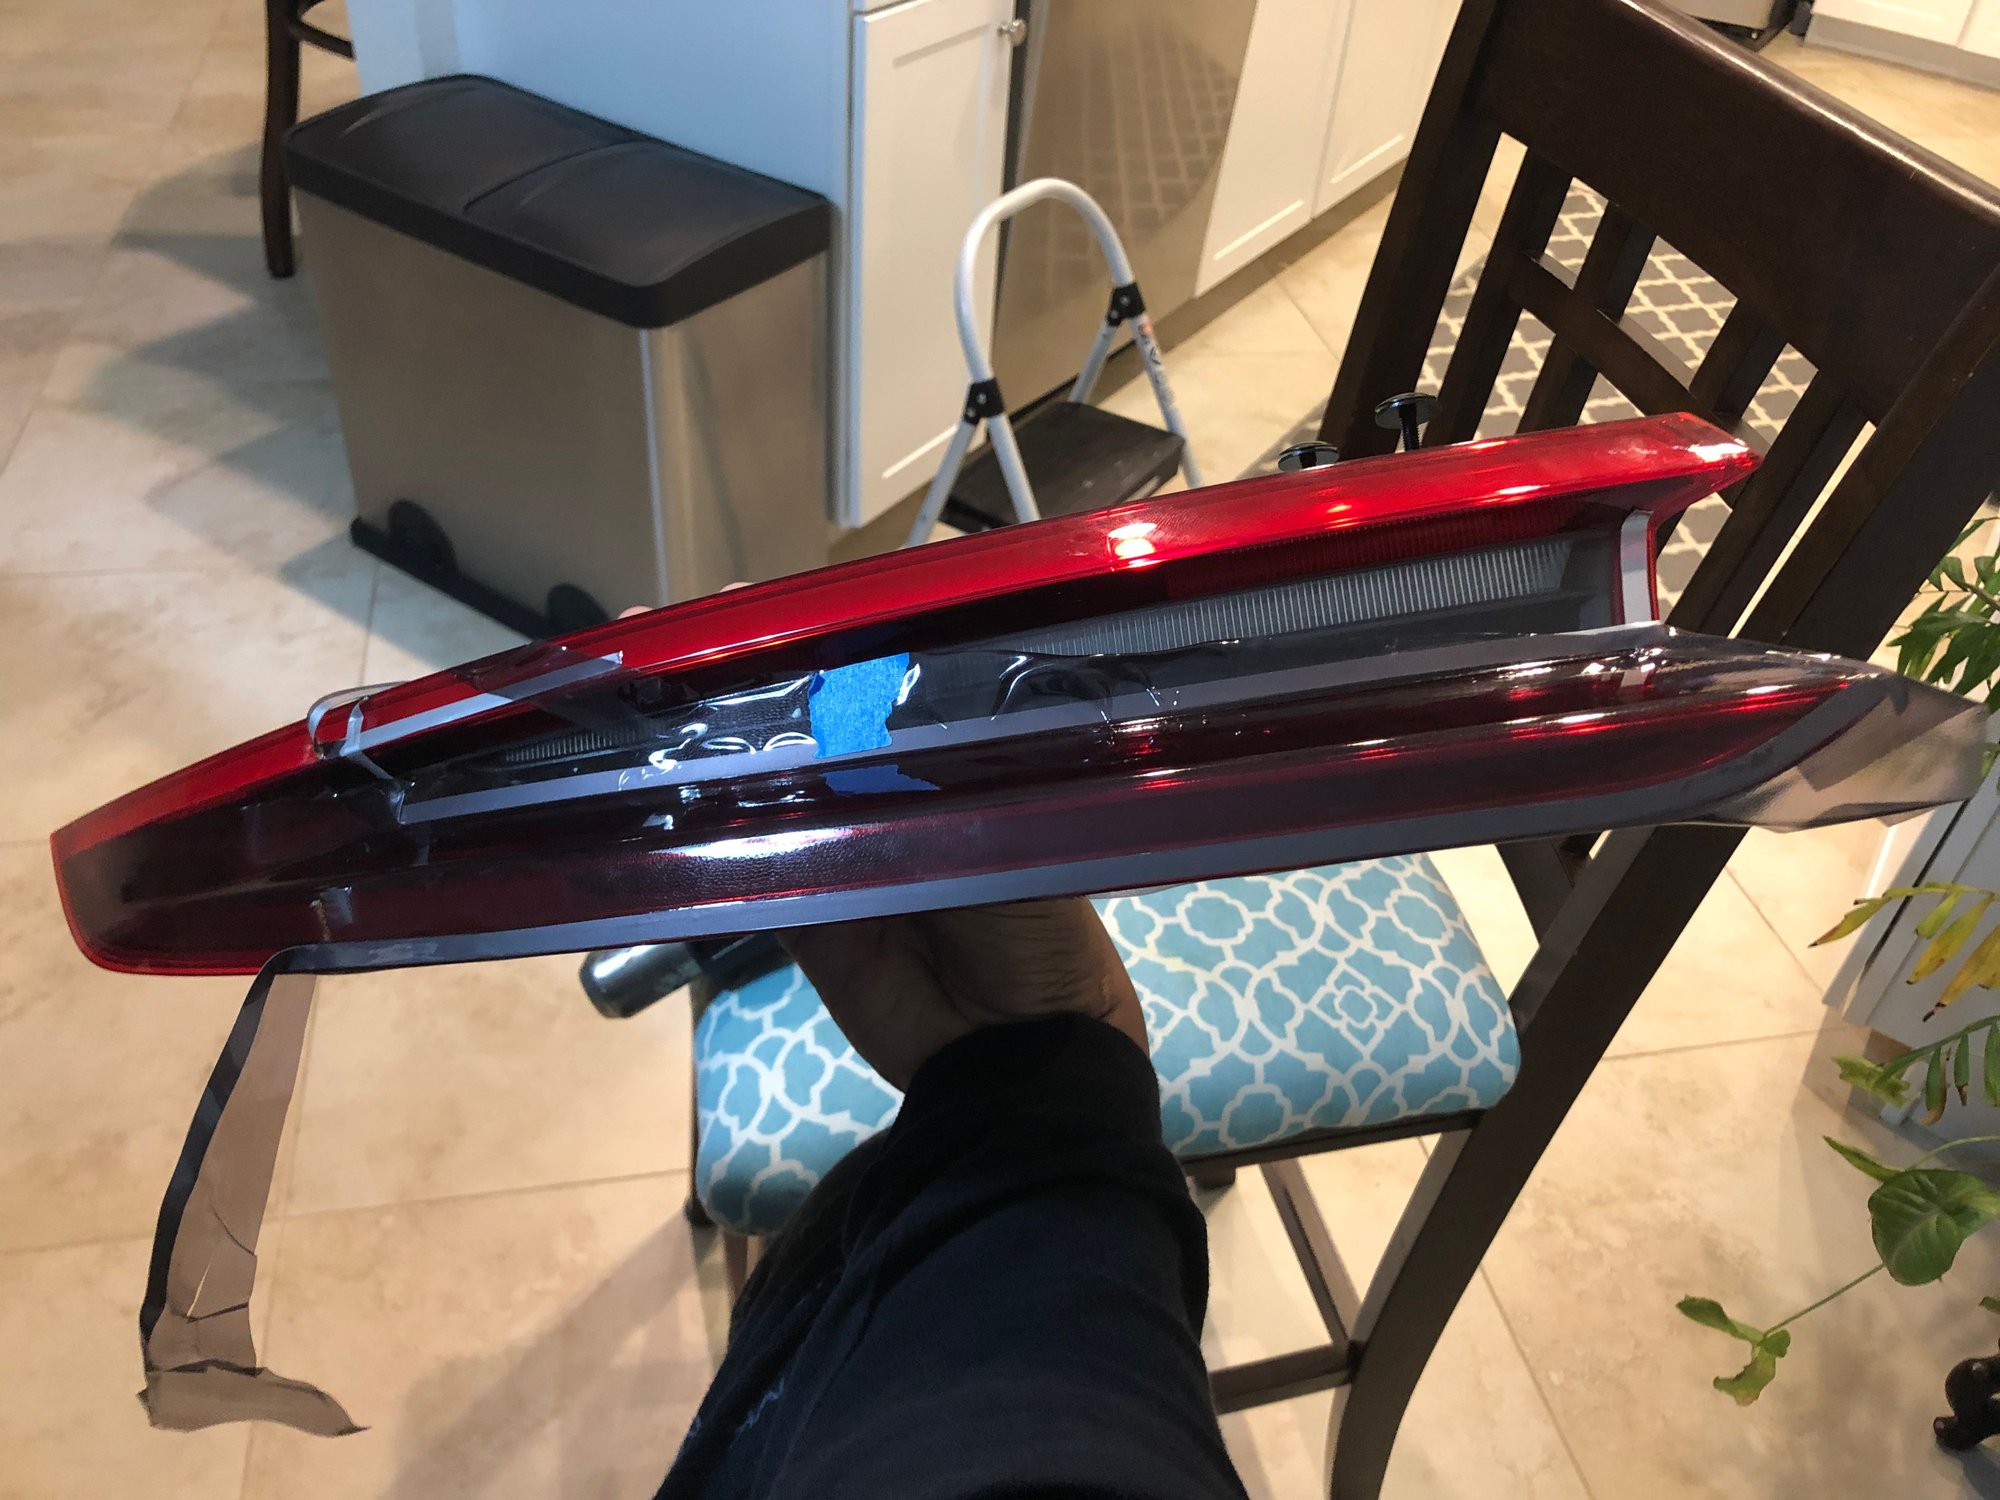
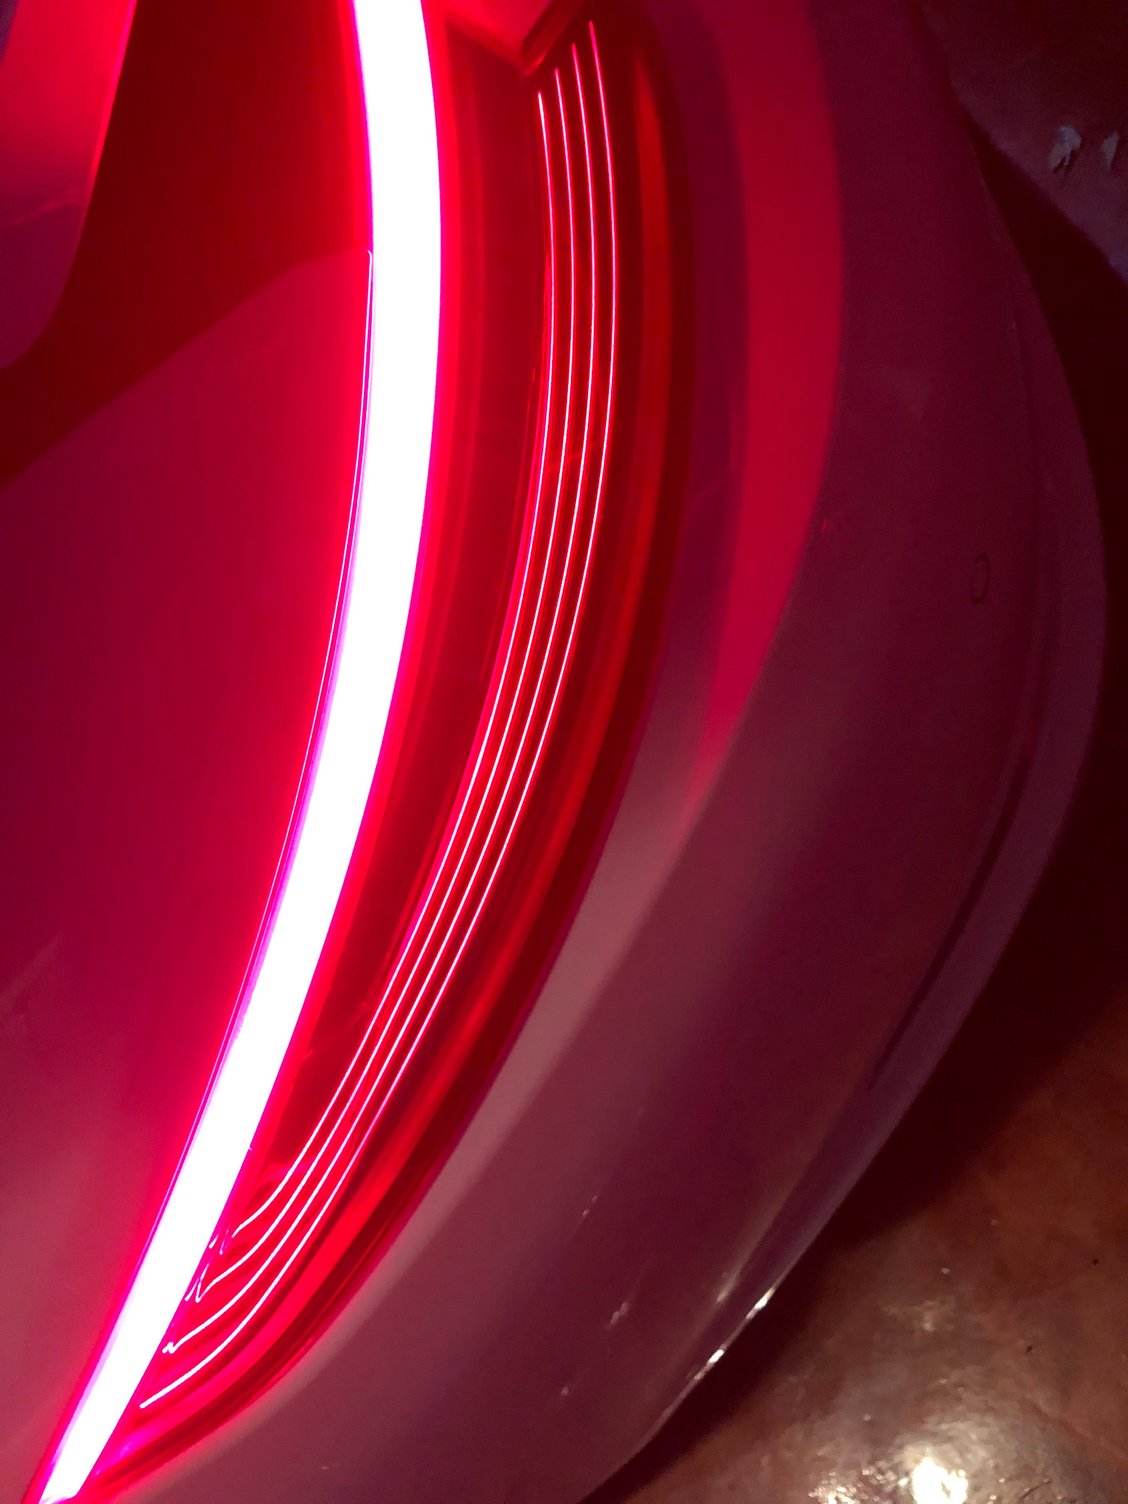
Next I cut the film into approximately 4 inch wide by 2 foot length and began to apply the tint dry. Start from one end and gently work the film into place using your fingers primarily and the squeegie in the tight corners or areas where your finger cannot get into. Use light amounts of heat to shape and remove wrinkles as you lay the film down-too much heat and it will burn a hole in the film (don’t ask how I know). Heat will also help to shape it around the curves and lower “step” of the lamp. When done it should look something like this (I already started to cut the excess film from the top in this pic):
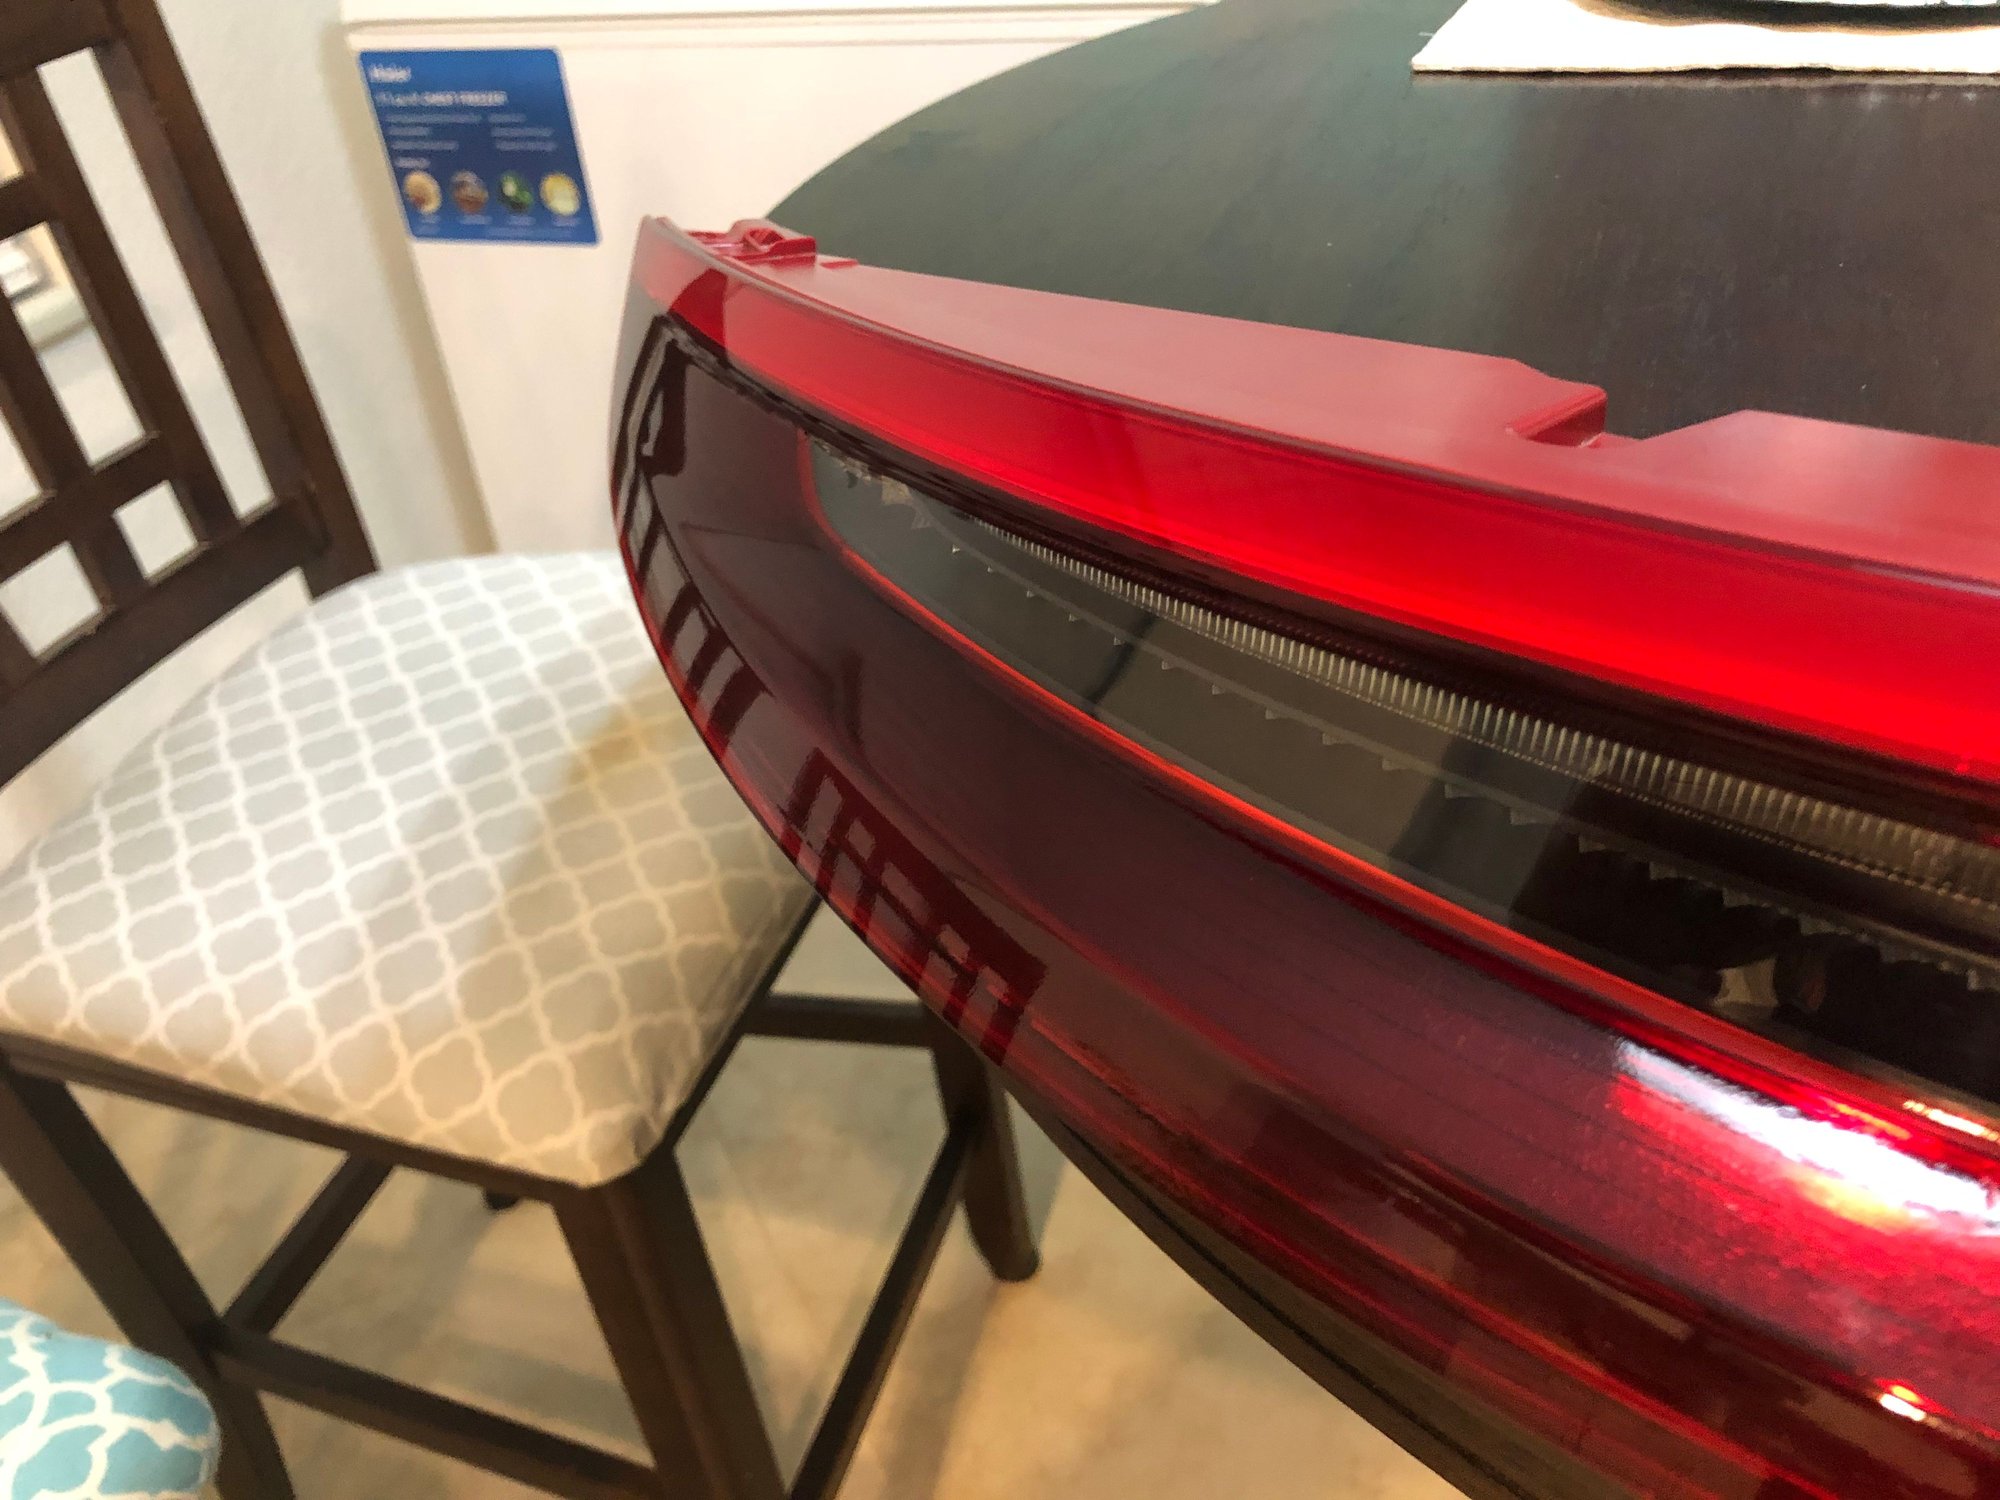
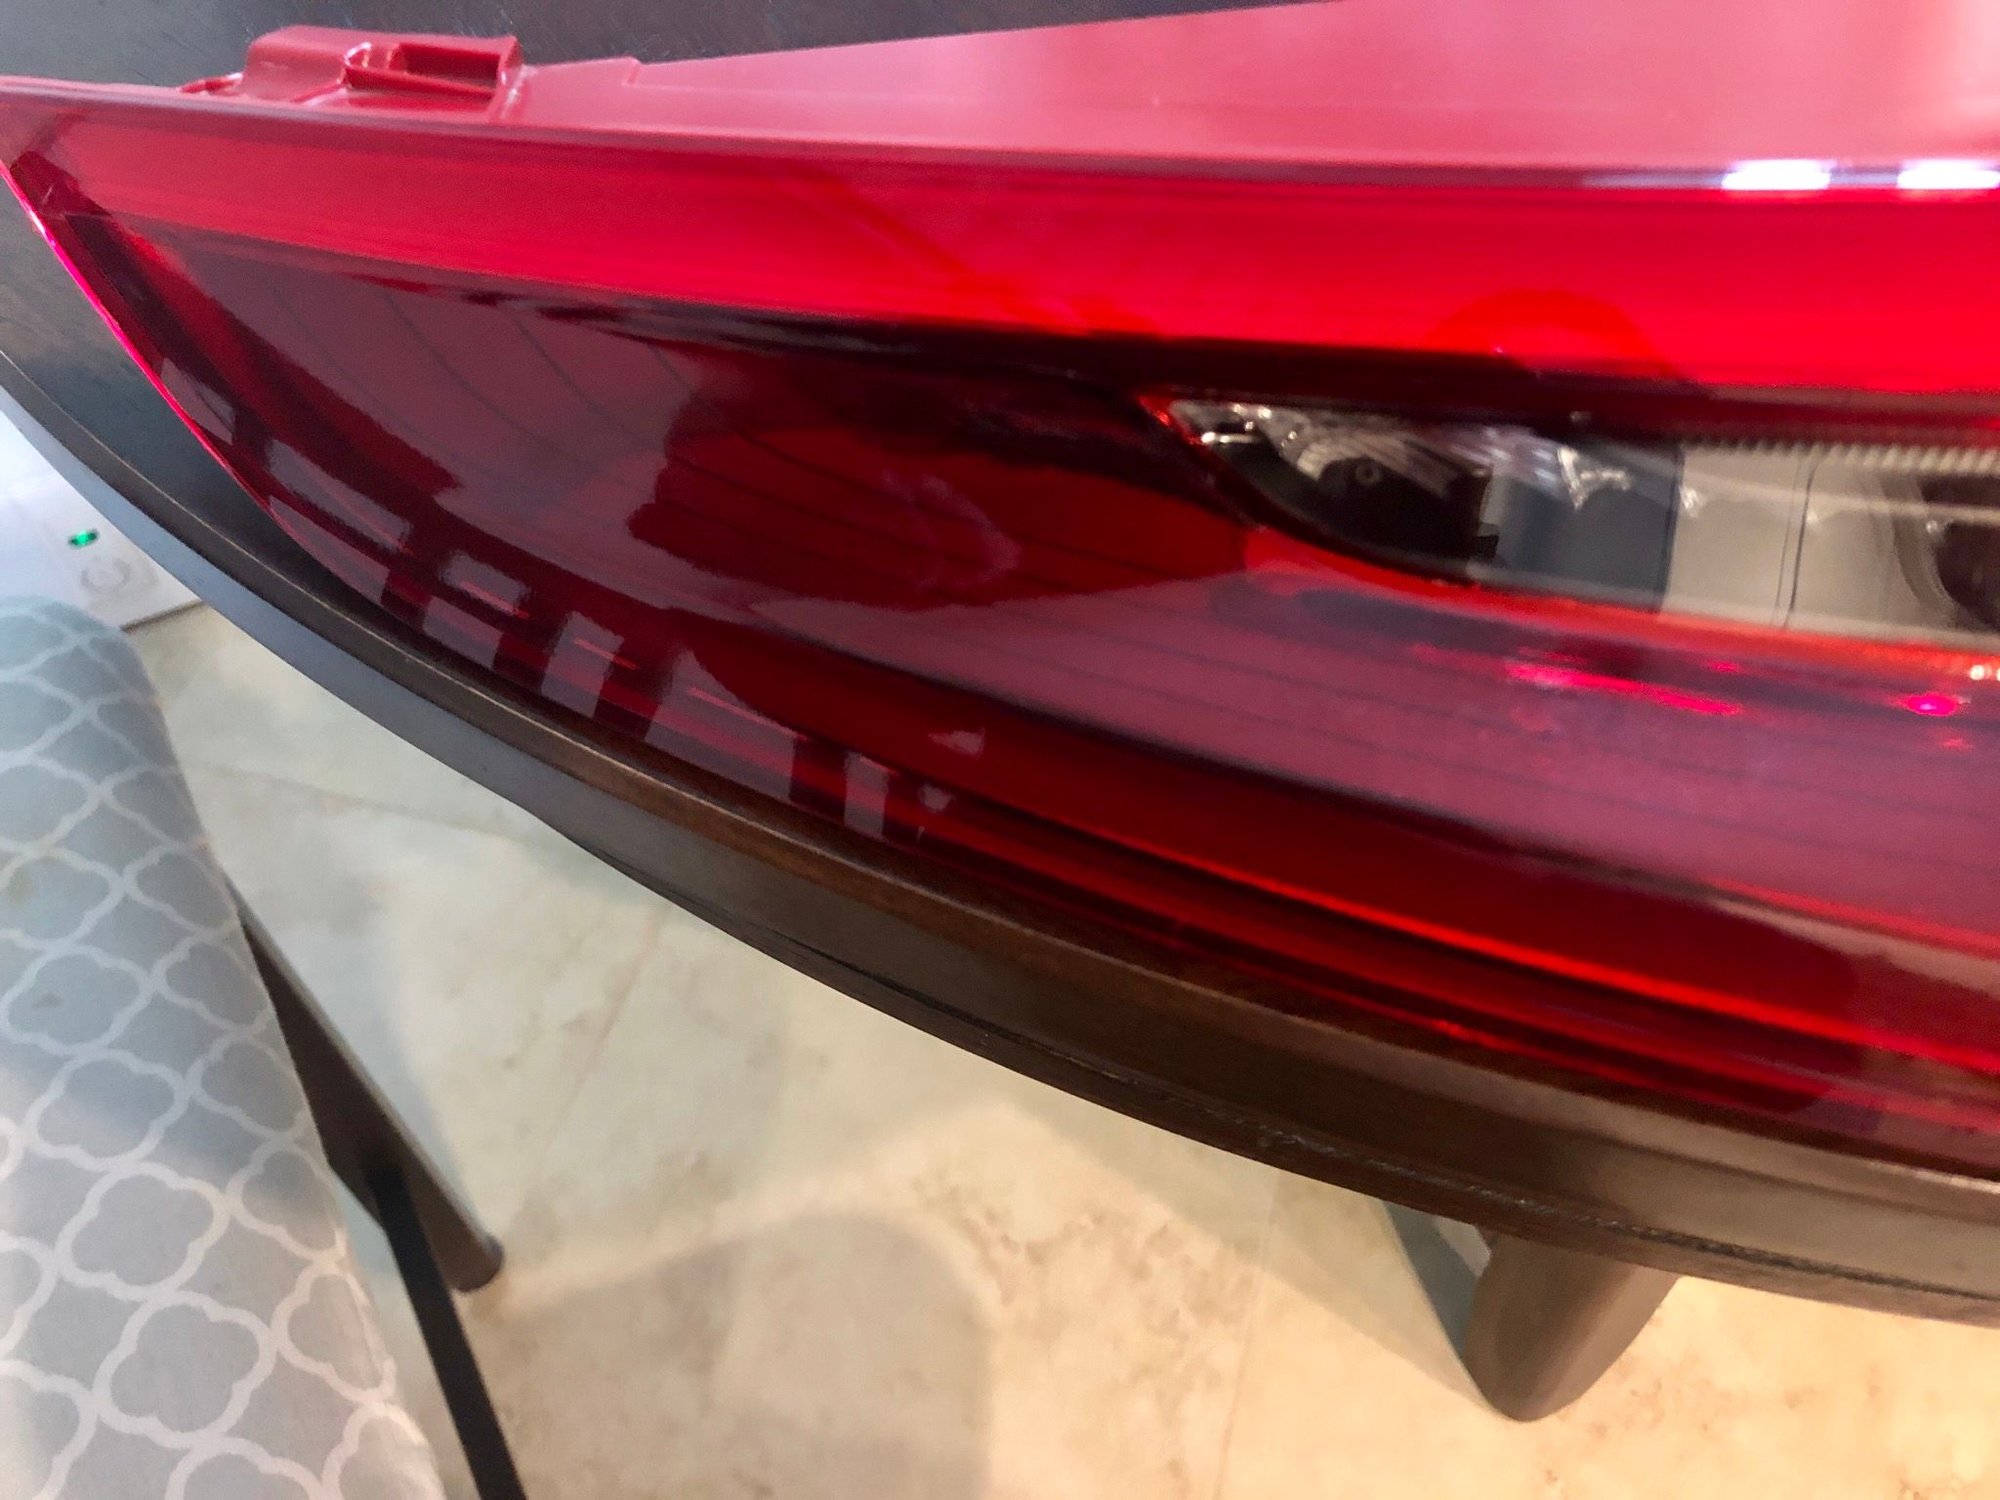
Next before cutting the excess-go around the film with the heat gun on low to “post heat” the film which essentially shrinks it a bit. You want to do this before cutting otherwise when the film sets in the sun and heat after a few days you may end up with wrinkles or about 1/8 inch worth of shrinkage all the way around the light. Now take your blade and gently cut along the edge of your pinstriped tape line. Don’t go too deep-you don’t wan to stratch the lense! Here is where knifeless tape would be ideal if your film is thin enough to cut with it. Finished product:
Rinse and repeat for the other side! All in all it’s a pretty simple project and should take about 1.5 hours total if you have never done it before. I would rate it a 4 out of 10 on the difficulty scale.
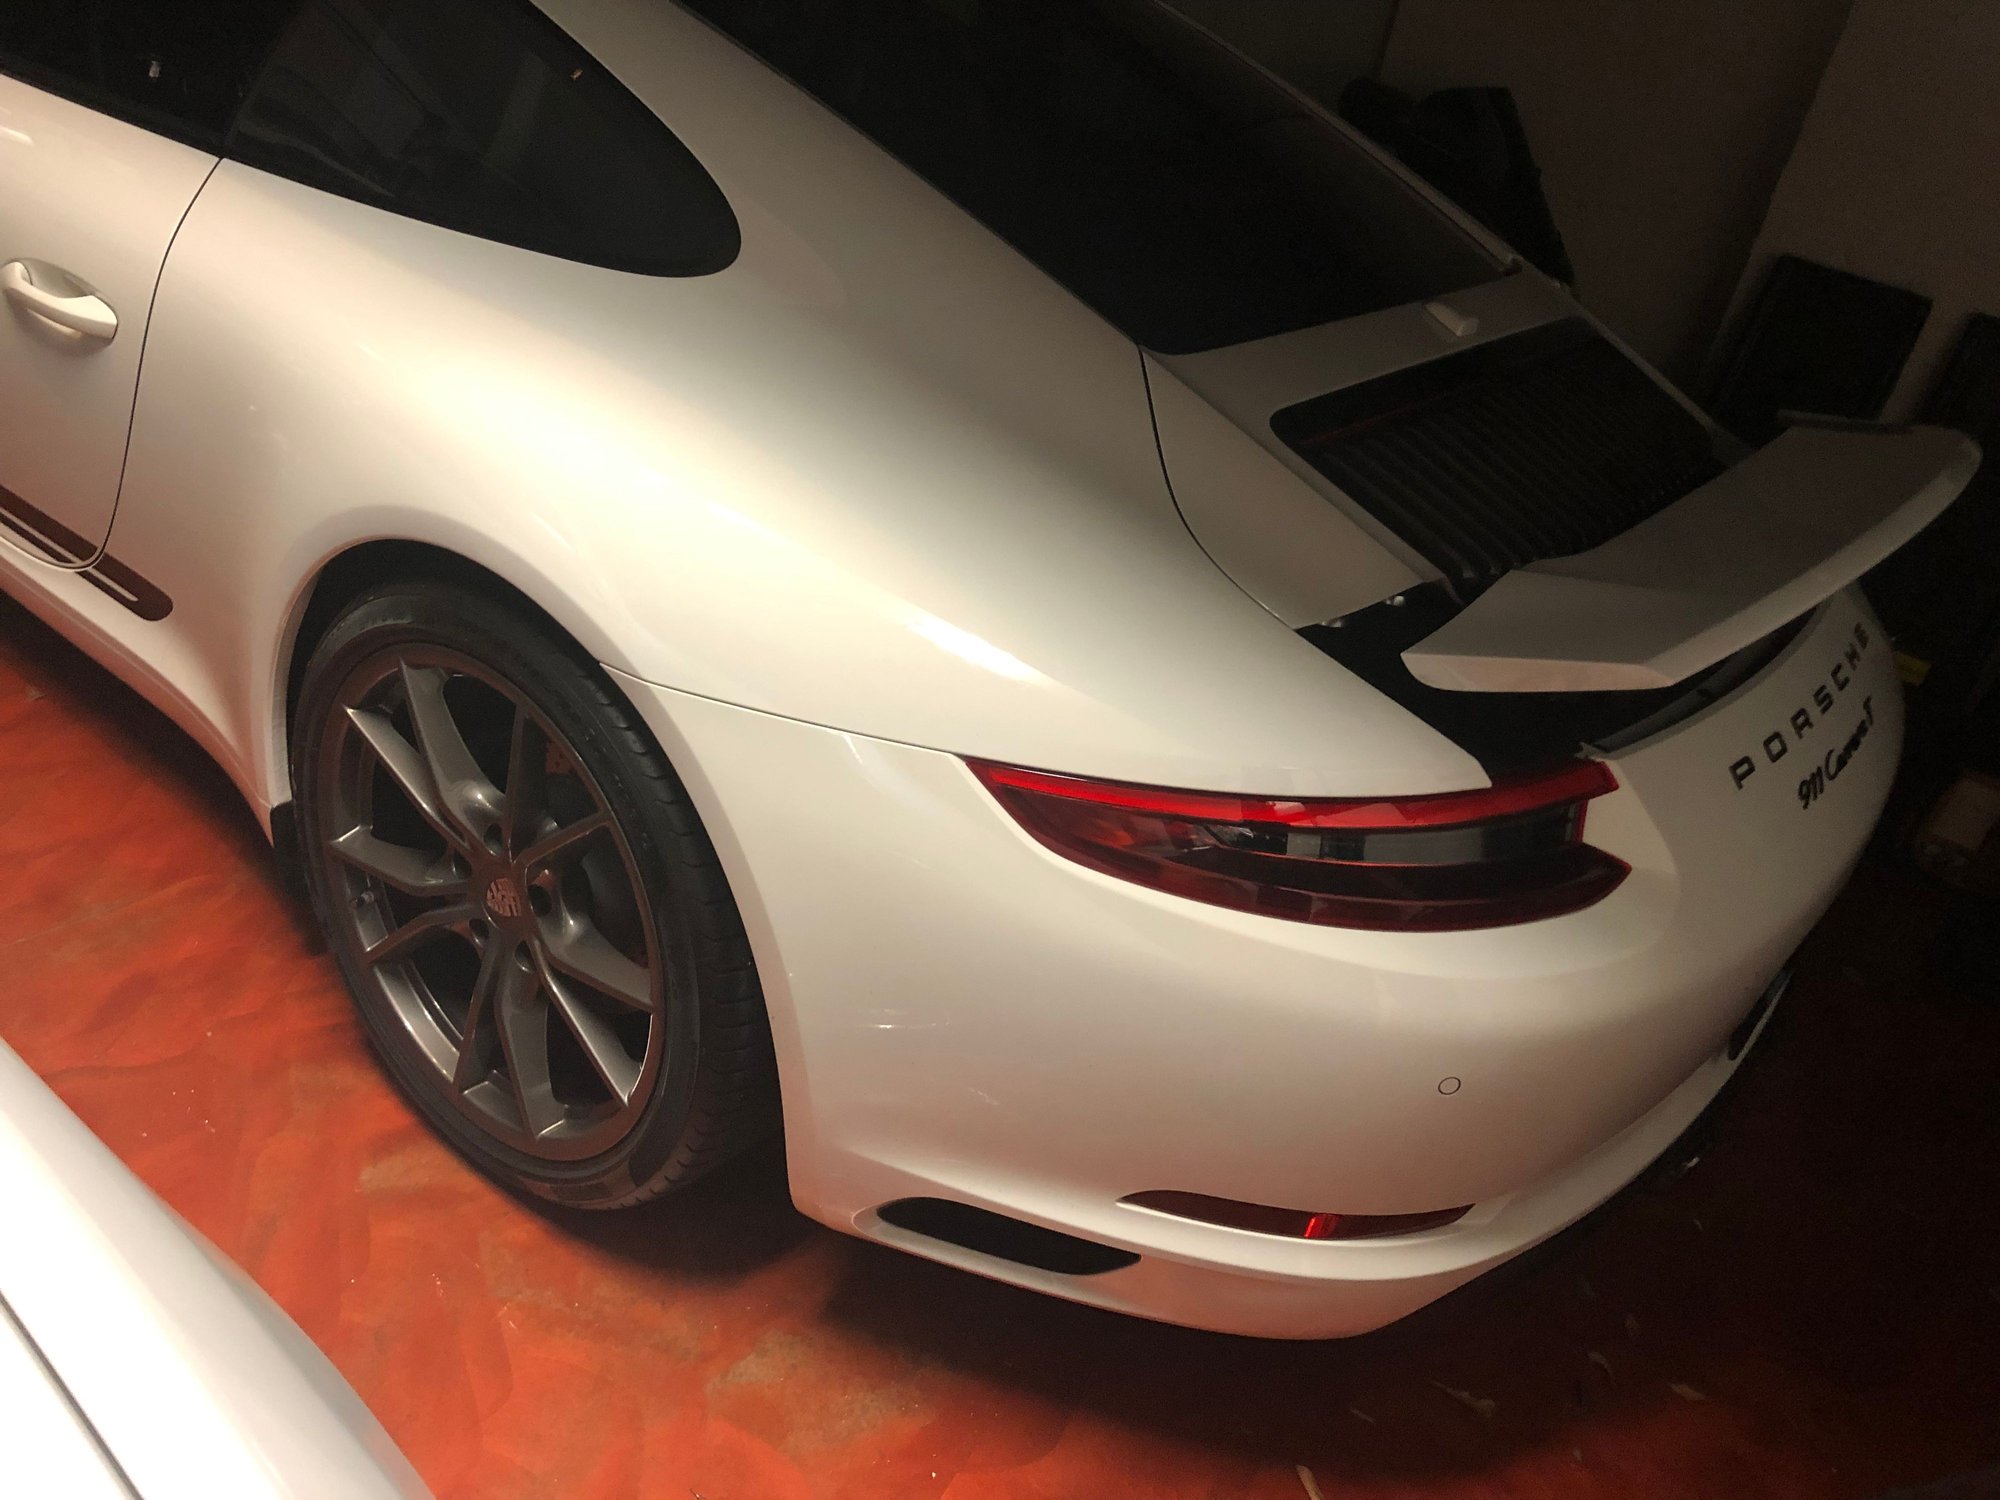
Tined on the left, stock on the right Drivers side done Still able to clearly de the park light stripes which would be hard to do if the internal piece was black In low light


 03-22-2019, 07:27 AM