When you click on links to various merchants on this site and make a purchase, this can result in this site earning a commission. Affiliate programs and affiliations include, but are not limited to, the eBay Partner Network.
Im wondering if Porsche designed the header to allow heat to escape or if keeping the heat contained within the pipe is desirable. Dont know enough about the design of headers but, apart from being white, do we want to contain heat or let it dissipate naturally?
The stock maniford design is double walled to keep heat in ( also good for emissions, something porsche is interested in)
We’ve been getting questions on our headers in regard to what’s going on inside of them: Are they backpurged? What kind of bends? And so on so I wanted to share some details of the processes we use here.
We backpurge all the welds. This removes oxygen from the inside of the assembly and provides contamination free, non-oxidized welds.
We do not weld on bends, ever. Welding on a bend is a poor practice as it applies the welding heat (embrittlement) to a section of tube that is thinned compared to the tube wall thickness when it is straight. It also makes for poor fit-up as you’re matching two parts that are not perfectly round; resulting in inconsistent weld strength and most definitely an inner surface that is not as smooth as it could be.
We do not miter weld joints. Mitered weld joints are going to have significant turbulence over a smooth bend.
Our bends are all mandrel formed (free flowing) bends providing the maximum flow potential over pinch bends. We also use the largest bends we can per the allowance of the design, to further optimize flow potential (the closer to straight the better the flow). This is a bit more costly than off-the-shelf bends.
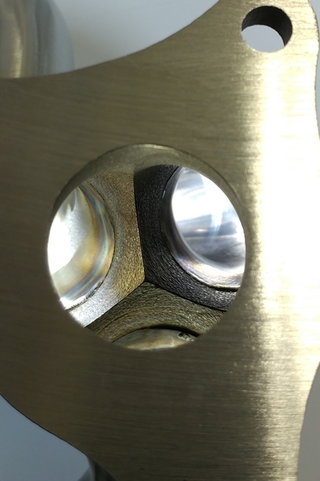
All welds are dressed on the inside. A proper weld will have some evidence of penetration on this inside. If it doesn’t, you have an incomplete weld and potential for a failure. Any penetration or imperfections on the insides of the tubes or tube/flange interface are ground down smooth. Not only does this reduce turbulence, it also removed potential hot spots in the assembly that can accelerate fatigue.
Here you can see a collector pre-finishing. Evidence of weld and packpurging. Good fit-up, but off to finishing.
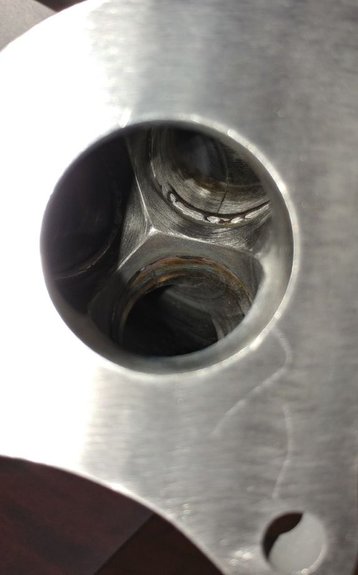
This was tough to capture as the focus was all over the place, but you can see how high points have been brought down at the tube-to-collector interface.
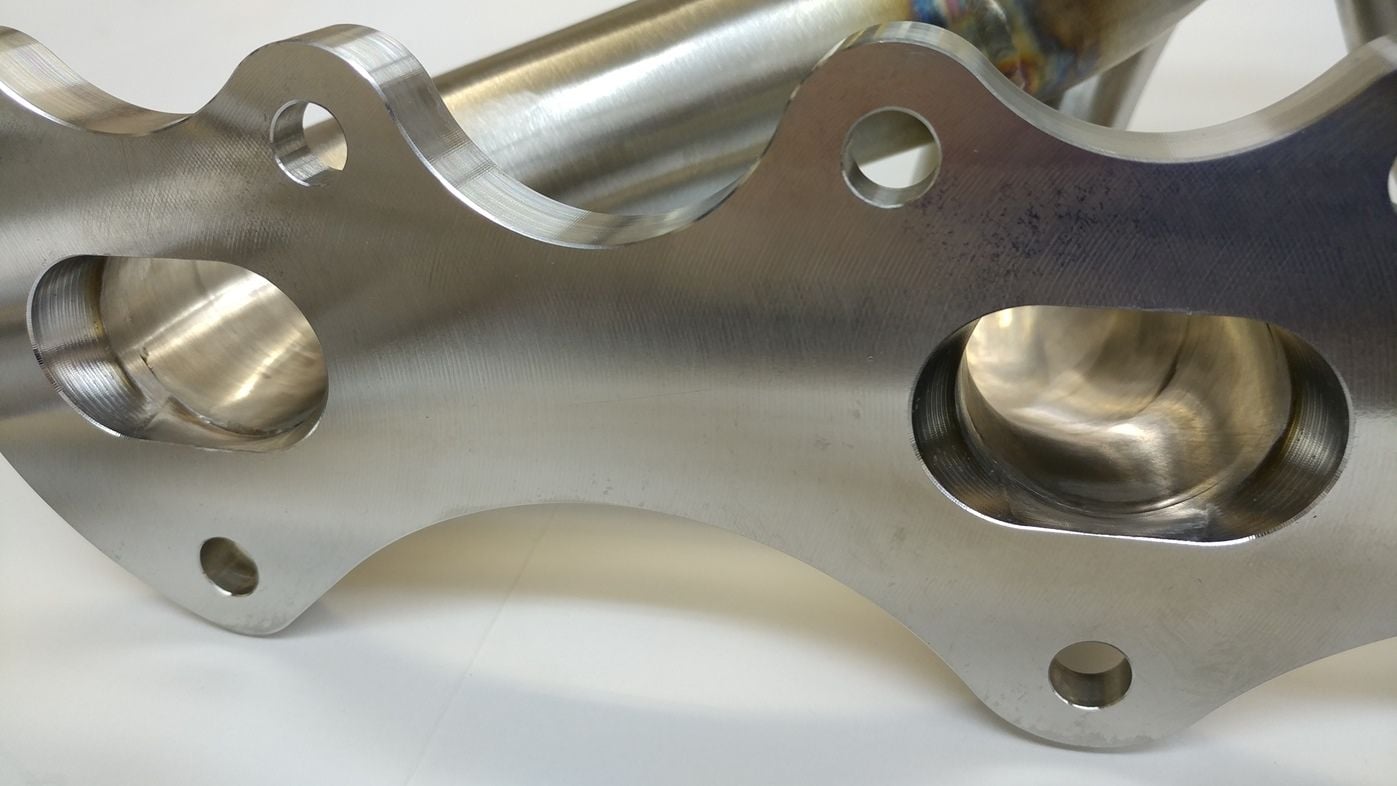
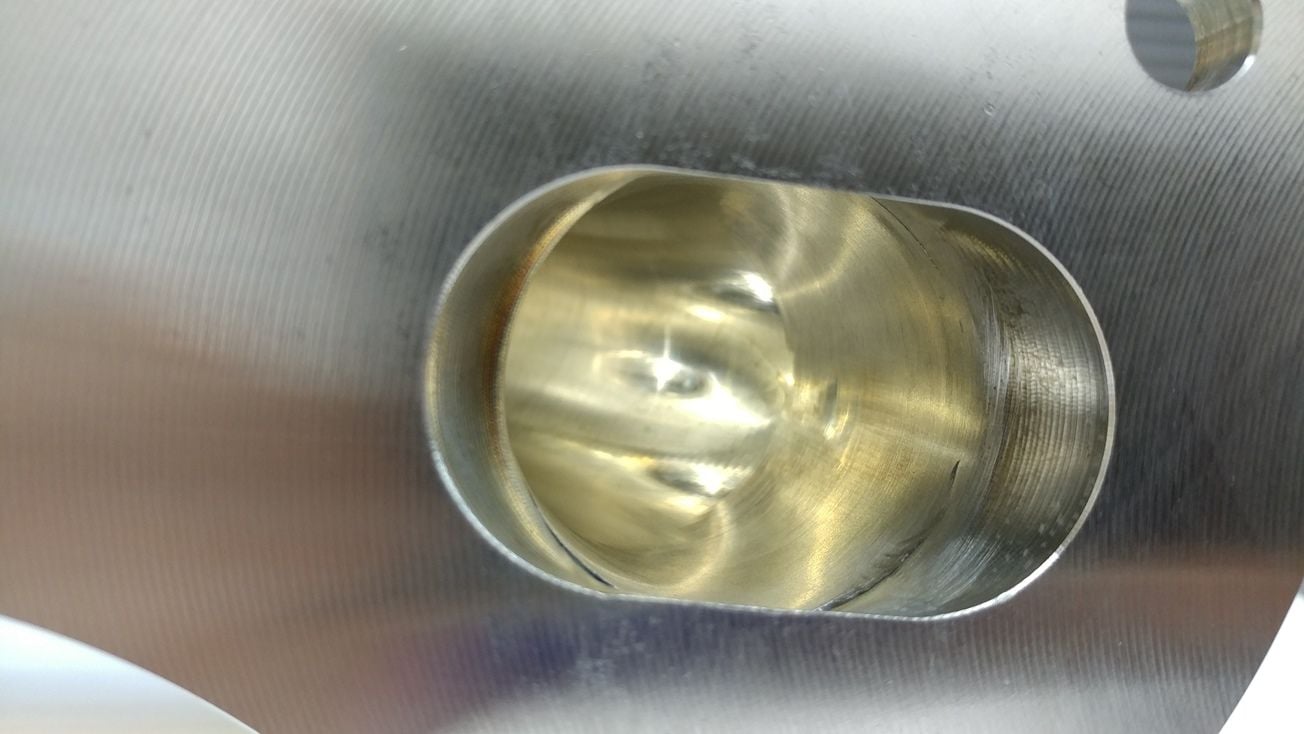
Here you can see the head-to-flange areas. Note the 3D machining on the flange. The milling tool path lines are so small that you can’t really feel them.
This was tough to capture as the focus was all over the place, but you can see how high points have been brought down at the tube-to-collector interface.
That's actually a very cool shot. It shows why the Vektor headers are superior. The want is real. : )
That's actually a very cool shot. It shows why the Vektor headers are superior. The want is real. : )
Thanks! We have a couple hours of finishing (and cleaning) time into each set, using 4 different tools to get the insides blended. It's a painstaking process of grind/look/grind/look/grind/look until you get it where it needs to be. Some will say splitting hairs, but I say why not make it as close to perfect as possible, which is our mission statement "Excellence Through the Pursuit of Perfection"
The toughest part is the driver side stud. Once you remove the turbine heat shield, it's just a matter of finding you way to it (the stud). It's one of those feel your way to it, or look from the bottom as you reach the tools to it from the top-side. Having a good tool selection will come in handy as well. Double nut method or stud puller for stud removal. I manage to do the swap myself in a couple of hours. The first shop that tested them for us swapped them out HOT off the dyno in 30 minutes! They do work on these cars a lot more than me though.. and have an enormous tool selection

 08-14-2018, 01:29 PM