When you click on links to various merchants on this site and make a purchase, this can result in this site earning a commission. Affiliate programs and affiliations include, but are not limited to, the eBay Partner Network.
Some nice installs here. For those looking for a simple and affordable option I recently purchased an Anker C1. It's $70 and plugs into a DC power outlet (I used the one under the glove box). The cam has its own battery (can be used in temps up to 149F) and has a movement sensor - if your car is hit it will automatically record. Image quality is pretty good. Probably won't be of any help if your car is keyed...but I'm not sure any cam is really going to help there. I feel like all you'll end up with is footage of someone walking away after keying your door.
There's a newer version of the Anker with GPS and a 2K camera (the C1 Pro) that looks promising as well.
From my standpoint the best part of these cams is not having to mess with wiring, backup batteries, etc. yet still getting a parking monitor.
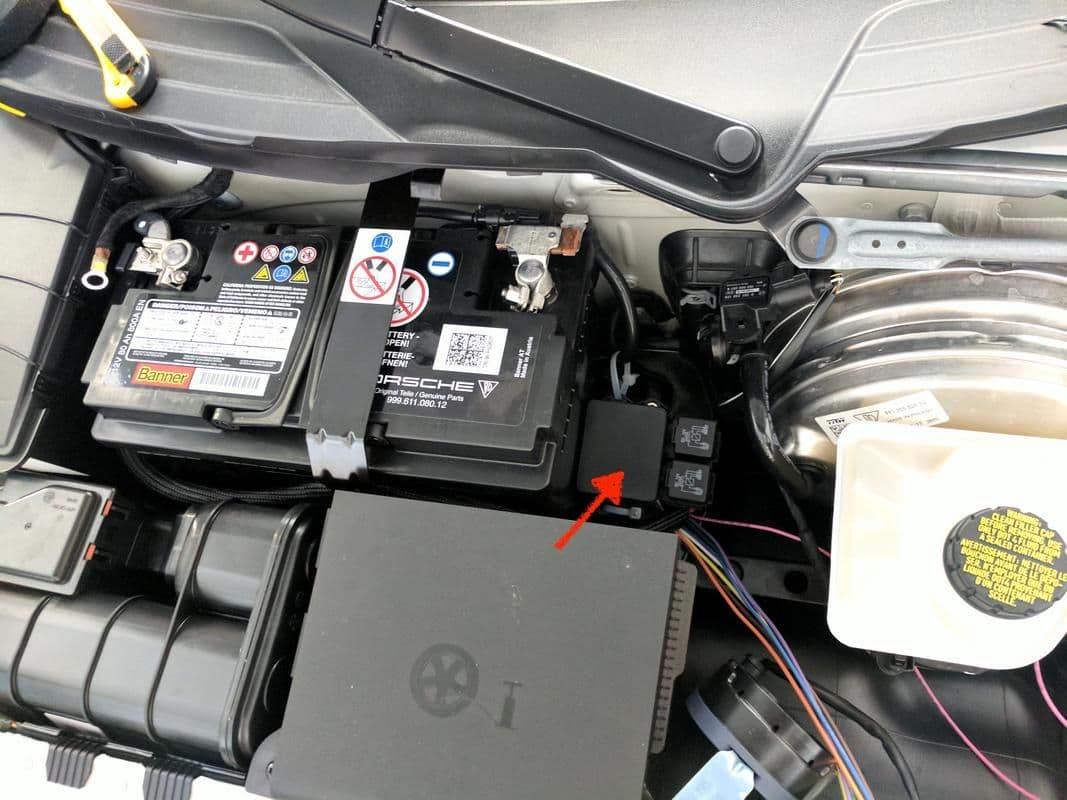
I also installed a Painless aux fuse block so that I don't clutter up the fuse boxes inside the cabin with a bunch of add-a-fuses. There is just one wire coming from the aux fuse block that goes to an ACC fuse location on the passenger side cabin fuse box so that any components I add to the aux fuse block will be on a switched circuit. My radar detector, laser jammers, dash cam, and cellink b all get power from that fuse block.
The fuse block is connected directly to the car's battery.
Wow a lot of you guys are hardcore. Daisy chaining an extended celllink battery is awesome! That�s two days of non-stop recording of 2 ch at full-hd 60fps. Very impressed!
my car just got tinted and waiting for it to cure before mounting my rear camera. Will install the cellink battery tonight.
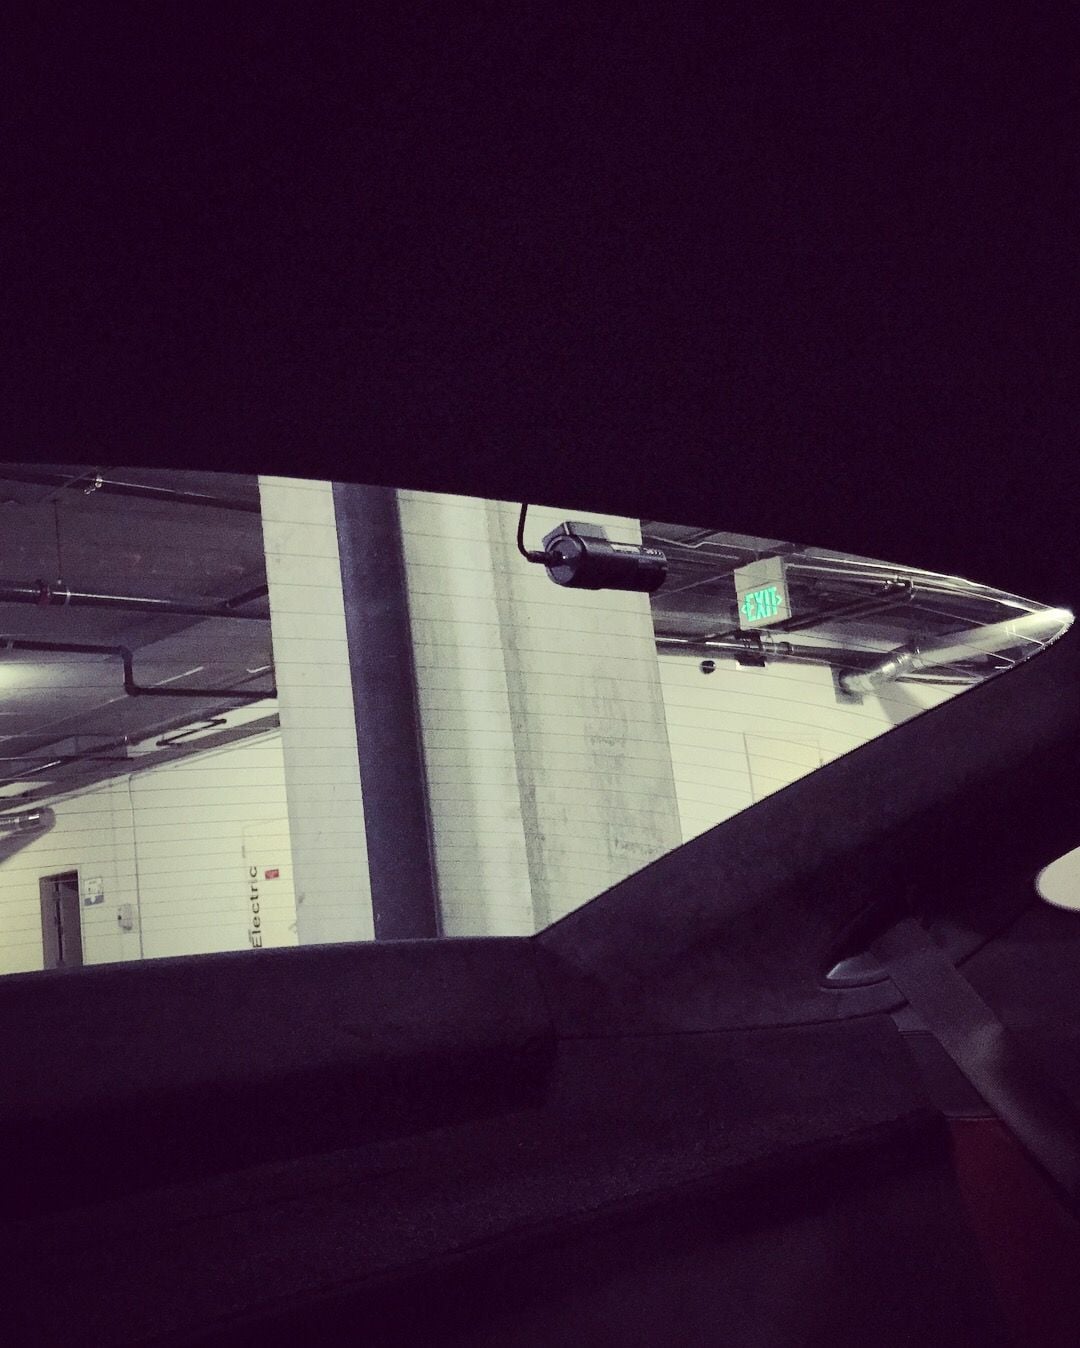
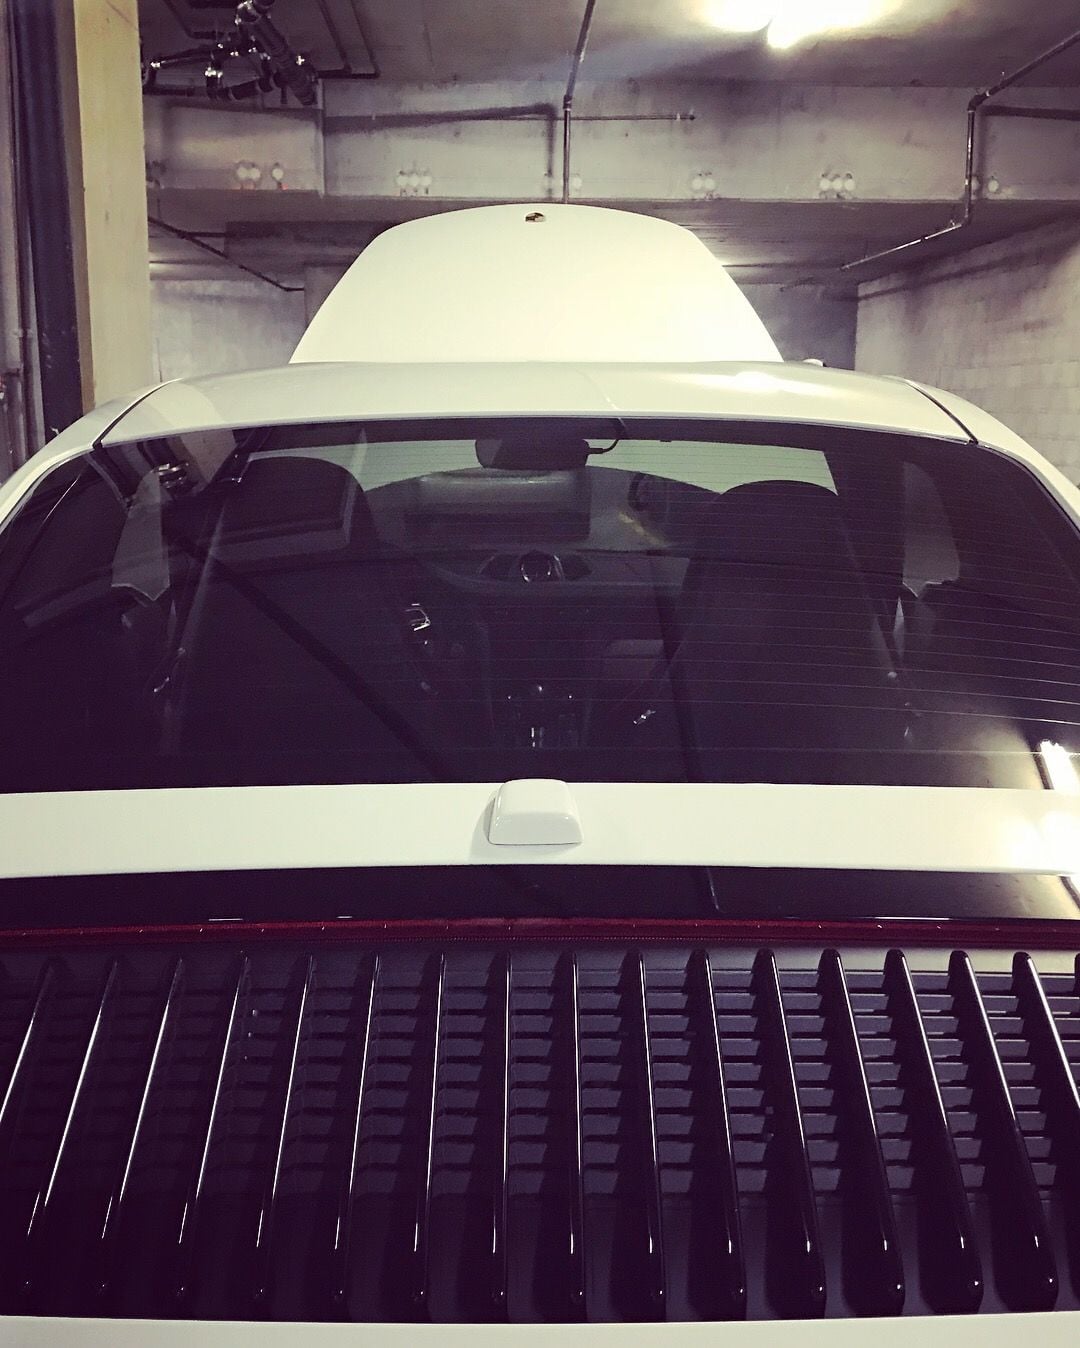
When you mount your rear camera, make sure you don't do it right at the top edge of your window. The tint will separate. If you mount it about half an inch below the edge of the film, then you should be fine.
my car just got tinted and waiting for it to cure before mounting my rear camera. Will install the cellink battery tonight.
When you mount your rear camera, make sure you don't do it right at the top edge of your window. The tint will separate. If you mount it about half an inch below the edge of the film, then you should be fine.
Thanks. Should I use the provide adhesive? Online someone mentioned that weaker adhesive should be used when applied on tinted windows. The one provided by blackvue seems pretty strong.
I'm using the Thinkware F800 Pro dash cam. The strong 3M adhesive came already installed on the camera. However, since I don't plan on removing the rear camera from the rear window, using a strong adhesive for me wasn't an issue.
I have given this a lot of thought for all of the cars in my family lately but I've hesitated due concern about smash-and-grab theft risk as well as inhibiting the windshield screen during hot Texas summers.
I have given this a lot of thought for all of the cars in my family lately but I've hesitated due concern about smash-and-grab theft risk as well as inhibiting the windshield screen during hot Texas summers.
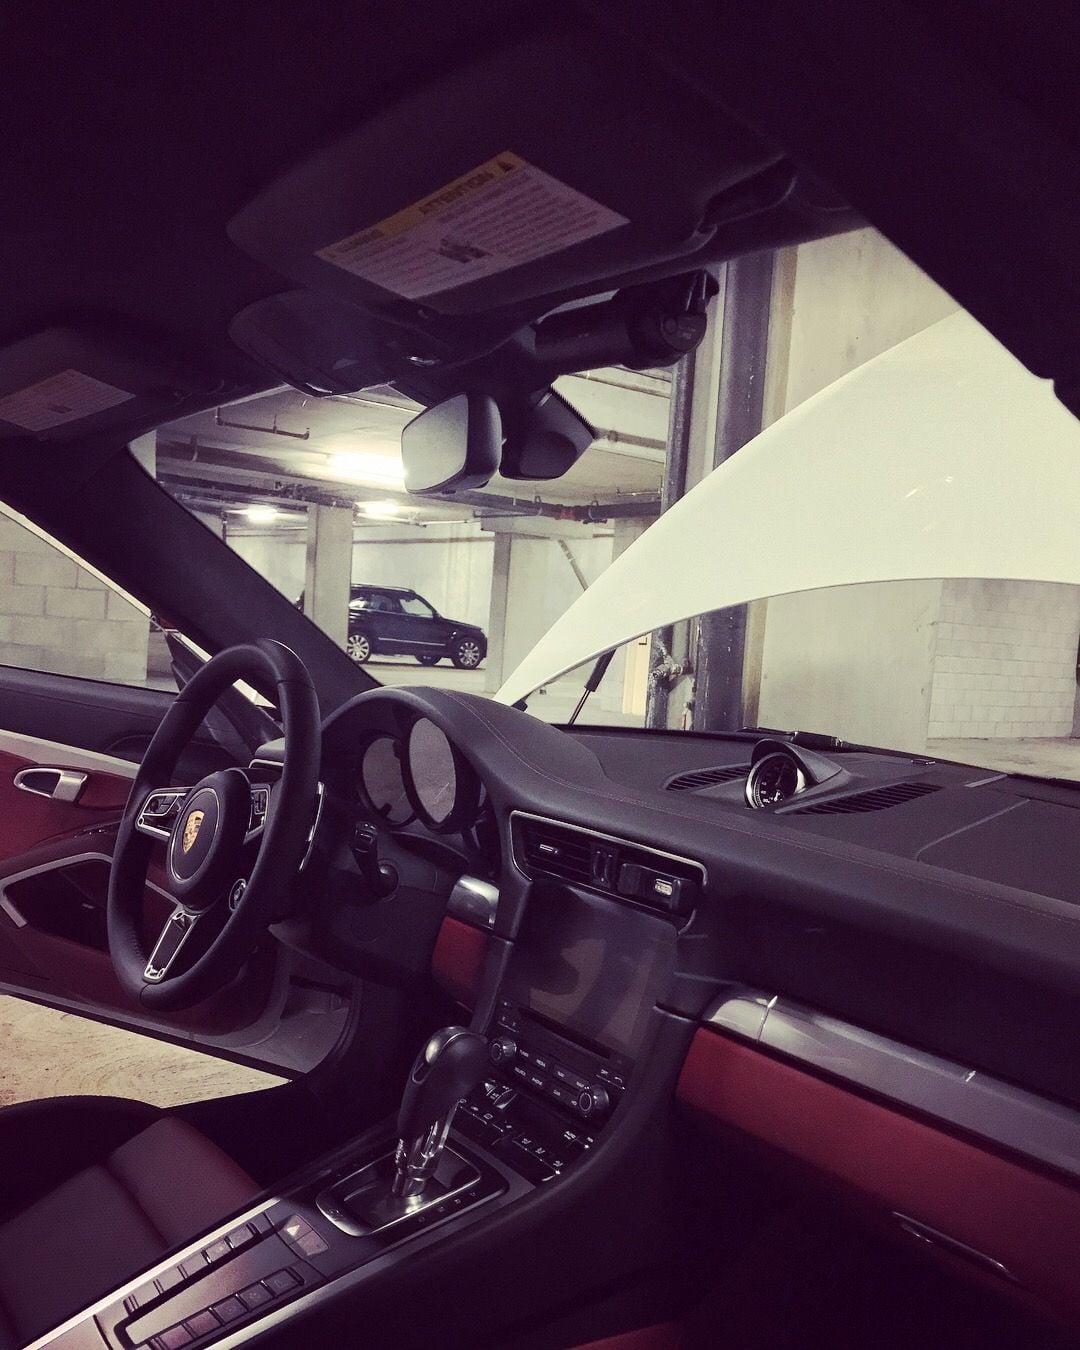
So you are saying that you are afraid of the camera being a target of a smash and grab? I can see that but I feel it really depends on where on the windshield it is installed on. Up high near the headliner is less visible. If you hang it like a radar detector, I feel that it will attract more attention.
So you are saying that you are afraid of the camera being a target of a smash and grab? I can see that but I feel it really depends on where on the windshield it is installed on. Up high near the headliner is less visible. If you hang it like a radar detector, I feel that it will attract more attention.
Yeah, that's been my chief concern, especially here in Houston, TX. I agree that the higher up the camera goes, the less conspicuous it is.
Yeah, that's been my chief concern, especially here in Houston, TX. I agree that the higher up the camera goes, the less conspicuous it is.
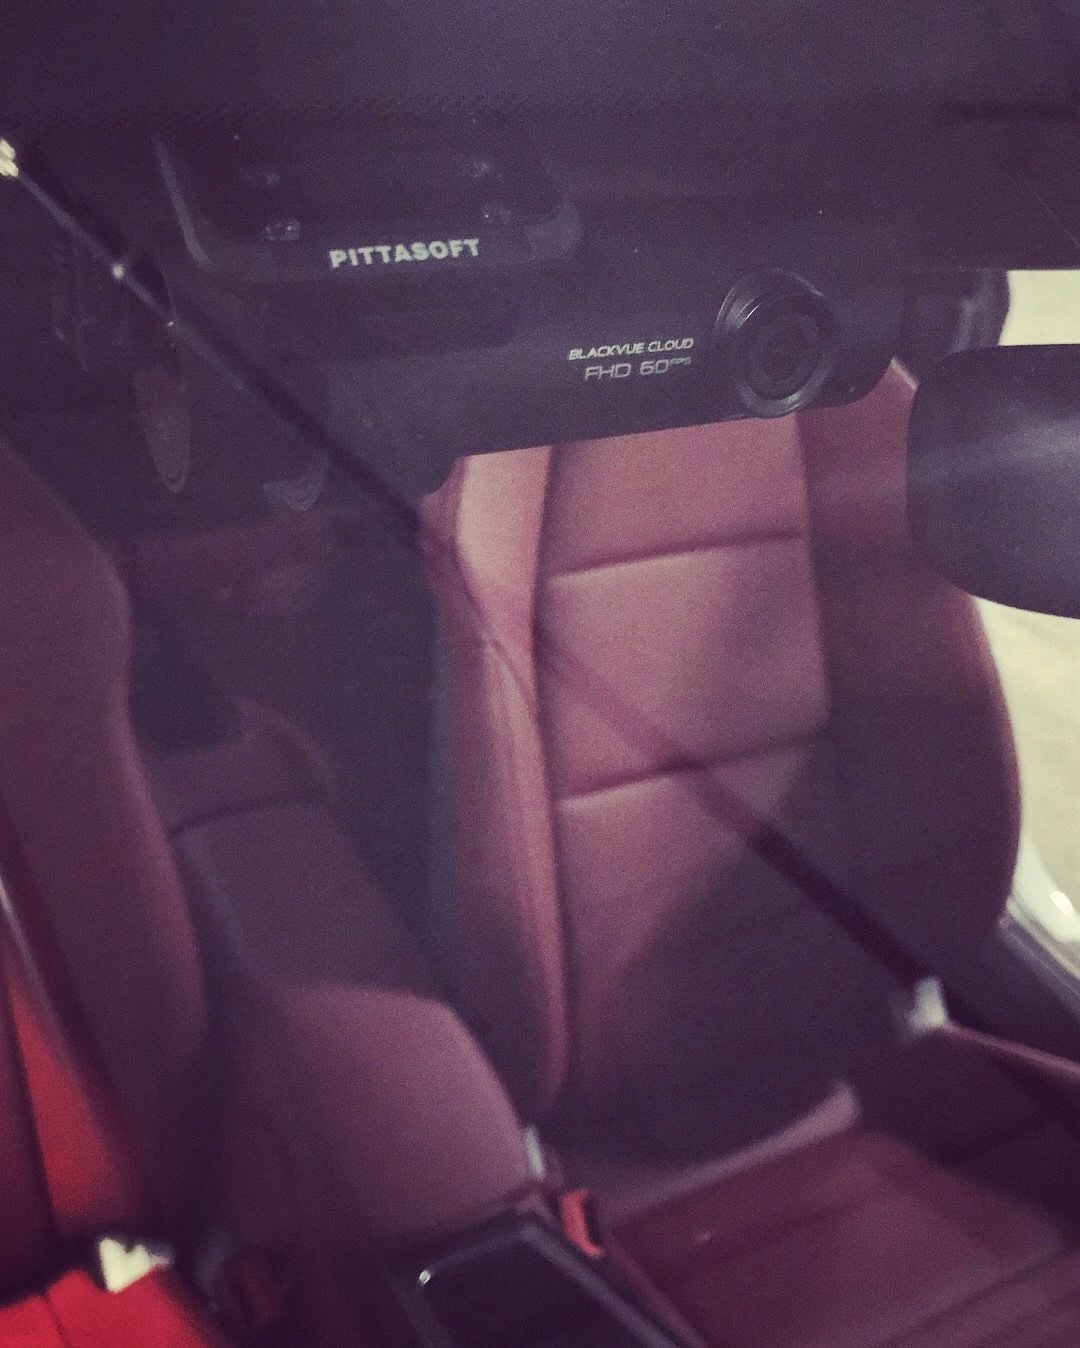
There are dash cams that are more stealth, the BlackVue is definitely not one of those, it�s a lot bigger than the pictures. Flashing LEDs can be covered with tape.
Finally was able to install the rear channel. It was relatively easy as I routed through the weather sealing of the door. Tried installig my celllink-B backup battery, but having a hard time routing the wires into the glovebox. Don't know how to fish the wires through and gave up after 20 minutes.
How did you try to route the wires into the glove box? Did you first remove/unhinged the glove door? I seems like you can route it from the back into the box. Alternatively, you could put it in the frunk like I did.
Finally was able to install the rear channel. It was relatively easy as I routed through the weather sealing of the door.
I am planning to also do a DIY install of the Blackvue 750S two channel when it arrives. I am OK with the front camera install as I already have my old Blackvue 500 installed which I will take out but keep the existing wiring. However for the rear camera from looking on how get the wire from the rear camera to the front does not looks so easy as the spacing between the B pillar and the headlining appears to be very tight and not much movement to insert the wire between the two. Did you resort in removing the interior B pillar moulding off to get the wire past the B pillar and then to the front camera? Or did you not experience any issues just pushing the wire in between the pillar and the headlining?
How did you try to route the wires into the glove box? Did you first remove/unhinged the glove door? I seems like you can route it from the back into the box. Alternatively, you could put it in the frunk like I did.
I wasn't able to. There is a gap at the top of the glove box backing and if you look underneath, there are 3 holes from the bottom. I thought that the wires can be routed through, but when I shine a light inside, I can't seem to see it from the glove box. Someone else here left the battery in the glove box, so there must be a way to route the wires. I love your frunk installation but it seems like too much work as a DIY project for me. I also keep my collapsible golf push cart in the frunk and don't want it snagging on the wires or battery.
How much recording time do you get for 2-ch off the battery + extender?

 10-16-2017, 09:39 PM