When you click on links to various merchants on this site and make a purchase, this can result in this site earning a commission. Affiliate programs and affiliations include, but are not limited to, the eBay Partner Network.
Detailed Designs Auto Spa's Perpetual 991.2 GT3 Projects Thread
Instead of sharing info and pics of 991.2 projects across many threads I am creating this thread as our perpetually updated thread. Here is where you'll see the inner workings of our craft, my staff and I working doing our thing, nooks and crannies of the 991.2 GT3 as well as images and videos featuring:
�Pick ups and deliveries with our car hauler (for PEC deliveries as well as local private owners)
�New car prep
�Paint correction
�Car tear downs
�Technical How-To's
�Paint Protection Film Installation (clear bra, clear film, etc.)
�Explanations of technologies and their applications
�Modesta Coatings for paint, wheels, leather, glass and more
�Finished projects
This thread will primarily discuss content found here but questions in general are encouraged. I will do my best to follow up publicly, where possible, for all reader's benefit.
To read about the possible condition of new Porsche GT3 paint finishes, read this: Waiting on Your GT3 to Arrive? Prepare Yourself.
A number of pages into that thread I explained why and how a new car can look perfect but after being decontaminated, it could look distressed. Here is a copy/paste of that as it's pretty relevant to what we do and what you will see expressed in this continually updated thread:
"Something may have been lost in my video due to it being shot at night and in my shop.
The defects showing were neither minor in nature nor did they require any kind of magnification to see them. Because it was about 2am when I shot the video and all I had was LED lighting for the work and not studio lighting for shooting pro-level videos, I assisted with using a hand held light. The only thing required to see them after it was delivered was a decontamination wash. For any that may not know what that is, a decon wash is intended to remove products sitting on top of the clear coat that artificially mask the real condition of the paint/clear coat. There are a few very good reasons to remove these products.
�The filler will absolutely wash out over time anyways which leads to on-going details that continue to mask the defects and perpetuates a model of the paint never looking close to as good as it could and the private owner never knows what's possible. (for any that don't mind defects, this is a moot point) When, for many a proper paint correction service and quality on-going care can mean paint looks gorgeous without the need to take it somewhere for regular "buff n polish" services. With proper care, paint correction is a one-time experience for a car. There are very few exceptions to that.
�When any protection like a wax, sealant, and especially a coating, has products sitting between the protectant and paint it limits durability, looks and protection to a large degree. For a coating to have *anything* between it and the clear coat is to be a complete and utter waste of money and effort. This is one of the areas that makes me livid. There are countless pro's satisfied with using oily products that mask defects as a means to fit in a client's budget and ultimately it leads to poor protection and premature failure of the coating(neither of which the owner is being made aware of when their ear is tickled by the professional). A better approach is to explain why doing things the right way is important and the only way..... even possibly telling someone that the coating is not the right fit if they want "perfection" from the paint before installing a coating when the budget does not fit doing it the ethical way. These are some of the corner cutting techniques very few private owners understand due to the great nuances of these technologies. (This situation should not be confused with someone having light defects or paint that is in pretty good condition, being satisfied with the current appearance but also wanting additional gloss, easier cleaning and the protection a coating provides) At the end of the day, it's about whatever is done is done right for what it is and it's not about cutting corners, tickling ears and deceiving private owners into believing they are paying for one thing and are actually receiving something else.
�Some owners simply "want it done right". Without decontaminating, it's impossible to know what's going on with paint and if your LSP(last step protection) is giving someone the most it can. Some are OCD about this and some aren't. We tend to work for the OCD(I say that with compassion as someone facing the same....uhhh.....mindframe ). I recognize this isn't for everyone and I would never suggest it is for everyone. It's about putting the information out there for those that are into it.
If paint has not been decontaminated and it's new, there is a very good chance it may appear perfect. But over time, whatever is masking defects is going to get washed out. The decon wash, safely and chemically, removes the stuff that is short-lived and allows us to assess what's really going on so that our client may make a long term choice based upon the facts. Sometimes they come to us and look beautiful after a decon and sometimes they look terrible. I am just the messenger and can't control what's really going on.
You may be asking or critically questioning how filler masks defects?
Do you know what refraction and reflection is? (The following illustration exists in a vacuum for the sake of helping to explain this concept) Think of a perfect surface like a mirror. It returns a perfect image of what's in front of it due to reflection. If you introduce defects into the surface of the mirror the image it returns will begin looking distorted, scuffed up, cloudy, etc. due to the defects refracting light. At its core, refraction is caused by changes in the medium that light is transmitting off of(shooting from the hip). When the medium(in this case: clear coat) is smooth, it reflects and you see only what's reflected. When you see scratches, swirl marks, etc., you are actually seeing light refracted off of the defect in the medium(the clear coat).
Products that "fill" paint do exactly as it's named. It fills the microscopic voids that would otherwise allow refraction to occur. Have any of you ever seen your paint look incredible when wet and all those scratches you normally see aren't visible? That's because the water is doing the exact same thing. It's allowing light to reflect off the surface of the water and not refract off of the underlying defects. Filler-products are designed to accomplish a few things:
�First of all, improve the appearance of the surface.
�Most importantly for ones using them: Work FAST. Real paint correction....leveling the surface of the paint, is not naturally a fast process. But it is permanent in that once those defects are fixed, you can only cause new damage and if cared for properly, paint correction should be off your to-do list for a *very long time*, if ever again for that car.
�In some cases, products have something called durable fillers. These are advanced petroleum-based(silicone in most cases) products that will mask defects for months. These products are actually wonderful for some private owners. But that should be the owner's call and not a detailer who is using them to take shortcuts unbeknownst to their client.
Where do these fillers come from?
Waxes and sealants.
All-In-One(AIO) products.
Almost any polish or finishing product can naturally fill if the oils are not stripped away after use. Polishes MUST have oils/lubricants. But to use a polish and not strip away the oils after breaking it down, a user is doing a disservice to the car. The oils will mask the standing defects(which thermal expansion can do on paint just the same if someone generates significant enough heat). So, for many of us, we use products and solutions specifically designed to strip away polish oils while correcting paint. This allows us to always see and work on the clear coat and not be blissfully ignorant to what's really going on with our working surface.
On the other hand, there are polishes and glazes specifically engineered to mask defects and to be very easy to use. These are rich in silicones and are pretty much the only products I am aware of that any car manufacturer in the world uses. Put a silicone rich product on a rotary and in the hands of a relatively inexperienced person and they can make it look pretty stinking nice and super fast with little practice. Put a rotary with a product designed to level clear coat in the same guy's hands and the paint will look terrible. THIS is a major reason why decontamination is important on a new car. This is why my primary means of decontamination on a brand new car is chemically decontaminating and not using a mechanical decon(clay bar/decon pad: which will naturally marr and damage paint to a small measure). Most new cars have a layer of filler, not bonded contaminates. My goal is to strip the gooey garbage off the paint while not generating damage myself. The red gt3 in the OP is an example of that and the video below is also an example of that. We only hand washed the cars and chemically decontaminated them and what is shown is what the clear coat looked like the day it left the factory under all the filler.
Here are a few illustrations to show what I am describing.
Here's an OLD 2D cut away I made almost 10 years ago with filled paint:
Once decontaminated the paint is in its natural state.
Here's a revision of my render of modern paint defects, corrected paint and then the options for protection(these are covered by the revised and blown up section). The yellowish area signifies filler masking the condition.
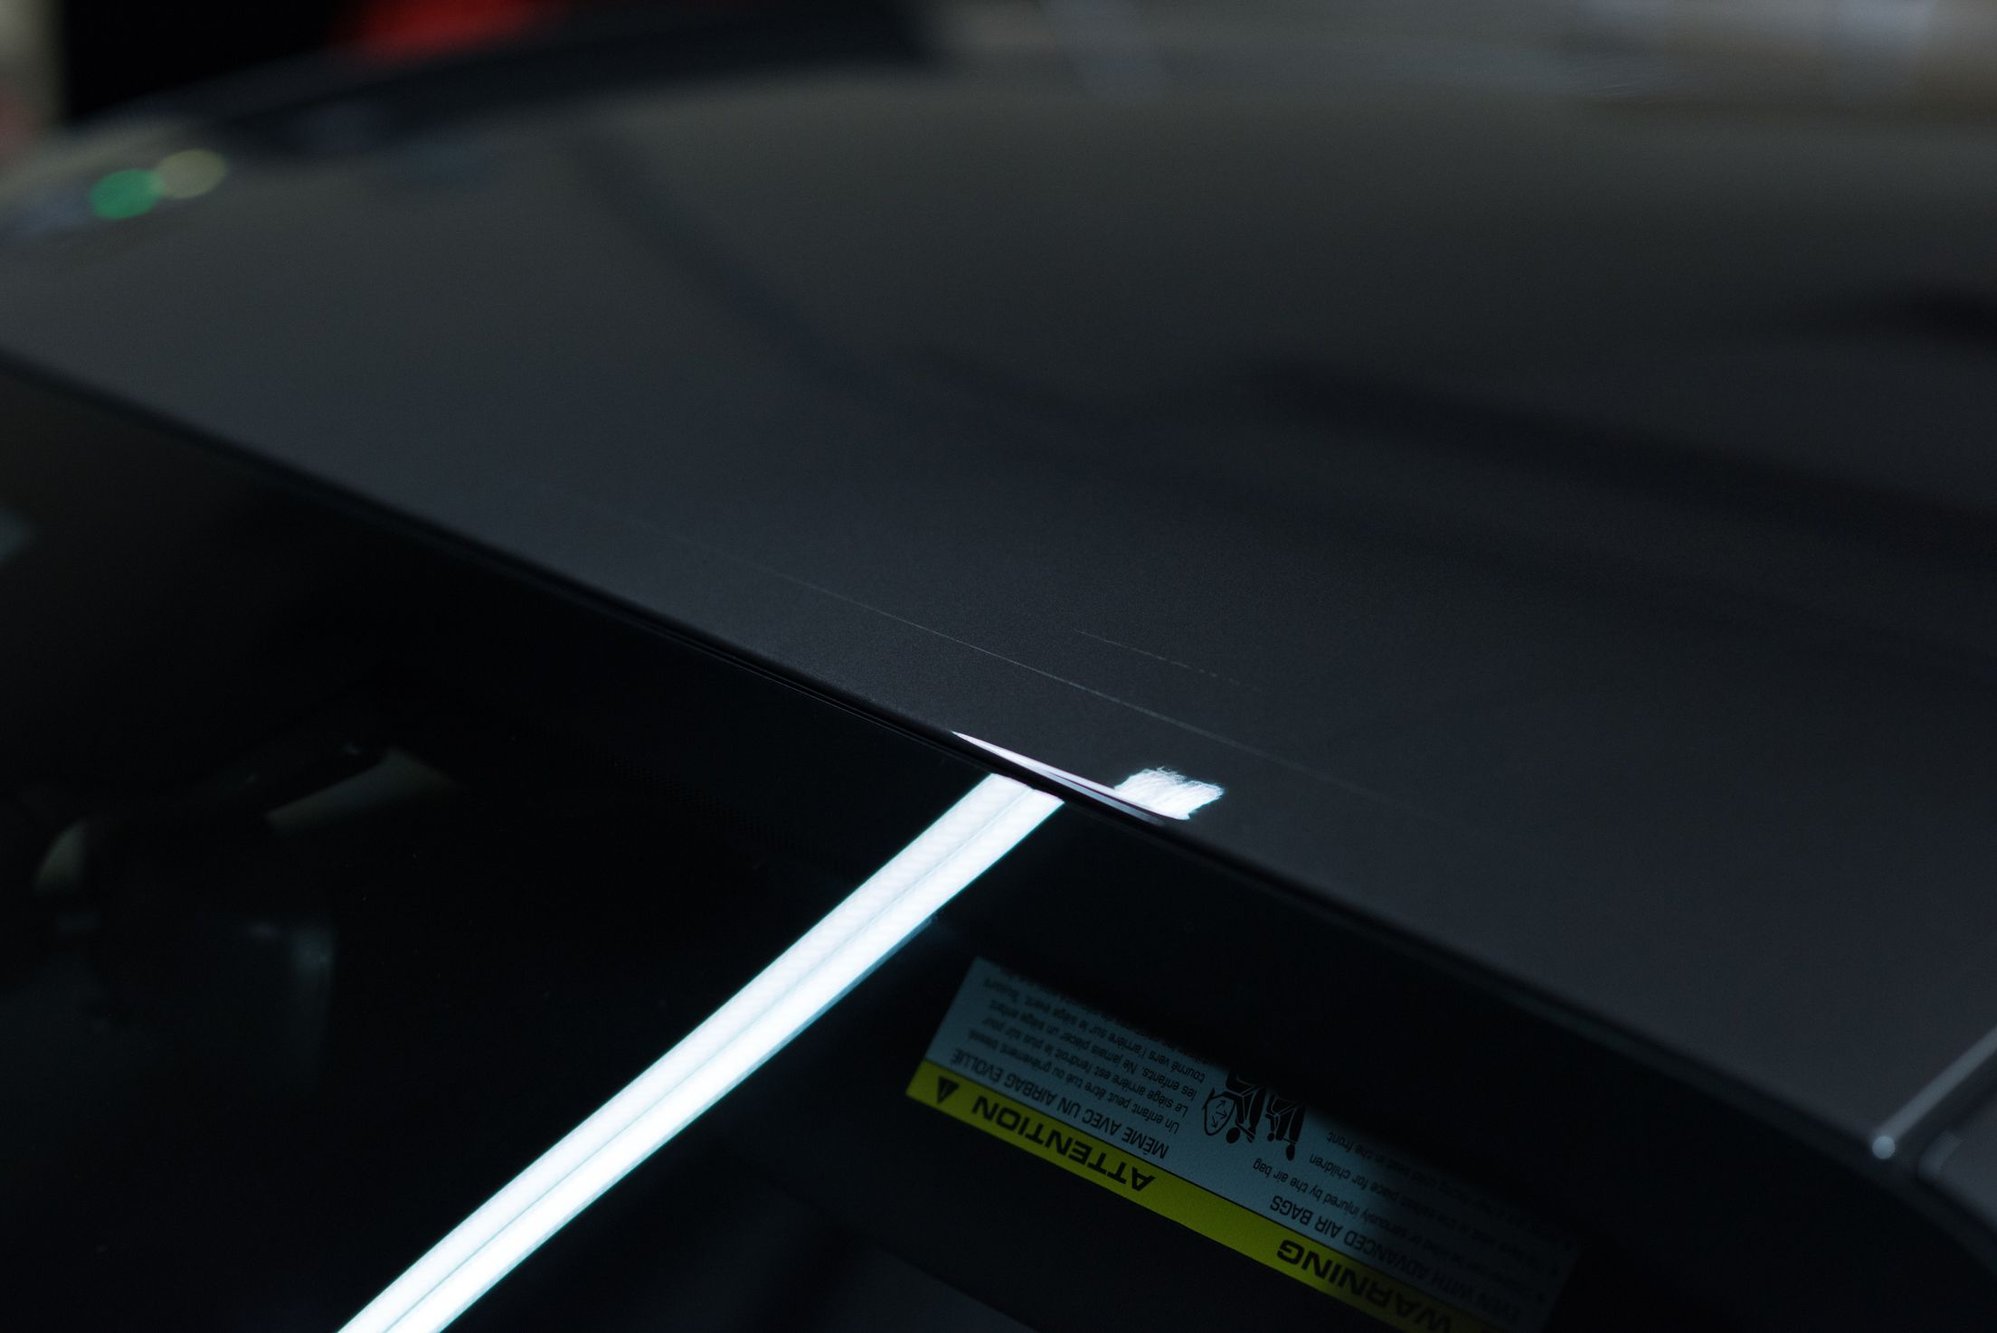
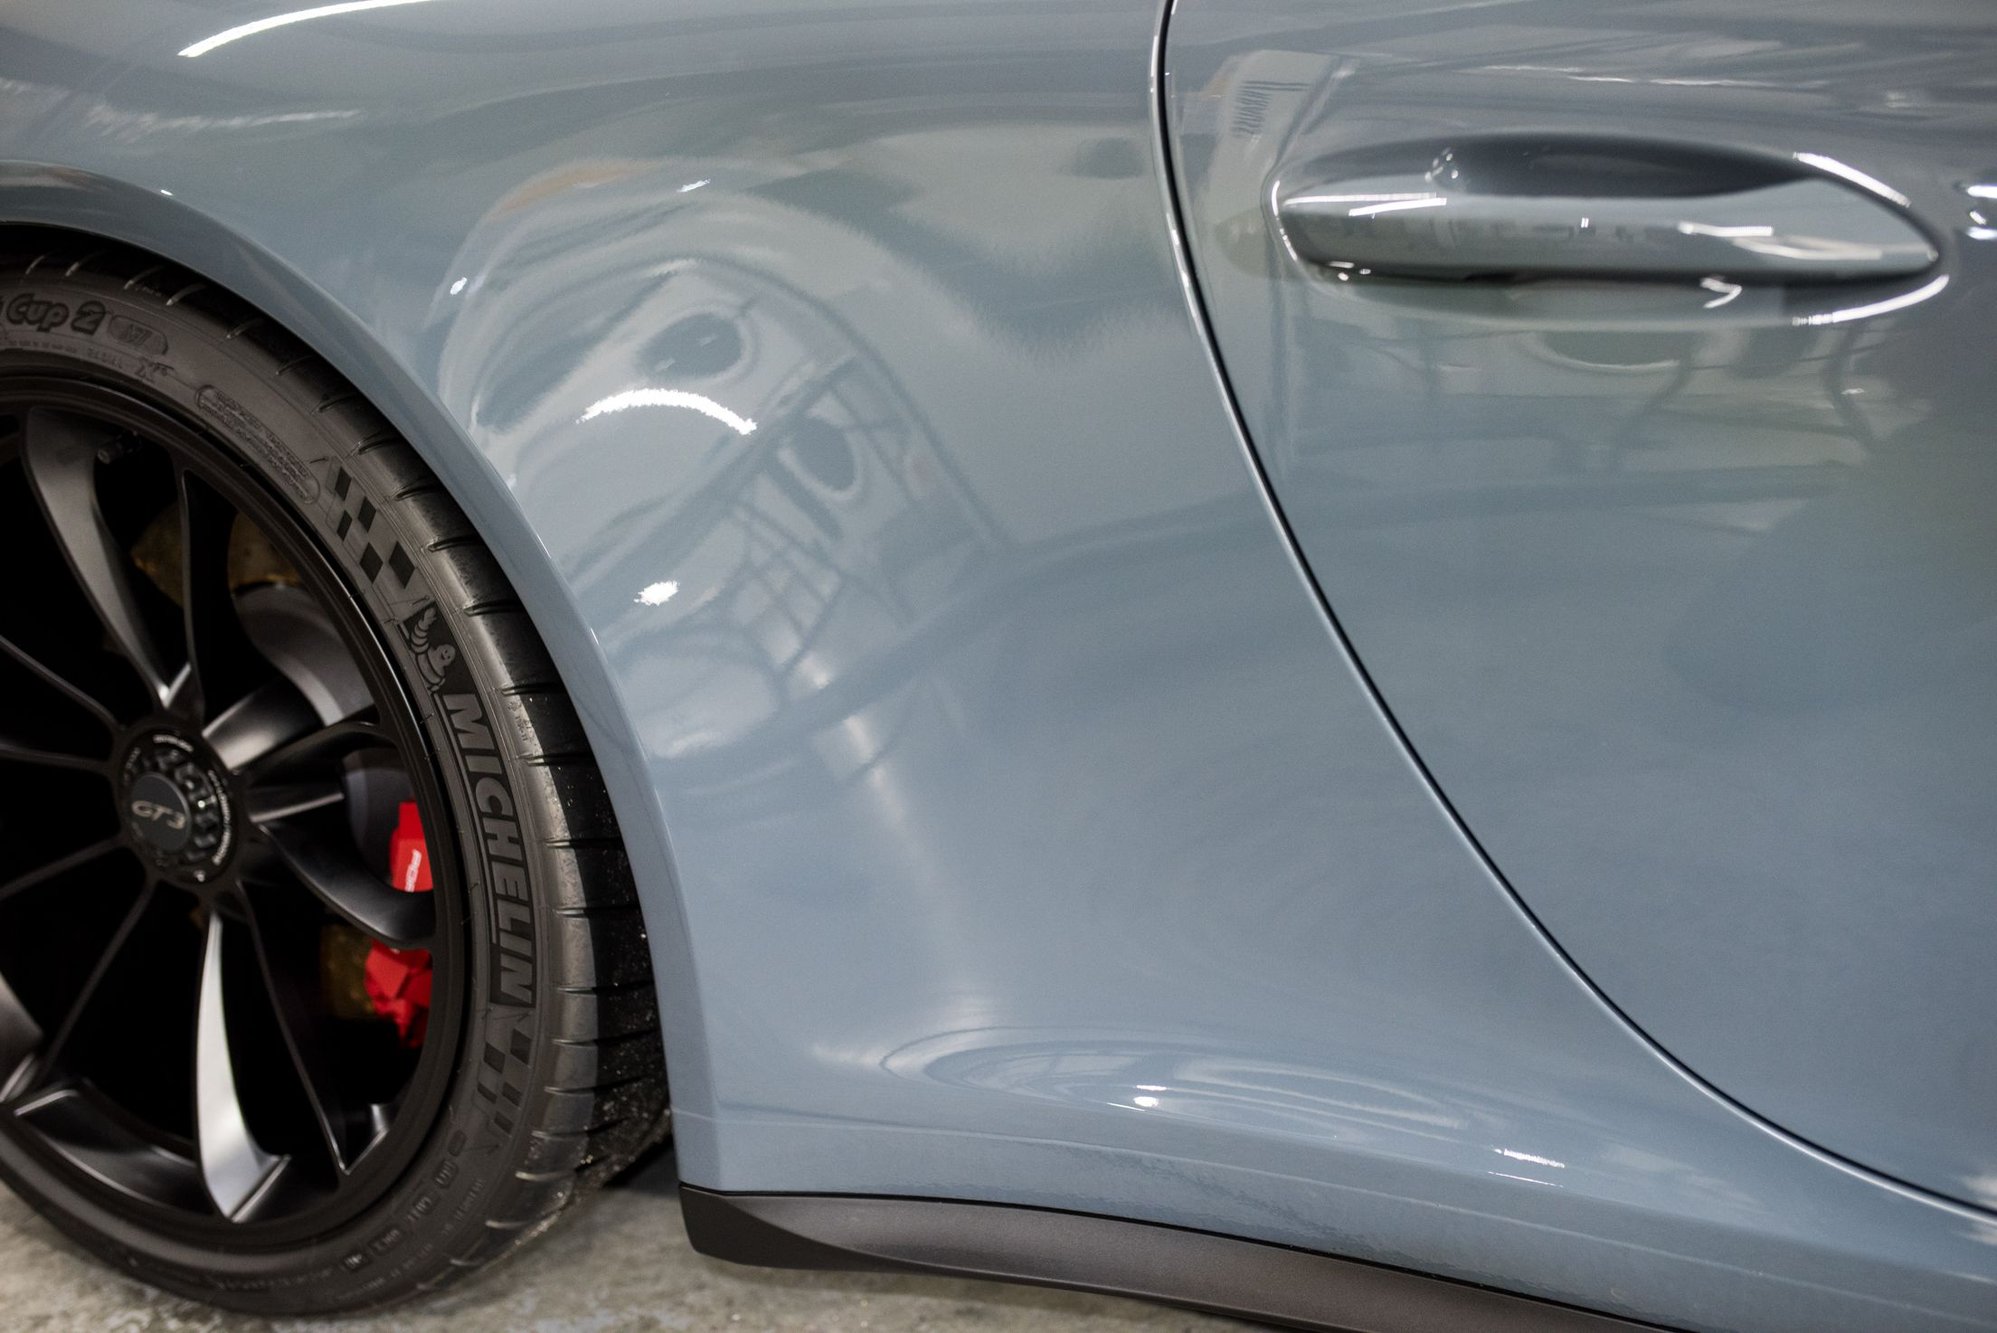
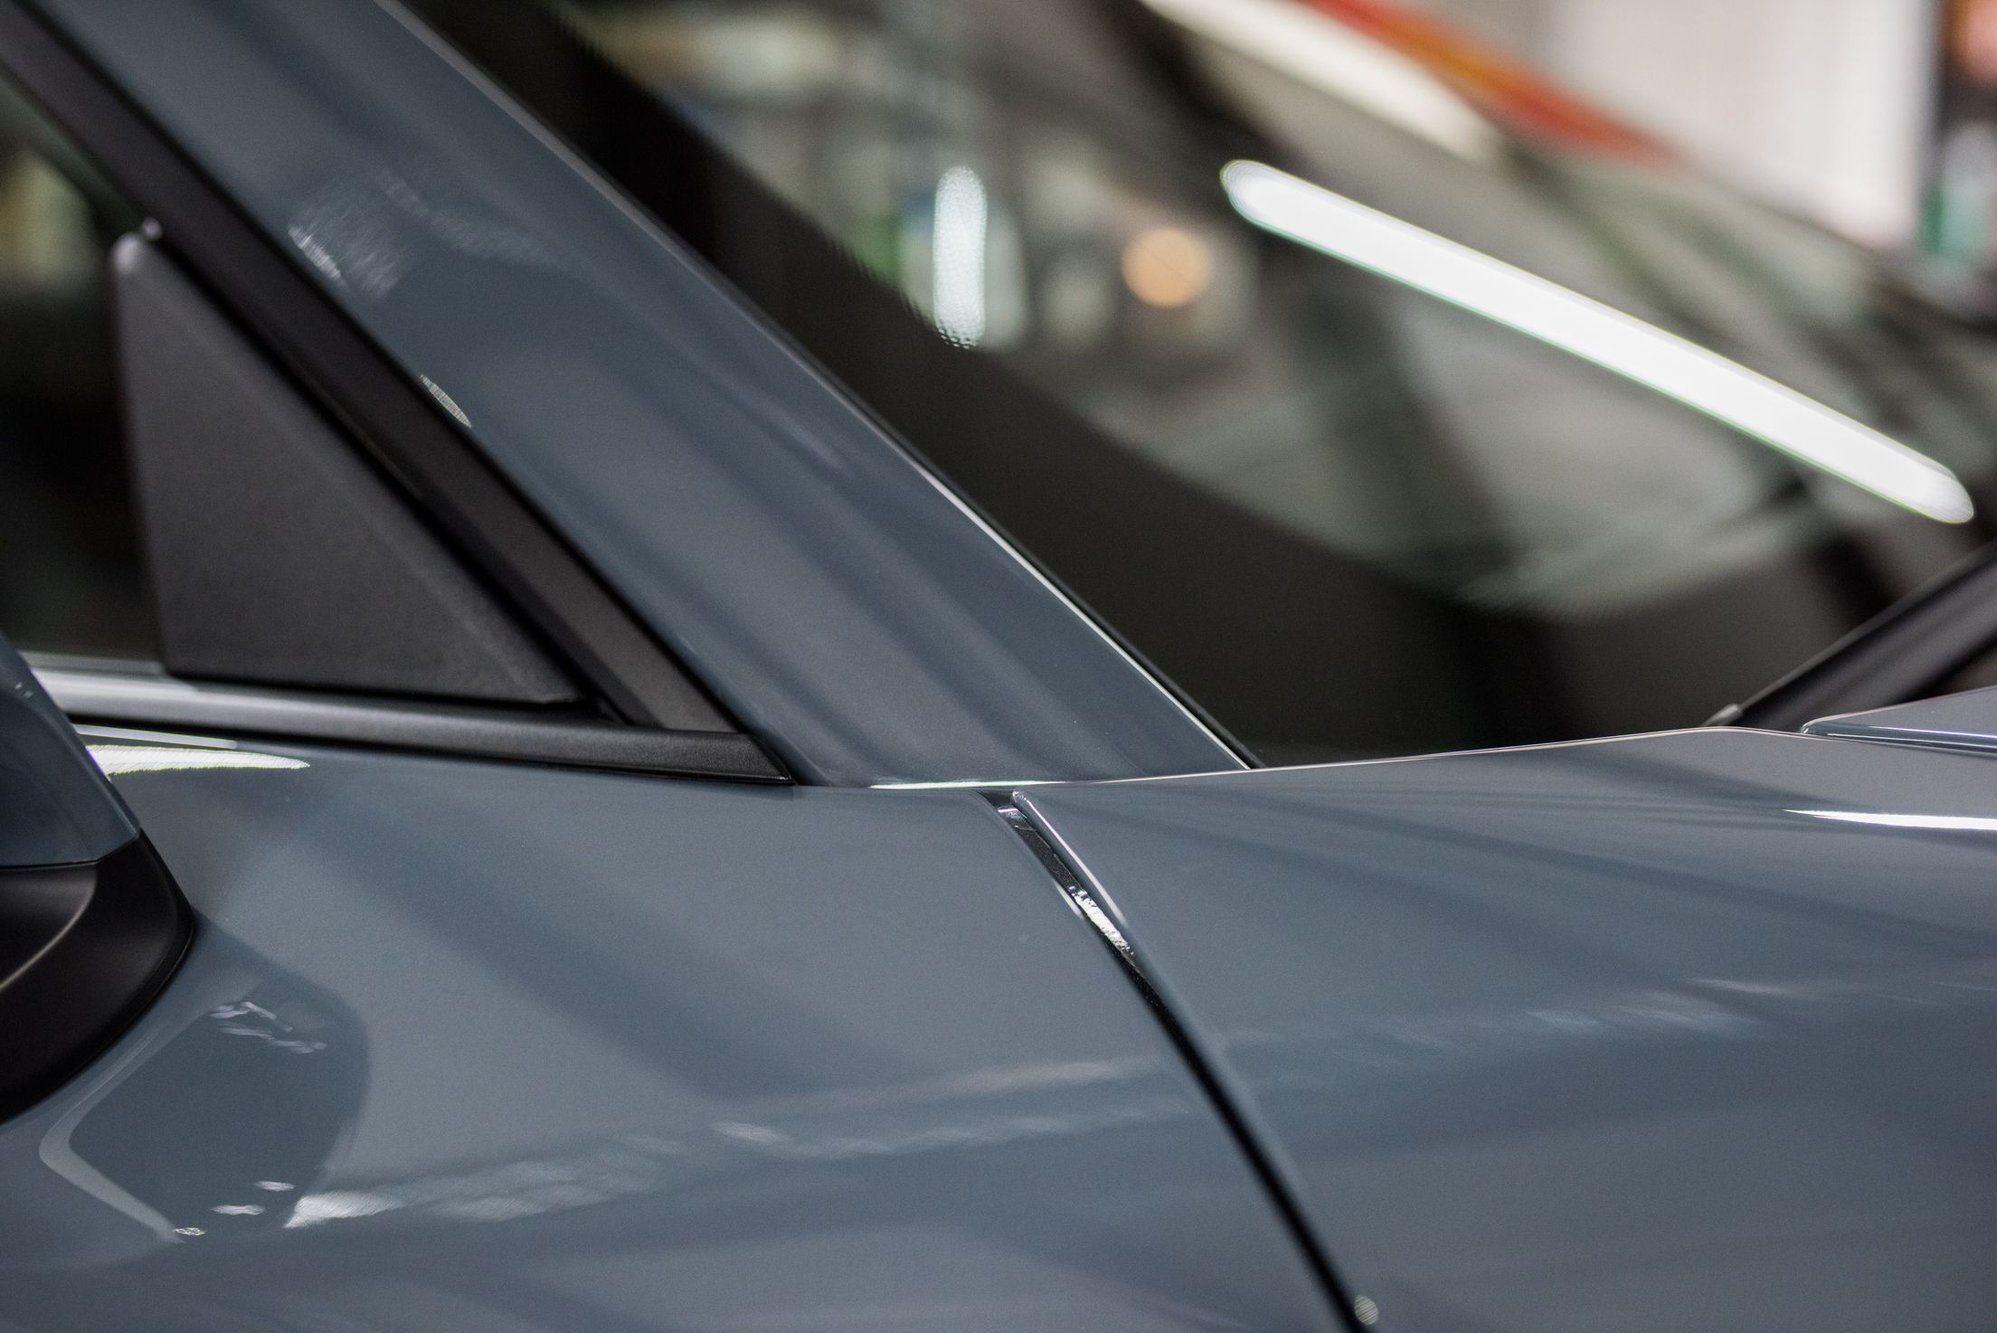
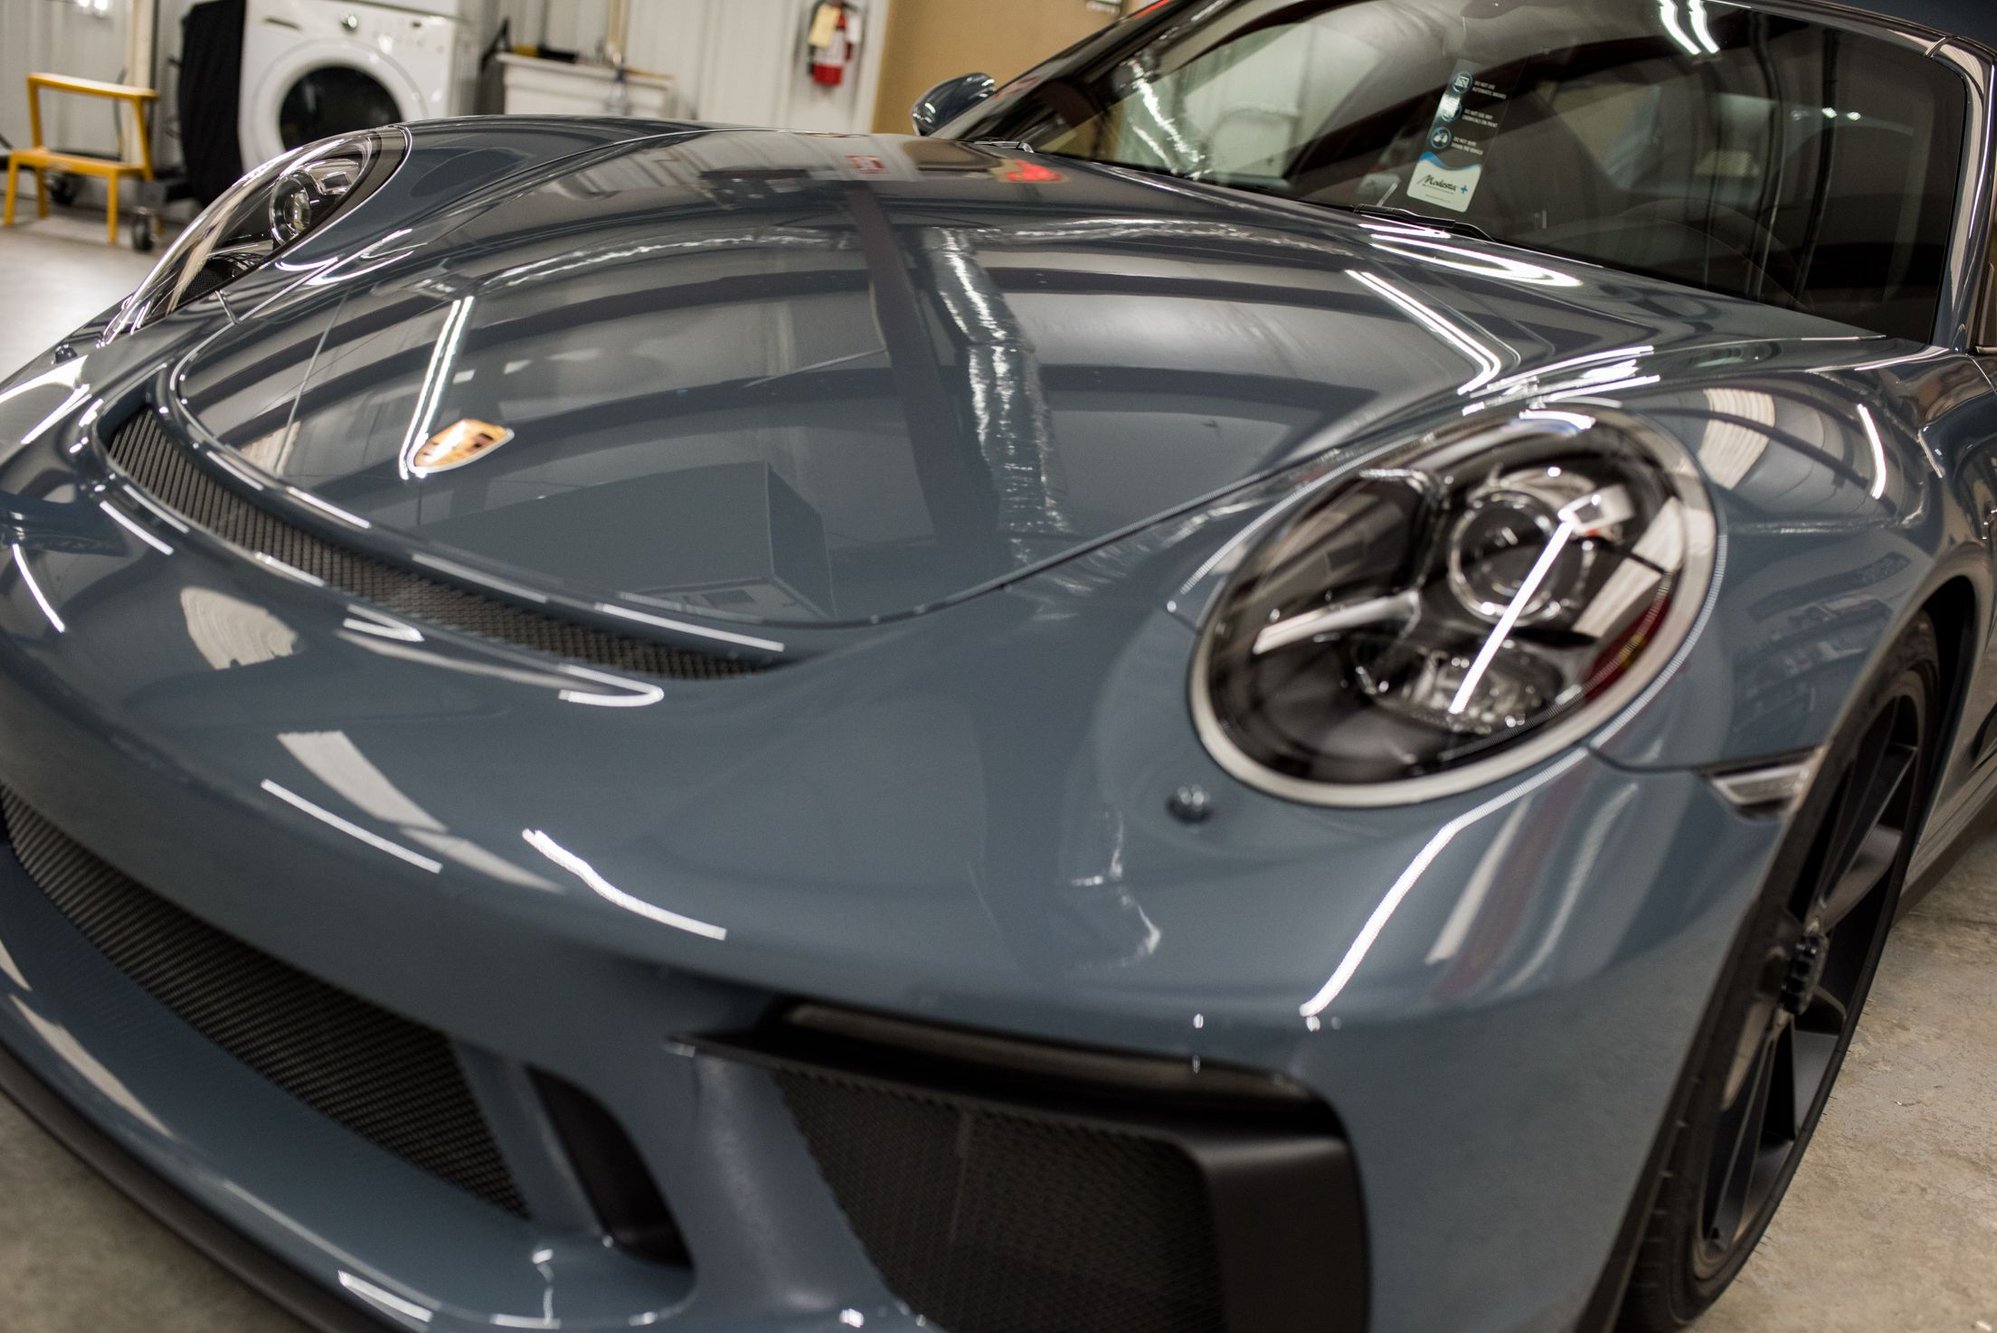
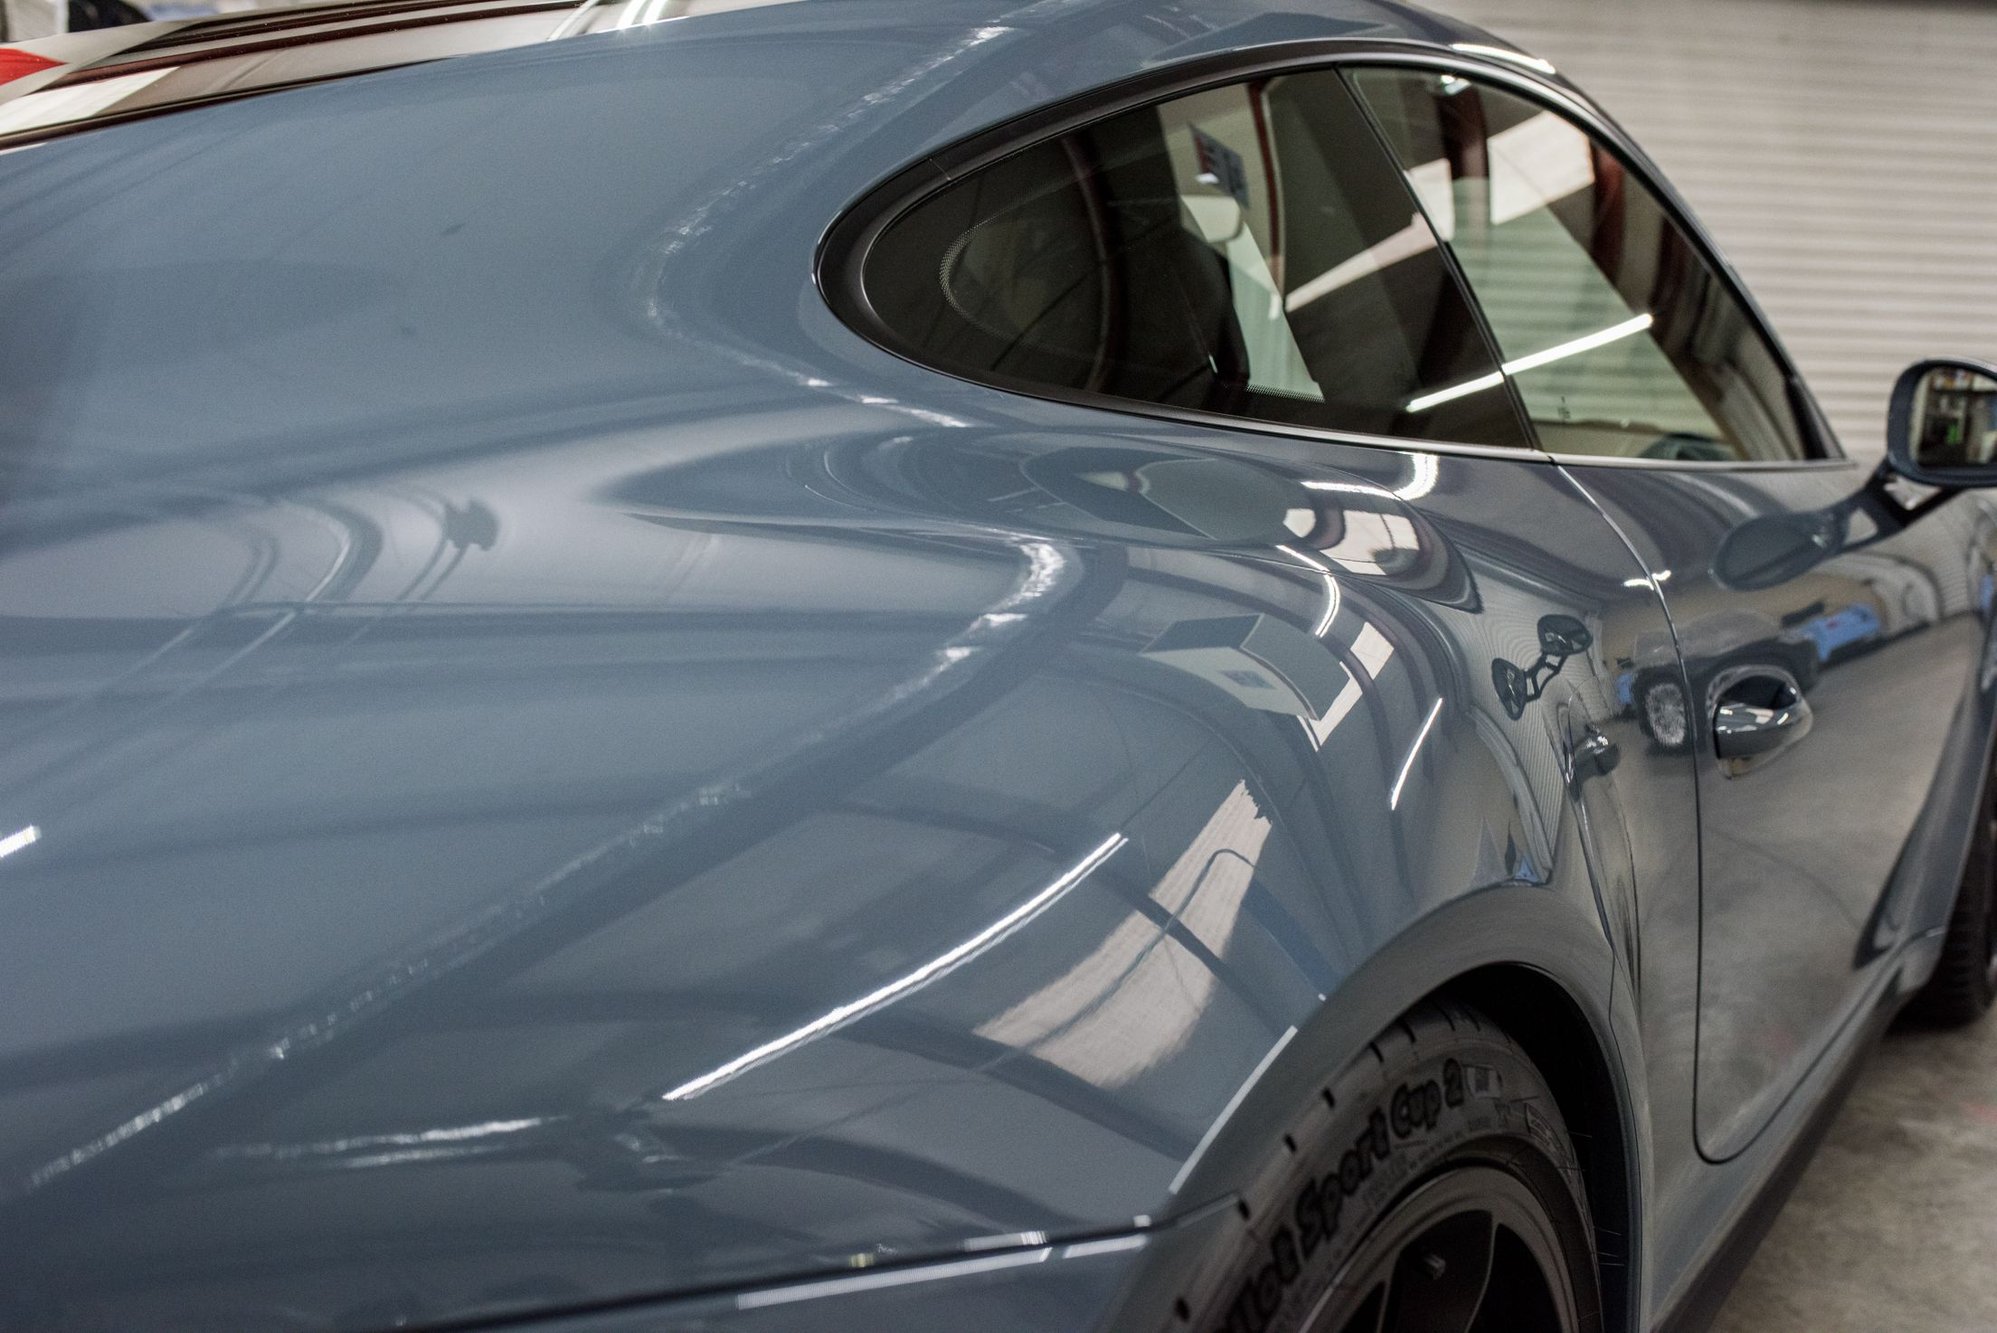
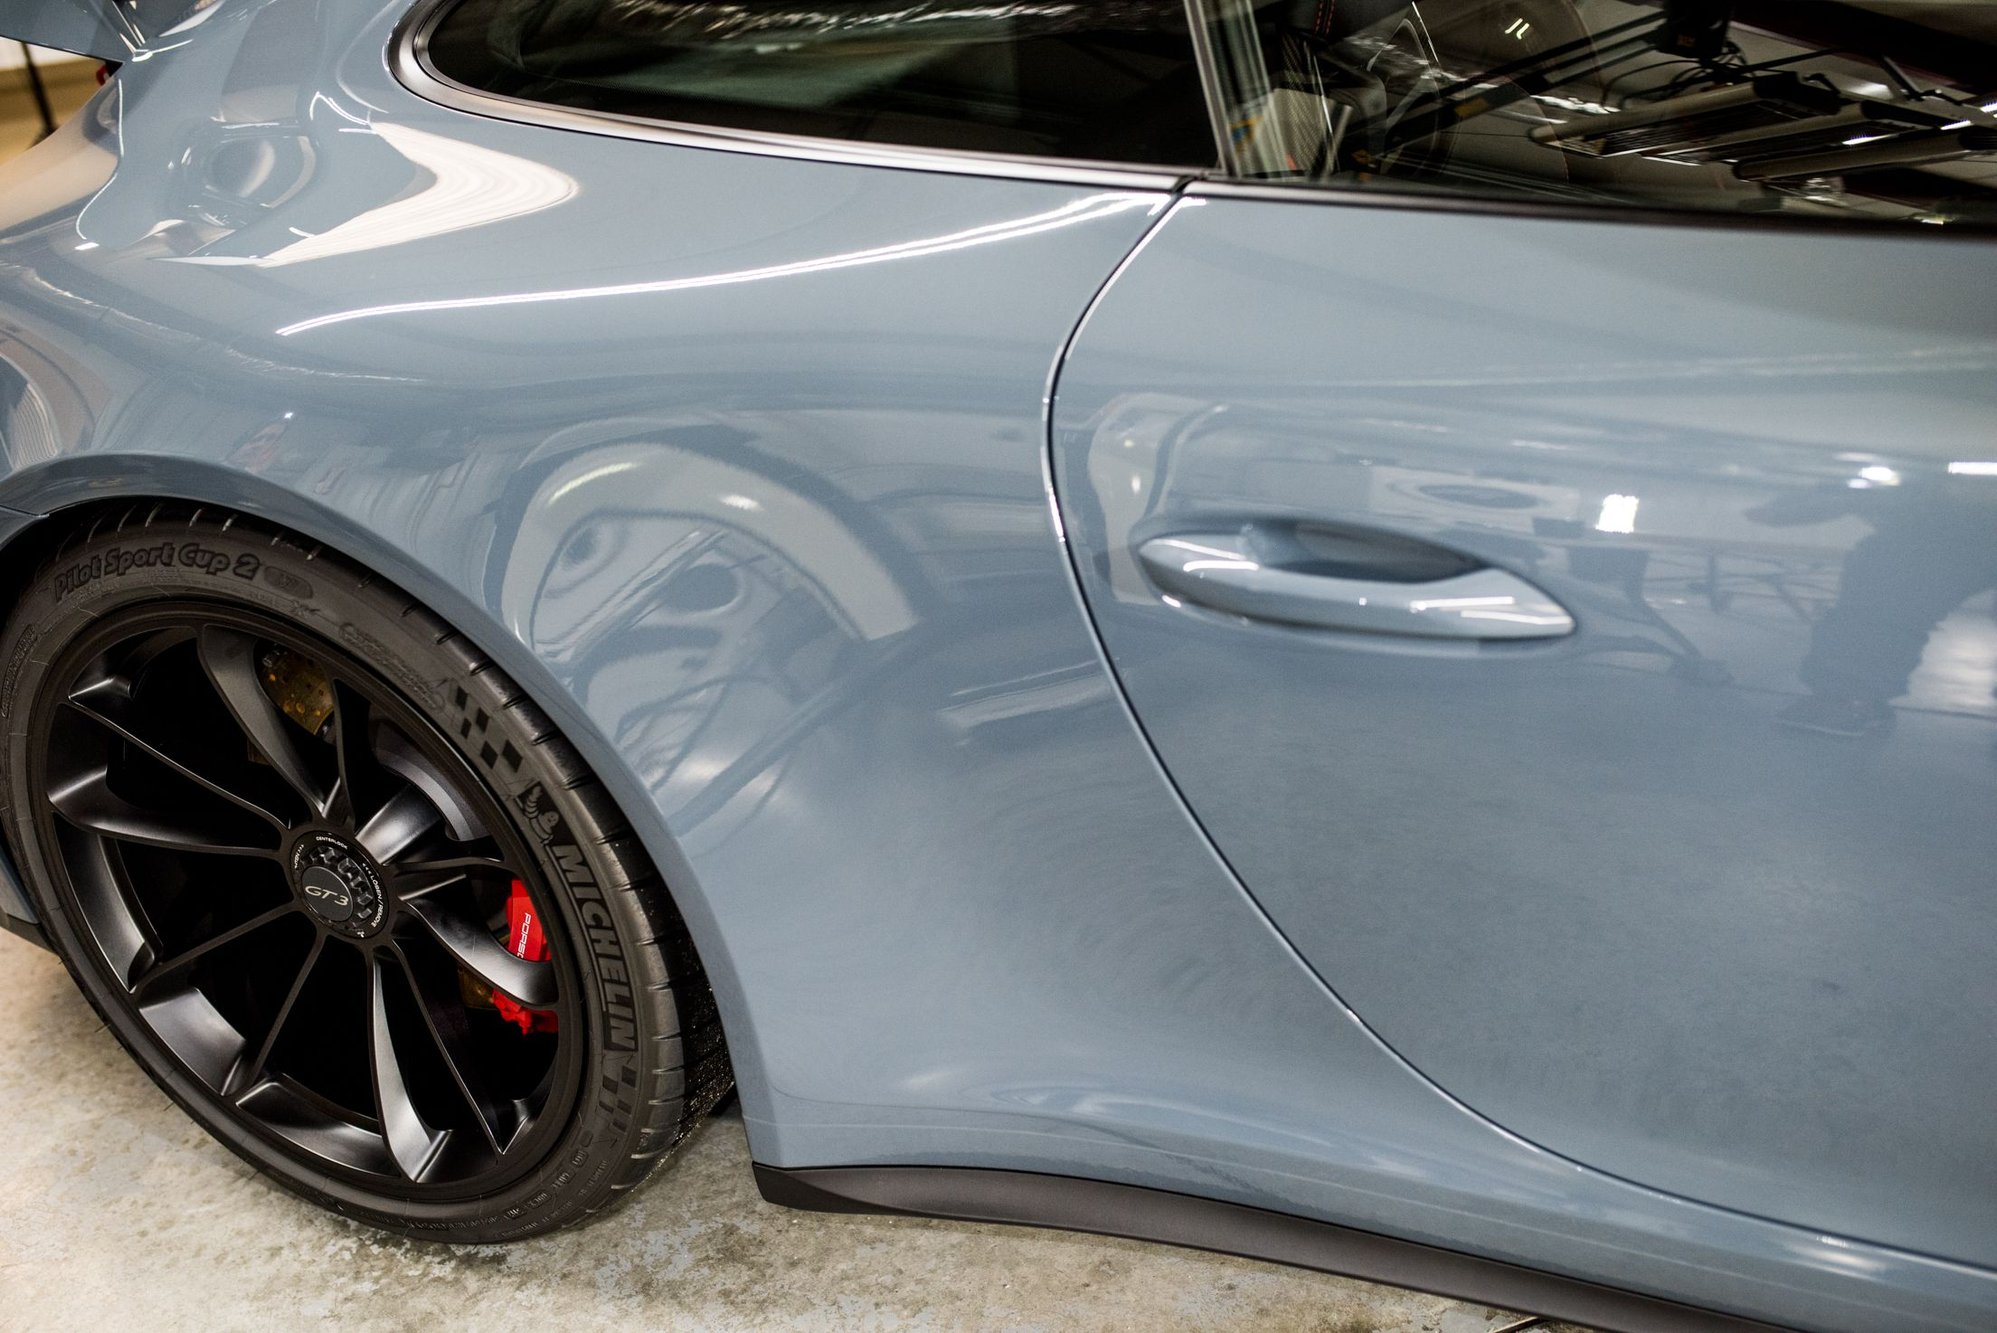
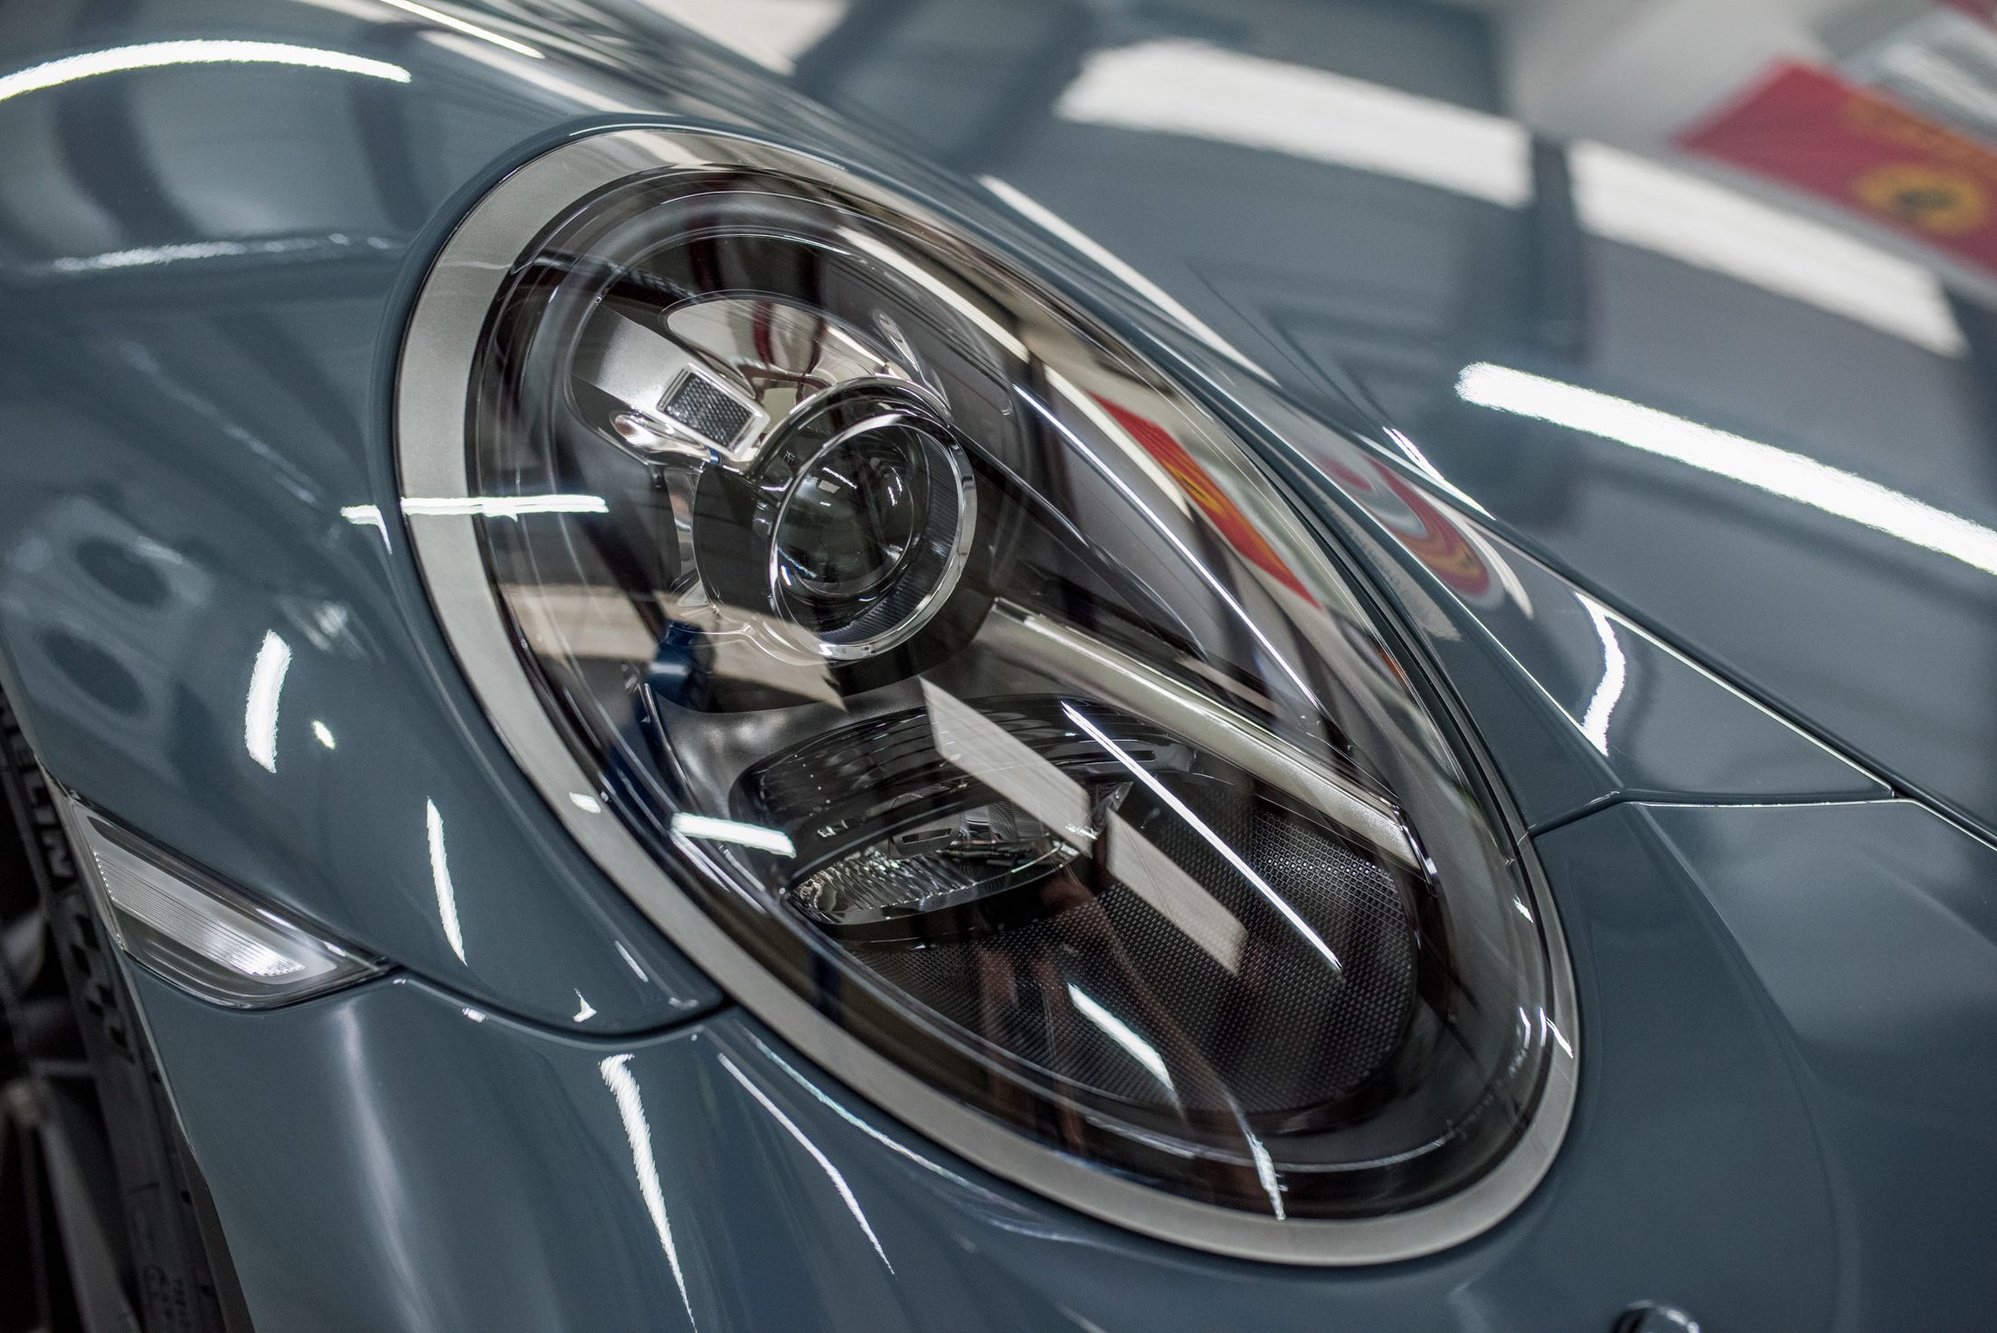
For any that believe my original video to be overly critical with either the lighting or the distance, here's a 2018 gt3 in Graphite Metallic Blue car we only did a chemical decon and hand wash on this morning. My full-frame camera is at home so I had to shoot with my mobile phone. Believe me when I say that the camera does not do what you see in person with your eyes justice.
Hopefully this helps explain the nuances of the topic a bit better."
-----------------------------------------------------------------------
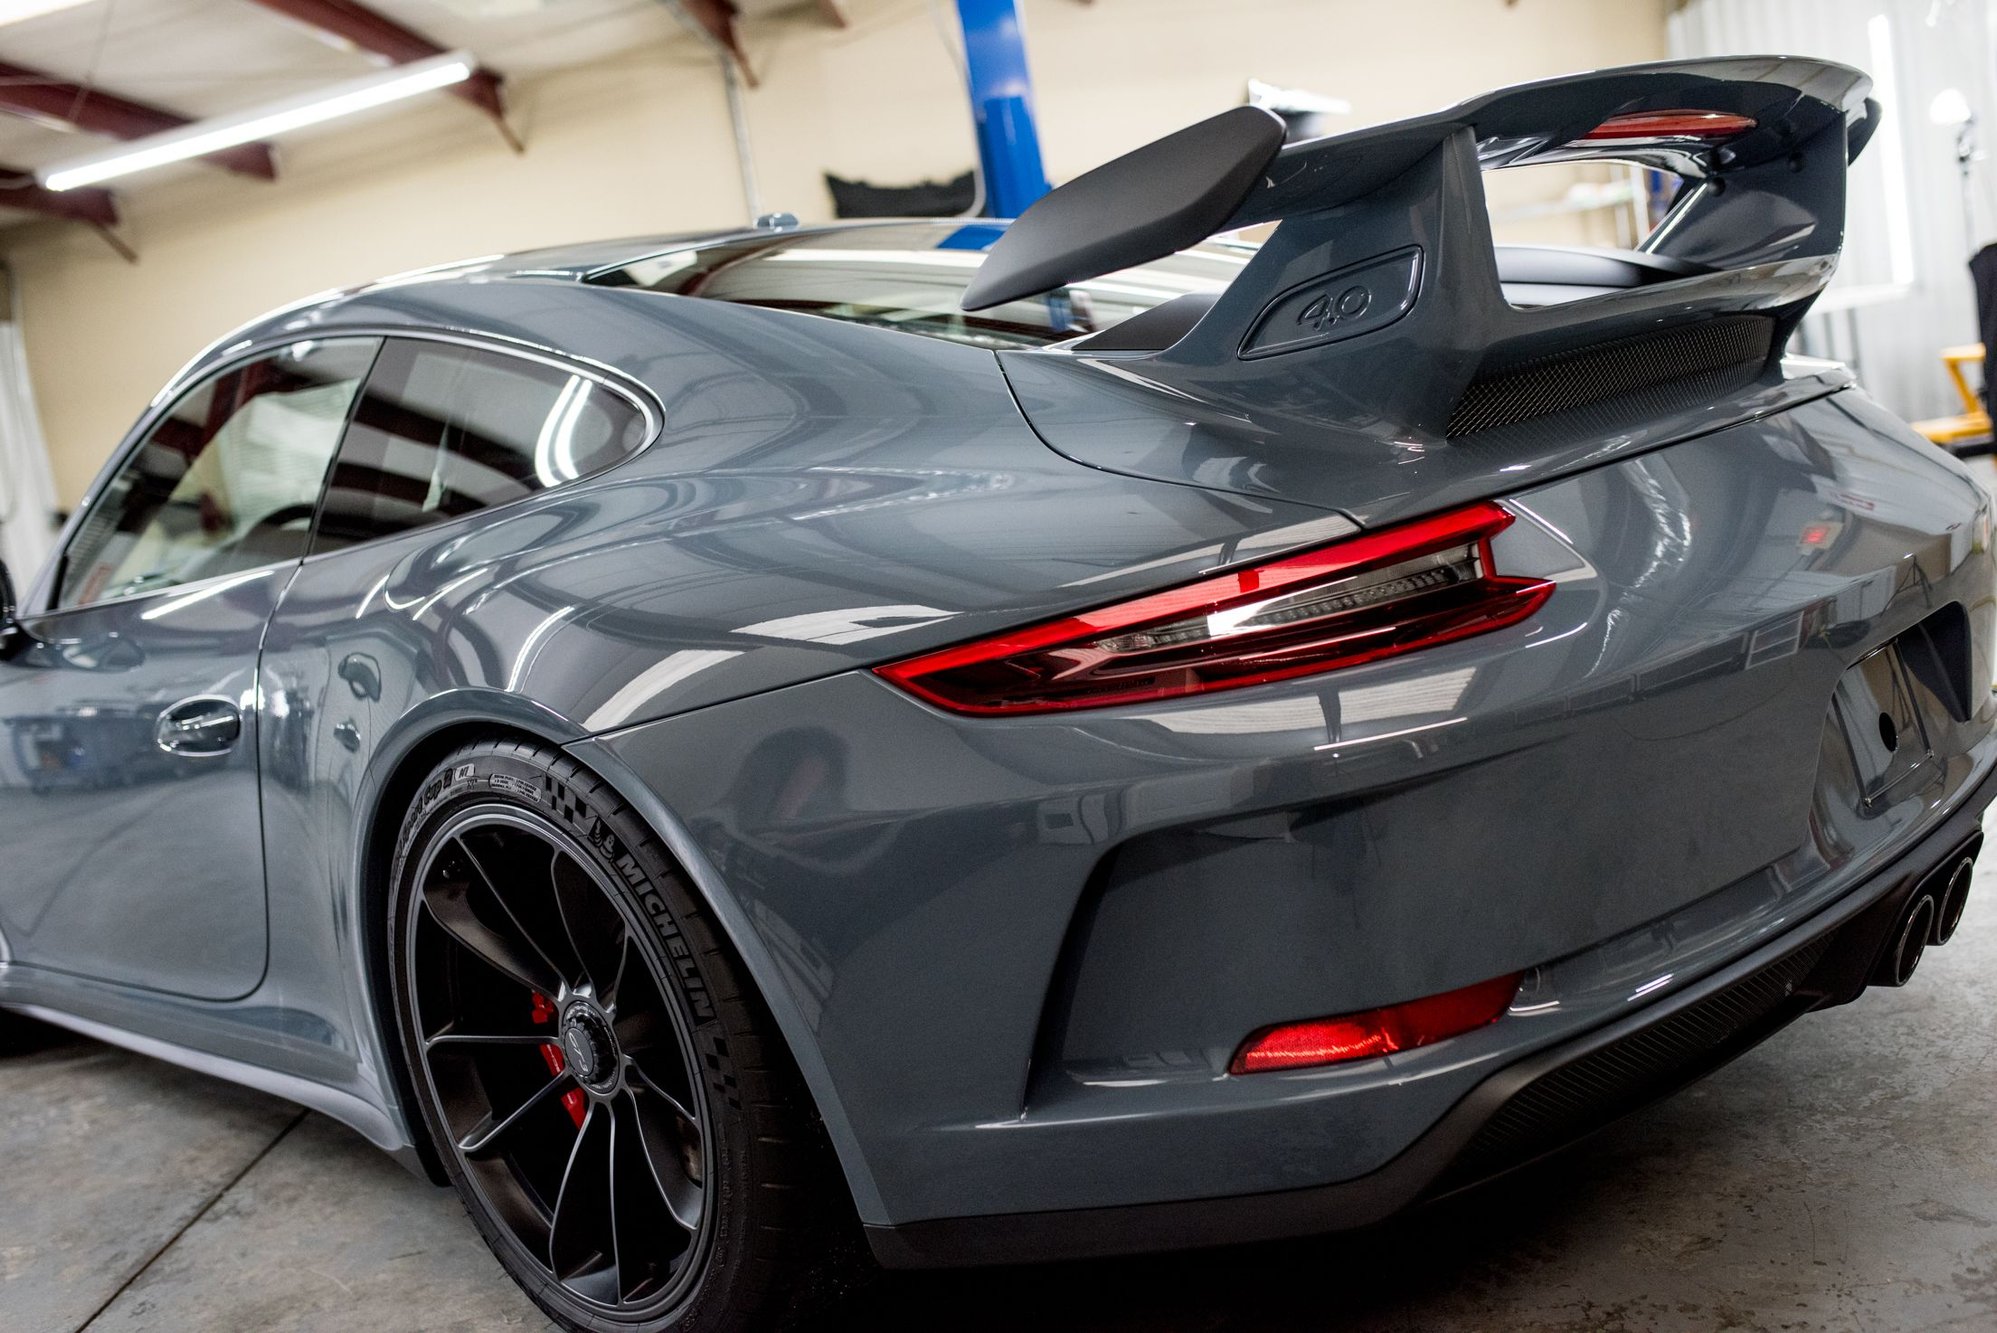
That same Graphite Metallic Blue .2 GT3 is the first proper feature in this thread. It visits us from South Carolina for the Full-Monty:
�New car prep
�Paint correction
�Full-Body Paint Protection Film Wrap
�Modesta BC-04 on the body and jambs
�Modesta BC-06 and BC-08 on the wheels and calipers
In this case, the owner is also hunting a modular form of additional protection in which we've created the great solution to fit his tracking needs. More to come on that later(sorry for the teaser ).
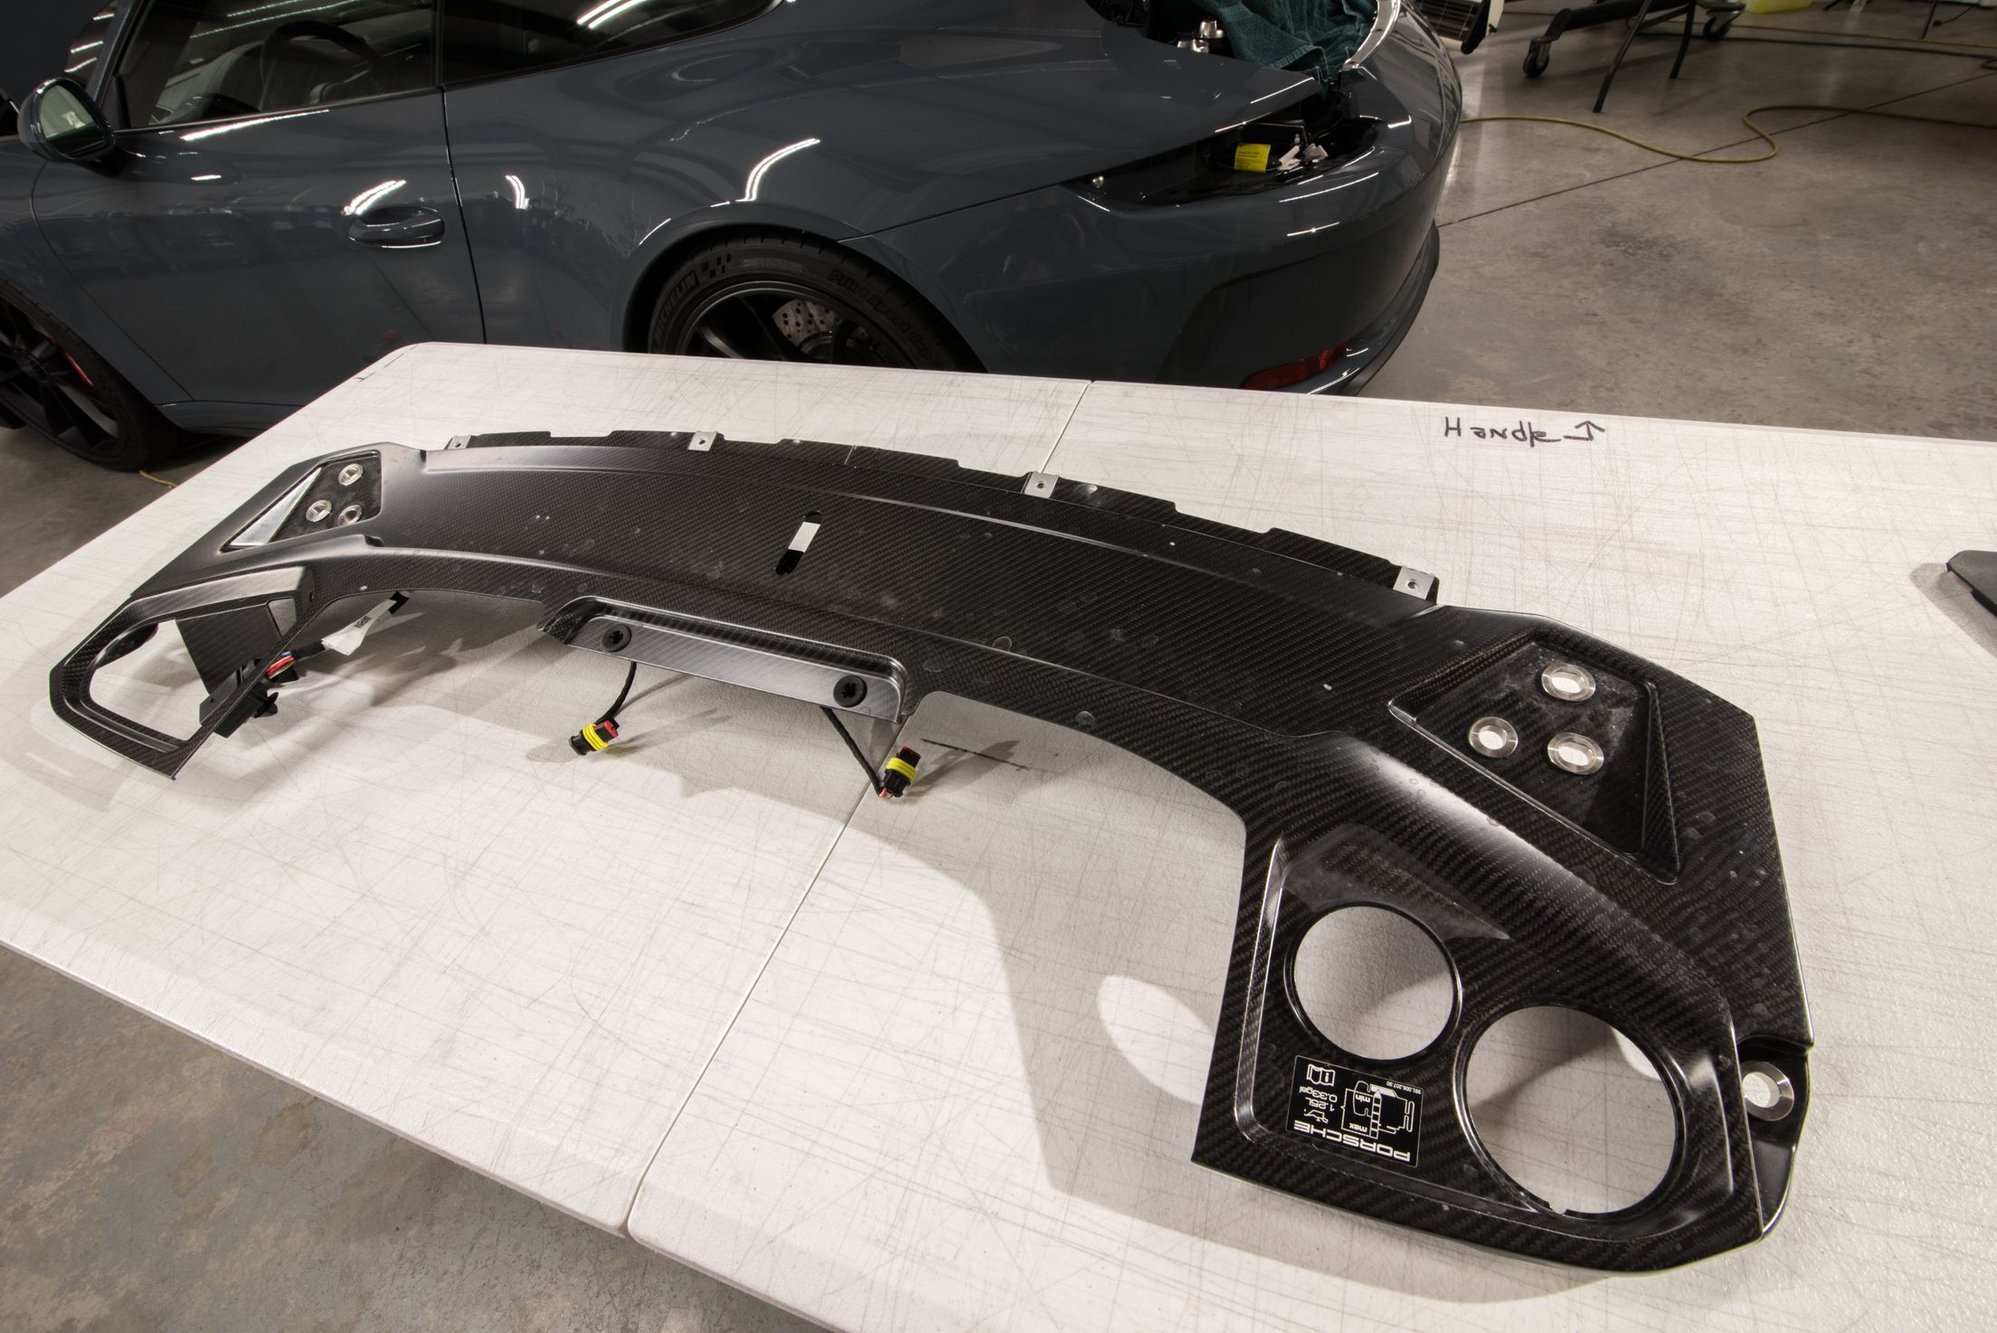
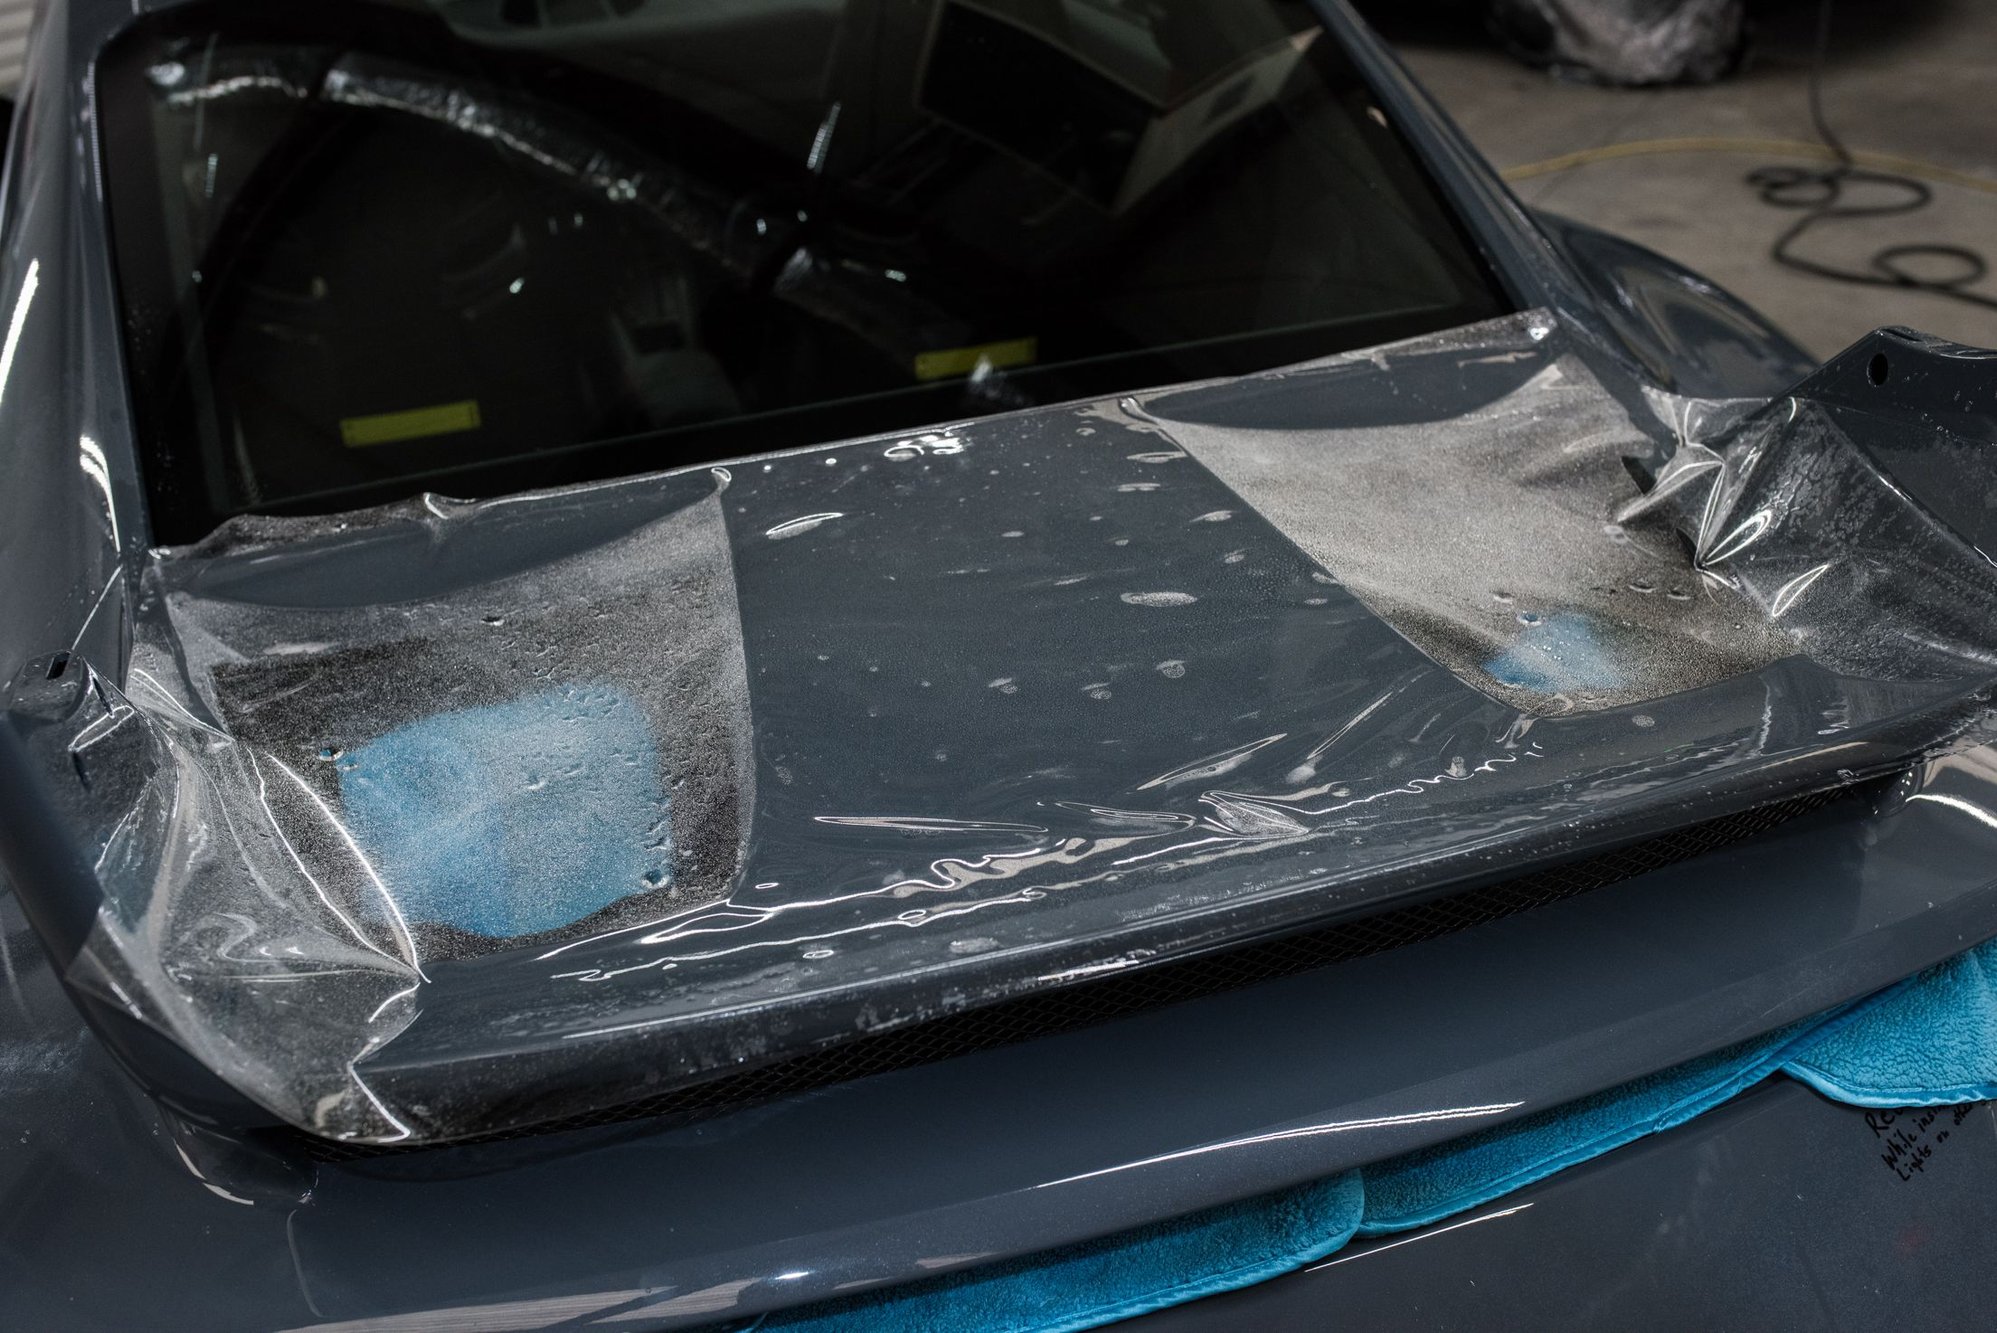
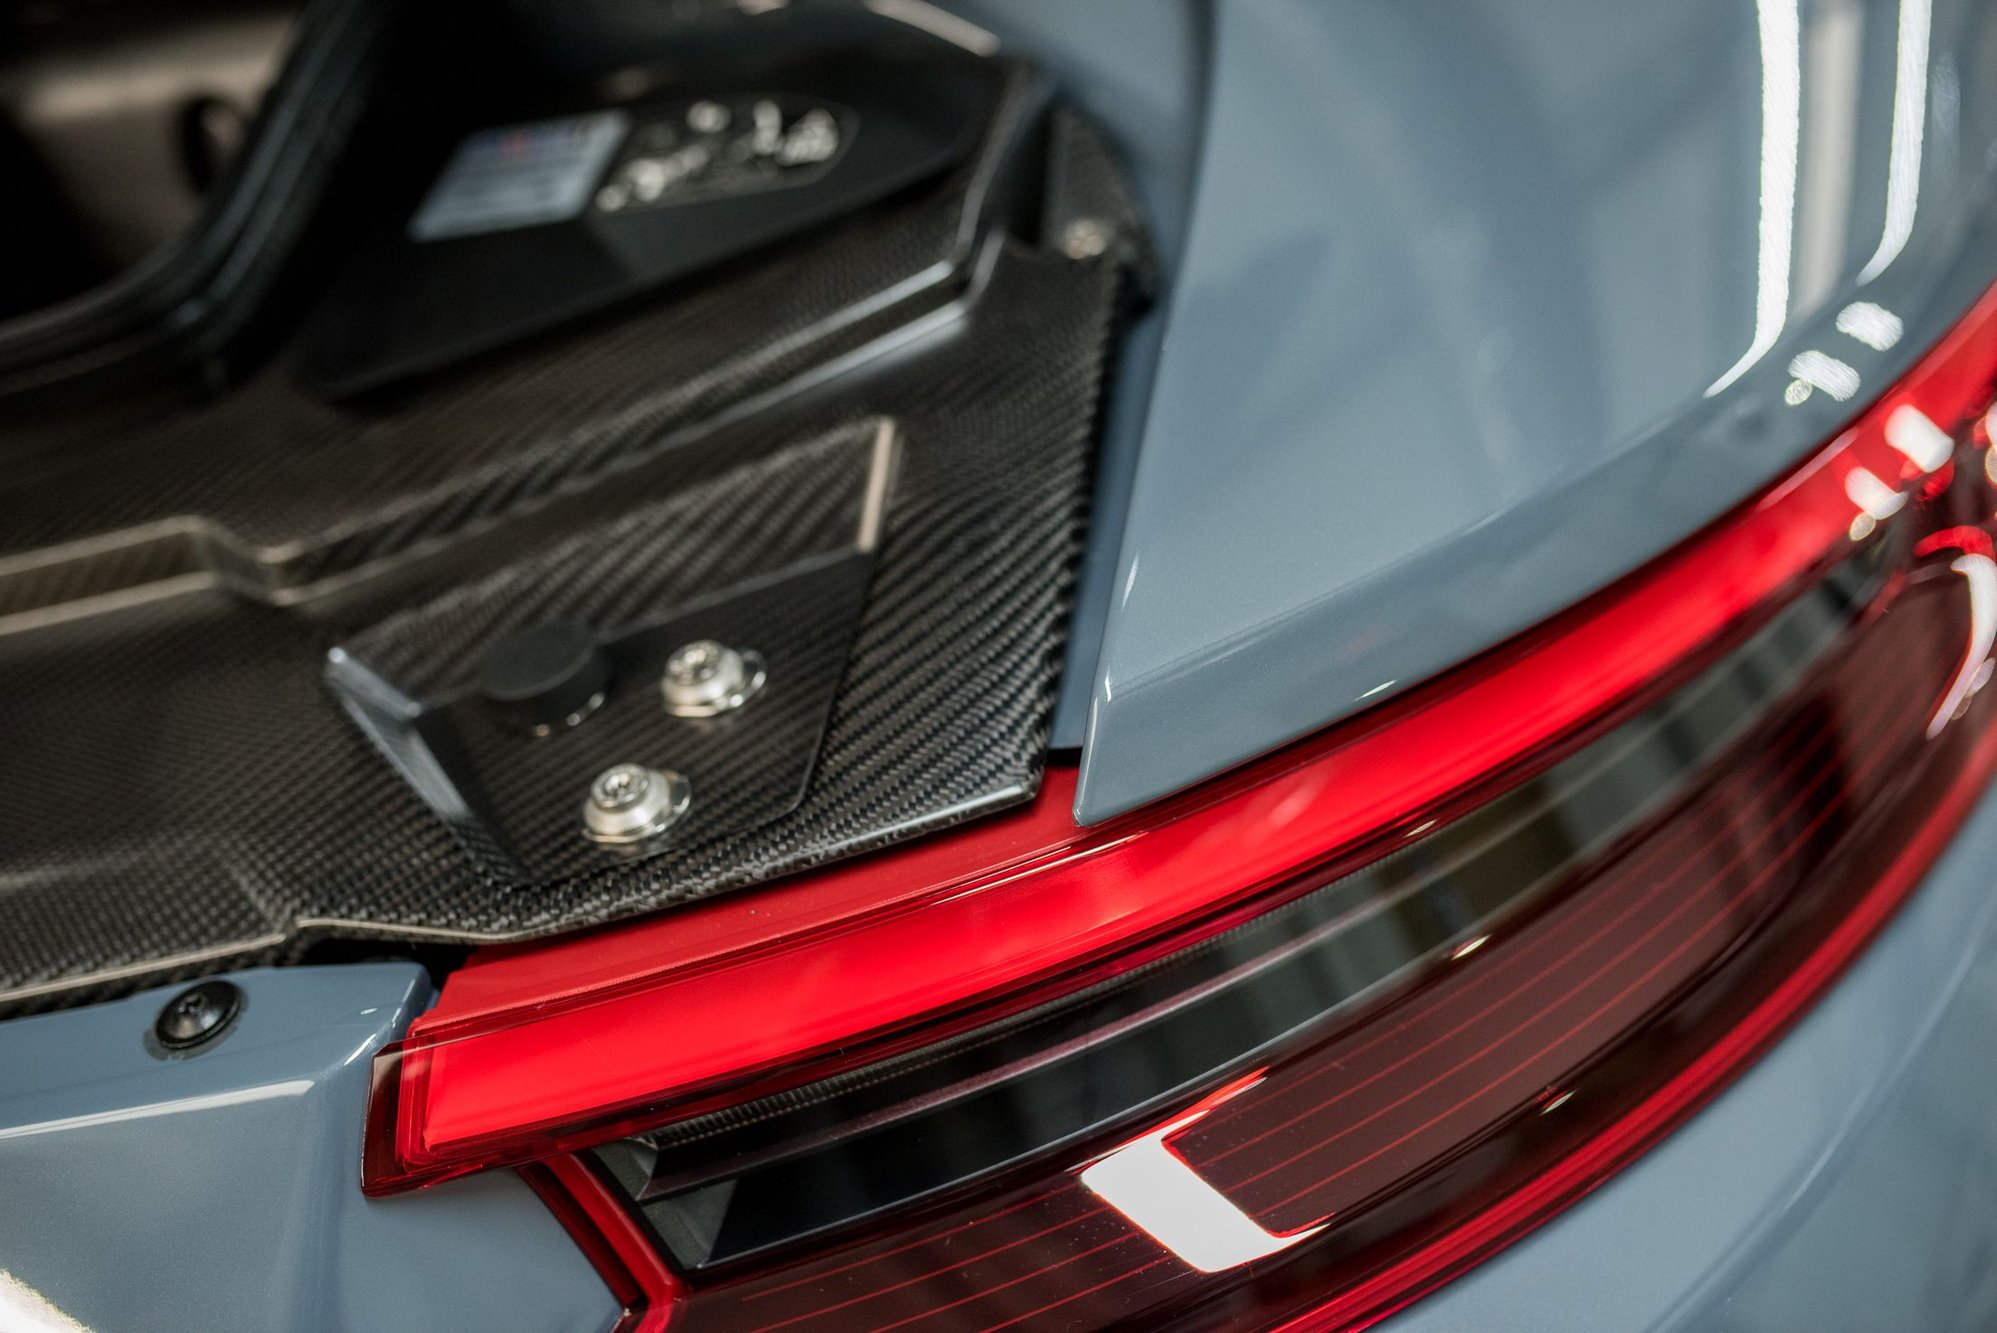
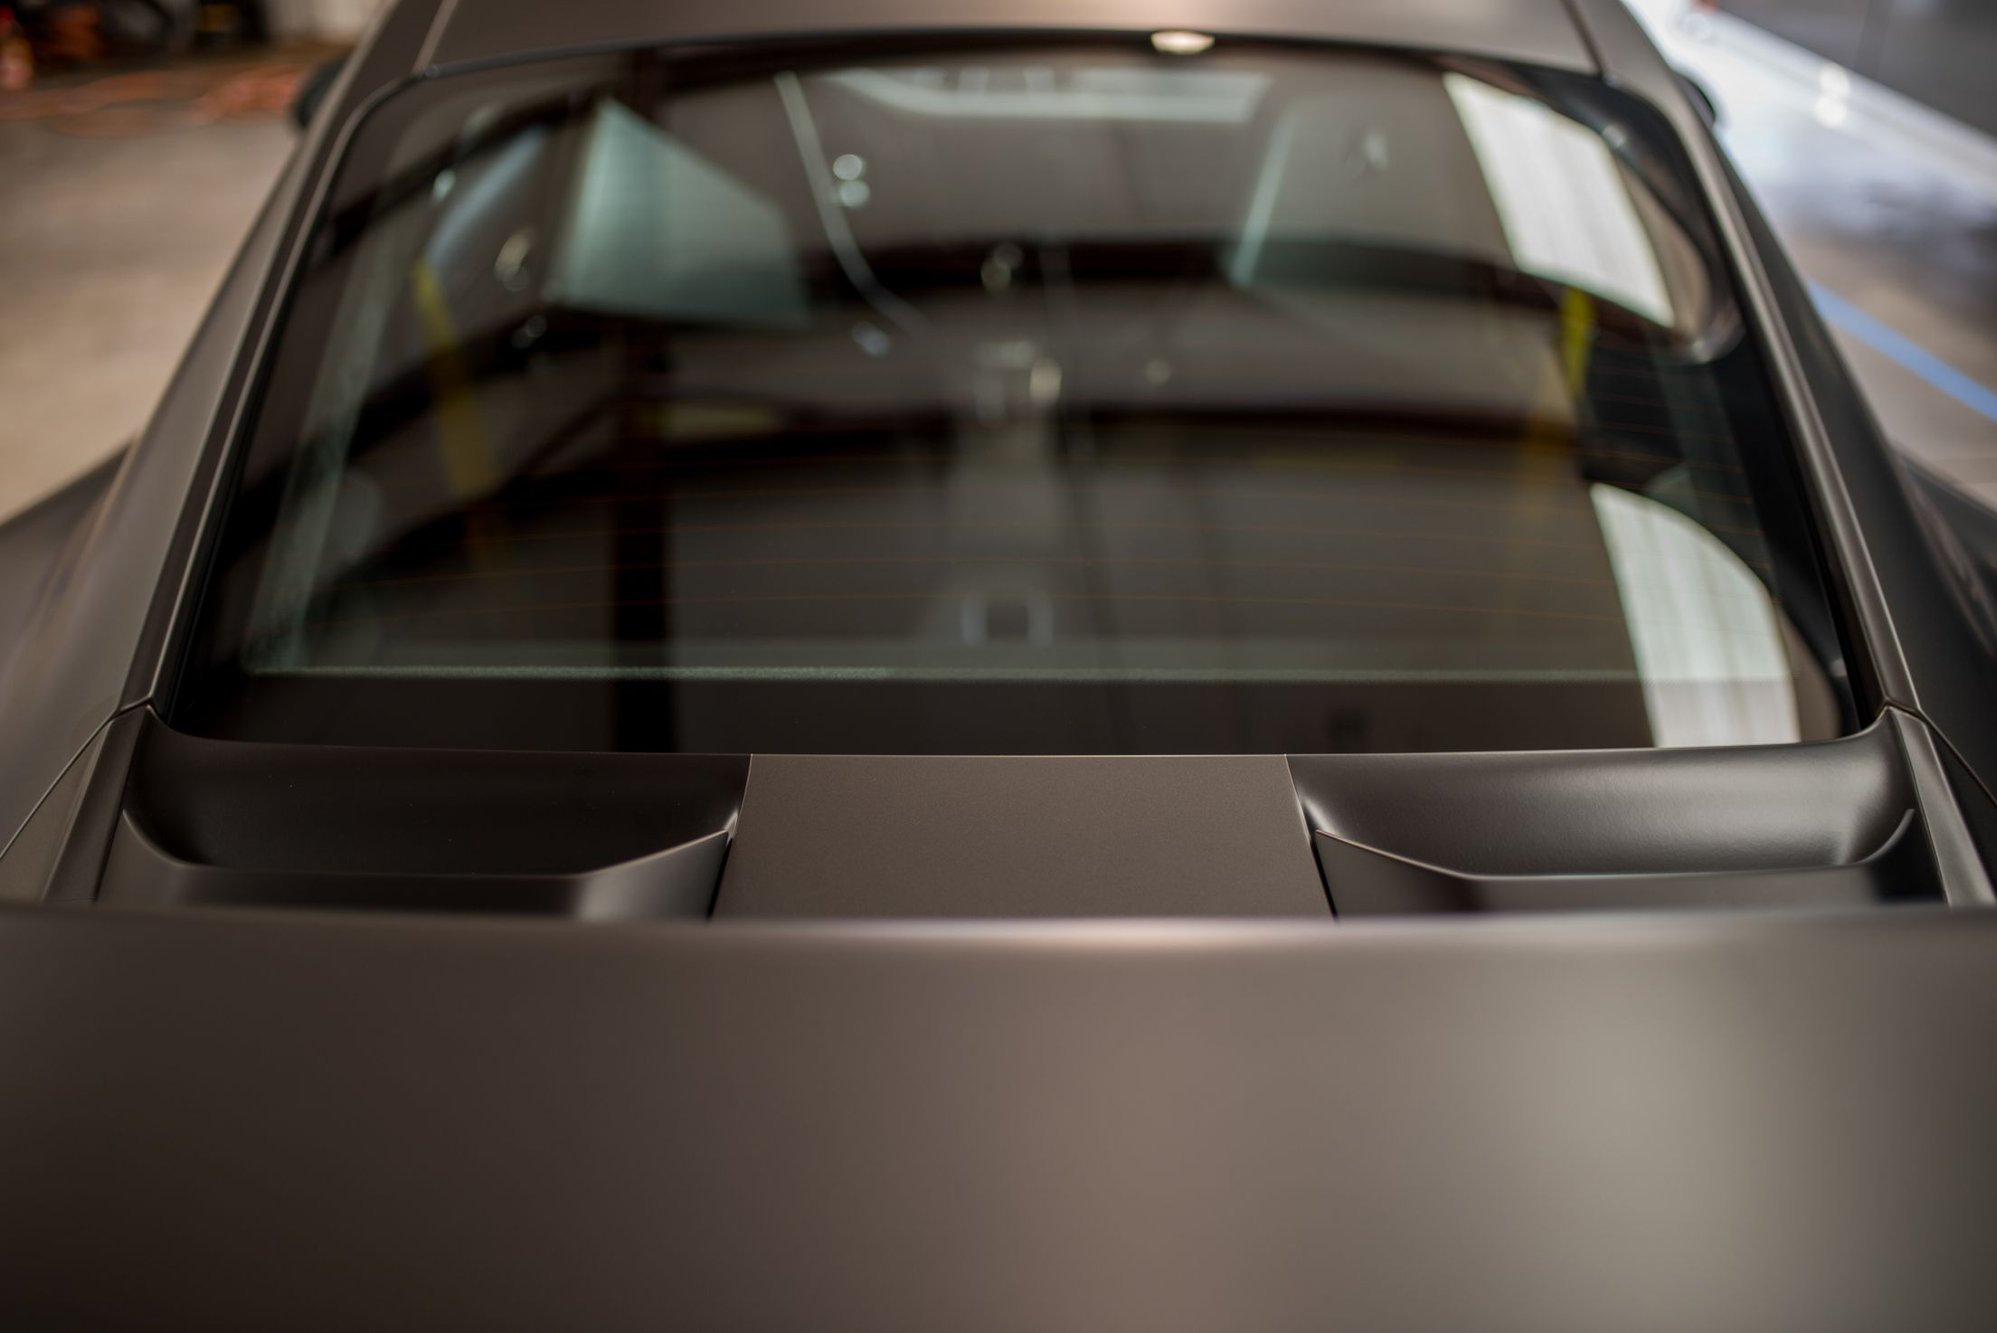
For now, here's a brief time lapse video of us preparing the engine lid for what's to come....
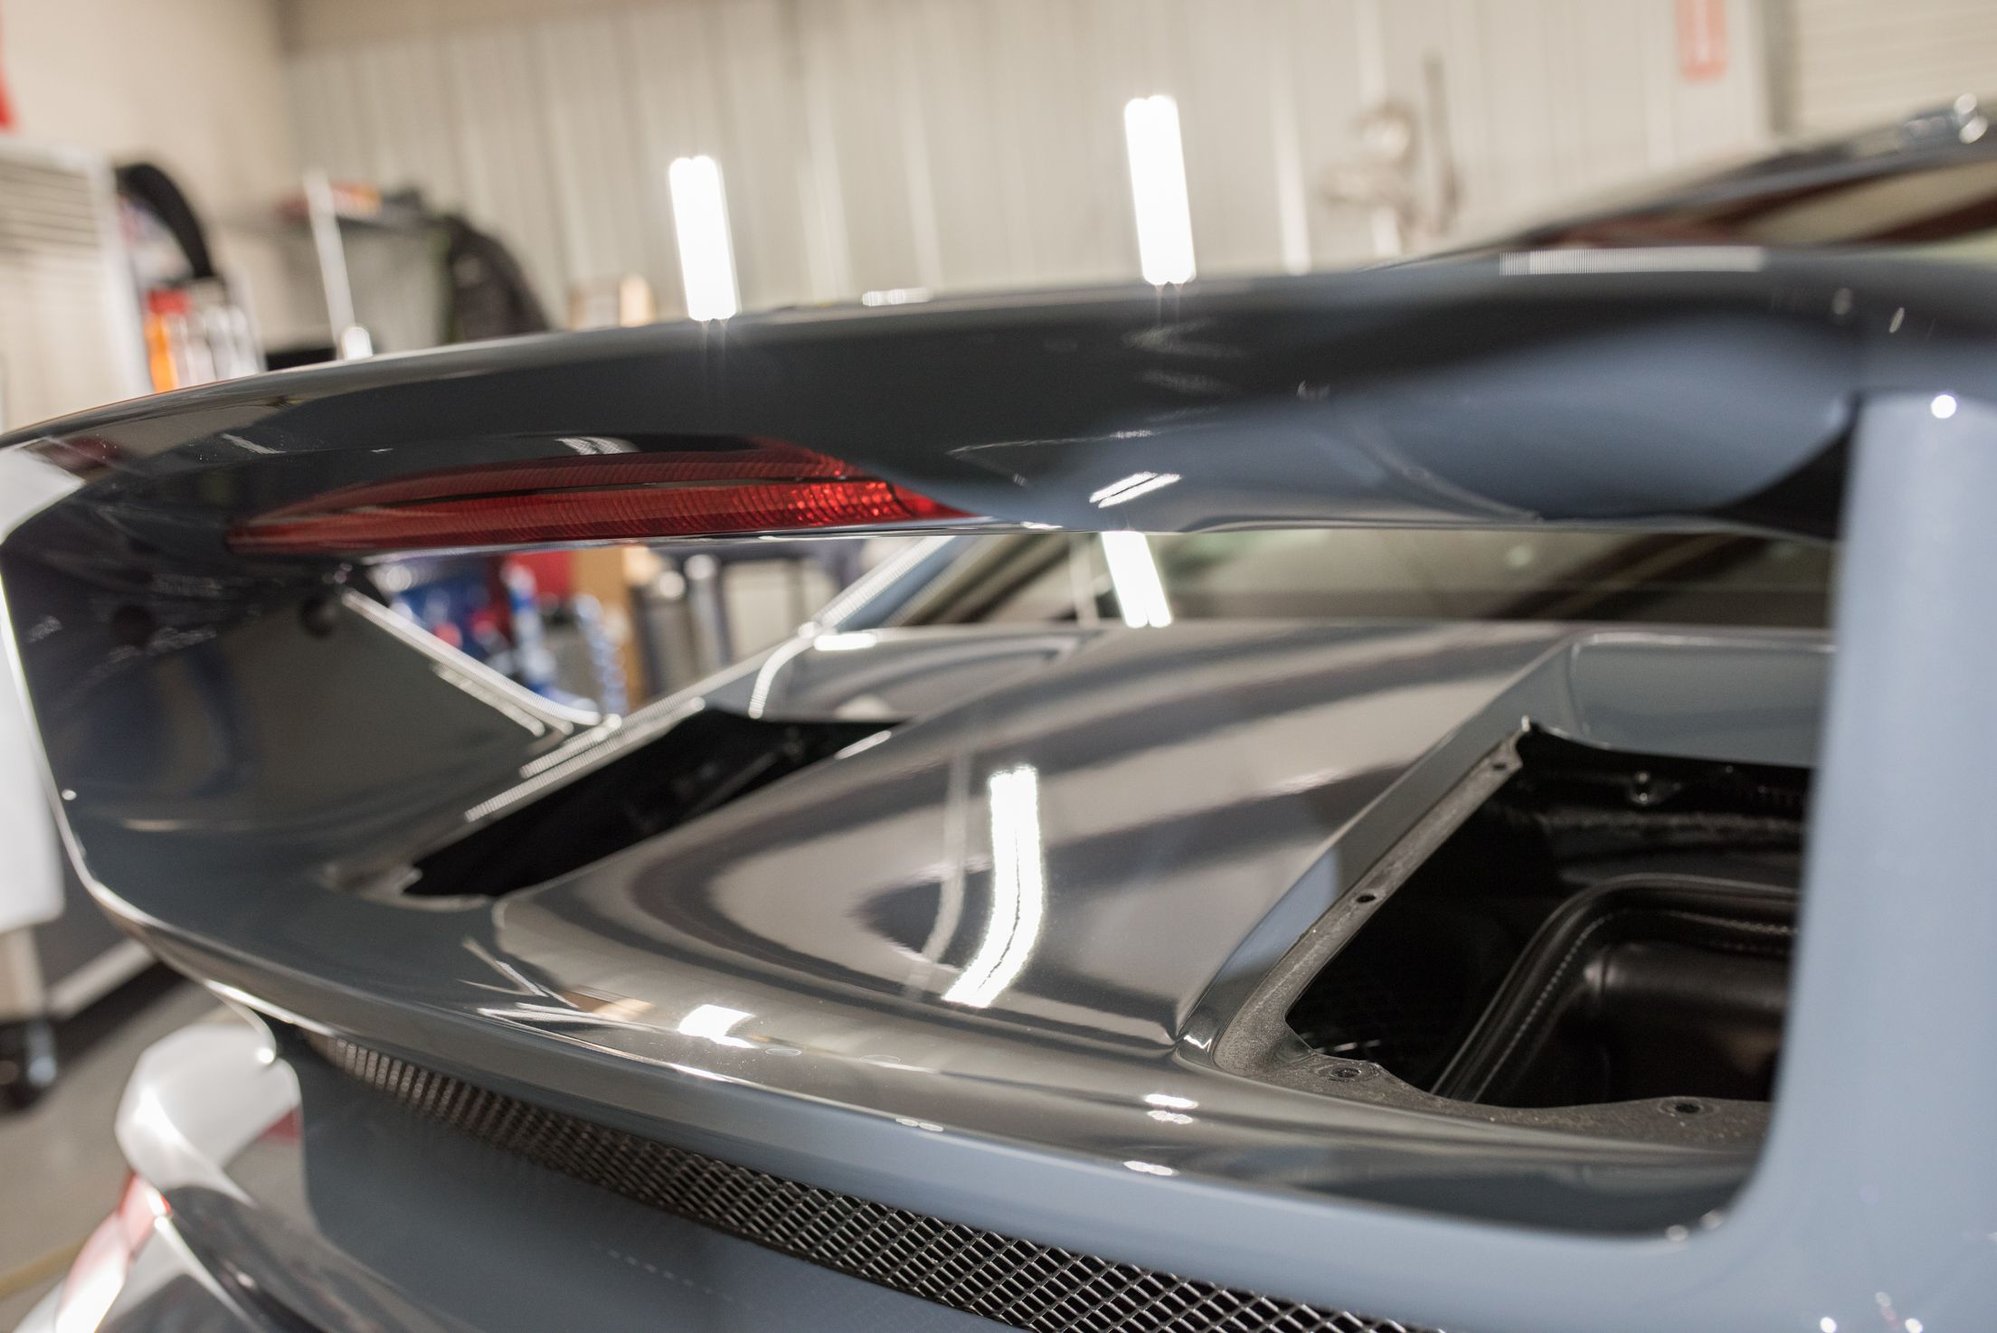
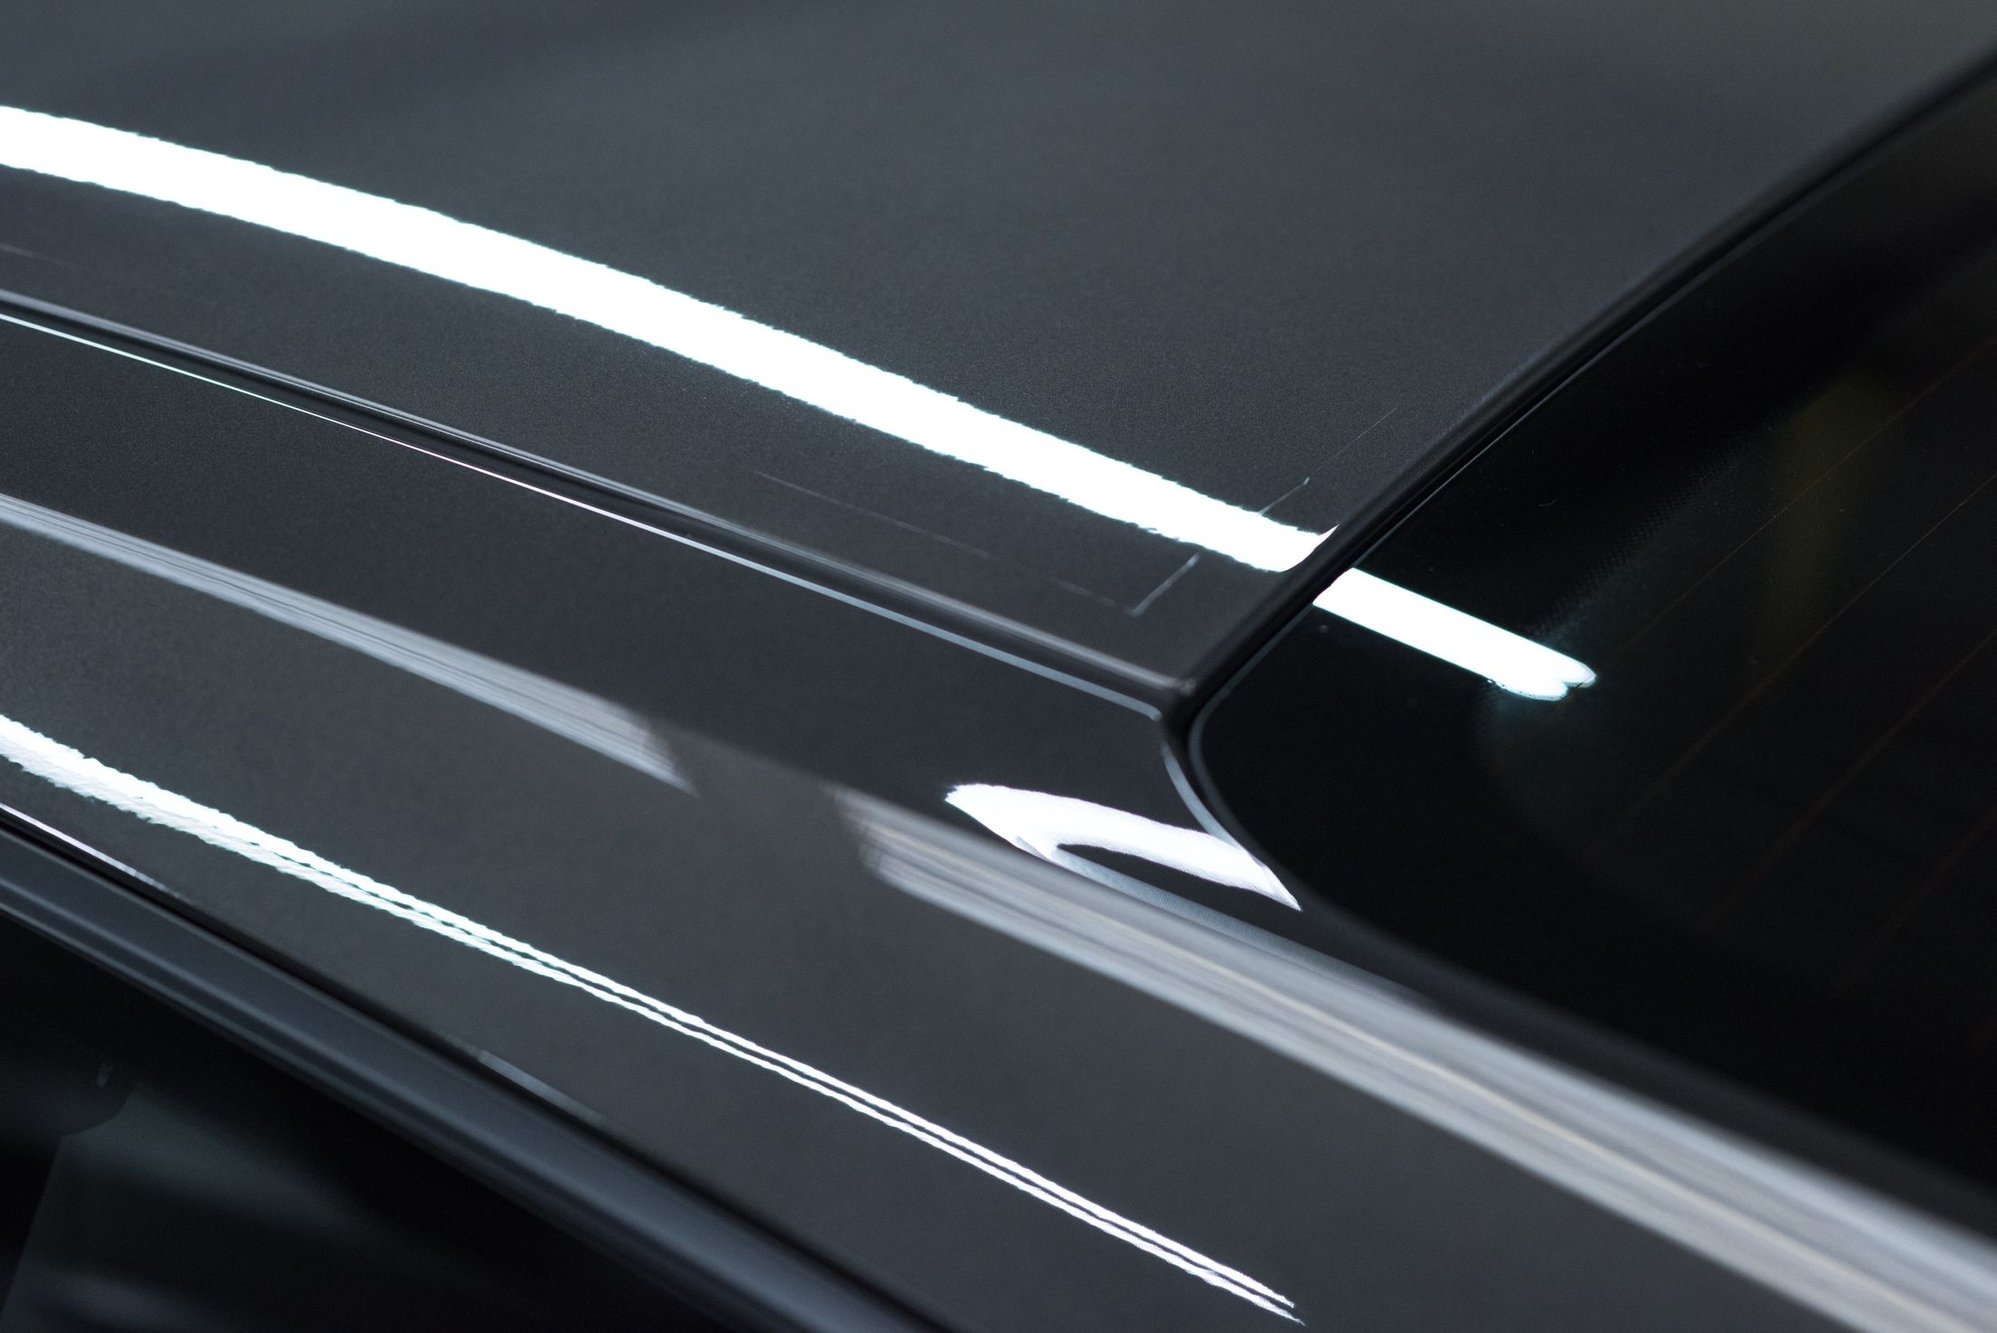
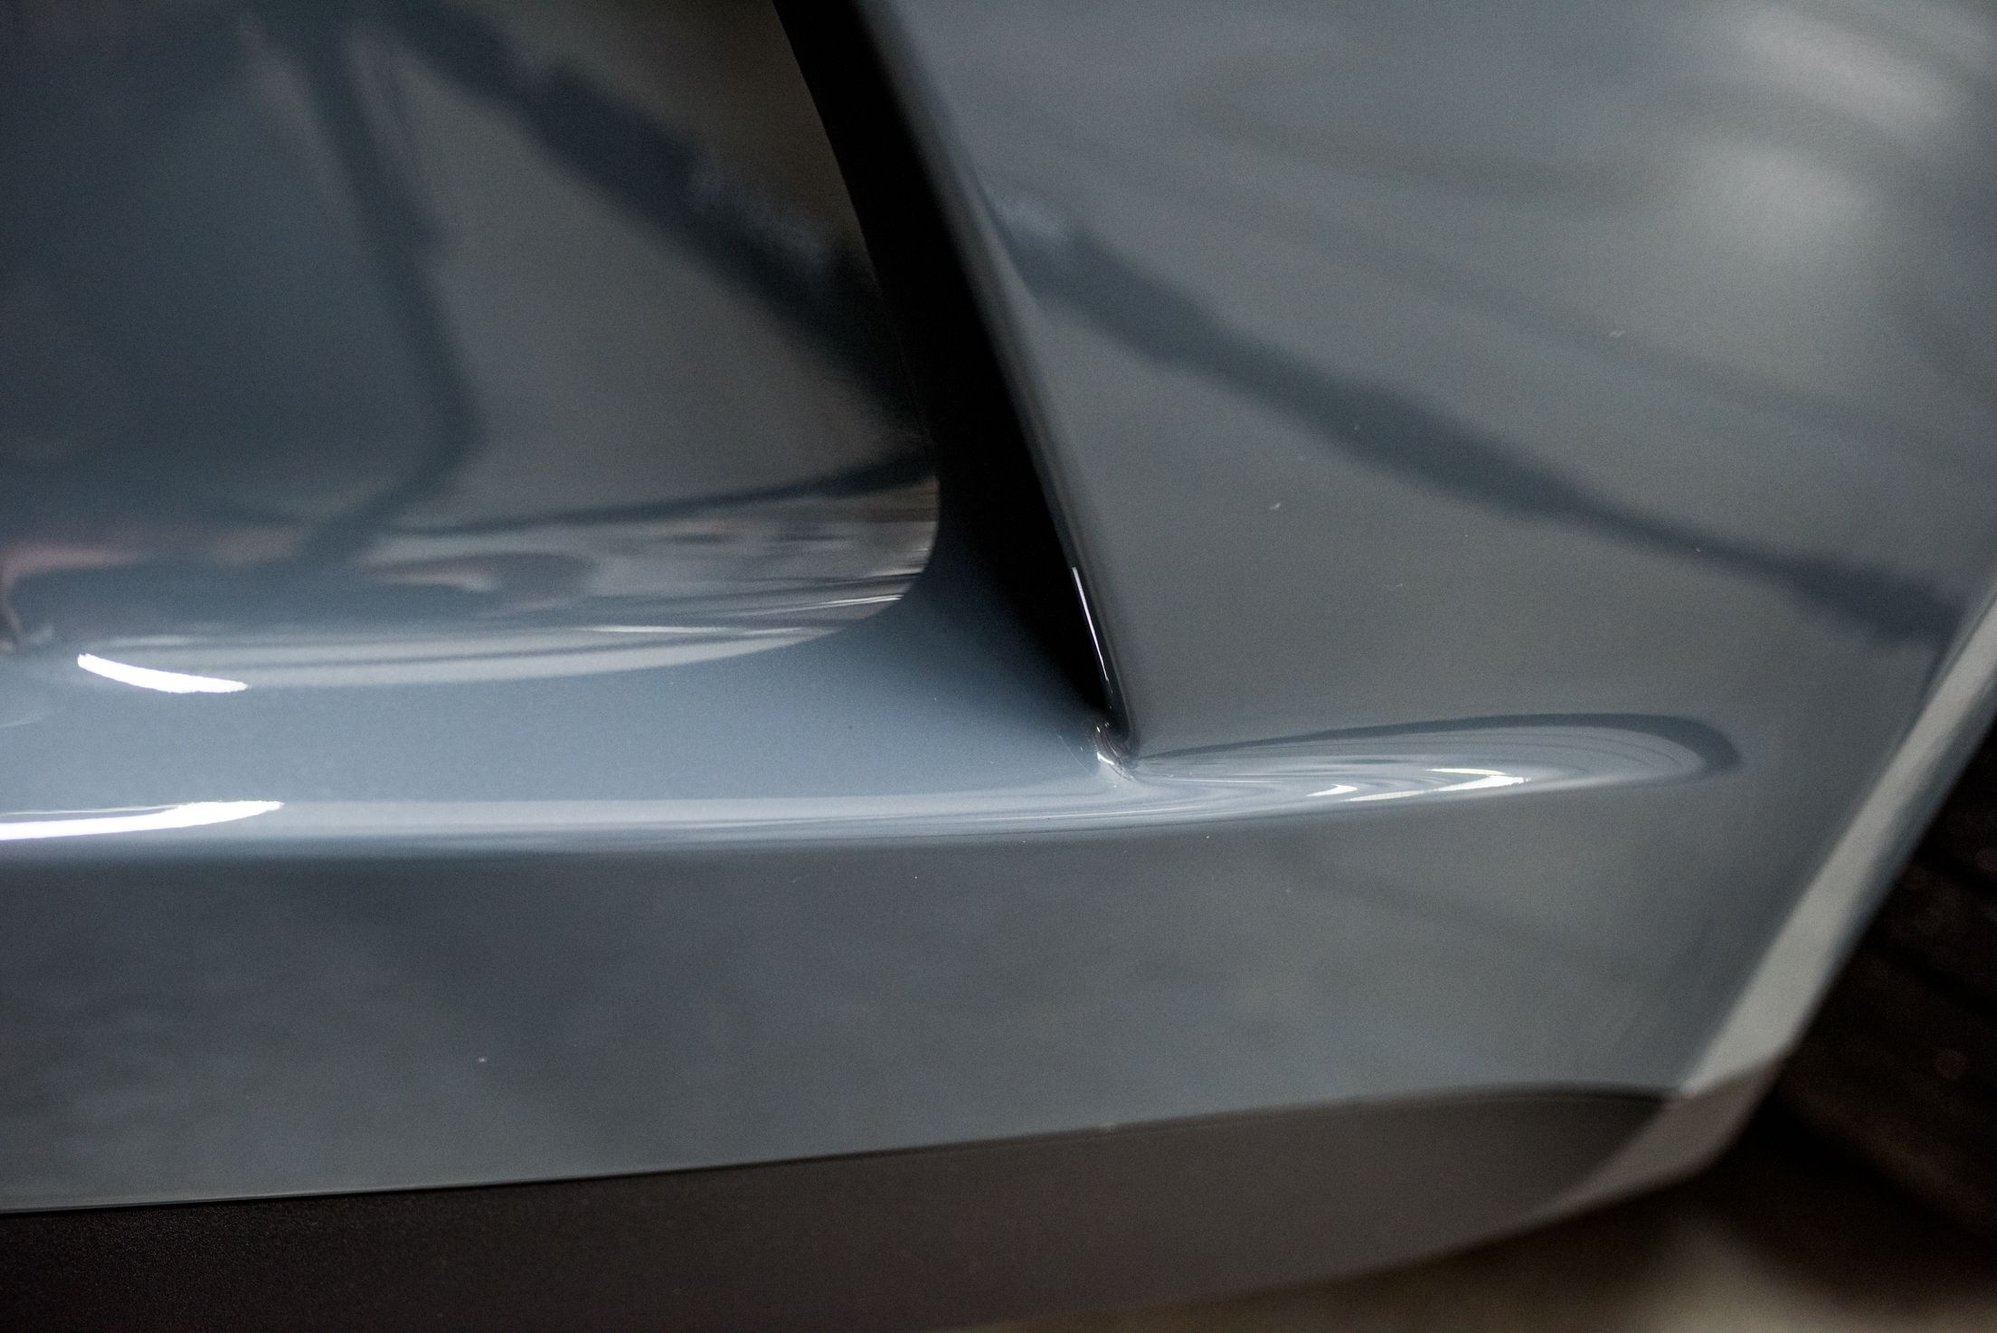
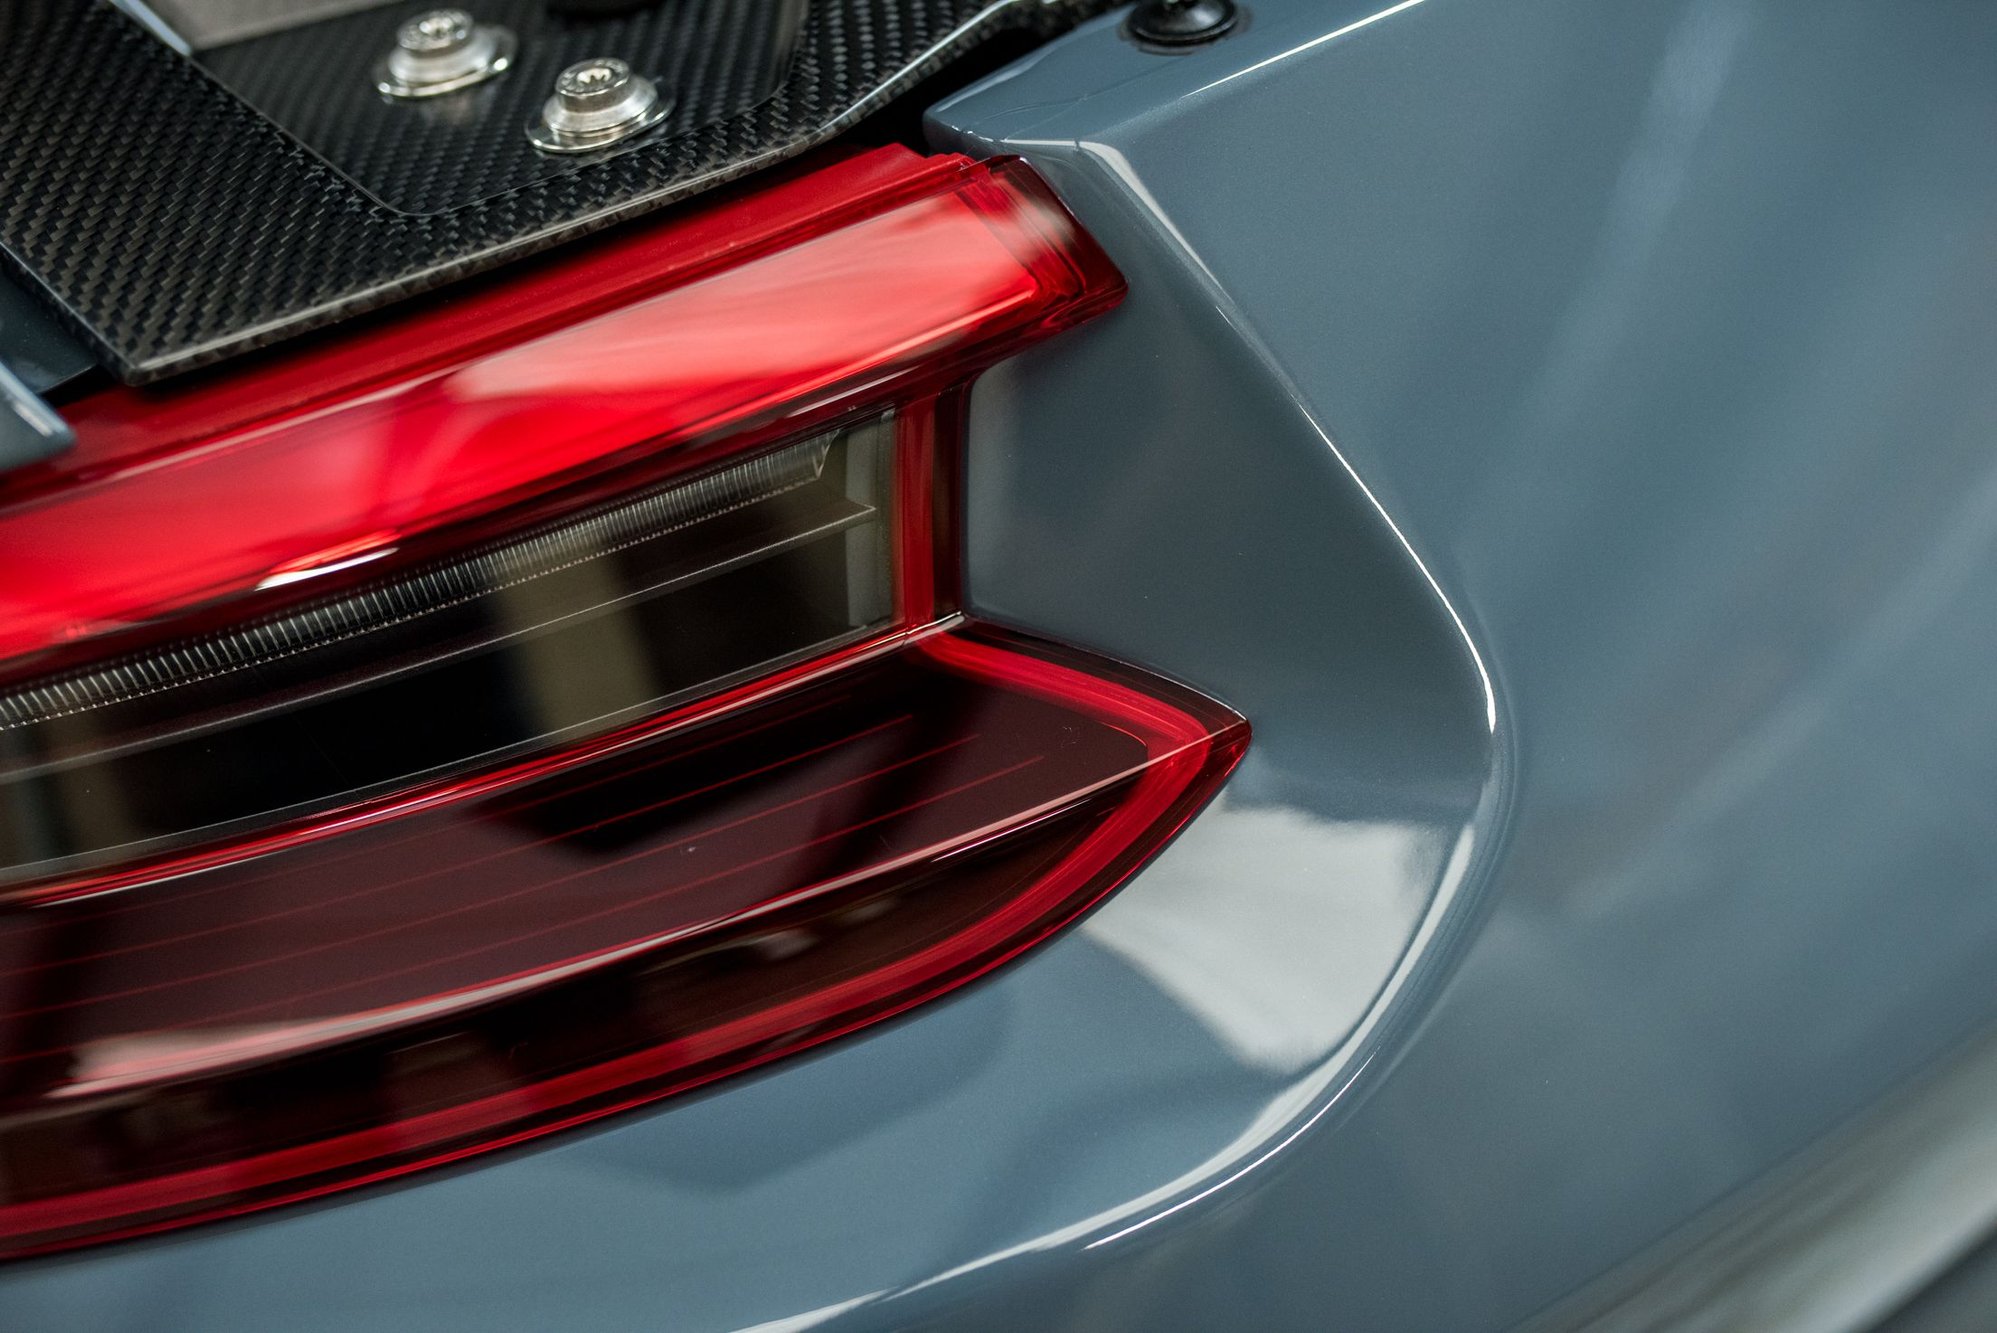
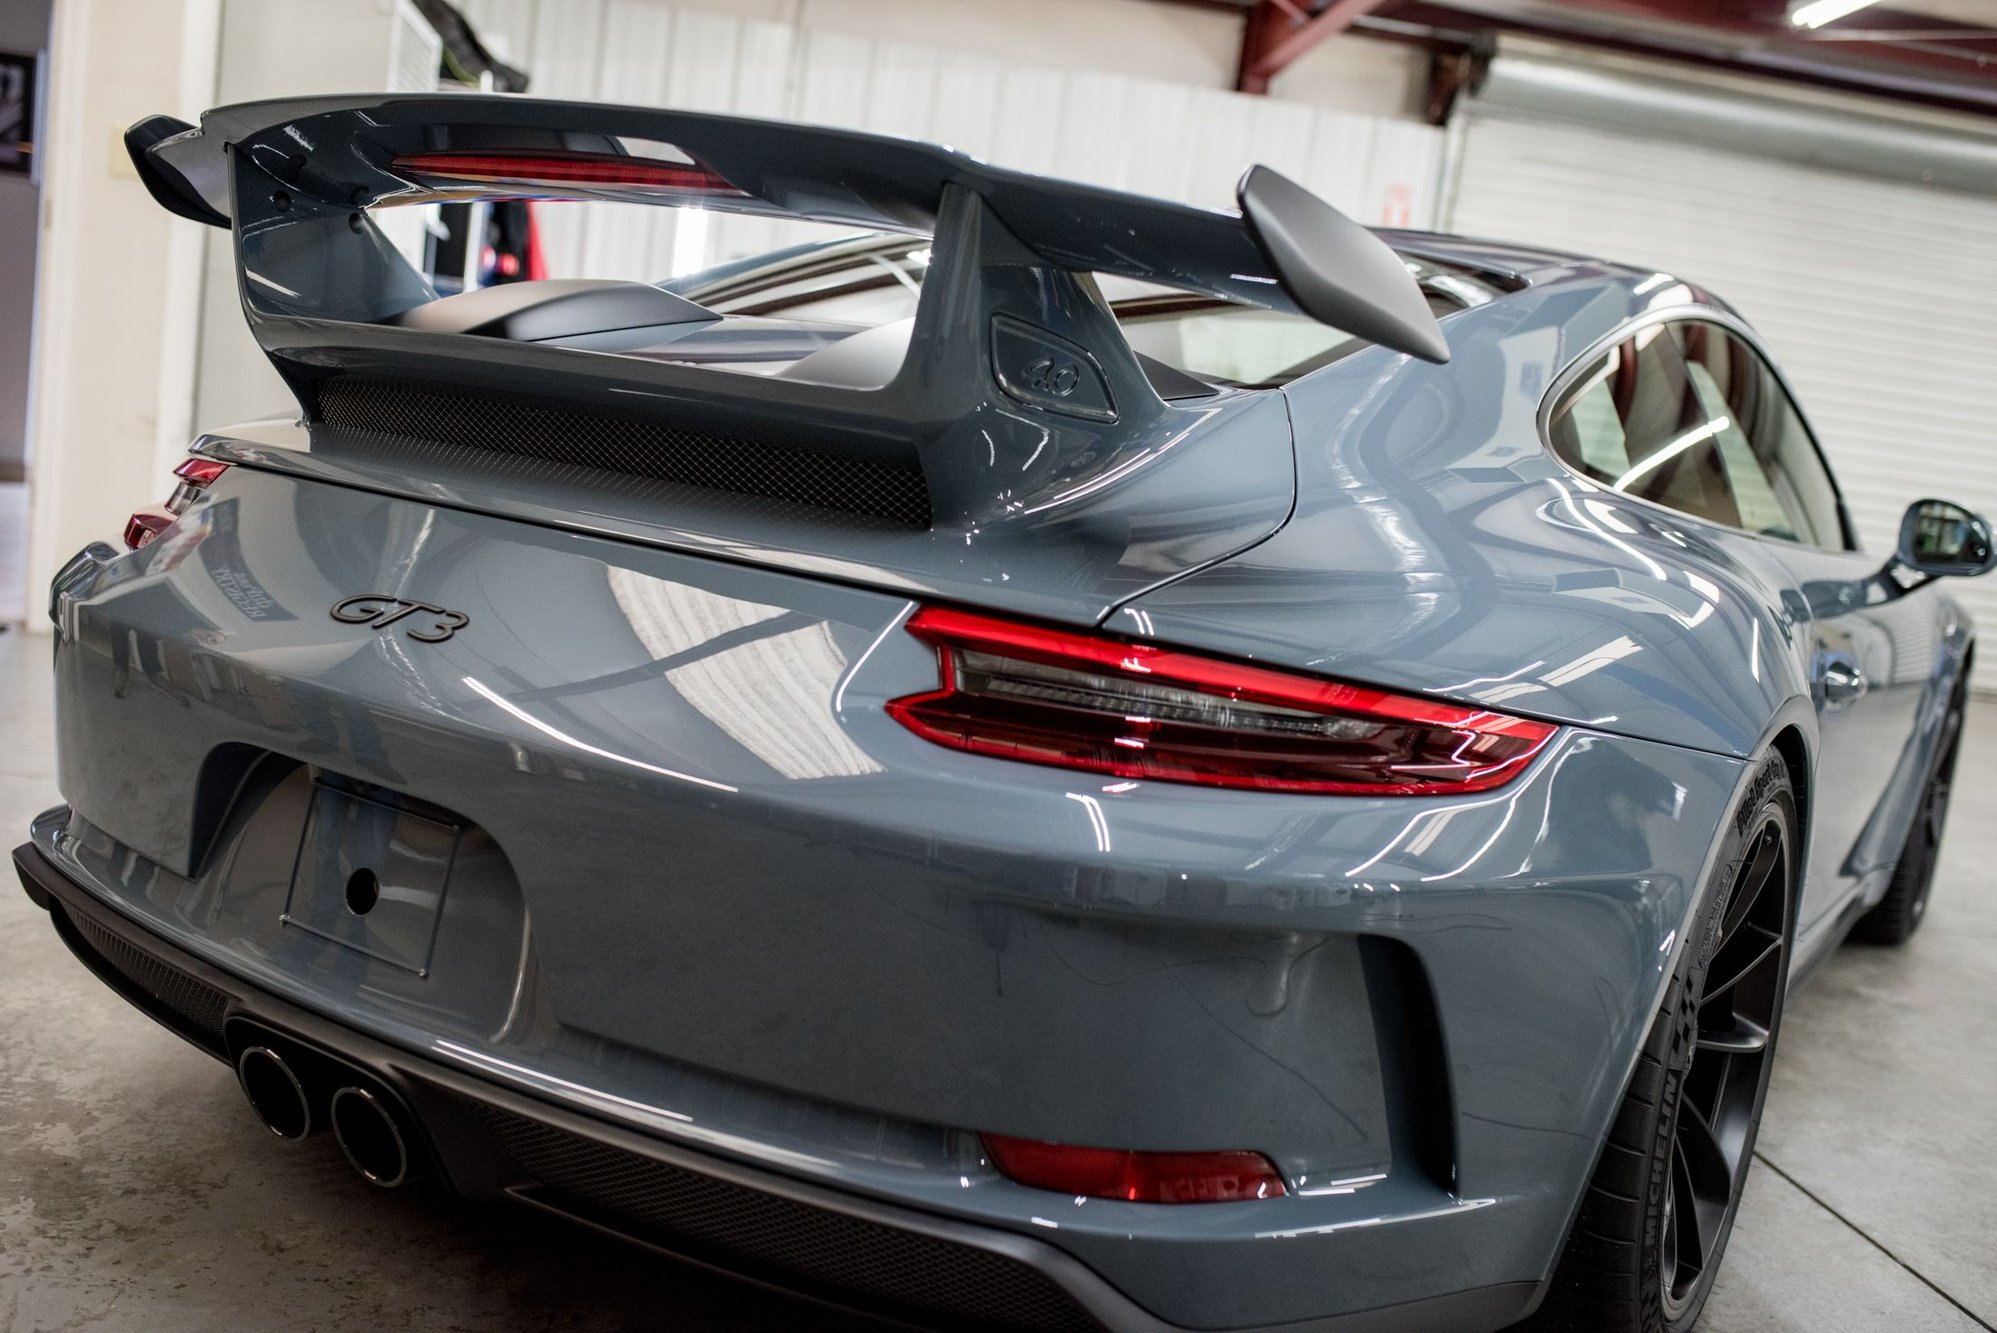
Before, during-time-lapse and after on the paint correction for the rear spoiler on the Graphite Metallic Blue GT3. You can see holograms, surface marring as well as some of the factory DA sanding marks poking through in the before video. After PC, no defects and a luster befitting a GT3.
I only had a small window of time to get these pics available due to bad road conditions this morning, but I have more to come as soon as I can find another 2 hours. Hopefully, you guys(and gals) enjoy some of these behind the scenes pics. (As a heads up: I uploaded these to Rennlist servers and the descriptions, by default, were added below the images.)
This was a full-monty++ project. The finale for this job was awesome and I can't wait to share it! More pics and videos are to come!
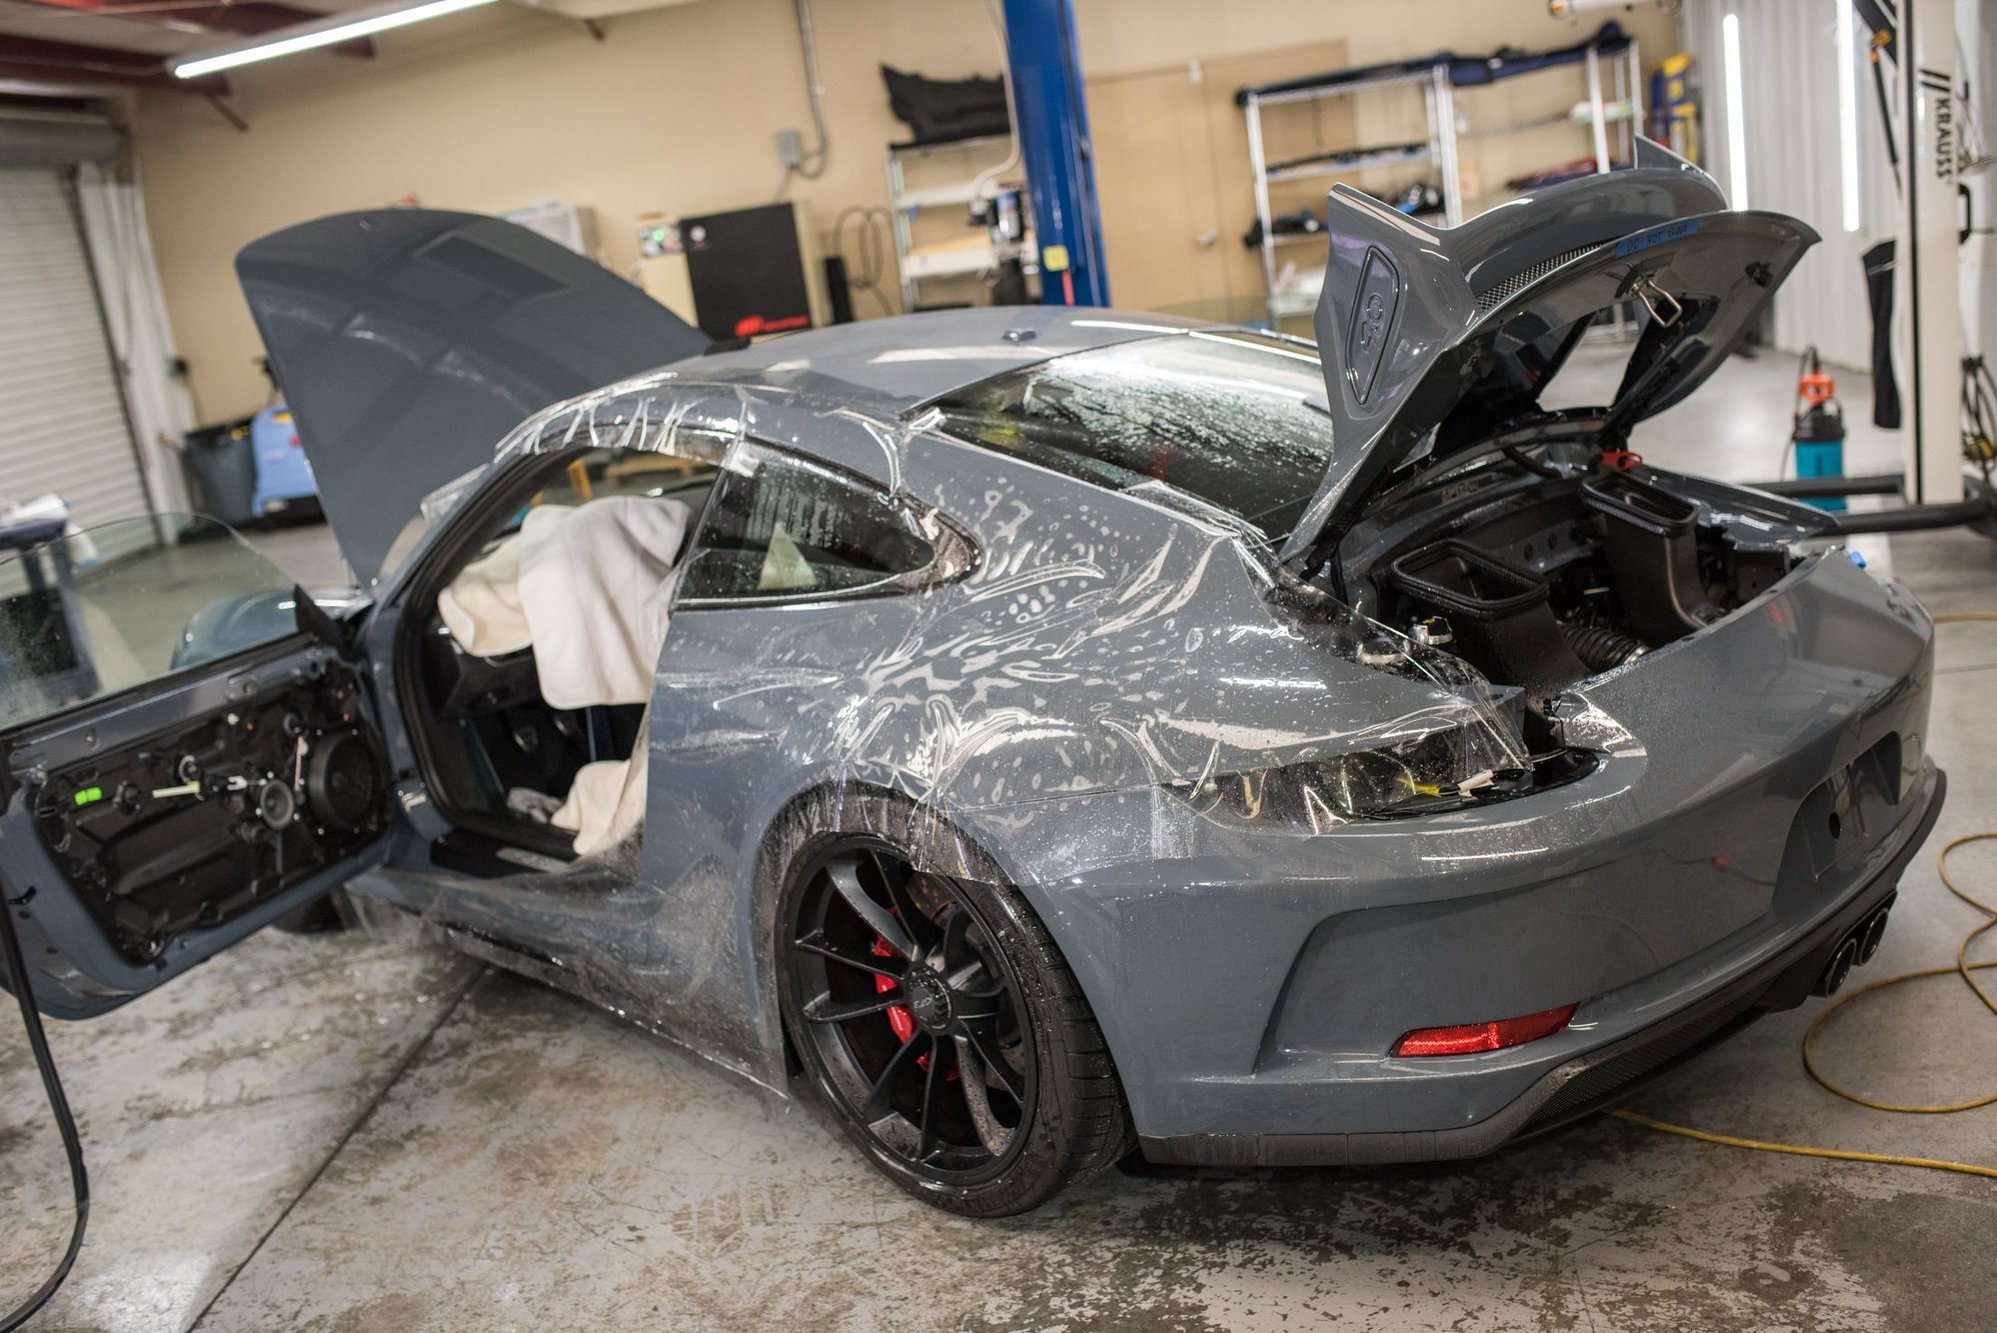
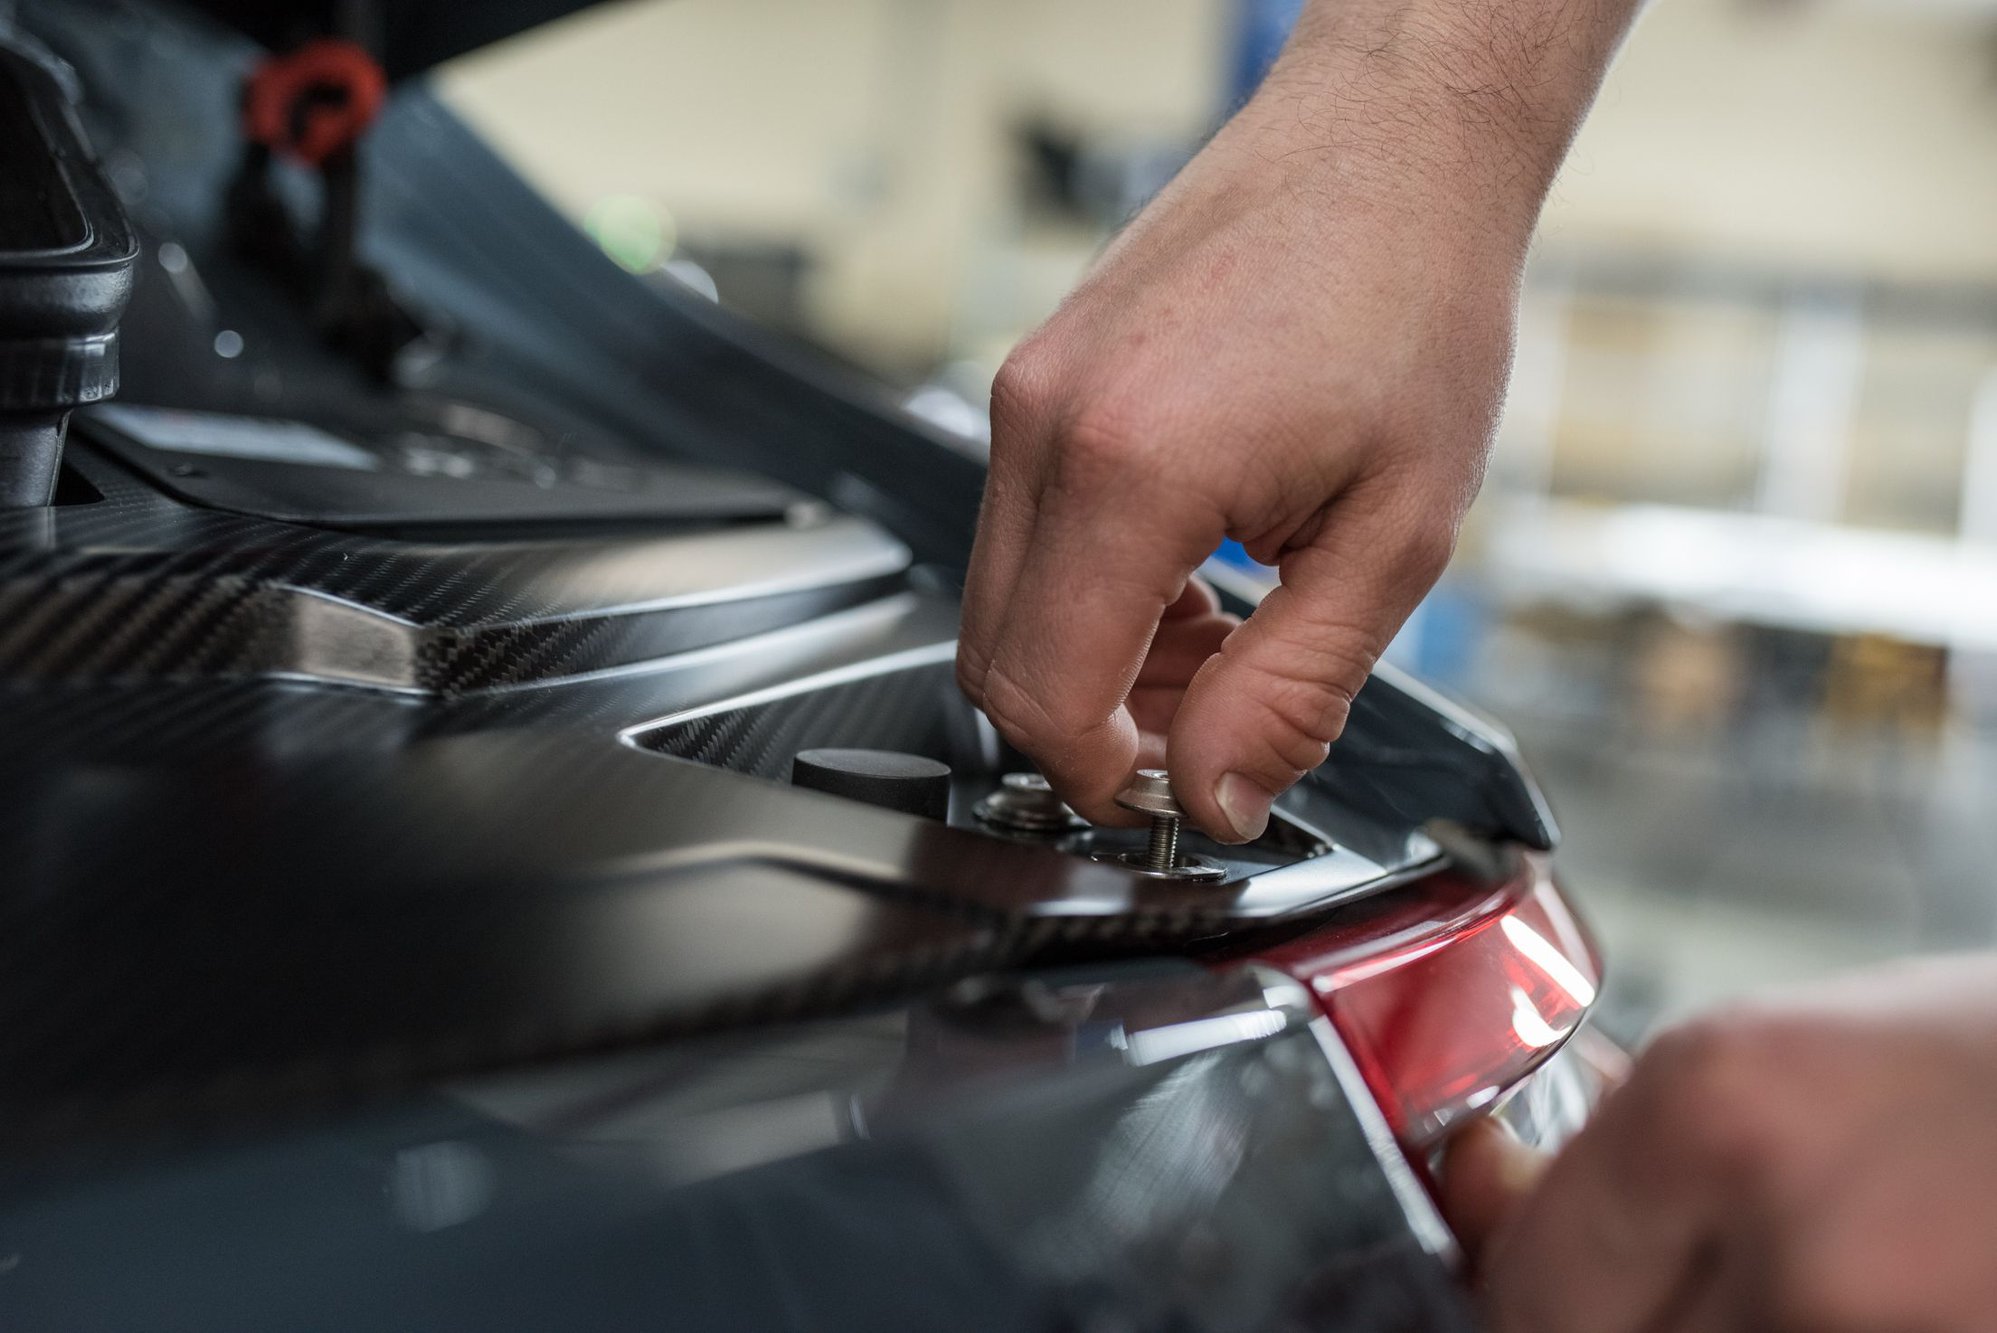
Originally, the wing was going to stay in place. But I saw it simply had to come out and was removed for better correction and PPF coverage.
Tracking down the adhesive left over from the shipping vinyl. I love seeing this because it meant the dealer did not chase down adhesive with dirty shop rags and create additional damage.
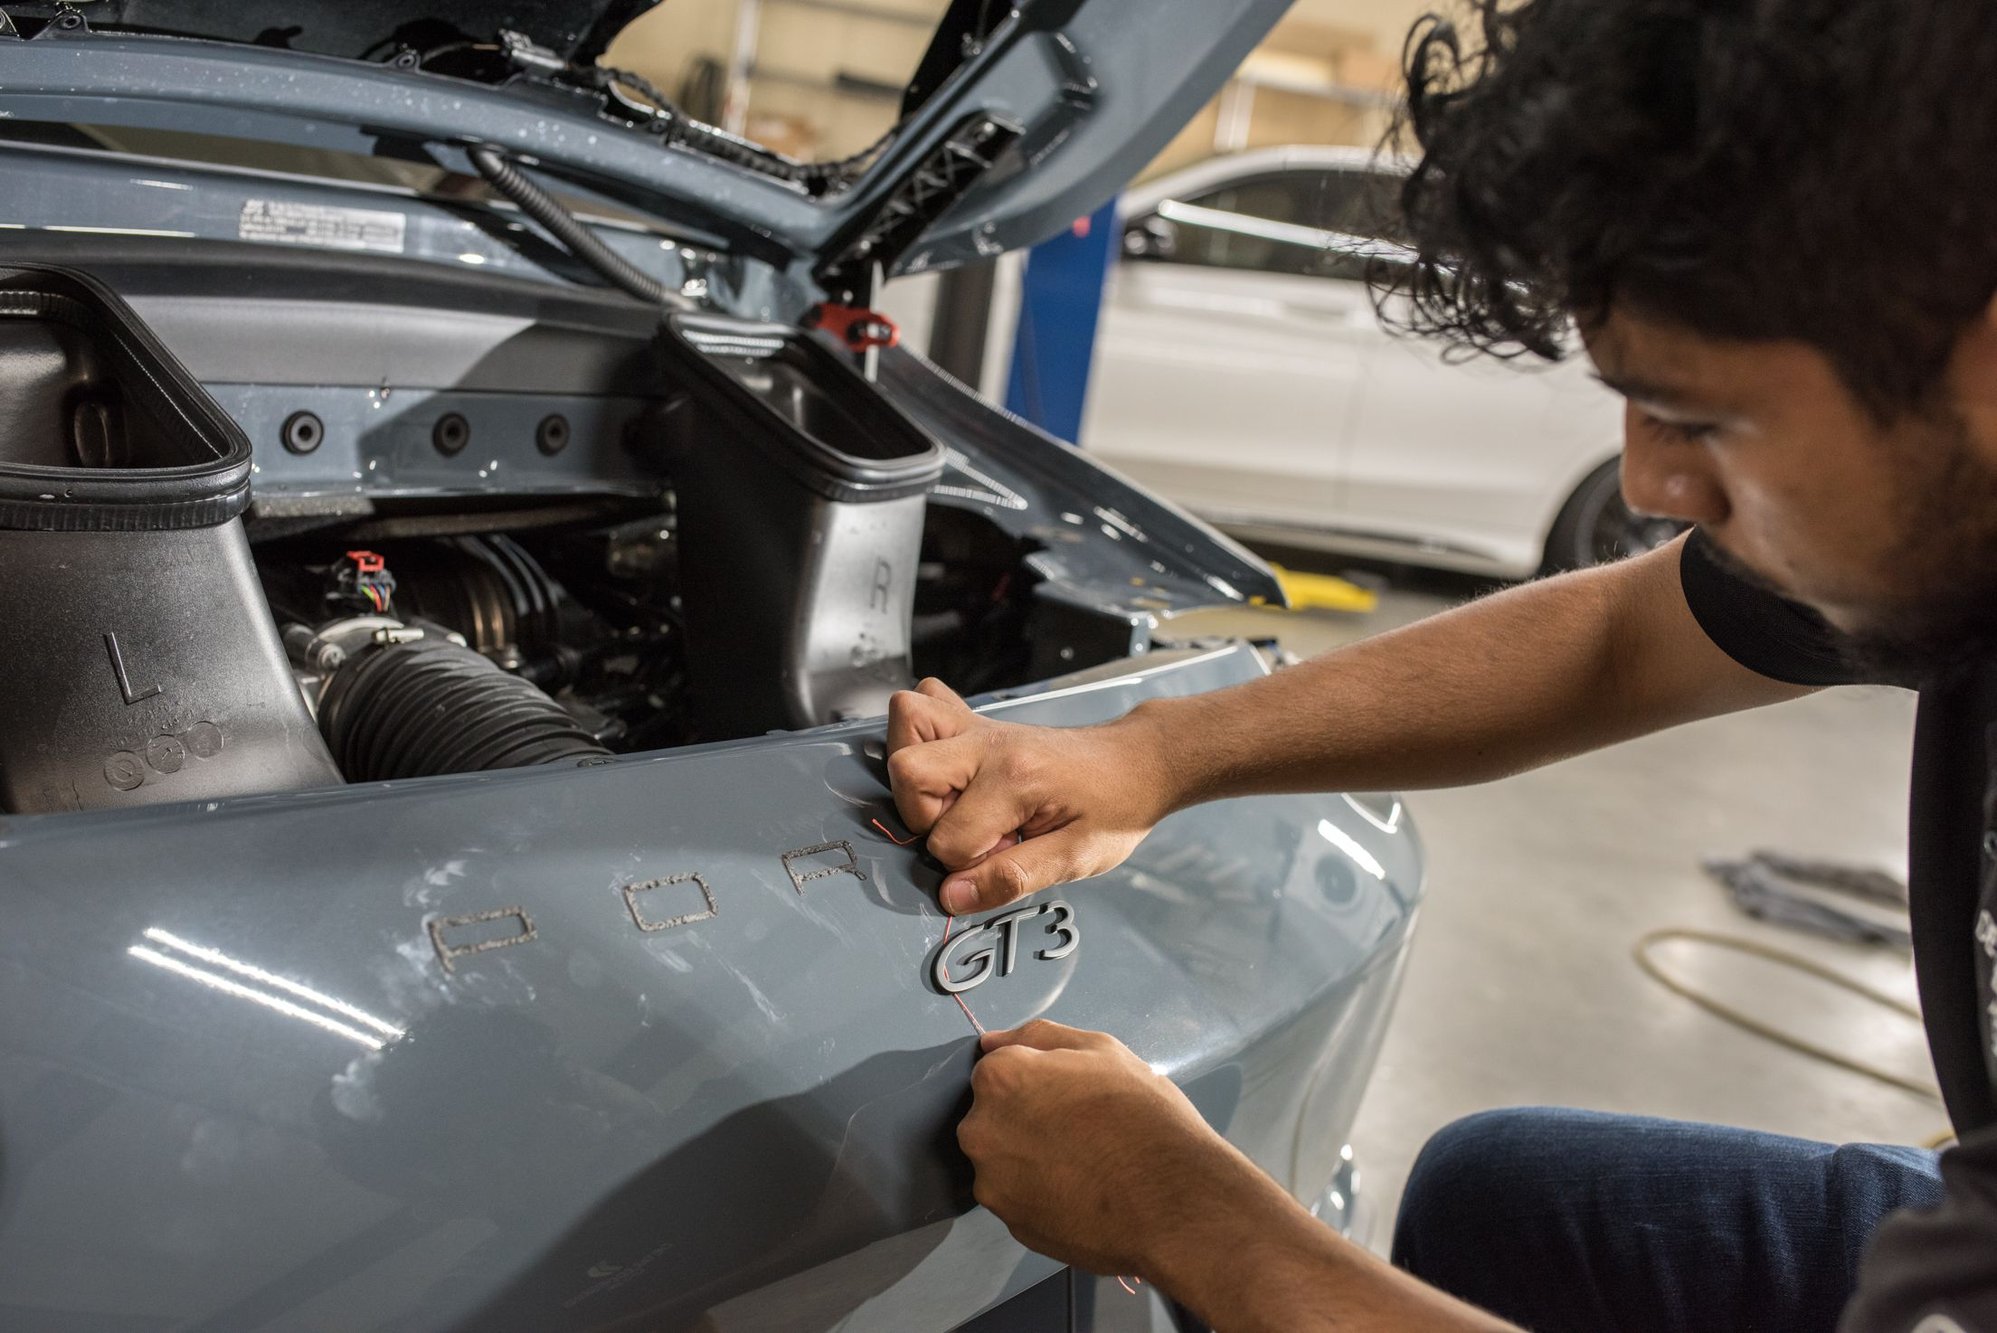
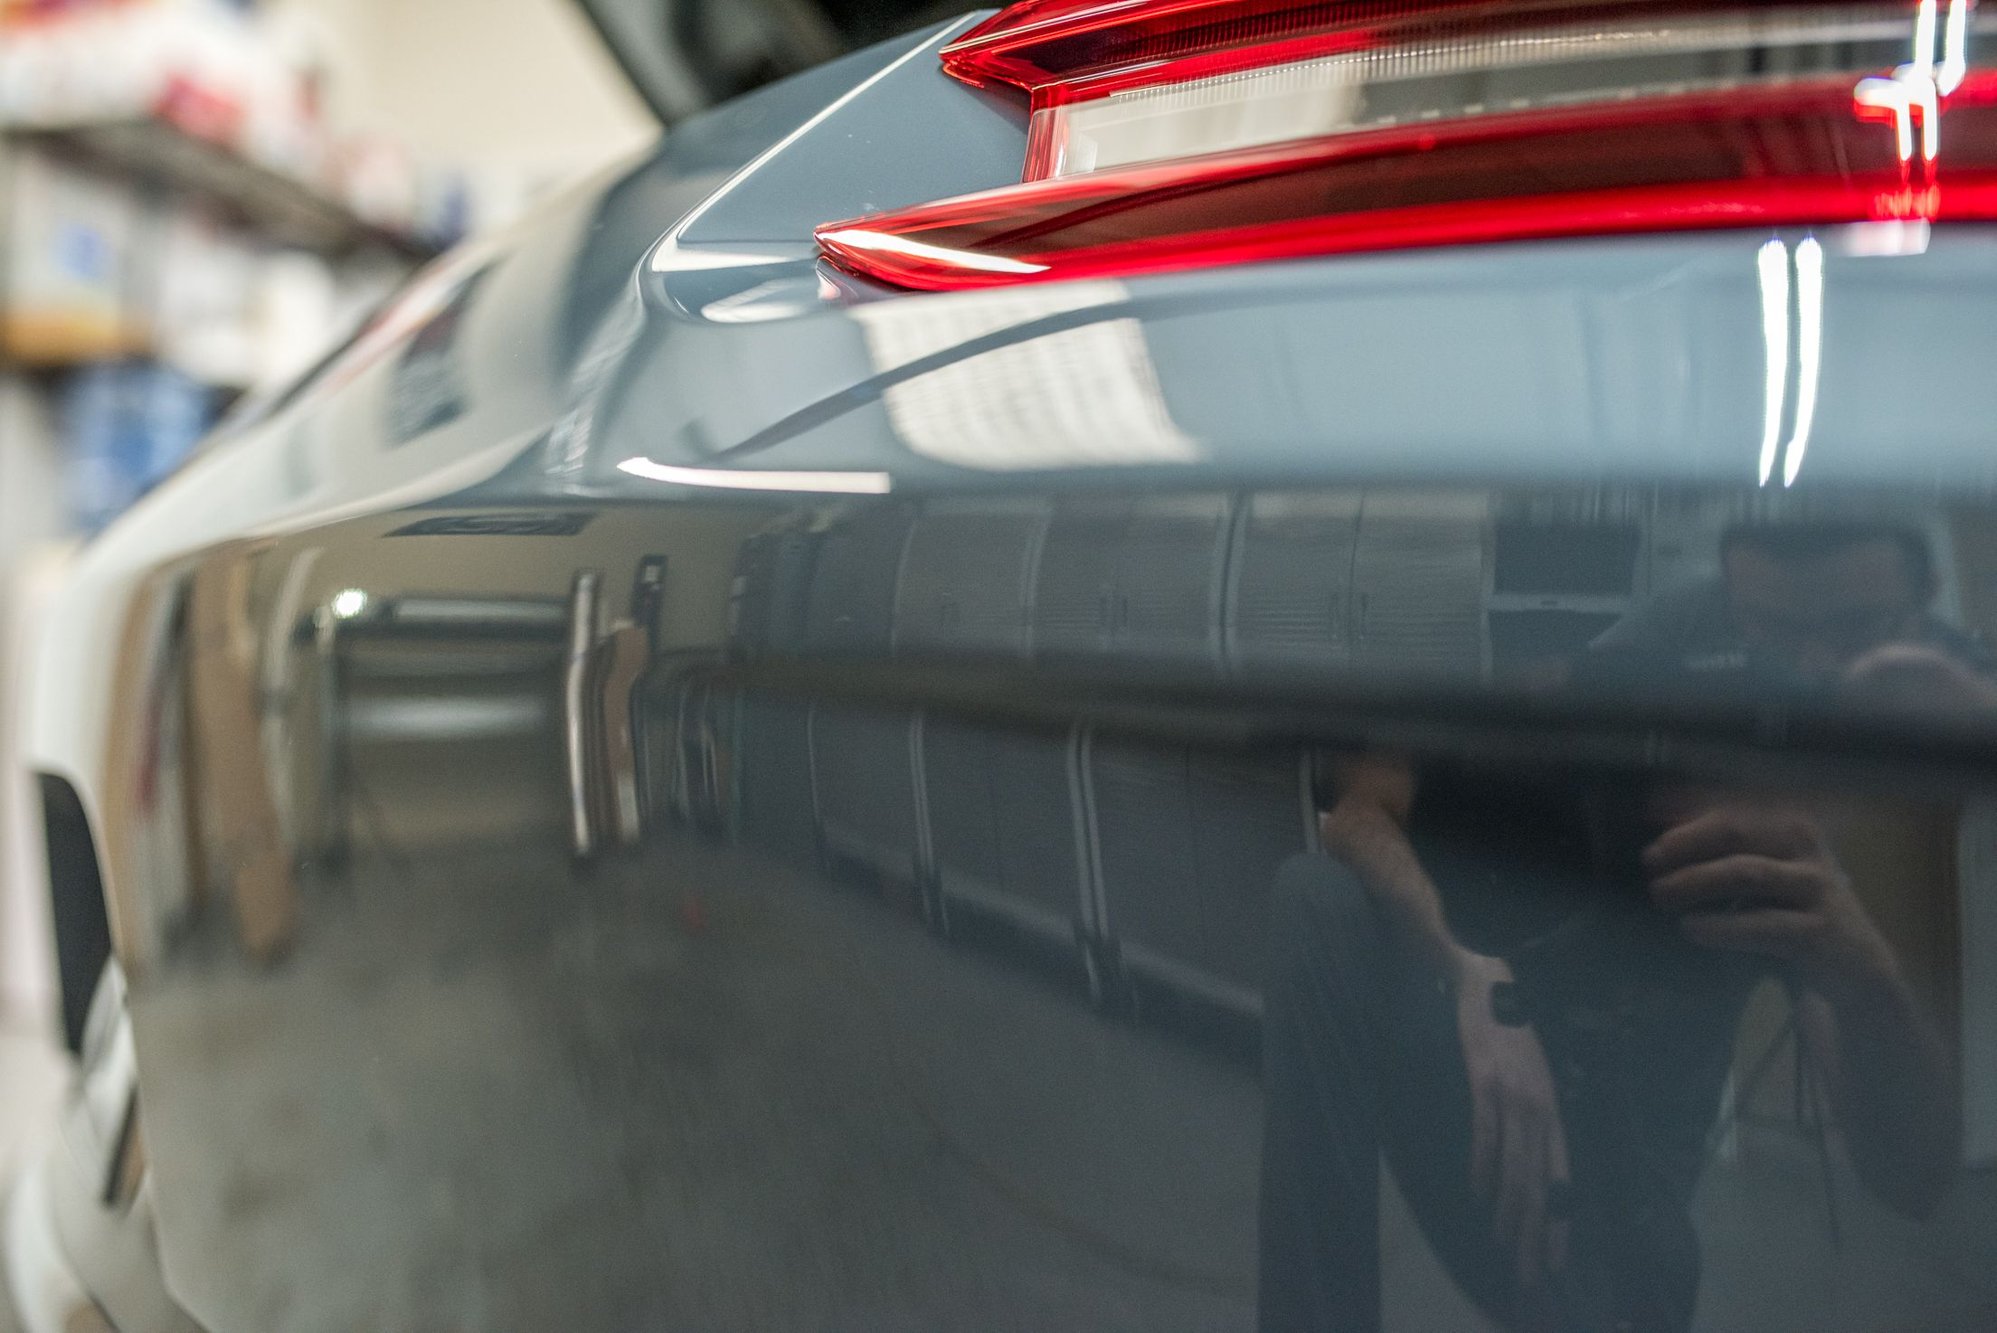
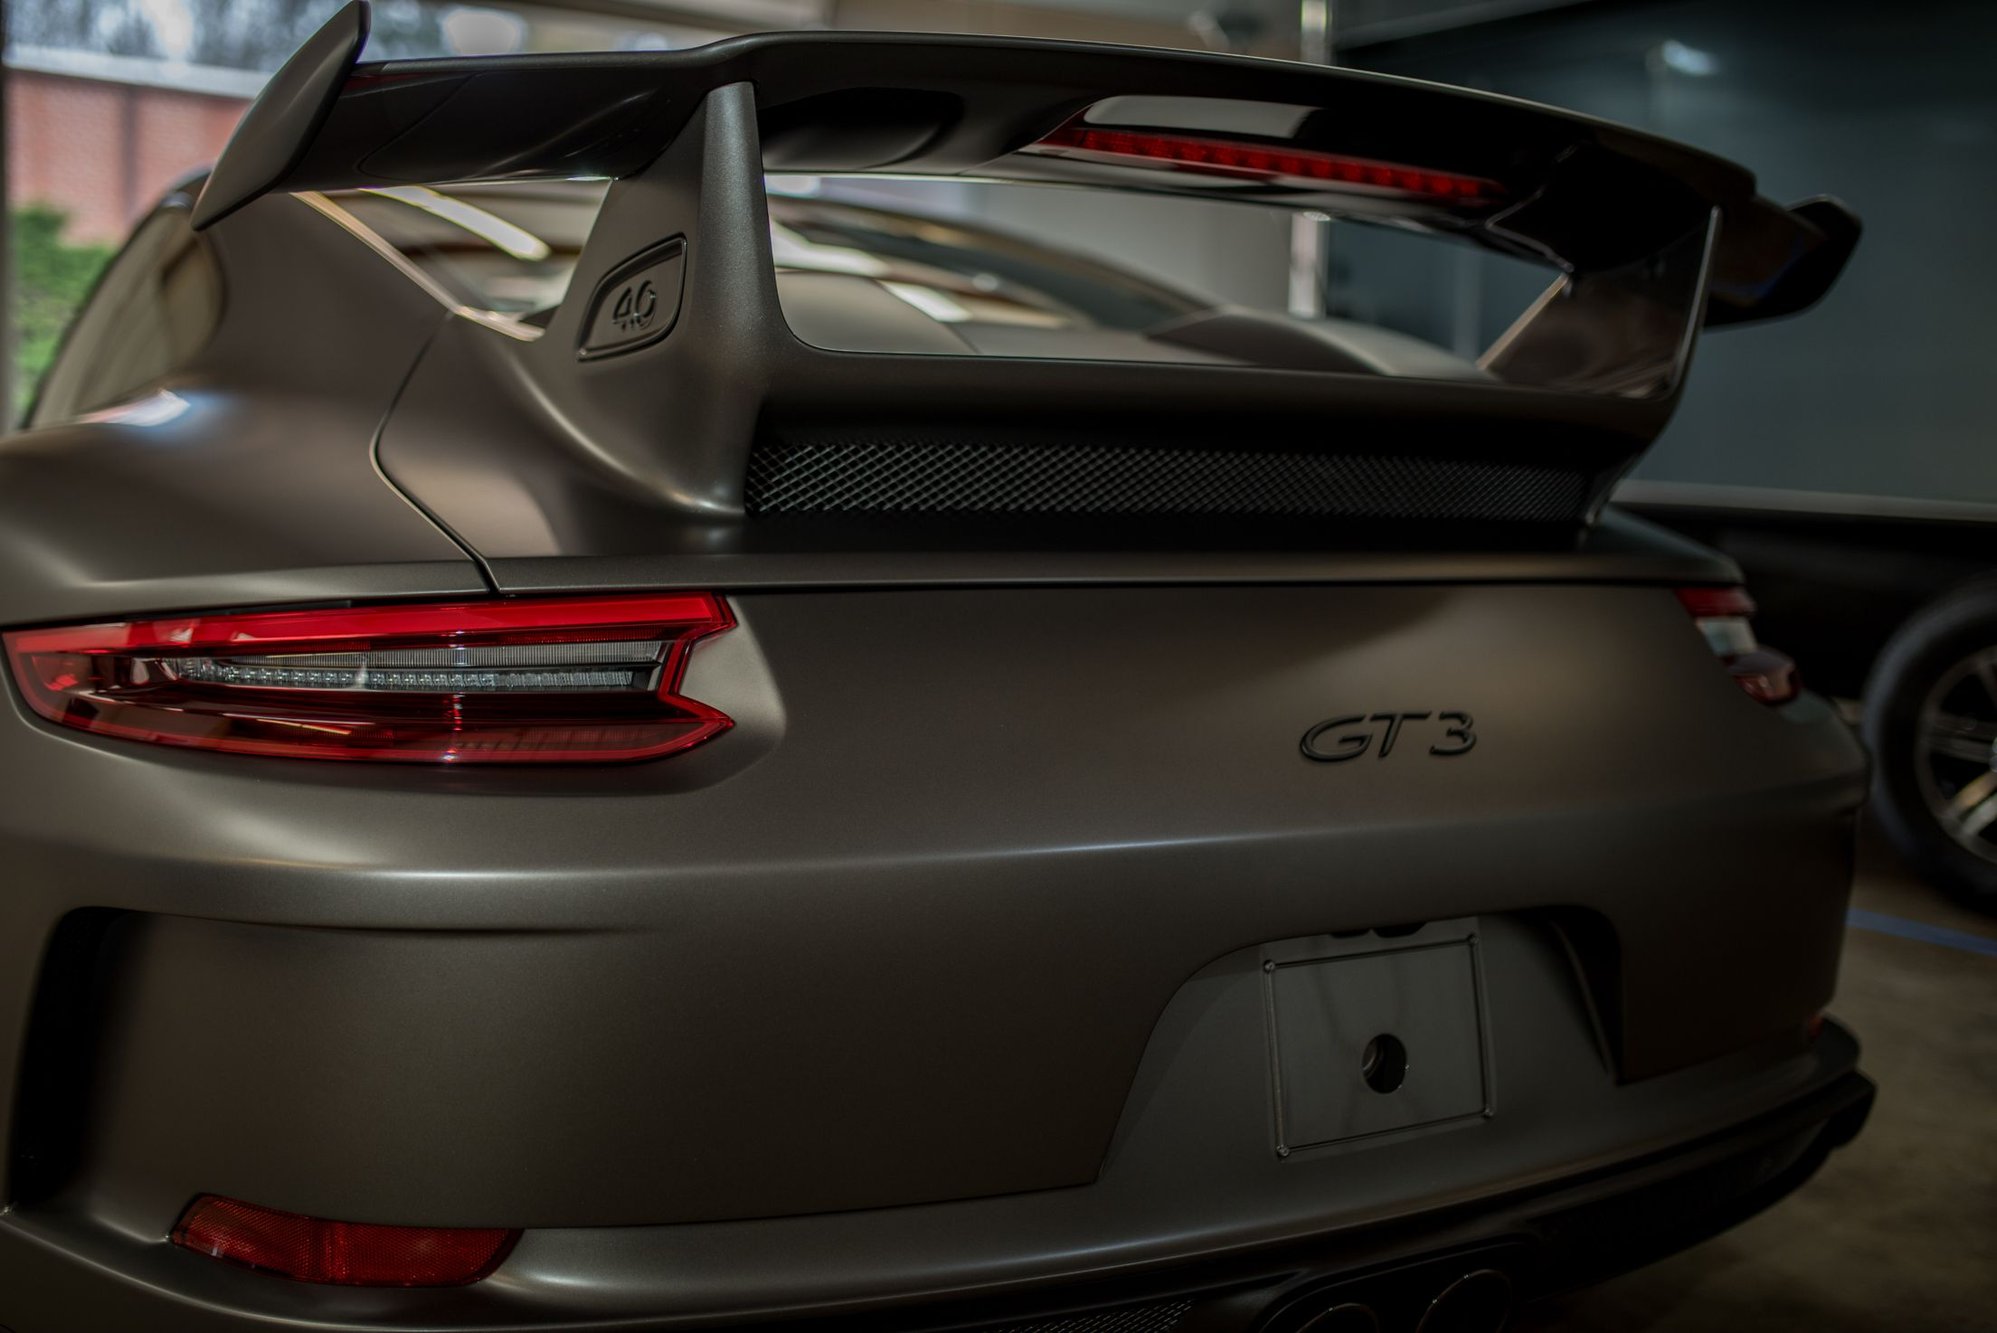
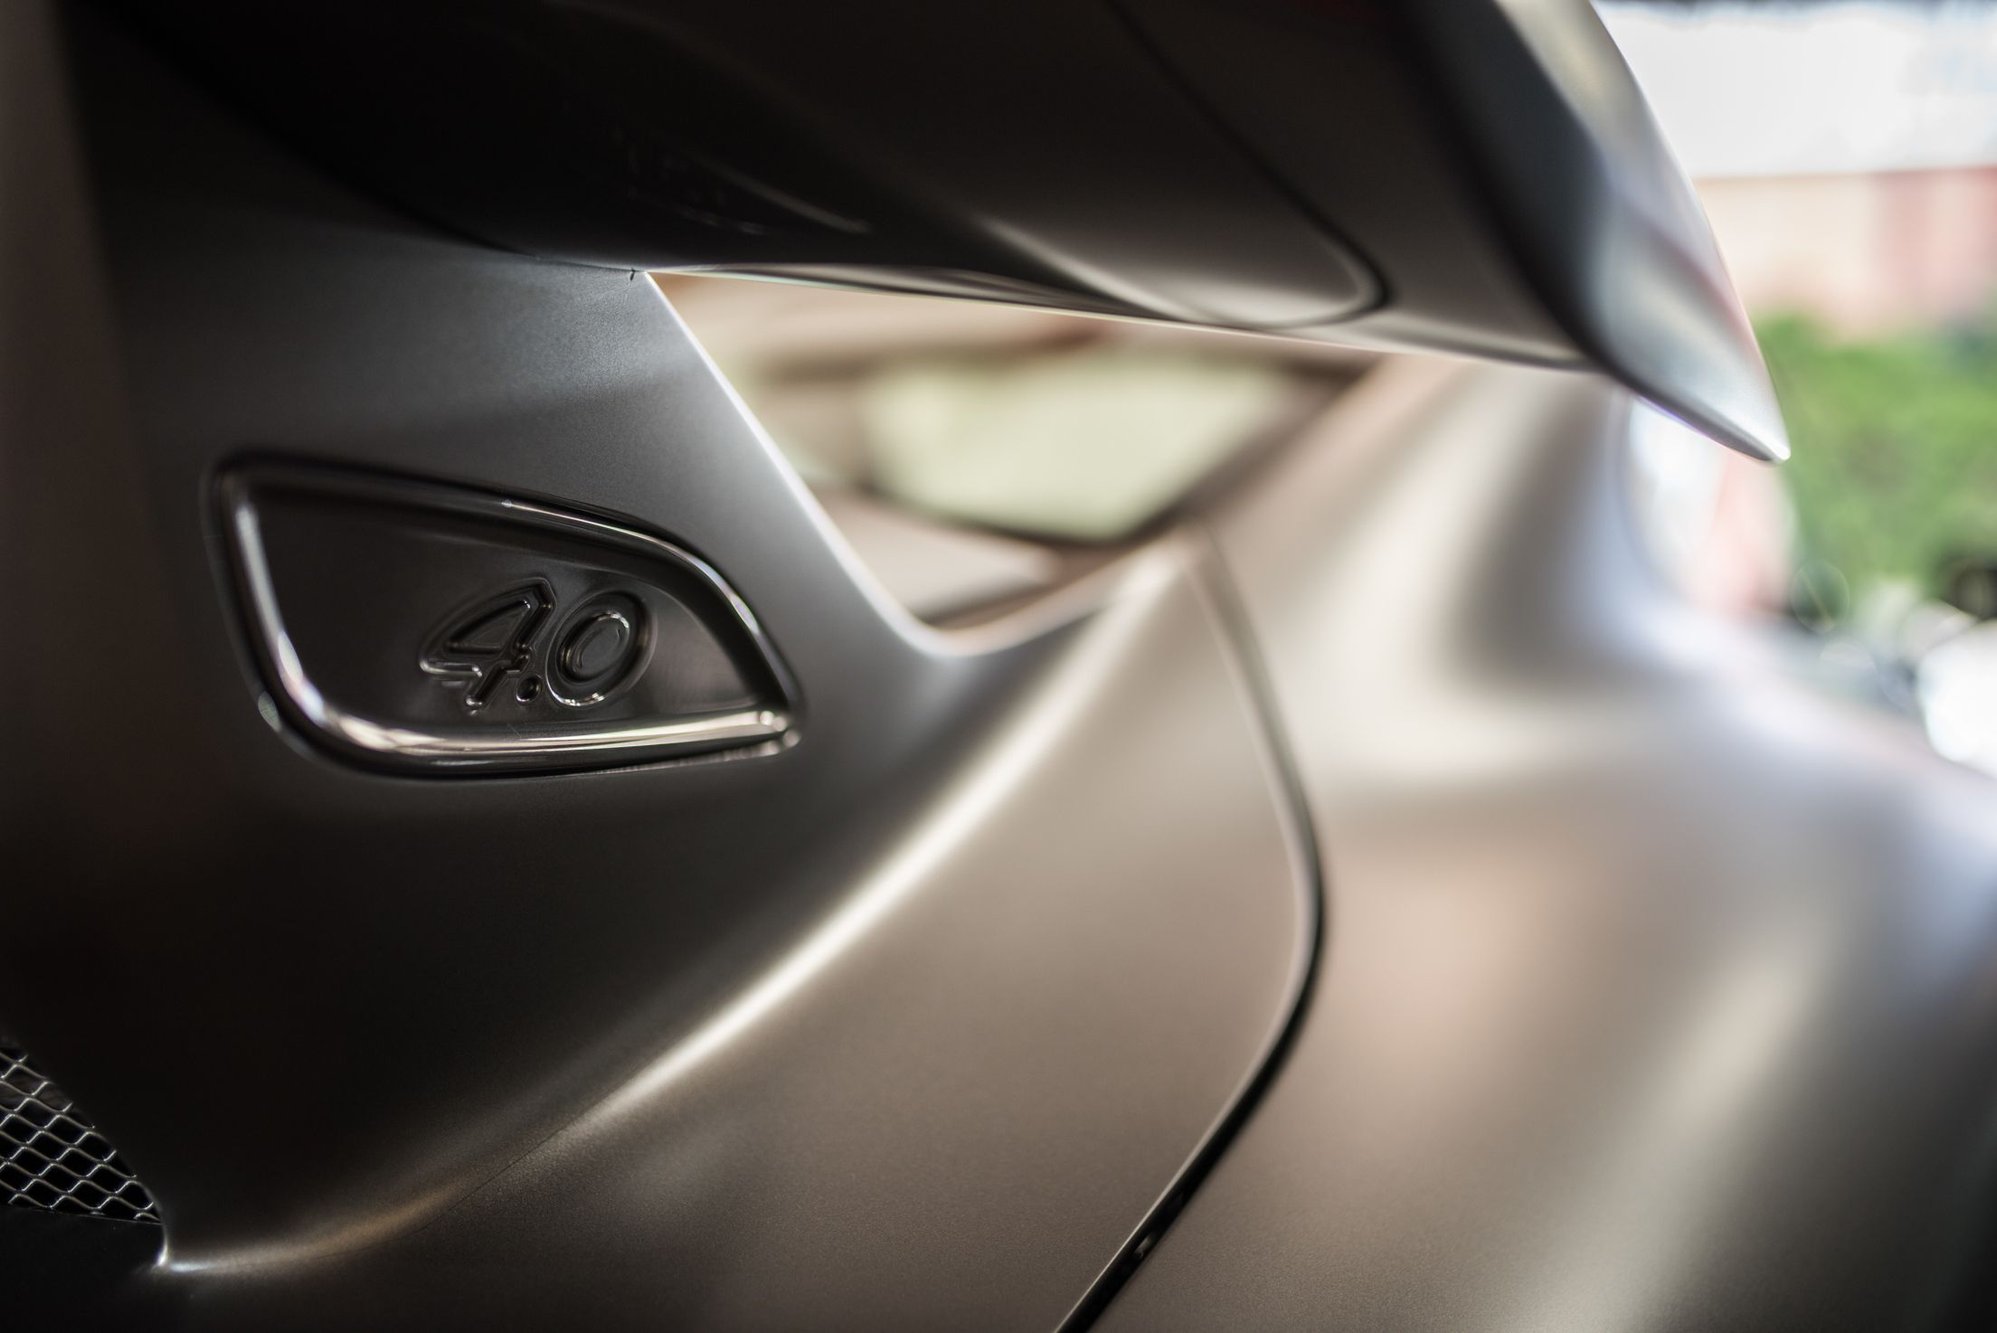
Paint correction was necessary beyond the full-body paint protection film wrap. Emblems come off and go on top of the PPF for a seamless fit and finish. In this case, we reinstalled a larger than 991.x GT3 emblem from a 997.
Out she came for proper cleansing and protection.
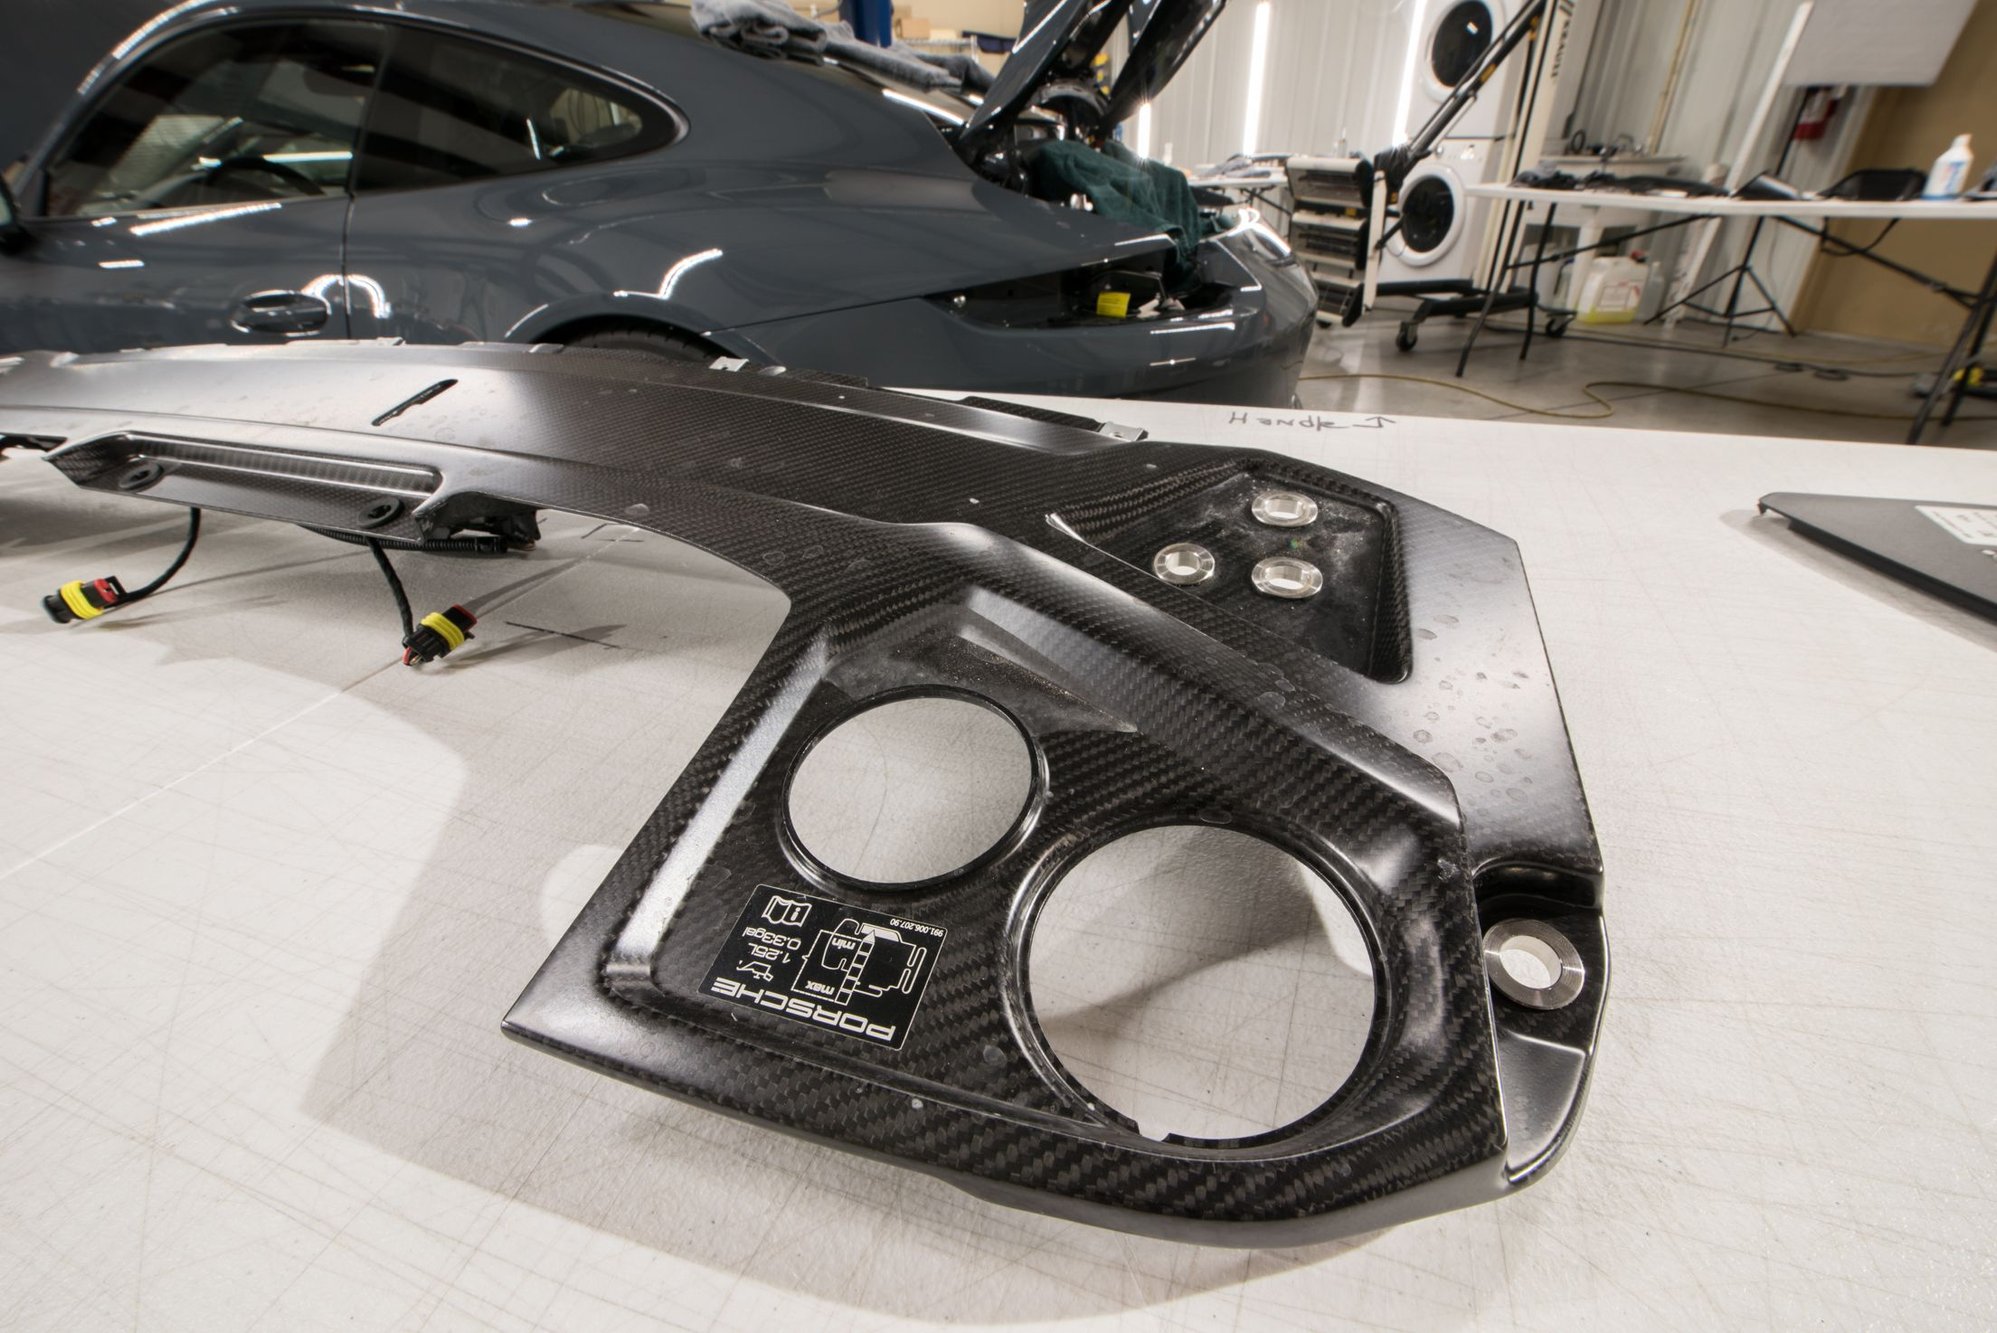
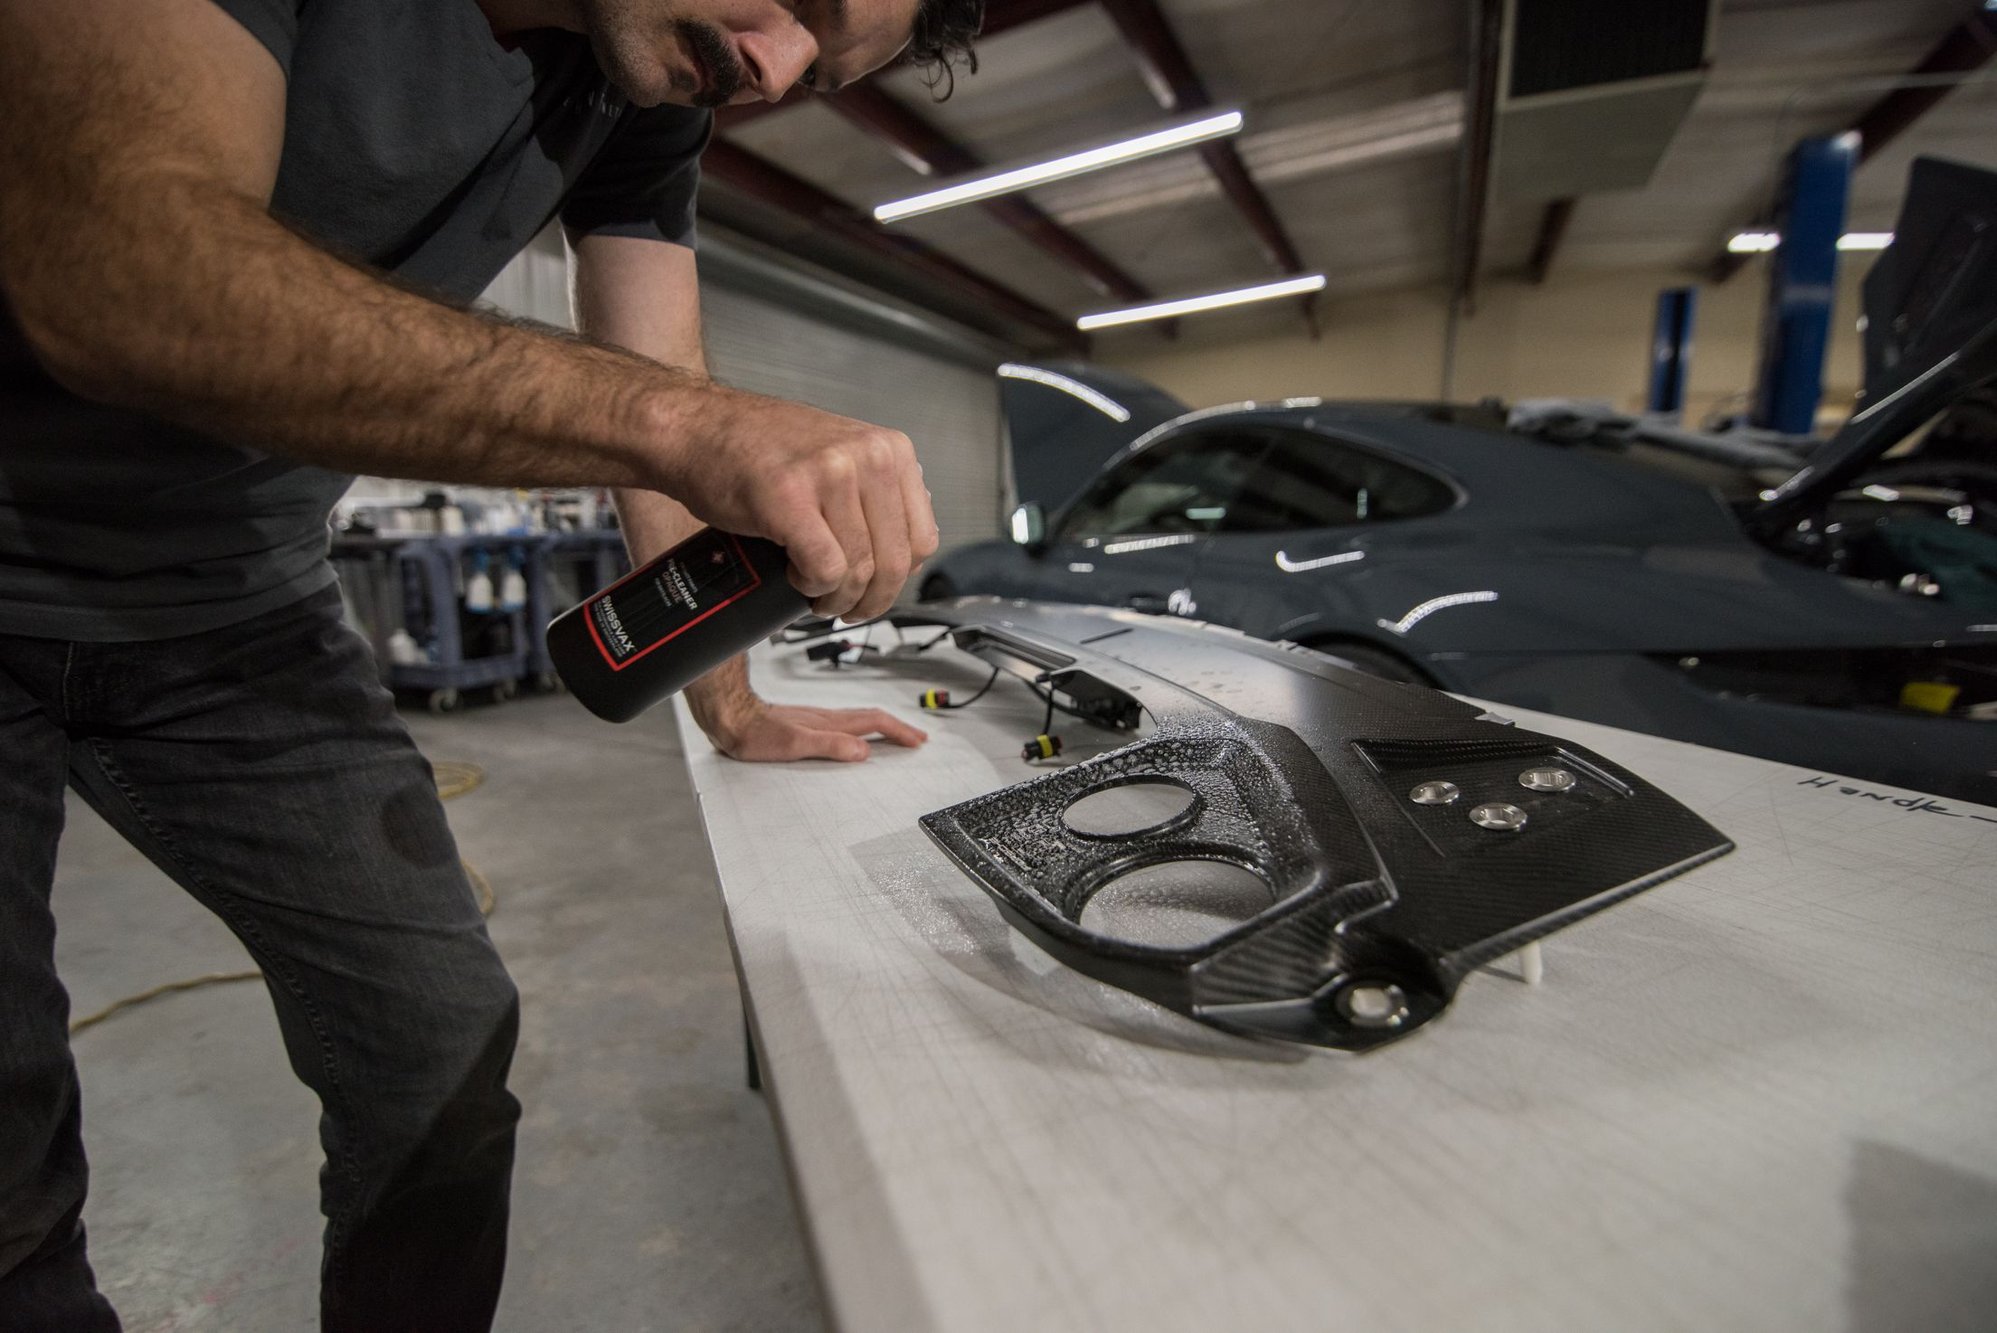
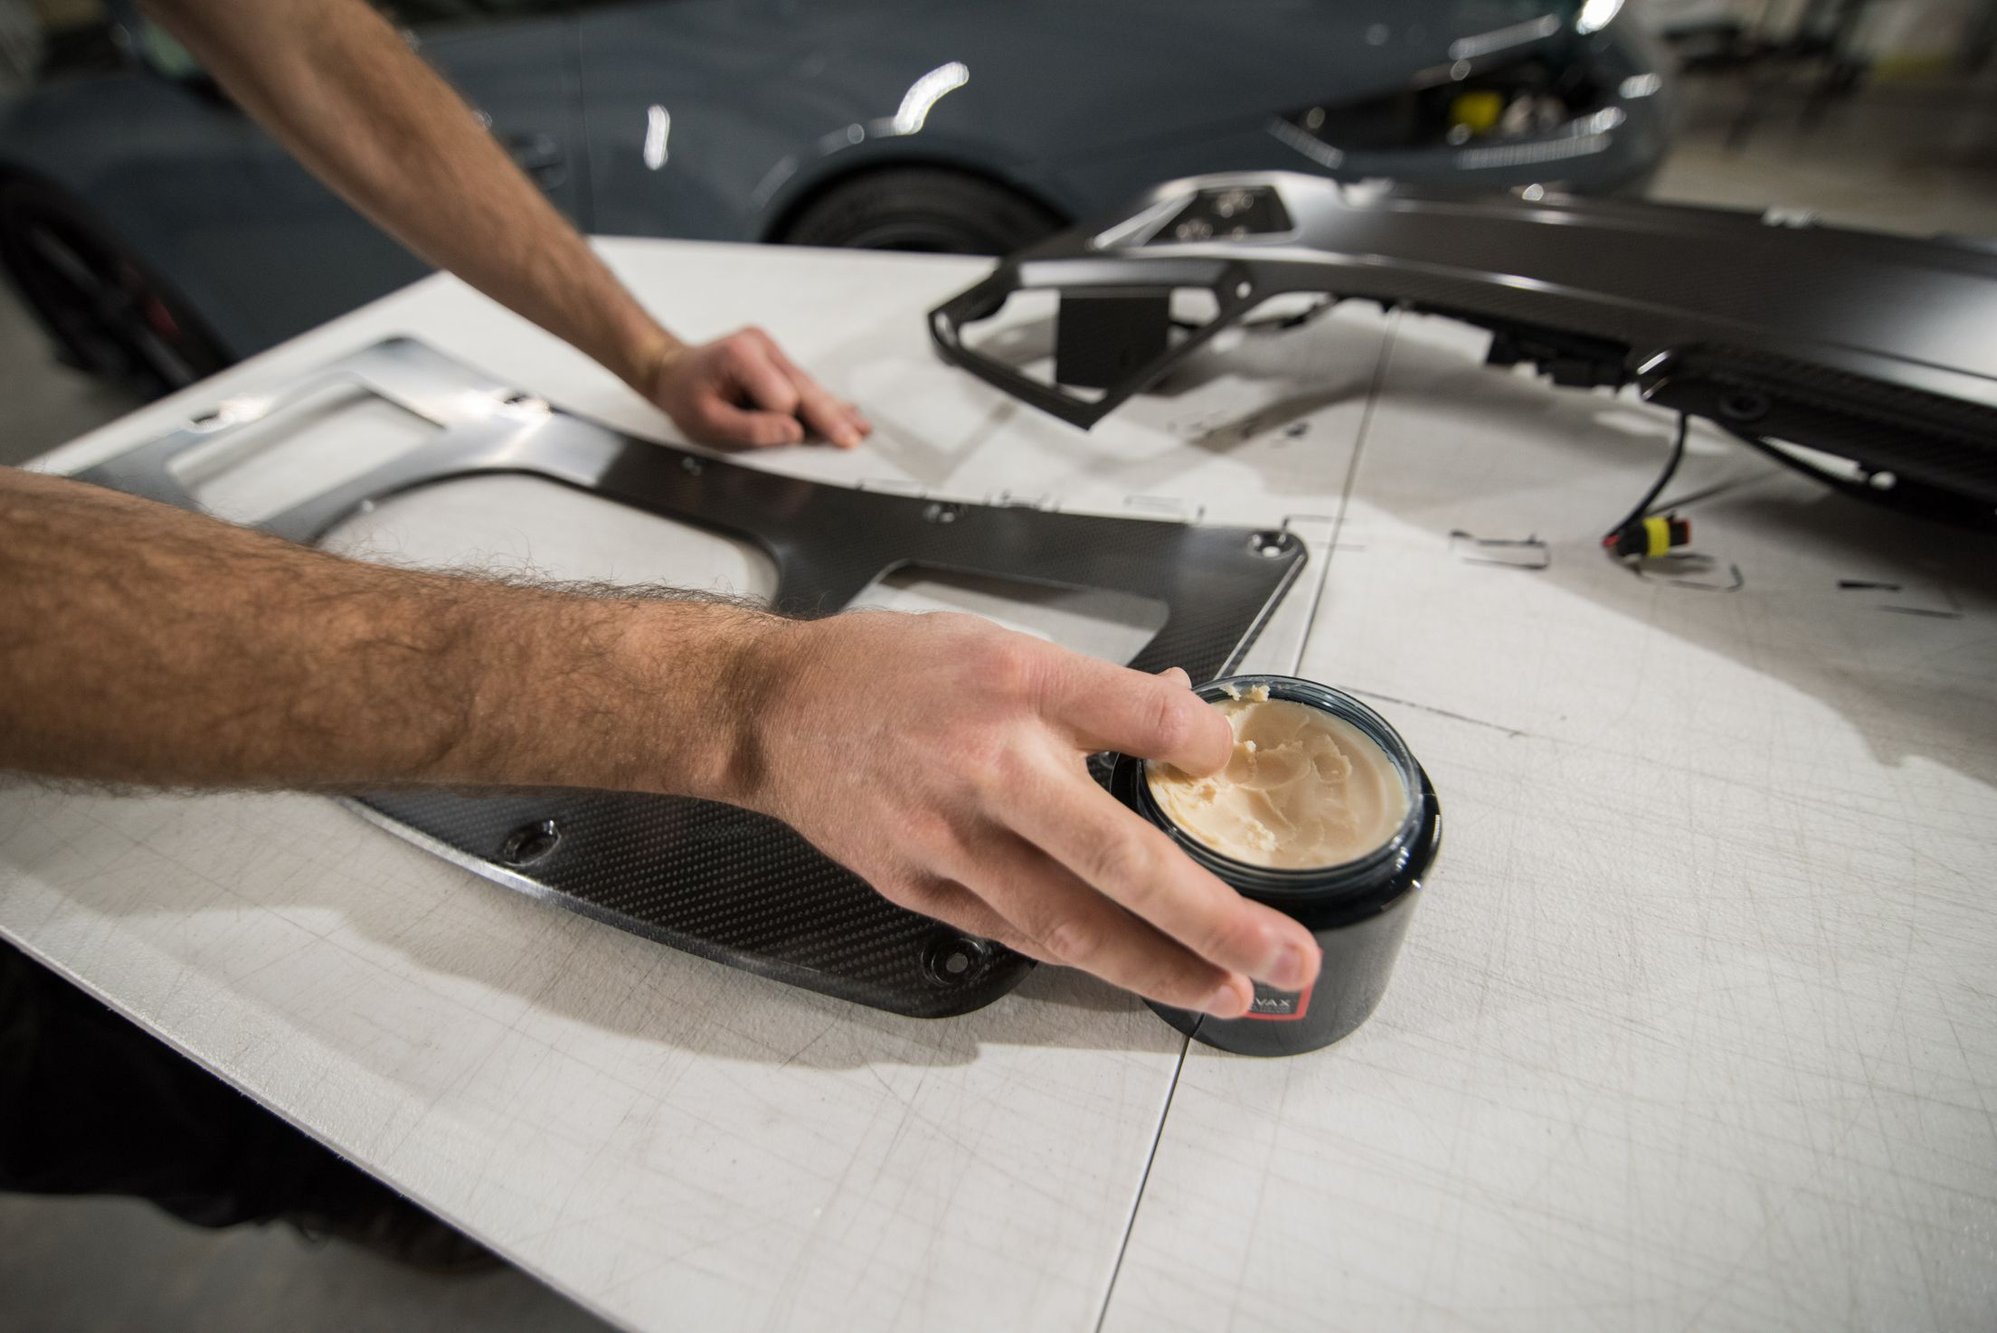
Swissvax Opaque pre-cleaner is minimally invasive but perfectly effective for the task.
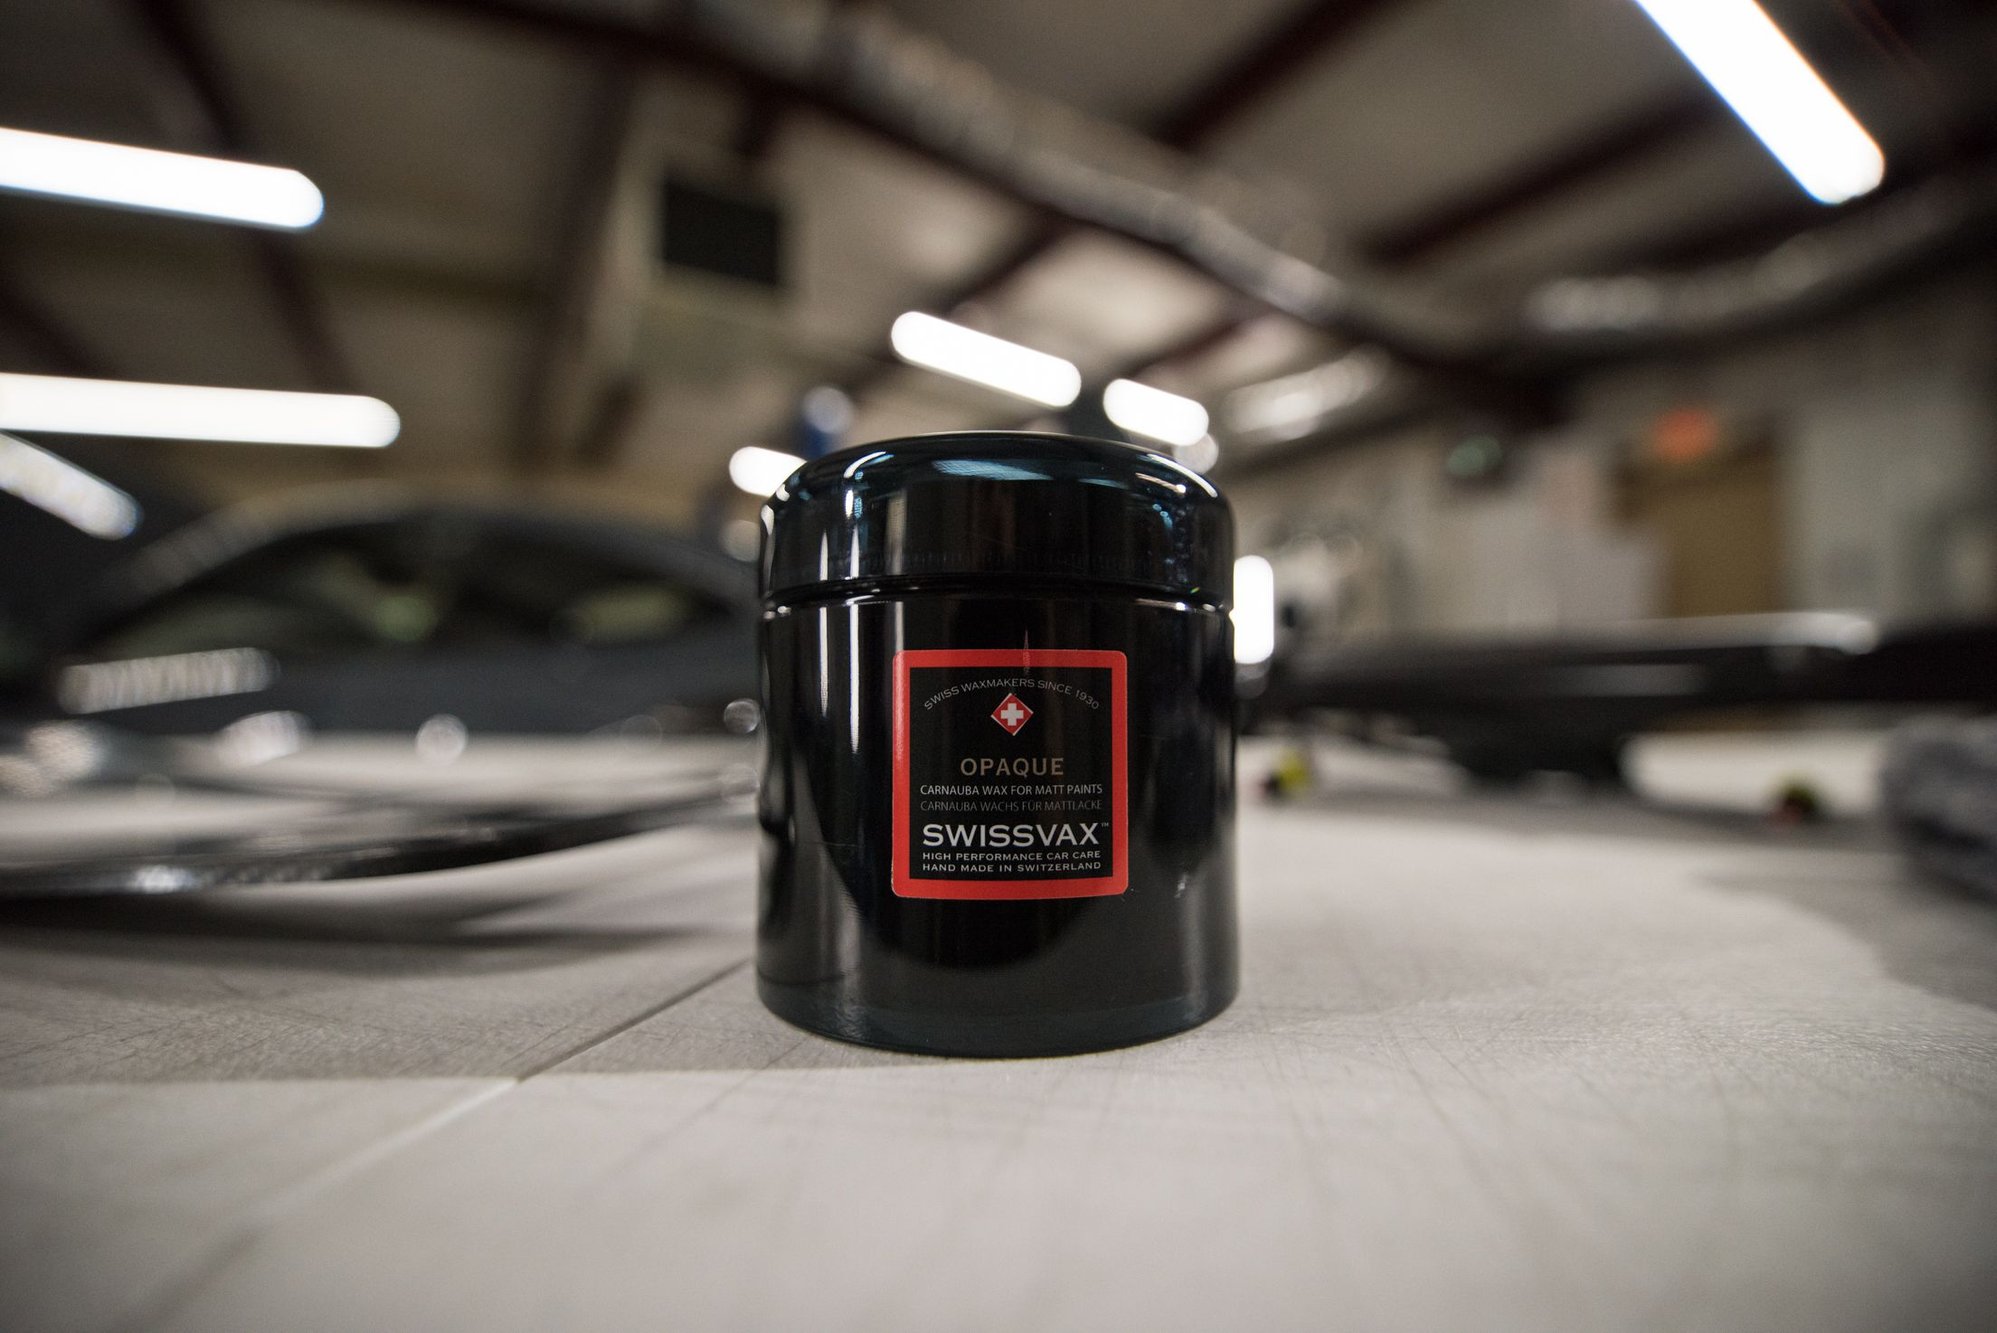
For dry carbon fiber, Swissvax Opaque is pretty great stuff.
Smells wonderful and the experience of using it is commensurate with the cost.
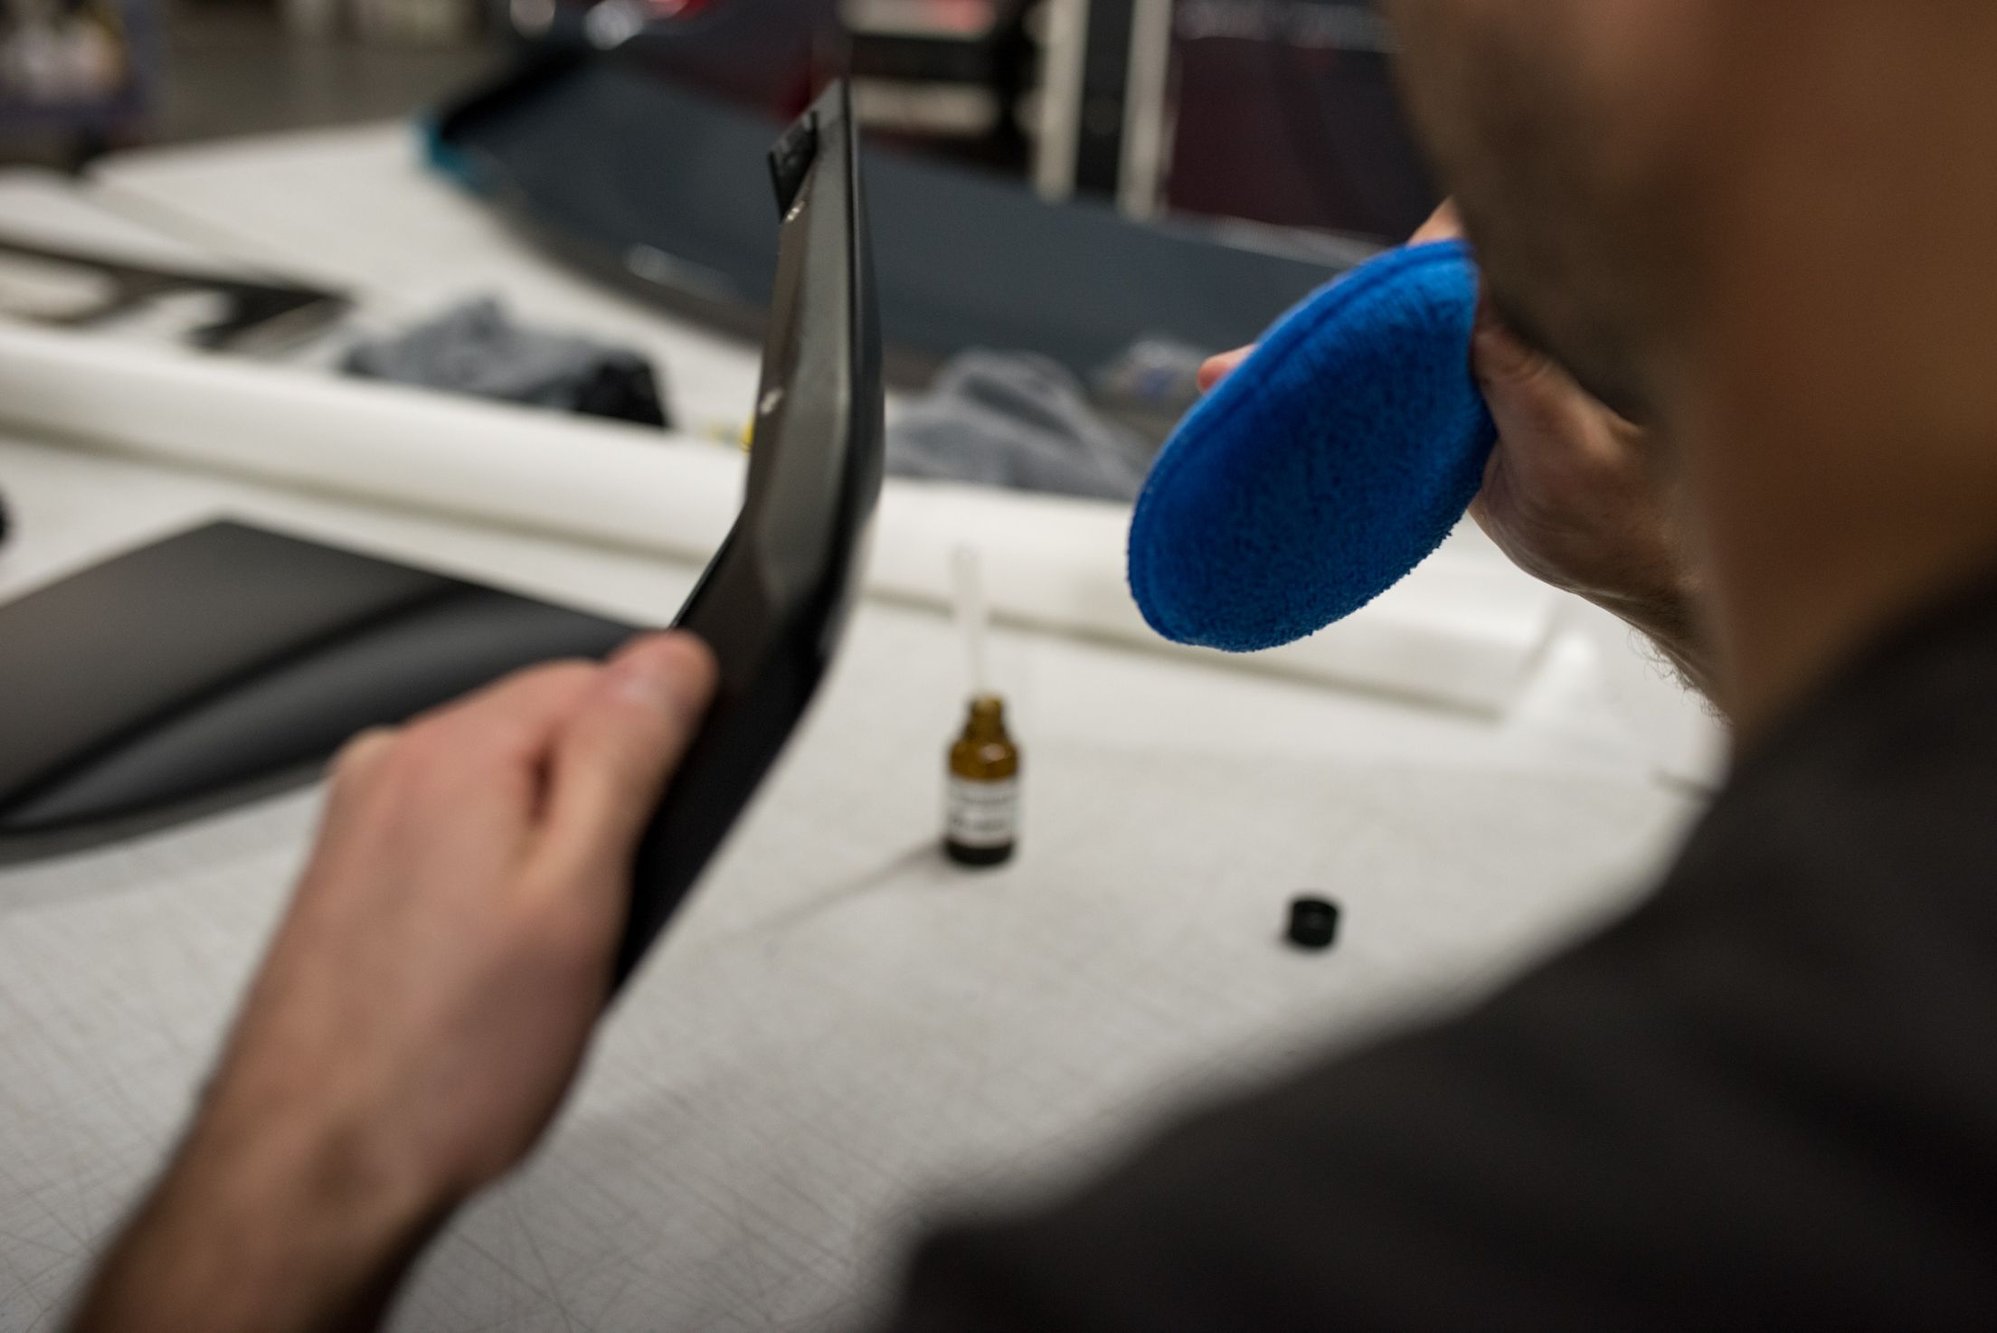
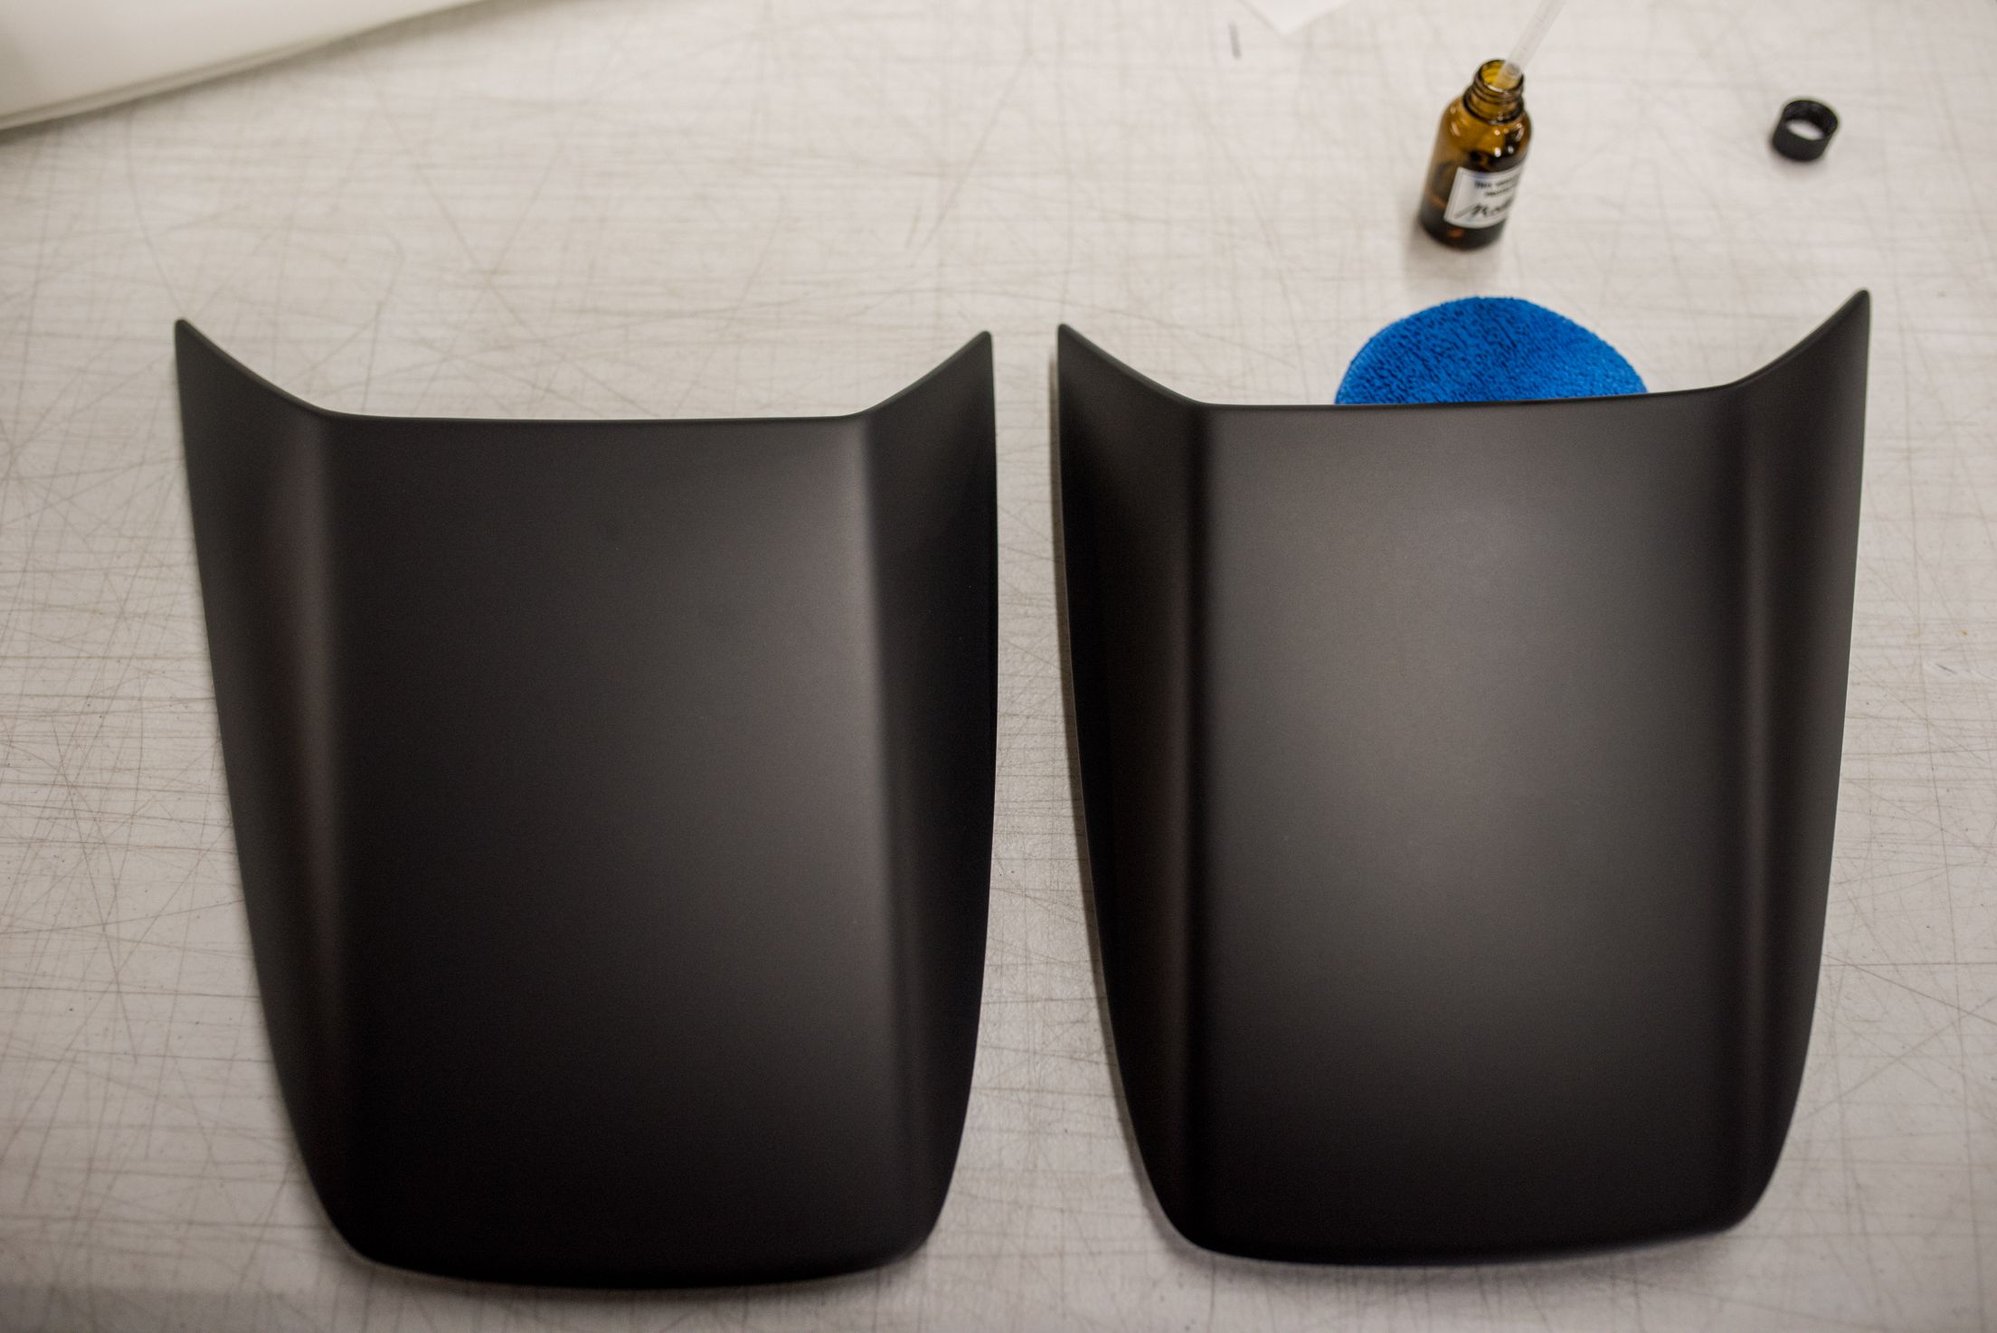
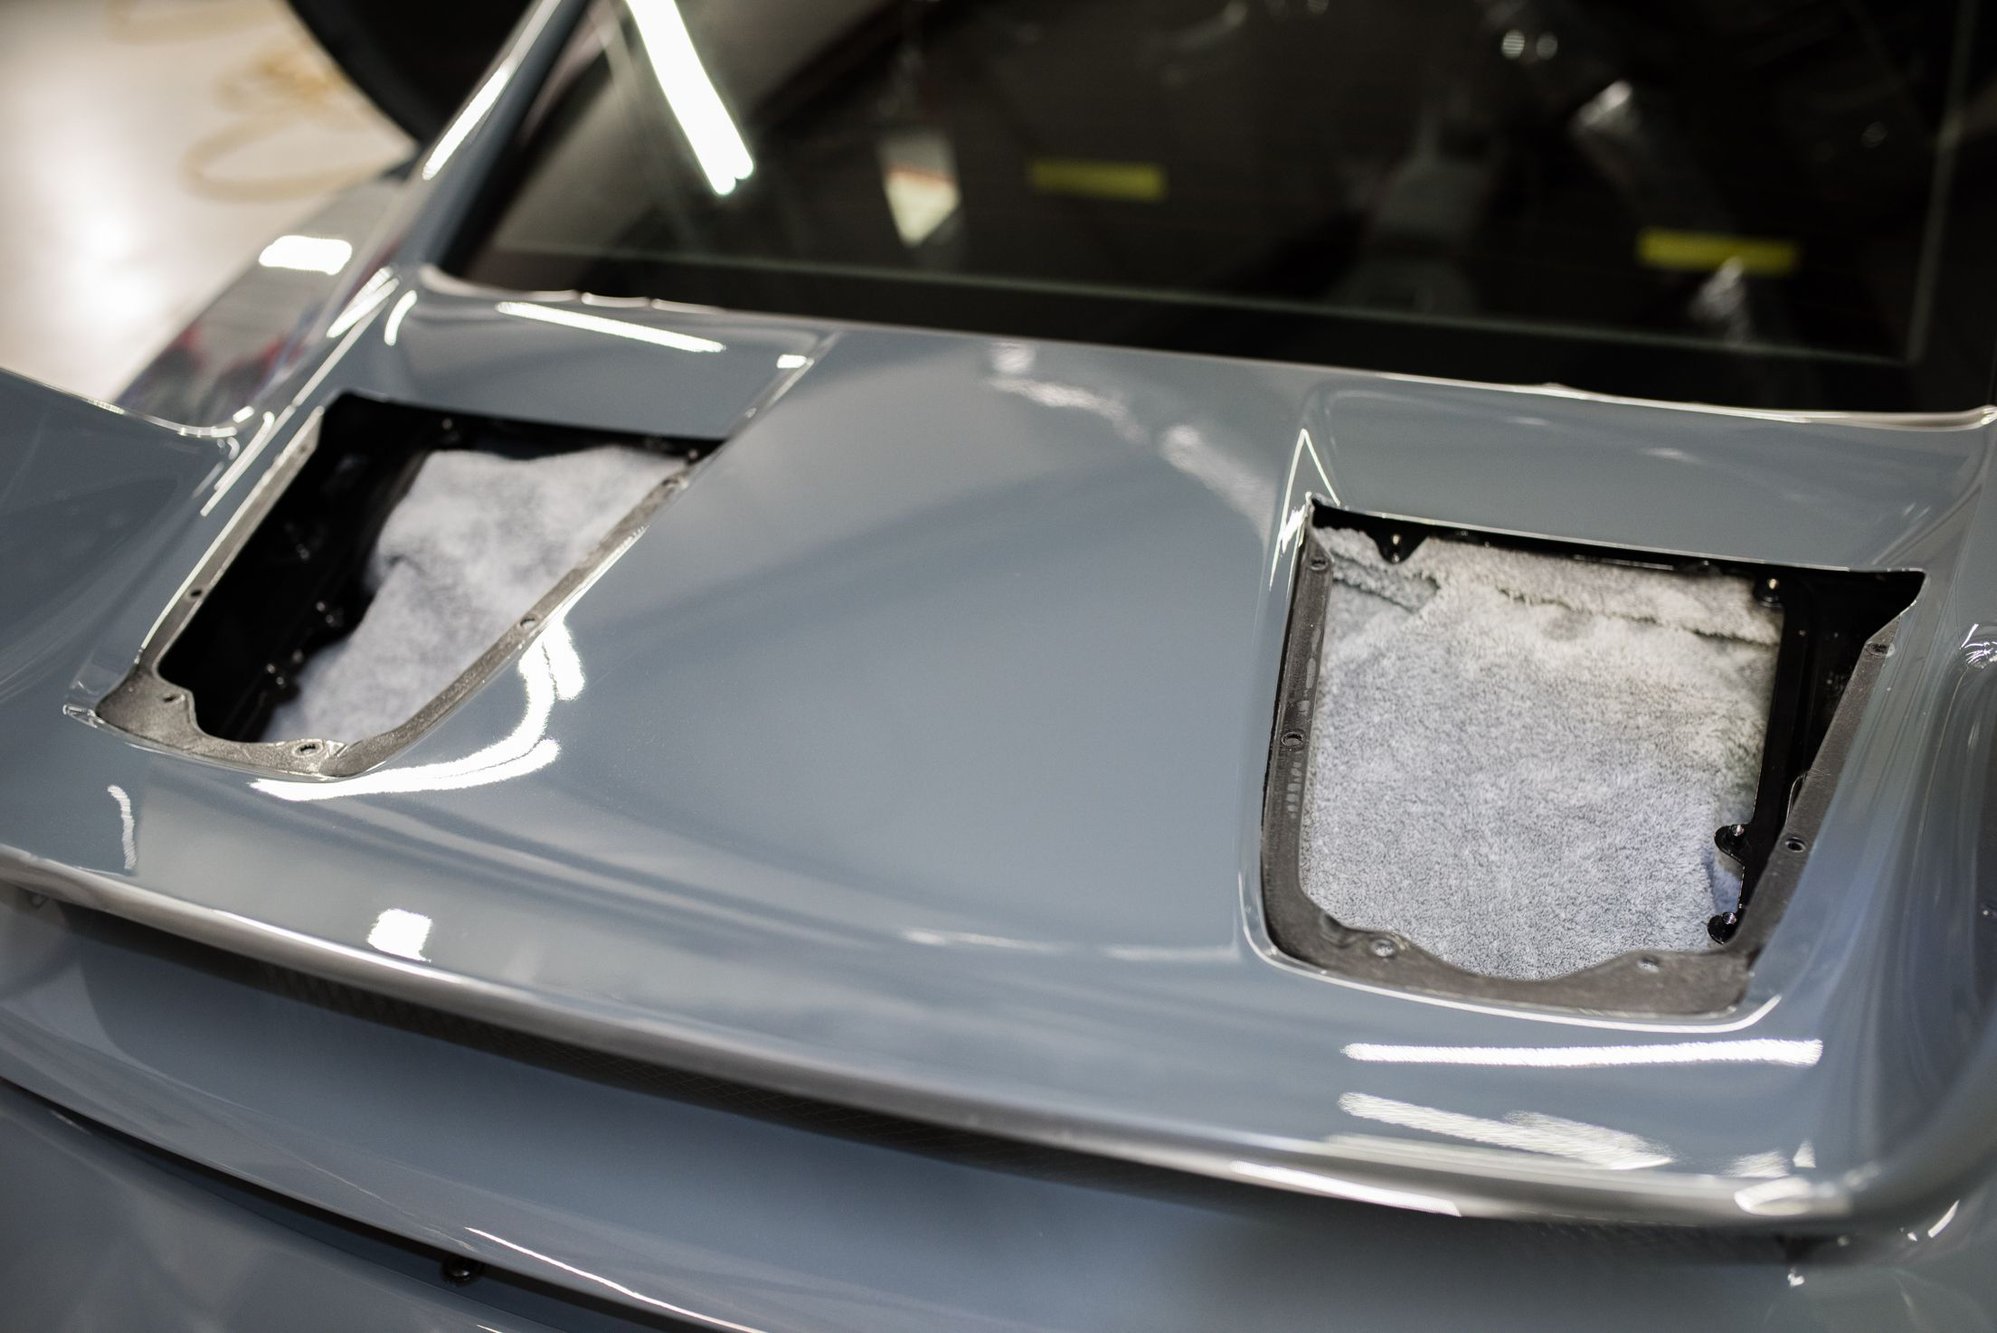
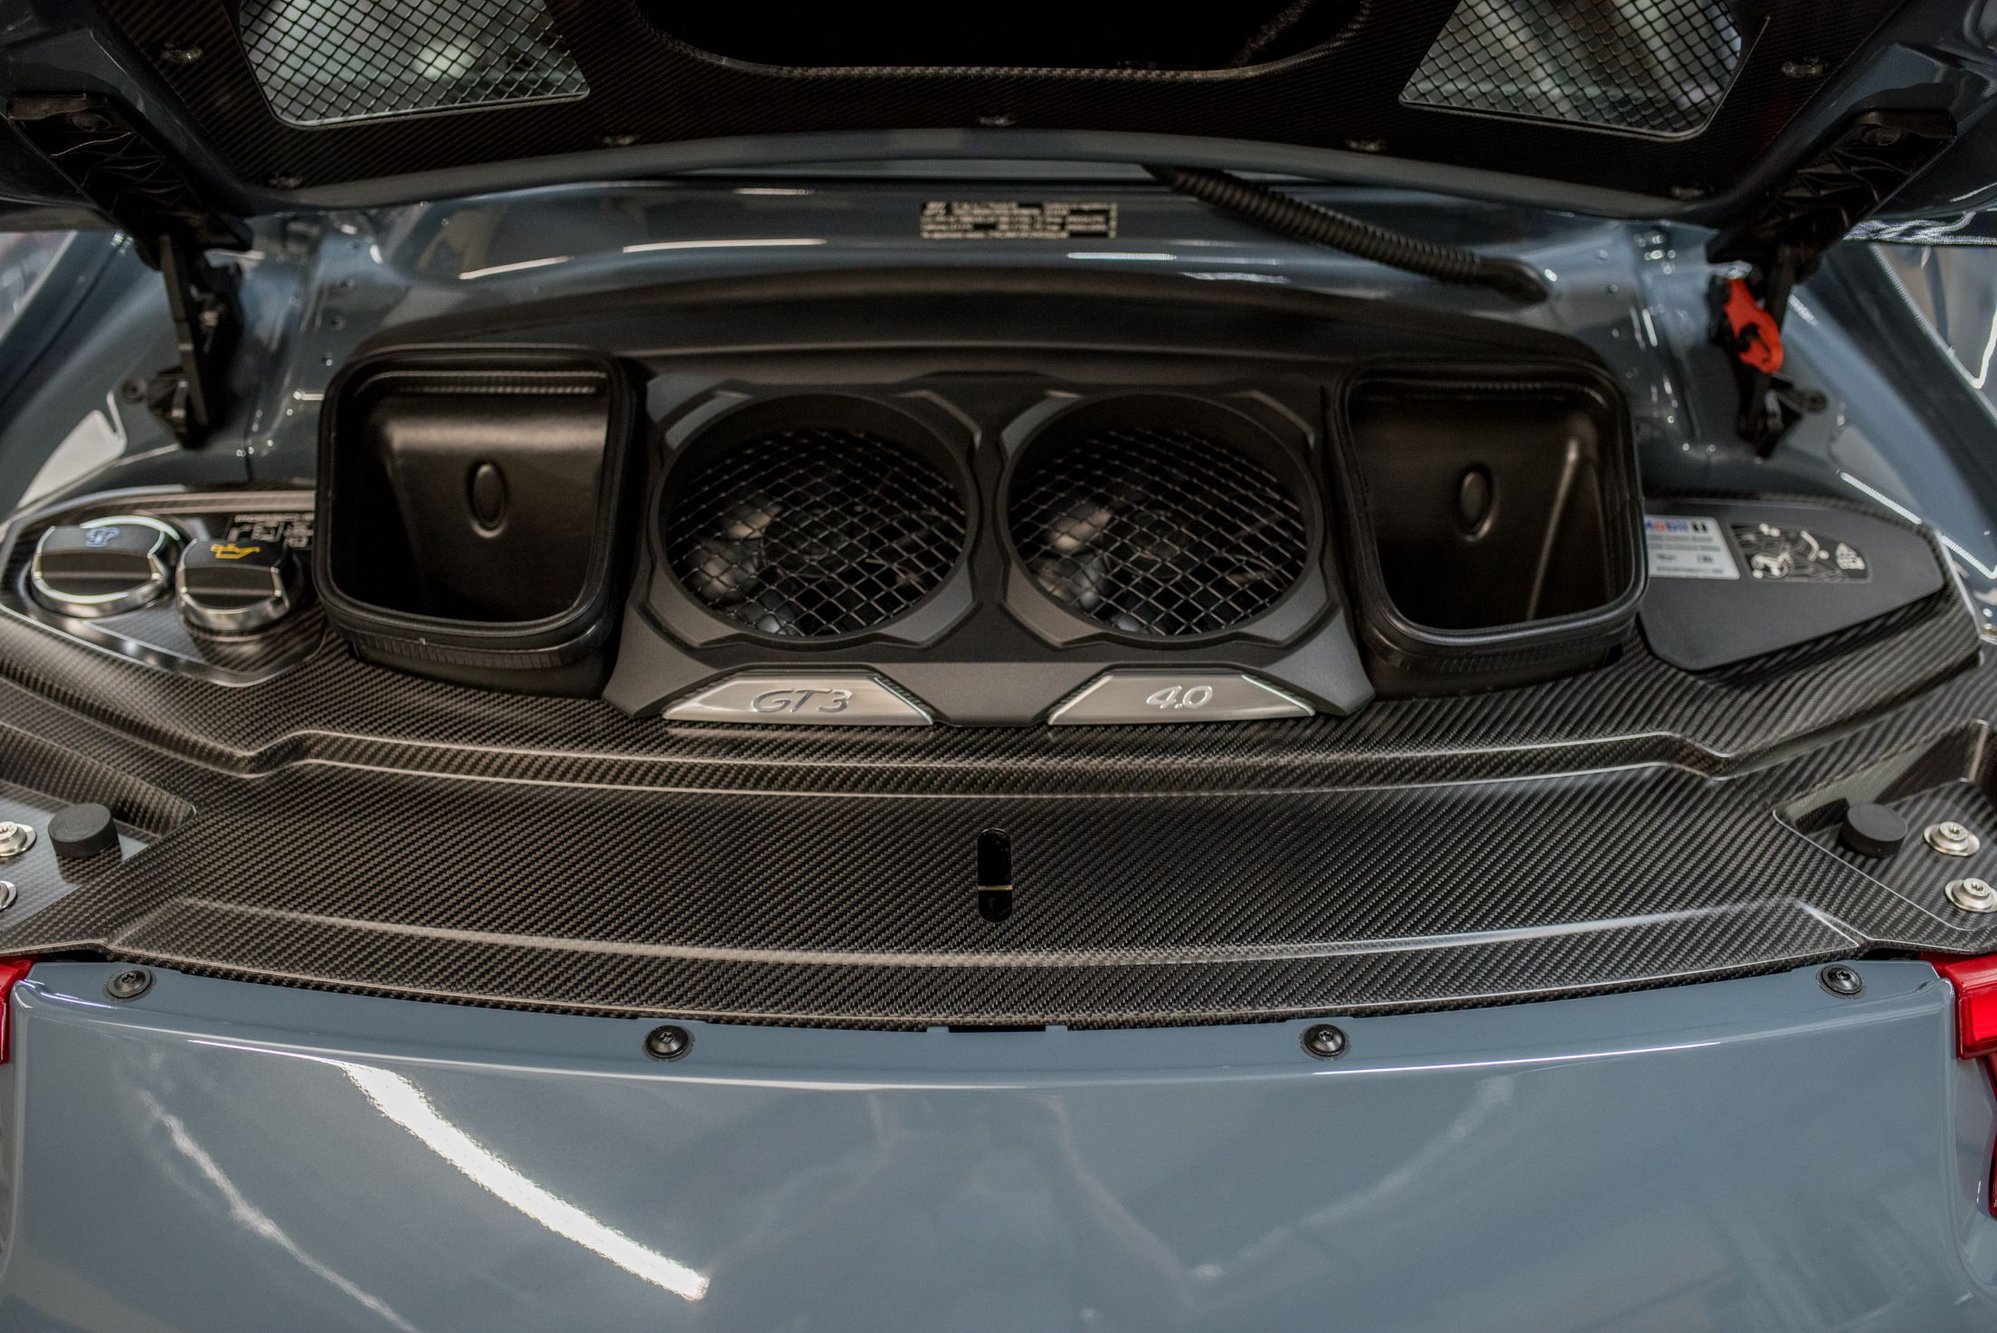
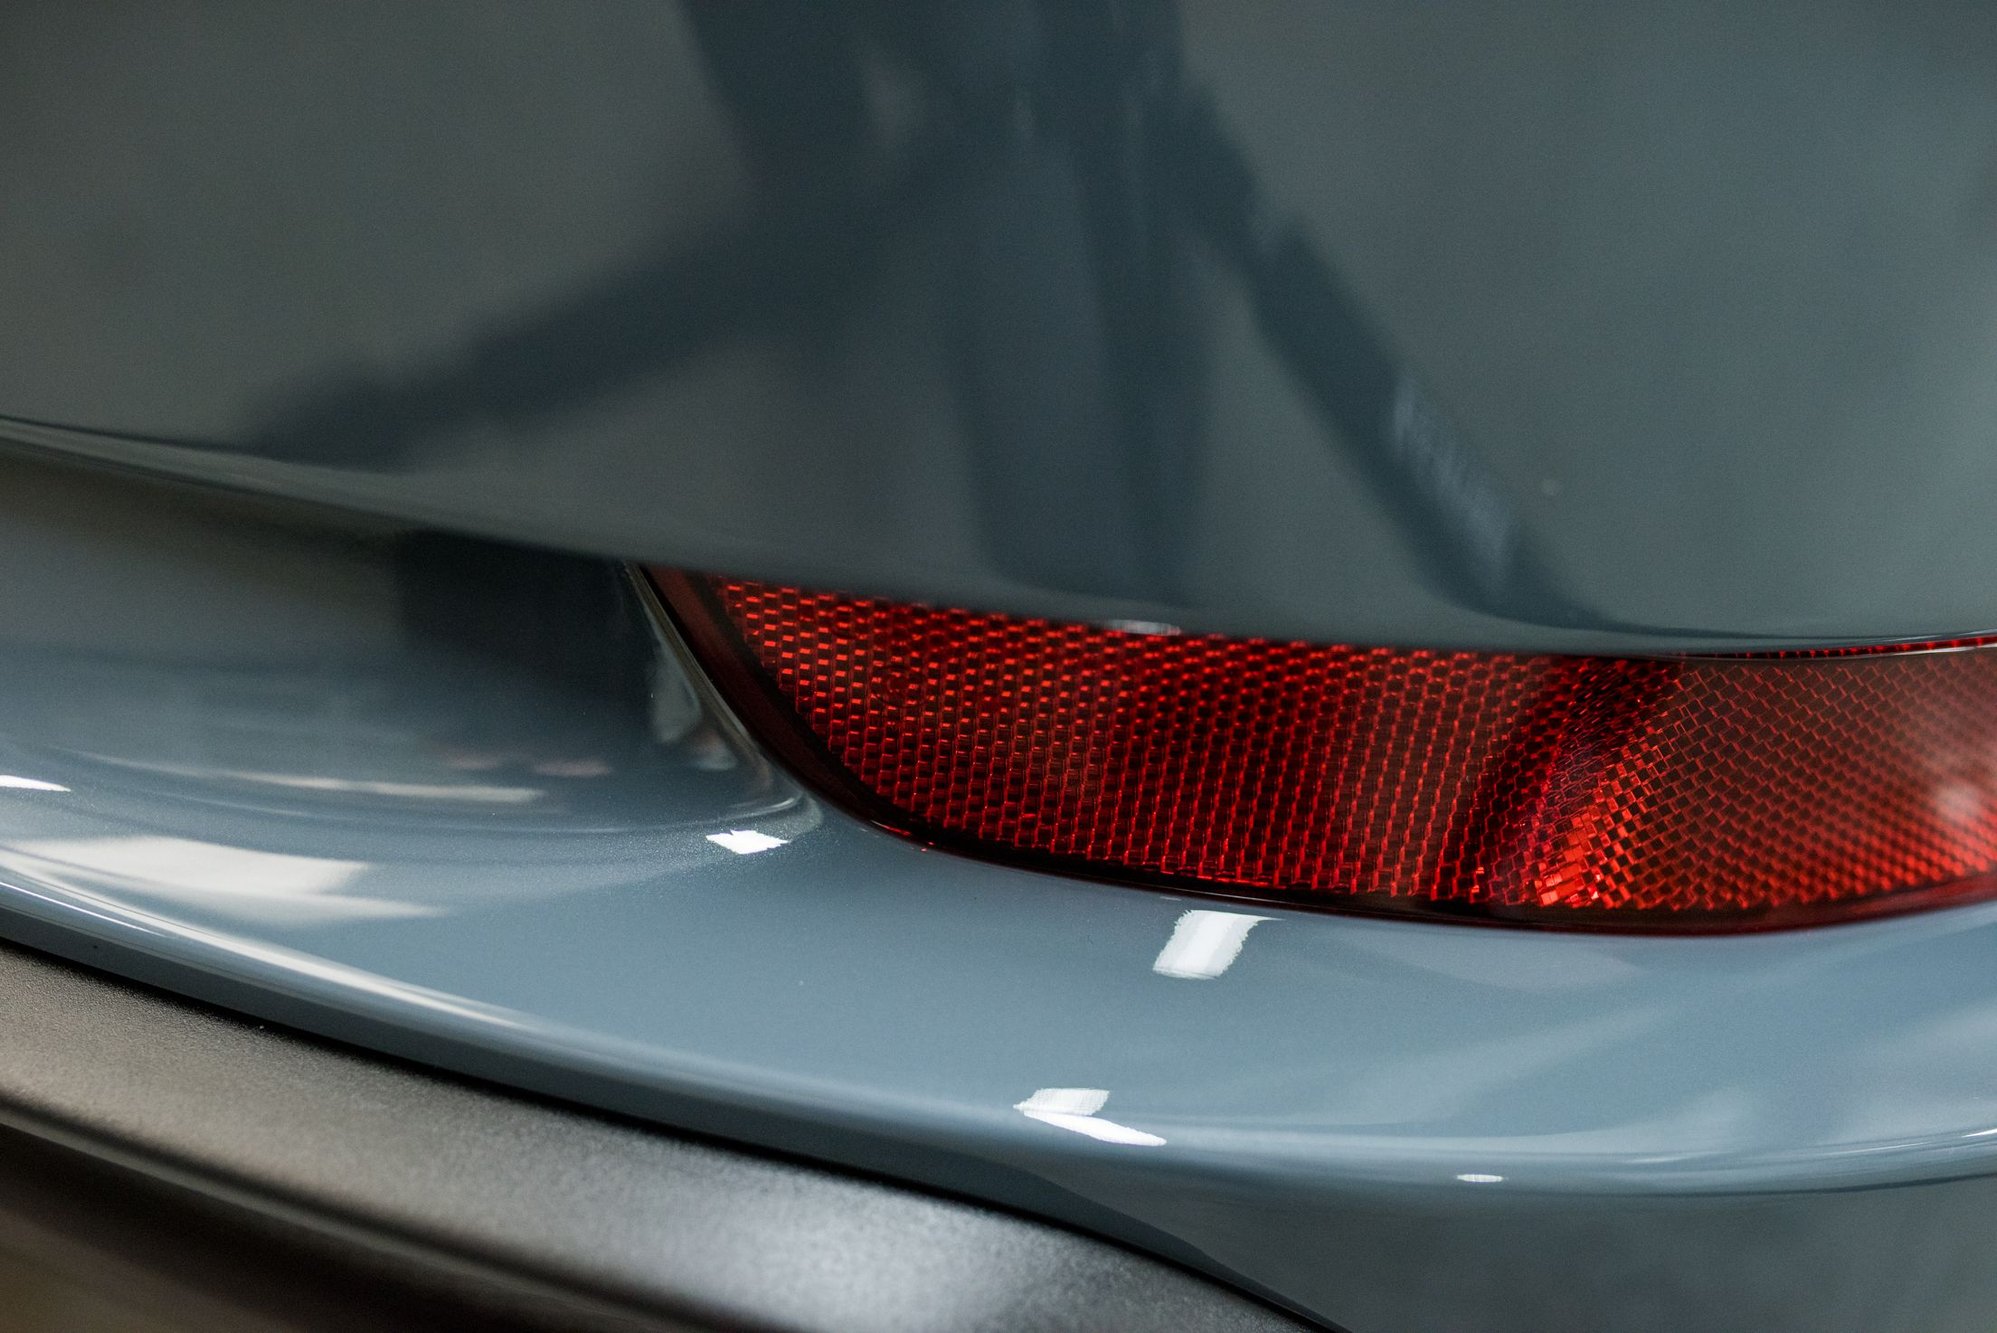
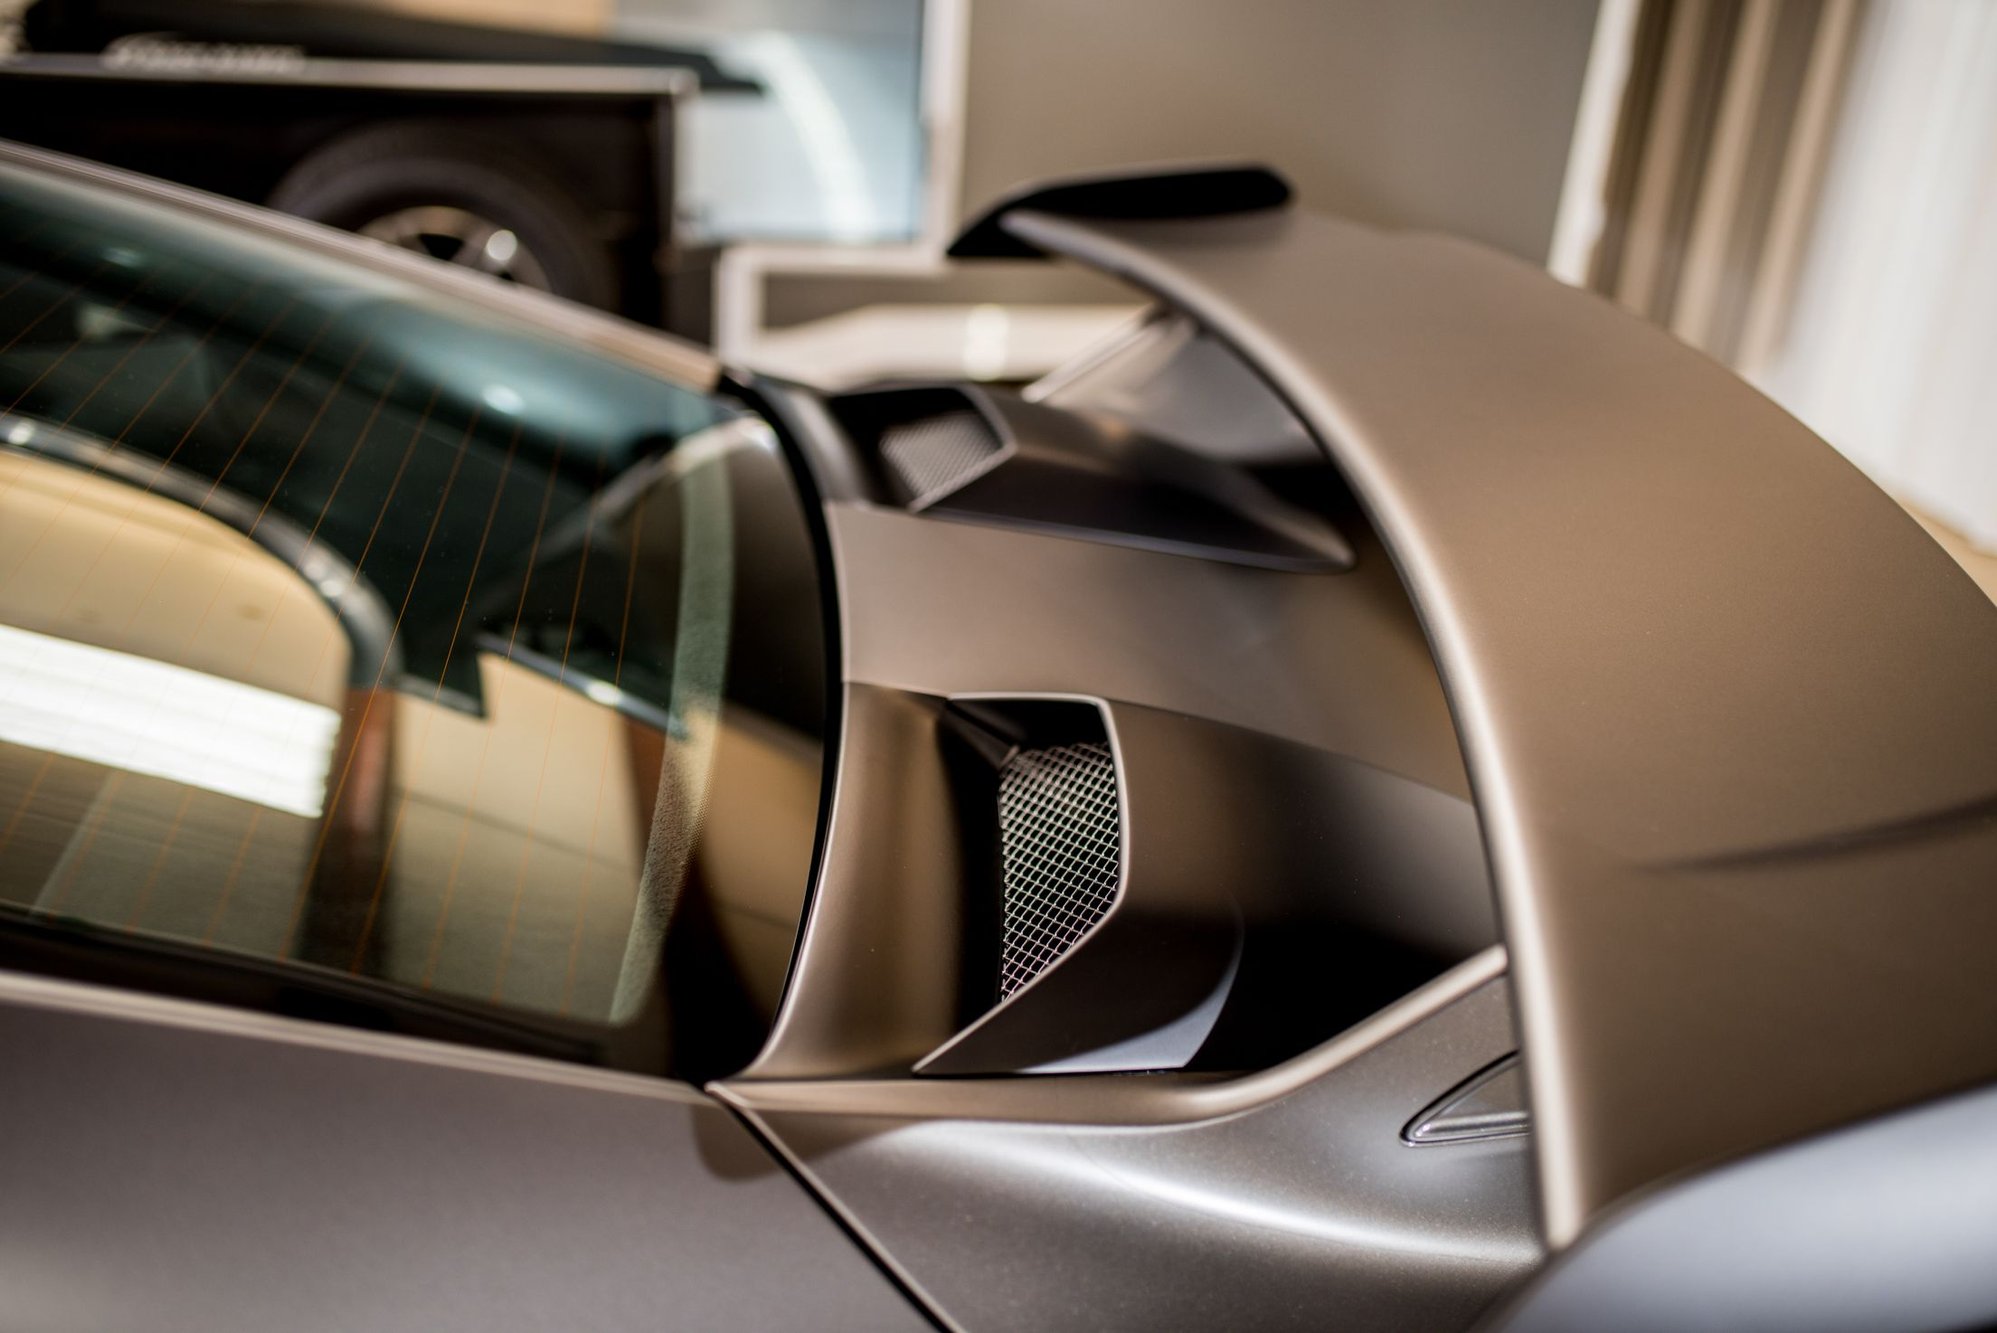
Rear air intakes were treated with Modesta EPC (Exterior Plastic Coating). It's a silica coating for non-glossy exterior plastics. The coating provides chemical resistance and a richer look. All exterior plastics were treated all the same with Modesta EPC.
Even the underside (yes, I have a problem haha).
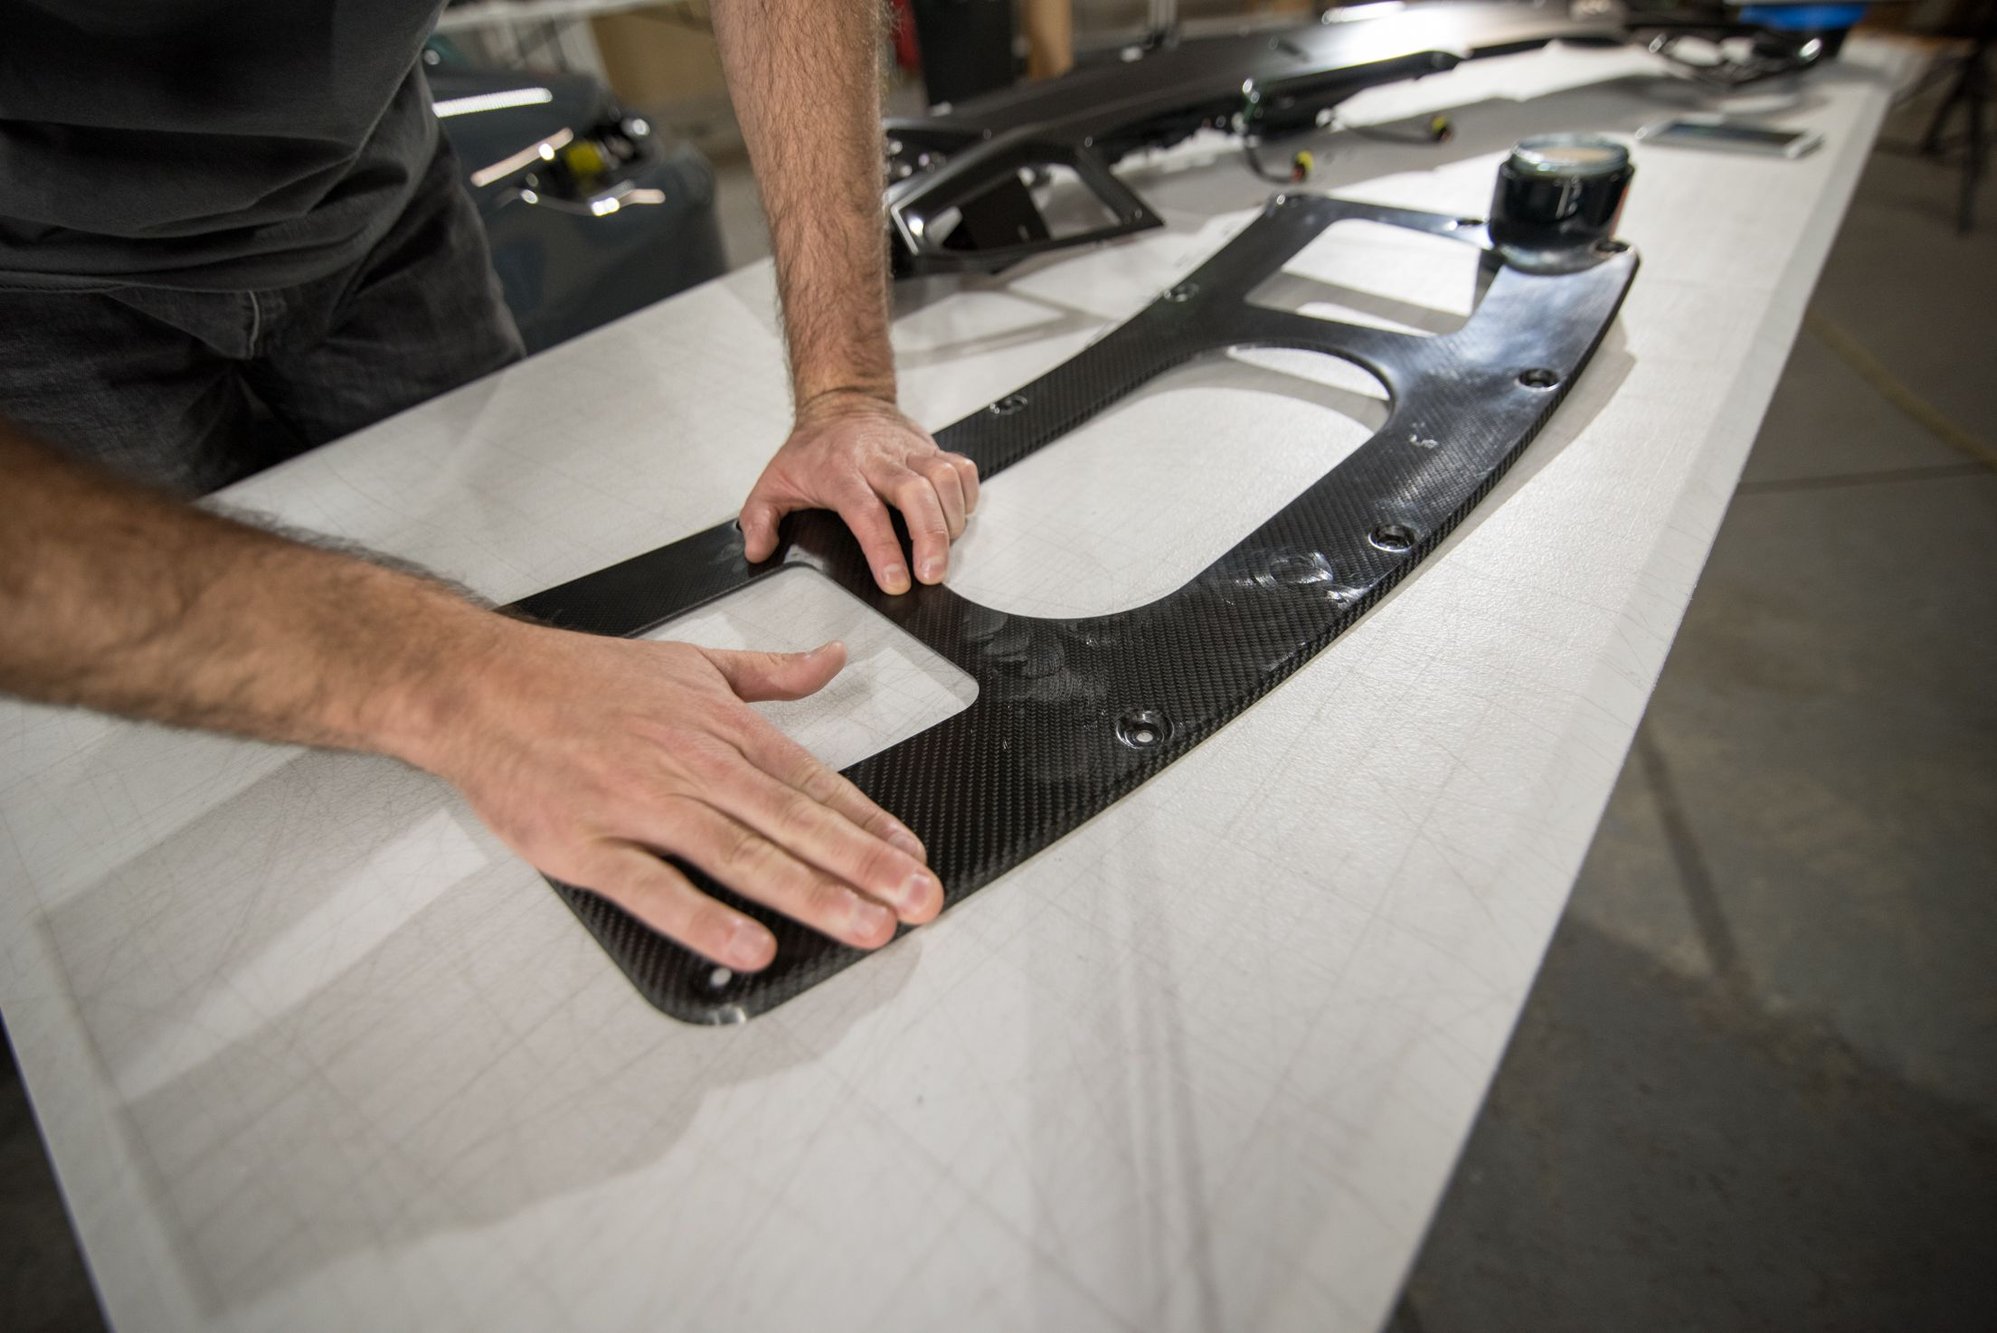
Rear engine lid and wing was 100% custom. The pre-cuts were made, fitted them into place and them promptly thrown away. The coverage was not good enough even after modifying.
Place the fit and finish in a craftsman's hands and the results speak for themselves.
Custom all over was really the way to go. The final shots show off a fit and finish simply impossible on a standard pre-cut.
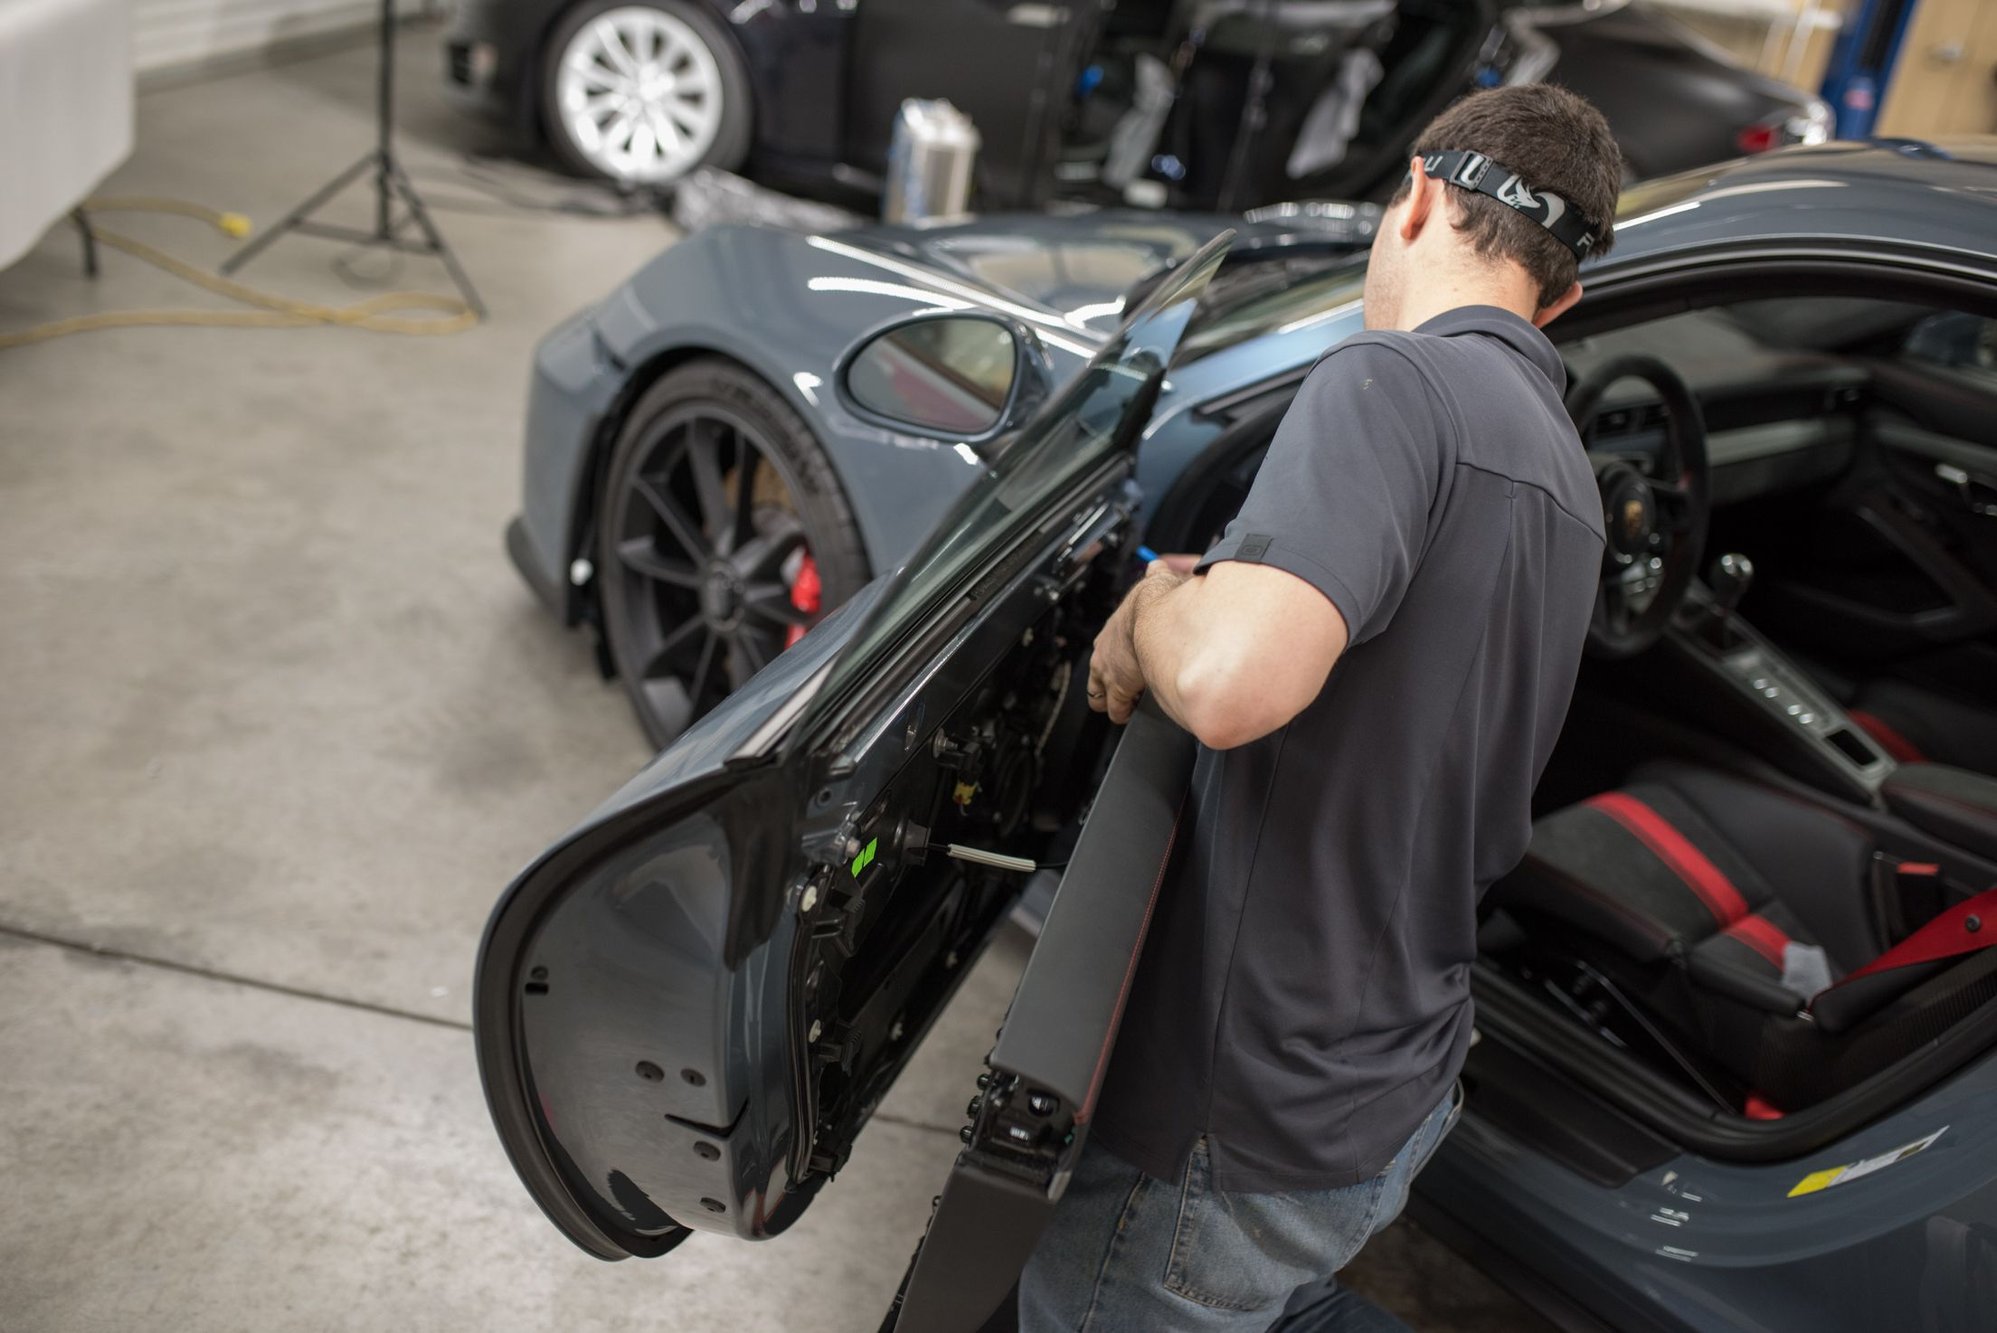
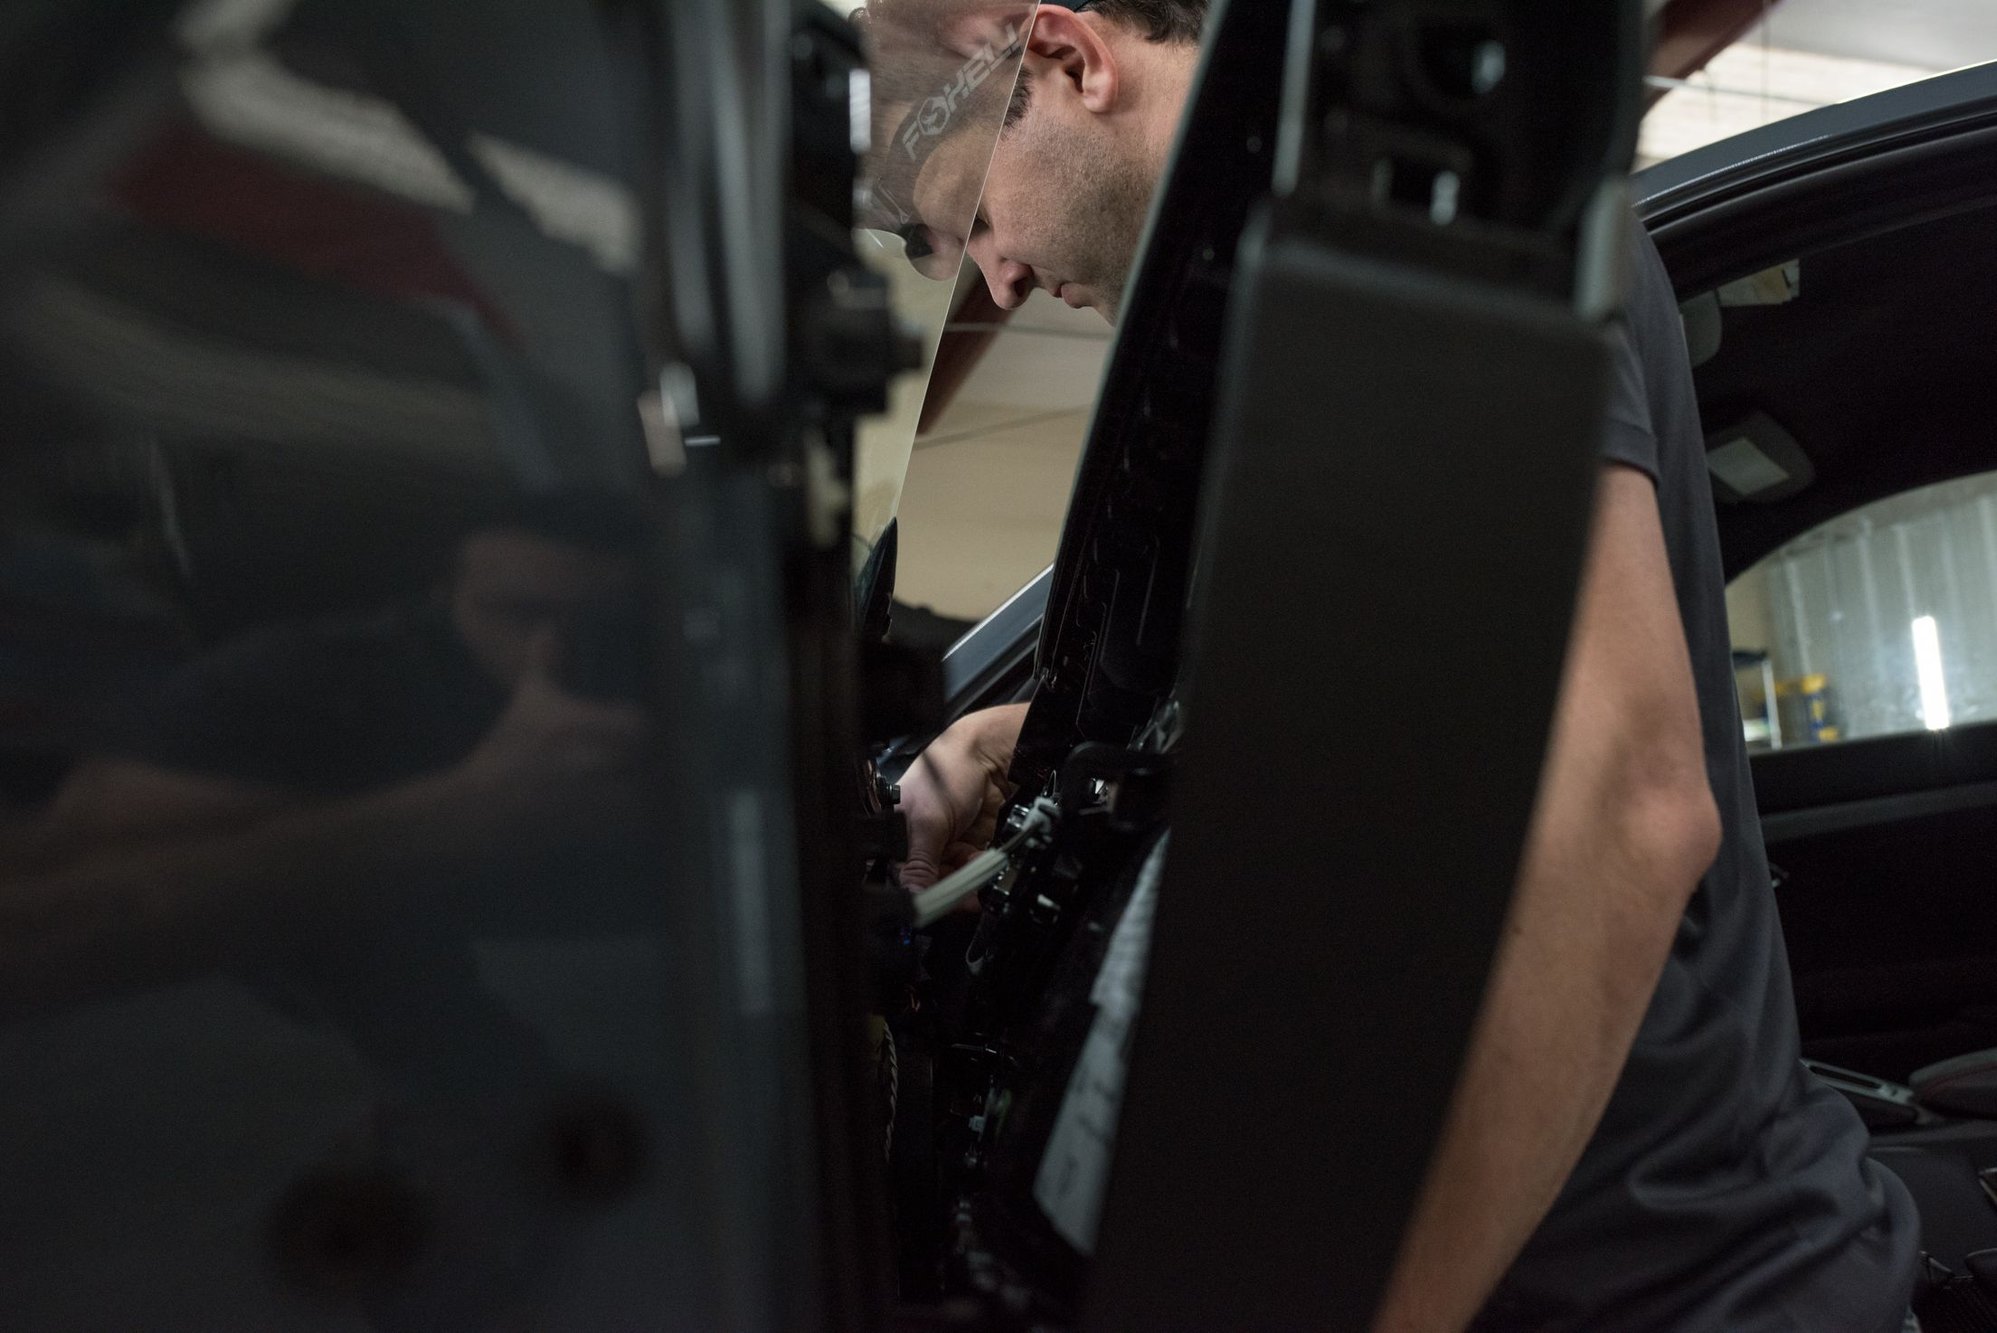
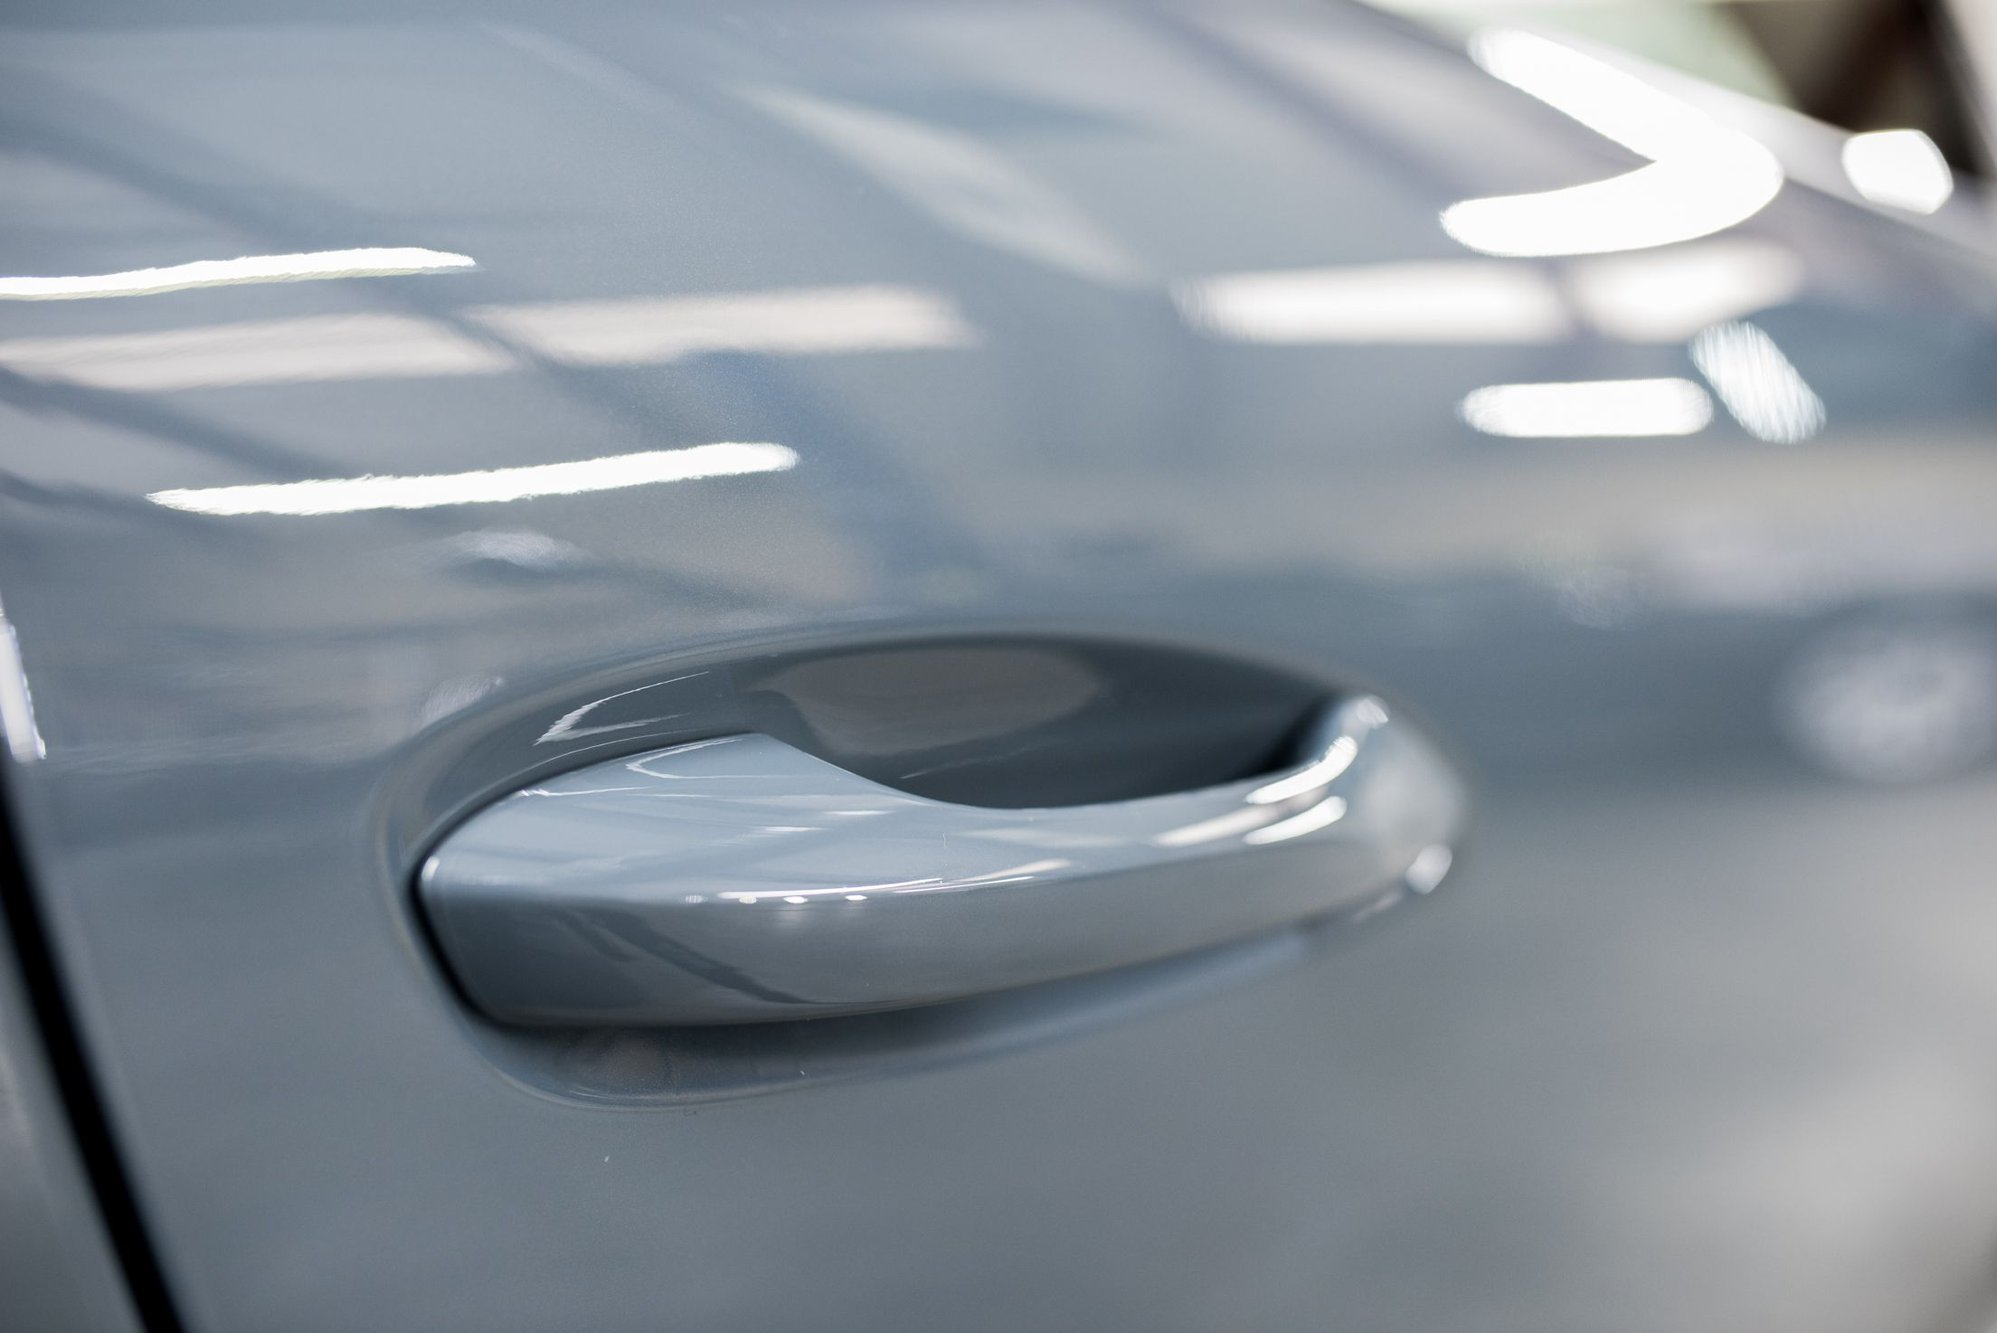
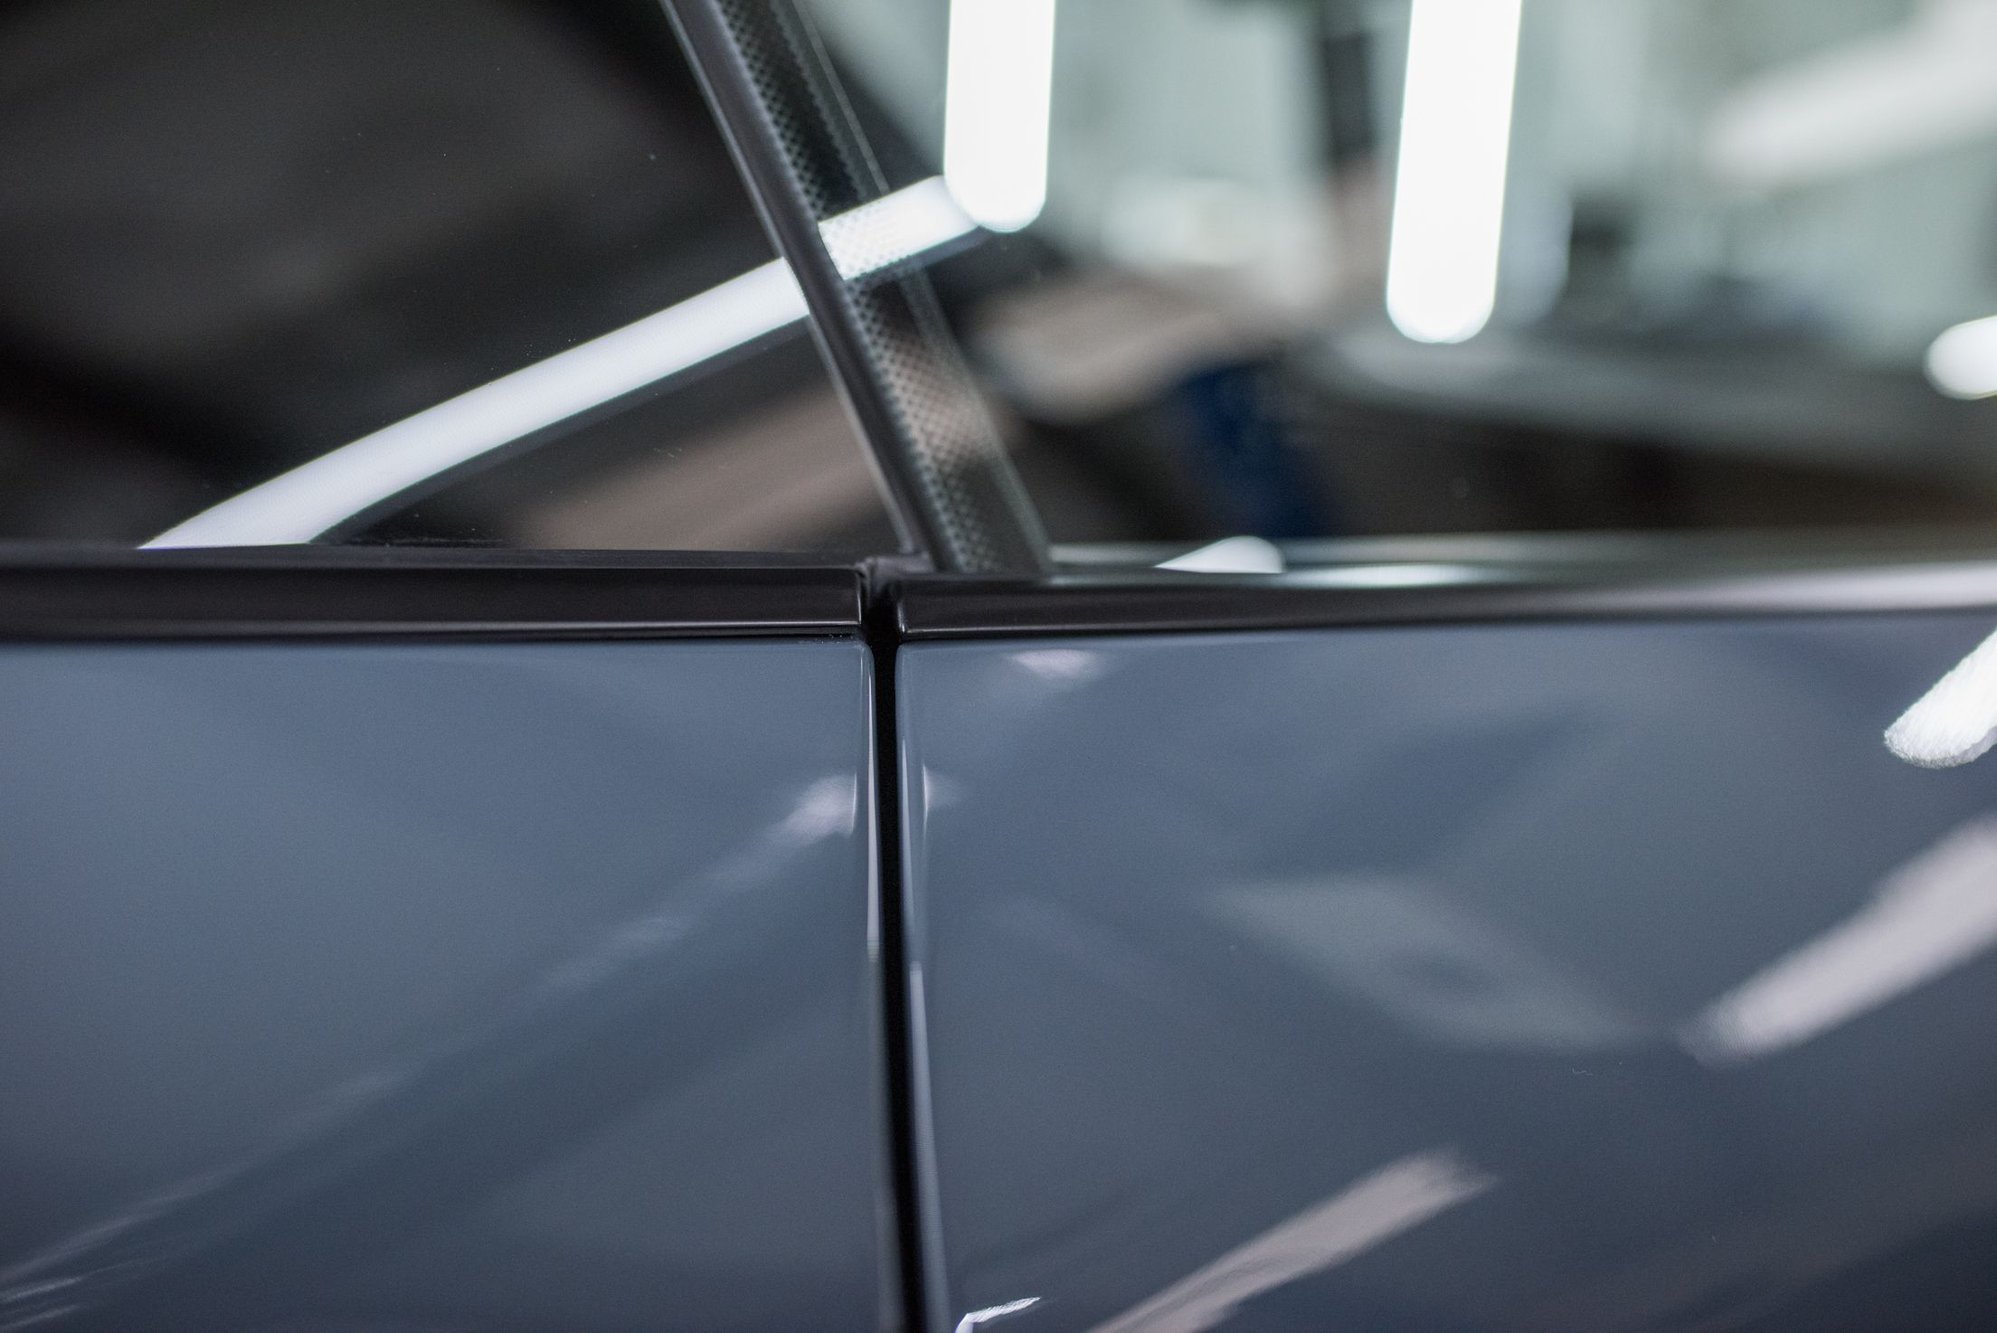
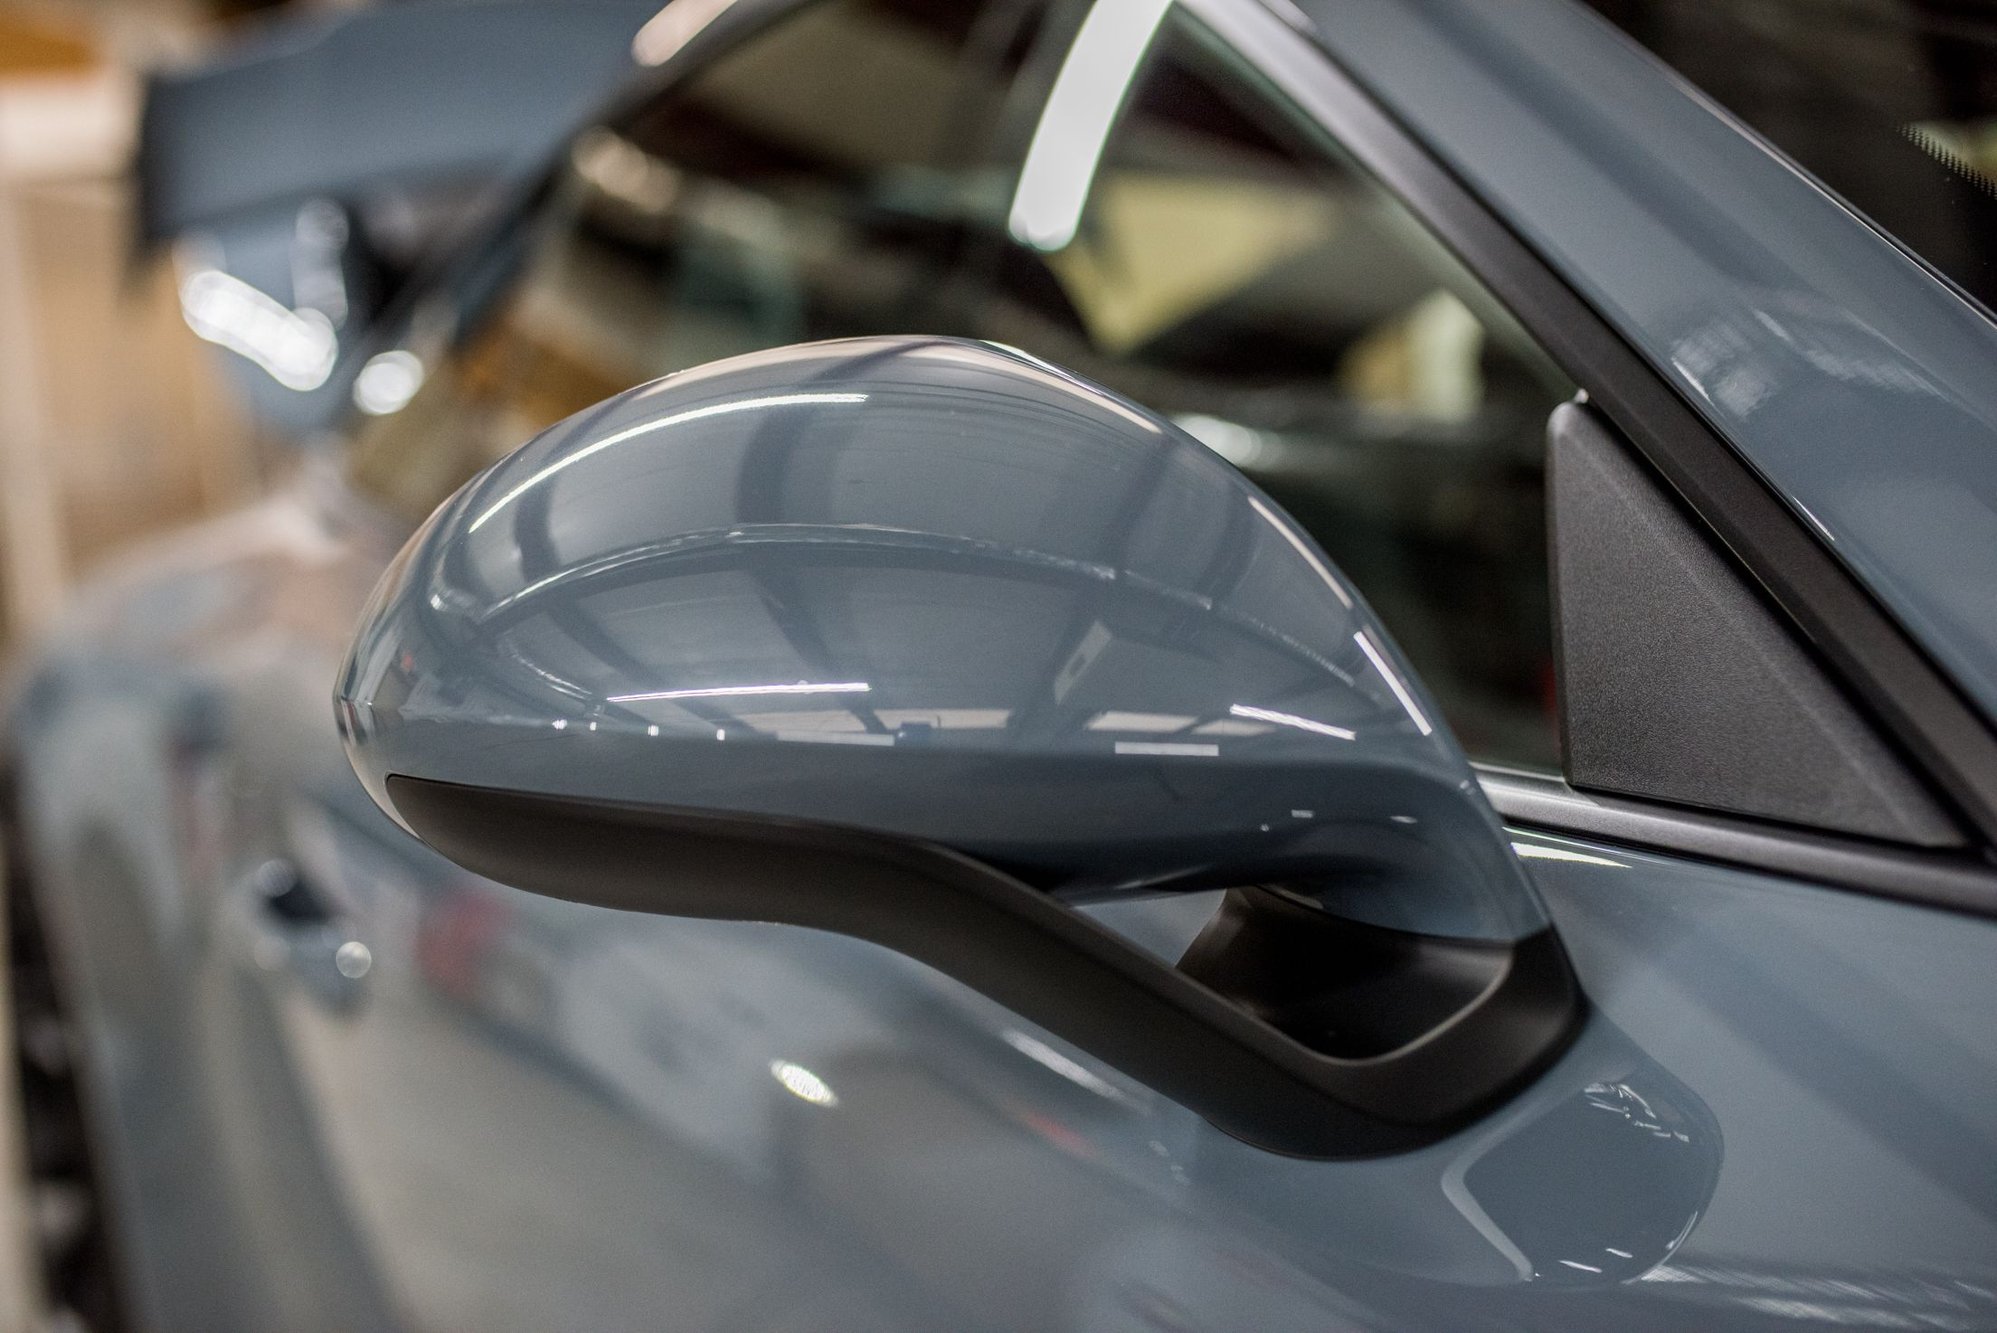
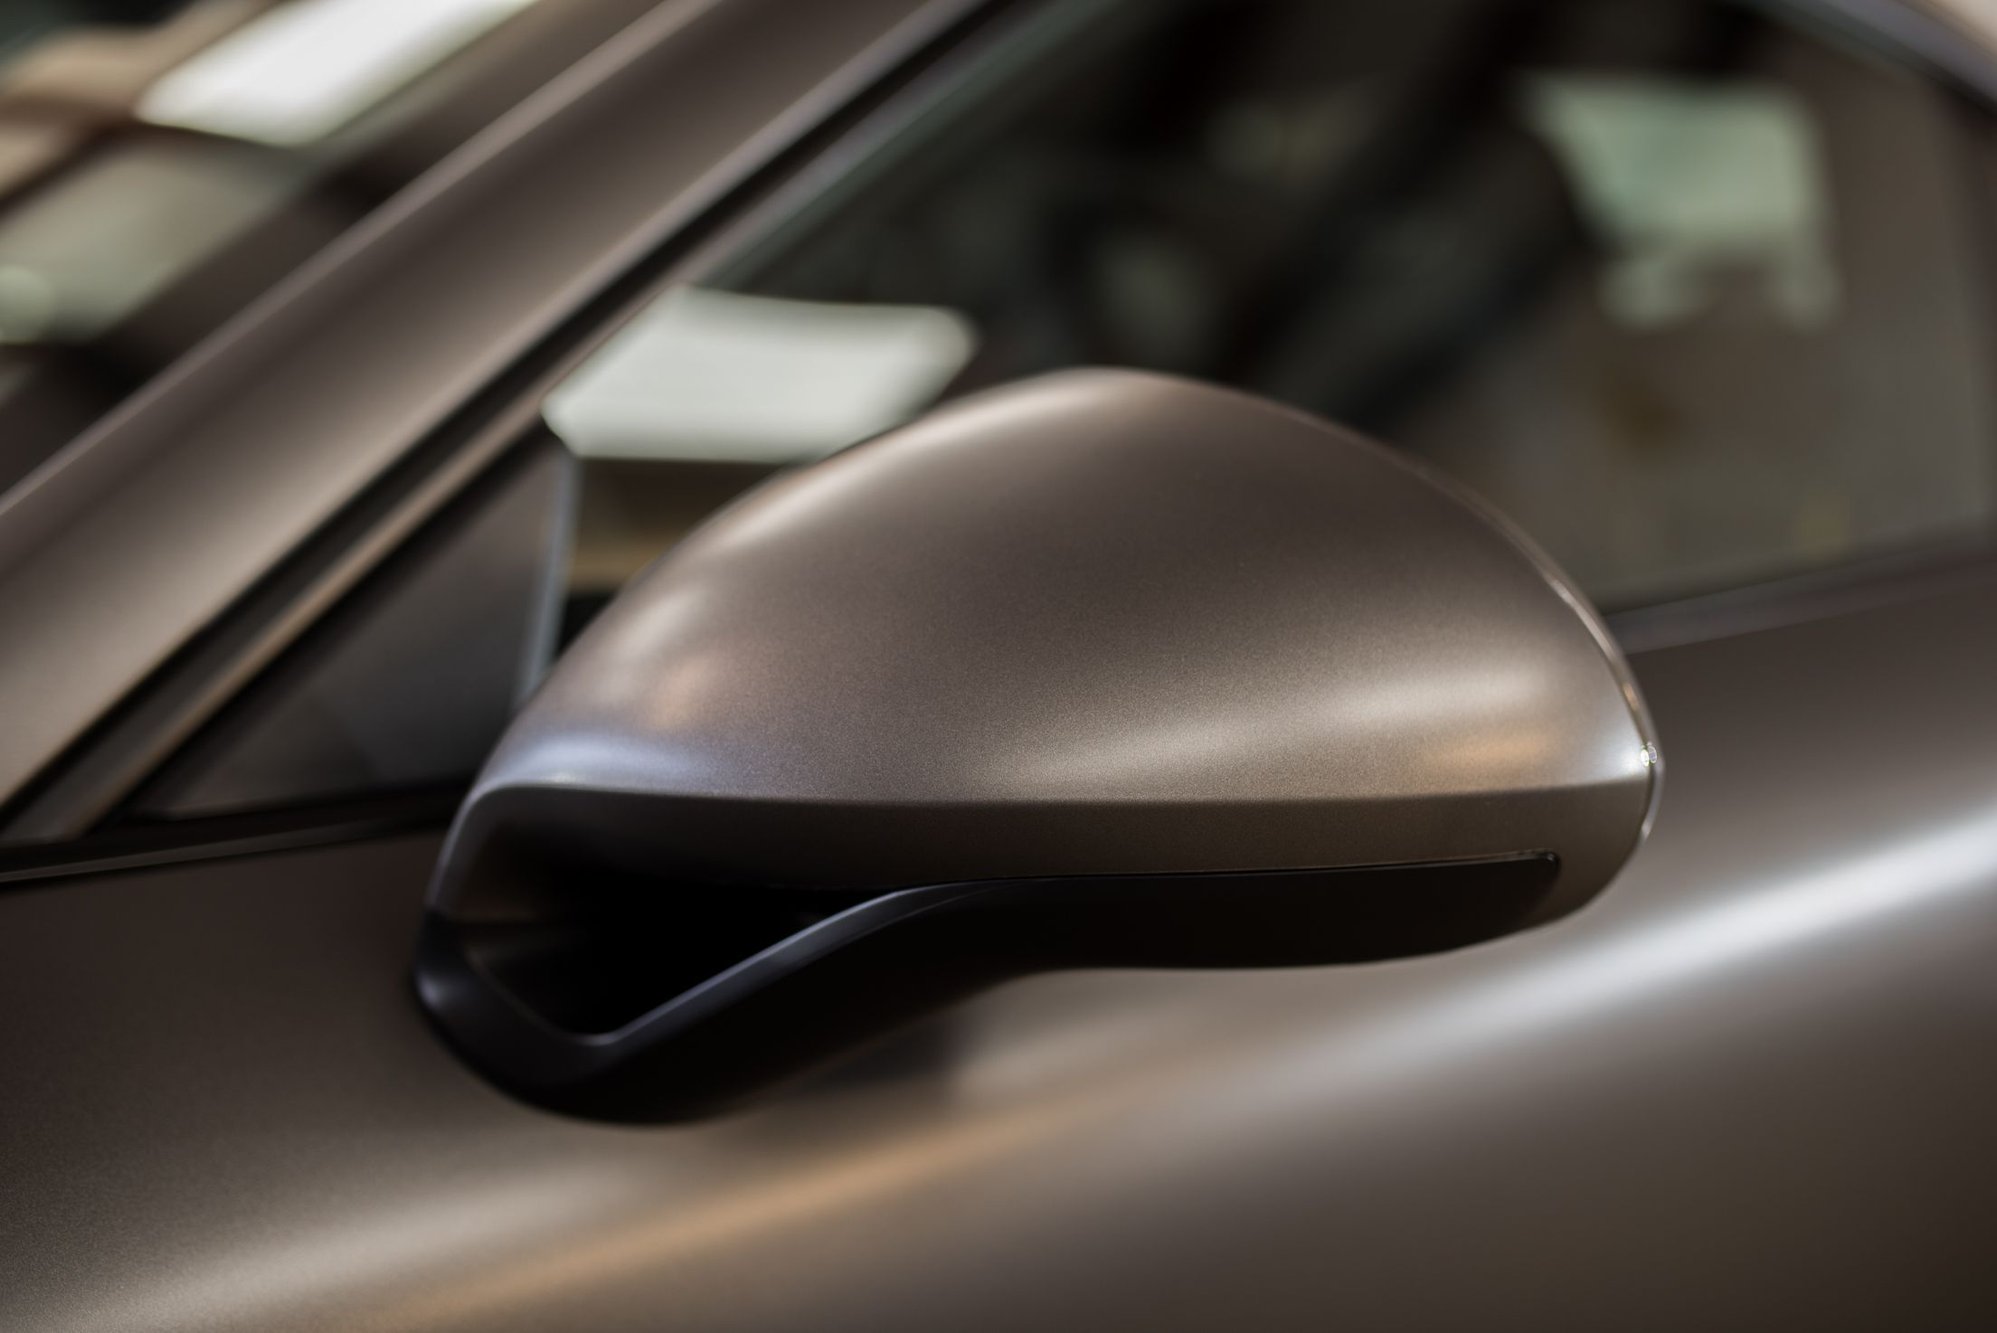
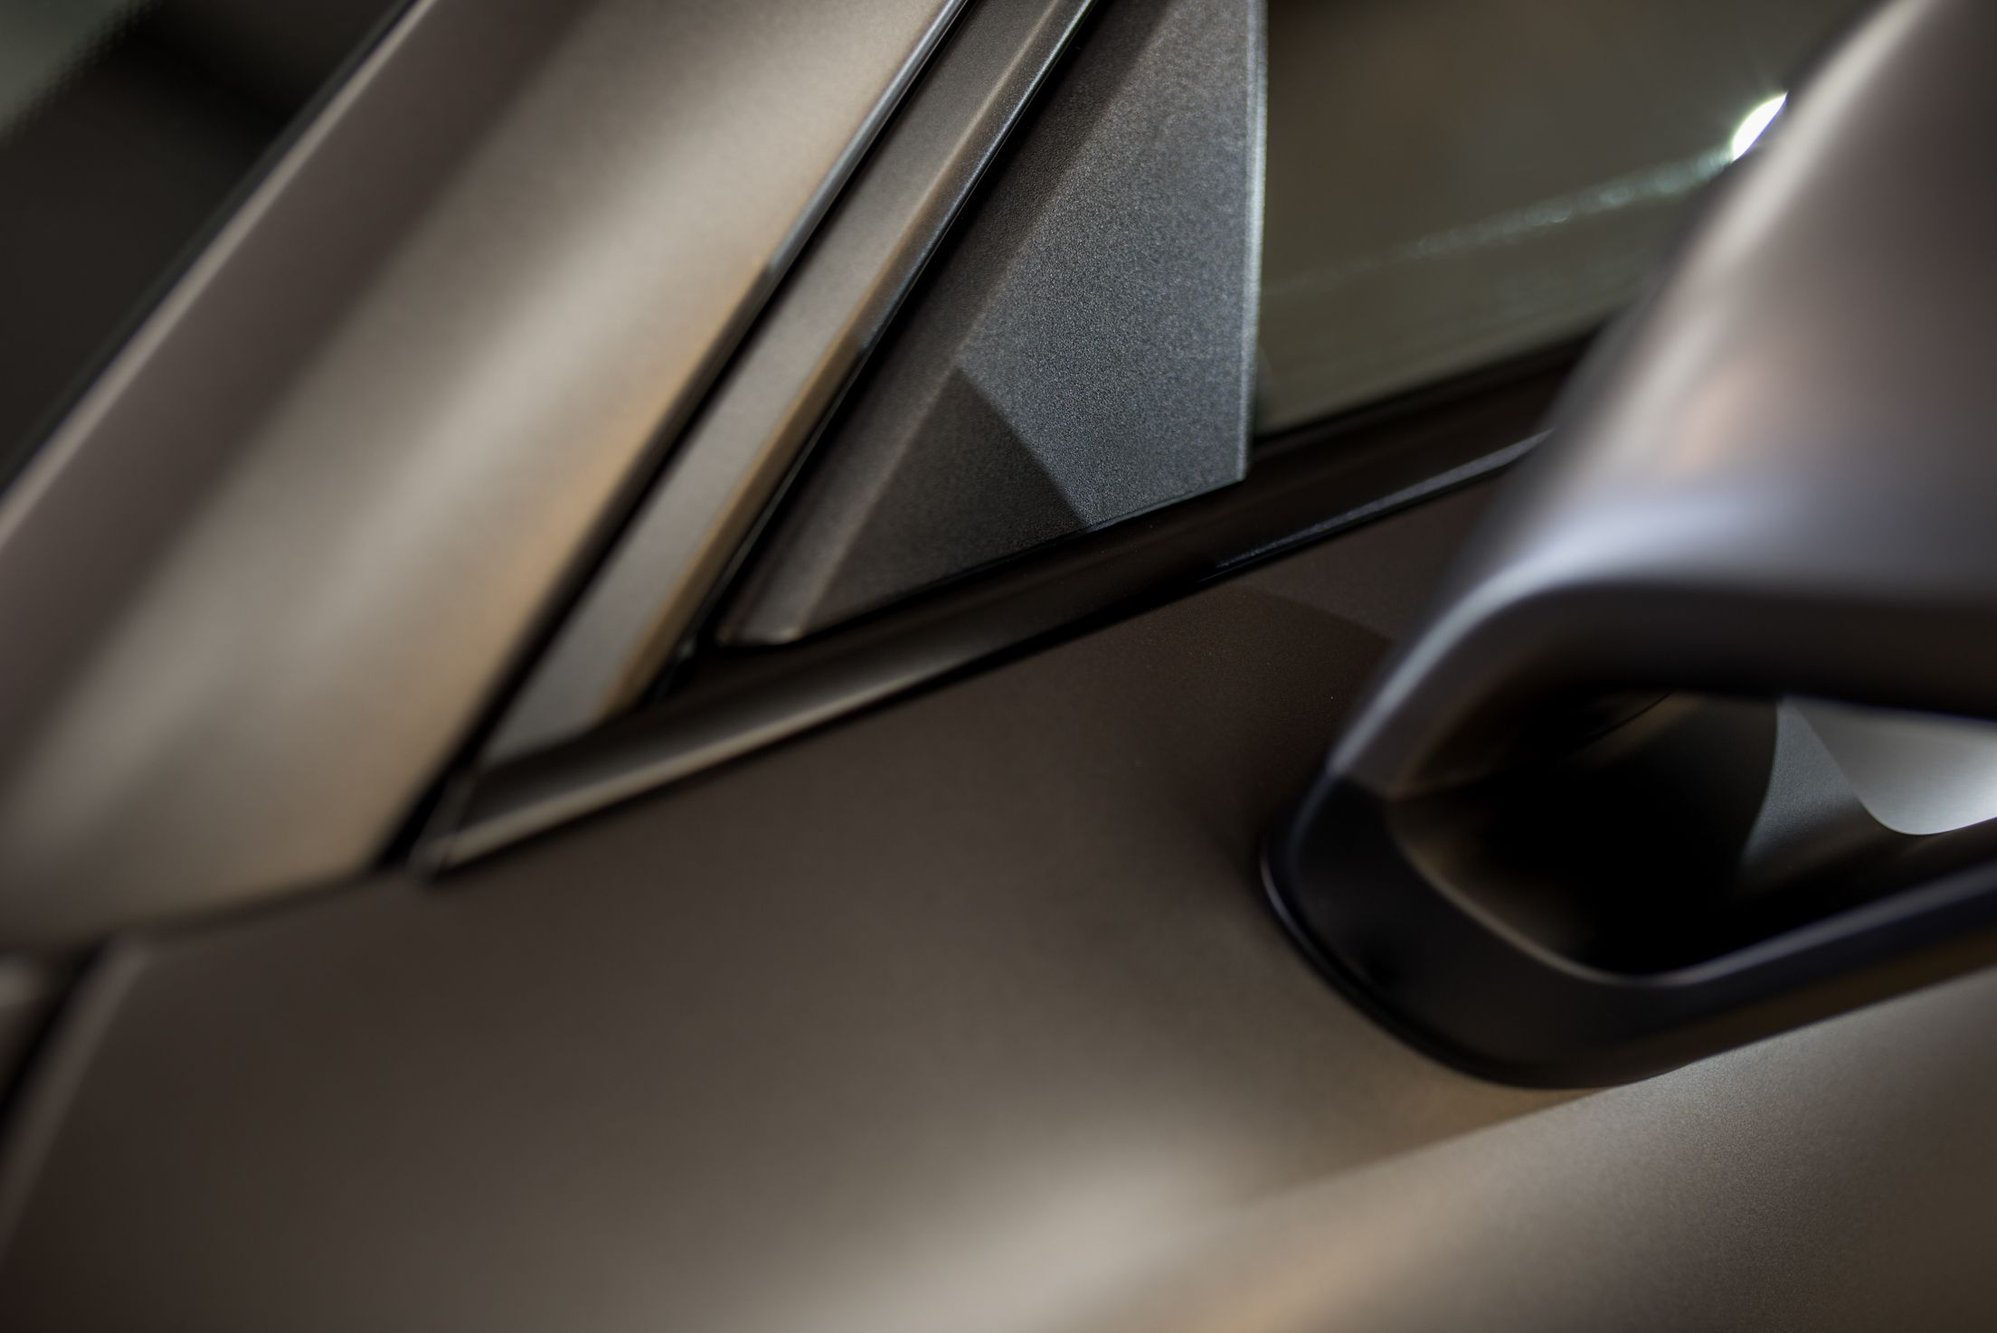
For a seamless door wrap(lacking a seam above the mirror stem and inside the door handle), some disassembly is required. I can't tell you how many of these doors we've taken apart. All I know is that we could likely do it with our eyes closed if needed.
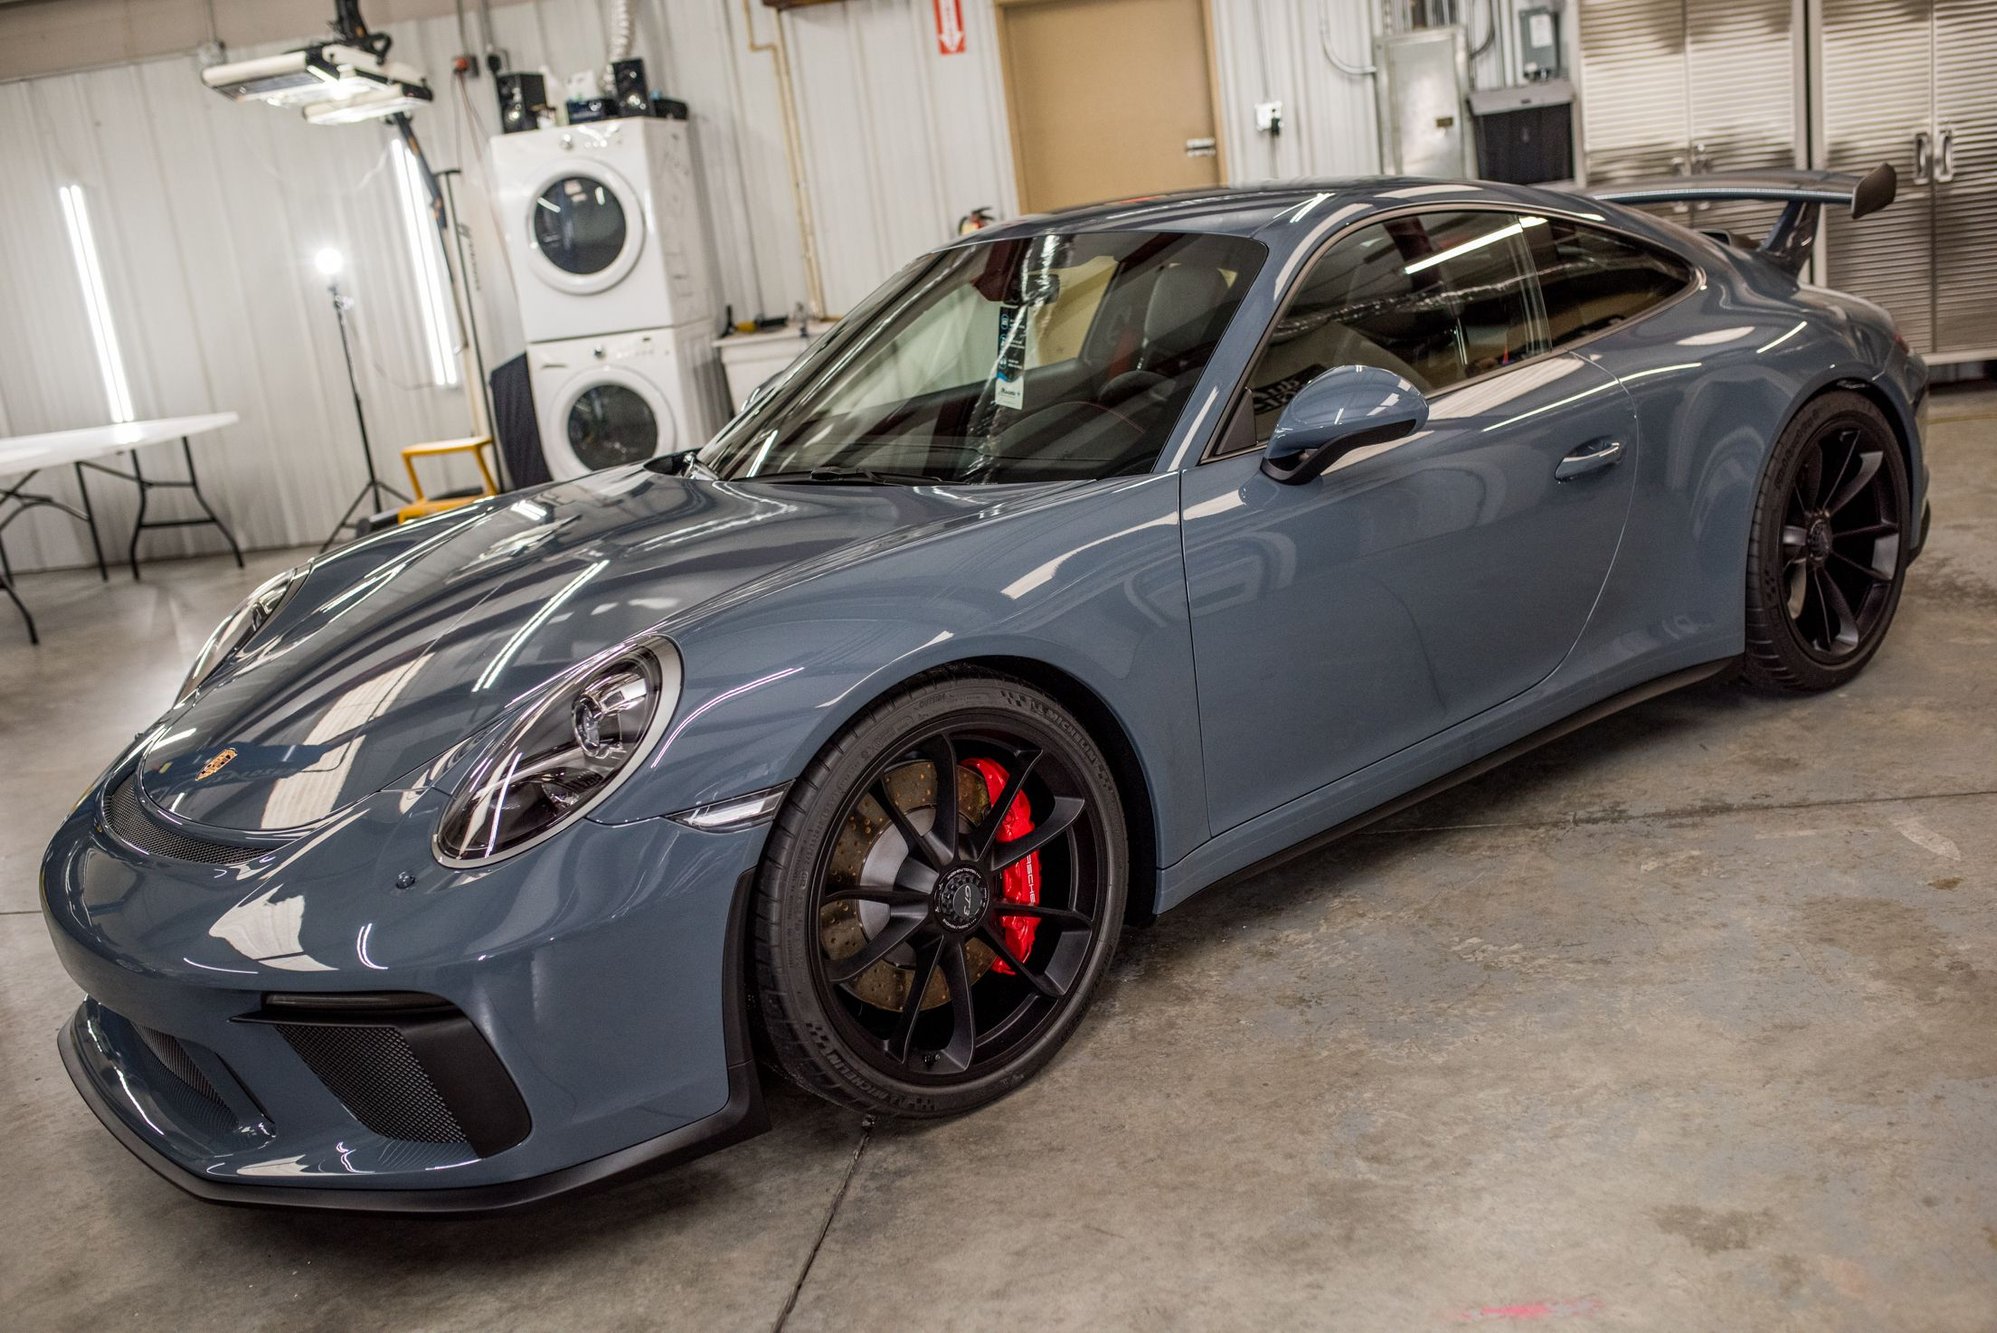
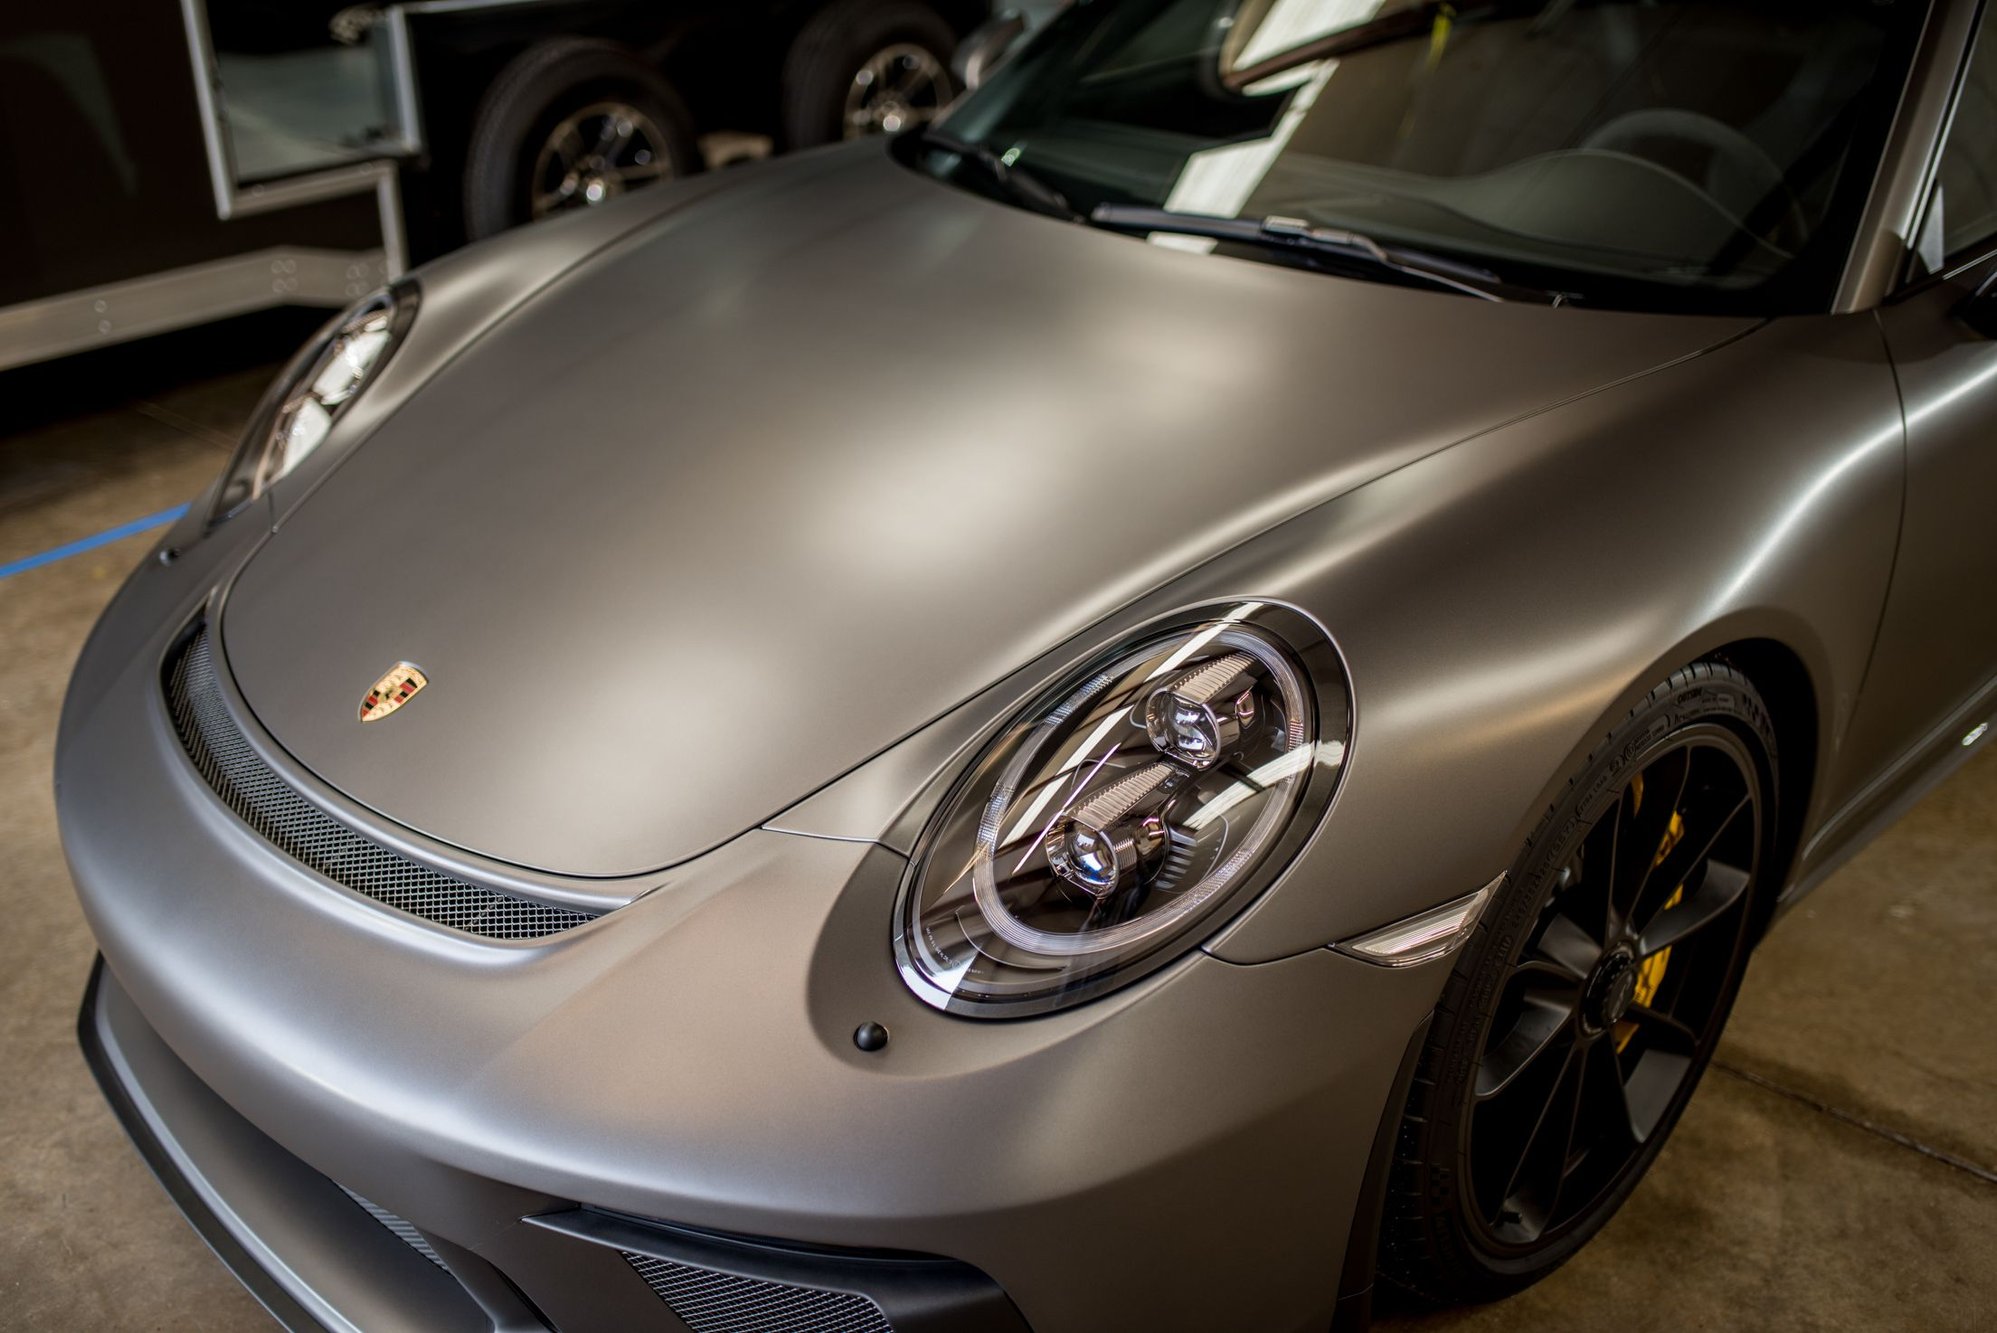
The finale pics for the graphite metallic blue GT3. In all we performed:
�New car prep
�Full paint correction
�Full-body custom PPF wrap
�Detail and Swissvax treatment for the dry carbon fiber
�Exterior plastics received Modesta Exterior Plastic Coating (this bit is totally underrated imho as it makes the lower trim in particular look significantly nicer/richer)
�Wheels/calipers treated with multiple layers of Modesta
�Body/PPF and jambs treated with Modesta BC-04 body coating
Thanks for looking. Up next is pics from the Agate Gray GT3 full-body satin PPF wrap.
A pic of our clean fully wrapped rear quarters before installing our large overlay protective film.
Details are what put it over the top! Amazing work!
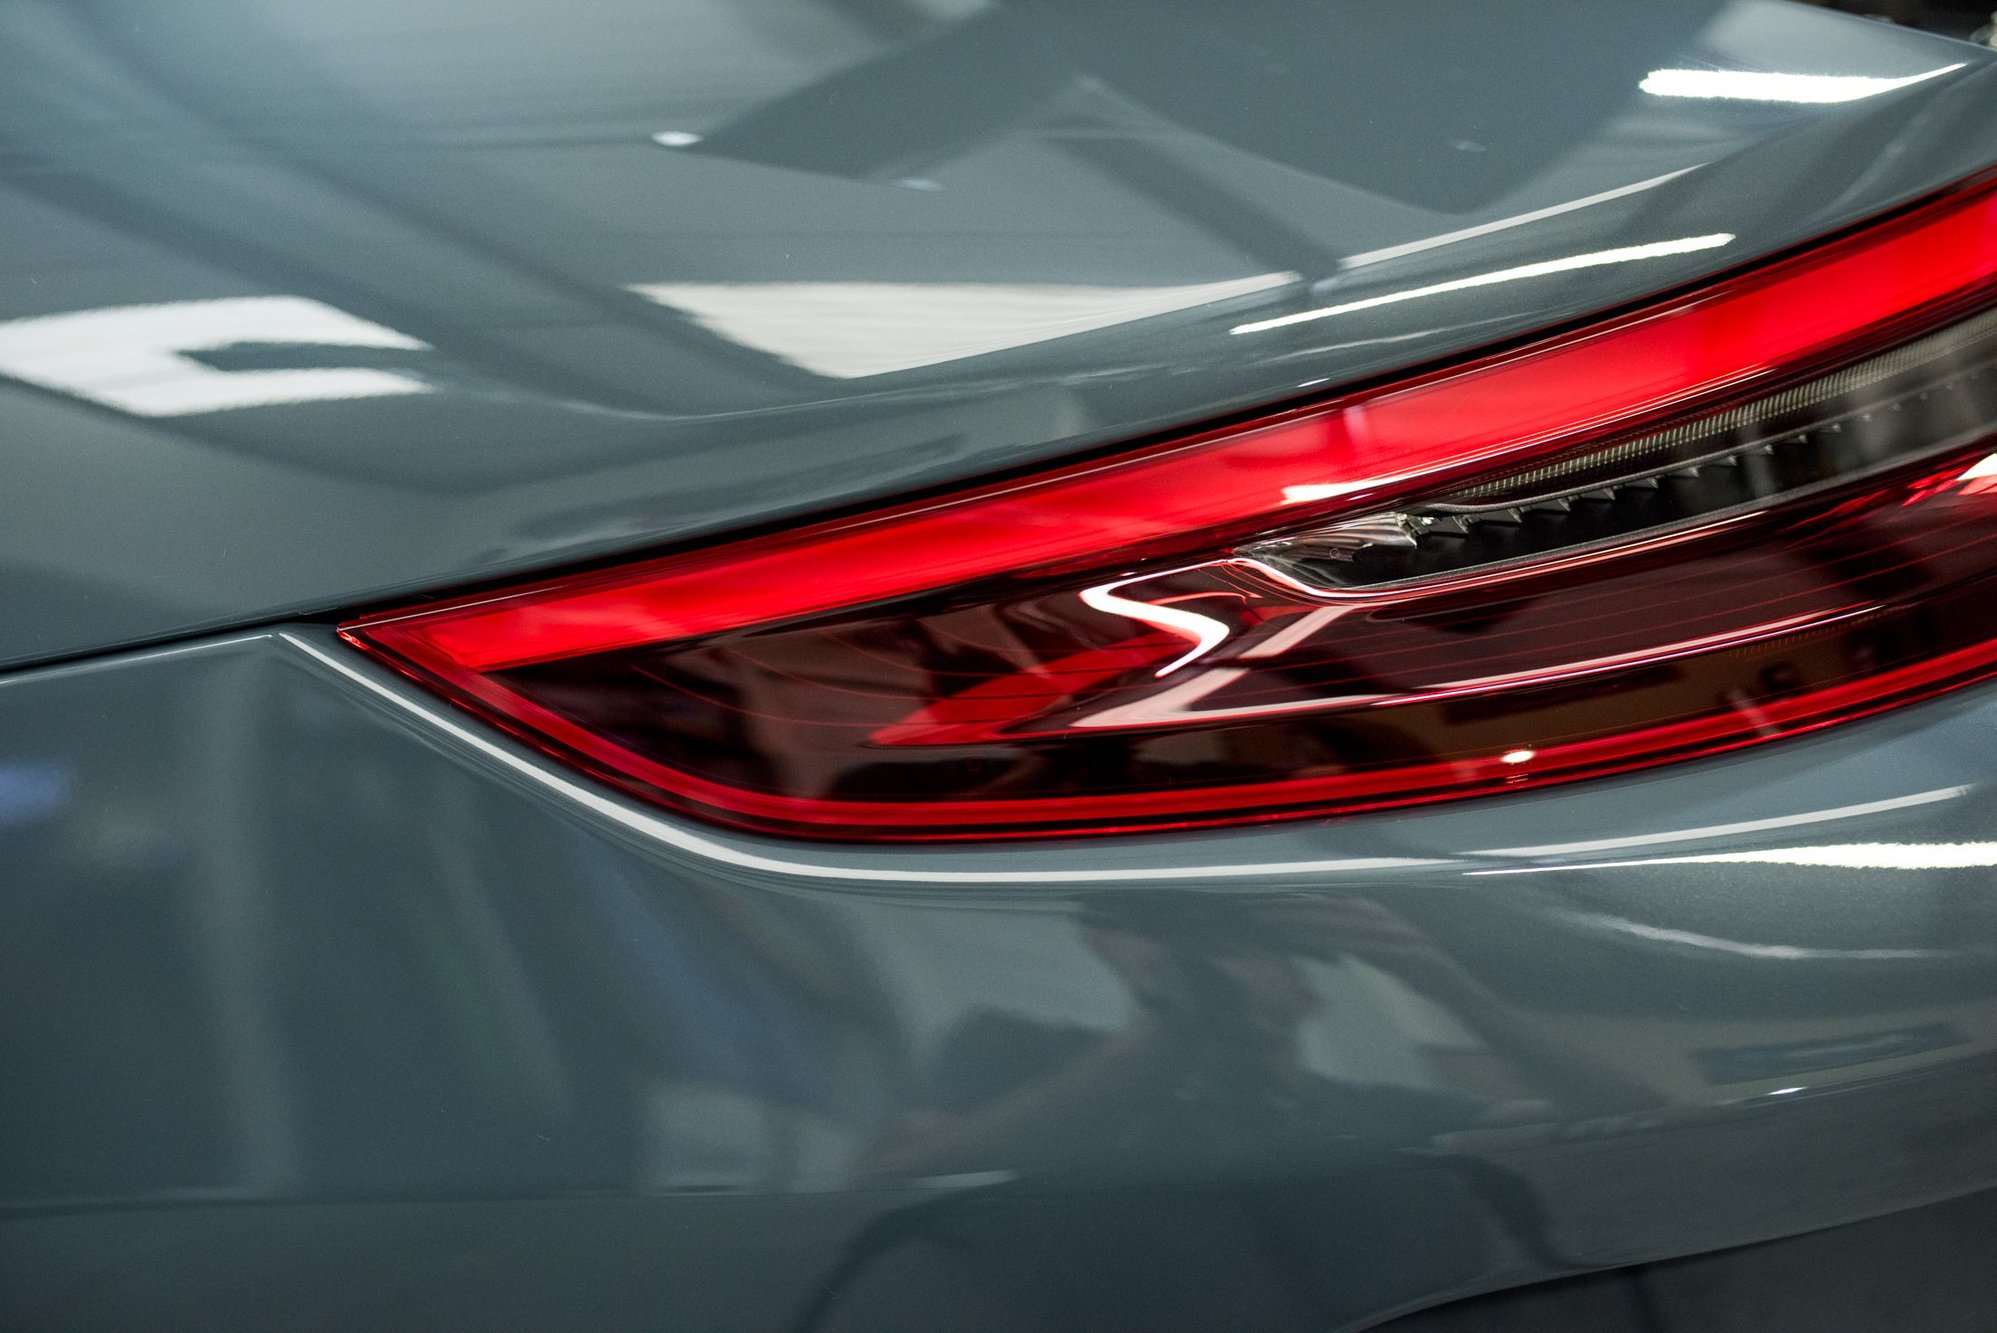
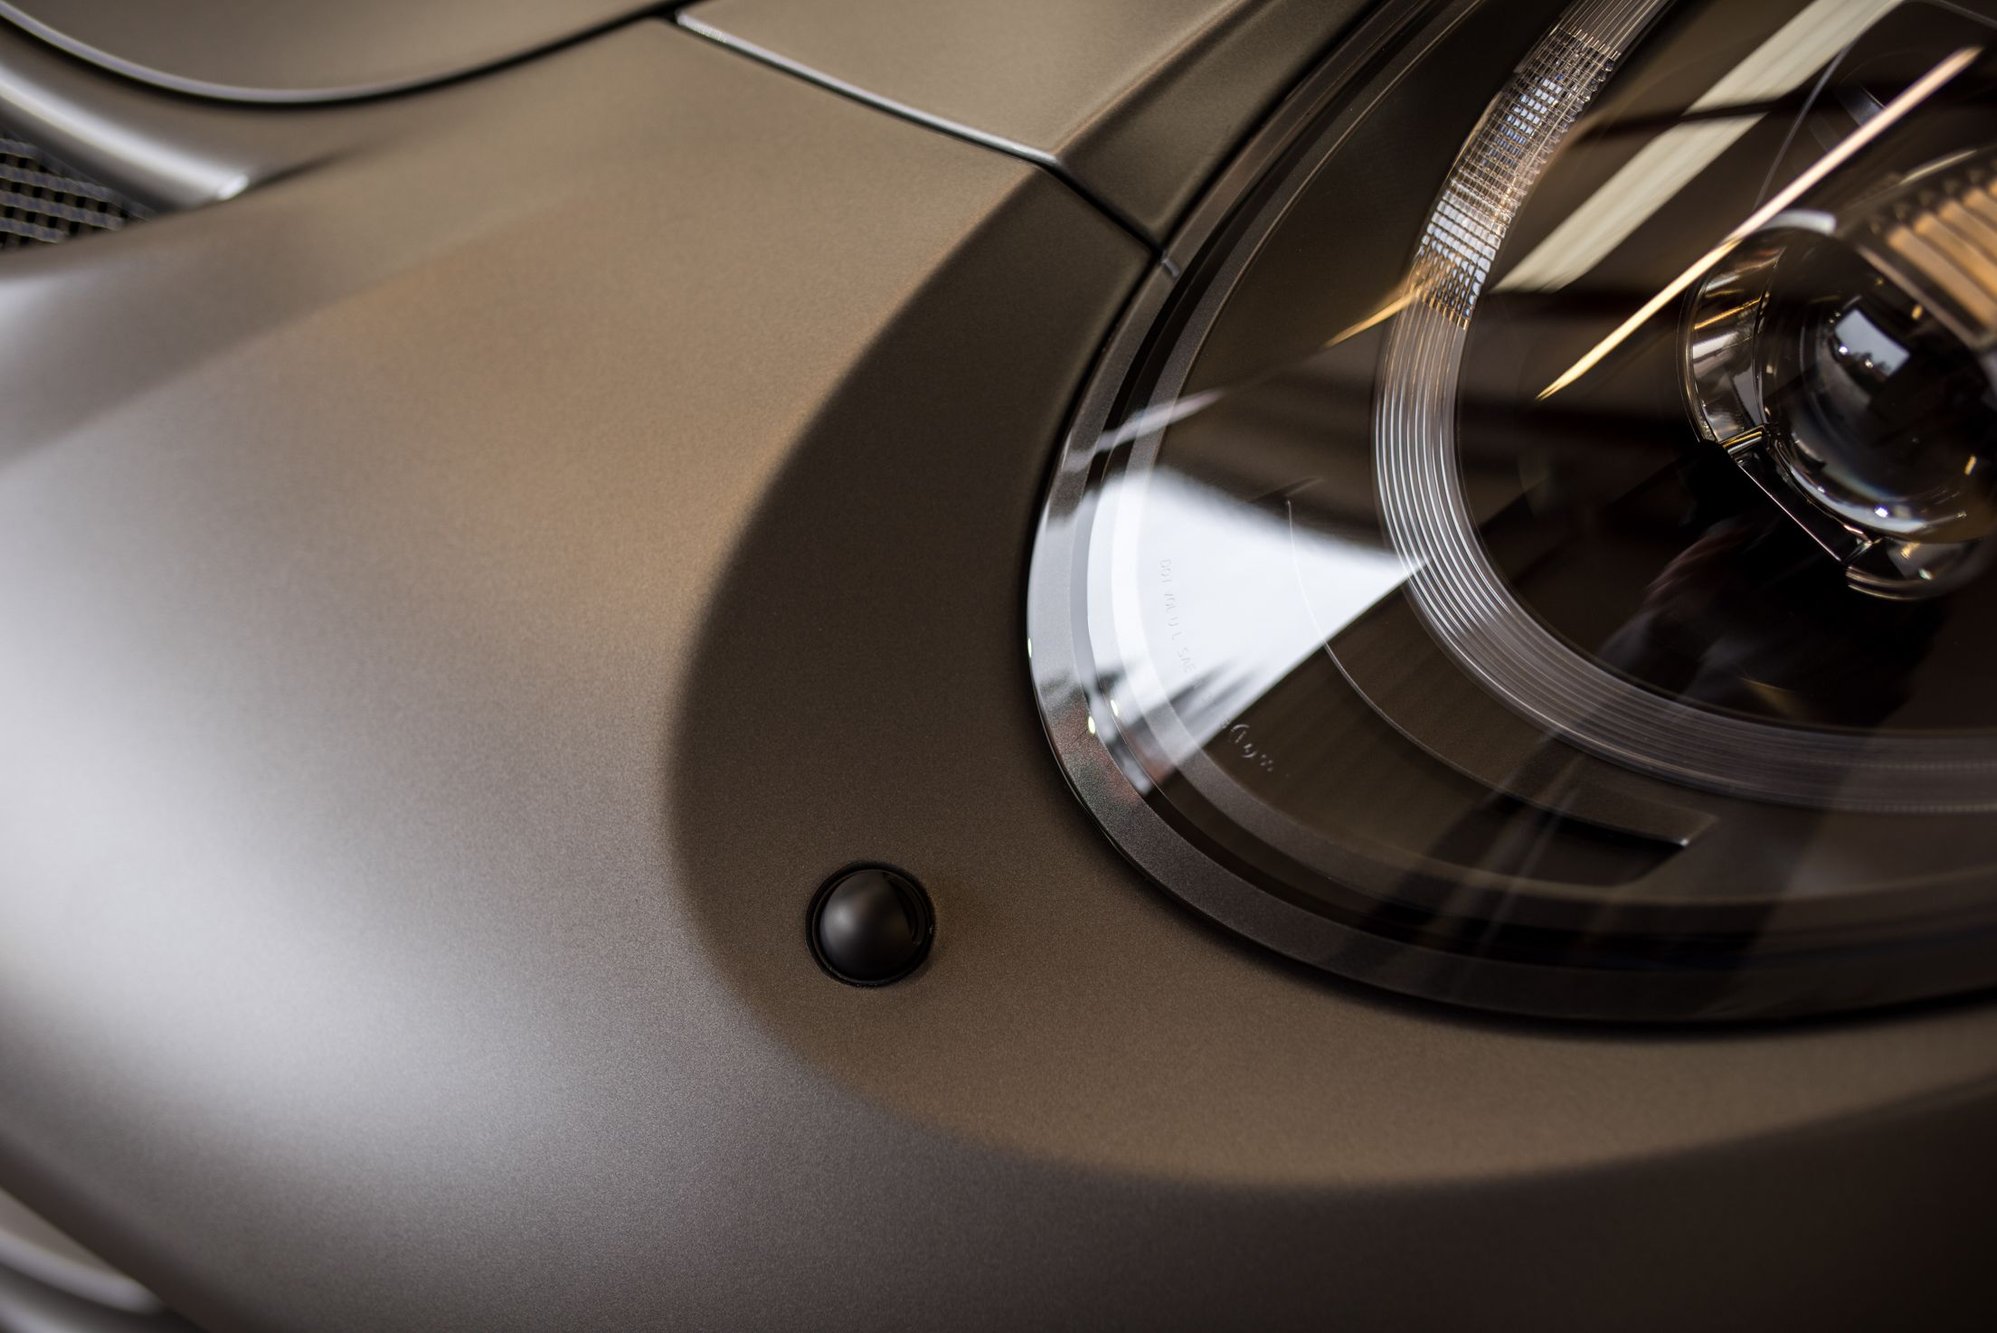
Love how GBM takes on different hues.
Were headlight lens covered? Not starting a debate of pros vs cons, just curious.
JC, thanks for posting the pictures, amazing work!!!
Thanks and you're welcome.
Originally Posted by CAlexio
dude.. i hate to tell you.. but you missed a spot, right there, in the middle of the hood...
(jk.. looks invisible.. amazing)
Haha!
It's ironic because they really are never perfect no matter how much time gets put into it. I can always find something that could be better.
Originally Posted by 1Gunner
Details are what put it over the top! Amazing work!
Love how GBM takes on different hues.
Were headlight lens covered? Not starting a debate of pros vs cons, just curious.
Thank you and I agree. The devil's in the details.
I agree on the color. It's light temperature sensitive in how it reveals itself.
Owner decided no to having the headlamps wrapped. (I will save us *another* headlight PPF debate and leave it at that just like you haha!)
Originally Posted by NS2 Media
Absolutely incredible work guys!
Thanks gentlemen.
Originally Posted by pissedpuppy
wow, great looking car. well done
Thank you
Originally Posted by dkmesa
Top notch work, no doubt. But the high-end wax applied by finger gave me a good chuckle.
As wonky as it may appear it's actually significantly more efficient with not using more than is necessary(considering the cost, this is pretty important) and makes getting in those crevices a tick easier too. It may appear to be making more of application that is needed for the sake of pomp and circumstance but it's the best way for the situation.
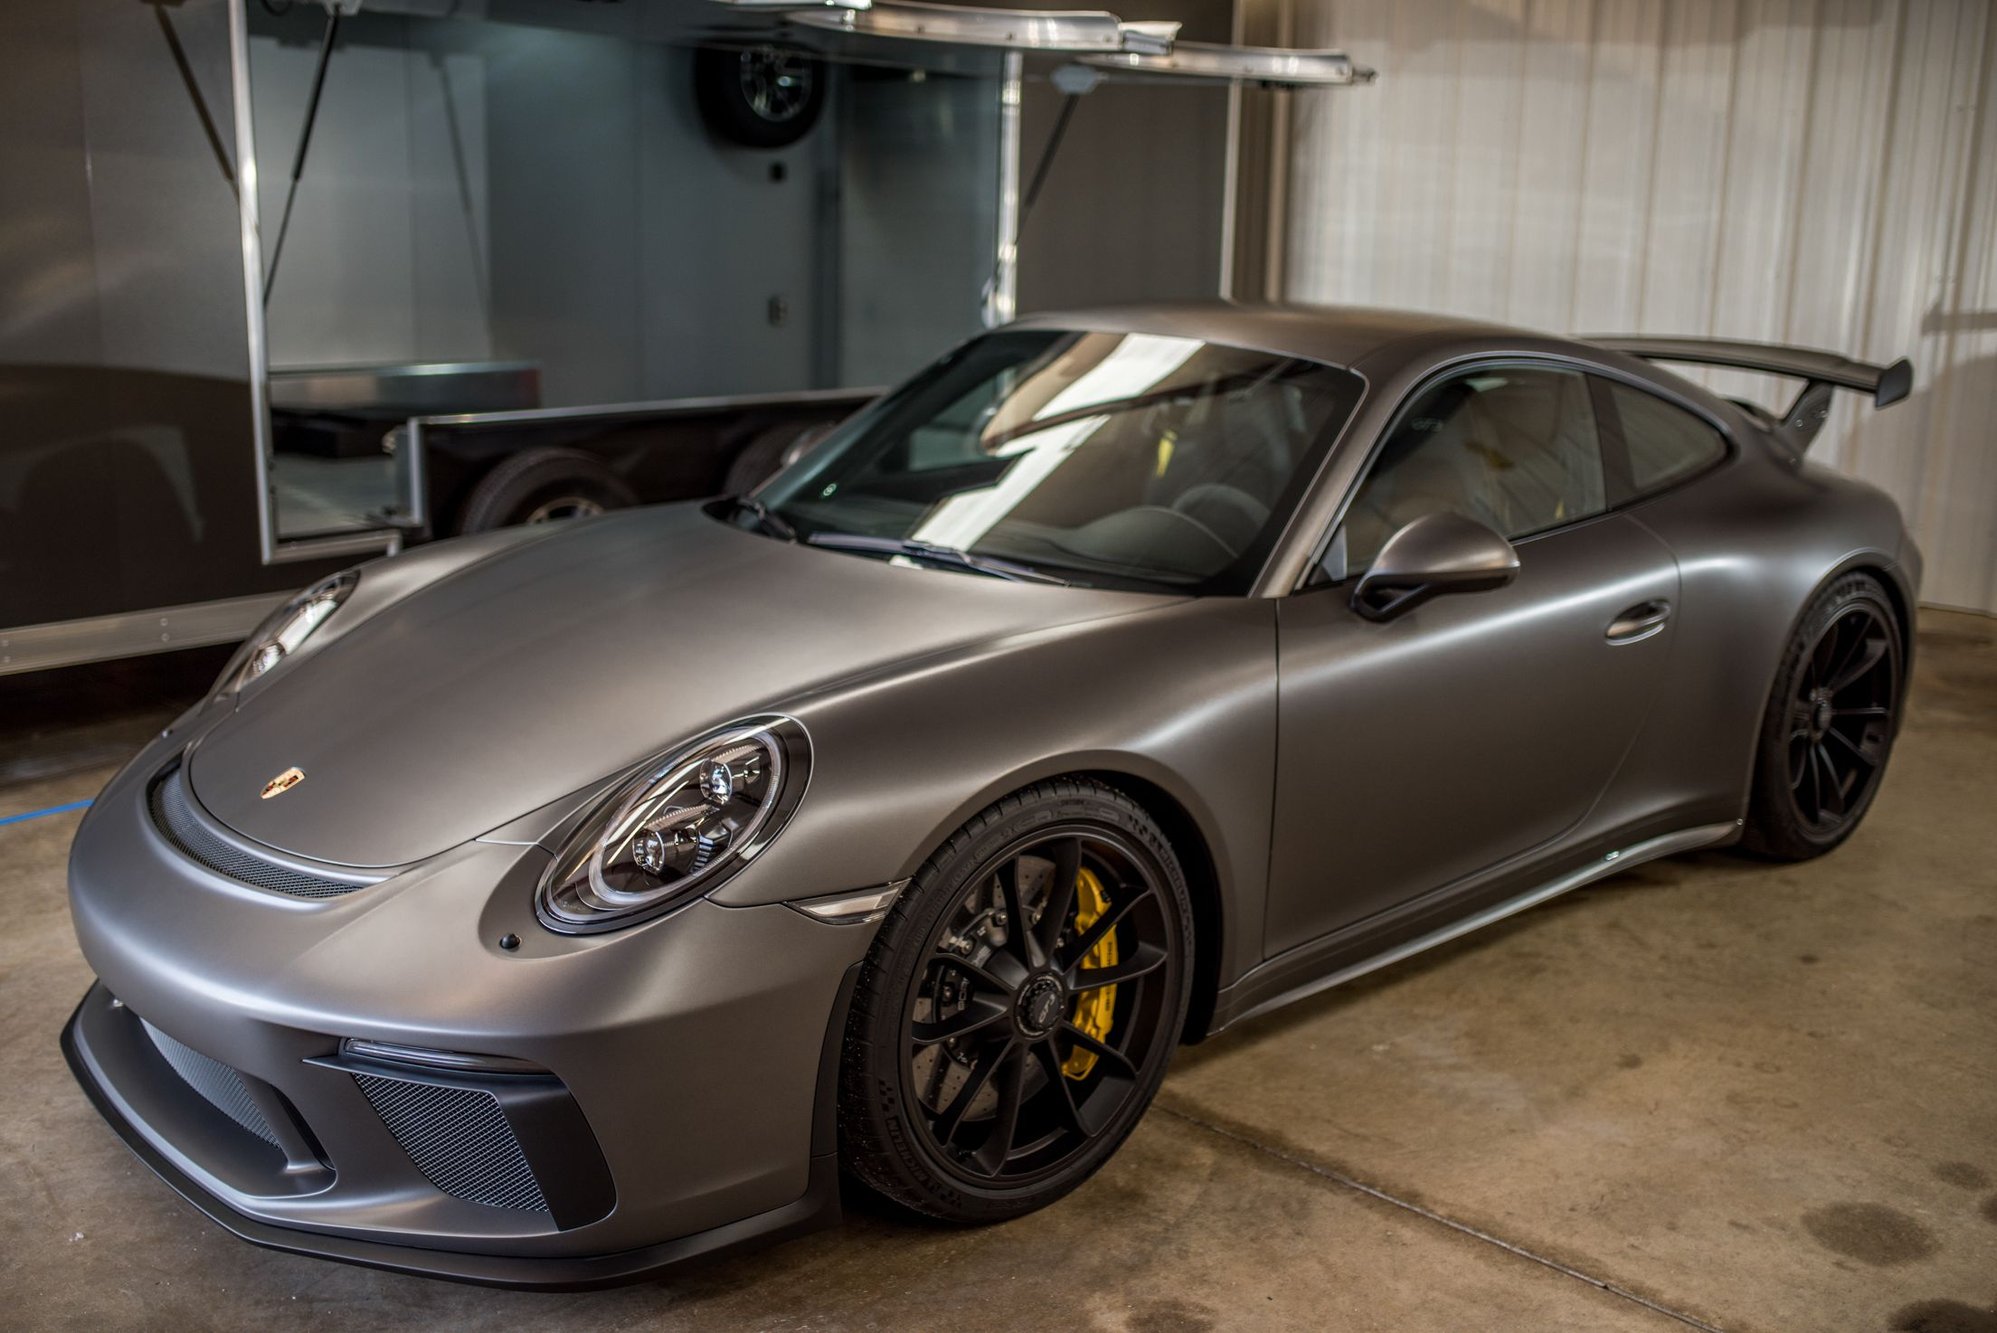
The satin version of the full-monty.
�New car prep
�Advanced full-body satin paint protection film wrap
�Modesta body coating
�Modesta wheel coating
�Modesta Exterior Plastic Coating
�Subtle vinyl add-ons at engine lid vents
�Carbon fiber engine cover treated with Modesta glass coating
We wrapped up on the Agate Gray Satin PPF wrap project. Hope you all enjoy it. Be sure to follow us on Instagram for regular behind the scenes shots and videos of projects we are working on.
 11-20-2017, 07:57 PM

 ). I recognize this isn't for everyone and I would never suggest it is for everyone. It's about putting the information out there for those that are into it.

 ).
).