Money2536's Sapphire Blue 991 GT3 Journal
 01-09-2015, 03:29 PM
#346
Advanced

Join Date: Mar 2014
Posts: 51
Likes: 0
Received 0 Likes
on
0 Posts
Great Video again Money.
really enjoying what your posting. keep it up!
btw, I think that color combo with yellow brakes looks best on the GT3.
and that sound ... just beautiful.
Mine arrives next week
really enjoying what your posting. keep it up!
btw, I think that color combo with yellow brakes looks best on the GT3.
and that sound ... just beautiful.
Mine arrives next week
 01-09-2015, 04:15 PM
#347
Race Director
Matt, that was a great video! Entertaining commentary and step by step look at the DIY and I loved it when your "helper" showed up. I found myself talking to the computer screen offering encouragement as you were going through the process. I sympathized with you on the tight working space. The JP stands get the car up a little higher and make things a little more comfortable. BTW, thanks a lot for the shout out, although you took the whole exercise to a different level. 
Someone else had an issue getting the engine tray off even after removing the 11 screws and contacted me about it (sorry I can't recall who, was it you Rob?). Anyway, my tray did not have those retaining pieces, so I had no trouble removing it, and that's why there is no mention of them in my write up. My suspicion is that when my engine was replaced at the port by the Porsche techs, they didn't bother reinstalling the retainers if they were even there in the first place. I think they are only there to hold the tray so it doesn't just drop after the screws are removed. It's supposed to be a convenience but ends up being a PITA. I'm glad I didn't have to deal with it and next time you won't either.
I'm surprised Suncoast is still including the green O-ring in their kit as I had a couple of conversations with them about it and I thought they were going to leave it out which is why, to avoid confusion, I didn't mention it in the DIY. There was no O-ring on my replacement engine's filter and I've never seen an O-ring used with a spin on filter. There's also no mention of it in the workshop manual procedure although it shows up on the parts diagram. In any event, I left it off as well.
I noticed that you drained oil from both plugs in the sump. The workshop procedure only specifies removing the forward drain plug, and it's low enough in the pan that it should drain all the oil, but both plugs can obviously be removed and it might ensure getting the last couple of ounces of old oil. Also no grief from me about using a torque wrench on the plugs. I do it by feel also. It makes me nervous to use a long wrench with that much potential leverage on a plug in an aluminum casting. Maybe I need a newer torque wrench.
FWIW, I've amended my original DIY to add the info about the retaining clips and the O-ring.
I really enjoyed watching that and thanks for taking the time to do it. And I love your garage.....
Last edited by Mike in CA; 01-10-2015 at 12:07 AM.
01-09-2015, 07:45 PM
#348
Drifting
Thanks for sharing. It was very relaxing watching you and your son in action. You made it look so easy. Car and garage looks great. Makes me wanna change oil now 
01-10-2015, 02:03 AM
#349
Great video Money!!! My father was a mechanic & had his own shop for many years when I was little.....watching you & your son brought back what few good memories I have of him!!! Thanks & keep the vids coming.
01-10-2015, 06:52 PM
#351
Race Director
Yeah, kosmo, it keeps showing up!
The fact that it's not referred to in the Porsche workshop manual oil change procedure, not to mention it being absent on the existing filter from the factory, has convinced me it's unnecessary. Maybe it will come in handy for something, someday...
The fact that it's not referred to in the Porsche workshop manual oil change procedure, not to mention it being absent on the existing filter from the factory, has convinced me it's unnecessary. Maybe it will come in handy for something, someday...
01-11-2015, 11:09 AM
#352

Matt, that was a great video! Entertaining commentary and step by step look at the DIY and I loved it when your "helper" showed up. I found myself talking to the computer screen offering encouragement as you were going through the process. I sympathized with you on the tight working space. The JP stands get the car up a little higher and make things a little more comfortable. BTW, thanks a lot for the shout out, although you took the whole exercise to a different level.
Someone else had an issue getting the engine tray off even after removing the 11 screws and contacted me about it (sorry I can't recall who, was it you Rob?). Anyway, my tray did not have those retaining pieces, so I had no trouble removing it, and that's why there is no mention of them in my write up. My suspicion is that when my engine was replaced at the port by the Porsche techs, they didn't bother reinstalling the retainers if they were even there in the first place. I think they are only there to hold the tray so it doesn't just drop after the screws are removed. It's supposed to be a convenience but ends up being a PITA. I'm glad I didn't have to deal with it and next time you won't either.
I'm surprised Suncoast is still including the green O-ring in their kit as I had a couple of conversations with them about it and I thought they were going to leave it out which is why, to avoid confusion, I didn't mention it in the DIY. There was no O-ring on my replacement engine's filter and I've never seen an O-ring used with a spin on filter. There's also no mention of it in the workshop manual procedure although it shows up on the parts diagram. In any event, I left it off as well.
I noticed that you drained oil from both plugs in the sump. The workshop procedure only specifies removing the forward drain plug, and it's low enough in the pan that it should drain all the oil, but both plugs can obviously be removed and it might ensure getting the last couple of ounces of old oil. Also no grief from me about using a torque wrench on the plugs. I do it by feel also. It makes me nervous to use a long wrench with that much potential leverage on a plug in an aluminum casting. Maybe I need a newer torque wrench.
FWIW, I've amended my original DIY to add the info about the retaining clips and the O-ring.
I really enjoyed watching that and thanks for taking the time to do it. And I love your garage.....
Thanks for all of your help Mike! Without guys like you on the forum, goofs like me can't work on their own car.
01-11-2015, 11:12 AM
#353
01-11-2015, 09:30 PM
#354
Rennlist Member
Mine had those retaining clips. If your not careful, they will snap off. That said, they are going in the trash next oil change. They do nothing, but add a level of frustration.
01-11-2015, 09:51 PM
#355
Race Director
Just as general info to others, note the holes adjacent to the middle grommets on each side of the tray in the pic below. doubleurx, Money, and others had some kind of retaining clip in those holes which did not allow the tray to fall free after removing the 11 Torx screws. The holes in my tray were blank as shown.
01-11-2015, 09:55 PM
#356
Rennlist Member
I can't be the only one without them.... Just as general info to others, note the holes adjacent to the middle grommets on each side of the tray in the pic below. doubleurx, Money, and others had some kind of retaining clip in those holes which did not allow the tray to fall free after removing the 11 Torx screws. Mine were blank as shown.
01-11-2015, 10:23 PM
#357
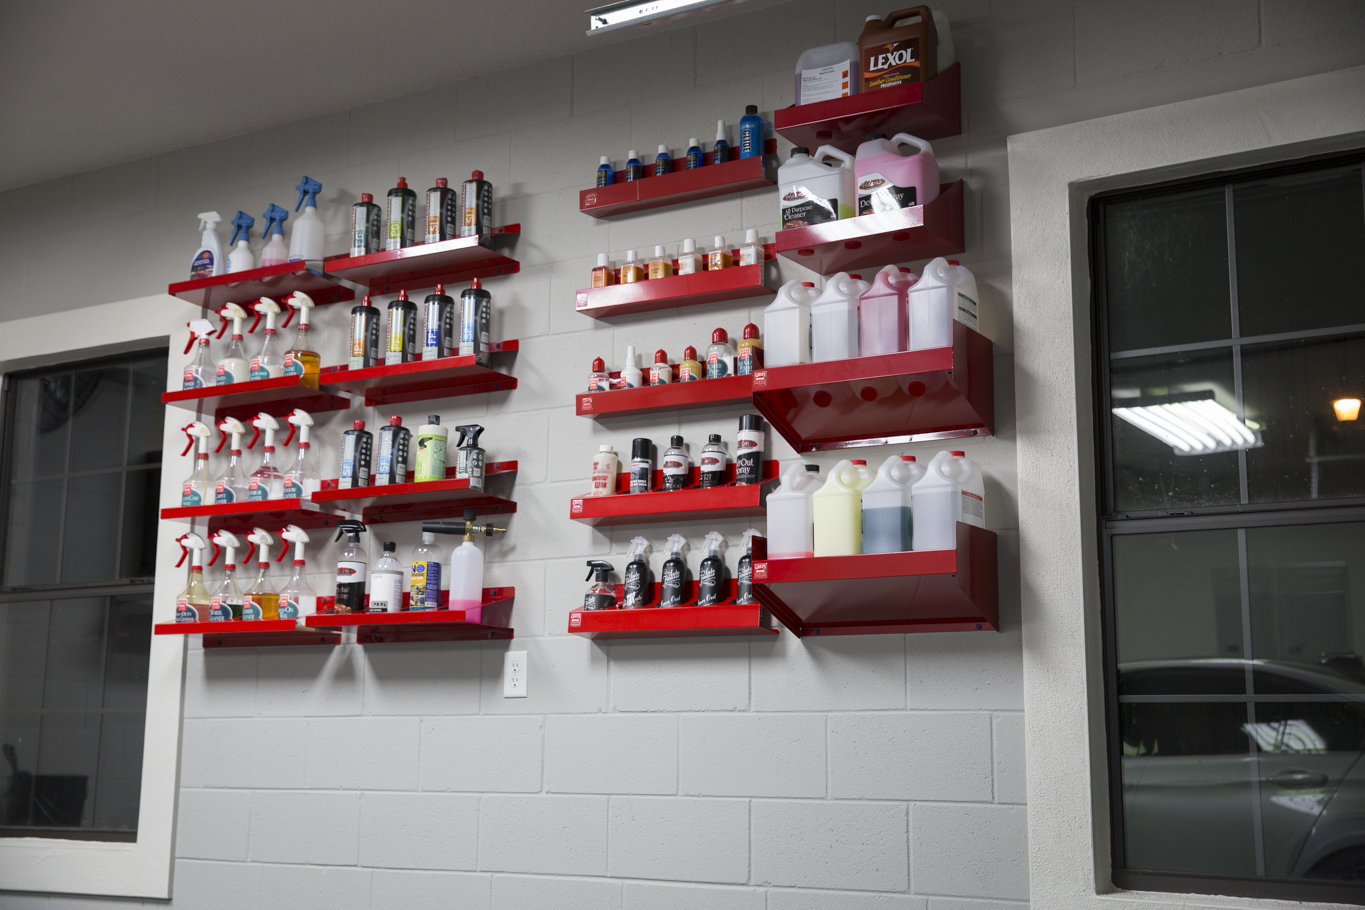
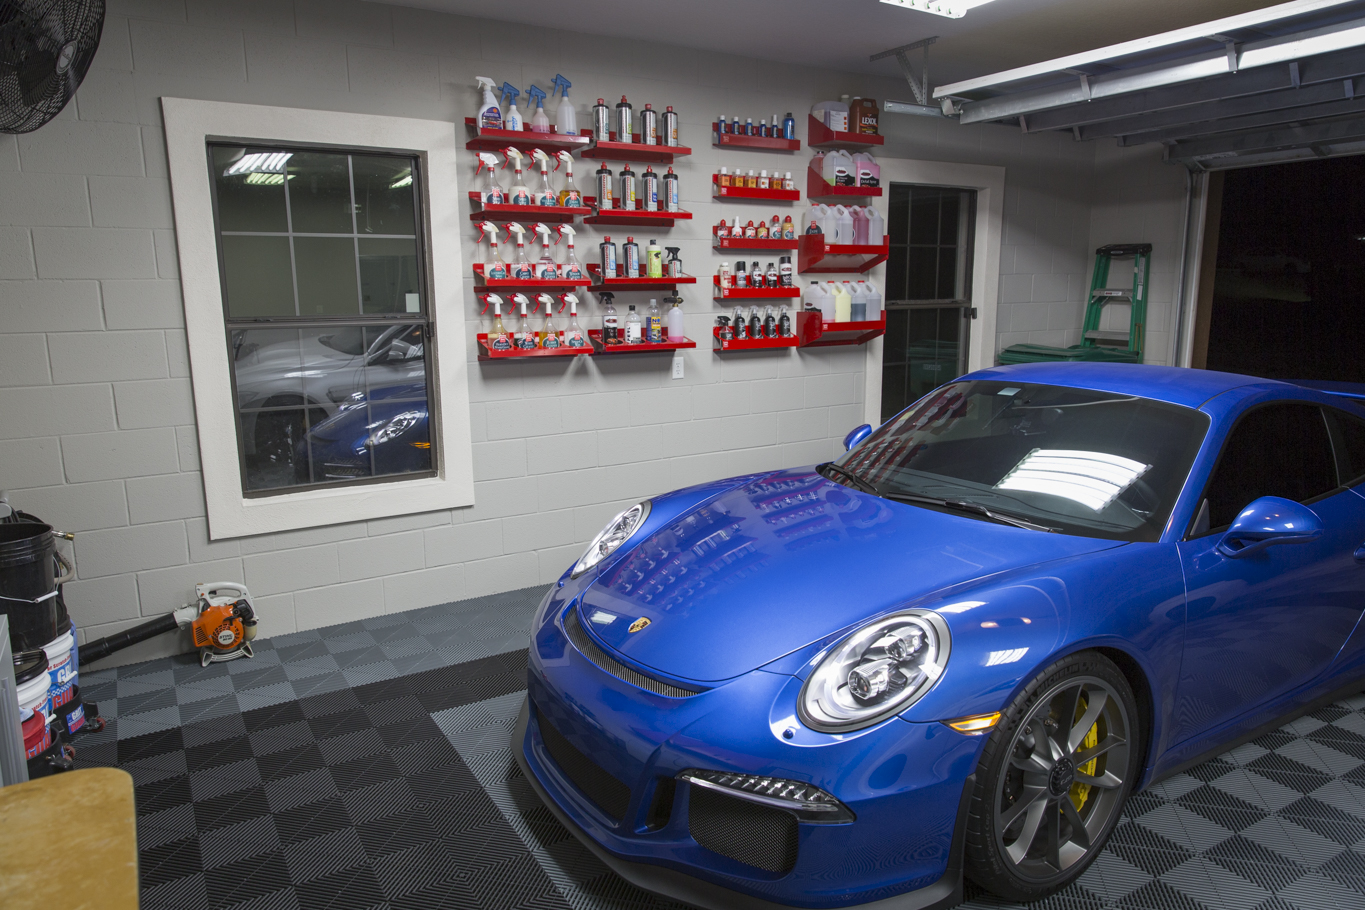
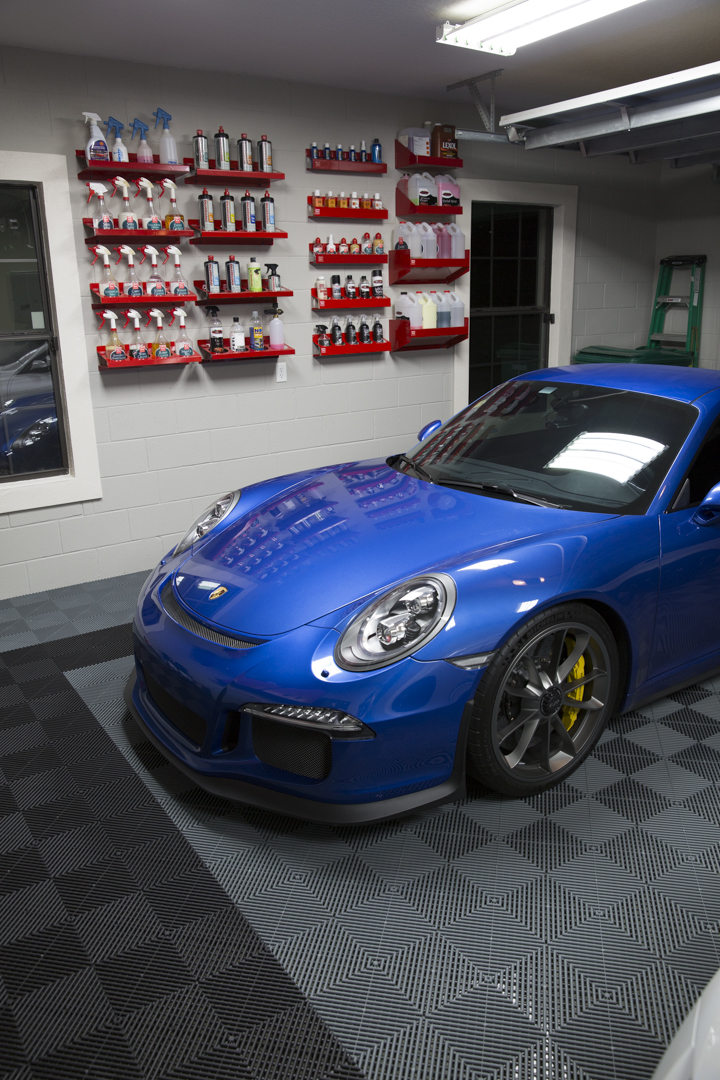
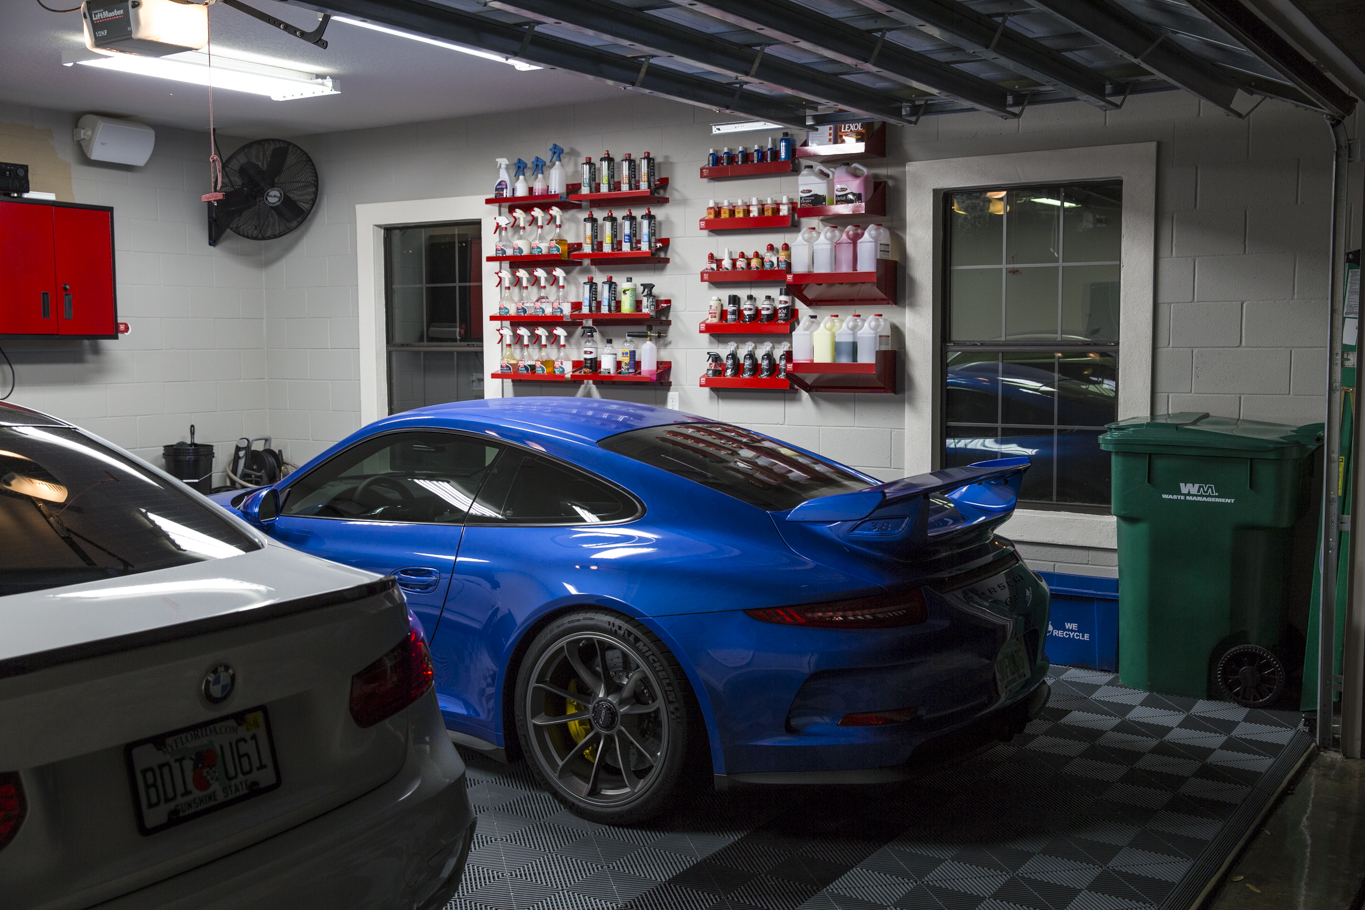
I got my last two Griot's shelves on Friday and mounted them last night to complete the relocation of the "Detailing Wall." I still need to find something simple and unique to fit down the center of the shelves.
Cabinets should be here Monday or Tuesday. The hard part is going to be working all week to actually pay for them.


Cabinets should be here Monday or Tuesday. The hard part is going to be working all week to actually pay for them.
01-11-2015, 10:49 PM
#359
Nordschleife Master
I got my last two Griot's shelves on Friday and mounted them last night to complete the relocation of the "Detailing Wall." I still need to find something simple and unique to fit down the center of the shelves.
Cabinets should be here Monday or Tuesday. The hard part is going to be working all week to actually pay for them.
Cabinets should be here Monday or Tuesday. The hard part is going to be working all week to actually pay for them.
01-12-2015, 04:08 AM
#360
Rennlist Member
Matt... Thanks for the video. Very informative. Thank you
Your little helper reminds a lot of mine. It just shows how great dad you are. God bless you.
Regarding the retaining clip on your engine cover, my car did not have them similar to Mike and I suspect they were removed during engine swap.
You have a great looking garage. Best I have seen. Where did you buy these shelves from?
Finally regarding the green oil filter O ring, I have read few posts on the Rennlist of guys complaining about finding remains of broken up green O ring stuck inside their oil filter. I just wonder if it is the same O ring you decided not to use. I am going to look up again these posts and will post a link to them, so hopefully someone can shed some light about this mysterious green o'ring. Mark
Last edited by mqandil; 01-12-2015 at 04:28 AM.