When you click on links to various merchants on this site and make a purchase, this can result in this site earning a commission. Affiliate programs and affiliations include, but are not limited to, the eBay Partner Network.
Great work restoring the paint! Have you thought about ceramic coating the paint to give extra protection and depth to the shine?
If you have any desire to upgrade your exhaust, we'd love to chat! How about some custom Cayman tips? -Mike
Hey thanks!
A full blown (hardened) ceramic coating will likely happen after I'm satisfied with filling in all the tiny paint chips and resolving the remaining scratches.
In the meantime will continue to use the P&S Beadmaker.
Then a clear bra. e.g. Expel
Have CQuartz on the Viper with an XPel clear bra so I know thats one way to go that works well.
At some point (not sure when), will touch the intake and the exhaust to help it breath easier/better. It's the right thing to do!
Getting a little more tone will be a bonus.
Sorry but I had to ask...
If your car is a Caiman, why are you Cayman Crush...
That's what I call Caynundrum or Cainundrum. Either spelling is acceptable.. also meant to confuse you.
Its been an evolving, swirling miasma of nondescript random thought particles..or something like that.
So I cleaned out this mess. Was definitely a mouse mess from yester-year. Used some long tweezers and a cable puller tool to extract the bulk, then hit it with the vacuum.
All better now.
Hey a PDK question:
Shifts In and Out of 2nd gear are not as buttery smooth as all the other gears (3 - 7).
It has never faulted in any way but at times the shift will come with noticeable clank/click sound and torque bump.
Is this normal for 2nd gear?
Am thinking this might be a reason for an introductory visit to the local Dealer.
So the car is up for the 4 year service interval.. only 31K miles on the Odo though.
What I've done so far:
Oil (Mobile1 0w40) and Filter change (Mahle)
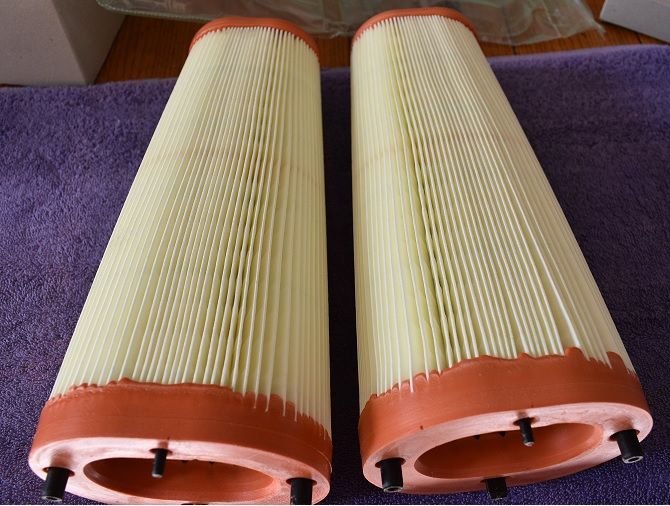
Air Filters x2 (Genuine Porsche)
Spark Plugs (Bosch FGR-5-NQE-04 OEM)
Coil Packs (Genuine Porsche)
Primary Cabin Filter (Genuine Porsche - the one under the Frunk)
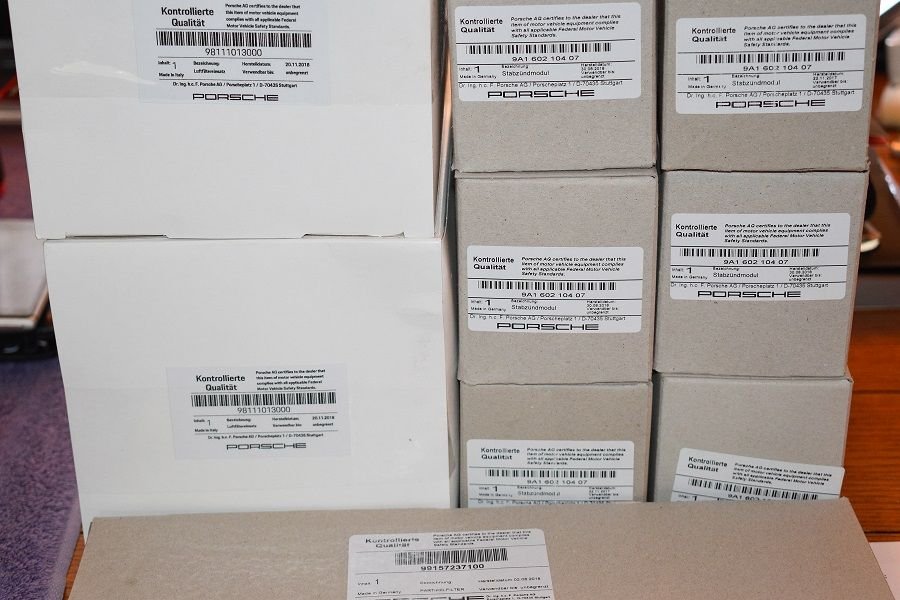
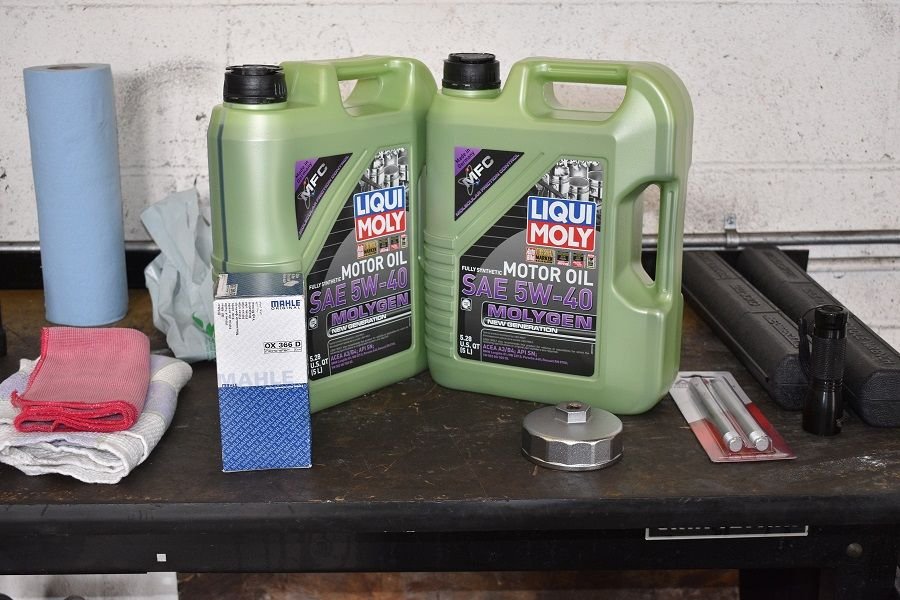
The collection of parts and pieces purchased on-Line at a significant discount:
Not in the picture are (1)the Spark Plugs - which were purchased through Pelican Parts and (2) the Genuine Porsche Coil Pack Fastener screws that were 63 cents each (compared to $115 installed at the local Porsche Dealer)
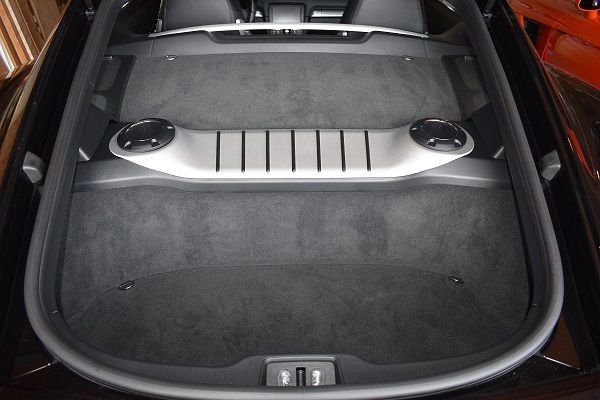
After reviewing some DIY videos on youTube and posts here on RennList, the Air Filter replacement was a breeze. Took my sweet time / no rush on the job and got it done in about an hour+.
Just had to remove a few interior bits in the trunk to get access to the filters.
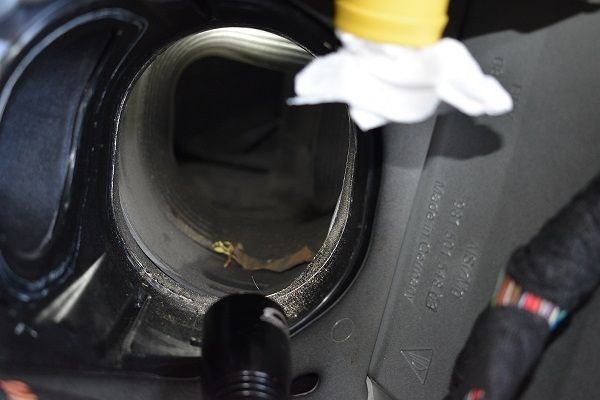
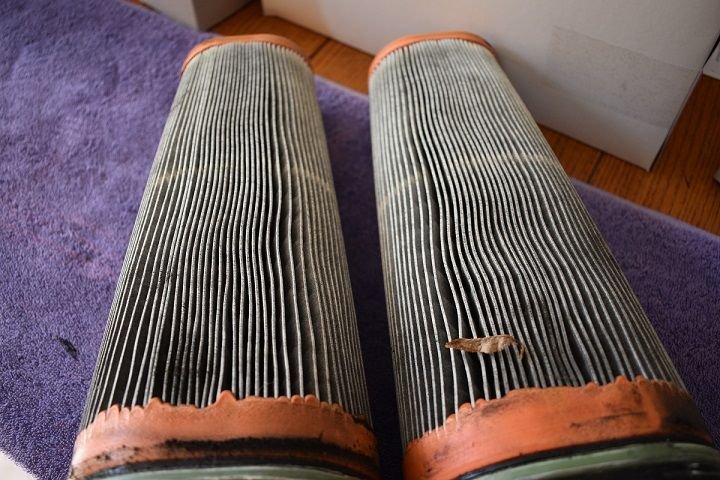
It was dirty in there!
All cleaned up.
Knowing that's cleaned up and the engine is breathing a little easier makes me happy.
The trunk interior bits all buttoned up.
Really was an easy job.
Replacing the primary cabin air filter was super simple and took all of 6 minutes.
On to the Spark Plugs and Coil Packs!
Last edited by CaymanCarver; 07-21-2019 at 01:14 PM.
This was my first time changing the Spark Plugs and Coil Packs on a Cayman.
I got busy on the job after reviewing a few of the videos on the YouTube.. which btw were entirely inadequate and don't even come close to describing the challenges of the job.
They don't demonstrate the contortions you have to go through OR how long they spent on each plug. They didn't spend enough time emphasizing the details of the extraction process.
I chose the passenger side on my first attempt because it was supposed to be "easier".
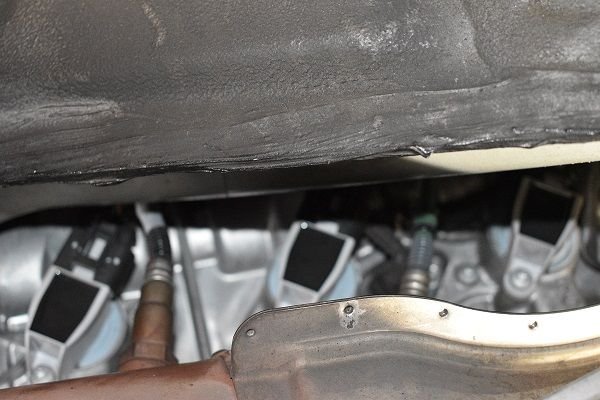
After removing the wheel and the wheel-well-liner.. here is the window of access to the top of the head (the space you have to work in). It ain't much.
My first mistake was attempting to do the job with a cold engine.
Went for the low hanging fruit and went to work on Cylinder #3 first (the one on the far left.. towards the rear of the car). Had no problem removing the Coil connector and the Coil Pack itself.
However, the Spark Plug was very stubborn coming out. Had to use a lot of force to break it free.. worked it back and forth a bunch but finally got it out.
Installing the new Spark Plug and Coil Pack was super easy. Because of the experience on extraction, I used a very small amount of copper based anti-sieze on the new plug (applied with a tooth pick)
Next was Cylinder #2 (the one in the middle).. the Spark Plug wouldn't budge.. I was using way more force than I thought should be necessary. Said "this ain't right, stop what you're doing, reGroup and try again later".
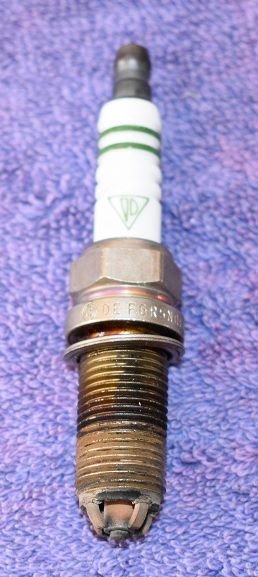
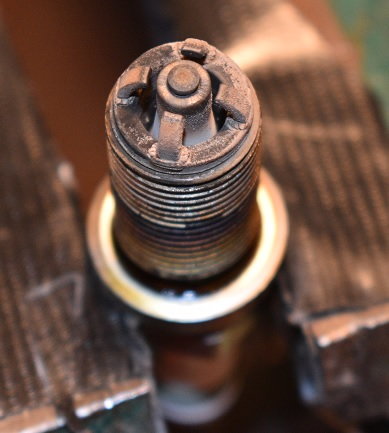
Regardless, was happy to celebrate the extraction of plug #3. I'm a firm believer in the condition of old Spark Plugs providing a measure of engine health, so was happy to see the condition of this one plug after 30K miles.
Not bad at all. A little bit of fuel creep up the thread stock, but not bad. Was maybe running a smidgen hot, but is likely normal for this plug.
So I buttoned her back up and then dug deeper on the interWebz and here on RennList before my second attempt.
Learned a few things:
(1) do the job HOT with the engine at operating temp.
(2) squirt a little Liquid Wrench down in the plug tube and let sit for a spell (e.g. 15 to 30 minutes).
(3) then.. even after breaking the plug lose, work it back and forth nice and easy until its free..
(4) use the specialized tools that are available that make the job easier.
On the 2nd attempt, (1) did it hot, (2) used some Liquid Wrench and (3) had some better tools at the ready.. and I knew what to expect.
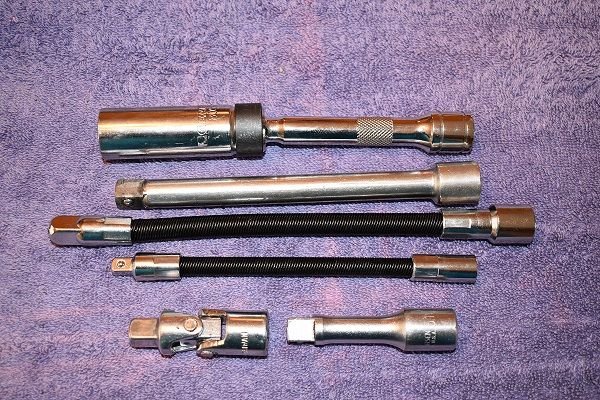
Here are some of the ratchet extensions I used that made the job MUCH easier. The swivel at the top of the pic helped A LOT (bought off Amazon).
Was kind of remarkable that each plug required it's own arrangement of extensions.
Cylinders #2 and #1 (the passenger side) got replaced in a respectable amount of time. => Wooohooo done!
Switched to the driver side and knocked out Cylinders #5 and #6 without any new surprises.
Cylinder #4 (towards the front of the car) was NUTS. Very little space to work and all of it had to be done from the side / at an angle.
This one probably took 30 - 45 minutes for the extraction alone. Installing the new stuff was comparatively easy.
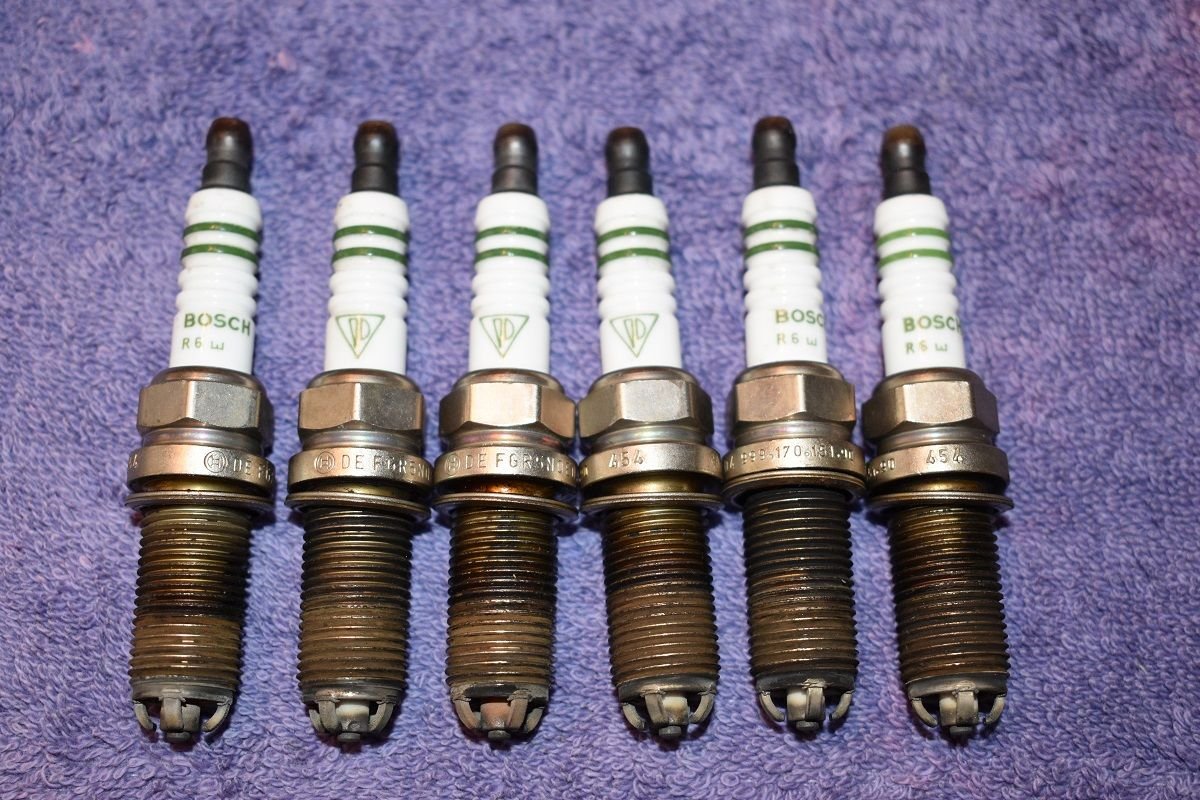
Here are all six of the old Spark Plugs.. again a measure of the status/health of the engine.
None of 'em look too horribly bad at all. I've certainly seen worse. The one on the far right is actually #4 (sorry about the order).
#2 and #5 have a little pitting on the center electrode insulator, but that's an issue with the plug or possibly the coil pack.
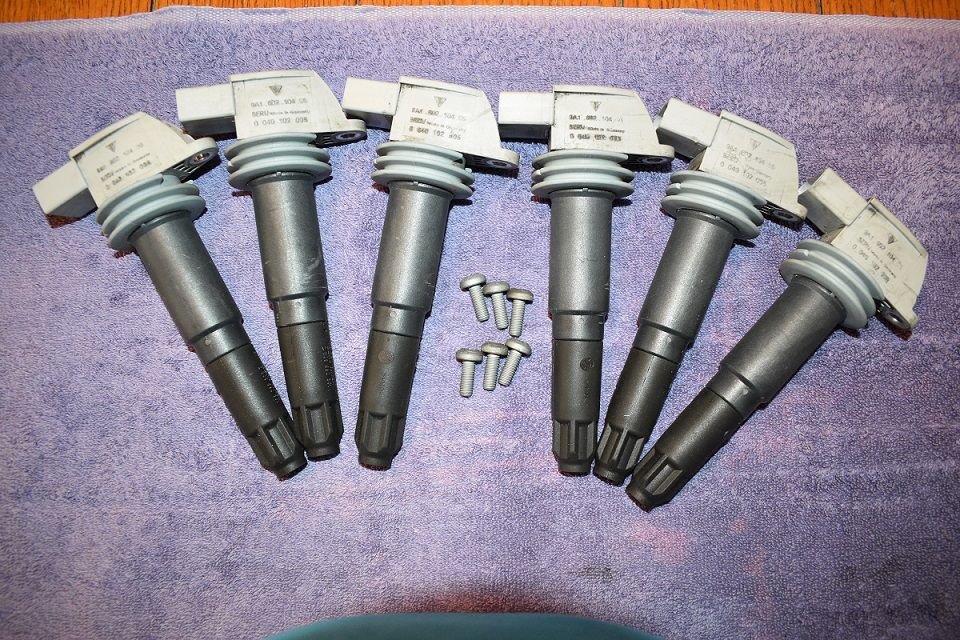
Here are all the old Coil Packs and Fastener screws:
Its hard to see from the pic, but 4 out of 6 of 'em had obvious cracks in the head units and with a magnifying glass can see tiny fractures in all of 'em.
So am very glad to get the complete set replaced!
After buttoning her back up it was time for a test drive!
She fired right up and could tell immediately she was idling smoother. SMOOTH'r is the best word I can use to describe the diff.
Out on the test loop, after letting her warm up in Standard Drive mode (2K rpm).. found ourselves next to a Roush GT 5.0 (I couldn't tell you what year it was). Nobody else was around.
We started pushing at one another and pretty soon we had a little race on our hands. I switched to Manual mode and rev'd her out a bunch but we were still neck n' neck.
I needed more power!!! So I punched the Sport button and Shazaam! we jumped ahead a car length or two.. then he lifted off because of the bend in the road up ahead. Probably wise on his part.
But I continued the controlled push and boogied on thru the bend. Then at the next light he rolls up and says "lets do this!".. so the light turns green.. I'm already in Manual/Sport mode and launch clean while he
spins his wheels in a fit. We were gone and it was over.
Power delivery is definitely smoother now. Before the change, there were small but very consistent power delivery glitches/hesitations between 2K and 3K rpm in 2nd gear. That is gone now.
* Fix all the tiny imperfections in the paint and continue coating with Beadmaker.
I mentioned I was going to use Dr. ColorChip to fix the imperfections and chips in the paint.
Bought the squeegee kit.. and am very glad I did.
First thing.. I stopped using the P&S Beadmaker on the hood.. n' probably washed her 4 or 5 times without using that stuff afterwards.
This helped to expose all of the imperfections LARGE and small.
That's a picture of the hood. The hood is plenty shiney and has a great reflection of the garage door overhead.
But as you can see.. LOTs of imperfections and chips in the paint. It was BAD and made me sick looking at it.
Learning how to use the Dr. ColorChip product took a little more time than expected. Applying the paint is easy.. removing it properly takes a little more work.
At first I fixed single chips one at a time and was able to do this with success. But I discovered the color match was so good, at times it was hard to find the spots that got covered over.
So I started taping off sections so I wouldn't miss anything.. cuz the only issue is that if you leave the paint on for too long (5 hours or more), you won't be able to remove the excess.
After a few separate attempts I switched to using the squeegee method and that made all the difference in moving the job along AND it filled in every tiny imperfection along with the BIG ones.
Altogether I probably spent ~5 hours working on the hood alone.
Here is the after pic.
Daaammnnn! That is the same hood all fixed up.. car parked in the exact same spot.. hit with a coat of Meguires Scratch-X 2.0, washed, plus a few heavy applications of the P&S Beadmaker!
For ~ $70 and 5 hours of my time.
Still have to do the front bumper and a few other spots elsewhere but I'm VERY happy with the results.
Catch up post on the Chronicles thread..
Mostly just collecting activities from other threads.. plus new stuff.
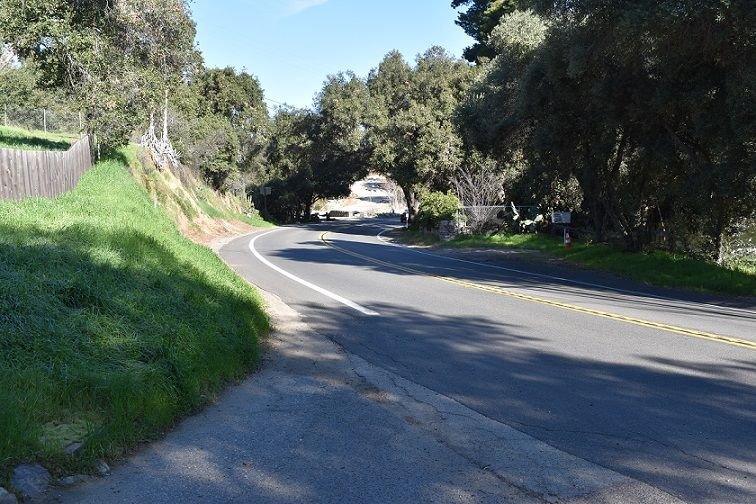
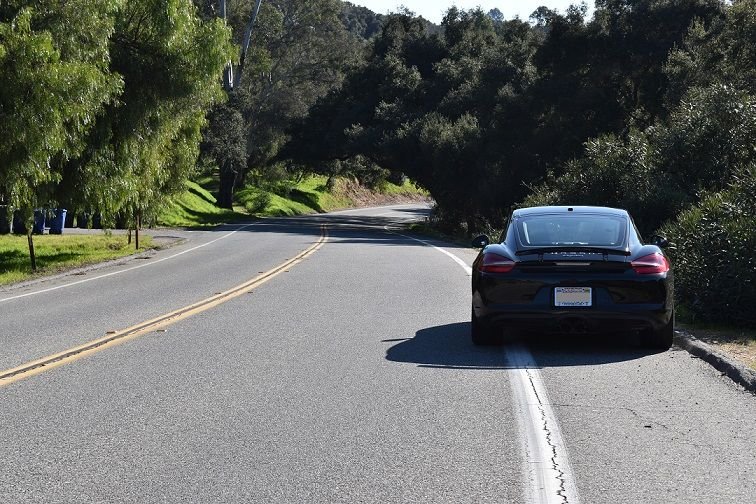
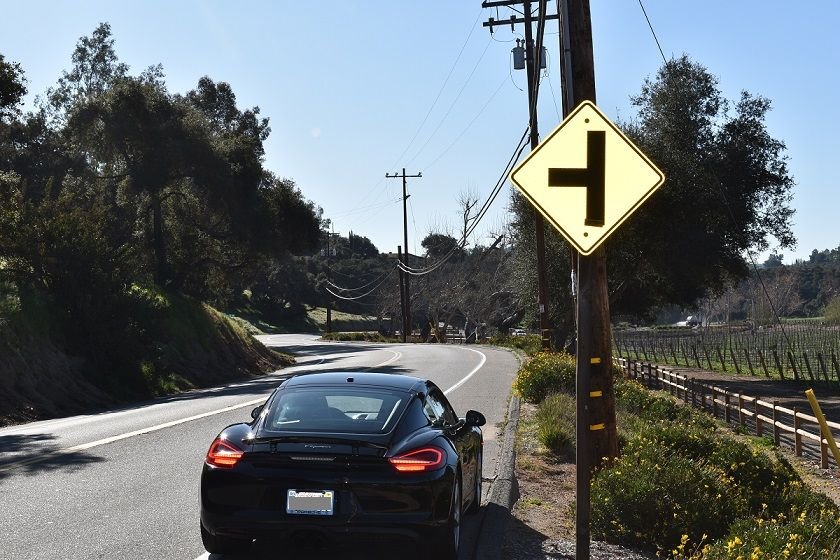
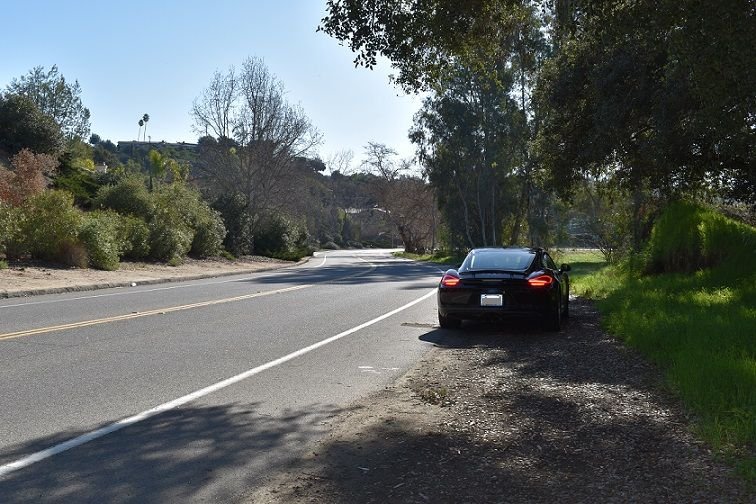
9-2-2019 Canyon Run :
Did the Ortega Hwy Run. The "Cayman Meet Up" fell apart but we had a fantastic run and a great time. The Black Caiman handled the road like a champ.. even on the Pirellis. https://rennlist.com/forums/987-981-...l#post16077711
Mid September to Mid October 2019 - Warped Door Panels:
Had both door panels replaced under CPO Warranty at Porsche Newport Beach.
This dealer has handled this Cayman since it was brand new in 2015 and they haven't batted an eyelash honoring the CPO Warranty.
I've visited them twice and both times I've been treated like a valued and respected customer.
I've either been shown, or found some super sweet CPO deals on the lot too.. So they'll be my 1st stop for the next Porsche.
All the while paying strict attention to a regular wash routine that includes generous applications of P&S Beadmaker.
I've adopted some of the wash steps teachings from the Apex Detail channel on YouTube that is paying off in spades.
N' after watching Obsessed Garage guy use the P&S Beadmaker, I spray that stuff EVERYWHERE.
Next about the LiquiMoly Oil Change.
Last edited by CaymanCarver; 06-26-2020 at 05:22 AM.
We've put 5,646 miles on the Mobil1 0W-40 oil so.. eeegads man.. it was time for a change!
I knew I wanted to go up a notch or two on the weight of the oil but also wanted to stay within the manufacturer recommendations in the Owners Manual.
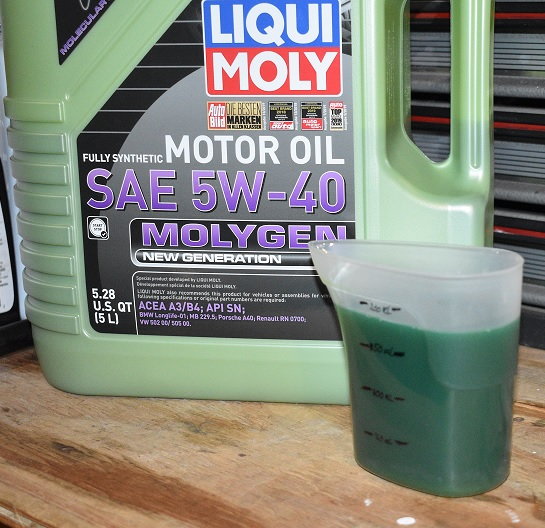
So after a bit of research decided on this stuff. LiquiMoly MolyGen 5W-40
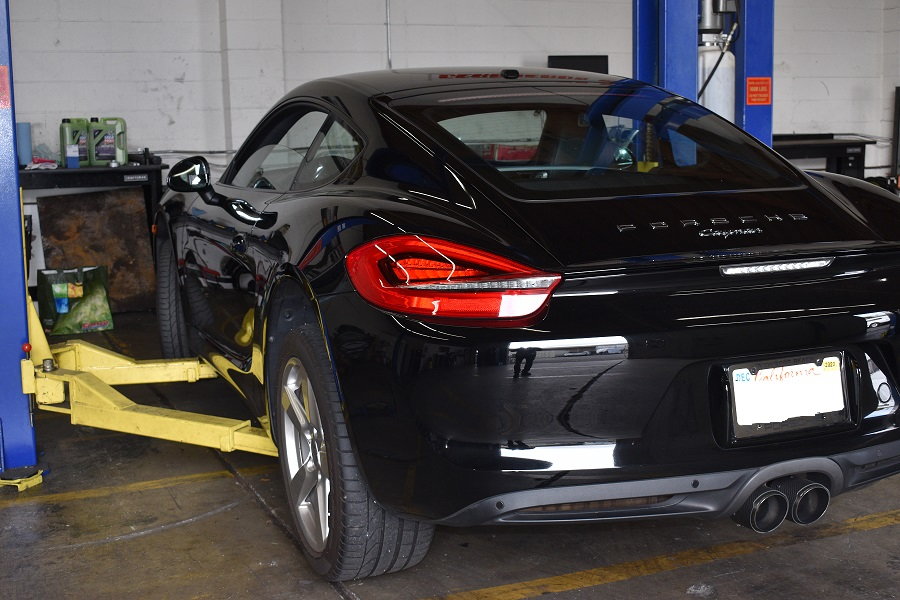
Baby doll goes up on the Lift: (kinda hard to tell in this pic, but she's a little over due for a bath!)
The Drain:
The old oil didn't look too bad at all.. was a little dark.. n' the filter was free of any metallic debris (viewed under a magnifying glass). So all was good there.
I read here on the Forum about pulling a plastic bag over the filter before unscrewing it to avoid any mess and that worked fantastic. No mess whatsoever.
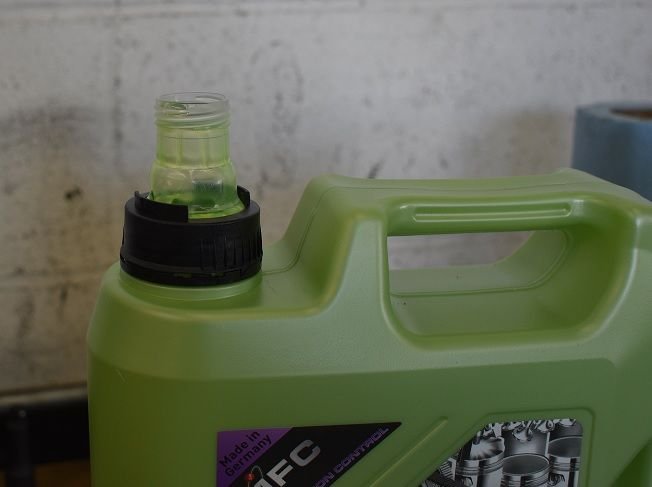
The 5L LiquiMoly jugs have this really cool pour spout that I've never seen before.. it worked great too.. again no mess whatsoever.
And the stuff is freakin' GREEN! Which explains the color of the jug.
Here I am topping up the oil level at home after the third drive cycle.
So far, baby doll seems to loving LiquiMoly MolyGen 5W-40. She took to the stuff immediately.
The valve train is obviously a little quieter.. which was one of our goals.
Overall, baby doll is running super smooth these days.
She's just humming.
Absolutely LOVING the GT Exhaust Mod!
Acceleration is smooth and clean.
Downshifts are smoother.
Engine is quieter.
Life is good.
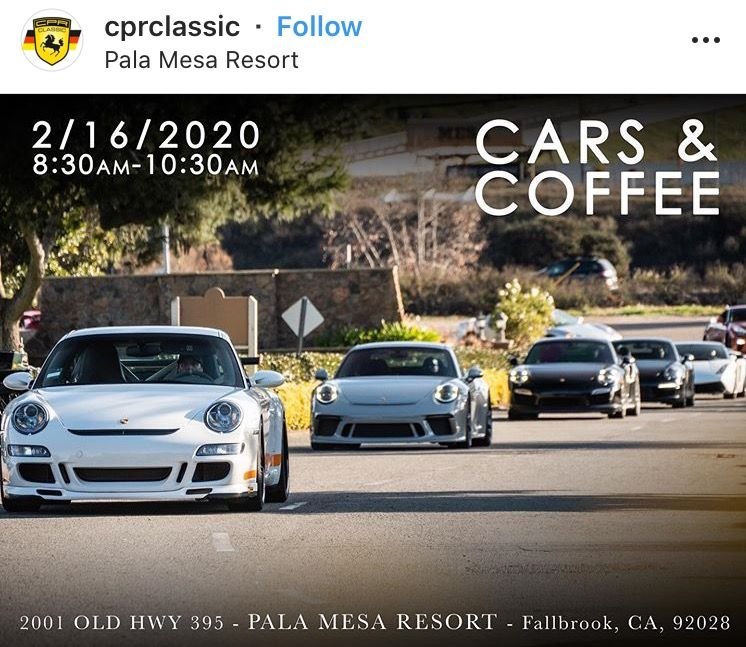
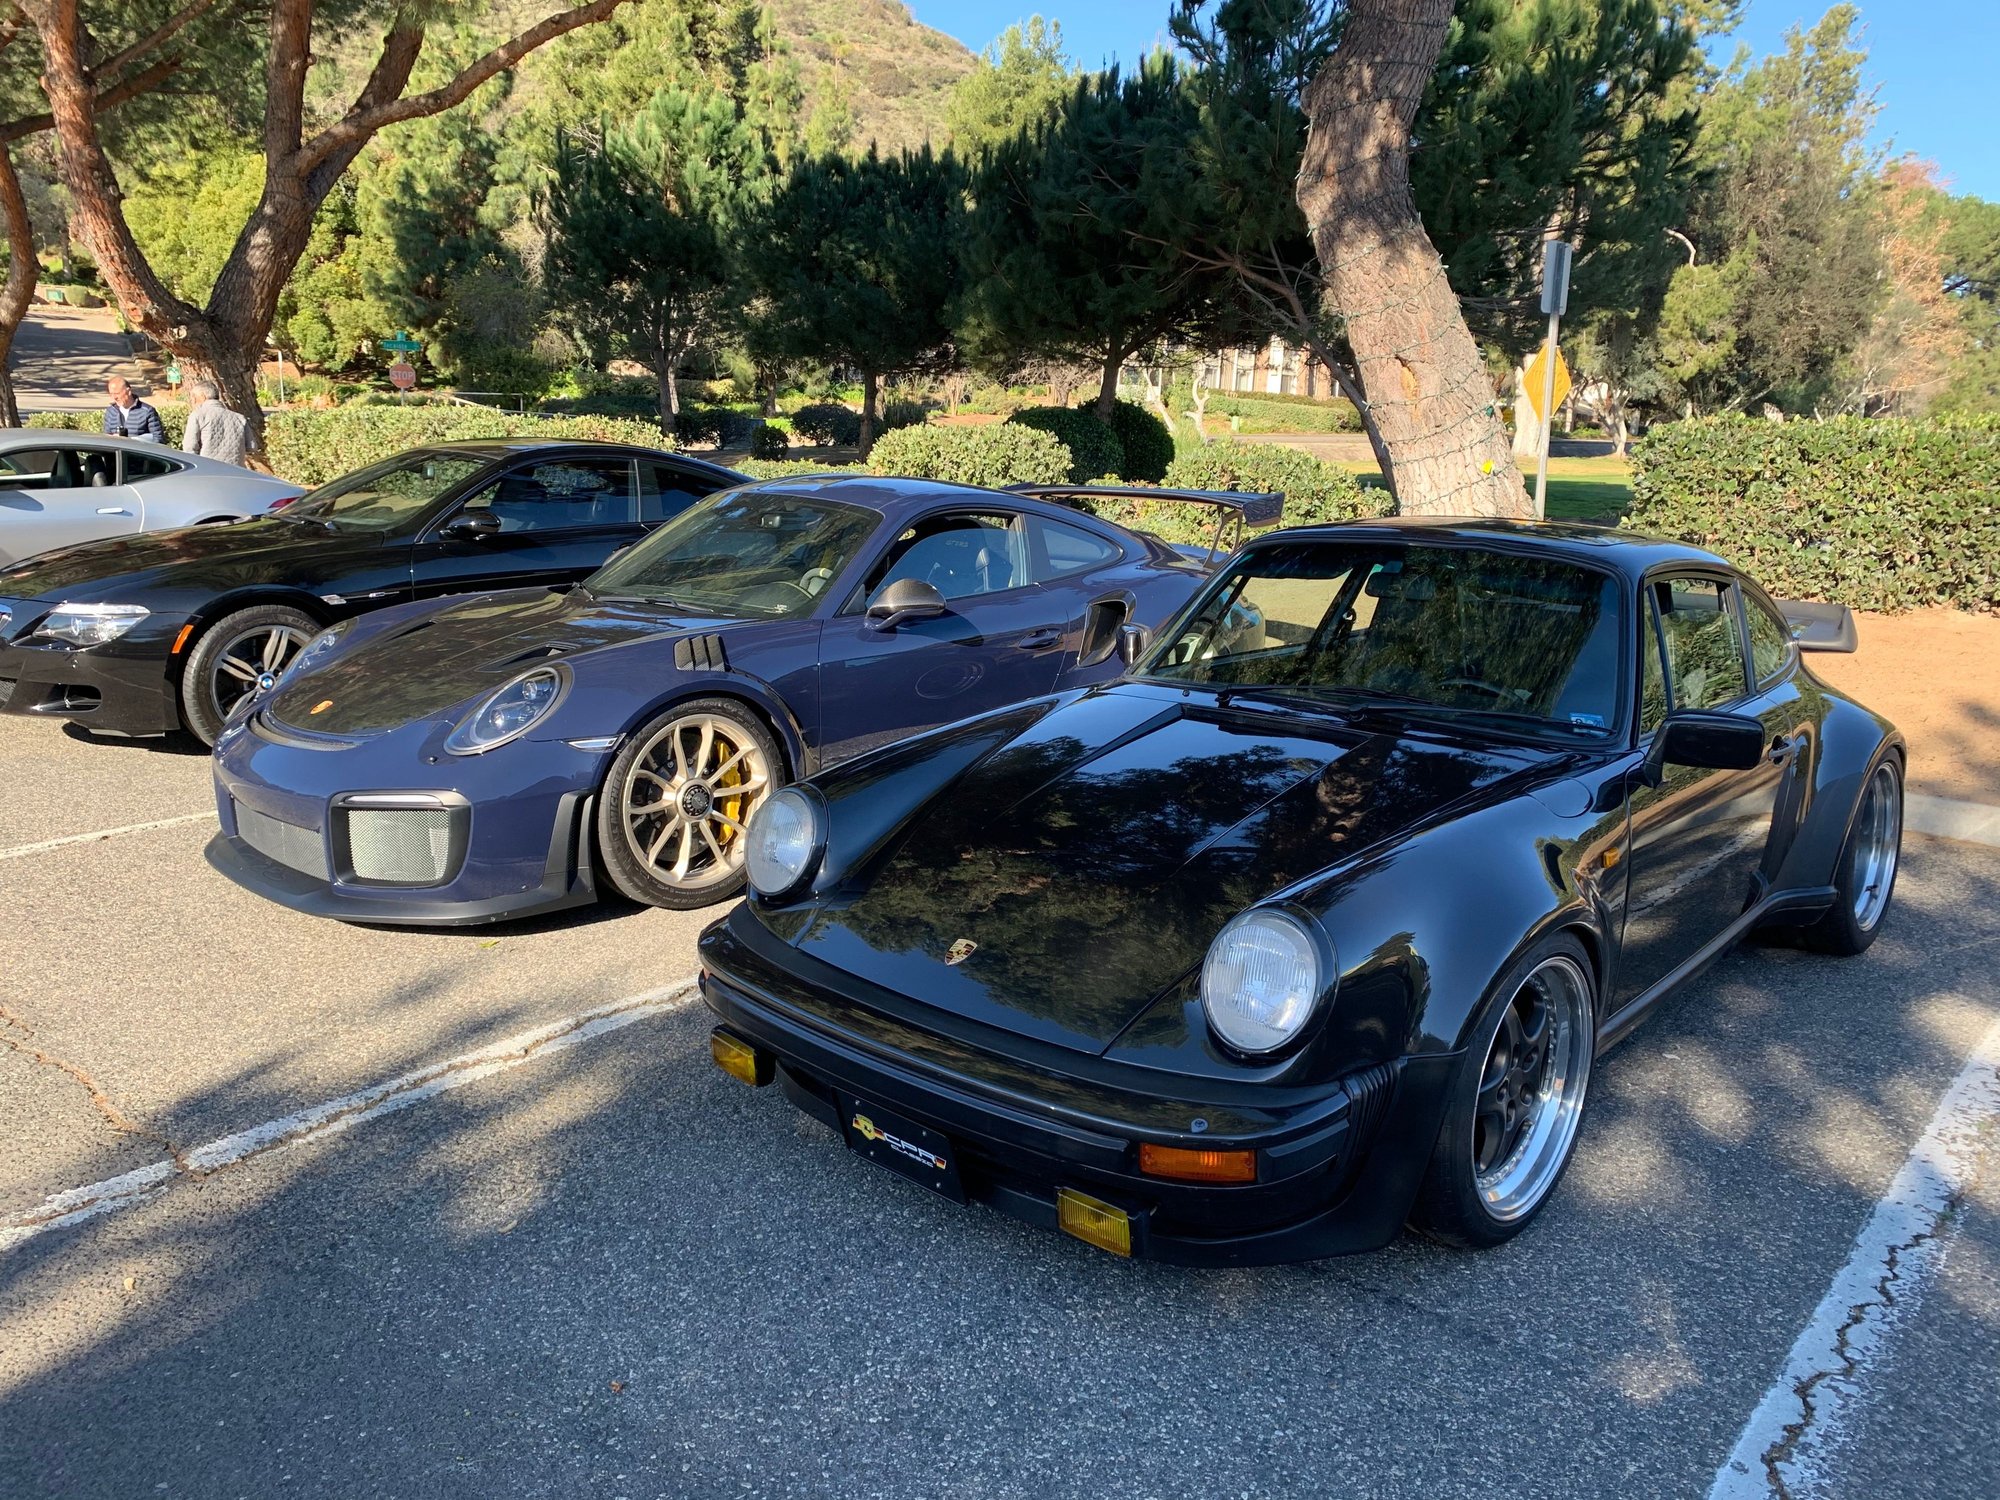
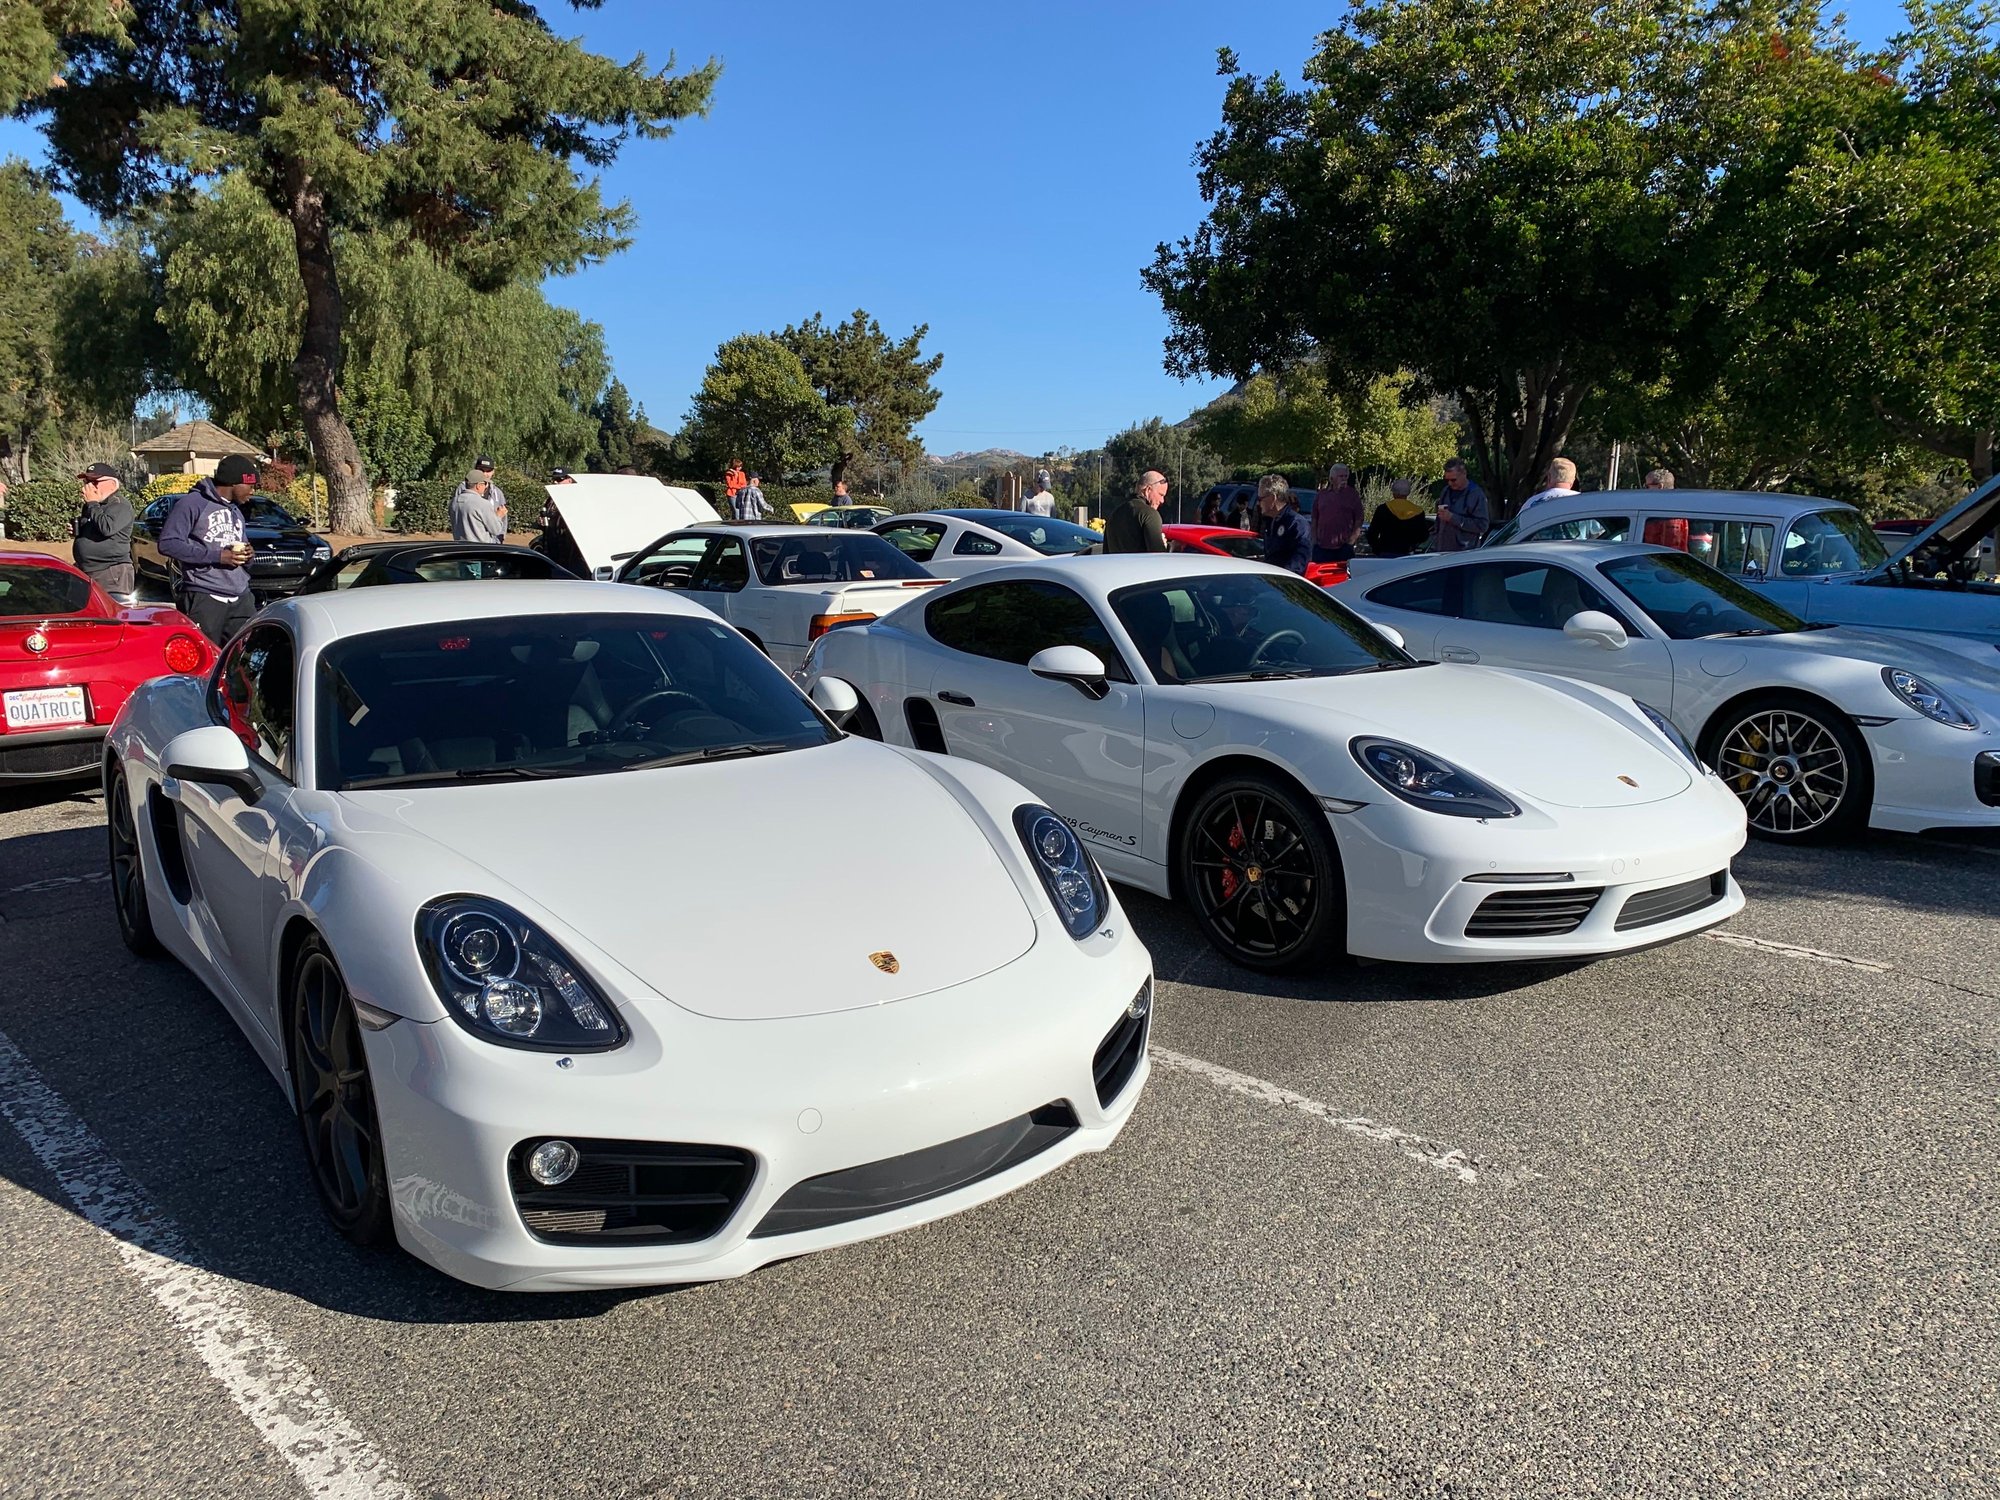
we should do a Palomar run soon.....also there was a cars and coffee on Sunday at Pala Mesa Golf Resort hosted by CPR out of Fallbrook, so lots of Porsches there. Every third Sunday of the month if you can make it the next one.

 06-15-2019, 07:35 AM