When you click on links to various merchants on this site and make a purchase, this can result in this site earning a commission. Affiliate programs and affiliations include, but are not limited to, the eBay Partner Network.
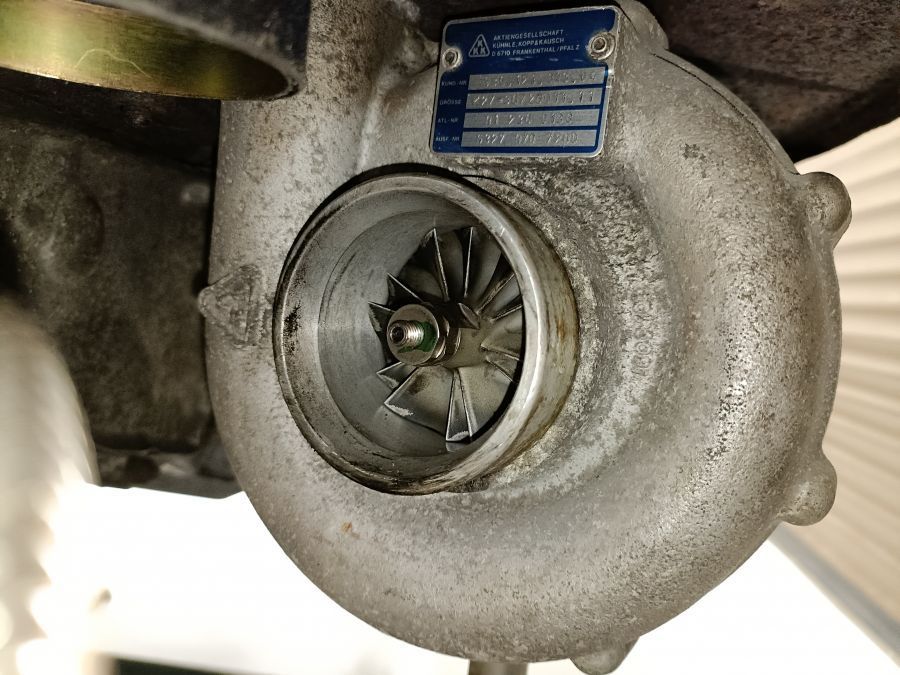
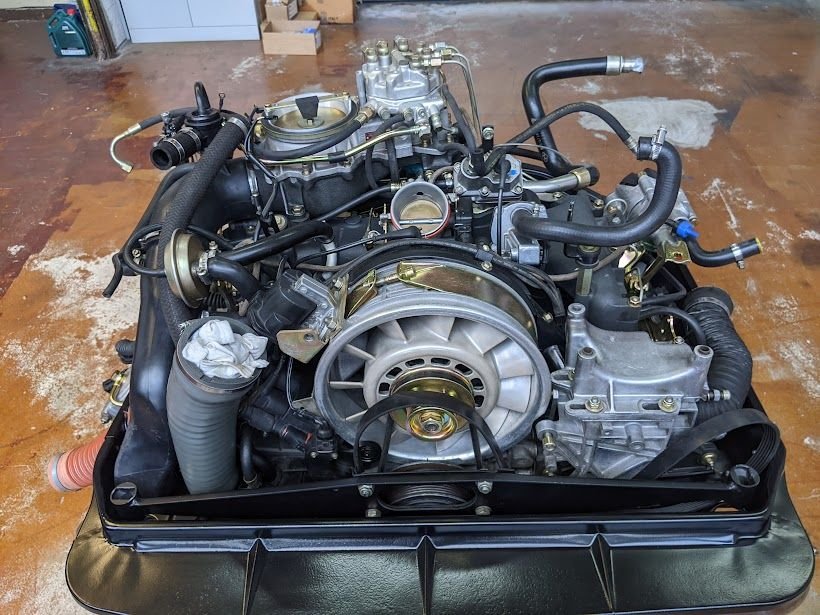
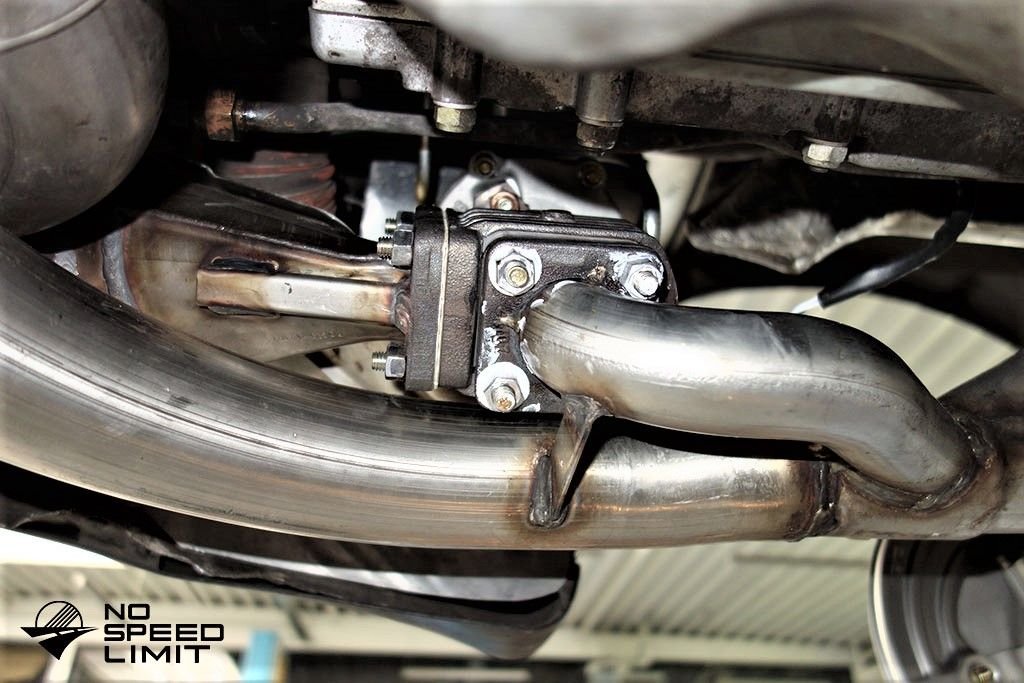
Took the opportunity to pull the intake elbow off the turbo, while I was taking the headers off, just to do a visual check for wear:
Extremely pleased with the condition - there is absolutely zero play; side to side or in/out with the impeller. No oil present in the intake elbow and the wheel spins freely with little resistance or drag - the shaft and bearing surfaces must be in pretty good condition. This is a 77k mile, 30 year old turbo, so this pleases me greatly :-)
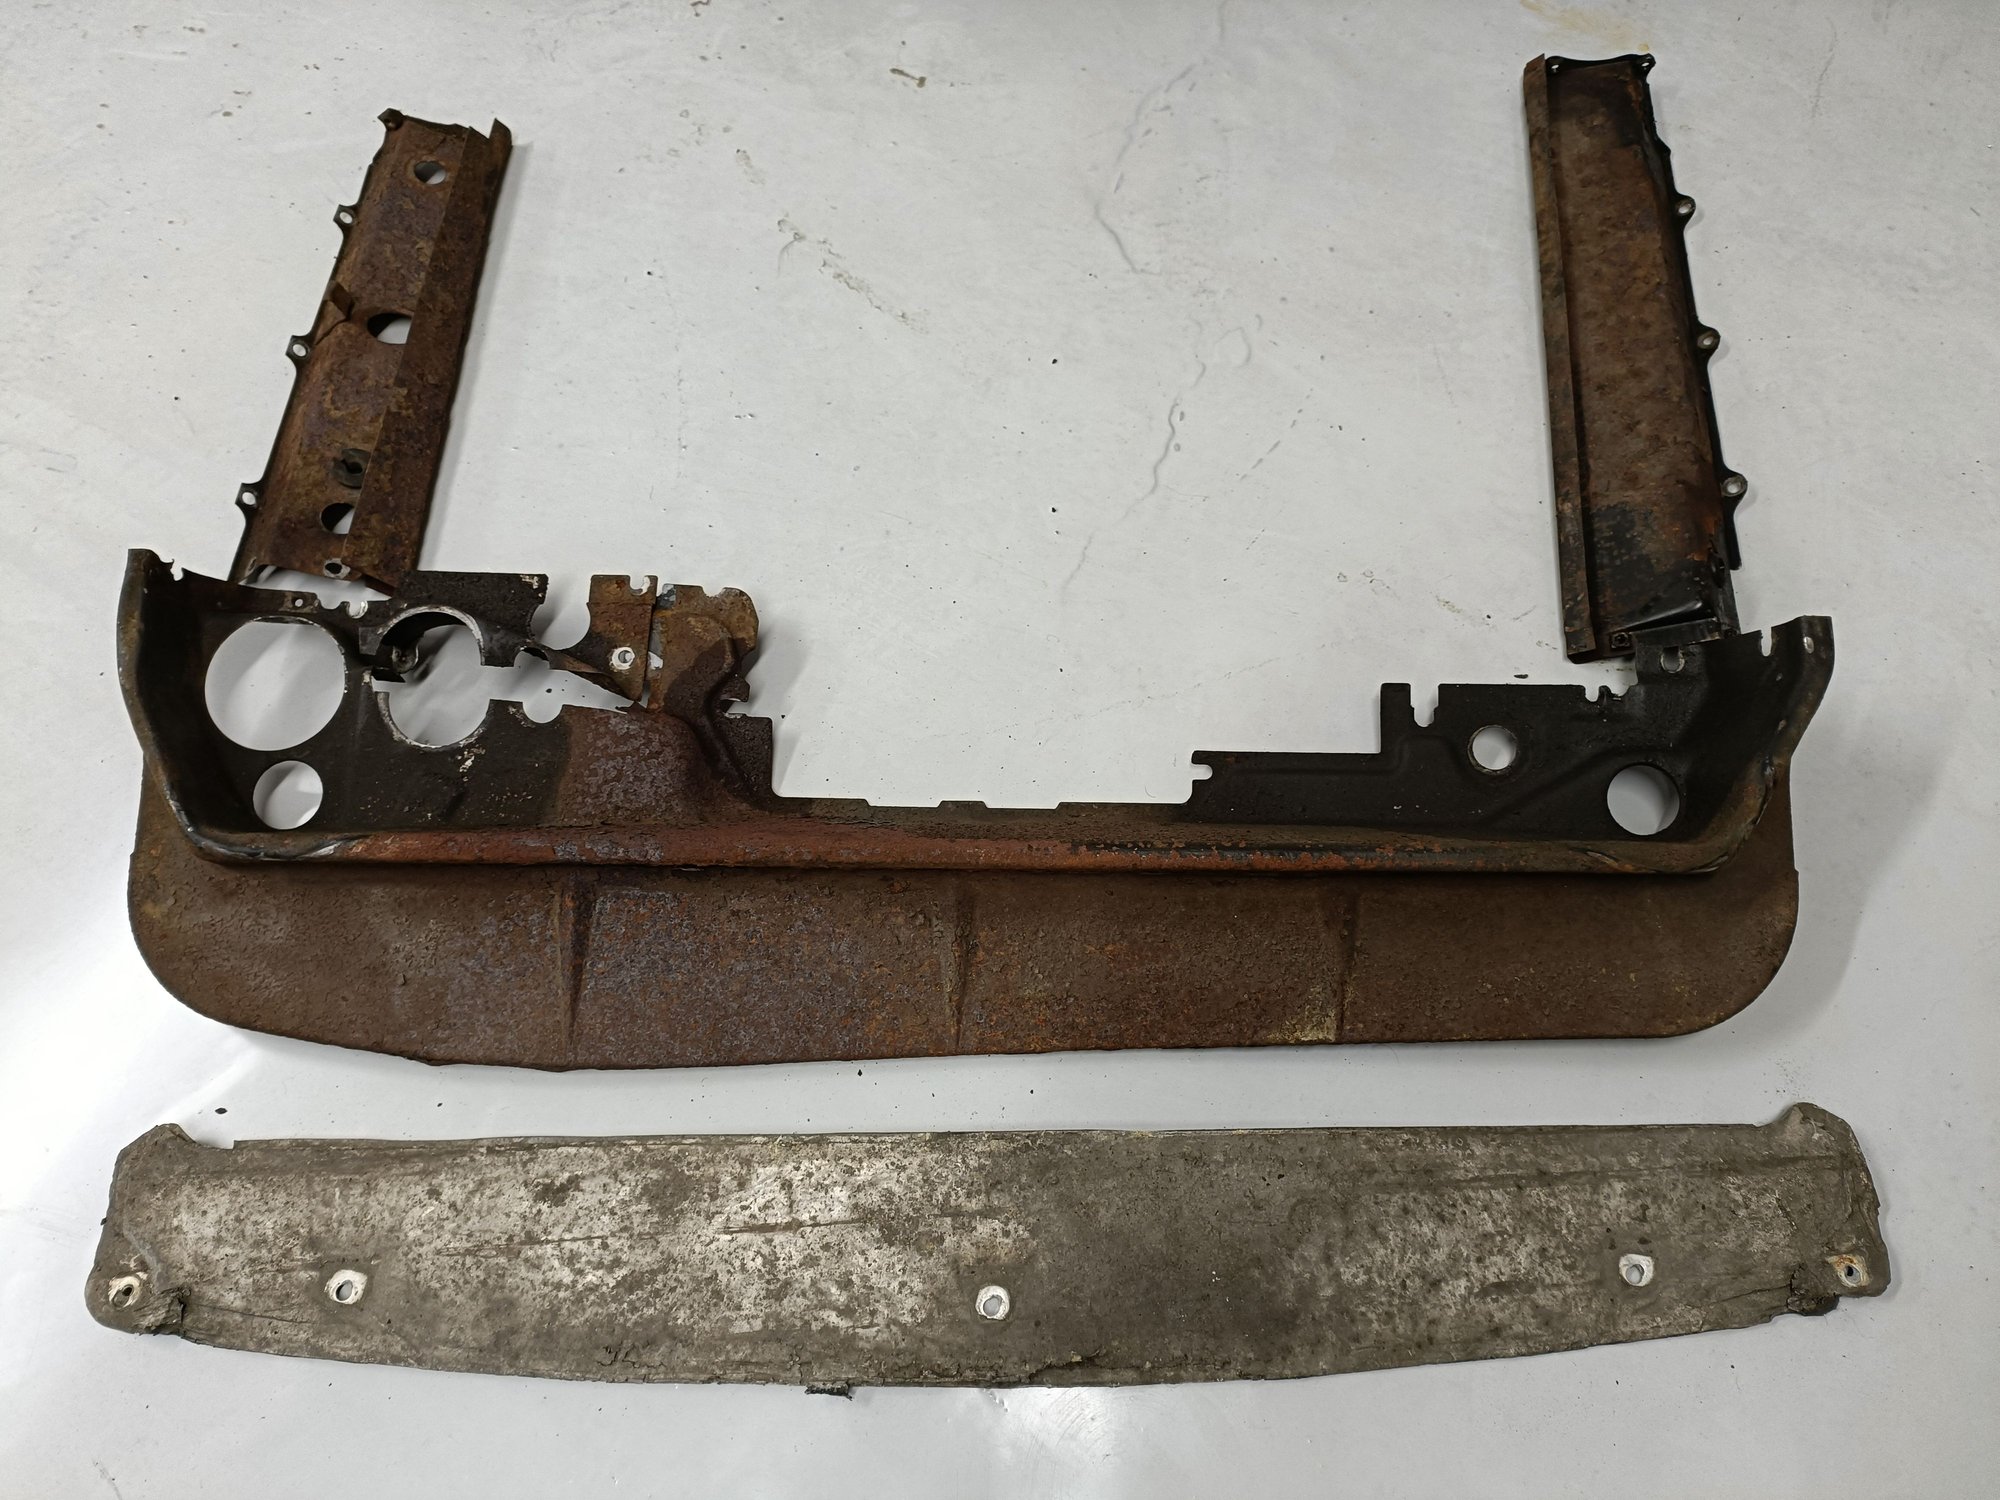
Left, right and rear engine tinware all now removed. Very, very rusty, but no pinholes, so I think it can all be saved.
While I am on, I will be changing plugs and fitting new rocker cover gaskets; no leaks of note from the top covers, but a bit of a leak from the bottom cover on the right side; that's probably been a source of some of the oil leaks/dirt in the past.
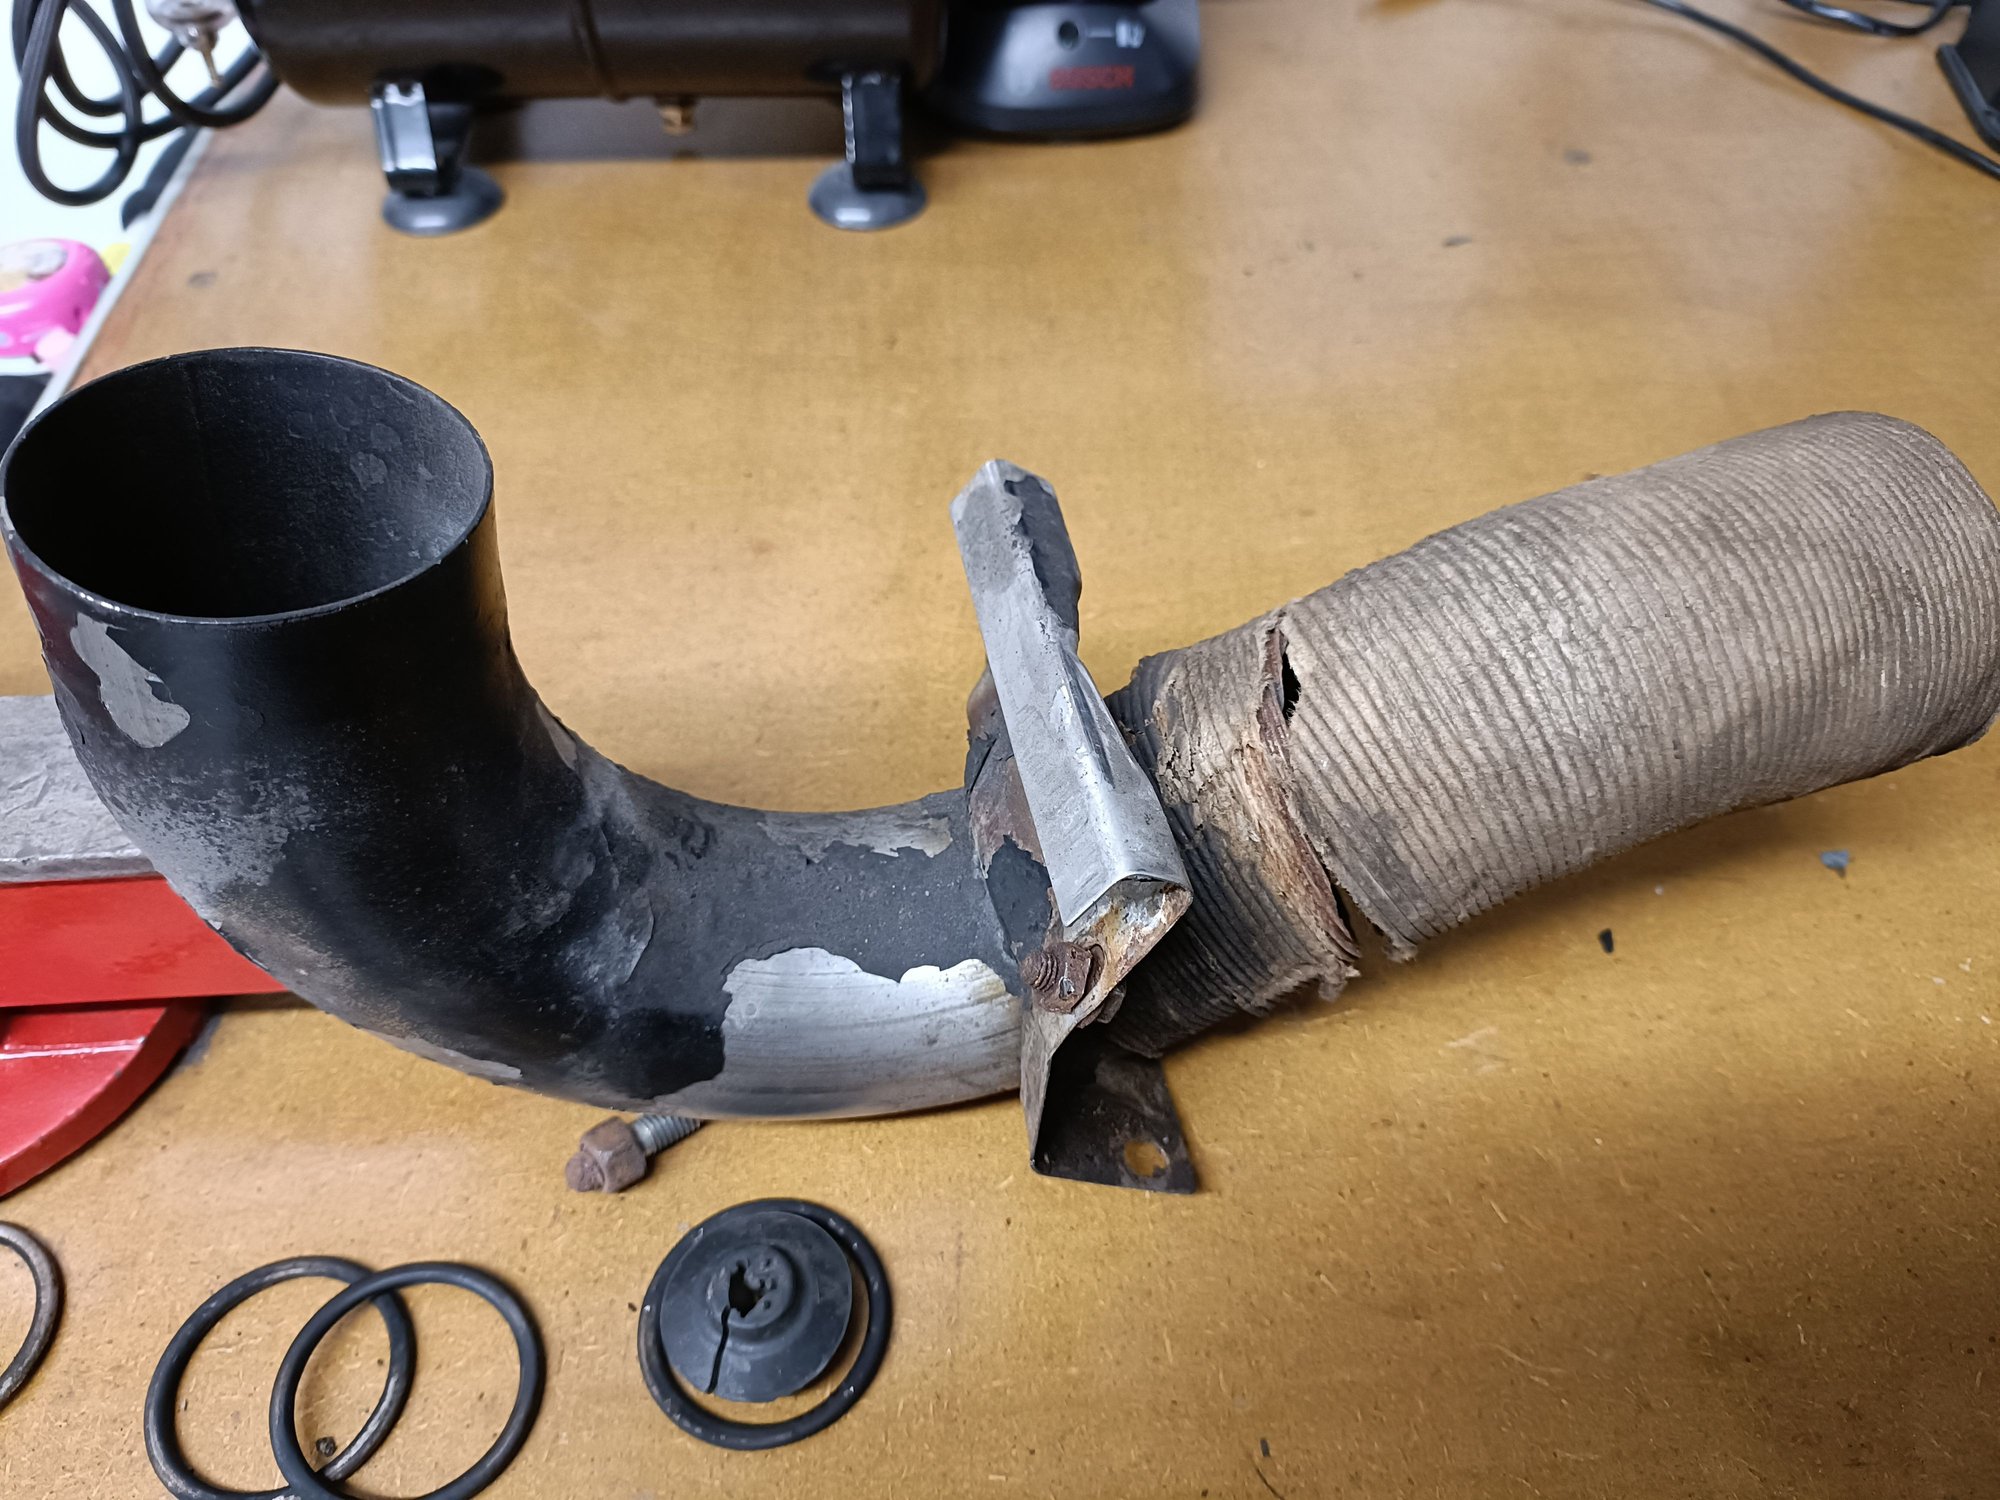
The short aluminium/paper hose connected to the engine tin on the left side is torn, so that will need replacing. Other than that, no more nasty surprises so far.
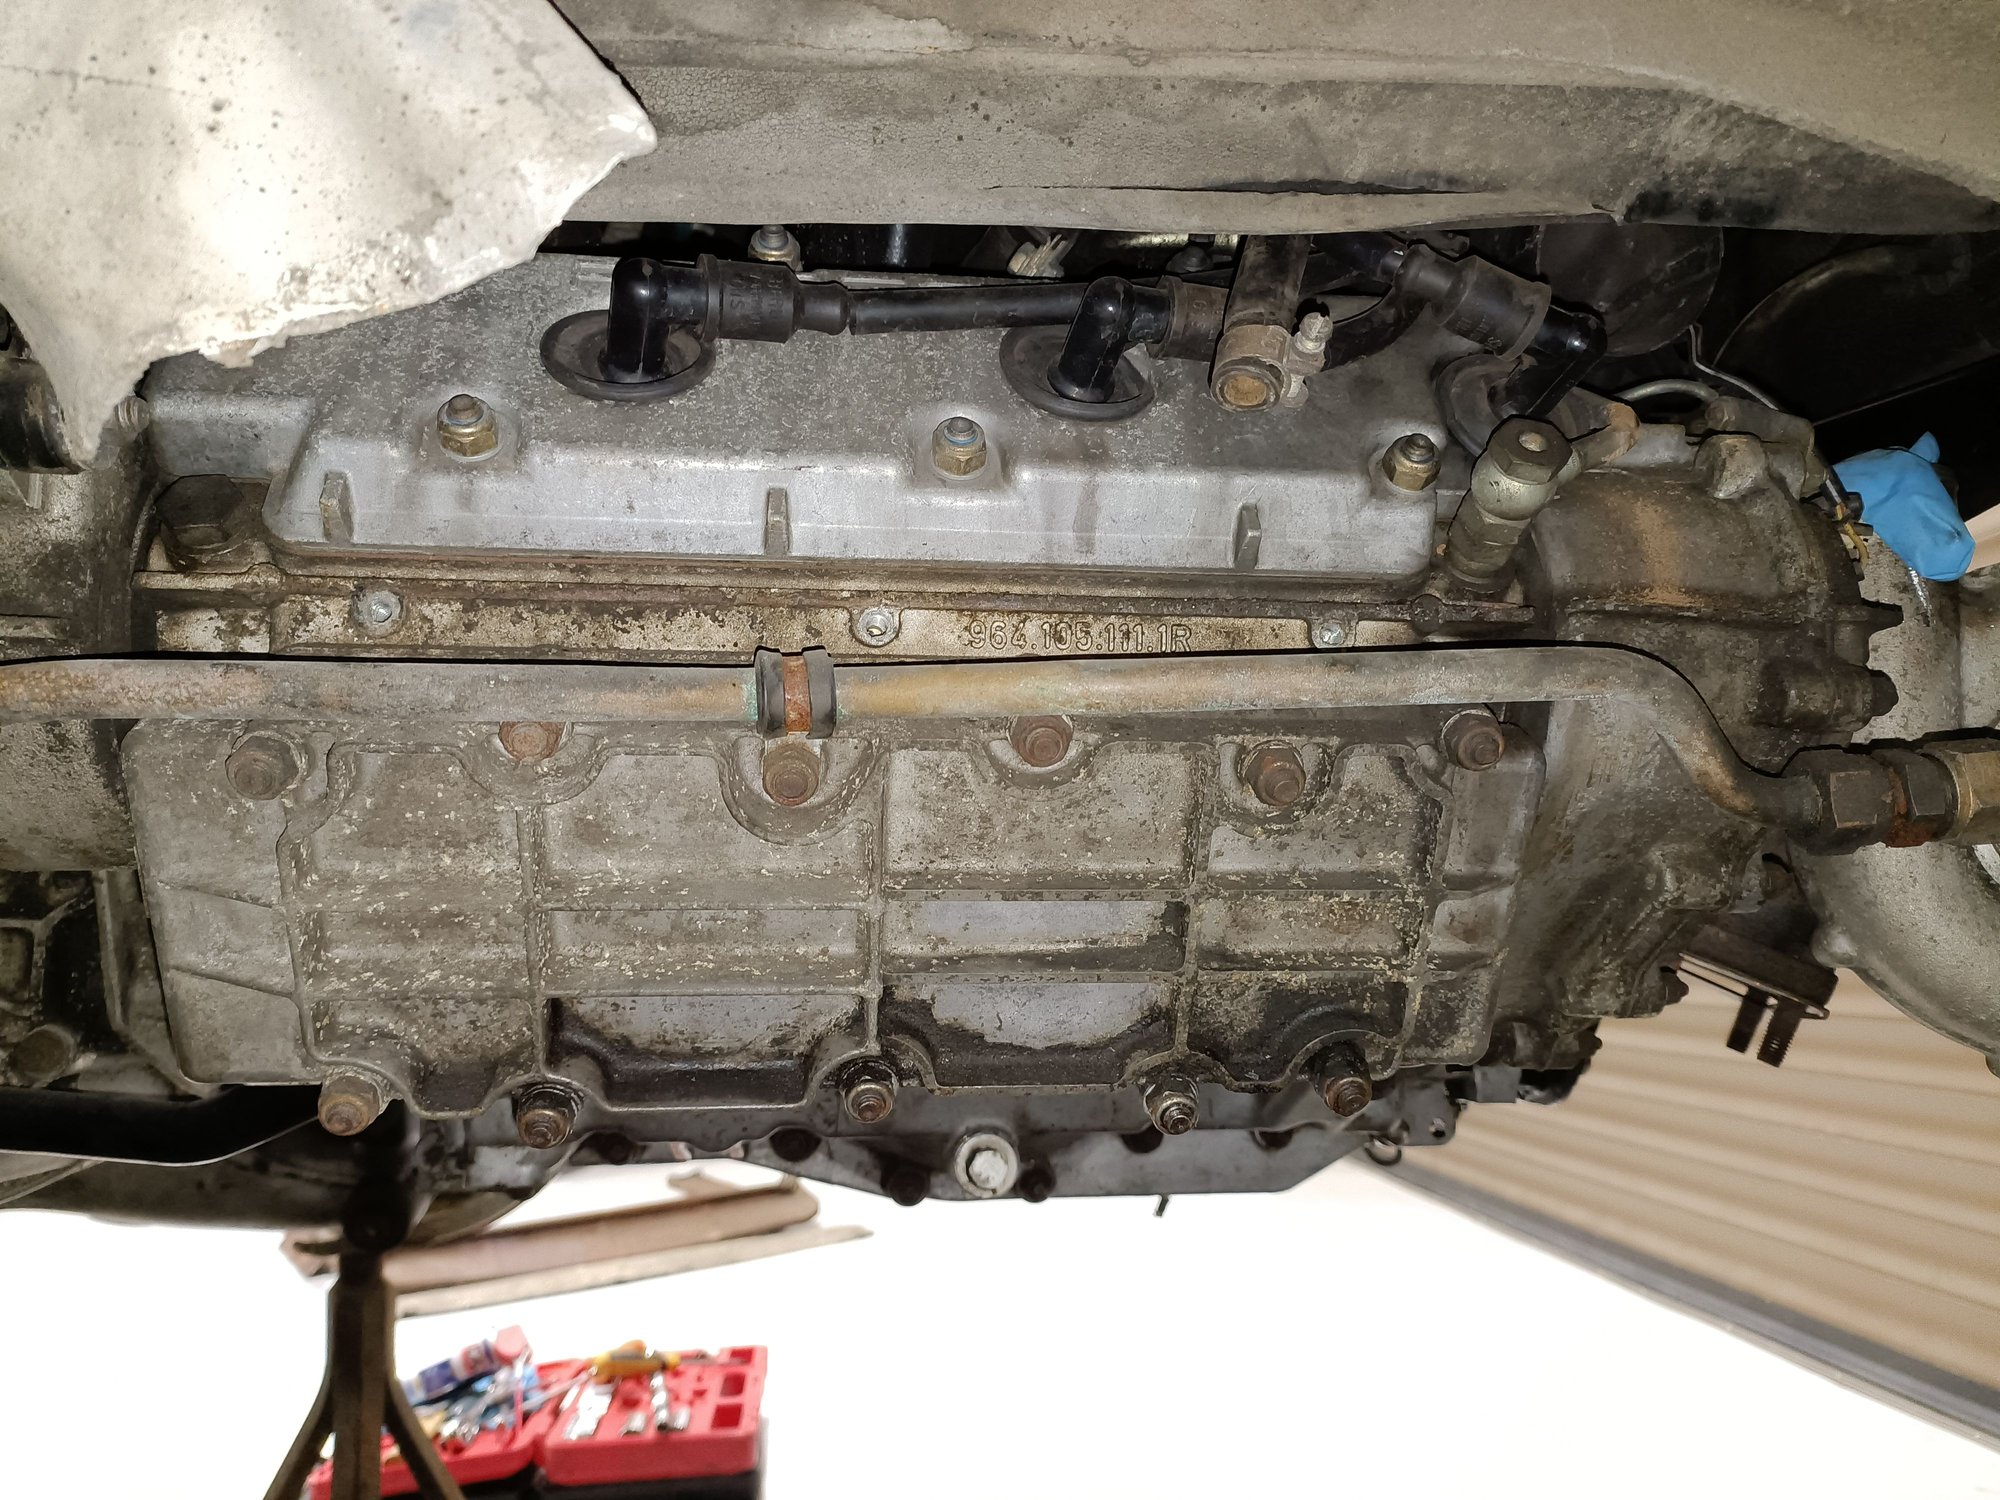
Take the valve covers off. inspect for broken head studs. I found one.
No, that's a good point and something I hadn't considered. I'll definitely aim to do that at the same time (I want to clean up and paint the covers before fitting the new gaskets anyway).
I guess it would also make sense to do valve check/adjustments at the same time, since the access is far better with the exhaust system off and the engine tin removed.
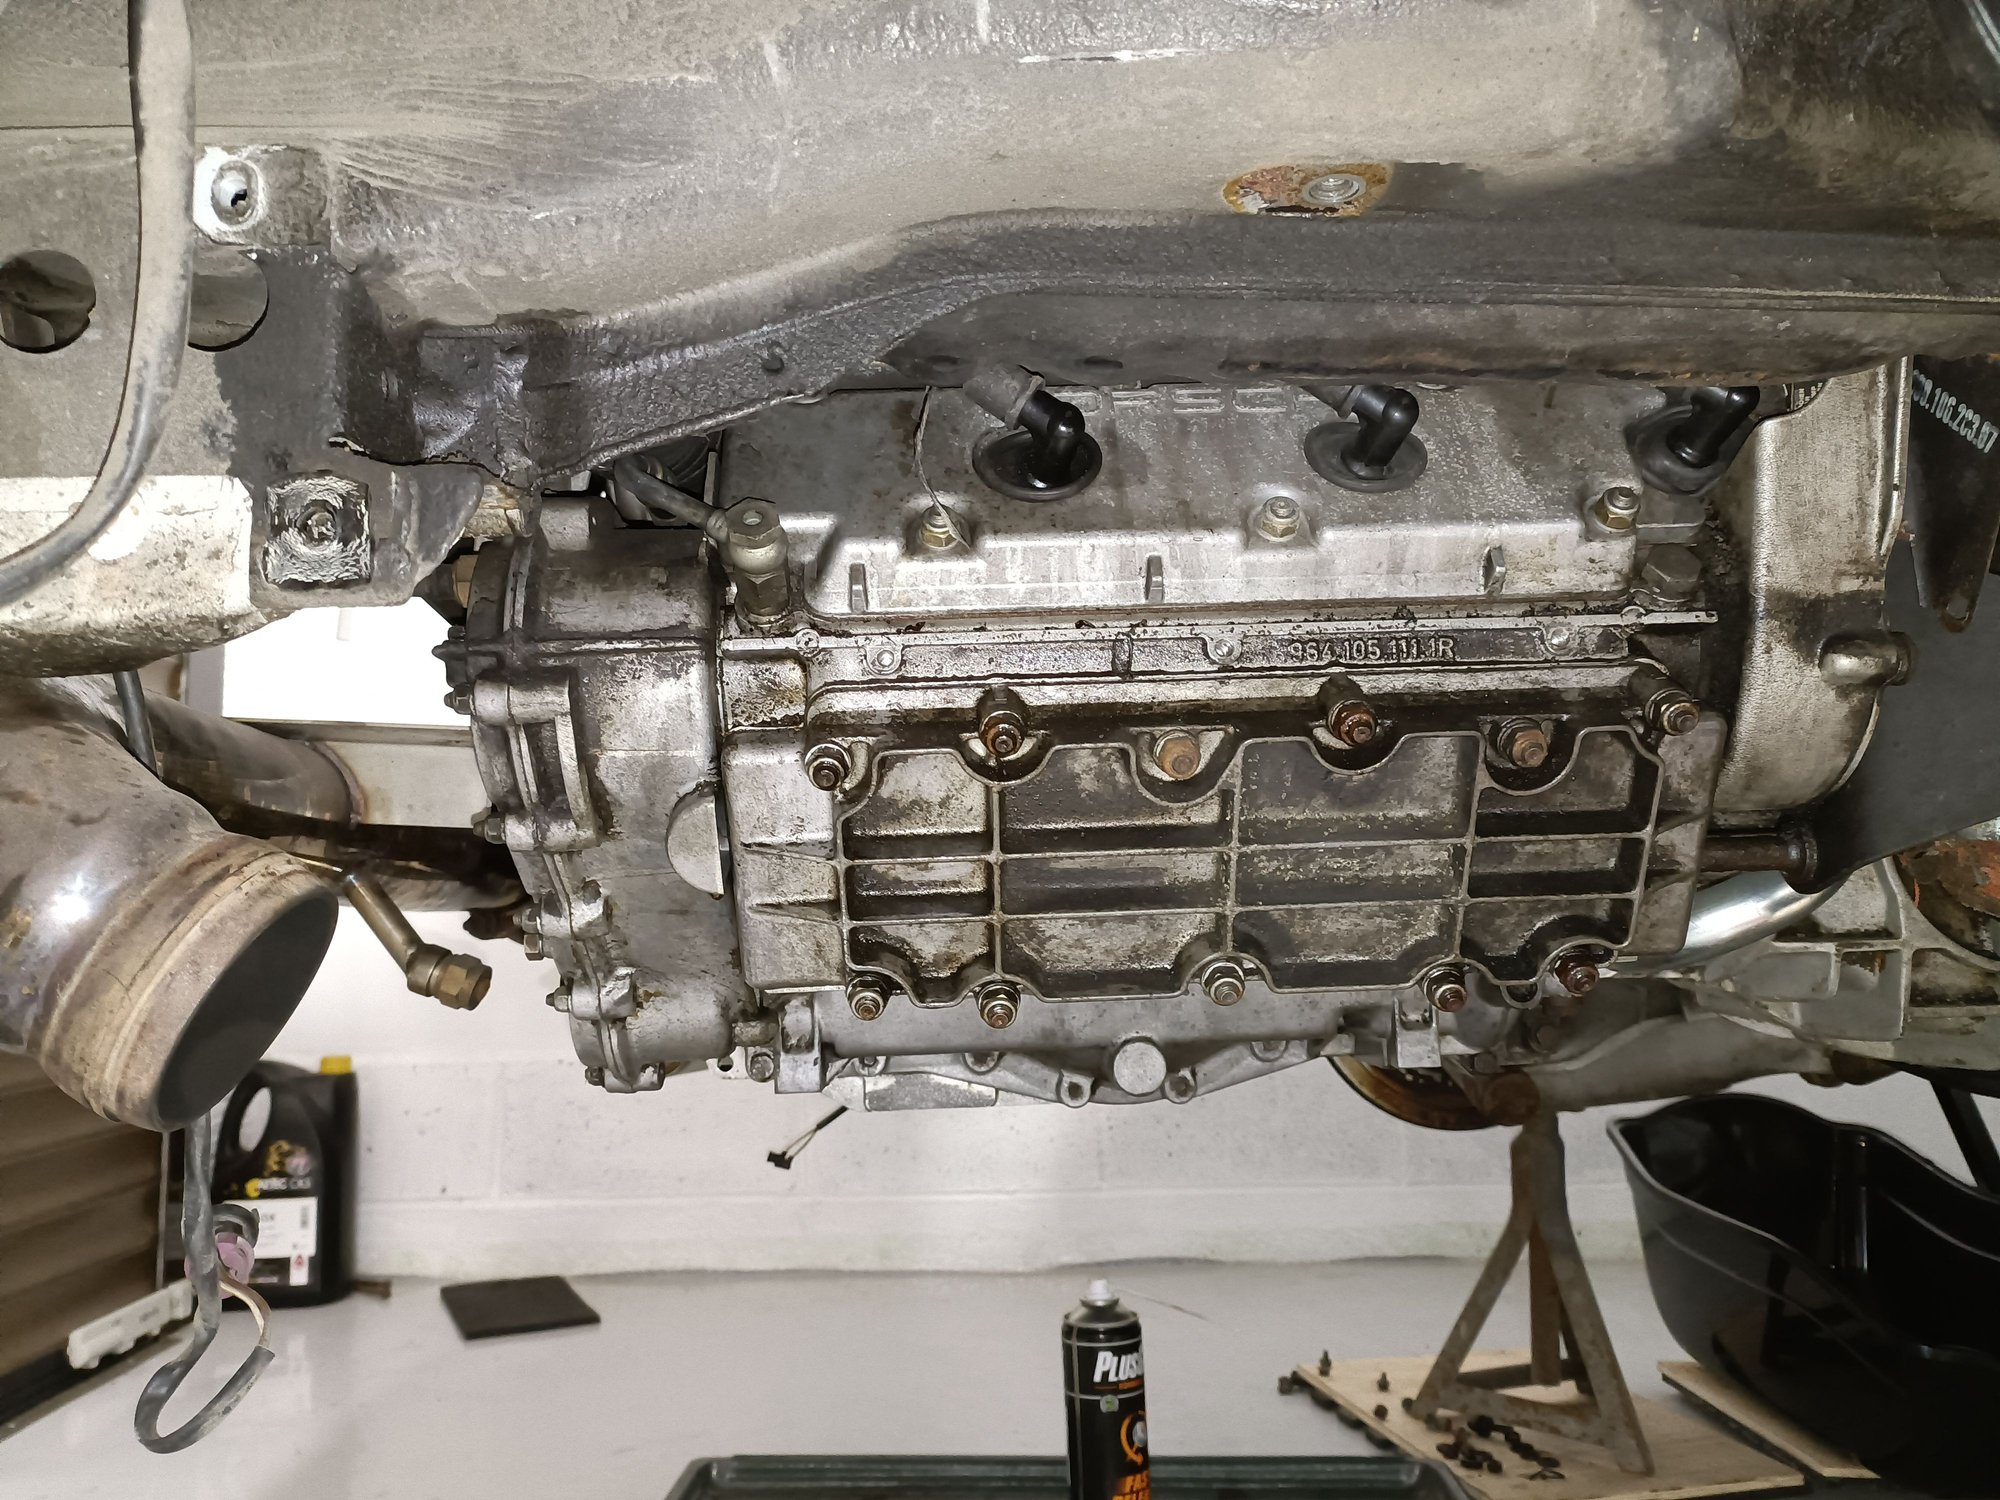
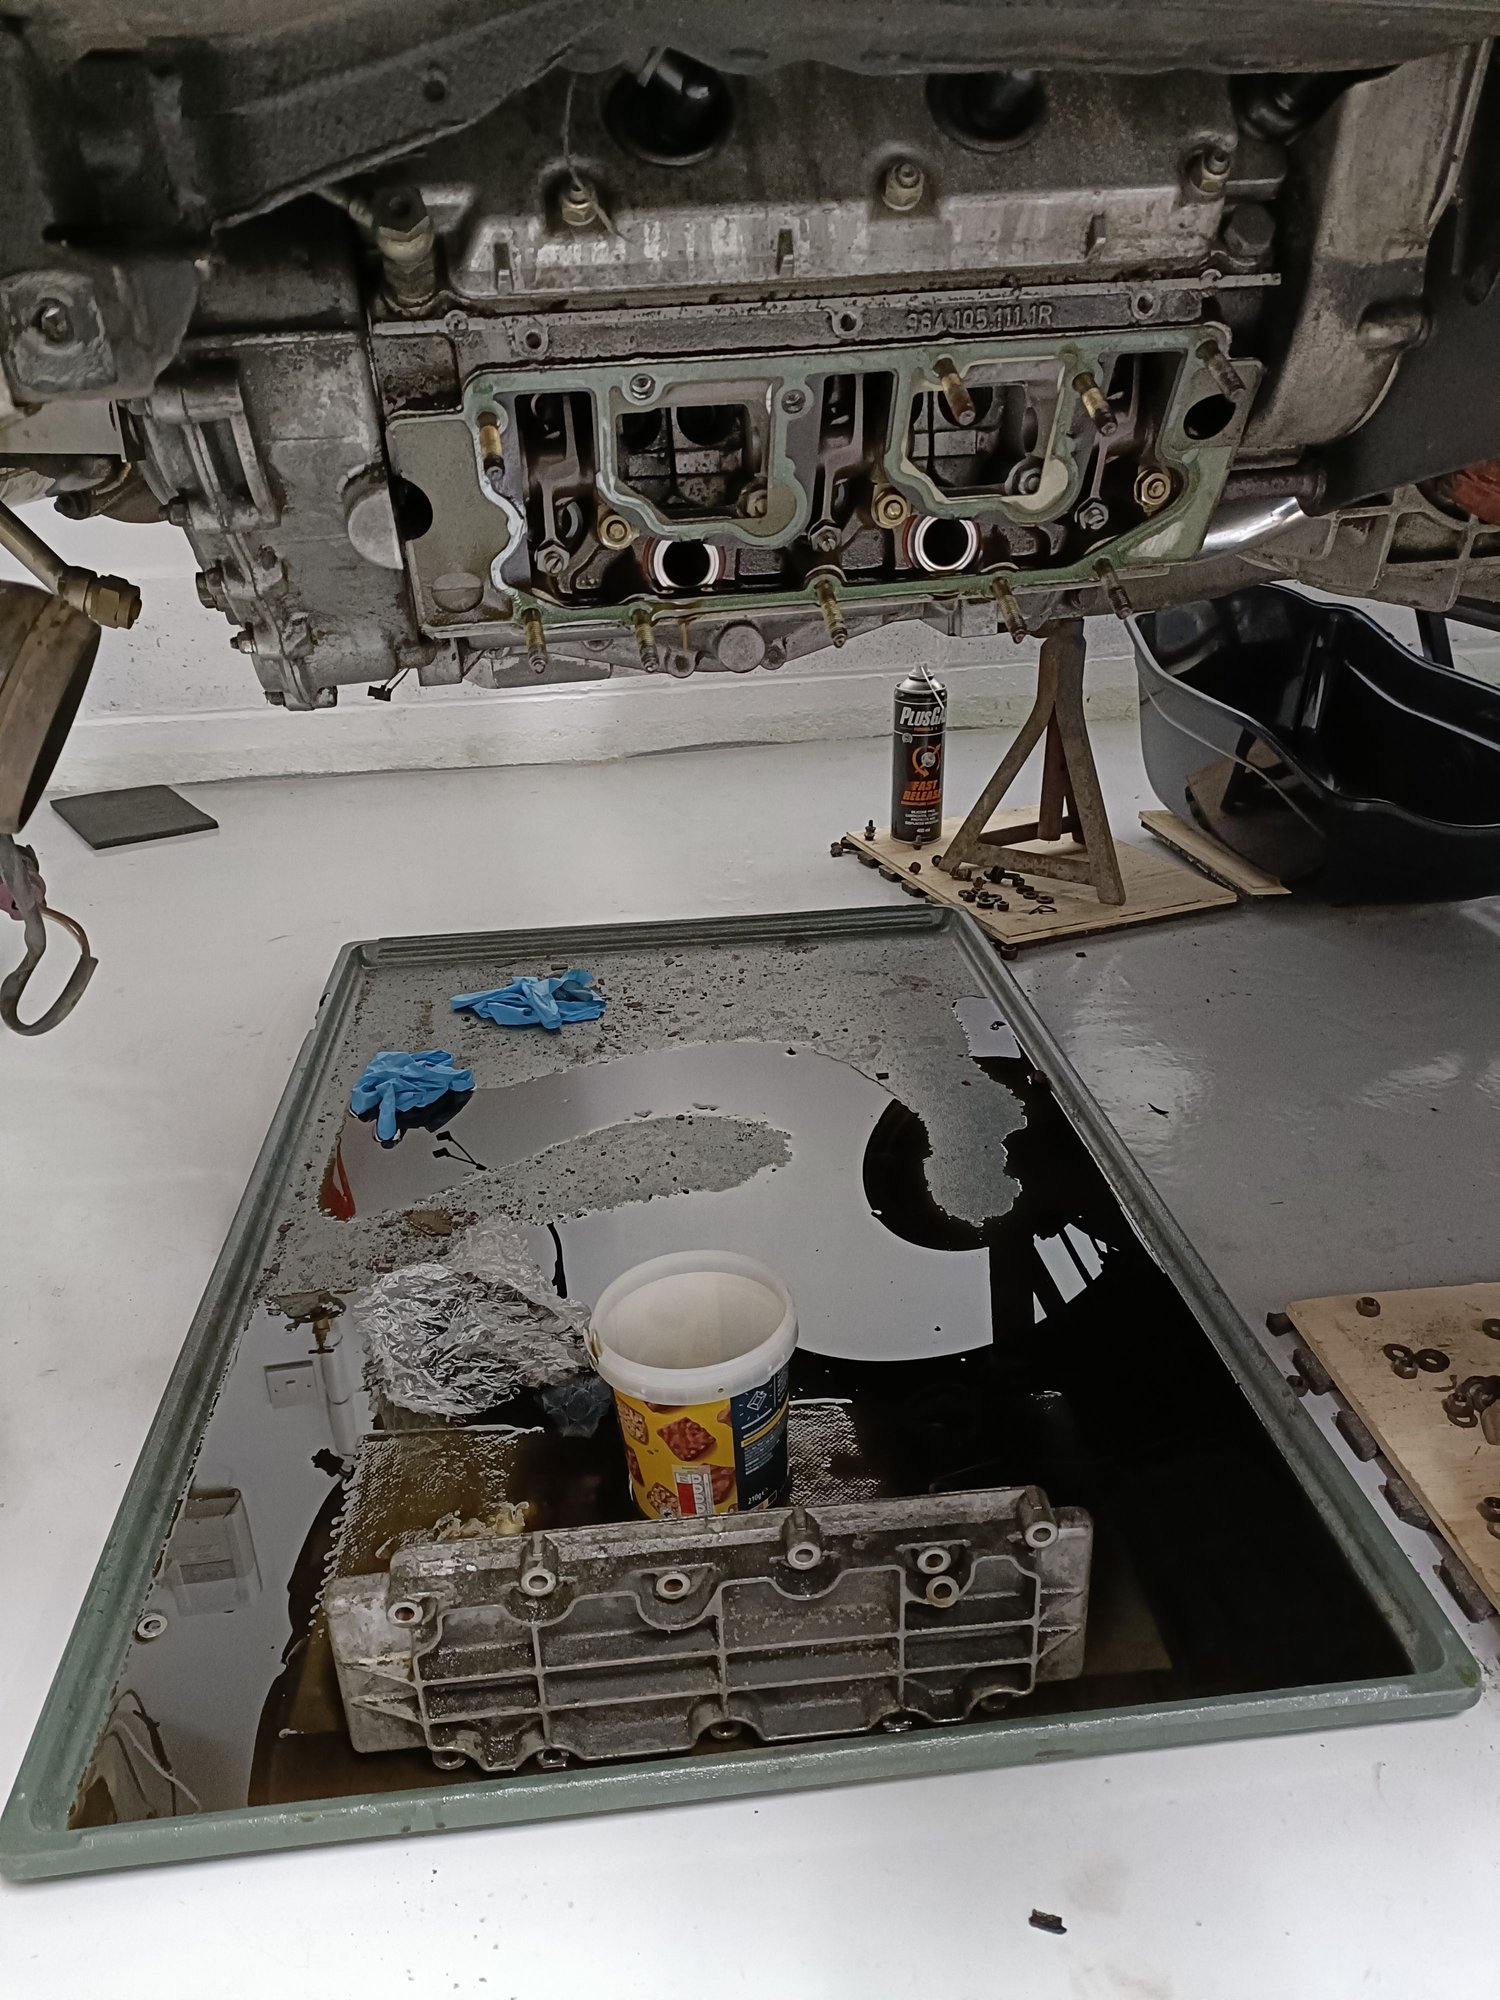
Started to take off the cam/valve/rocker covers to clean up, check valves, check head bolts and fit new gaskets...
There was a little more oil than expected that came out!
I was expecting a little bit left behind the cover and then some drips to come backwards in the return tubes... I didn't expect a big slosh of it to be in the cam box itself. I am mighty glad that tray was there... That would have been a very messy (and slippy) resin floor....
Hi, we are in the same climate zone and I have seen many Porsches but not just even one was nearly this badly corroded. I am still looking for an explanation.
Is there a nut missing on the shaft of the compressor wheel or did you remove it?
Here's mine after some minor work, should go in next week.
Hi, we are in the same climate zone and I have seen many Porsches but not just even one was nearly this badly corroded. I am still looking for an explanation.
Is there a nut missing on the shaft of the compressor wheel or did you remove it?
Here's mine after some minor work, should go in next week.
Cheers, Fritz
Combination of salted roads and living in a coastal region off the North sea... plus, I suspect, a lack of maintenance from the 6(!) previous owners who had the car in the 13 years or so of its life, before me. Lack of investment has caught up with it over time
The turbo is as it came, it still has the factory green paint/mark applied across the threads and lock nut. If you look at, say the standard K27 7200 shown on FVD, it has the same flat nut and green mark applied across it. There's nothing missing I am aware of:
I won't get mine looking as tidy as you have, since I am not dropping it (yet), so things like the fan, rear engine tin etc, will have to wait until I have that opportunity. This is the first stage - exhaust, engine tin, rear bumper brackets etc. Second stage in perhaps 6 months is new suspension (Bilstein HD and HR red springs), new.drop links, track rods and ball joints, plus polybushes all round (and cleaning.of all alloy suspension parts). After that, it's the big one - full windows out, panels off respray. But that one might take me a year or so to save for.
The turbo is as it came, it still has the factory green paint/mark applied across the threads and lock nut. If you look at, say the standard K27 7200 shown on FVD, it has the same flat nut and green mark applied across it. There's nothing missing I am aware of.
You're absolutely right, there's nothing missing. My memory has deceived me, I was of the opinion that there is a hexagon nut on the shaft.
The explanation of the condition is understandable, it is probably the sum of the negative factors.
"Stage one" will always expand on cars like this to much more than actually intended. I just wanted to seal a few minor oil leaks, now I have new intake flanges, new injectors, new axle struts, etc, etc..
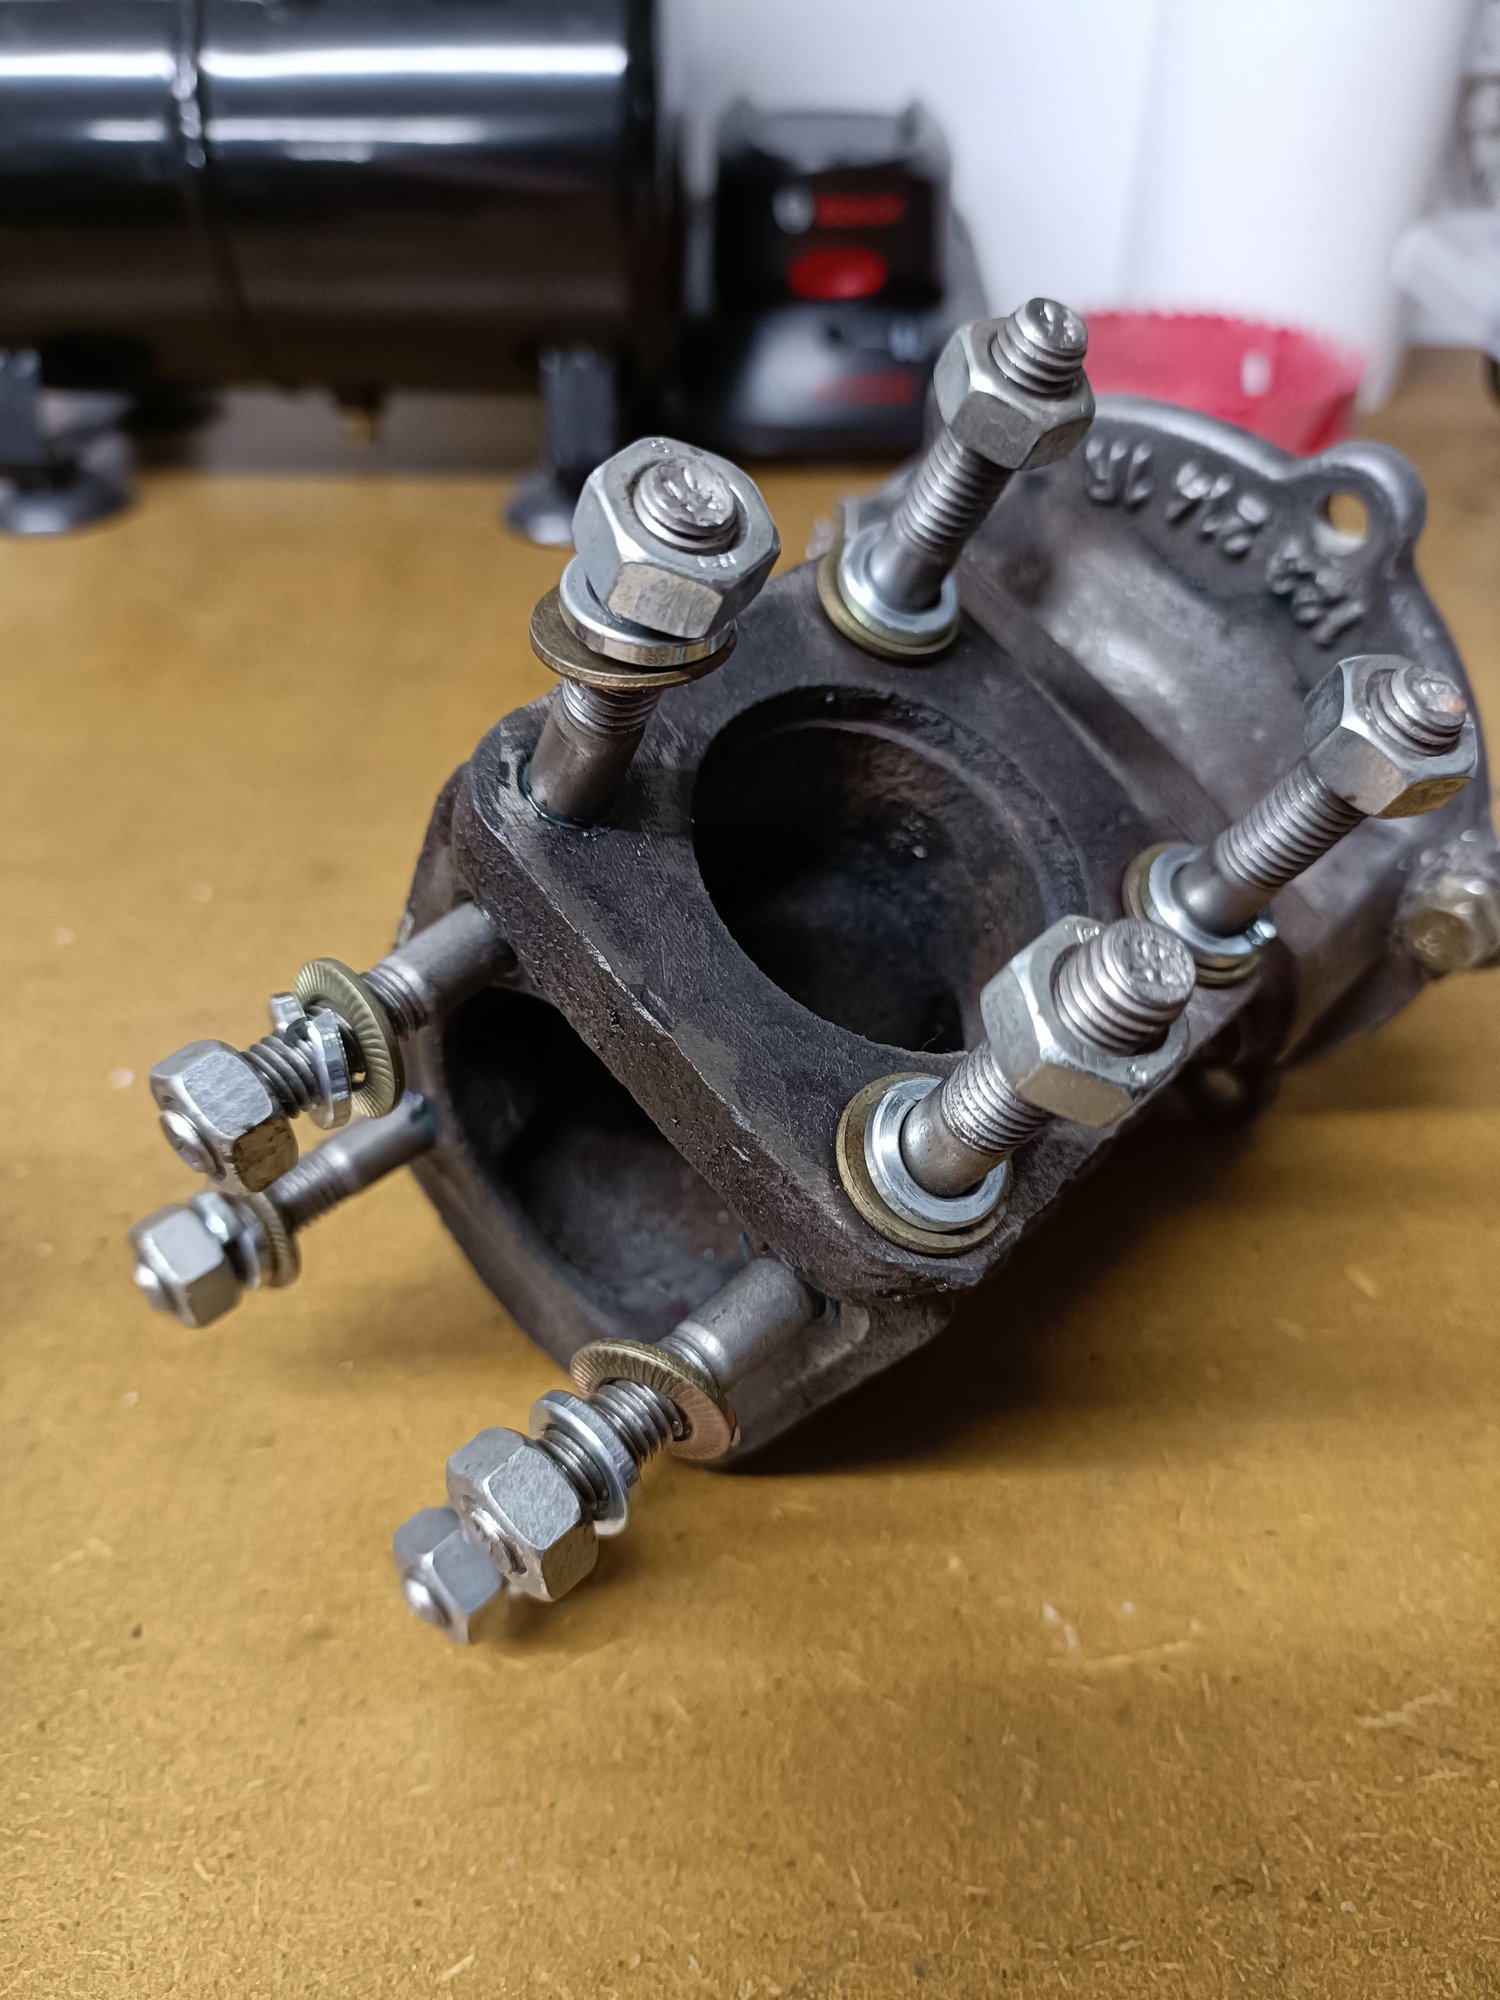
Wastegate stripped down and all studs now replaced (correct 'copper' lock nuts also ordered):
I'm in the middle of constructing a temporary media blasting enclosure, so after I receive my last few bits of airline connectors and host clamps I will be moving on to de-rusting of various bits and pieces.
I think you can buy new valve covers for not too much extra - rather than adding paint to something that isn't painted, or maybe they clean up well blasting with walnut or something...make sure to use the gaskets with the silicon bead - they don't let any oil through at all, great product. I think they're Victor Reinz. Also you prob know the "back side method" for valve adjust...much easier.
I'm holding a new one of the exhaust gaskets in my hand right now, they're quite thick - and if you pay attention to the pattern of unevenness of the manifold as you torque them down you probably will get a good result.
My 965 is in the hands of my trusted tech right now for new clutch slave and crankcase breather pipe and p/s belt and cam seals (do all those while it's easier to move around!) and chaincase re-seal, so having him rebuild my wastegate also.
Check all your oil lines, see if any leaks are forming at the joints, all the way up to the cooler. You can also replace your temp sensor and ballast which may be dust based on the level of corrosion present.
I think you can buy new valve covers for not too much extra - rather than adding paint to something that isn't painted, or maybe they clean up well blasting with walnut or something...make sure to use the gaskets with the silicon bead - they don't let any oil through at all, great product. I think they're Victor Reinz. Also you prob know the "back side method" for valve adjust...much easier.
Just checked my gasket set, and it's a VR pack (930.105.902.00) ... but the gaskets are just fibre; no silicone bead on them. They have been in a box for quite some time though - I don't know if there is a superseded part now?
The 'back side' adjust method definitely seems far more straight forward than the dial gauge method. I'll be using that method for sure.
Check all your oil lines, see if any leaks are forming at the joints, all the way up to the cooler. You can also replace your temp sensor and ballast which may be dust based on the level of corrosion present.
Fortunately I redid most of the oil lines around a year ago - not to the front, mind you; the rockers and other panels haven't been off yet. I ended up replacing the hard 'L' pipe and the 'S' hard pipes from the side of the crank case as the latter had gone porous. My only remaining concern with the oil lines right now is the flexi hose that runs from the end of my backdated crankcase hardline, up and around the top of the wheel well. The hose itself is fine, but someone has repaired it in the past and the connector on the (hard line) end is a weird, awful, giant brass thing with an internal olive. It's not what I would call ideal... but I only get the odd drip from the union now and again, so it has never been a concern until now.

 07-10-2022, 04:47 PM