When you click on links to various merchants on this site and make a purchase, this can result in this site earning a commission. Affiliate programs and affiliations include, but are not limited to, the eBay Partner Network.
I managed to get 10 out of the 12 nuts/studs undone to remove my heat exchangers, which was a much better result than I expected.
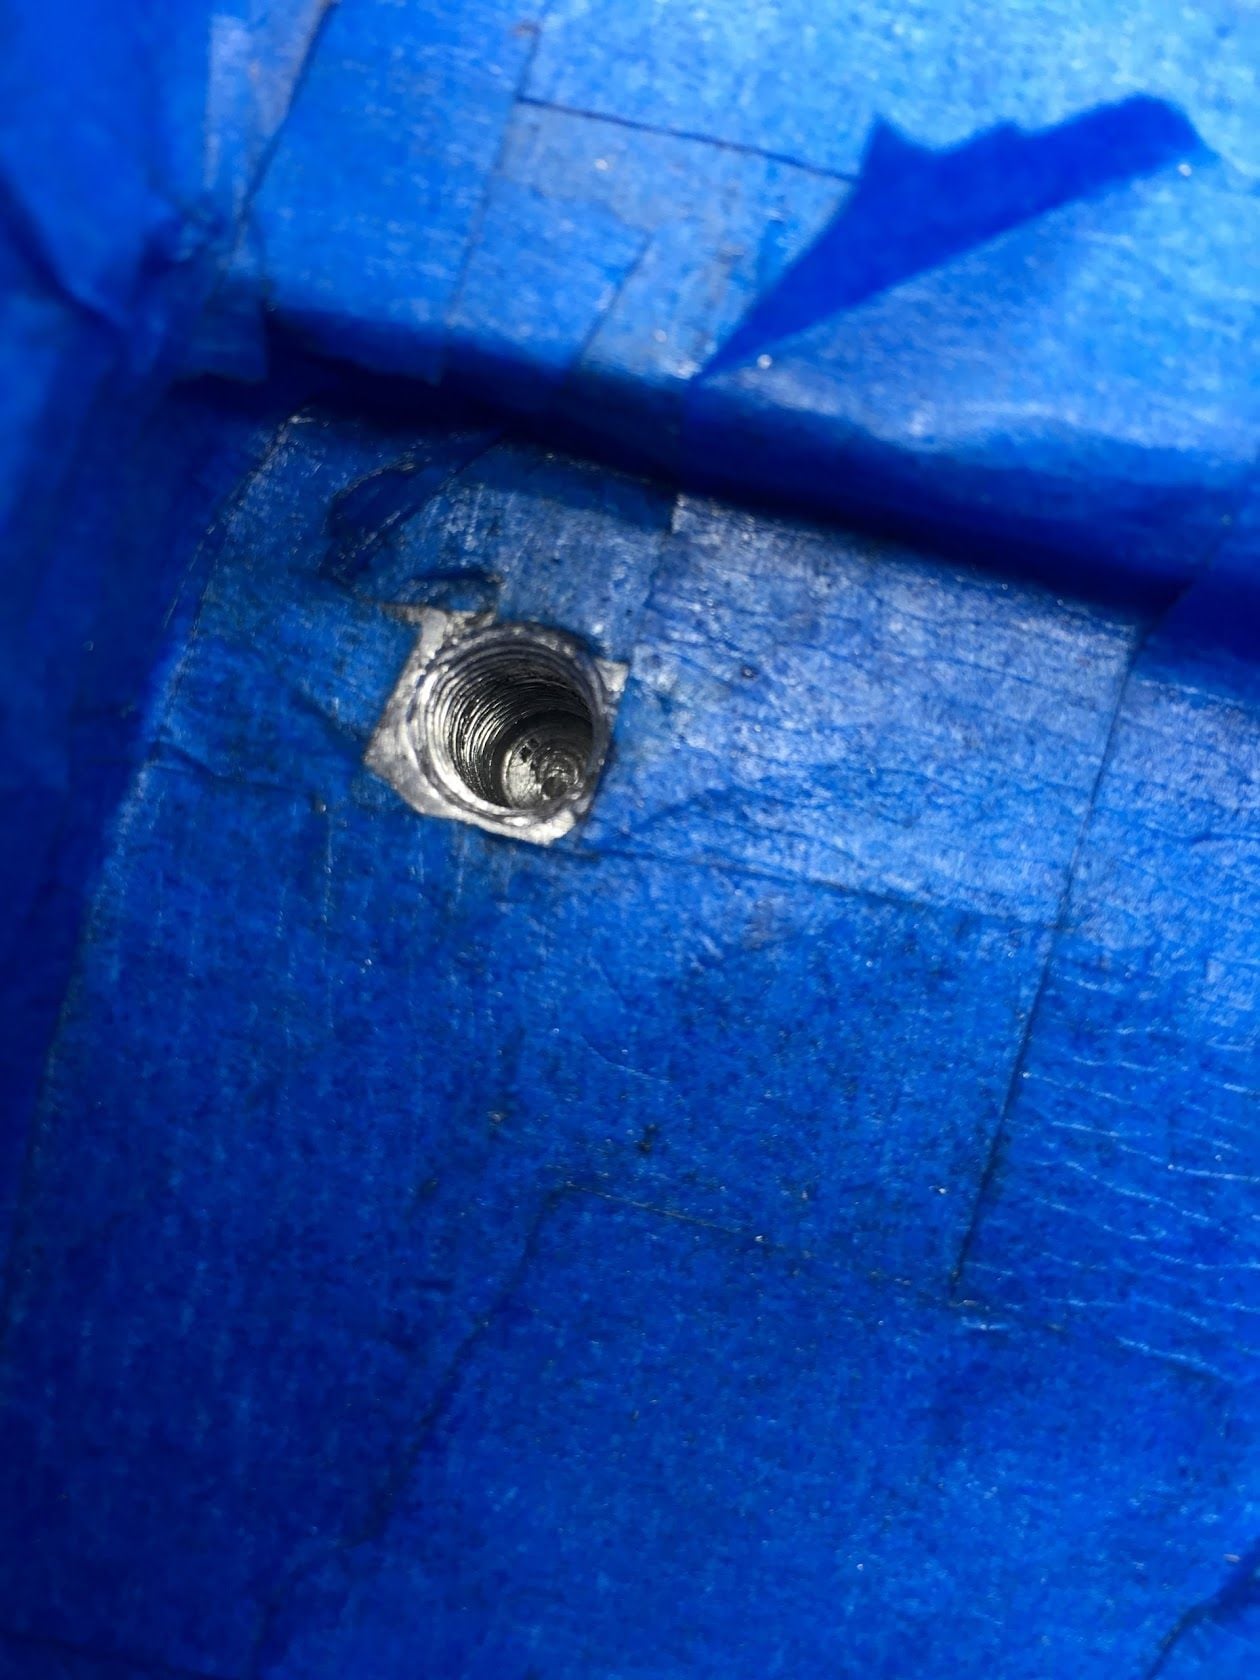
The Two problem ones have snapped but there is a fair amount of stud still protruding. I tried heat and grips on one but it wasn't moving and I didn't want to force it as the grips could only work at an angle.
So my question is, what is the best tool to buy so I can remove them without them snapping and having to drill them?
I looked around and there seems to be 2 choices.
An impact stud extractor.
Or
A stud puller.
Any input on these or any other suggestions would be great.
Mapp gas torch and vice grips and a can of PB blaster.....
Originally Posted by -nick
I second mystert's suggestion. Get it red hot.
I tried this method on one of them but it would not budge. I have the exact items you listed.
The grips are at a slight angle and I can see the Stud twisting as it enters the head. I really don't want it to snap so I stopped.
This looks like great bit of kit. Hopefully I won't need to go down this route. TBH the cost is going to be prohibitive, as I'll most likely only use it the once (or twice).
thanks for the link 👍
In my experience (stud broken just below the head surface) welding a nut even after building up the stud with enough material to stick out above the head surface didn't provide strong enough weld to break it loose. Ended up successfully drilling by hand. My engine was out thou, if it was still in the car I would get the Stomski kit.
Nice work Andrew.
i tried heat and grips and penetrating fluid on and off all day yesterday without success. I eventually put an impact stud extractor on them and managed to snap them both off almost flush with the heads. ☹️☹️
i don't want to drill myself, so I'm taking the engine to my friendly machine shop to do it this morning. I figure it will cost me a bit, but I'll at least have the peace of mind to know they are done right. I'll probably get them to remove the rest while it's there so I can replace with new and a little anti seize too.
Thanks to all for your input, seems s very common issue.
a good tip is to convert to 12mm copper coated nuts, it gives a bit more room for the socket, alo get one of the combined socket/flexi 12mm sockets. I reccomend Nickleslip as well, great product, if a bit expensive.
12mm copper coated...... That's great advice! I already ordered 500ml Nickleslip. I tried to get Permatex but ended up buying Nickleslip.
All the studs gaskets, seals and the 4 Allen key nuts along with 4x oil pipe alloy washers from my local OPC.
The machine shop removed all 12nstuds, including drilling 4 of them. Also, they repaired my left heat exchanger and made me a new exchanger to cat flange.
I freed up the left flapper box and bought a new length of flexi pipe.
So to fix heater slight fume issue and (Hopefully) one of the oil leaks has come to around �550.
Sounds a lot, but actually with these cars it is all about doing it right 1st time.
I had already bought RS mounts and Polybush gearbox mount.
I also bought an RS clutch and flywheel kit from Rose Passion.
I spent �600 on seals gaskets 1x small engine tin from the OPC.
My wallet has well and truly been hoovered and I'm just scratching the surface ��
Someone said `Engine out wallet open` and they weren't lying lol!

 06-13-2017, 07:01 PM