964 C4 light refurb
#1051
Rennlist Member
Thread Starter
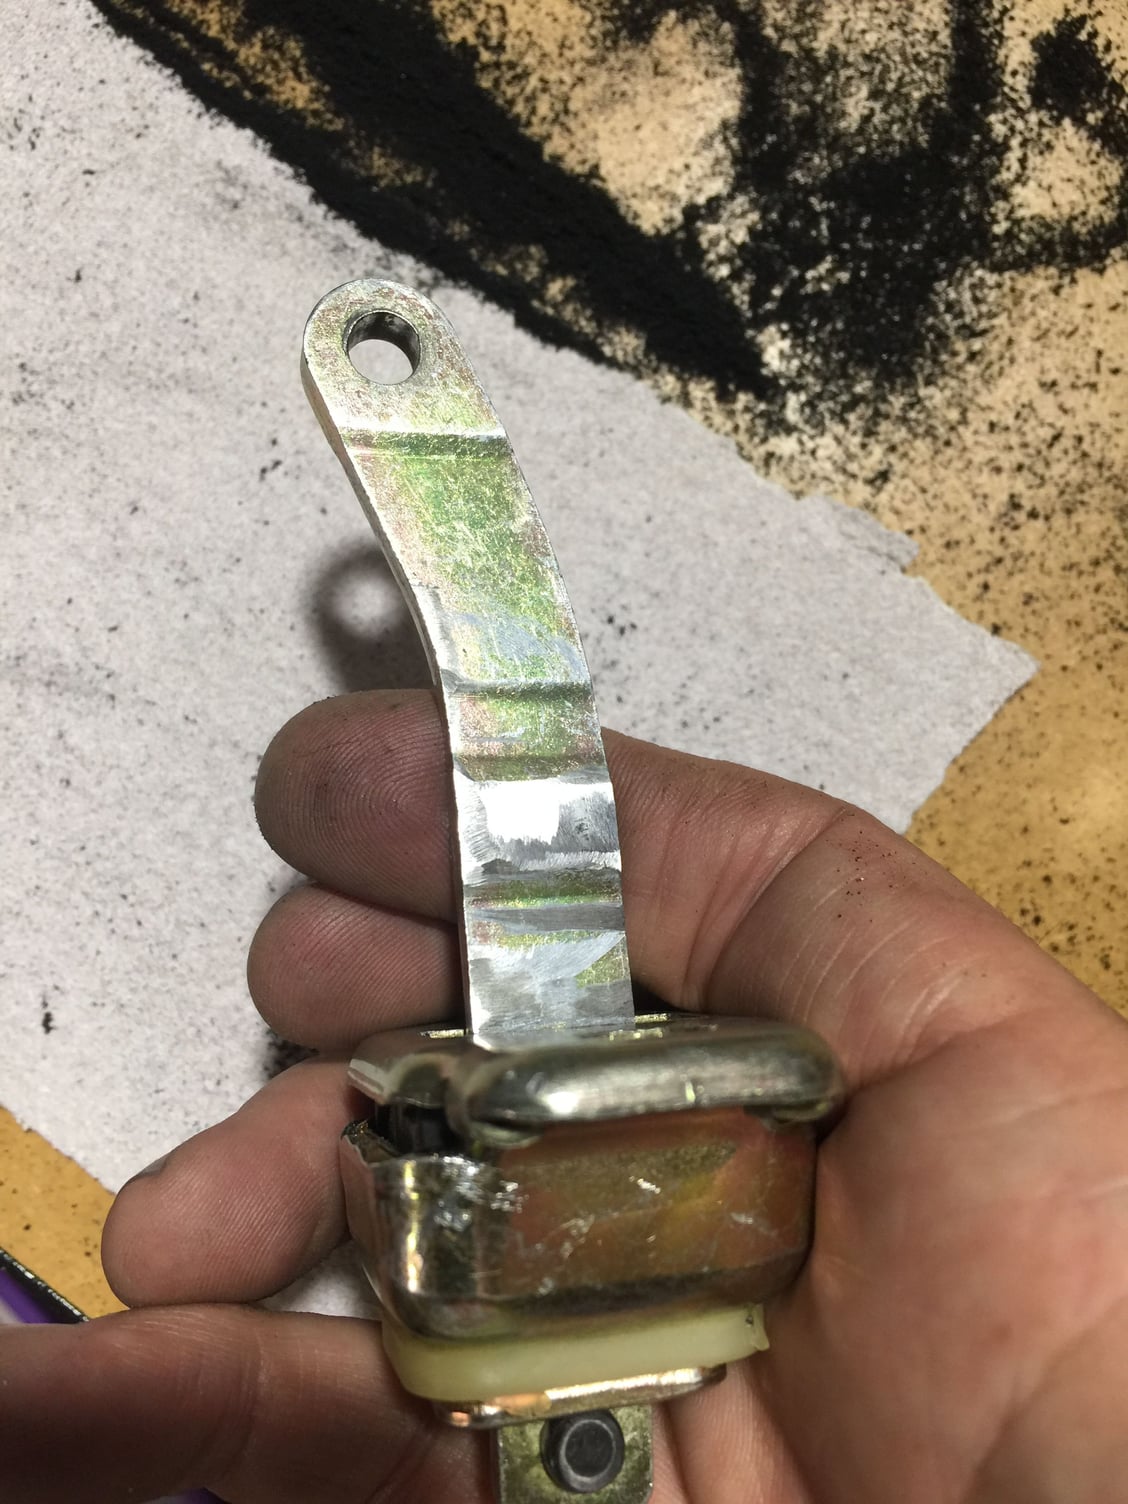
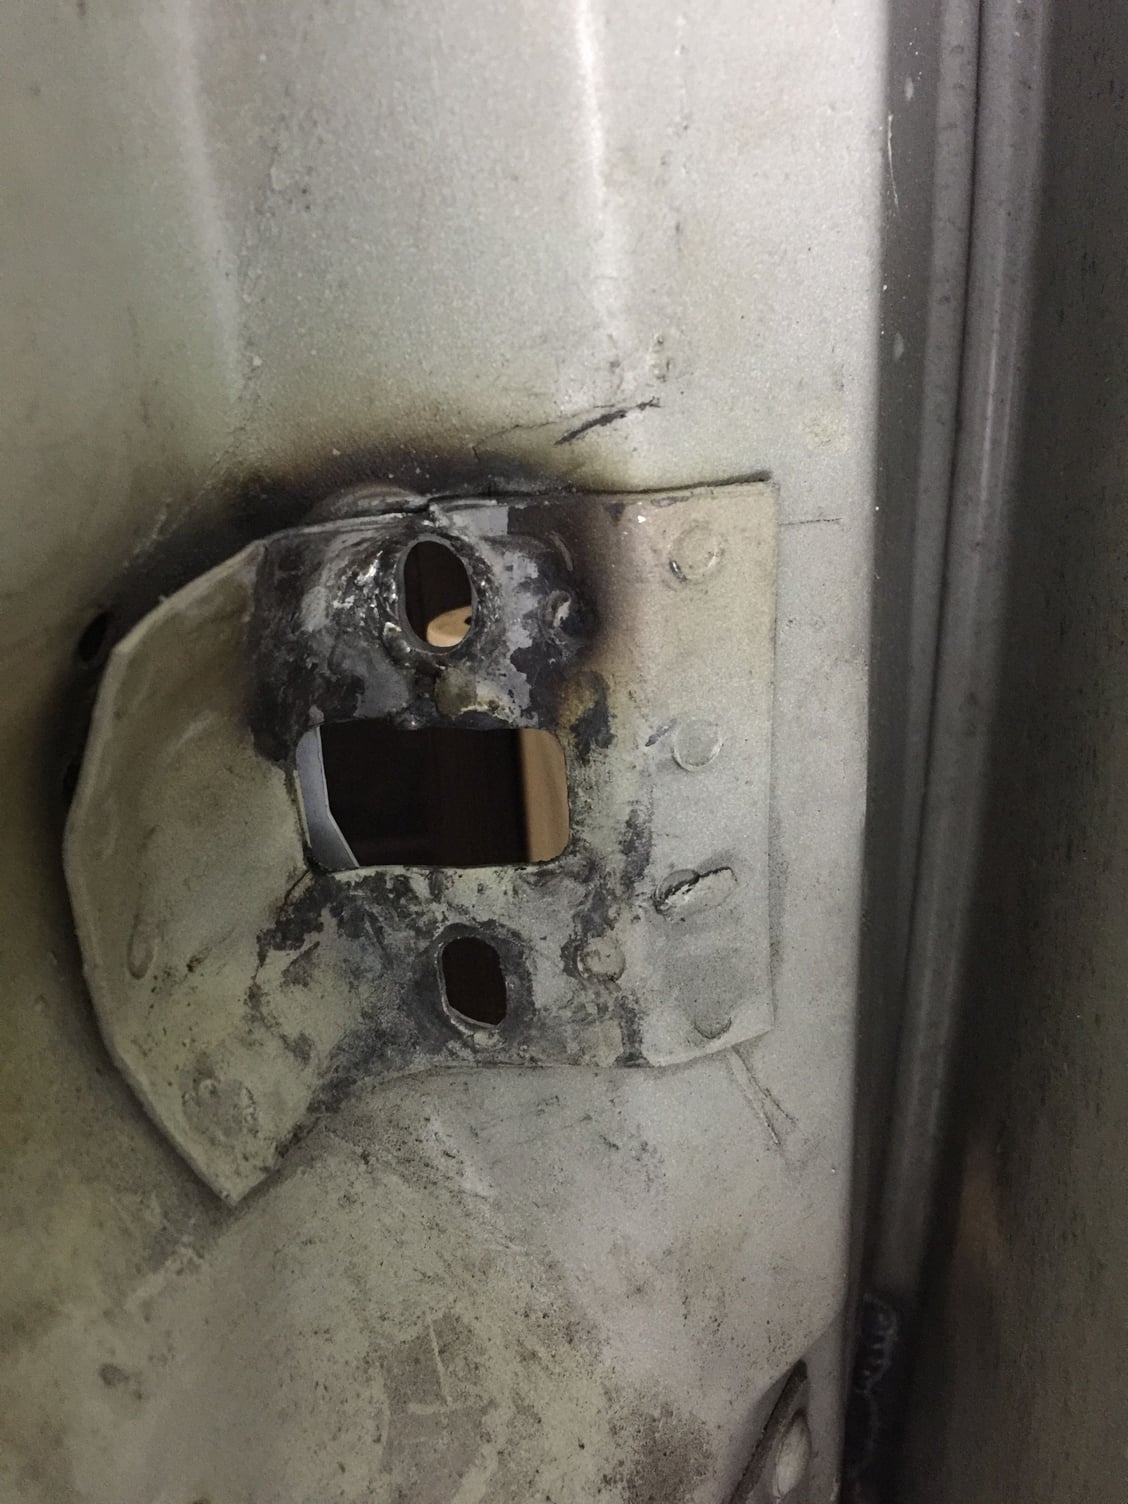
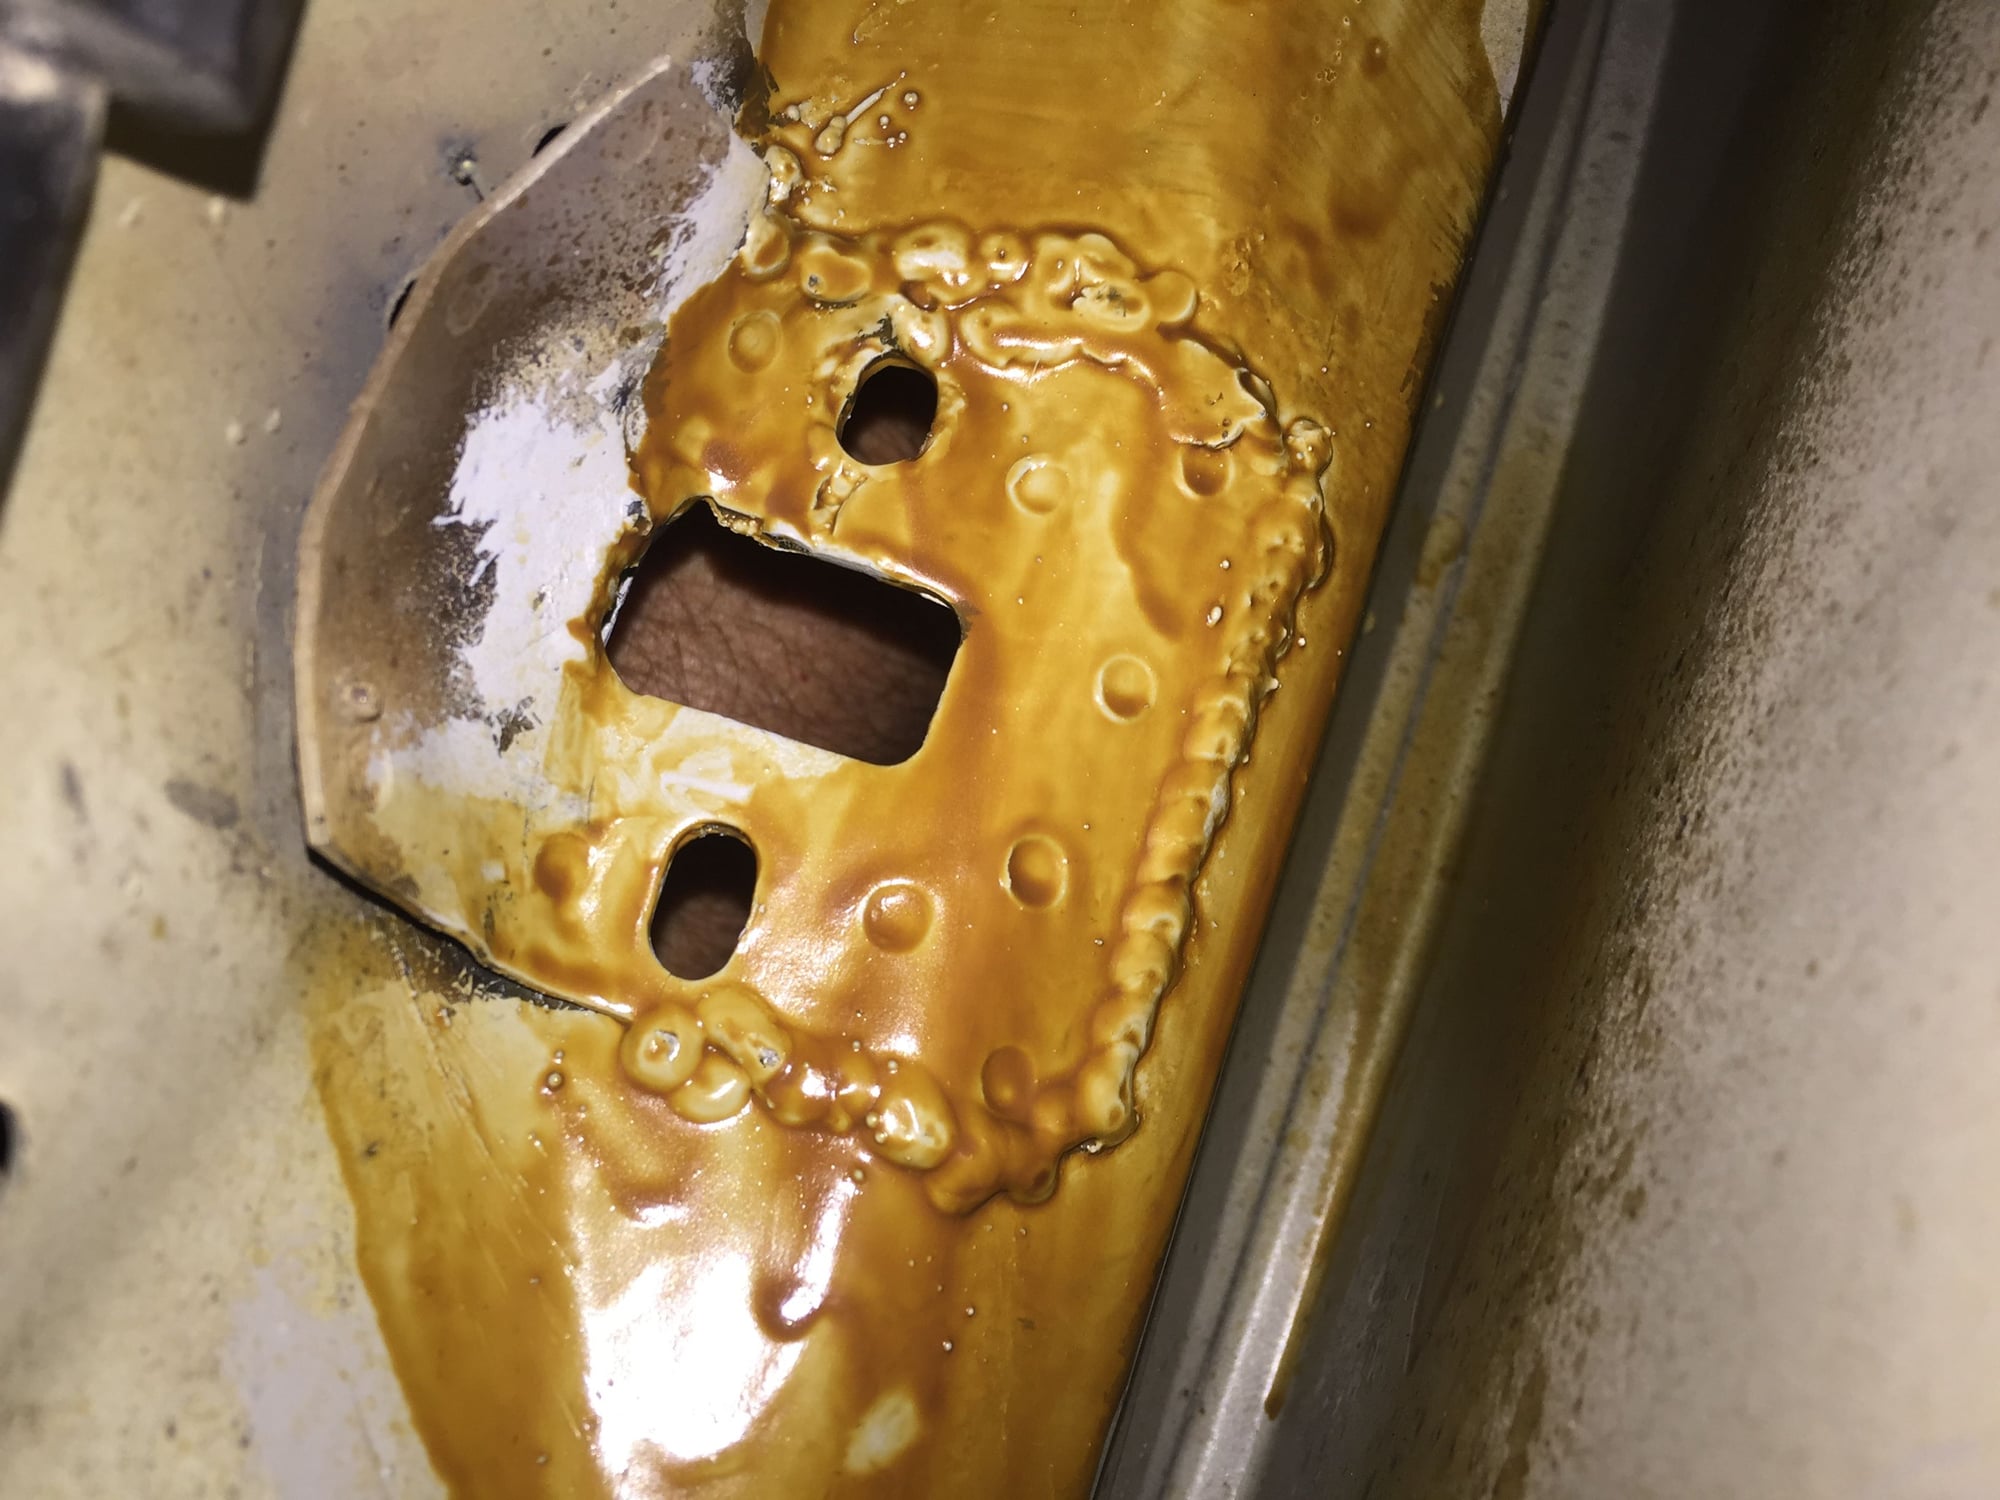
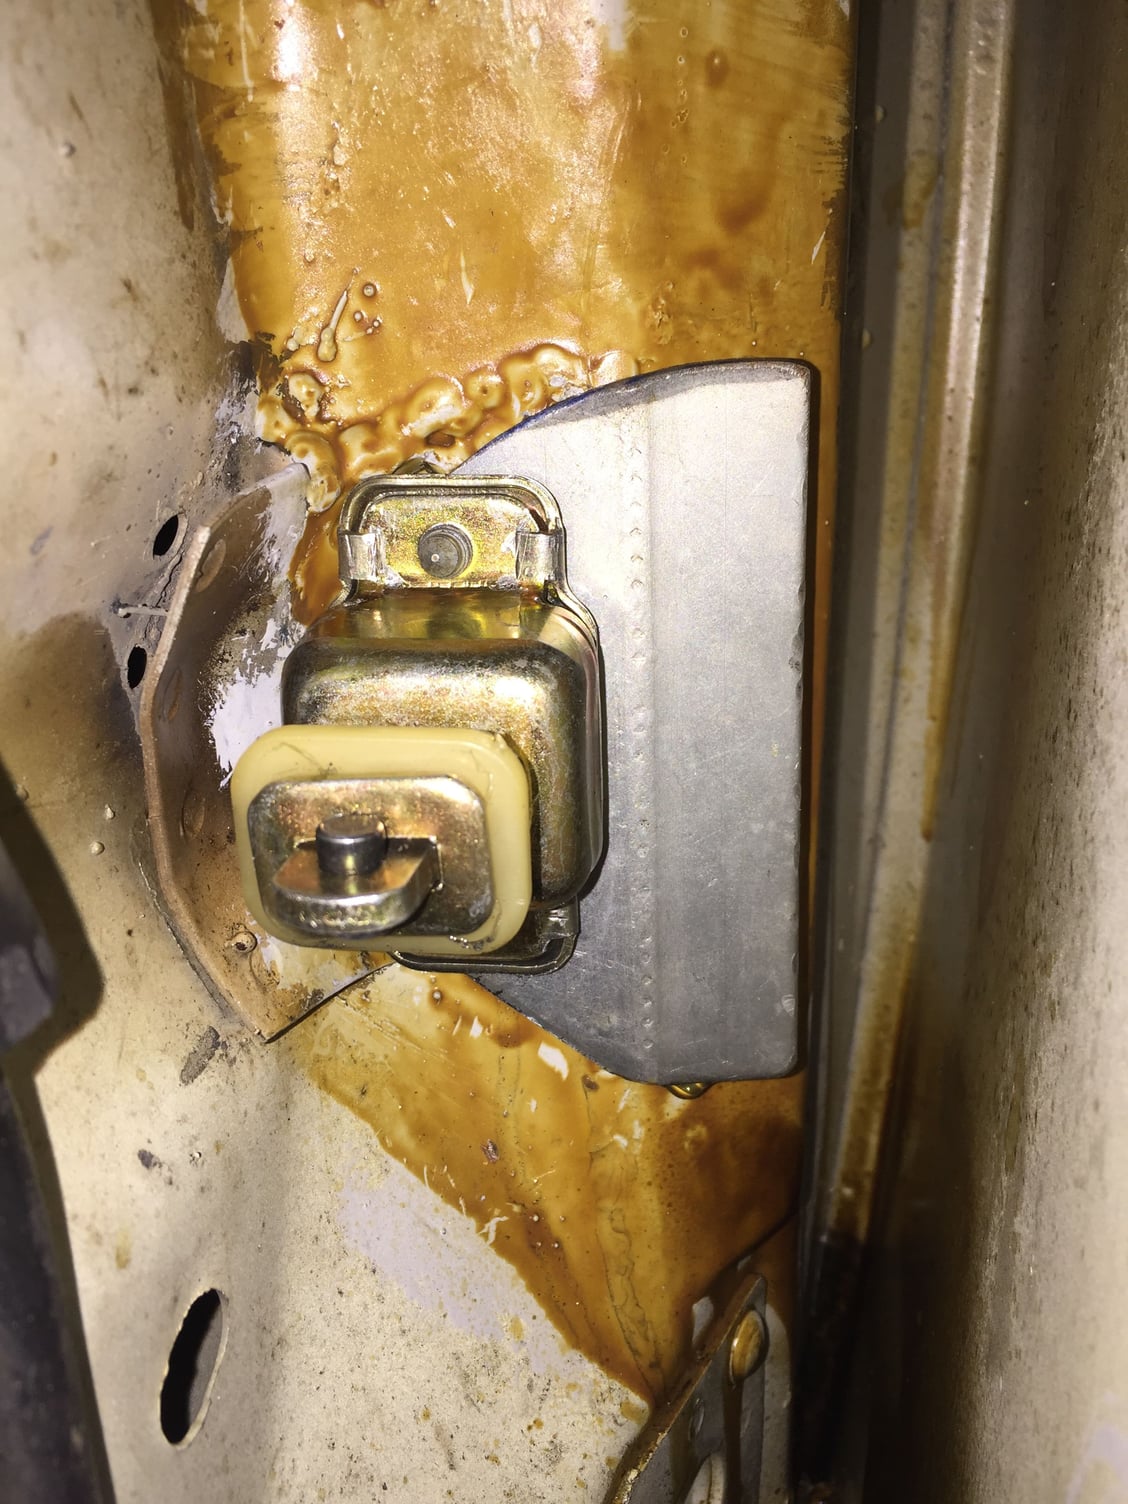
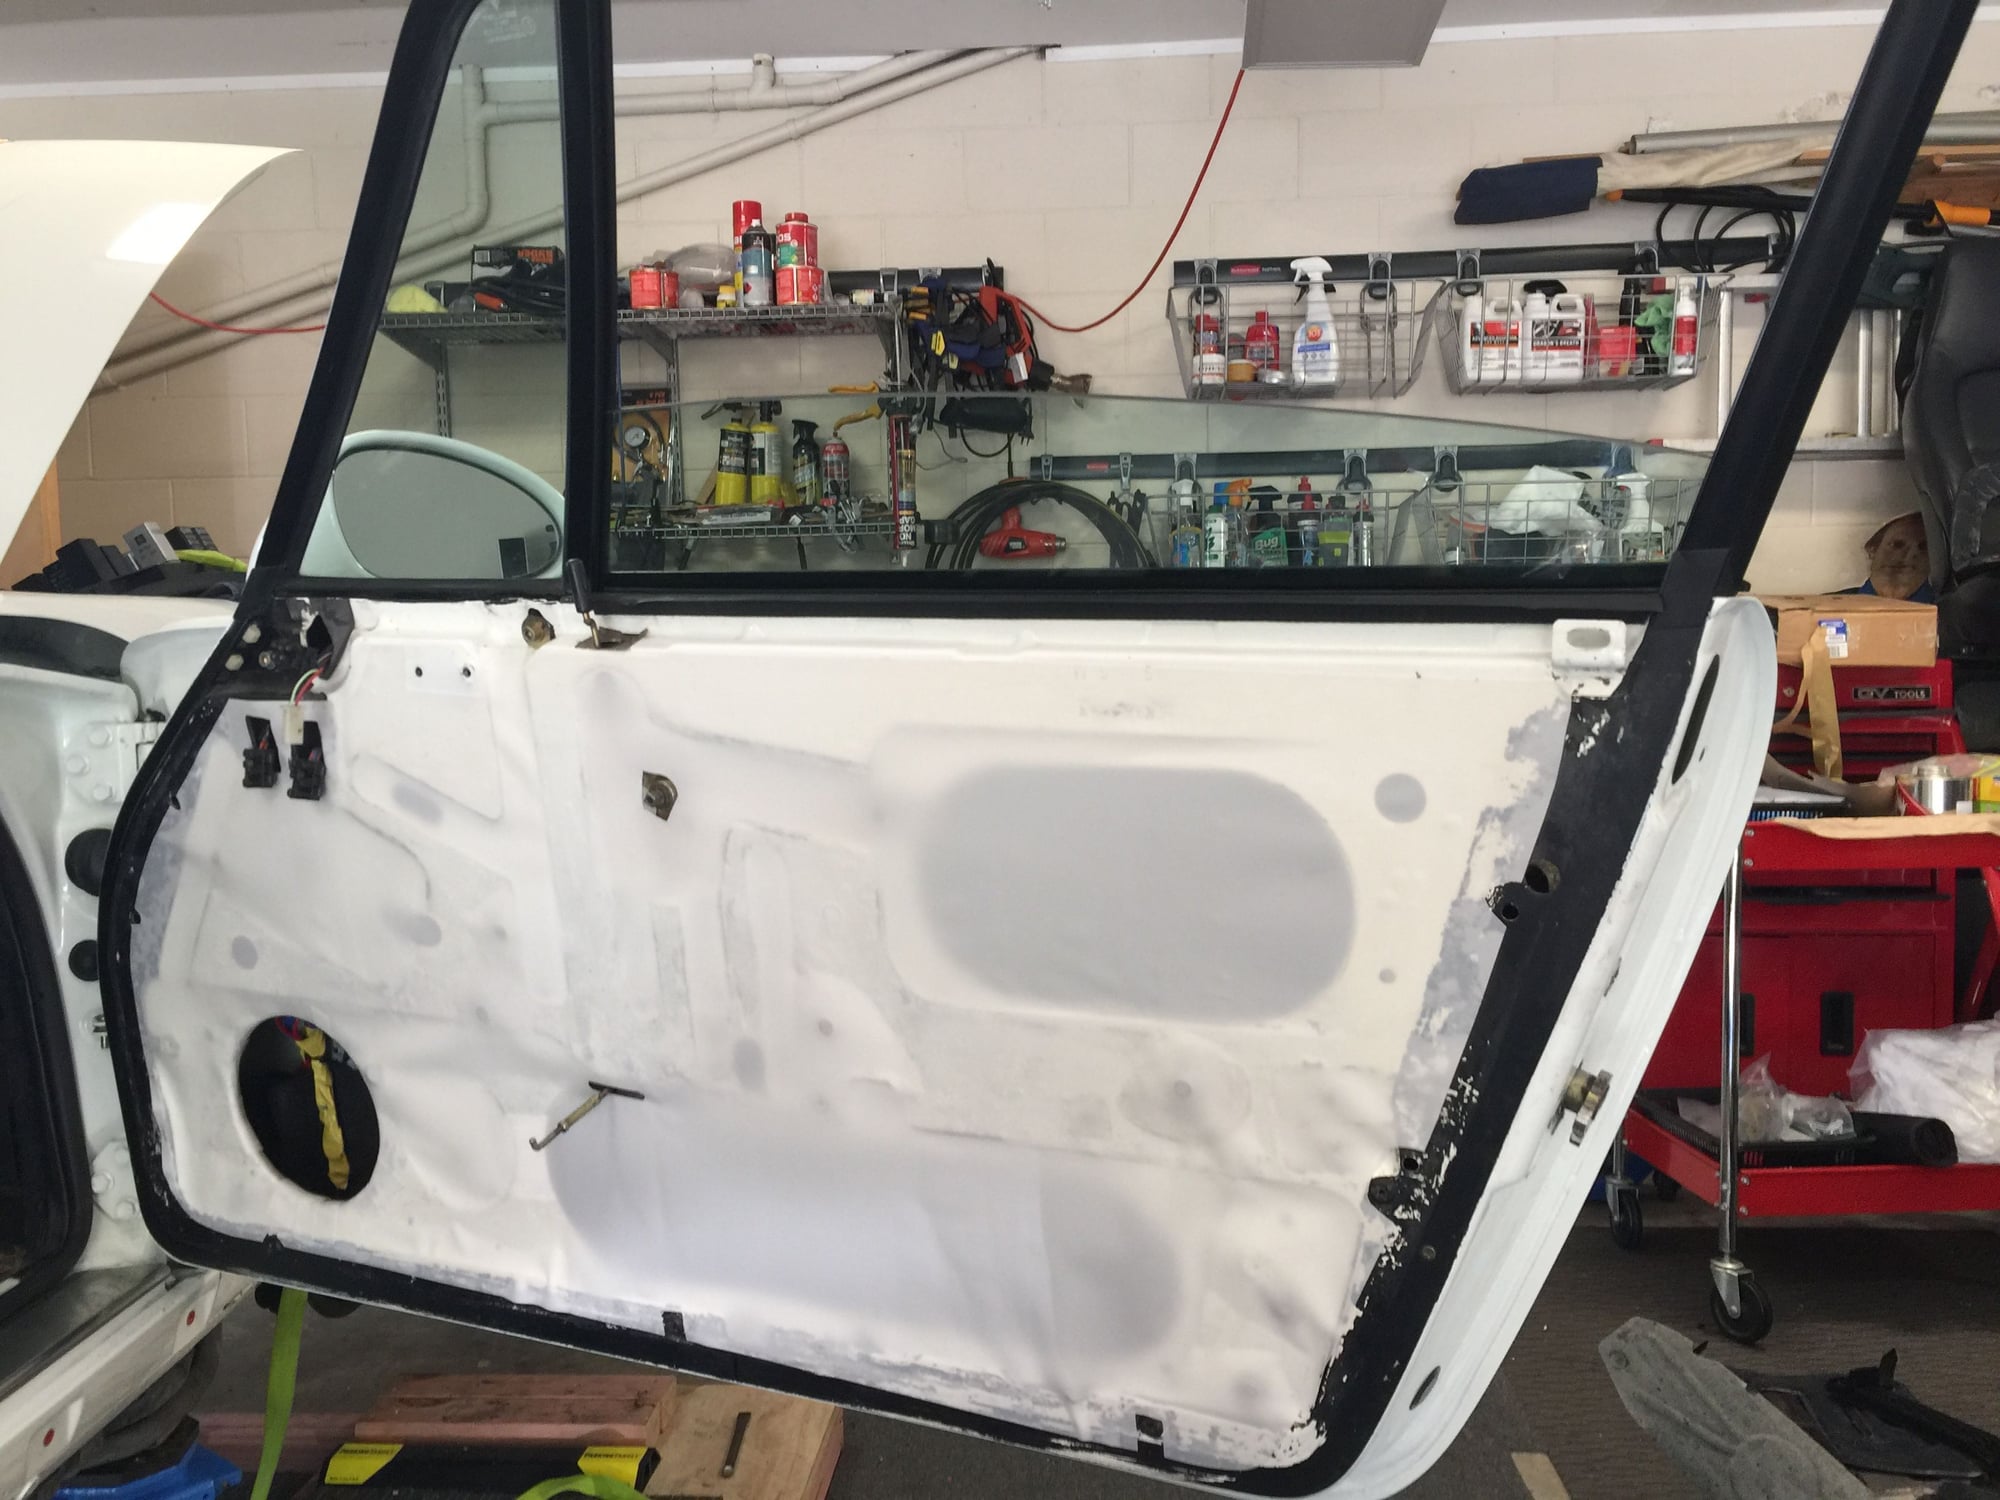
Just to document the door work. The inner skin was cracked most likely due to a high wind incident before I bought it and because I fitted a heavy duty door stay that put too much strain on the door skin. The cracks were welded up and I ground down the door stay detents to reduce their stiffness. This compromised the door holding ability but I prefer that to another cracked door inner. Last pic is the new Porsche door membrane. They are expensive but well worth it.
#1052
Addict
Rennlist Member
Rennlist Member
Great work John, thanks again for the detailed posts and pictures. This will come in handy for many others as we diagnose issues that crop up with age/mileage.
Hopefully the A/C repairs take care of the issues.
Hopefully the A/C repairs take care of the issues.
#1053
Rennlist Member
Thread Starter
Originally Posted by Marine Blue
Great work John, thanks again for the detailed posts and pictures. This will come in handy for many others as we diagnose issues that crop up with age/mileage.
Hopefully the A/C repairs take care of the issues.
Hopefully the A/C repairs take care of the issues.
The AC system isn't mysterious when you start to understand what does what. The biggest pain is finding out where the leaks are. I don't want to be recharging annually.
#1054
Rennlist Member
Thread Starter

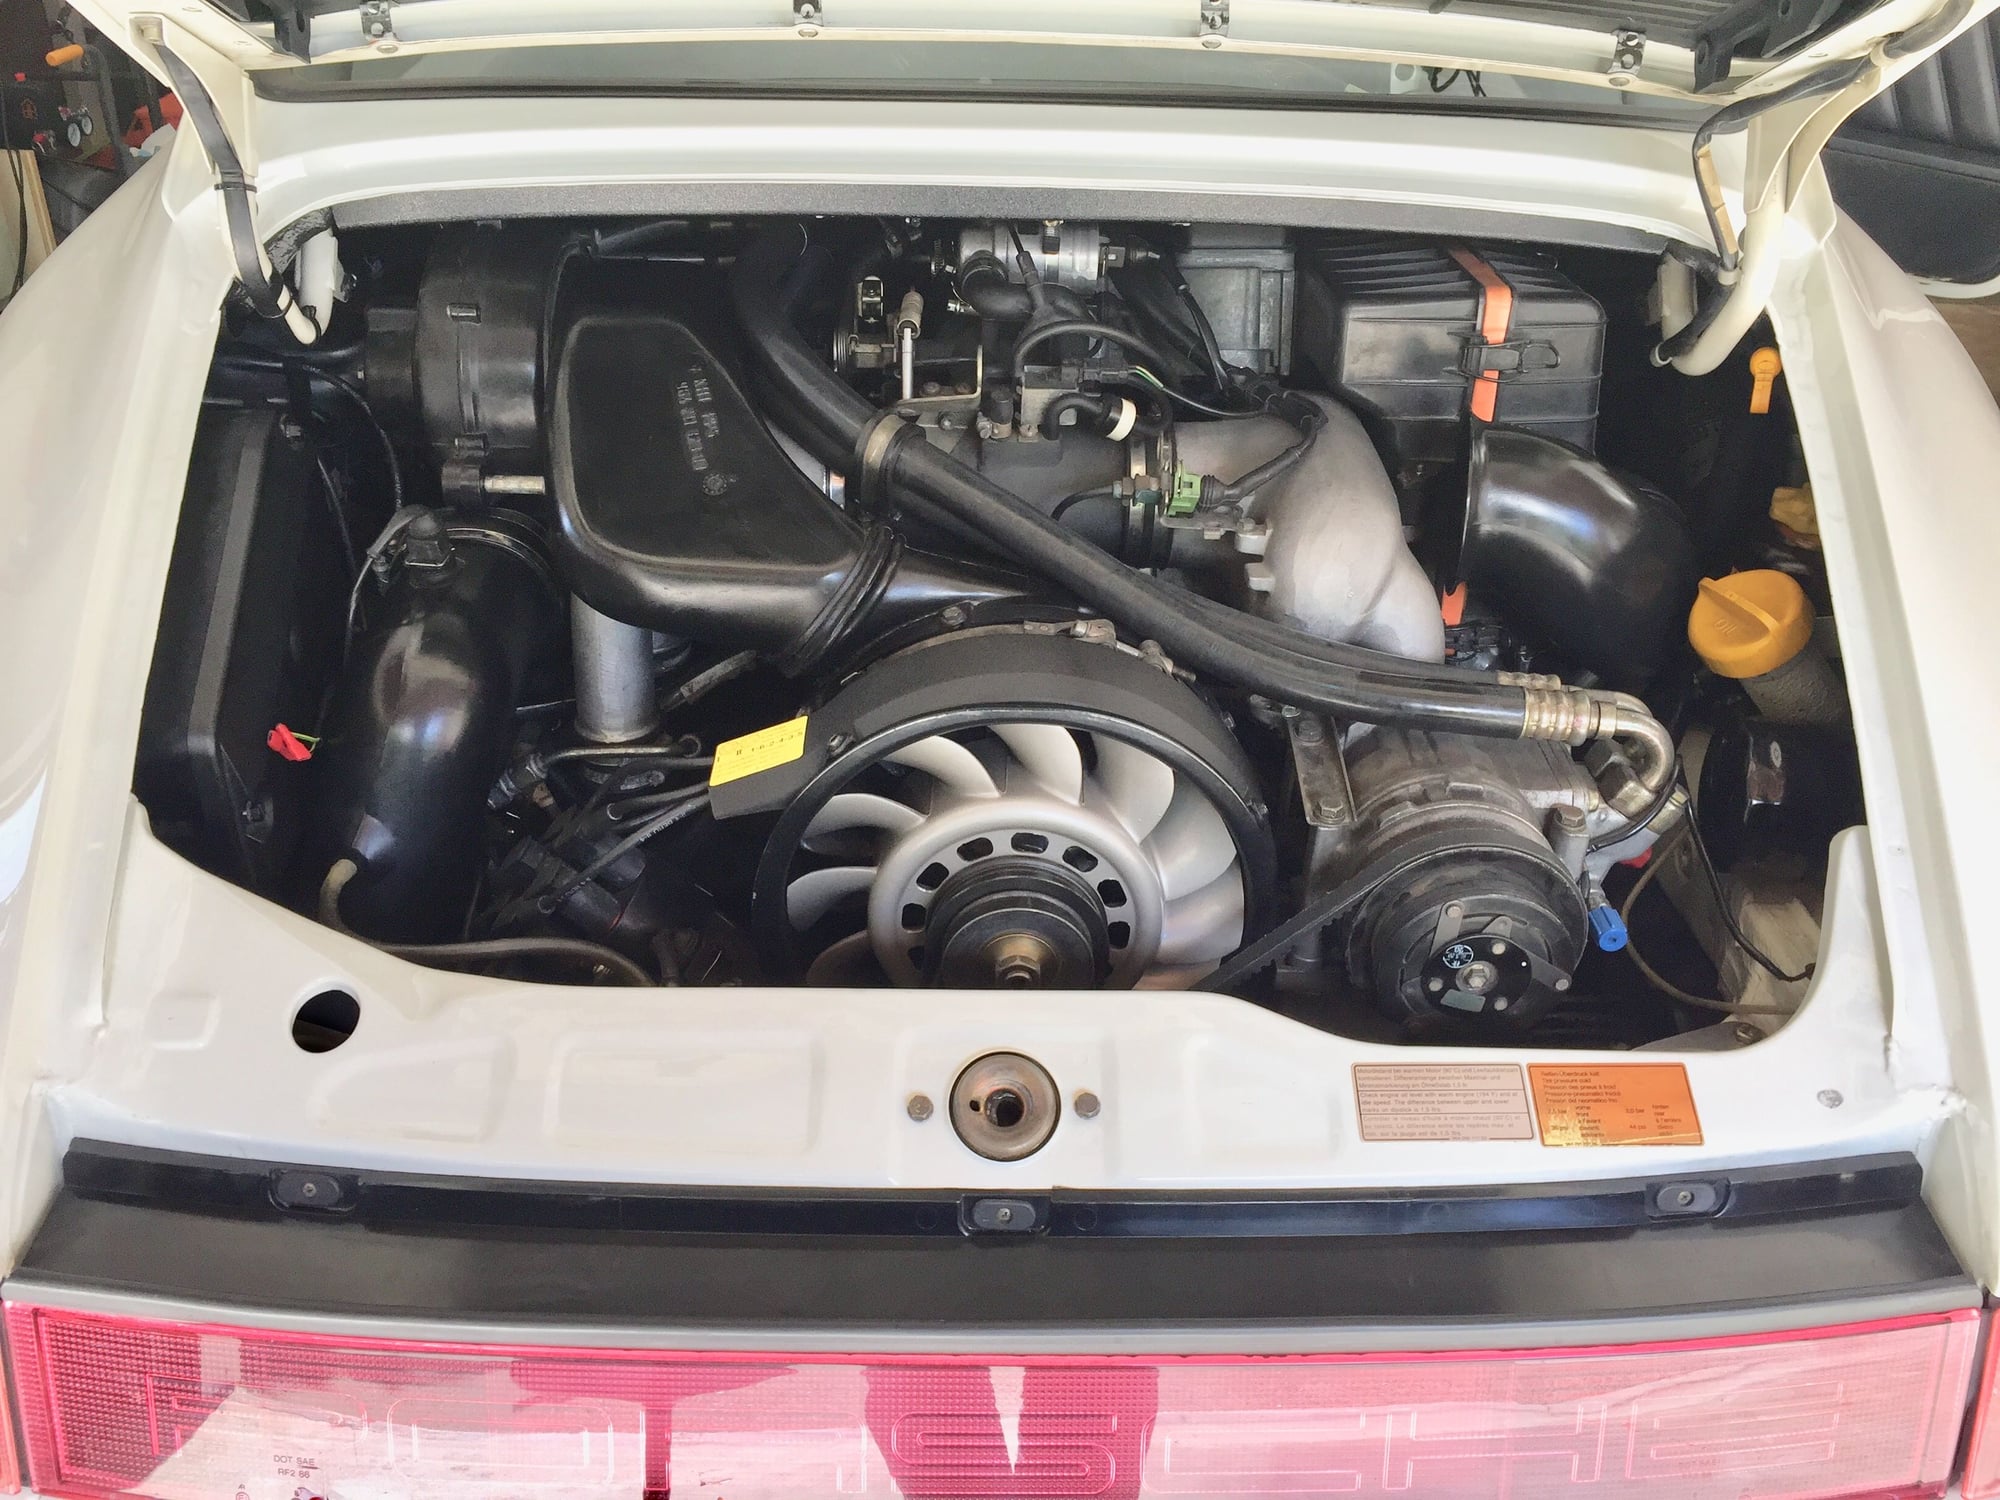
With working air con a major goal it was time to think about the rear fan. I put in a bypass two years ago, then the Silver C4 received the motor when it kept on blowing its fuse. What I evidently forgot was that I had purchased a new motor from Design 911 to replace the faulty one.
Long story short I have pulled the bypass out, disconnected the jumper, reinstalled the relay, changed the fan motor and reinstalled it all. I also changed out the CF air intake. Iím back to stock, which hopefully will give me more air flow. Sure itís not as sexy as before but itís more practical for all weather driving. All I have to do now is source a new resistor as I canít find the old one.
#1055
Looking Good John, that bypass would look great on my car 
Is the air con all running now? If so what's it like!?
So if I've read correctly, you have put a dye in the system and will weep out where the leak is?

Is the air con all running now? If so what's it like!?
So if I've read correctly, you have put a dye in the system and will weep out where the leak is?
#1056
Rennlist Member
Thread Starter
Dean, that bypass retails for USD 350 so would cost NZD 700 landed with freight and taxes included. The new fan is cheap by comparison!
The air con technician needs the car running for the recharge. I've refitted the tank etc but haven't run it yet. I have next week in Dingo land so it will be after Easter. Then it will have dye included in the charge to see if we can find out where it's leaking from.
This is big for me as I do long road trips in all weathers and want to be comfortable. Tiaan's car in 35C Bathurst heat was comfortable so I have big hopes.
#1057
Rennlist Member
Thread Starter
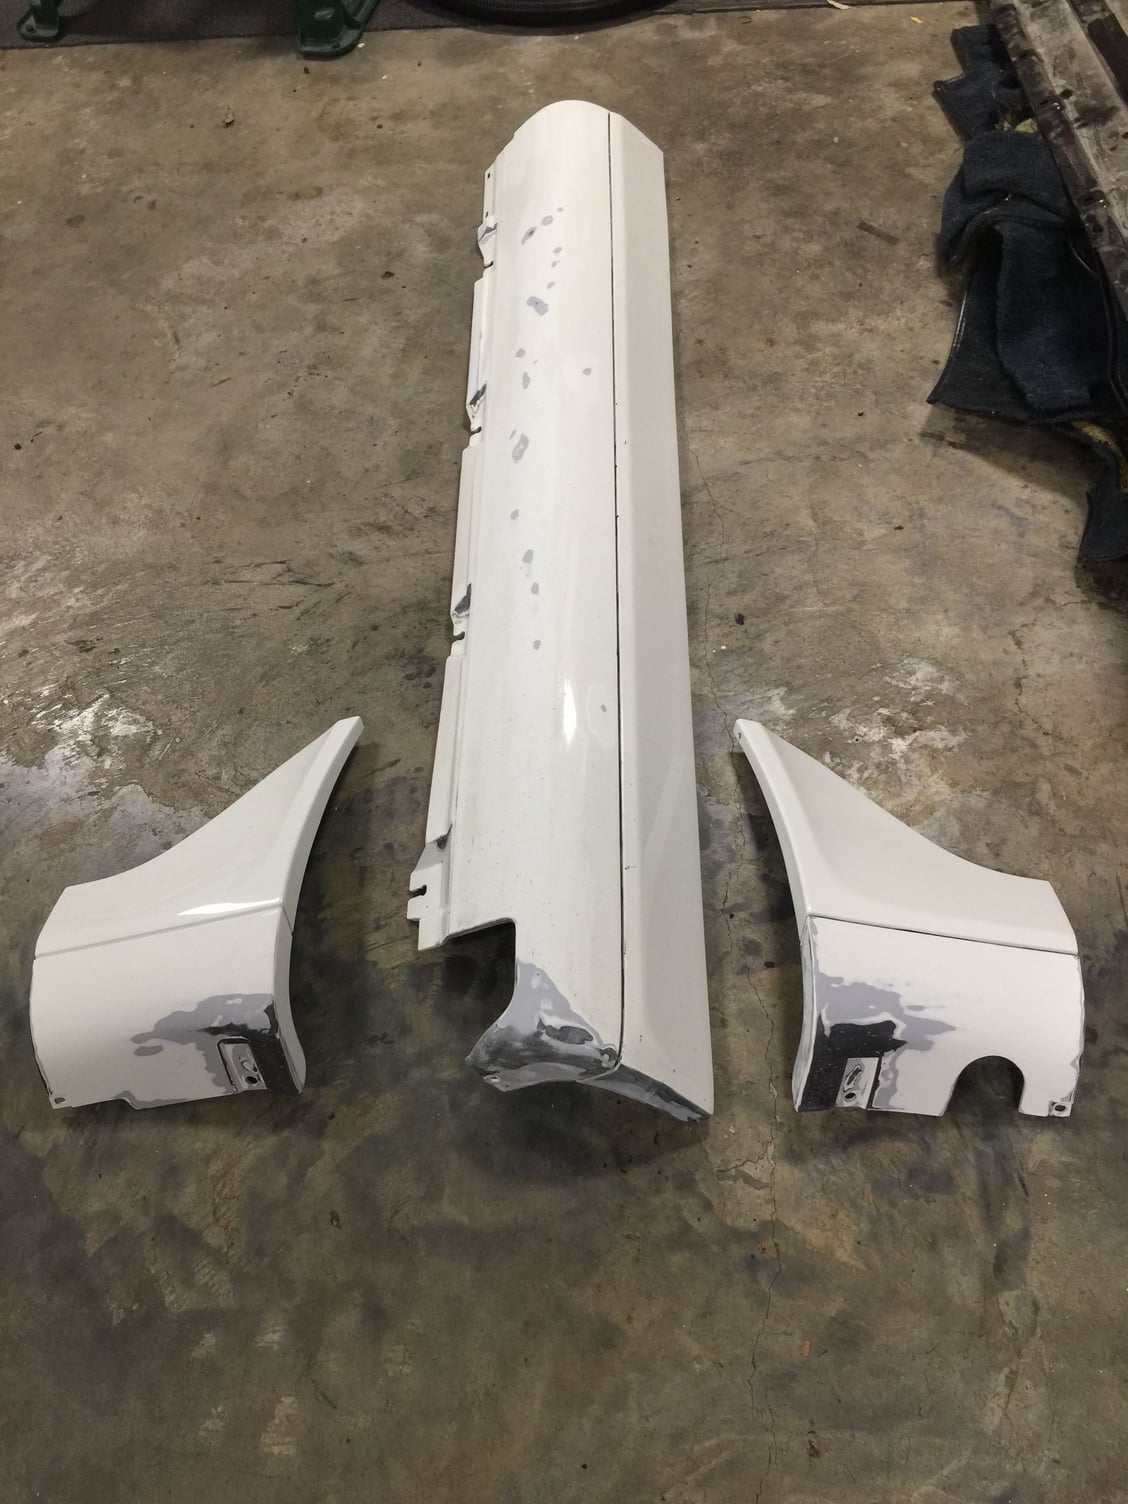
While I’m posting about practicality, it’s worth pointing out the downside of painting the lower sill area body colour. I have days of work ahead of me to sand out the damage, prepare for painting then lay down primer, black paint and a final coat of clear. I’m using the same product 964tit (Tiaan) did.
Btw this damage was done on unsealed back roads.
#1058
Rennlist Member
Thread Starter


Small tidy up jobs before I travel for work. New battery installed and working on the emergency frunk cable routing. The actual cable is easy to route as thereís a couple of choices to have it exit the frunk and end up in the fender cavity where it can be accessed from the indicator opening. How to attach it to the frunk catch is more difficult to decide. Spokes enlarged the hole in the screw holder. I think Iíll do it differently and crimp a connector (when I find the right size and strength) on the cable and put it under the screw. Whatever you do it has to anticipate cable breakage so be independent of the existing cable.
#1059
Dean, that bypass retails for USD 350 so would cost NZD 700 landed with freight and taxes included. The new fan is cheap by comparison!
The air con technician needs the car running for the recharge. I've refitted the tank etc but haven't run it yet. I have next week in Dingo land so it will be after Easter. Then it will have dye included in the charge to see if we can find out where it's leaking from.
This is big for me as I do long road trips in all weathers and want to be comfortable. Tiaan's car in 35C Bathurst heat was comfortable so I have big hopes.
The air con technician needs the car running for the recharge. I've refitted the tank etc but haven't run it yet. I have next week in Dingo land so it will be after Easter. Then it will have dye included in the charge to see if we can find out where it's leaking from.
This is big for me as I do long road trips in all weathers and want to be comfortable. Tiaan's car in 35C Bathurst heat was comfortable so I have big hopes.
Oh cool (No pun intended) I'm interested to see how you get on.
Enjoy dingo land! Watch out for those snakes and spiders!
#1060
Rennlist Member
Thread Starter
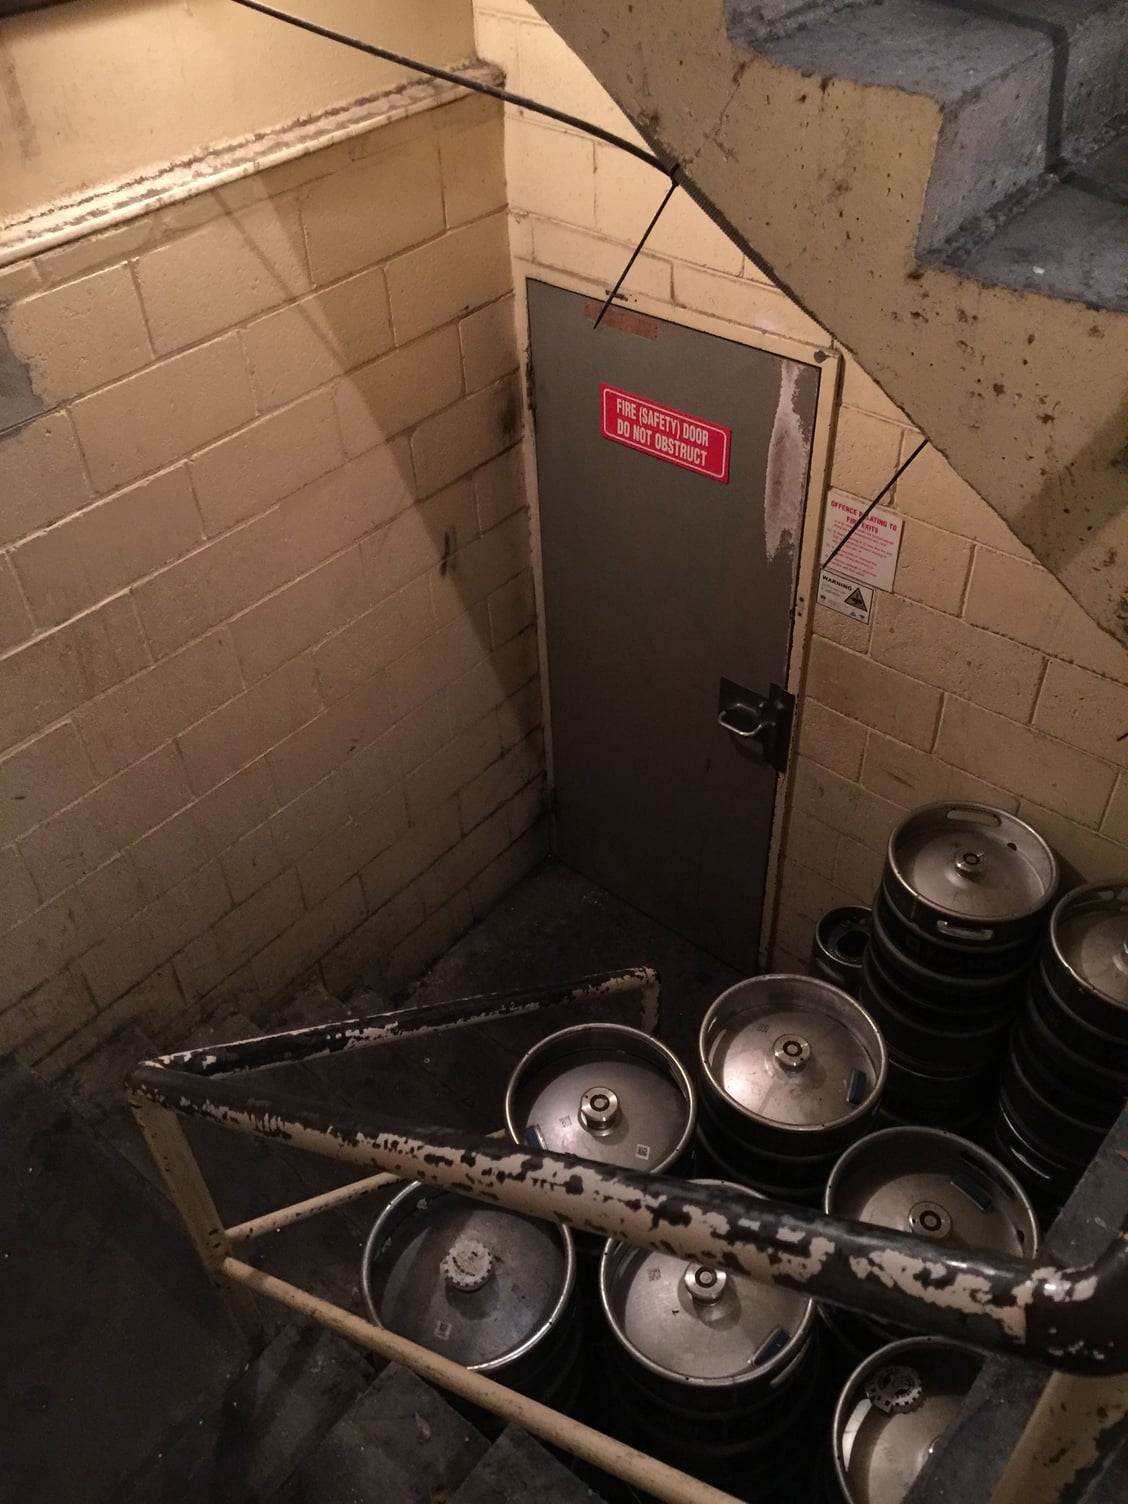
Bar entrance

Baxterís Bar Sydney.
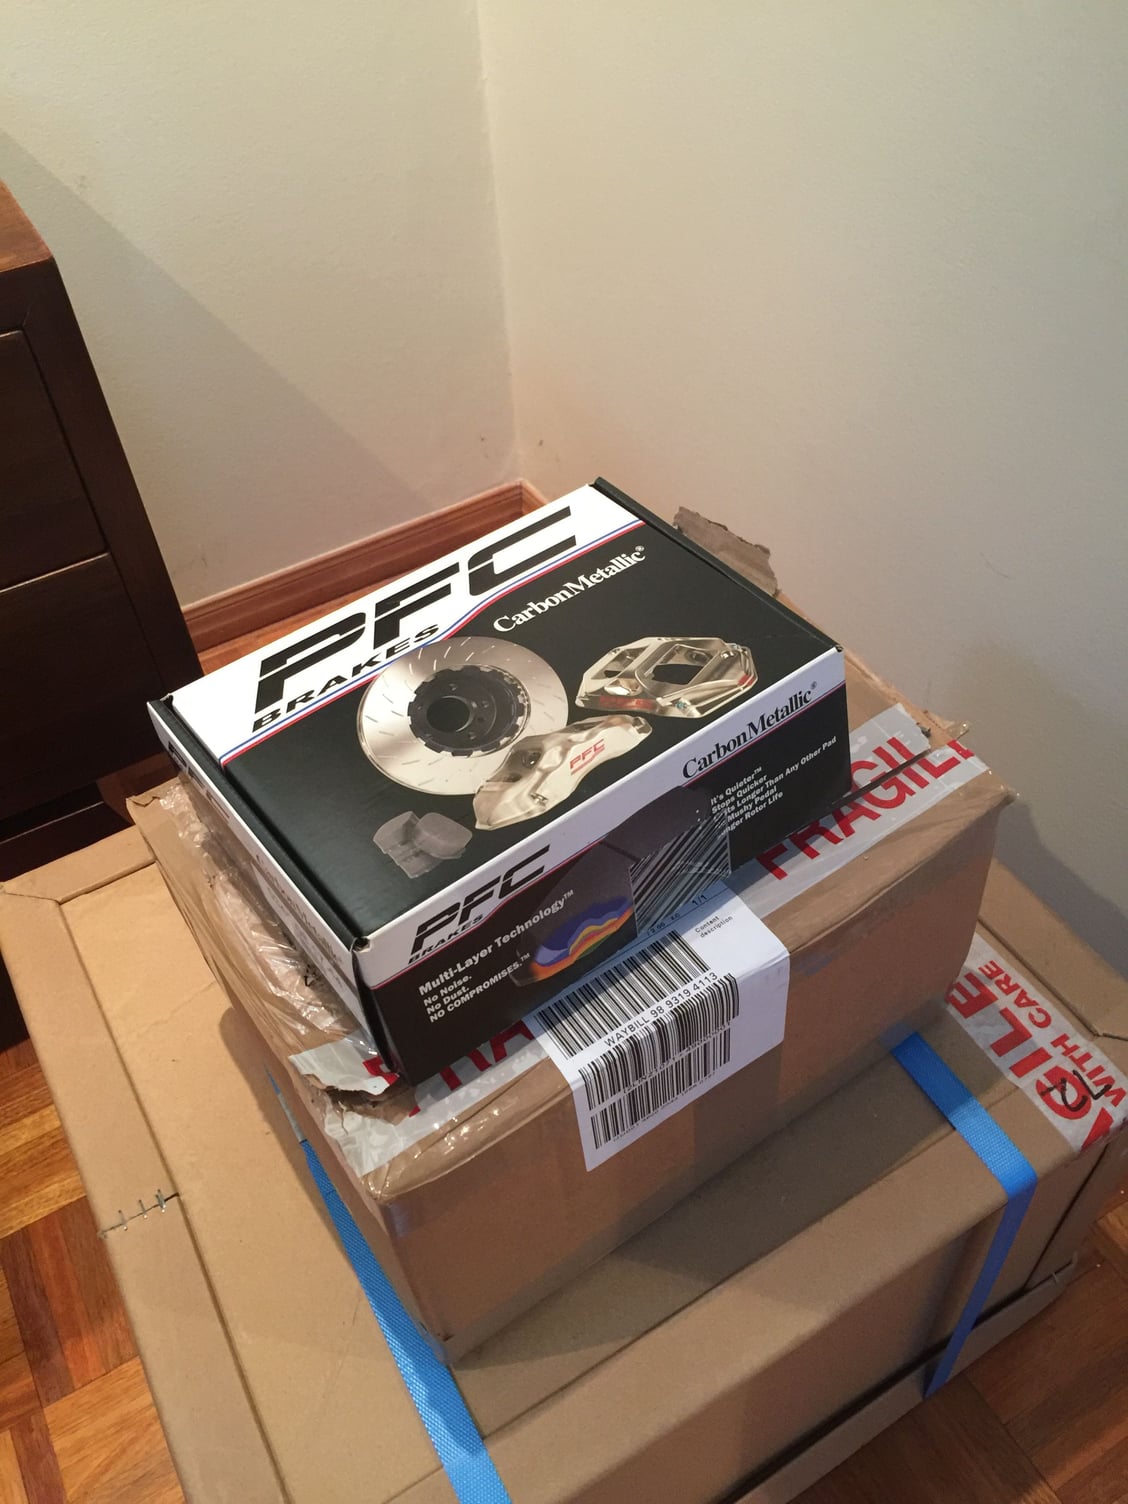
Porsche parts
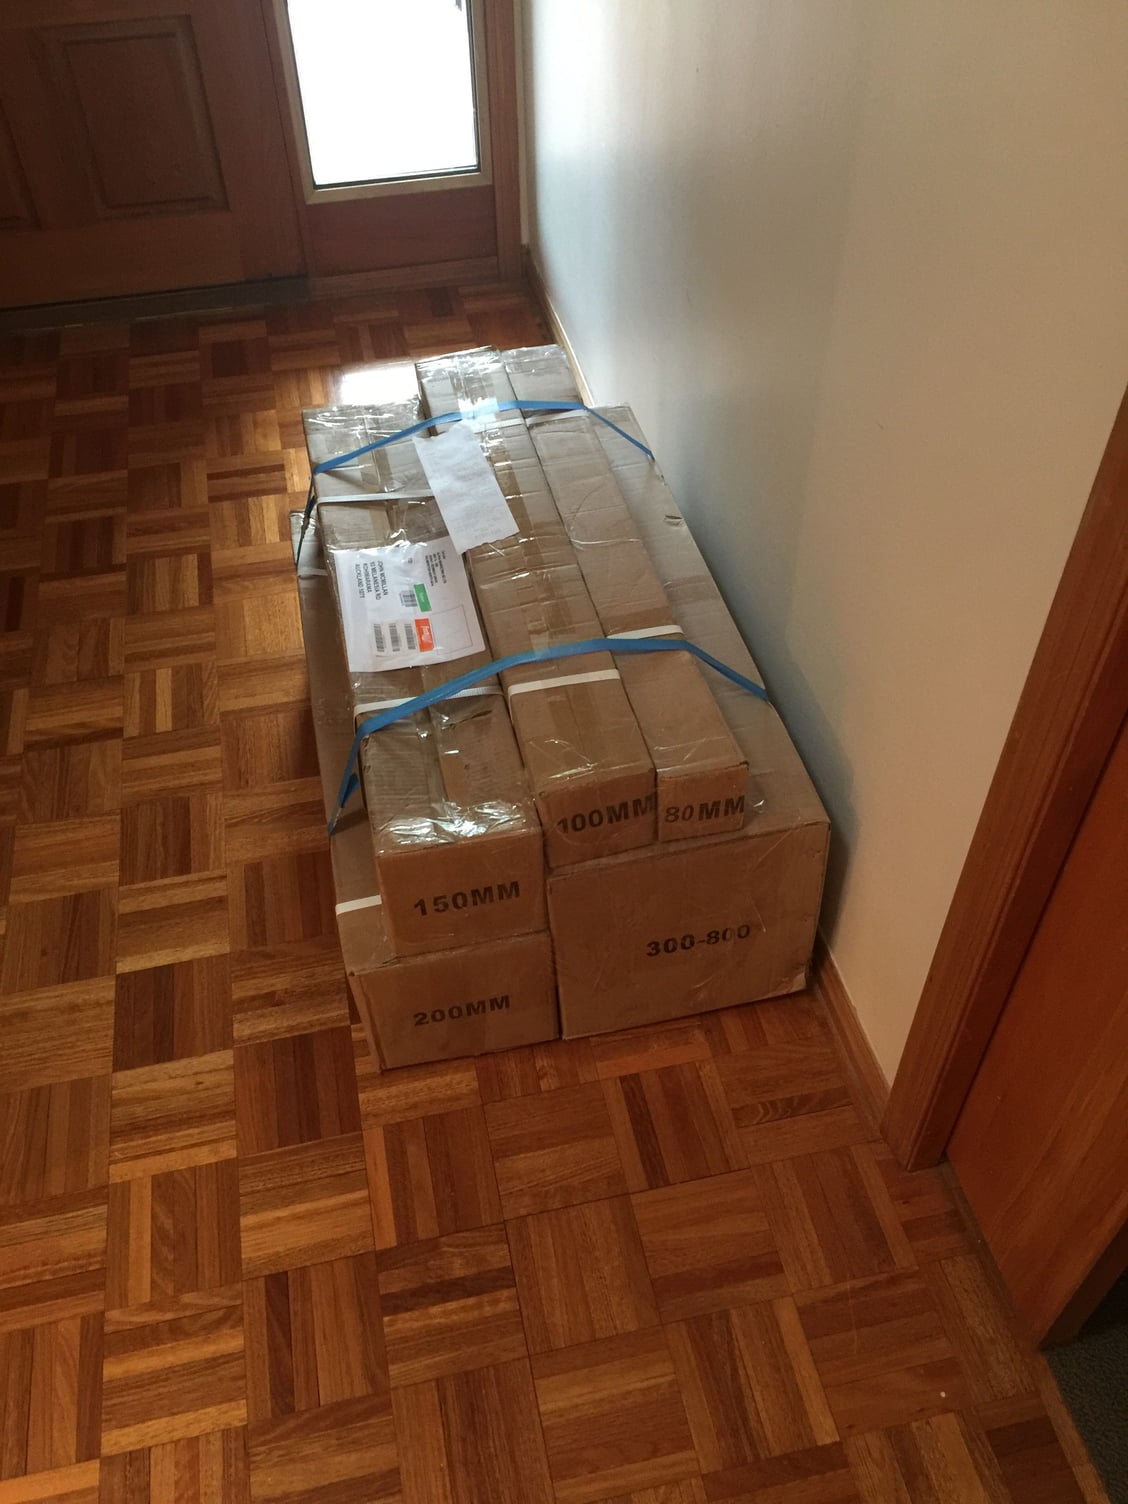
Post hole digger
Back from Dingo land. No snakes or spiders. A random visit to an underground bar in Sydney and a lot of cajoling to get my family to open my parts parcels and send me photos because it seems that every second order is stuffed up. Sure enough Iím 8 leds short on my 12 led gauge order. Iím also sorting out a stuff up in my carpet order.
#1061
Rennlist Member
Thread Starter
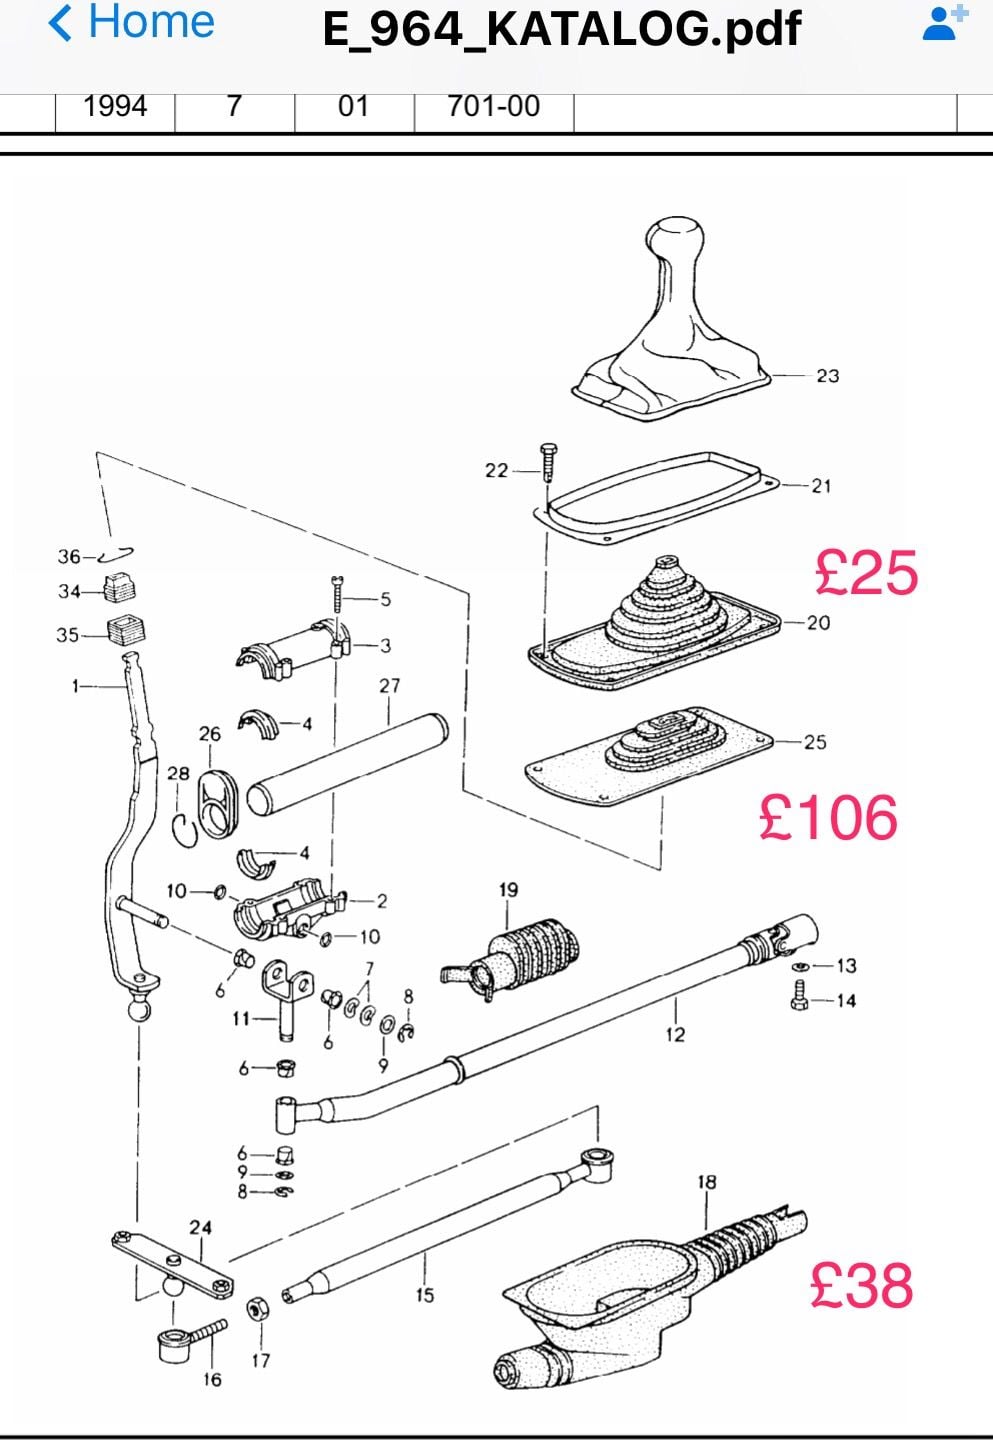
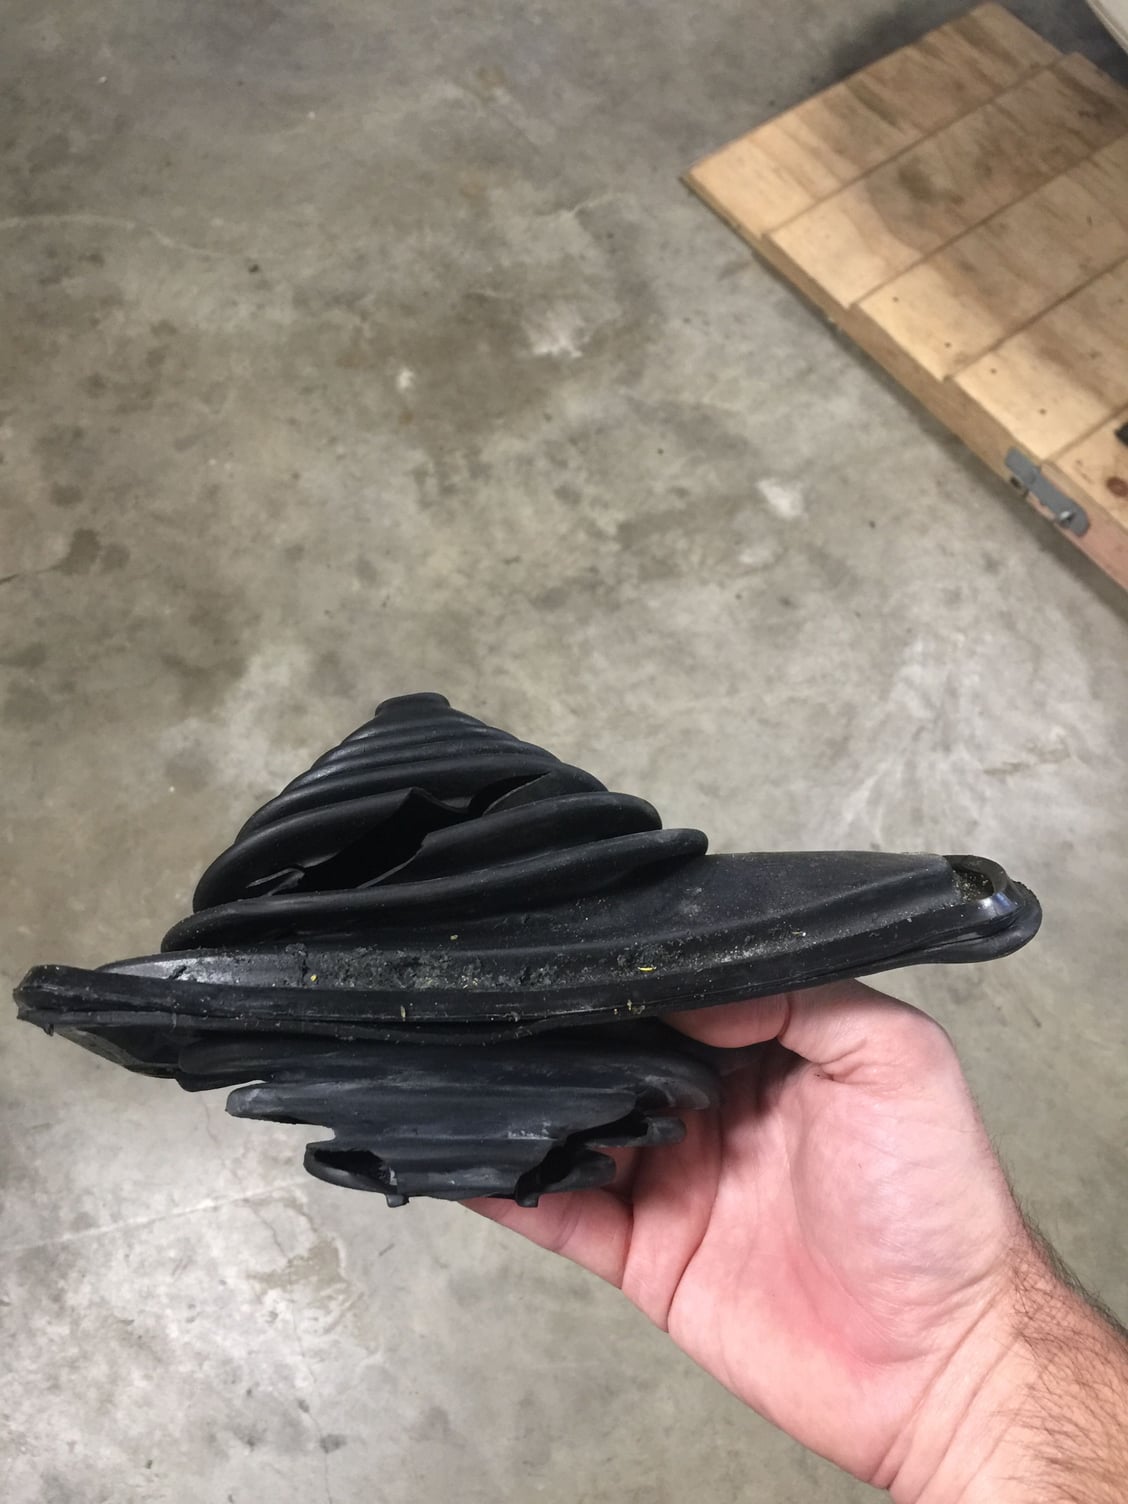


First up was the replacement gear stick bellow. Unexpectedly, there are two bellows and a lower rubber cover. Considering the area is also protected by the metal tunnel cover underneath you have to wonder what the engineers were trying to protect the gear shift against? I wasnít expecting another torn bellow but given the ridiculous price for the other one I left it torn. I then used dynatape to ensure the soundproofing is tight around the area as it impacts on the carpet install later on.
#1062
Glad you made it back! That bar looks awesome! What's the go with the post hole digger?! 

#1063
Burning Brakes
It's so uncanny how you and tackle such similar tasks. I replaced all those rubber bellows on my shifter too. Upper and lower, and the one at the trans. They were all getting brittle. New bushings throughout too.
Good stuff !
I need to catch up on the a/c rebuild, but keep getting distracted looking for longhoods. Thought I had one identified today, but after lots of recon, turns out the motor on this race car is just too highly strung and more work to make it streetable than I wan to tackle...
Good stuff !
I need to catch up on the a/c rebuild, but keep getting distracted looking for longhoods. Thought I had one identified today, but after lots of recon, turns out the motor on this race car is just too highly strung and more work to make it streetable than I wan to tackle...
#1065
Rennlist Member
Thread Starter
It's so uncanny how you and tackle such similar tasks. I replaced all those rubber bellows on my shifter too. Upper and lower, and the one at the trans. They were all getting brittle. New bushings throughout too.
Good stuff !
I need to catch up on the a/c rebuild, but keep getting distracted looking for longhoods. Thought I had one identified today, but after lots of recon, turns out the motor on this race car is just too highly strung and more work to make it streetable than I wan to tackle...
Good stuff !
I need to catch up on the a/c rebuild, but keep getting distracted looking for longhoods. Thought I had one identified today, but after lots of recon, turns out the motor on this race car is just too highly strung and more work to make it streetable than I wan to tackle...


