When you click on links to various merchants on this site and make a purchase, this can result in this site earning a commission. Affiliate programs and affiliations include, but are not limited to, the eBay Partner Network.
Finally decided to do the Vitaloni mirror conversion and swap out the flag mirrors.
I think this another one of those love 'me or hate 'em mods !
Most guys that I have seen do this, use the Flag bases so that it is reversible installation. I went one step further and got some Aero bases to use and just took the Flag Mirrors off entirely.
For those of you that are interested - here is how I did it.
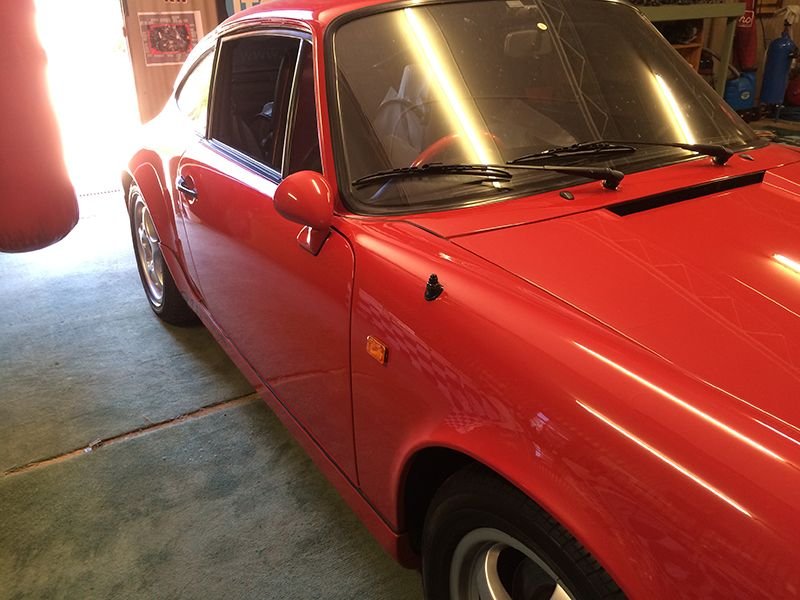
First, this is the before shot:
I ordered the Vitaloni mirrors on line - same place as everyone else and took the advice of other forum members and selected Convex mirrors for both sides of the car.
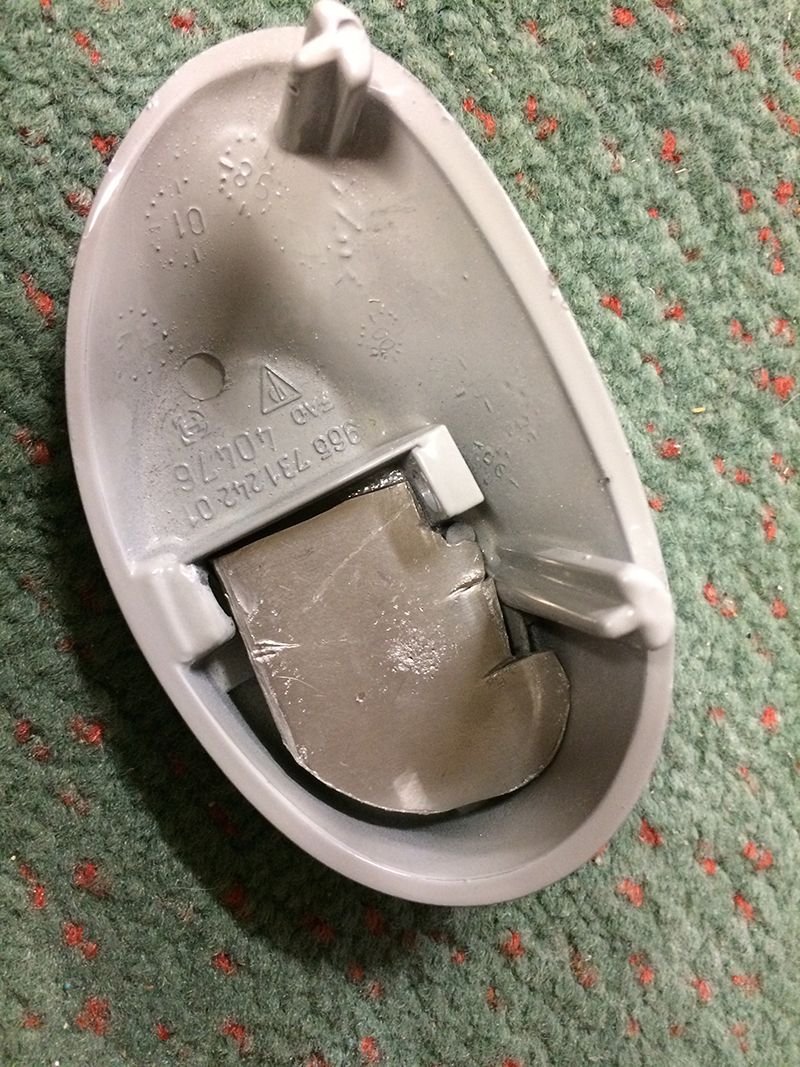
As mentioned, I managed to get some brand new Aero Bases from another Rennlist Member (thank you ) and so this is how it starts. You can see the part numbers in the photo too (for those that want to order). I must say that the Vitaloni are extremely light - even to the point of feeling cheap. Whilst they cost around $80 USD - if you had to guess, you'd figure $5 from China
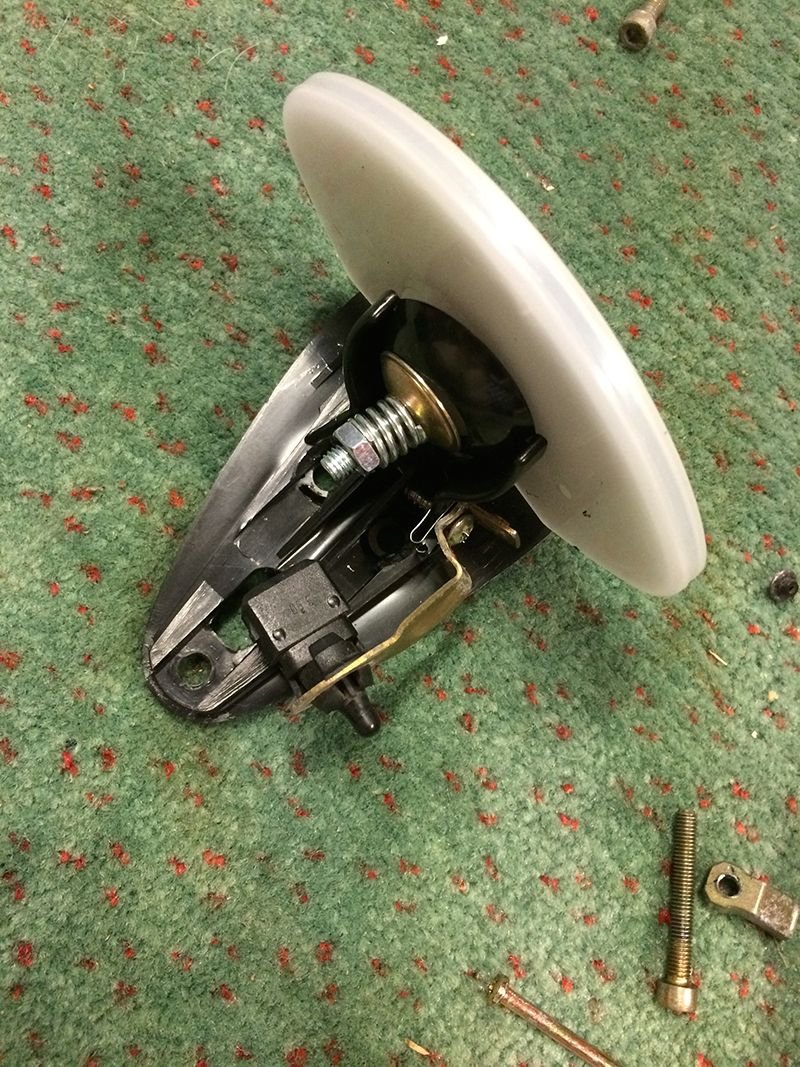
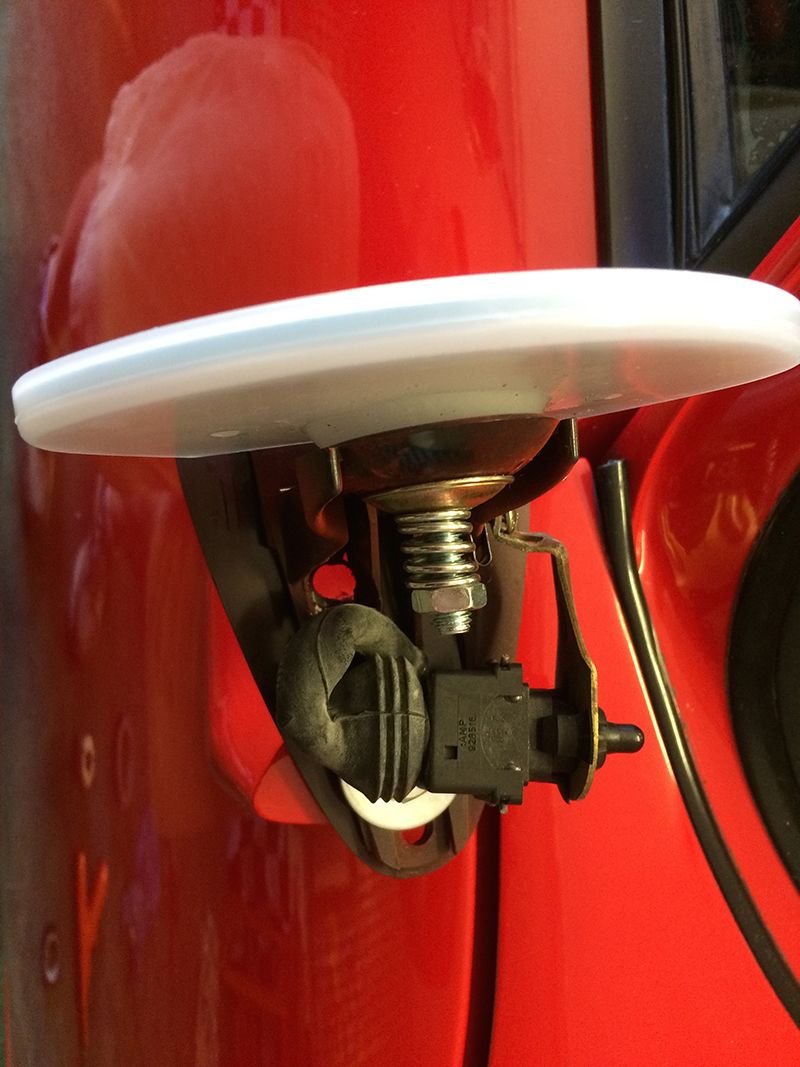
You can see the two main components of the mirror here:
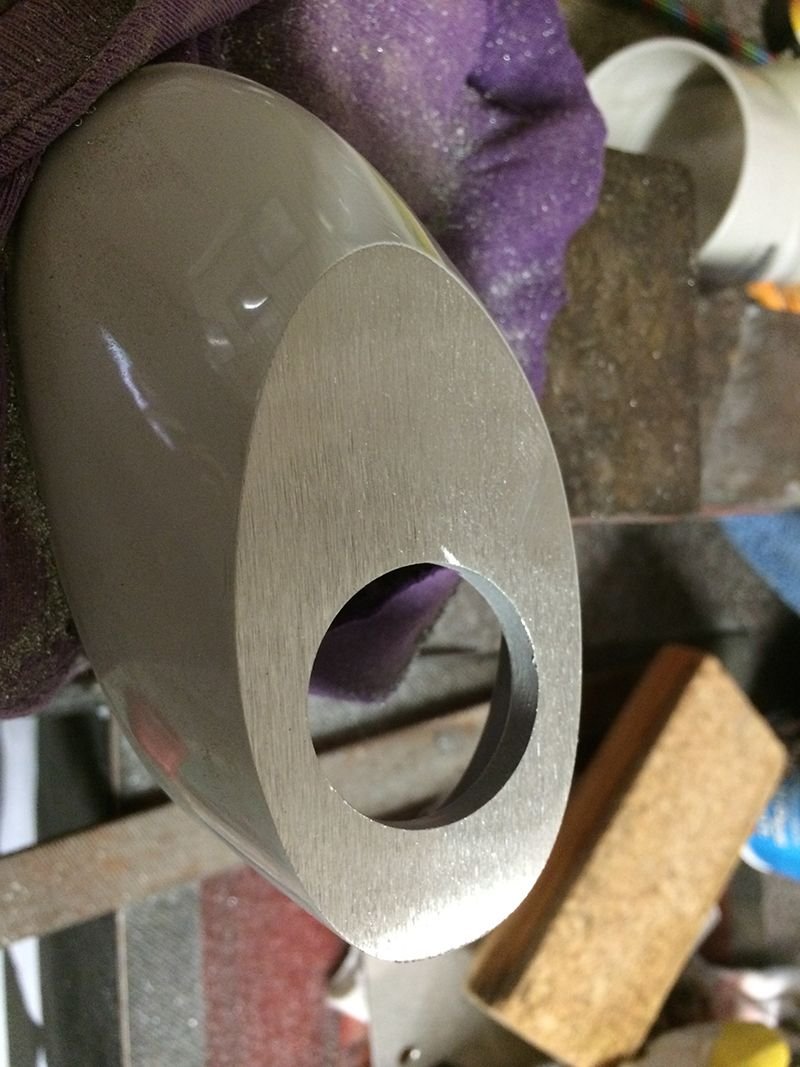
Since I have completely taken the Flag Mirrors off - these Aero bases are mine to do as I please ! So, started by taking off the round piece to make it flat.
I tried to hacksaw it off, but no way !! Had to use a metal cut-off disc on my grider - much easier !
I then used a belt sander to smooth it all off and make the surface nice and flat.
I guess I could have left them like that , but my OCD got the better of me and I used some scrap aluminum that I had and cut out a piece to fill up the holes in the bases.
I then used some of this selley's putty (which is amazing stuff, you just knead it together and it dries like steel in about 1/2 hour) to keep the plate in place.
You get some useless screws with the mirror kit - so I decided to drill some holes through the factory mounting positions of the mirror base and use nuts, spring washers and bolts instead. (yes, i put them on backwards the first time - hence the 'oops' holes )
Then a test fit.
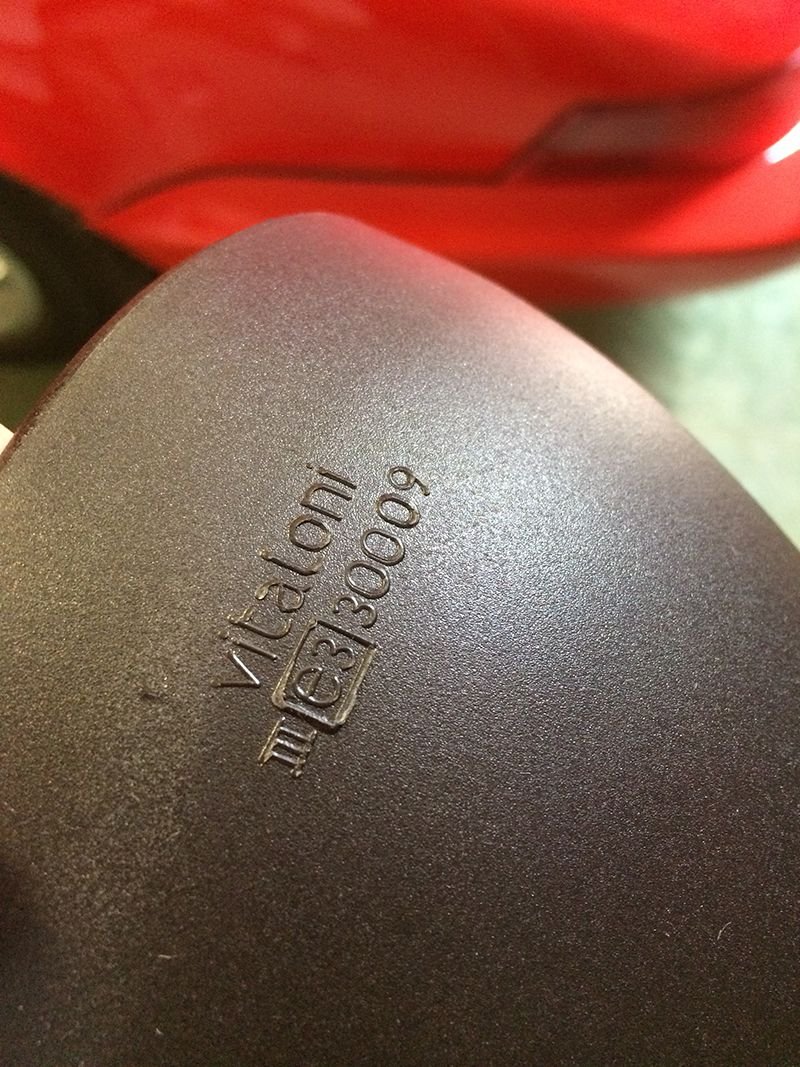
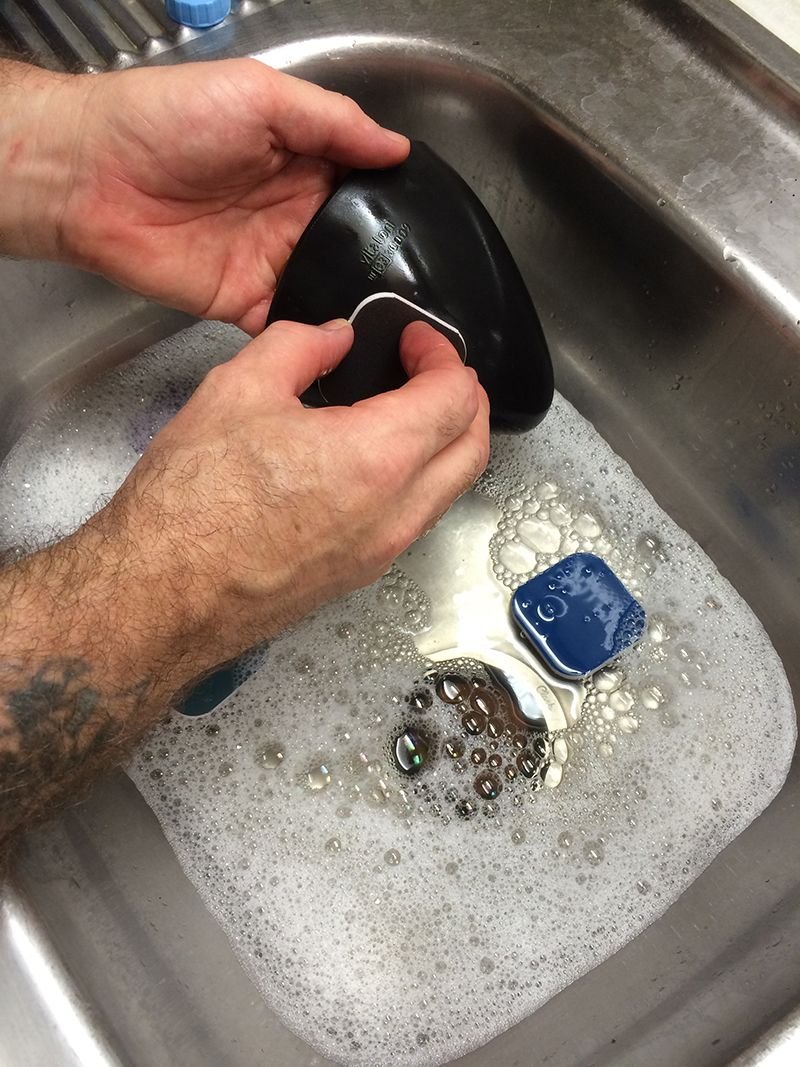
The mirror housings themselves are finished in a really crappy rough feel - plus they have the manufacturers logo in raised letters. Nope, that has to go !!
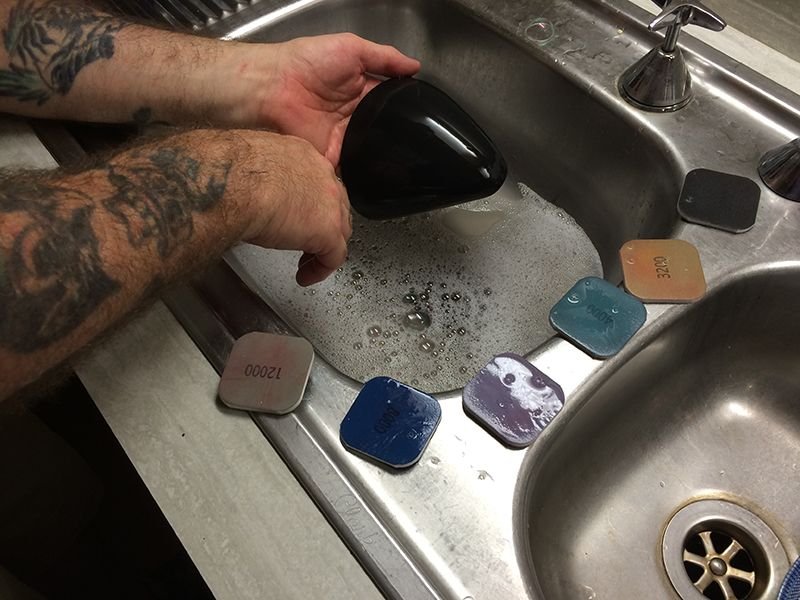
So, using my gradual wet sanding pads (a legacy from my modelling days), I sanded off the logo and sanded the mirrors progressively smooth.
Now it was time to prepsol and paint the bases and houses. Since I have used Werth Satin Black for everything else, I used the rattle cans for this too.
Now it was time to take off the Flag Mirrors. There are plenty of threads on this forum that tell you how to do this. Essentially, there is one allen head screw that is hidden under a small plastic cap (that you will lose as soon as you take it off !!!) and then using one hand to hold the mirror, use the the other to undo the allen screw. It is not long before it is loose and you can wiggle it off. There are wires joined to the mirror, and keep a towel or similar handy to rest the mirror against the door.
I cut through the wires, and then used electrical tape to mask them up and pushed them back inside the door.
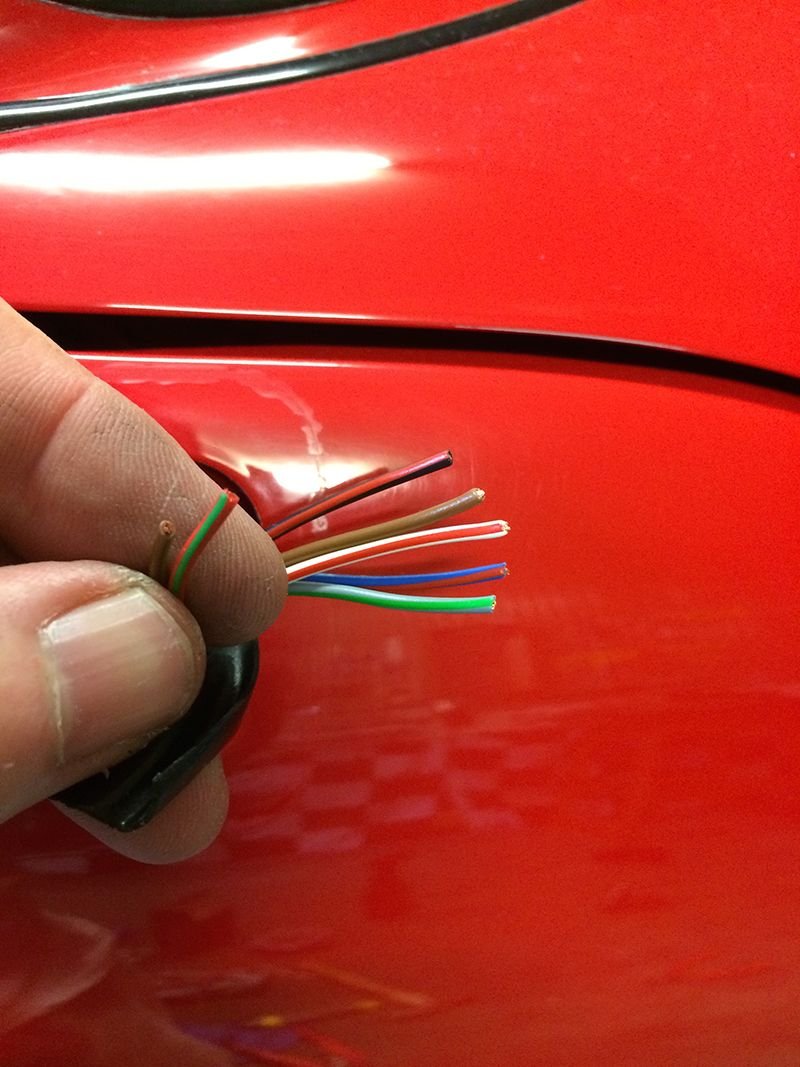
On the drivers side (Australia) there is a temperature sensor in the mirror and it was always my plan to remove this and re-use in with the new mirrors. I simply pulled the wires out of the (now cut) loom which gave me about 10 inches of wire to work with. There are two wires - red/green and brown/red
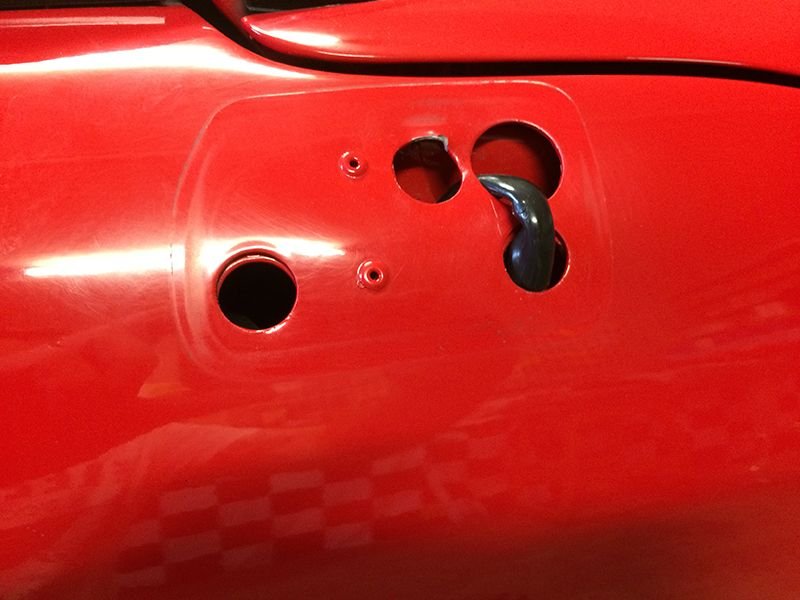
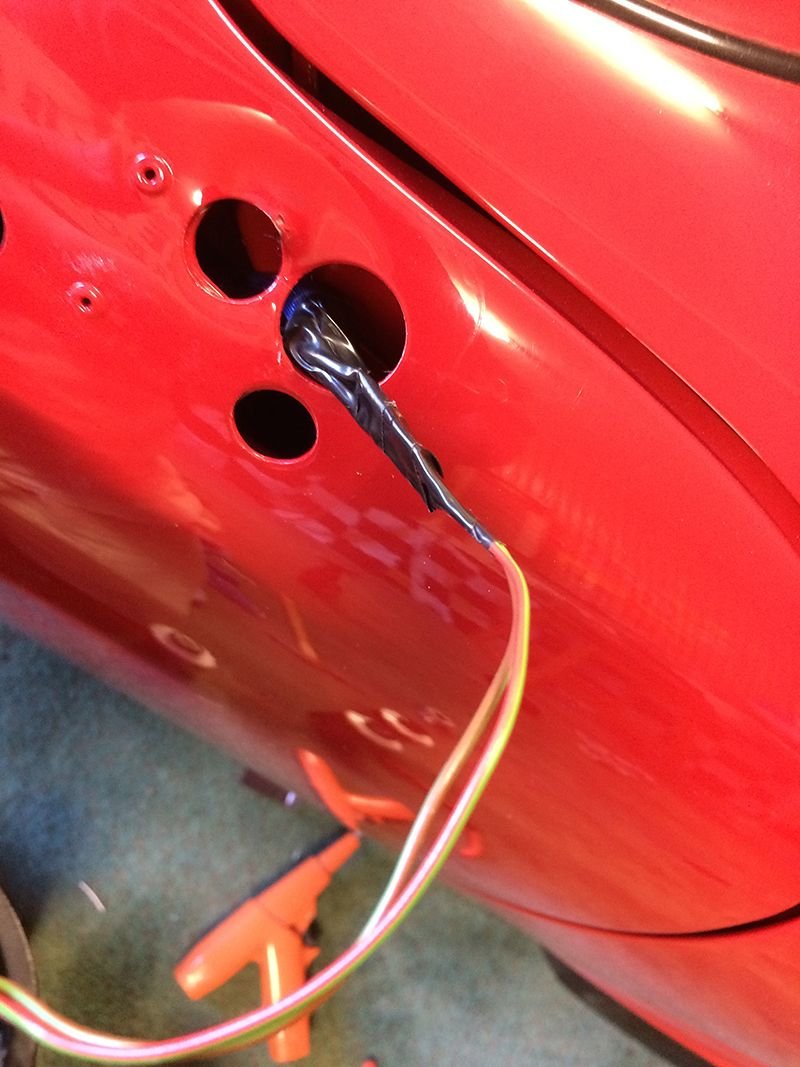
I always knew that after I removed the Flag Mirrors and was going to use the Aero bases that there would be 'marks' where the Flag Mirrors had been. As my car is driven regularly and certainly NOT a show car, I wasn't too fussed about this. I did however, not want to have it too noticeable. I figured if you can't see it from a metre a way, that would be good enough !!
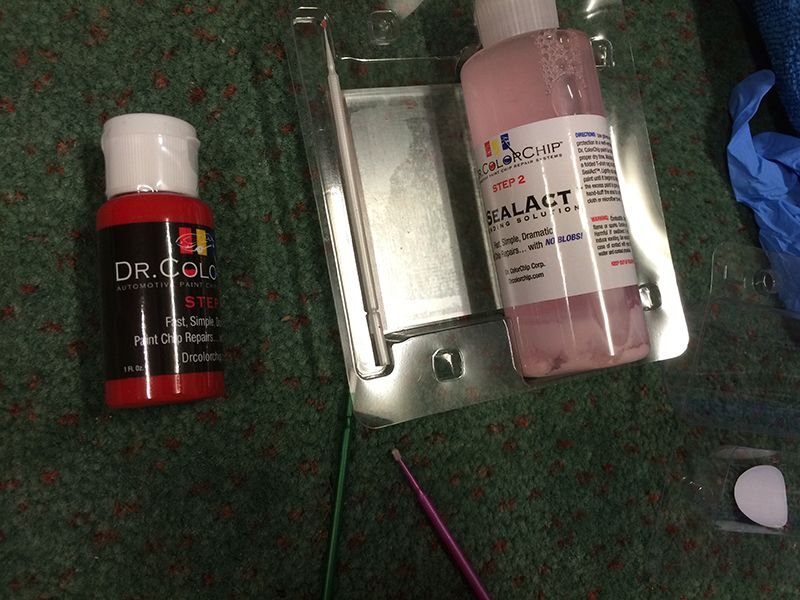
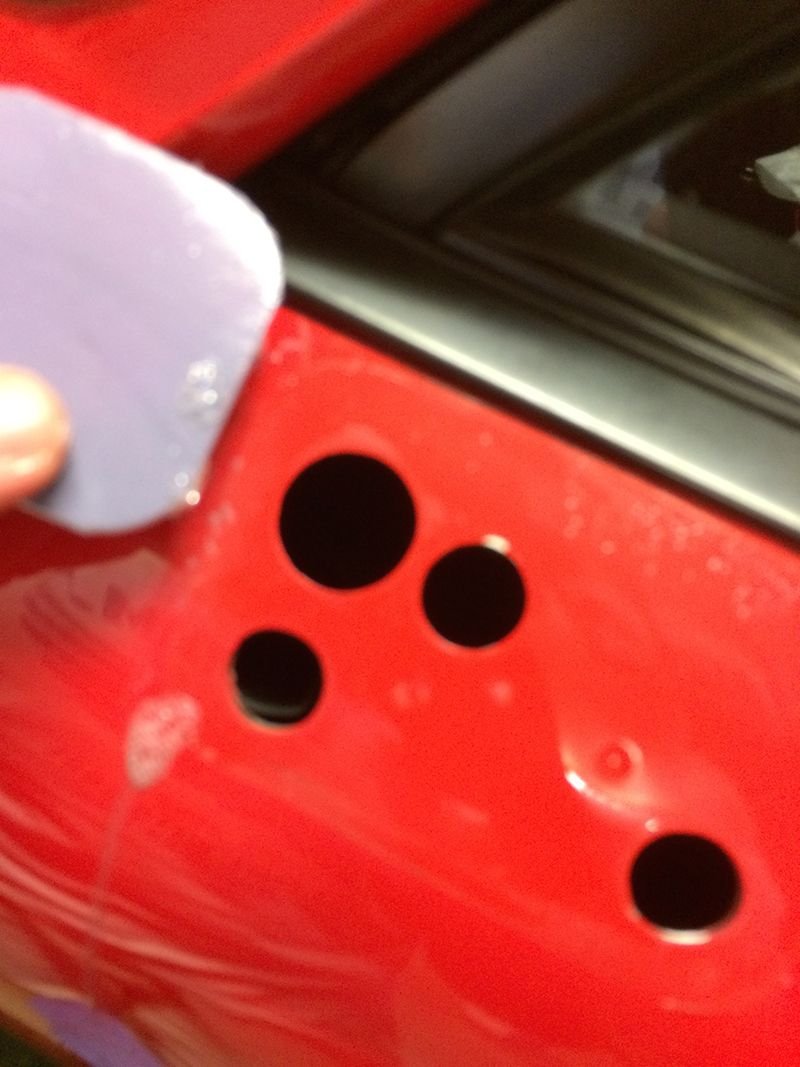
There was quite a divert mark on both sides and I can see that the passenger door had been repainted one time as there was a high/low spot. So, I sanded these flat and using some Dr Color - fixed the scratches.
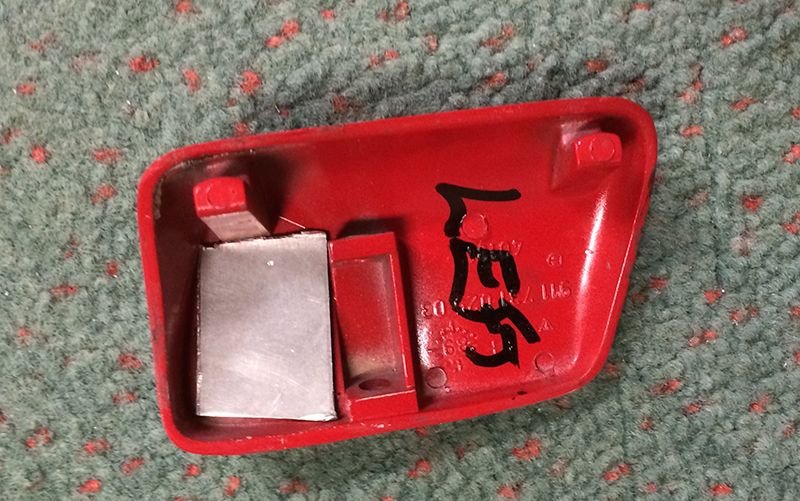
I took the temperature sender from the Flag Mirrors and installed in Drivers mirror housing. In the Flag Mirrors, the bottom of the sensor actually protrudes from the bottom of the Flag Mirror Casing, however - i thought I would just leave it inside the casing for now to see how good it works just like that. The bracket is pretty flexible, so I am able to drill a small hole in the Mirror housing later on if required.
Now, it was just a matter of splitting the loom from the door - finding the matching wires and soldering them to the loom from the sensor in the mirror. Remembering of course, to put the gasket on the mirror base first !!
Then, carefully stretch the gasket around the base and slowly fit and tighten the allen screw.
Finally, fit the mirror housing and since I used the Aero bases and cut off the protrusion, I was able to use the factory supplied screws to tighten the housing to the base.
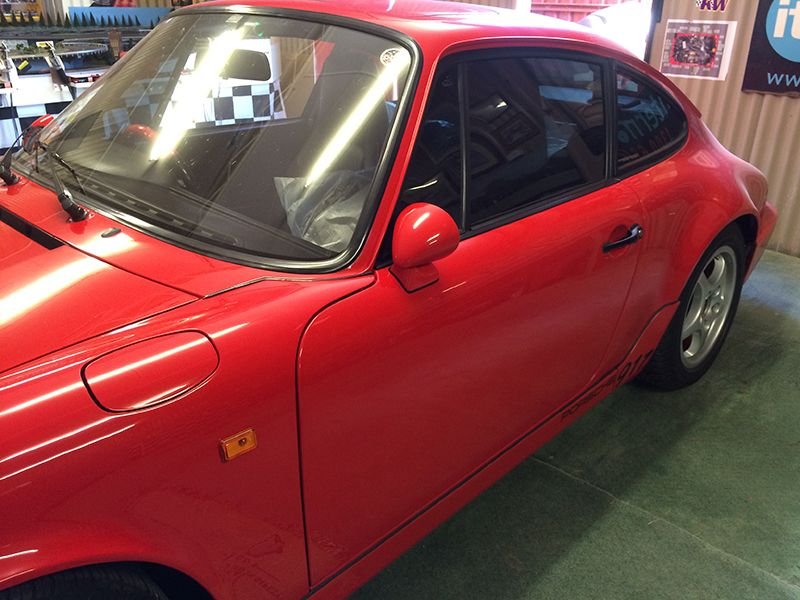
All done. I'll wait a week and then cut/polish the paint on the mirror housings and the bases.
So, what do I think? Well, I sat in the car to adjust the mirrors and the passenger one is near on hopeless compared to the Flag Mirror. The Drivers side is good enough to use. I am not sure if I can get much more angle out of the passenger side, so it is pretty much for decoration i think !
I certainly would NOT use these if i was racing on the track and needed to very quickly see something on the passenger side. As I have ridden Harley's for years, i ALWAYS look over my shoulder left and right when I change lanes, so it's not really too much of a big deal.
Appearance wise? Well, they are certainly different and will take some getting used to. I did like the retro look of the Flags, but I think I like these more - especially once I get my Veloce wheels fitted on Monday
Did you ever check with your shipper in CA? I sent you RHD bases.
Yes, i did and they claim there was nothing there. At the time, they had two holding warehouses in CA and were in the process of consolidating into the one warehouse. My guess it someone took it as there was a lot of talk on their forum of stuff going missing during the consolidation.
Very annoying.
Actually, after sleeping on it overnight - I am thinking I might pull them off again, use the flag bases and paint the mirrors guards red.
Sleep is a wonderful thing. After a good nights sleep, I woke up (which is always good...) and decided to change the mirrors.
As you see above in the thread, I used LHD Aero bases and it (i thought) made the passenger mirror useless in-so-far as vision was concerned.
Actually, it was because i had attached it with three bolts and there was not horizontal movement so that I could not adjust the mirror housing, only the mirror itself. So, i decided to take it all apart and use a single bolt to attach.
However, when I looked at it this morning, my OCD kicked in and I did not like the big mark where the Flag mirror bases had been. Although I had done a pretty good job (kind of) of cleaning up, polishing and patching the marks, they kept looking at me - so, i decided to use the flag bases instead.
Same thing though - cut off the round piece and use a piece of aluminum to fill the hole as previous.
I slid the black mirror housing covers on to the red bases and I thought it looked kind of crap - so... decided that I would paint the housings and of course re-paint the bases Guards Red.
Now, with a single bolt attachment, I have horizontal movement. So, i put the mirrors on, adjusted them to my liking and it was perfect !!
Whilst I can now no longer use the manufacturers long phillips screw to secure the housings, they actually sit quite firm onto the bases. Probably because I painted them too !! Anyhow, I had to gently 'thump' then to seat them up flush.
9 Vehicles Porsche Helped Engineer that Aren't Porsches
Slideshow: Long before engineering consulting became trendy, Porsche was quietly helping other automakers build everything from supercars to economy hatchbacks.
9 Features and Characteristics That Only Porsche People Understand
Slideshow: Some brands build cars. Porsche builds traditions, obsessions, and a few habits that stopped making sense decades ago but somehow became part of the charm.
This Builder Is Turning Heads With Its Slantnose 911 Creation
Slideshow: A small Polish tuner has reimagined the Porsche 911 Slantnose for the modern era, blending 1980s nostalgia with widebody tuning culture and serious performance upgrades.
Porsche 911 GT3 Artisan Edition Pays Homage to Japanese Culture
Slideshow: Porsche has created a Japan-only 911 GT3 Artisan Edition that blends track-ready hardware with design cues inspired by traditional Japanese craftsmanship.
Porsche Reveals Coupe Variant of the Electric Cayenne With a Fresh Look
Slideshow: Porsche's latest electric Cayenne Coupe blends dramatic styling with supercar acceleration, turning the brand's midsize SUV into a 1,139-horsepower flagship.


 ) and so this is how it starts. You can see the part numbers in the photo too (for those that want to order). I must say that the Vitaloni are extremely light - even to the point of feeling cheap. Whilst they cost around $80 USD - if you had to guess, you'd figure $5 from China