
Engine fan delaminating/failing

 05-07-2014, 11:57 AM
#32
IHI KING!
Rennlist Member
Rennlist Member
Join Date: Aug 2001
Location: Nashua, New Hampshire, USA
Posts: 13,386
Received 223 Likes
on
177 Posts
Anyone used this gizmo for that job? I called Snap-on to figure out the overall length in hopes that it will fit, but they don't have any specs.
05-07-2014, 03:50 PM
#34
Anyone used this gizmo for that job? I called Snap-on to figure out the overall length in hopes that it will fit, but they don't have any specs.
Hal
05-09-2014, 06:28 AM
#35
Burning Brakes
 05-09-2014, 09:21 AM
#36
Rennlist Member
Here are some simple possibilities:
Casting became more complicated to manufacture and became prone to Microshrinkage a dendritic solidification issue with mag alloy
Process or product used to coat the fan changed and was less effective (ie. our engine shrouds deteriorate far more easily)
Supplier change making an inferior product
More surface area created by the extra blades making it more prone to damaging the edges and leaving exposed surface.
We drive our cars more in all season conditions
Any one and numerous other possibilities
05-19-2014, 02:10 PM
#37
Drifting
Thread Starter

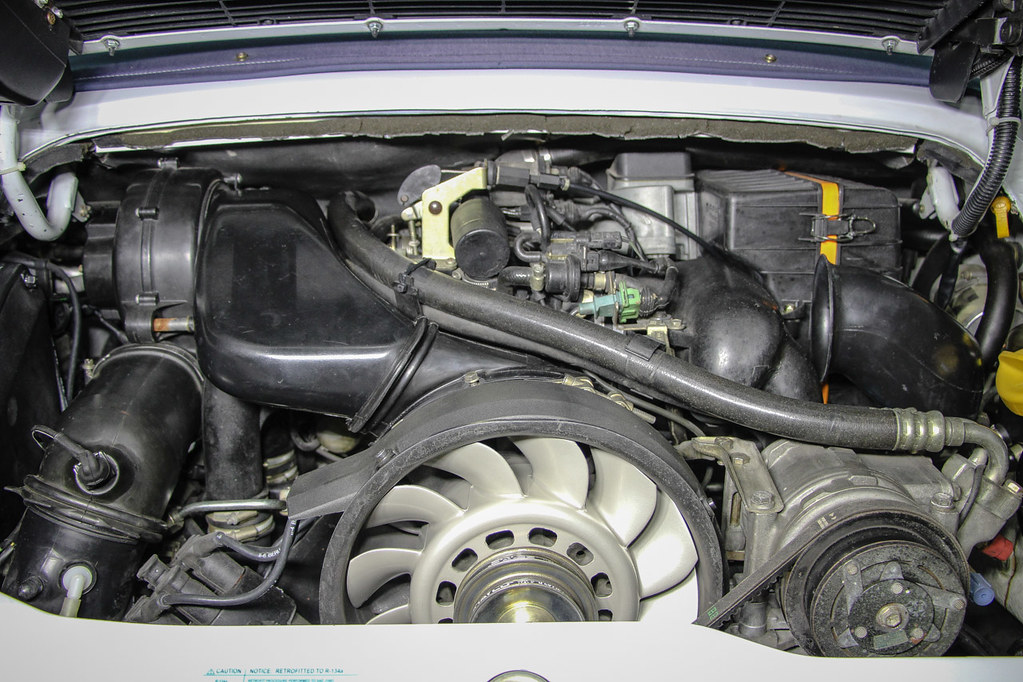
Changed out the fan this weekend... Pic before starting the work

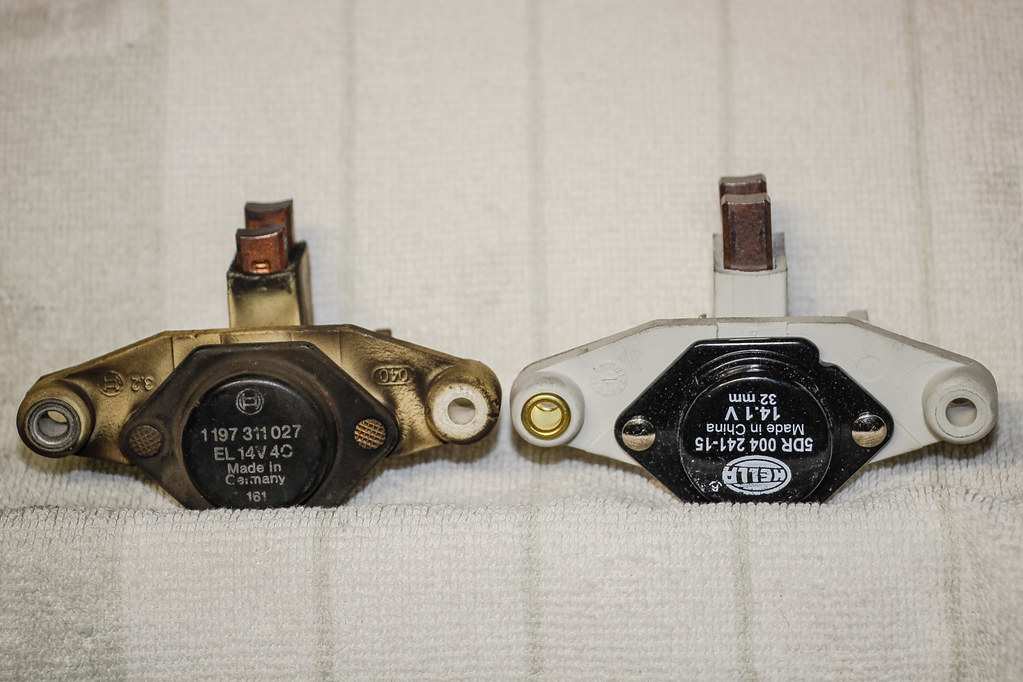
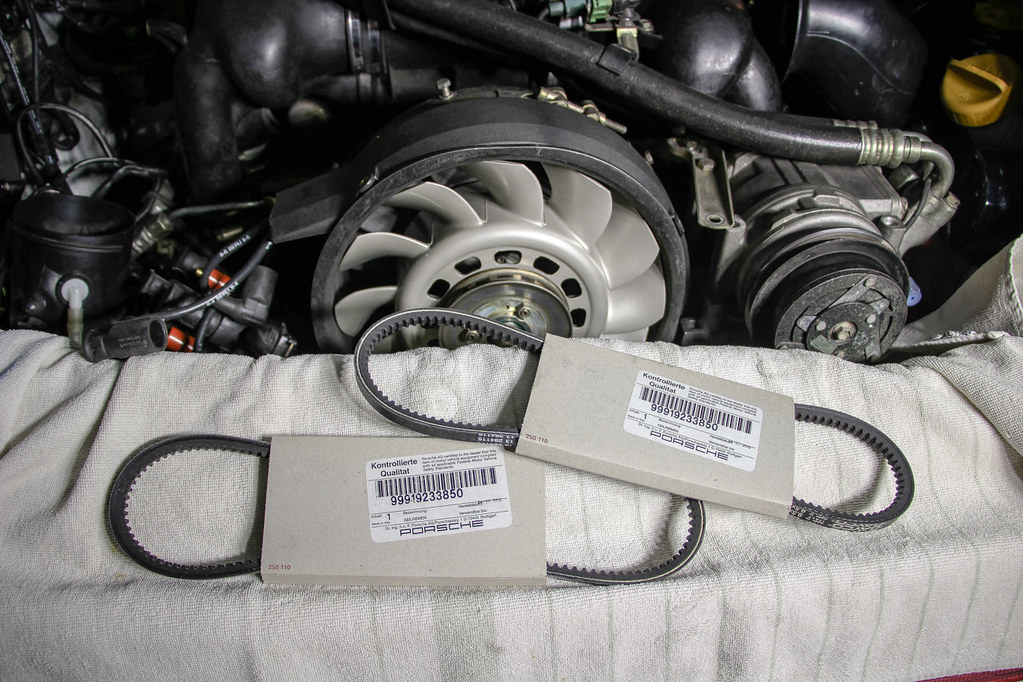
I figured I'd replace the voltage regulator and belts for good measure. The Bosch version was not available, so a Hella one went in.
A few hours later the job was complete. New fan, bearing, belts, and voltage regulator.

With the new fan in, I was able to get the car out of winter storage and go for my first drive of the season.
Many thanks to all for your guidance. Next is do make a jumper so that I can remove the rear blower and do the bypass (ordered it from Sunset at the same time).
I figured I'd replace the voltage regulator and belts for good measure. The Bosch version was not available, so a Hella one went in.
A few hours later the job was complete. New fan, bearing, belts, and voltage regulator.
With the new fan in, I was able to get the car out of winter storage and go for my first drive of the season.
Many thanks to all for your guidance. Next is do make a jumper so that I can remove the rear blower and do the bypass (ordered it from Sunset at the same time).
05-19-2014, 04:10 PM
#38
Drifting
Thread Starter
A couple of folks have asked me if it was hard to do... I am not mechanically inclined but I can turn wrenches and I usually make a mess of things, but this was fairly straightforward, just painfully tight and small hands would definitely help. I know there are many write-ups on this but I hope this can help someone, so here's how it went.
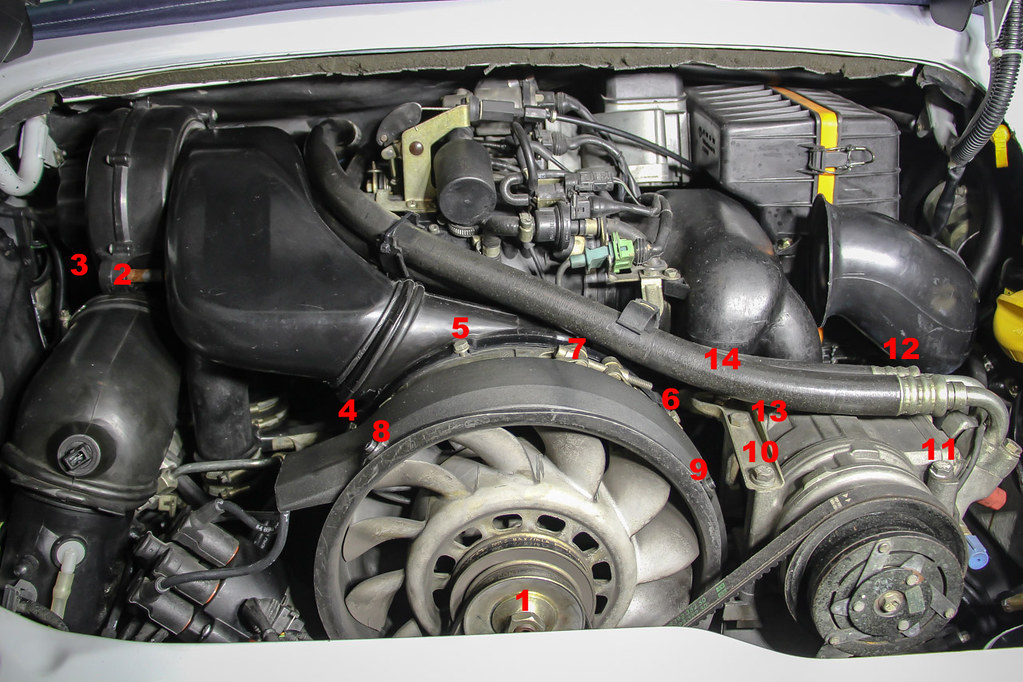
I used a 24mm wrench and this 10mm triple square with a breaker bar, I turned the 24mm CCW and the triple square CW to get the nut (#1) loose to make sure I could get the job started. Next was bolt #2 and then bolt #3 which is down in the cavity and have to get to it by feel. Once these 2 bolts were out, I unplugged the couple of sensors and removed the top part of the blower. I then removed bolts #4, 5, and 6 which released the air duct. Next was #7, and then #8 and #9 popping out the 3 plug wires. The last step was to undo the AC compressor and I first thought that getting the bolts loose would work, but you actually have to remove some of them. So I removed #10, 11, 12 (behind the AC line), and just loosened #13 which gave the AC compressor enough slack to remove the AC belt. I then started to take the pulleys and shims off the alternator shaft by following this excellent writeup.
While everything was out, I tilted the fan housing forward and removed the rear cover to reveal the back side and swap the voltage regulator. It had not given me any problems but I figured that since I was already in there, I might as well put a new one in. Two screws hold it in place, so it's a fairly easy task. I then placed a short piece of 2x4 under the fan housing to give it enough backward tilt to work the 3-arm puller and everything came out like butter. I then removed bolt #14 (under the AC line) to release the bracket and lift the AC compressor out of the way to give the fan housing enough tilt so that the fan can slide off the alternator shaft and the new one can be inserted.
I then put everything back in reverse order and double checked everything and since the car had been in winter storage, I pulled the DME to build oil pressure and then fired it up.
To minimize the down time, I decided not to powdercoat the fan and housing at this time and figured that if I get bored next winter, it could be on my to do list.
05-20-2014, 05:13 PM
#39
 05-20-2014, 05:57 PM
#40
Drifting
Thread Starter

Last edited by LPMM; 05-20-2014 at 10:04 PM.