
Another interior strip and RS style carpet install thread
 01-25-2014, 01:52 PM
#91
Race Car
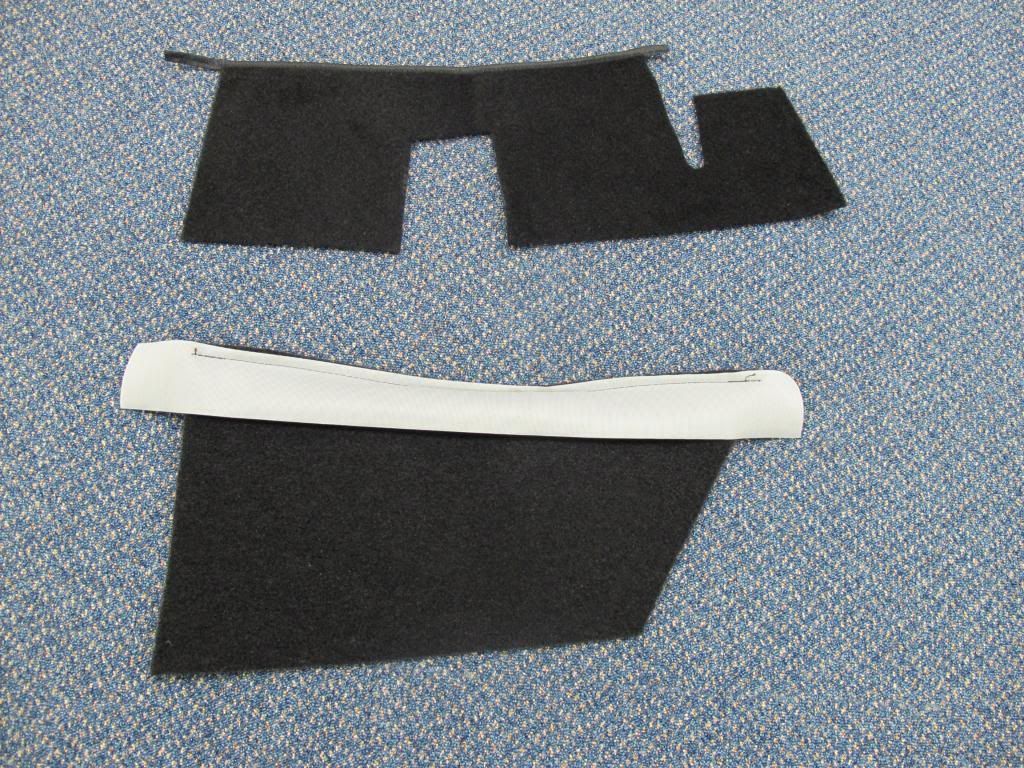
Yes thanks Boxsey ... I see them in your pics too ...must be a way to cut them and blank off surely?
don't like the idea of those never to be used bits hangin around...
But then again not like they weigh anything (don't tell Ahab!)
don't like the idea of those never to be used bits hangin around...
But then again not like they weigh anything (don't tell Ahab!)
 01-26-2014, 05:11 AM
#92
Three Wheelin'

I have the southbound rear shelf and rear section carpets fitted, but with the original rear qtr trims still in place.
I'm going to strip out the front and do that, possibly sometime this year and may look at making the carpets my self as I have the facilities to do so, unless it looks like more trouble that it's worth.
I'm going to strip out the front and do that, possibly sometime this year and may look at making the carpets my self as I have the facilities to do so, unless it looks like more trouble that it's worth.
02-06-2014, 12:56 AM
#93
Race Car
Did anyone ever work these out? Or did you scrap them?
 02-06-2014, 07:28 AM
#94
Nordschleife Master
Thread Starter
02-06-2014, 08:00 AM
#95
Instructor

Join Date: Nov 2007
Posts: 150
Likes: 0
Received 0 Likes
on
0 Posts
If you want to remove the glue, do it with an dryed ice gun. Seen the method somewhere on youtube, whish I knew that when I did mine. Even with teh strongest glue remover from 3M, it's still a pita of a job.
02-06-2014, 01:41 PM
#96
Race Car
but pretty underside to the foam and glue

at least I know now if I decide to go CUP naked
http://www.isogenix.co.za/ice_blasting.htm
02-06-2014, 01:43 PM
#97
Race Car
but can't remeber where - maybe around frunk pull or something ...
anyways, if you didn't need it, I guess I'll relax on that and get on with it!
Thanks!
02-06-2014, 04:12 PM
#98
Nordschleife Master
Thread Starter
You might be onto something there. There IS a small piece by the handle that comes off. I used the small piece shown in post #43 but had to attach some vinyl to it so that it fitted like the original piece. It could well be that the larger piece I didn't use is for by the frunk handle on a LHD car. I guess Bob could have left the smaller LHD bits in the kit and added the RHD extra pieces.
02-20-2014, 01:05 PM
#99
Three Wheelin'
Steve,
What did you do about the seat belt routing where it runs through the wheelarch trim/carpet?
Did you refit the guide into the carpet or just cut a slot?
Gary
What did you do about the seat belt routing where it runs through the wheelarch trim/carpet?
Did you refit the guide into the carpet or just cut a slot?
Gary
