
Another interior strip and RS style carpet install thread
 01-27-2013, 07:56 PM
#1
Nordschleife Master
Thread Starter
Just before Christmas I started to get concerned about the excessive condensation that was forming in the car. I only had to lift the rear carpets to find water pooling in the footwells. It was easy to pull out handfuls of sodden sound proofing:
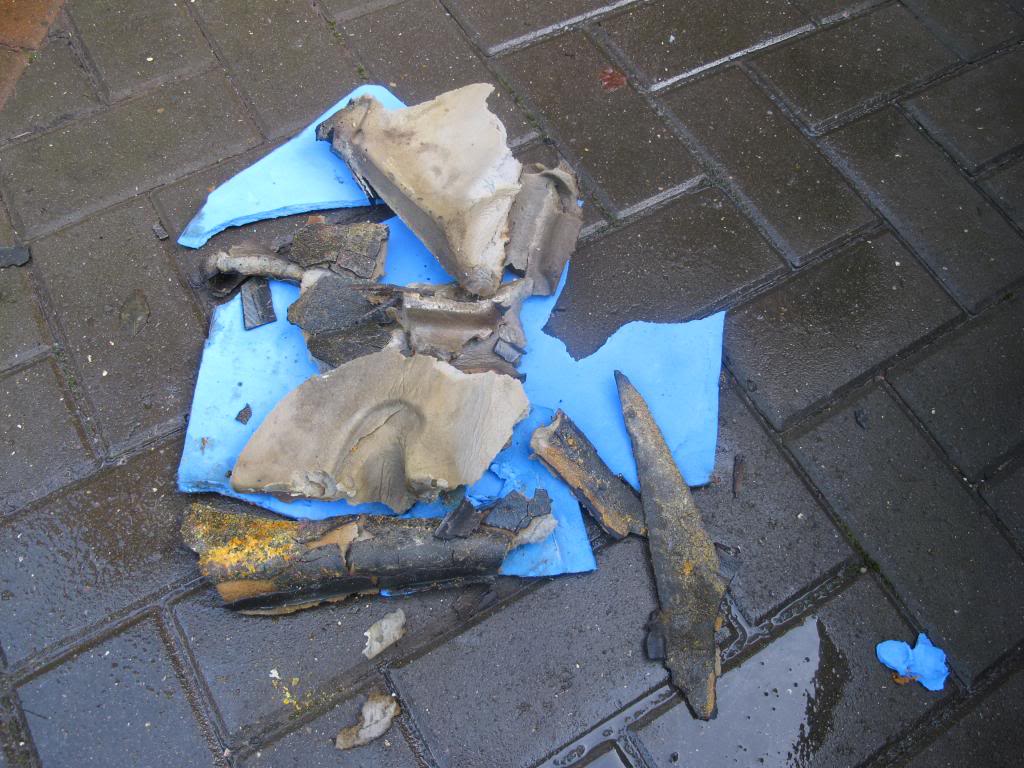
Clearly I needed to find the source of the leak(s) but it also brought forward my idea of removing soundproofing (now very wet) and fitting a lightweight carpet set. There are many threads on here about doing this and will be using these to help me. This two in particular are very comprehensive:
https://rennlist.com/forums/964-foru...r-install.html
https://rennlist.com/forums/964-foru...s-wannabe.html
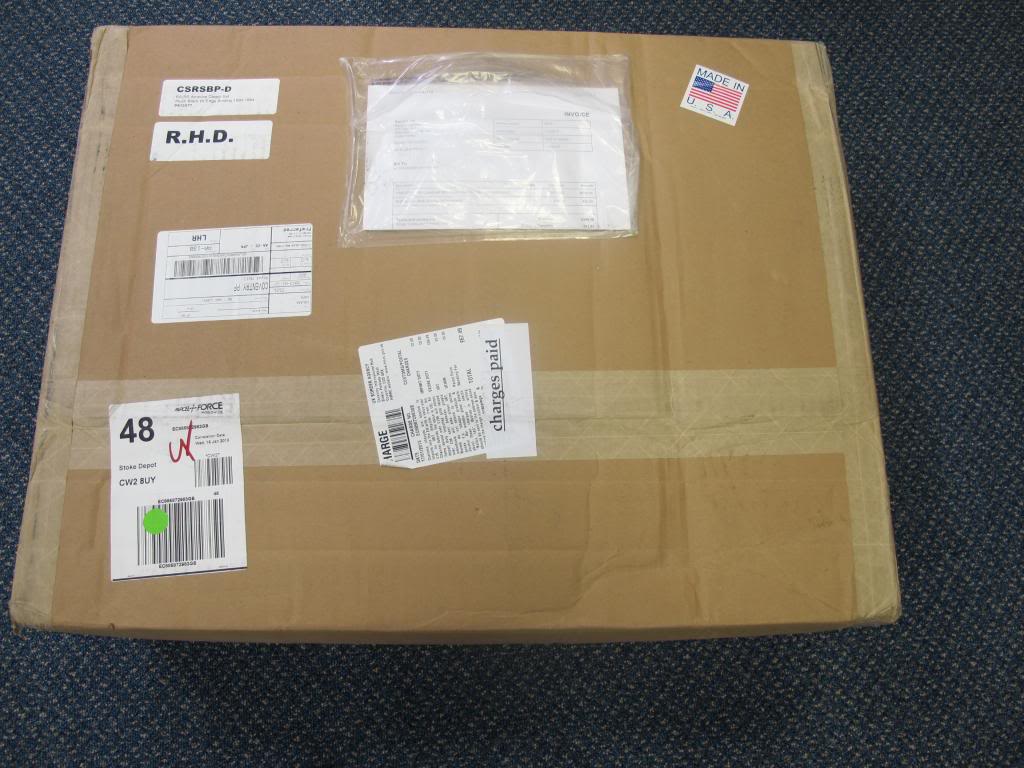
So a plush carpet set (although still quite thin and light!) was duly ordered from Bob at Appbiz, in RHD configuration:
I anticipate that the job will take at least 3 weekends. So to stop me worrying about the weather I've turned my business premises into a temporary 964 workshop:
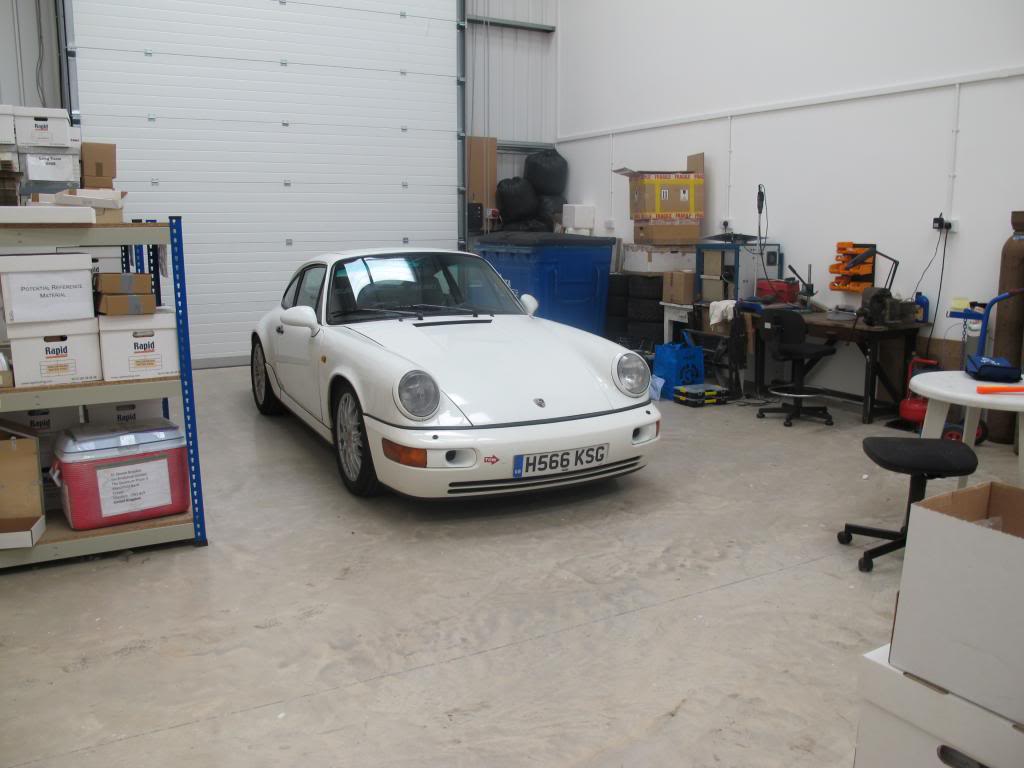
A final shot of the interior how it was - burgundy which will turn to black:
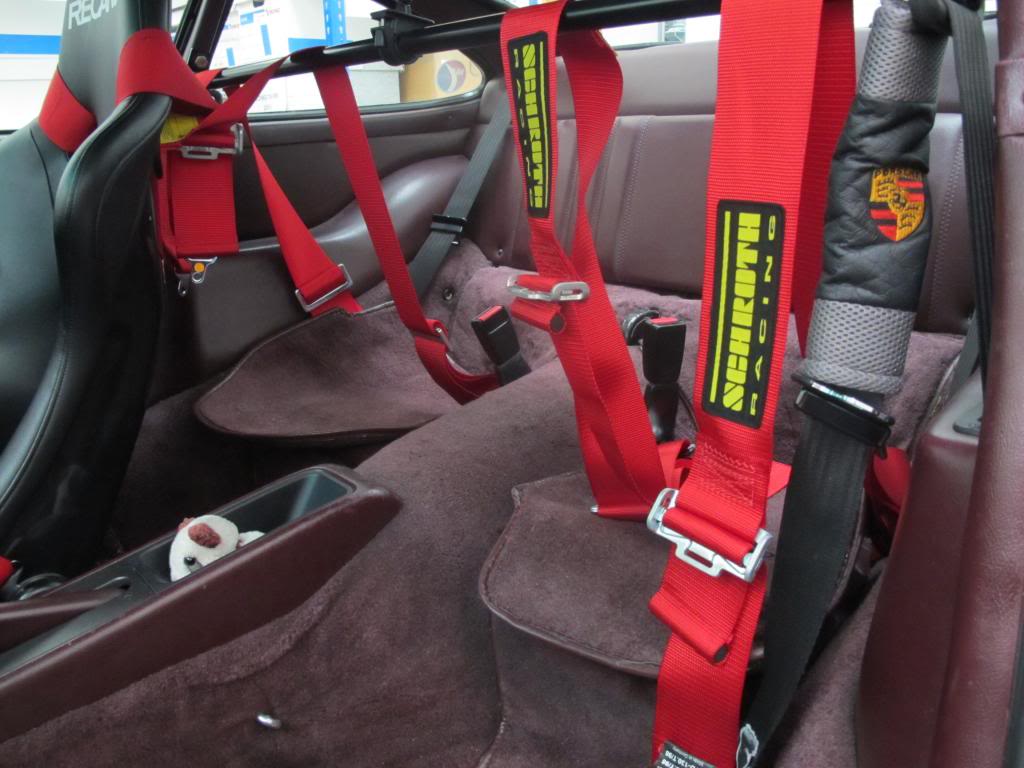
Seats came out followed by the parcel shelf:
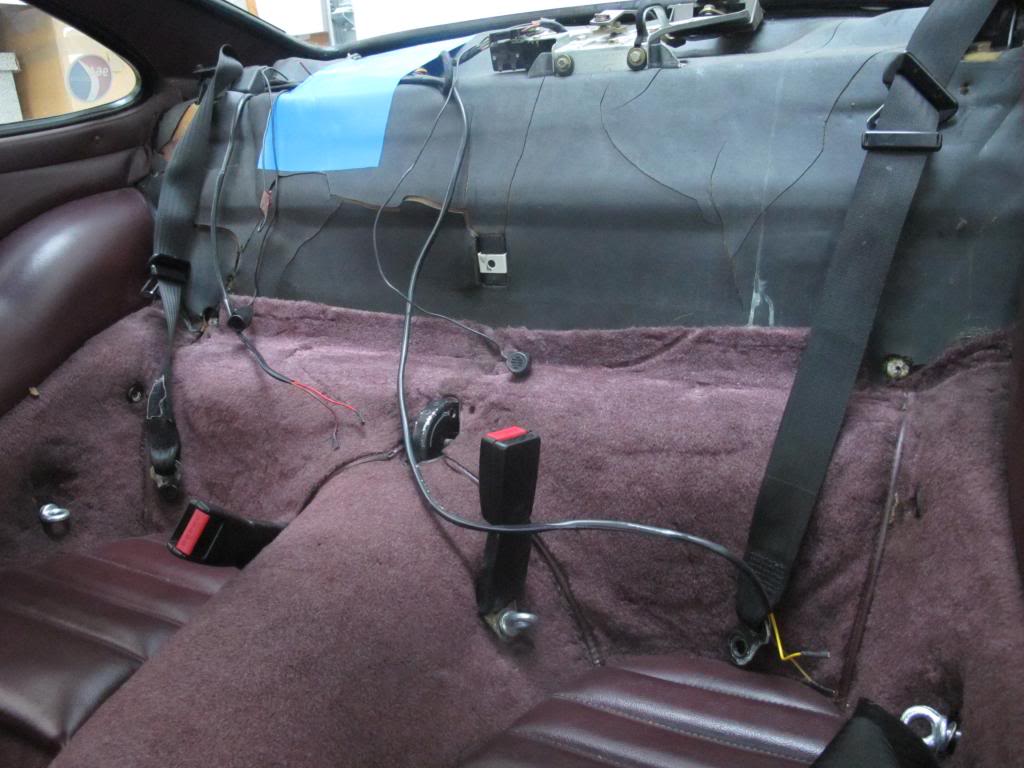
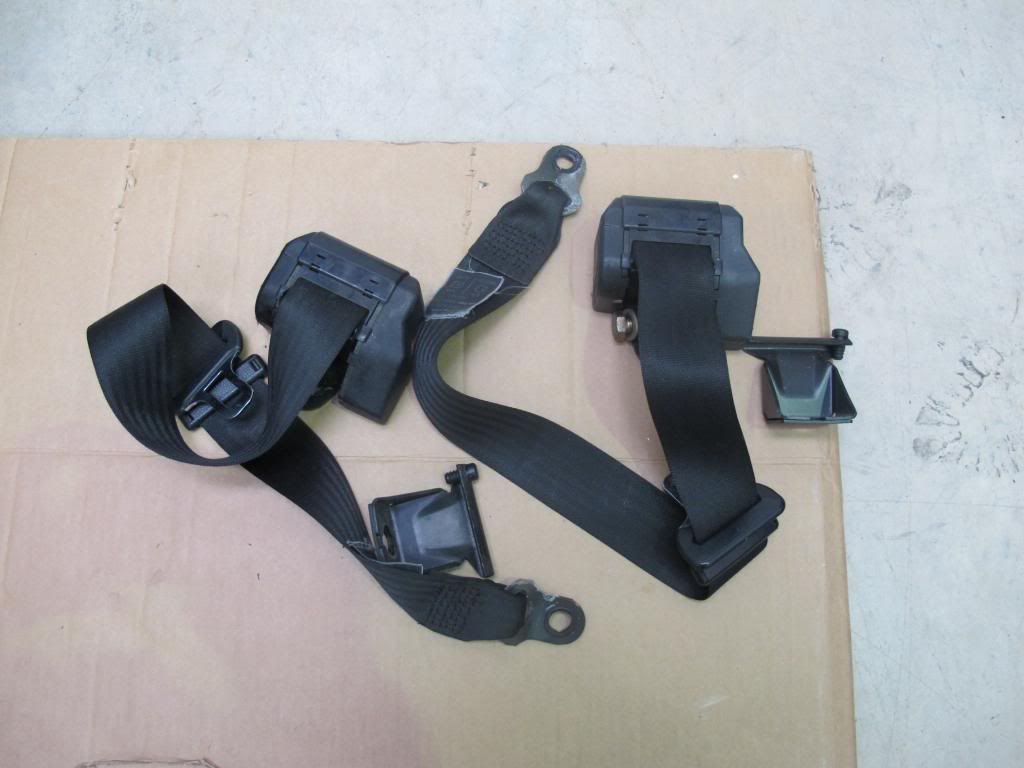
Then the rear selt belts:
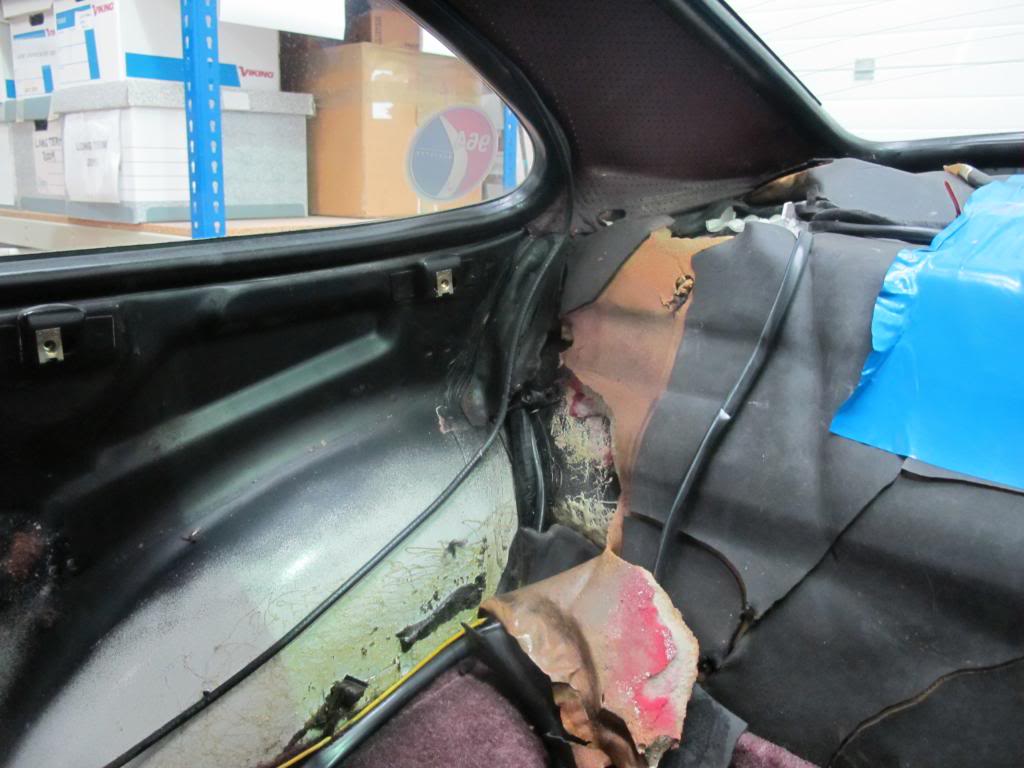
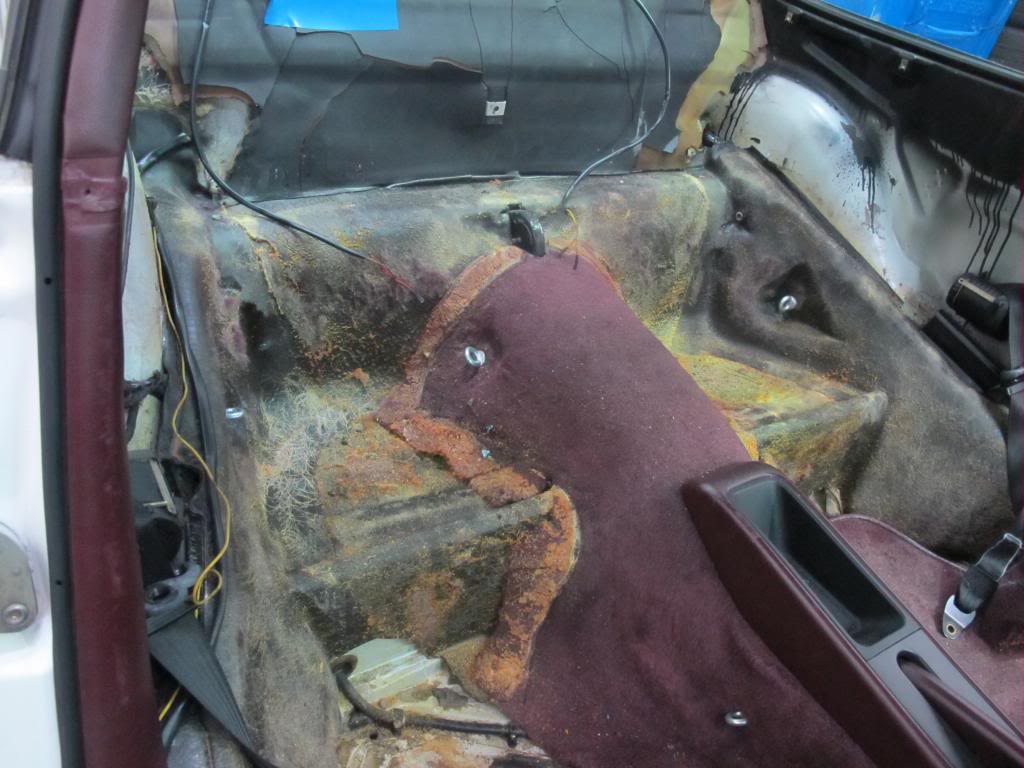
Then the rear wheel arch trims which revealed that water had been getting in through the quarter window seals:
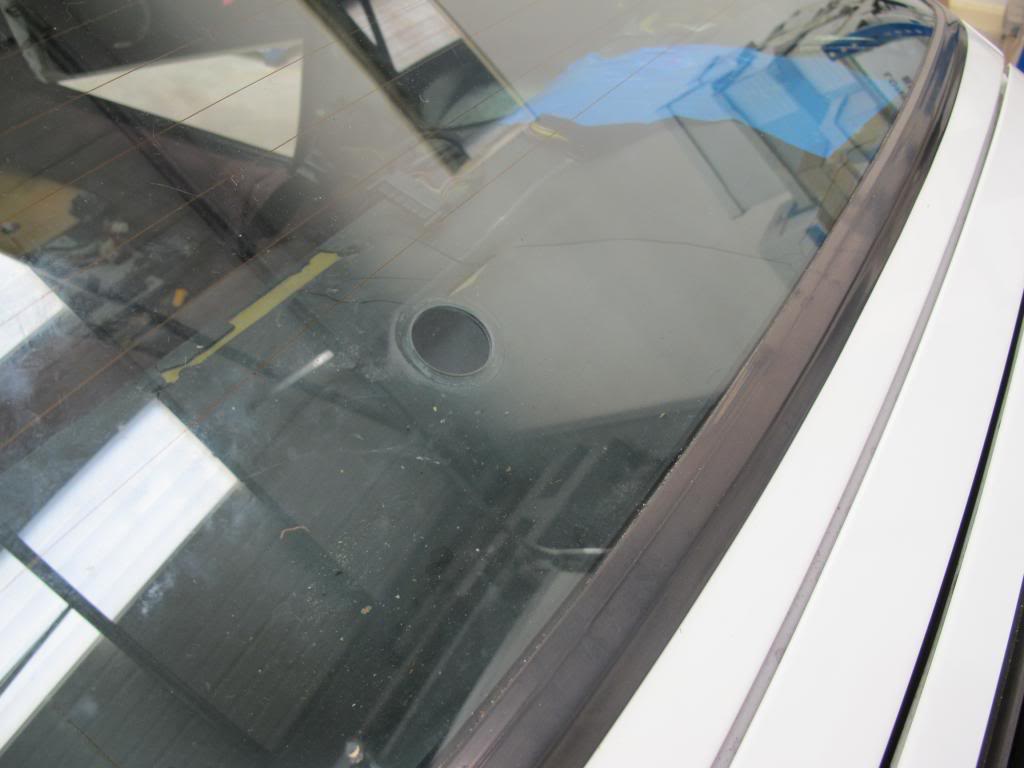
Rear wiper then came out:
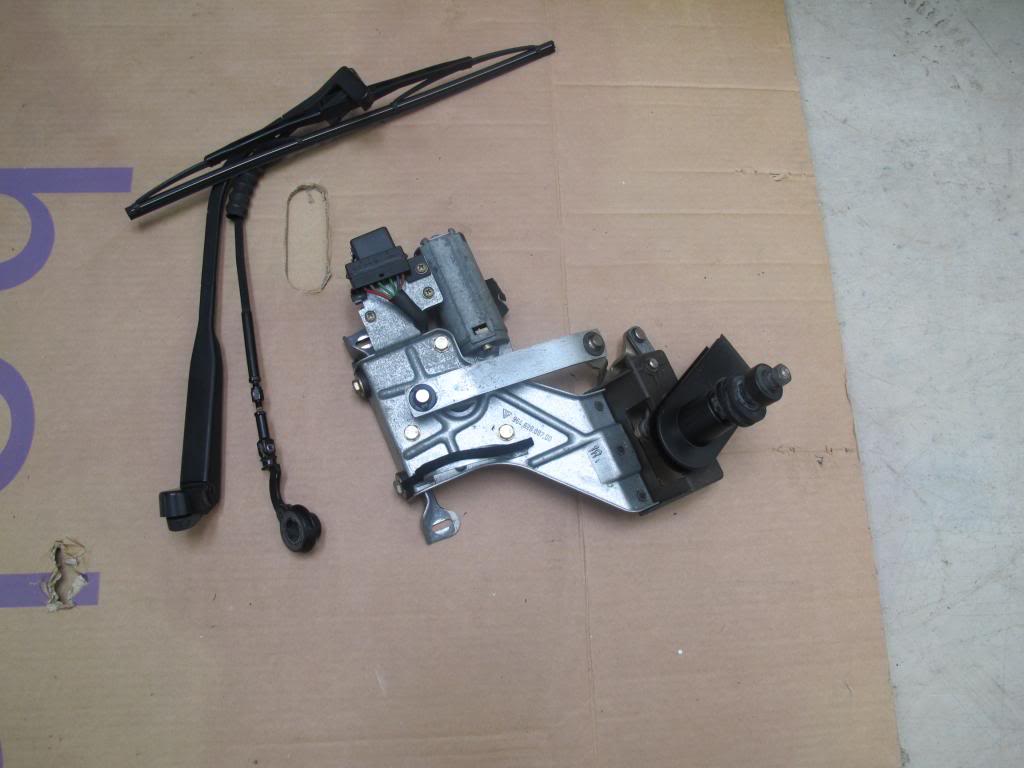
The hole will get a bung:
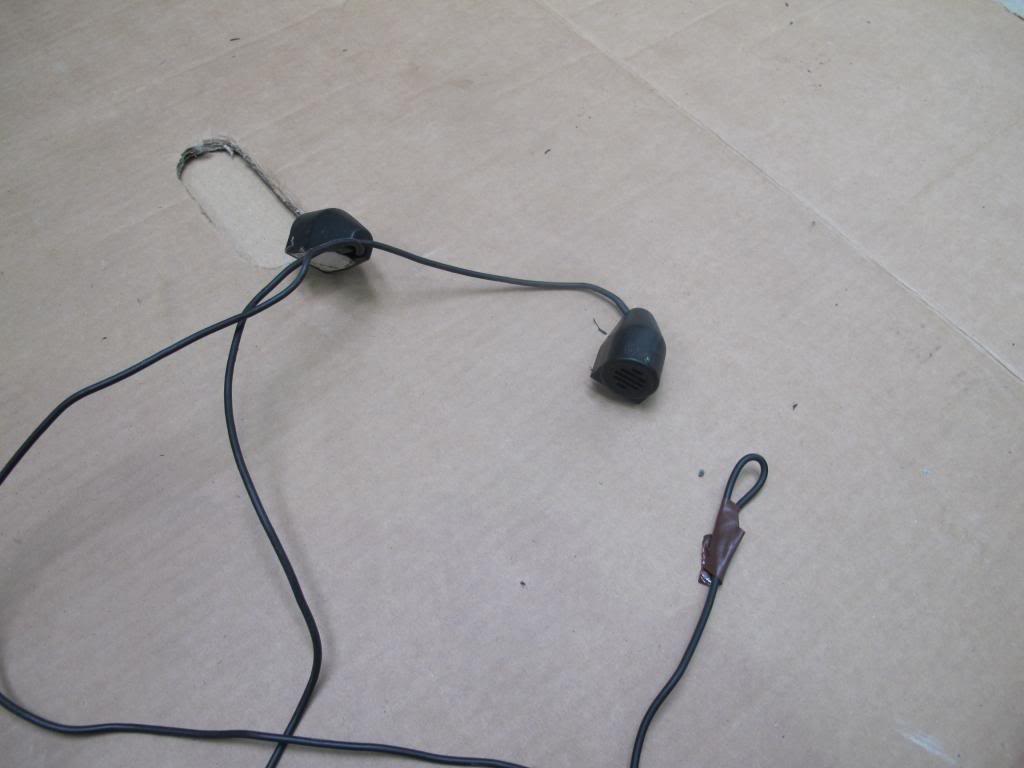
These jobs turn up history - these are alarm sensors that were no longer connected (I think the car has had at least 3 alarms fitted in its time):
Seat pads and some carpet removed. No turning back now
Next installment next weekend.
Clearly I needed to find the source of the leak(s) but it also brought forward my idea of removing soundproofing (now very wet) and fitting a lightweight carpet set. There are many threads on here about doing this and will be using these to help me. This two in particular are very comprehensive:
https://rennlist.com/forums/964-foru...r-install.html
https://rennlist.com/forums/964-foru...s-wannabe.html
So a plush carpet set (although still quite thin and light!) was duly ordered from Bob at Appbiz, in RHD configuration:
I anticipate that the job will take at least 3 weekends. So to stop me worrying about the weather I've turned my business premises into a temporary 964 workshop:
A final shot of the interior how it was - burgundy which will turn to black:
Seats came out followed by the parcel shelf:
Then the rear selt belts:
Then the rear wheel arch trims which revealed that water had been getting in through the quarter window seals:
Rear wiper then came out:
The hole will get a bung:
These jobs turn up history - these are alarm sensors that were no longer connected (I think the car has had at least 3 alarms fitted in its time):
Seat pads and some carpet removed. No turning back now
Next installment next weekend.
 01-27-2013, 09:03 PM
#2
Burning Brakes

Wow...a big job 
BTW, how did you get off the outer bolts which secure the backrests? They're a flathead screw pattern and I can't shift mine for love nor money...
BTW, how did you get off the outer bolts which secure the backrests? They're a flathead screw pattern and I can't shift mine for love nor money...
01-28-2013, 03:17 AM
#4
Steve,
It's a pig of a job isn't it?!
I did this last spring and it took a mate and I a good 30-35 hours to strip the interior and get rid of every/any trace of the evil factory glue. I still have a couple of bald spots on my legs from glue removal
That said, it turned out great, although, I had Gamroth (Rothsport) do the Appbiz install, as he was already doing a load of other stuff including installing the Heigo Clubsport, Schroth 6 pts etc. I had him trim off the central bracket on the rear seats to make for smoother lines and supplied him (Gamroth) with a couple of pieces of foam to use around the trans tunnel.
Without any soundproofing, engine sound pad delete, Heigo, Wevo's, OEM RS trans mount, RSR engine carrier reinforcement, PSS10's, top mounts (f&r), OEM RS ARB's, RS strut brace, G pipe etc the interior noise level is increased, but certainly no where near unbearable.
BTW, I used Surflex 917 Porsche Black premium dye on my cashmere tan centre console surround, gear **** & shift boot and handbrake with incredible results - just like OEM. As Gamroth was installing the "Golden Rod" and forward shift rod, I ended springing for a one piece Rothsport billet shifter which is a work of art ....
Looks like you have a good sized space to work in. I had a couple of fans going and the garage door open to ensure brain cell preservation when using various chemical solutions to rid the interior of the factory glue.
Good luck
01-28-2013, 03:36 AM
#5
Addict
Rennlist Member
Rennlist Member
If you're going to replace the carpet with a black one, is their any point in removing the factory glue, or do you still need to do that to ensure the new carpet sticks properly?
01-28-2013, 03:42 AM
#6
Three Wheelin'
Great job Steve, following avidly
Mines alerady at about the stage you are now, no rear carpet, seats, belts or shelf but its been like that for months
Guess I need to order the carpet!
Mines alerady at about the stage you are now, no rear carpet, seats, belts or shelf but its been like that for months
Guess I need to order the carpet!
01-28-2013, 03:46 AM
#7
Nordschleife Master
Thread Starter
Babalouie - I removed the seat backs a long time ago. Those bolts are really tough to get out. I used a wide flat blade bit and socket wrench.
Geordie - thanks for the encouragement and tips.
Andy - I'll remove what glue I need to but won't be going mad to get it super clean. Some of it is coming off easy because the water leaks have helped loosen it over time.
Geordie - thanks for the encouragement and tips.
Andy - I'll remove what glue I need to but won't be going mad to get it super clean. Some of it is coming off easy because the water leaks have helped loosen it over time.
Trending Topics
01-28-2013, 03:49 AM
#8
Andy,
Good question. I removed all the glue because I'm a little OCD
Actually, I was also undecided as to whether or not go Cup/N-GT interior or RS Ltwt.
My view is that you could just remove the majority of the old glue and supplement with a 3M or equivalent spray-on adhesive if you were going to re-carpet.
Without a doubt, I underestimated the "tackiness" and strength of the near 20 year old OEM glue. Just unbelievable.
 01-28-2013, 08:05 AM
#10
Nordschleife Master
Thread Starter
01-28-2013, 08:40 AM
#11
Intermediate
Join Date: May 2011
Location: Netherlands
Posts: 28
Likes: 0
Received 0 Likes
on
0 Posts
Geordie, can you post a picture of your interior (front and back)?
I'm thinking of also fitting the billet shifter (along with the golden rod and short shift kit) and the same for smoothing out the rear seats with foam. I'm very curious how this looks.
Thanks!
I'm thinking of also fitting the billet shifter (along with the golden rod and short shift kit) and the same for smoothing out the rear seats with foam. I'm very curious how this looks.
Thanks!
01-28-2013, 10:42 AM
#12
Instructor
Join Date: Sep 2009
Location: Houston, TX
Posts: 191
Likes: 0
Received 0 Likes
on
0 Posts
Great start Boxsey! Thanks for posting details. I got all of my rear out this past weekend as well. I've still got some glue removal to take care of. I found a guy in town who's going to put the carpet in for me. I'm too impatient and he's got more time! I'll post some photos soon. Mine was a little wet as well. HOLY cow does it weight a lot! I just had my car weighted to do the corner weight. She came in at 2750 wet.. now probably 2730 .
So while driving my car around this weekend with rear stripped down to bare metal i did notice more noise (which is saying alot with the exhaust that I have). Are you planning for some Dynamat or any sound deadening for your project or just light weight foam?
.So while driving my car around this weekend with rear stripped down to bare metal i did notice more noise (which is saying alot with the exhaust that I have). Are you planning for some Dynamat or any sound deadening for your project or just light weight foam?
01-28-2013, 10:50 AM
#13
Nordschleife Master
Thread Starter
Good to hear that you got yours started too Defiant....please post pics!
I won't be putting sound deadening in put have some 10 mm self adhesive closed cell foam at the ready to put on parts that others say you need some to make the carpet fit properly - under centre console, top of parcel shelf and wheel arches. I'll post pics where I use any.
I won't be putting sound deadening in put have some 10 mm self adhesive closed cell foam at the ready to put on parts that others say you need some to make the carpet fit properly - under centre console, top of parcel shelf and wheel arches. I'll post pics where I use any.
 01-28-2013, 12:38 PM
#15
Instructor
Join Date: Sep 2009
Location: Houston, TX
Posts: 191
Likes: 0
Received 0 Likes
on
0 Posts
I was thinking about some of this at least for the rear of the interior.
http://www.crutchfield.com/S-SnEIPSL...l#overview-tab
Thanks for the note! Anxious to see your progress as well. I'll take some photos during lunch today.
http://www.crutchfield.com/S-SnEIPSL...l#overview-tab
Thanks for the note! Anxious to see your progress as well. I'll take some photos during lunch today.
Good to hear that you got yours started too Defiant....please post pics!
I won't be putting sound deadening in put have some 10 mm self adhesive closed cell foam at the ready to put on parts that others say you need some to make the carpet fit properly - under centre console, top of parcel shelf and wheel arches. I'll post pics where I use any.
I won't be putting sound deadening in put have some 10 mm self adhesive closed cell foam at the ready to put on parts that others say you need some to make the carpet fit properly - under centre console, top of parcel shelf and wheel arches. I'll post pics where I use any.