

Another interior strip and RS style carpet install thread
 02-23-2013 | 03:41 AM
#61
Racer
Joined: Nov 2010
Posts: 481
Likes: 2
From: Bucks. UK
Love the step by step guide & it's starting to look really good.
Reading through this it puzzles me a bit why so much trimming is needed. I would have thought that kits like the Appbiz would need very little or no trimming! The only thing I can think of is there is variation from car to car so they have to play safe.
Considering all of that, how difficult do you think it would be to source your own carpet & reproduce it using the standard carpet as a template?
02-24-2013 | 04:52 AM
#63
Thread Starter
Nordschleife Master
Joined: Feb 2007
Posts: 5,095
Likes: 2
From: Cheshire, UK
Hi Alex, yes if you are handy at cutting and sewing I don't see why not. I found the removed pieces to be good as templates for the minor trimming needed. I guess the vinyl trim pieces (parcel shelf and wheel arch covers) would be the most difficult to cut out yourself though. It's also worth noting that the parcel shelf carpet is more of an over mat than a carpet piece.
Should have the final pics today!
Should have the final pics today!
02-24-2013 | 02:20 PM
#64
Thread Starter
Nordschleife Master
Joined: Feb 2007
Posts: 5,095
Likes: 2
From: Cheshire, UK
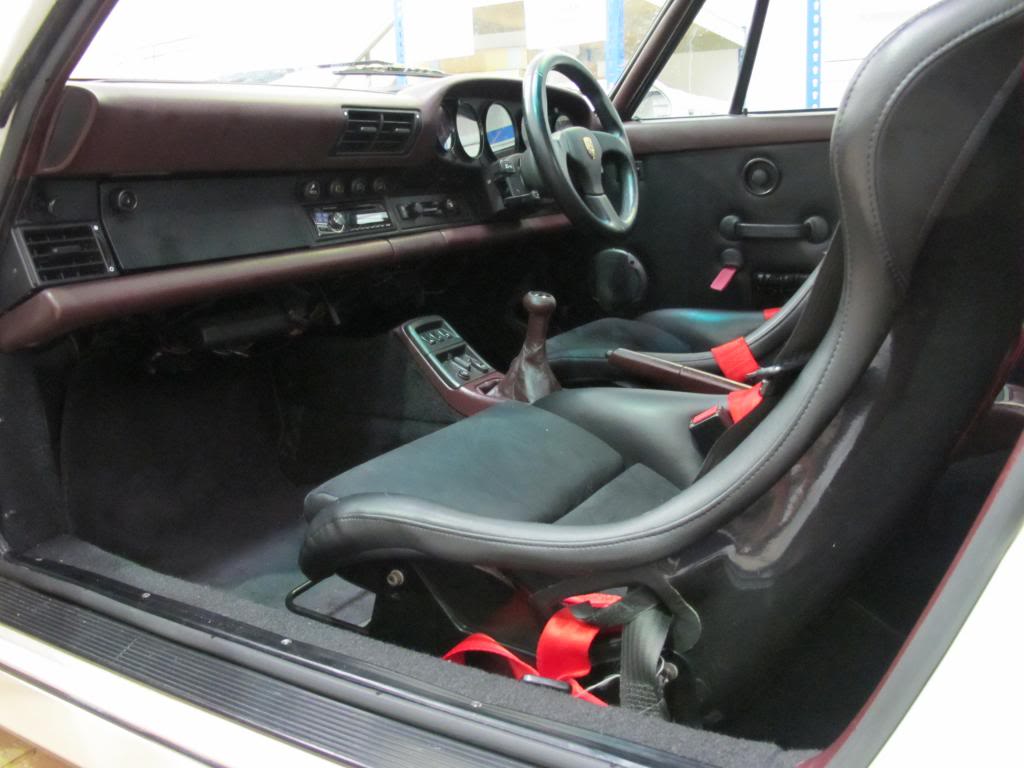
I'm very pleased to report that the interior renovation is finished and we're mobile again.
Here are the final pics:
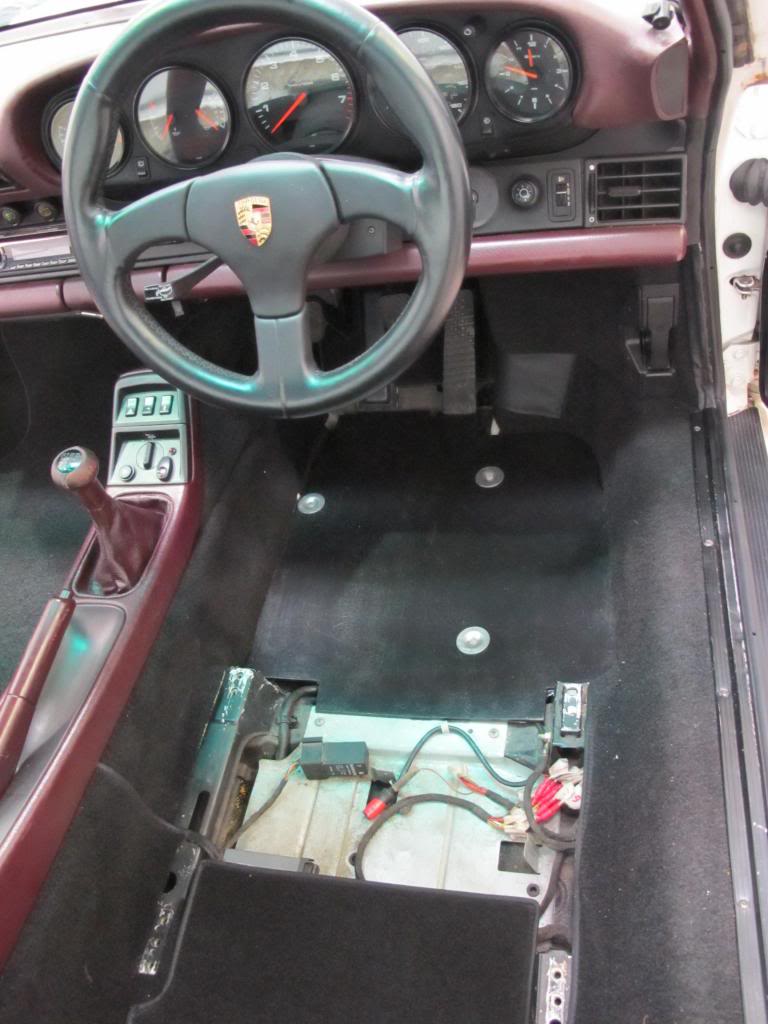
Driver's kick panel fitted:
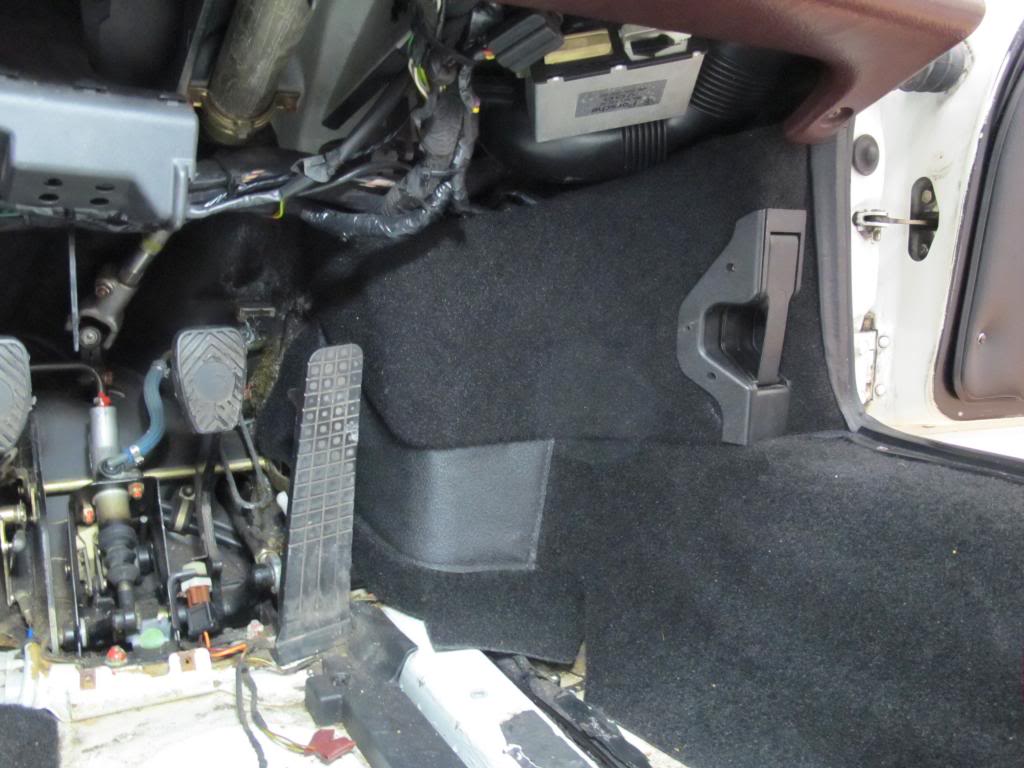
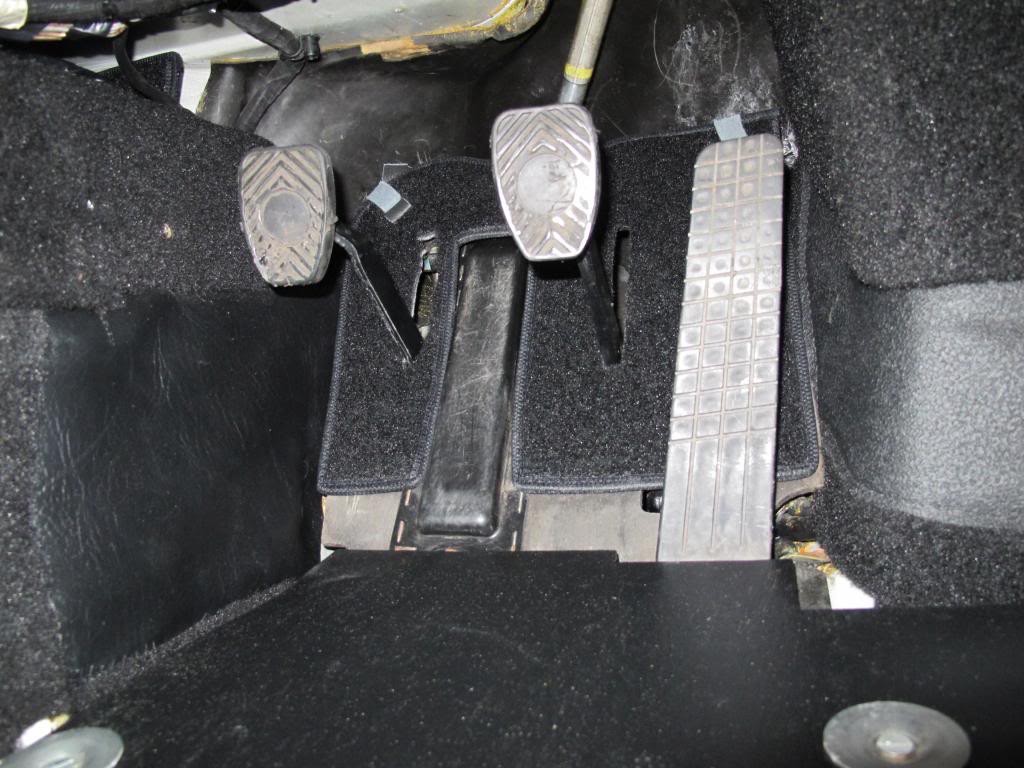
Pedal board re-fitted and the carpet fitted (needed some minor adjustments of the slots to stop the pedals fouling it):
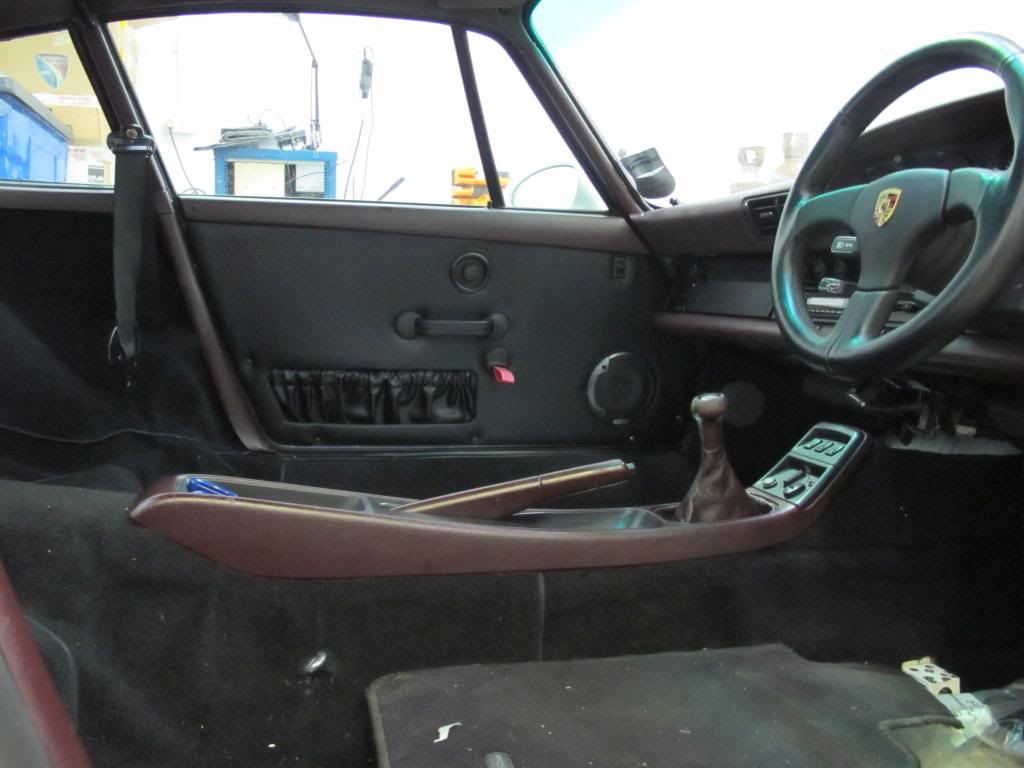
Door cards re-fitted over the new membranes:
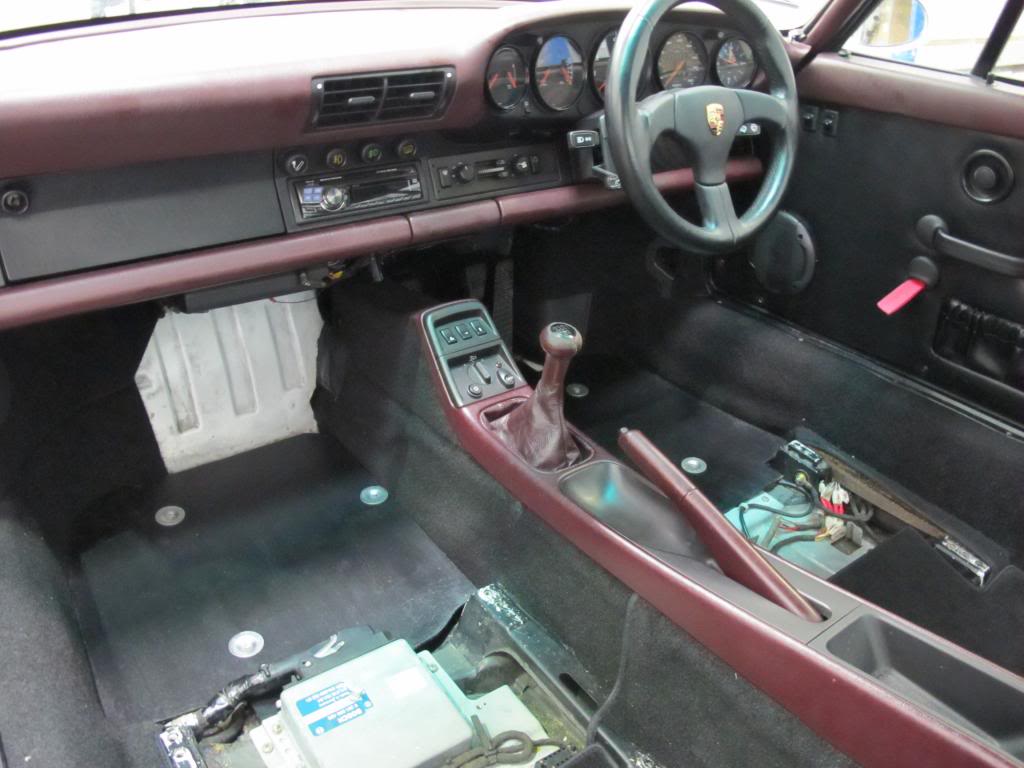
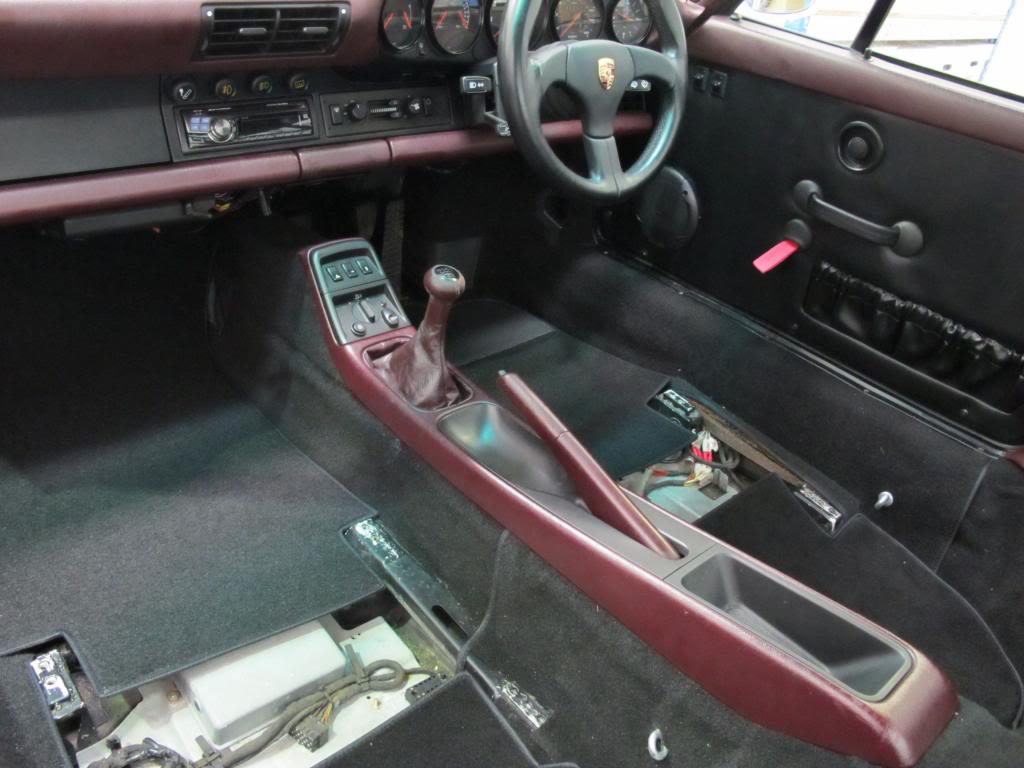
Back of the tunnel carpet piece fitted. I didn't attempt removal of the rear seat bracket. Instead I used some foam padding to try and smooth it out but there are still some creases that I'll have to put up with:
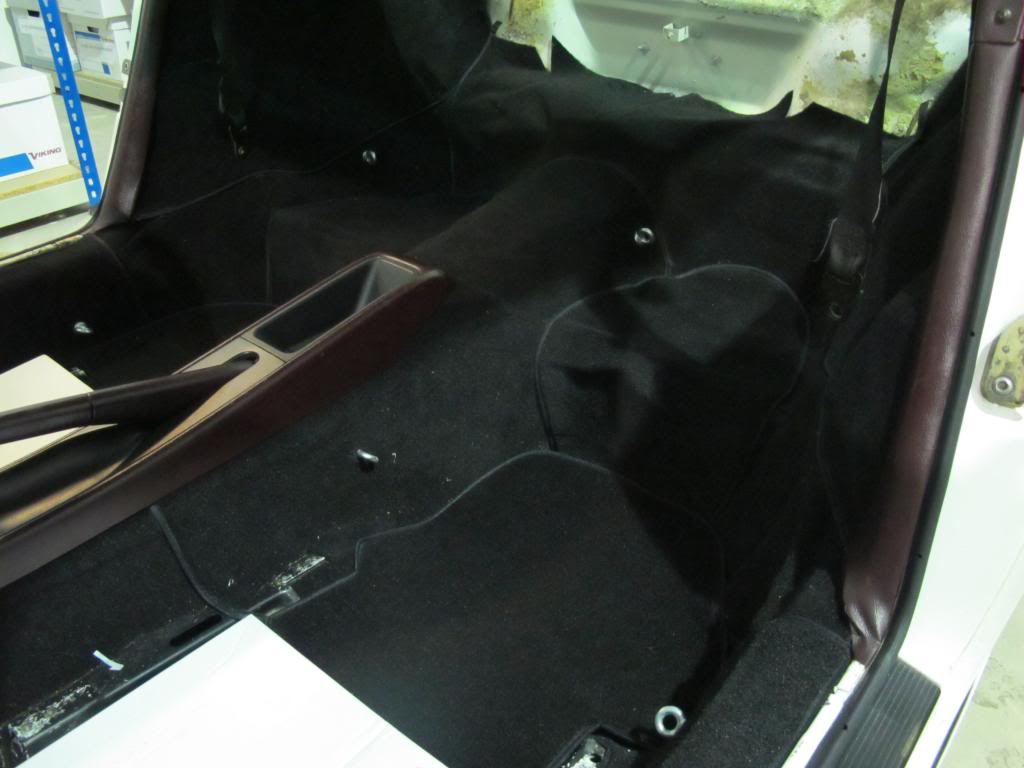
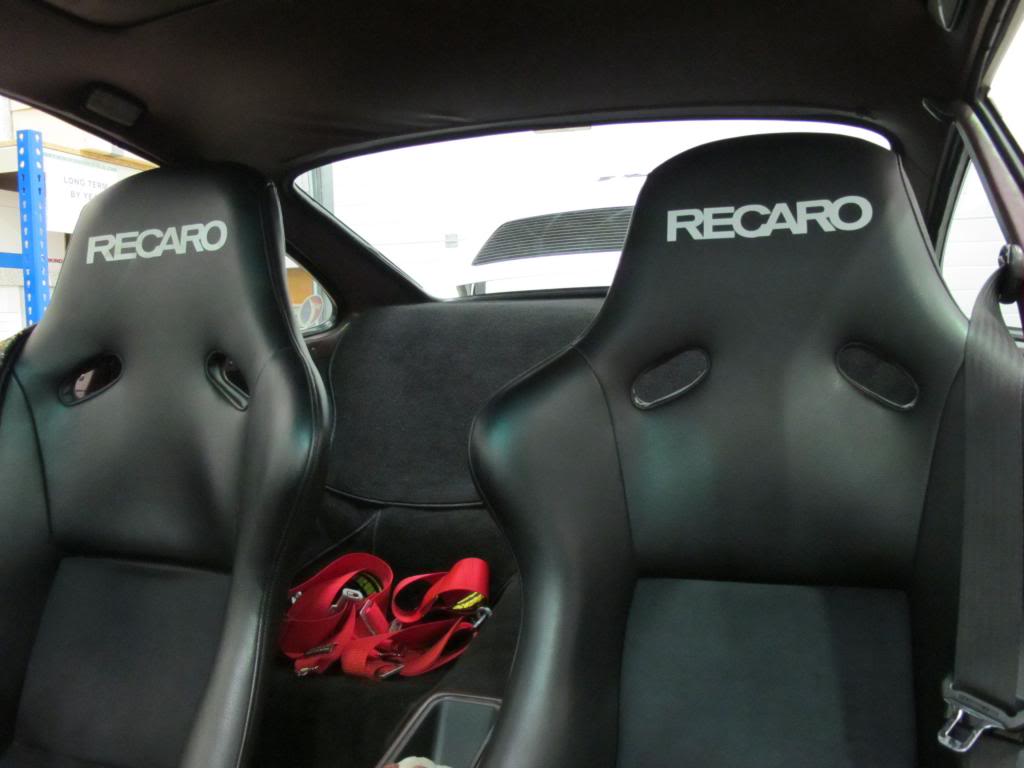
Creases aren't so obvious after fitting the parcel shelf carpet and seat pieces:

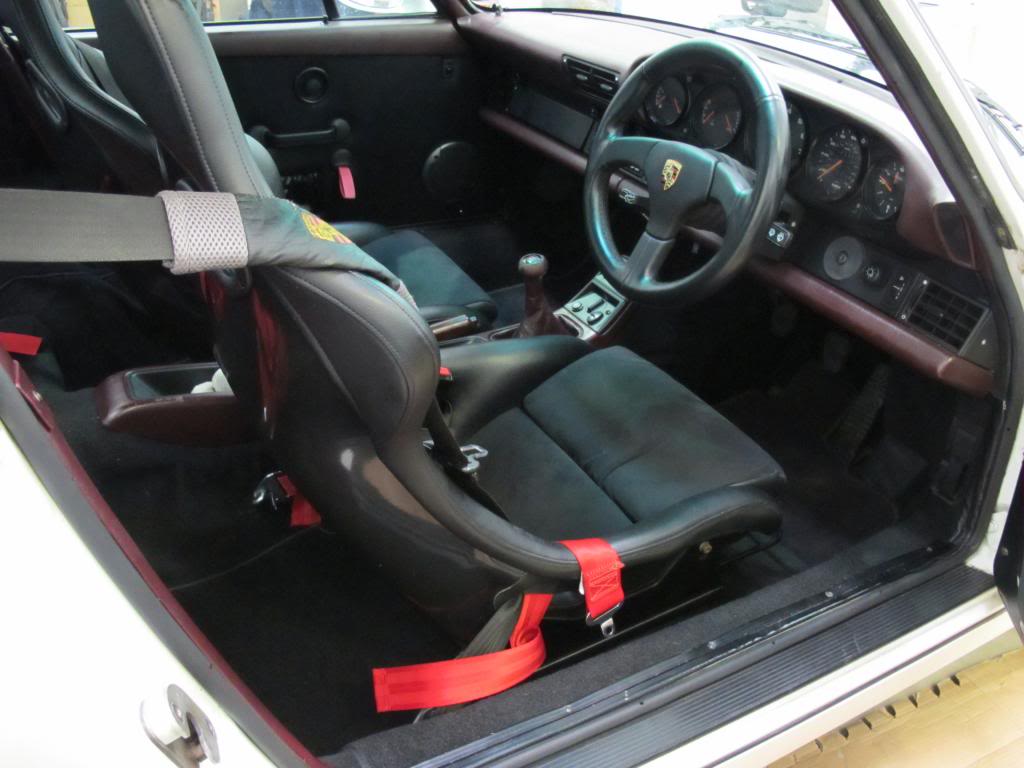
Driver and passenger floorboards re-fitted:
Floor mats in place:
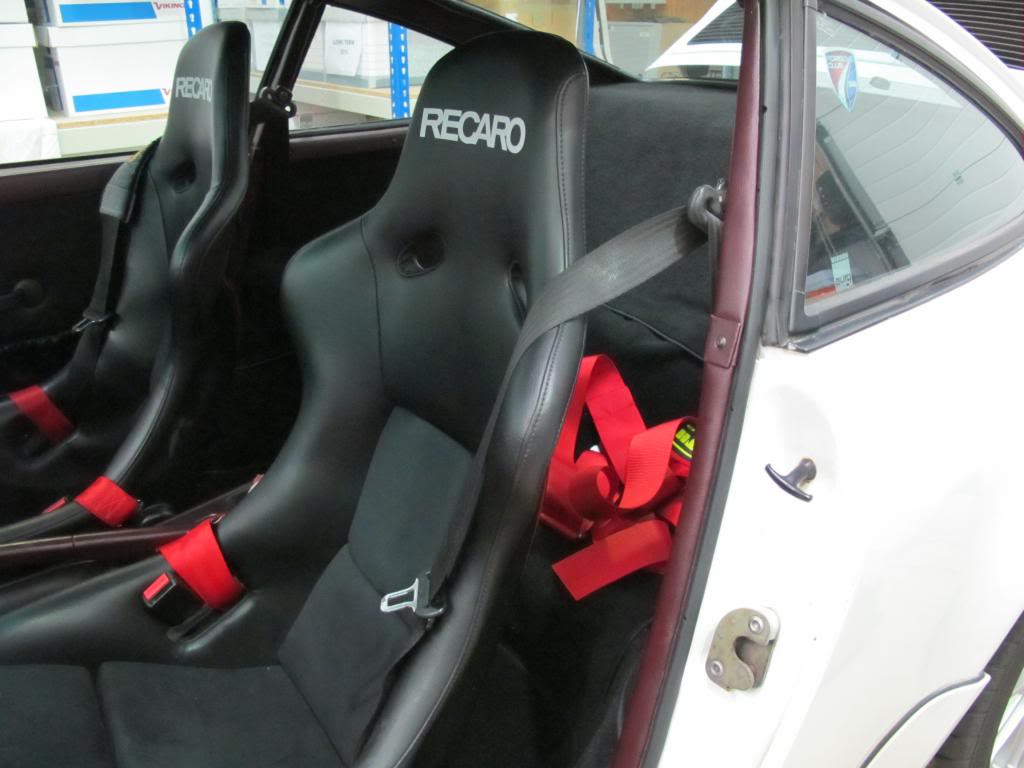
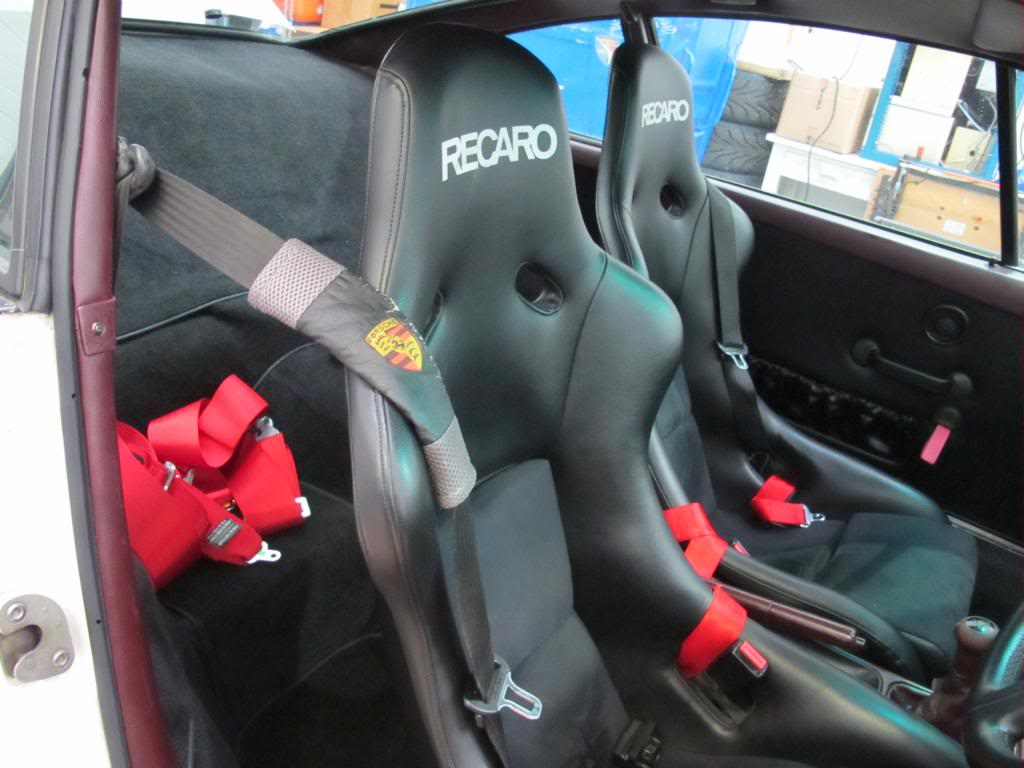
Pics of the finished article with the seats back in:
As mentioned at the start of the thread I was spurred into doing this job because it had got very wet in the back owing to water leaking through the rear quarter window seals. I guess they had been leaking for a long time and will be replaced tomorrow. The two benefits that came out of the job were a change of colour and some weight savings. Of course, in true Rennlist fashion I recorded the weights:
Removed:
Soundproofing (some quite soggy) - 16.2 Kg
Original carpets and mats - 8.3 Kg
Wheel arch trim panels - 3.1 Kg
Obsolete wiring - 0.4 Kg
Parcel shelf (including speakers) - 4.9 Kg
Rear wiper assembly and rear seat belts - 5.0 Kg
Added:
LWT carpet set - 5Kg
Nett Loss: 32.9 Kg
Hopefully the car should now be under 1300 Kg with 3/4 tank of fuel. I'll be checking that out on the scales at Oulton Park in a couple of weeks time.
Nb. I had removed all footwell sound proofing a few years ago when I put the floor boards in first time round. These would have been a loss of around 4 Kg as they're quite substantial pieces.
Starting the car up for the first time after doing this is quite a shock. The high speed spin up of the starter motor is the first thing I noticed. The engine sounded like it had moved closer to my ears by about a foot! Out on the road, the car immediately felt more lively. More urgent in its acceleration. My LWT clutch and flywheel sounded more chattery than ever before. The induction noise is more pronounced and just made me want to keep the revs on the boil. It might now be a bit too noisy for some peoples' tastes but personally I love the new sounds that have bee released.
Here are the final pics:
Driver's kick panel fitted:
Pedal board re-fitted and the carpet fitted (needed some minor adjustments of the slots to stop the pedals fouling it):
Door cards re-fitted over the new membranes:
Back of the tunnel carpet piece fitted. I didn't attempt removal of the rear seat bracket. Instead I used some foam padding to try and smooth it out but there are still some creases that I'll have to put up with:
Creases aren't so obvious after fitting the parcel shelf carpet and seat pieces:
Driver and passenger floorboards re-fitted:
Floor mats in place:
Pics of the finished article with the seats back in:
As mentioned at the start of the thread I was spurred into doing this job because it had got very wet in the back owing to water leaking through the rear quarter window seals. I guess they had been leaking for a long time and will be replaced tomorrow. The two benefits that came out of the job were a change of colour and some weight savings. Of course, in true Rennlist fashion I recorded the weights:
Removed:
Soundproofing (some quite soggy) - 16.2 Kg
Original carpets and mats - 8.3 Kg
Wheel arch trim panels - 3.1 Kg
Obsolete wiring - 0.4 Kg
Parcel shelf (including speakers) - 4.9 Kg
Rear wiper assembly and rear seat belts - 5.0 Kg
Added:
LWT carpet set - 5Kg
Nett Loss: 32.9 Kg
Hopefully the car should now be under 1300 Kg with 3/4 tank of fuel. I'll be checking that out on the scales at Oulton Park in a couple of weeks time.
Nb. I had removed all footwell sound proofing a few years ago when I put the floor boards in first time round. These would have been a loss of around 4 Kg as they're quite substantial pieces.
Starting the car up for the first time after doing this is quite a shock. The high speed spin up of the starter motor is the first thing I noticed. The engine sounded like it had moved closer to my ears by about a foot! Out on the road, the car immediately felt more lively. More urgent in its acceleration. My LWT clutch and flywheel sounded more chattery than ever before. The induction noise is more pronounced and just made me want to keep the revs on the boil. It might now be a bit too noisy for some peoples' tastes but personally I love the new sounds that have bee released.
02-24-2013 | 02:54 PM
#67

Burning Brakes
Joined: Jan 2012
Posts: 782
Likes: 16
From: Cheshire UK
Well done Steve that looks great, that colour contrast works really well imo. 30+kg saving is not to be sneezed at, it will be good to see the actual new weight when you get to Oulton, I will be surprised if you dont get sub 1300.
I am still waiting on my carpet set arriving but the car is ready for fitting although as you will see tomorrow the interior looks like something out of a NASA experiment!
I am still waiting on my carpet set arriving but the car is ready for fitting although as you will see tomorrow the interior looks like something out of a NASA experiment!
 04-07-2013 | 06:06 AM
#69
Thread Starter
Nordschleife Master
Joined: Feb 2007
Posts: 5,095
Likes: 2
From: Cheshire, UK
Just to finish off this thread, here's a recording of the cabin noise after the strip down and fitting the carpets:
Also, for those buying RHD Appbiz carpet sets in the future, I sent off my old forward tunnel section to Bob at Appbiz so that he can use it as a template to make the correct piece (see earlier in thread about the note that I had to modify the LHD piece to make it fit a RHD car).
Also, for those buying RHD Appbiz carpet sets in the future, I sent off my old forward tunnel section to Bob at Appbiz so that he can use it as a template to make the correct piece (see earlier in thread about the note that I had to modify the LHD piece to make it fit a RHD car).
The following users liked this post:
oMenRC51 (09-27-2020)
 04-07-2013 | 09:38 AM
#71
Rennlist Member
Joined: May 2009
Posts: 1,189
Likes: 96
From: Bucks, Herts, Beds Tri-Border, UK
Steve, If you do get bored I have a black carpet set to go in followed by a complete new interior replacement. Give me a shout and I don't even mind dropping the car off with you 
12-24-2013 | 02:04 PM
#74
Race Car
Joined: Nov 2011
Posts: 4,356
Likes: 47
From: Cape Town, RSA & Sarasota FL
Of course, in true Rennlist fashion I recorded the weights:
Removed:
Soundproofing (some quite soggy) - 16.2 Kg
Original carpets and mats - 8.3 Kg
Wheel arch trim panels - 3.1 Kg
Obsolete wiring - 0.4 Kg
Parcel shelf (including speakers) - 4.9 Kg
Rear wiper assembly and rear seat belts - 5.0 Kg
Added:
LWT carpet set - 5Kg
Nett Loss: 32.9 Kg [(+4kg before re the front footwells already removed)]
... I love the new sounds that have bee released.
you didn't include any weights for the sounds deadeing/smoothing close cell foam did you?
Was it negligble as its just the bits re the rear haunches?
12-25-2013 | 06:22 AM
#75
Thread Starter
Nordschleife Master
Joined: Feb 2007
Posts: 5,095
Likes: 2
From: Cheshire, UK
The piece of foam (pic in post 53) was very light - at a guess around 200 g. I used most of it (mainly for the the top of the parcel shelf). Add a couple of 500 ml cans of glue for the carpet fitting and I guess I would have added back about a Kilo in total.