When you click on links to various merchants on this site and make a purchase, this can result in this site earning a commission. Affiliate programs and affiliations include, but are not limited to, the eBay Partner Network.
Still plugging away on this one after a (ahem) bit of a hiatus while life got in the way. If uninterested in my ramblings, please can you skip to the end, where I have a question?
Sorted the brake seals problem with a 5 minute call to the ever-helpful Bigg Red in Worcester. Arrived in the post the next day, fitted and pressure tested OK so I bled the brake system. Rock solid pedal.
Finished refurbishing the horns (3d printed some new connector insulators and they were brilliant. Shout anyone if you need any.)
I ground slots into the NS front arch liner screws so that they could be forced out with a flat-bladed FO screwdriver and thrown in the bin labelled "Porsche should have known better".
Replaced cracked fog light trims.
Picked up a set of bargain clear indicators. The jury is out as to whether I'll run with these or stay with the orange. I'm leaning towards staying orange.
Crawled around under the car for house and figured out where I was with the forward engine tin. I've bailed out of trying to to the RH section with the engine in. The job requires removing the PS pulley and I've concluded that this is a BAD IDEA without being able to counter it properly - so there's a home engine drop in my future. The LH section was not seating properly so I bit the bullet and removed the intake so that I could get to the back (front) of the engine bay. Also removed the exhaust headers for better access. That done, I was able to seat the LH piece much better and it's all in (though headers not back on yet). Intakes fought me and lost. I have spanners and patience.
Did I mention that I removed the crank position sensor? I take my hat off to anyone who has successfully disassembled an original metal-bodied sensor from the alloy bracket without destroying one or both parts. In my case it was the bracket and it was unusually cheap to replace. I put a piece of insulating tape around the CPS body in a vain attempt to prevent it welding itself to the new bracket. There were no shims on the old so I crossed my fingers and put it back without attempting to re-measure the gap.
Lots of bracket refurbishment. You know the drill: Wire wheel/grinder back to bare metal, Jenolite, prime, paint a couple of coats. Boring, time-consuming, dirty, essential.
Removed the washer reservoir (stupidly omitting to drain it first and thereby literally setting fire to my Dremel. Grrr), refurbished and refitted. Found that the washer hoses were not in their clips so sorted that too.
Discovered that the NS front wing tab that locates the stay was not actually attached to the wing. I assume these were spot welded originally, but if I work out what I did with it (it's gone awol) I plan to epoxy it in place for now.
Replace the heating hoses from the exhaust heat exchangers to alloy valve things. Opted not to buy Por$$$$$he hose but instead got 75mm dual wall hose for a fraction of the price. I'll post a pic when it's fully installed because I think it's much better than the original.
Drained the fuel tank (mostly). Very unpleasant job. It's remarkably disconcerting having a bucket of fuel in your cramped garage. Have transferred it to 5l containers but no idea what to do with it now as my local and area recycling centres did lots of teeth-sucking and won't take it. Given it's surprisingly normal colour and smell, I might feed it slowly into the other car's tanks... Undecided whether to drain the remainder from the fuel pump hose or by pumping it out into a catch can cranking the engine. Opinions welcomed on this.
And then there was the cruise control retrofit progress.
Found out that my cousin still thinks they have the cruise control bits I bought from LA and has promised to send me them.
I already had the stalks but here comes one of those 964 can's of worms. I found a correct plastic shroud with the right number of holes for control levers. Hmm. Can't get the old one off as it includes the Hamilton Palmer Porsche immobiliser dongle receptacle that I believe was fitted as standard in UK. "I know", I think, "I'll just chase the loom back to the controller, where it's sure to have a little plug that will pull though". Much ripping out of interior later and I do indeed get the loom back to the controller. Which is rivetted to the under-seat tray. And whose internals are glued with mastic into the cover. And whose cables are soldered to the board. Agghhhh. At this point I phone Hamilton Palmer in search of the elusive Jim (world authority on all things Porsche Immobiliser related). Jim is now 89 and was persuaded to retire 2 years ago, at which point all support and spare parts supply ceased. Nevertheless, the lady who answered the phone was absolutely brilliant, and informed me that about 1m away from the receptacle, the cores are joined to the section that enters the controller. Sure enough, they were and the connector is now free and the steering column shroud replaced. The immobiliser system remains connected although, when I have the requisite time, I intend to remove it as advised. As you would expect this requires tracing each of the 3 or 4 points at which the unit interrupts fuel and ignition. It's a shame as it was a good system on the whole. Happy retirement Jim.
So, can't fit the CC controller or servo motor until the bits get here but I do need to do the clutch microswitch.
Q: Can anyone tell me the dimensions of the cruise control clutch microswitch (964.613.415.00)? I'm 99.9% sure it's generic and I'm loathed to pay Ł60 odd quid for a nice Porsche plastic bag when something just as good had be had for Ł6. I think I just need to know the rectangle and the lever length.
Many thanks,
Z
PS/ I thought I should bleed the clutch whilst doing the brakes. From being "a bit spongy", it's now "foot to the floor dead as a dodo" - but with no traces of a leak to be found at the master or slave cylinder. Could this just be a great big air bubble somewhere or something much worse? What do I do next?
Found that I already have the clutch microswitch mounting bracket and the hole centres are 17mm. Now I need to find who makes a suitable switch (proving tricky - all microswitches seem to be much smaller nowadays).
Fuel is now all drained, pump & sender back in and buttoned up.
Can’t help you with the micro switch but congratulations on a great thread and amazing resilience to keep going for so long.
I’m plucking up courage to remove the HP immobilizer from my C2 as I’m sure it’s only a matter of time before it lets me down
cheers
Steve
The 1st part of the immobiliser removal actually looks reasonably straightforward (famous last words); Aside from the dongle connection, there are 4 identical black wires that are taped to the factory loom up to the ignition barrel connector. 2 go to the yellow wire that is the control wire for the starter solenoid, which has been cut, and of the other 2, one taps into the main red permanent live and one to the black that heads off to the ignition coils on key position 1. My initial guess is that these supply power to the immobiliser control unit, which if presented with an acceptable key reconnects the starter solenoid wire (and others). I don't plan to dick with any of these (electronic engineering term) until I've accounted for all the wires that emerge from the CU.
Hope this is useful when you get to yours....
Z
PS/ Clutch bleed is a nightmare. More air in the line than at a balloon festival. Pedal still dead. Another bottle of dot 4 on the way.
Exactly as you said. If you trace the wires from the unit under the seat you find all the connections and can put it back to how was originally. Nothing too difficult just have to work methodically
HTH
Steve
1. Finally got the clutch bled. Just needed a whole load of fluid in the power bleeder and finally all the air came out.
2. I'm having fun with sourcing the cruise control clutch microswitch. Although the switch body is marked Hartmann, it's not the PTR Hartman GmbH company that comes up on internet searches. They very kindly (and promptly) put me on to Hartmann-Exact (a division of Swoboda) who did indeed make the original switch - which (of course!) is now discontinued. They in turn (super rapidly) put me on to a company called Switchit who apparently make something compatible. Hopefully they'll come back to me with some good news. Failing that, anyone here removed their CC but left the redundant switch in? I can offer a weight-saving opportunity...
3. With the help of a local race prep outfit, I located a proper TiG welder chap! I found him in his workshop, fabricating a dry sump conversion for an extensively modified muscle car. The car wasn't my thing, but his welding looked superb and he wasn't put off by the split in my silencer. Hopefully I can upload a picture of the completed repair shortly. I know we all like pictures. Watch this space.
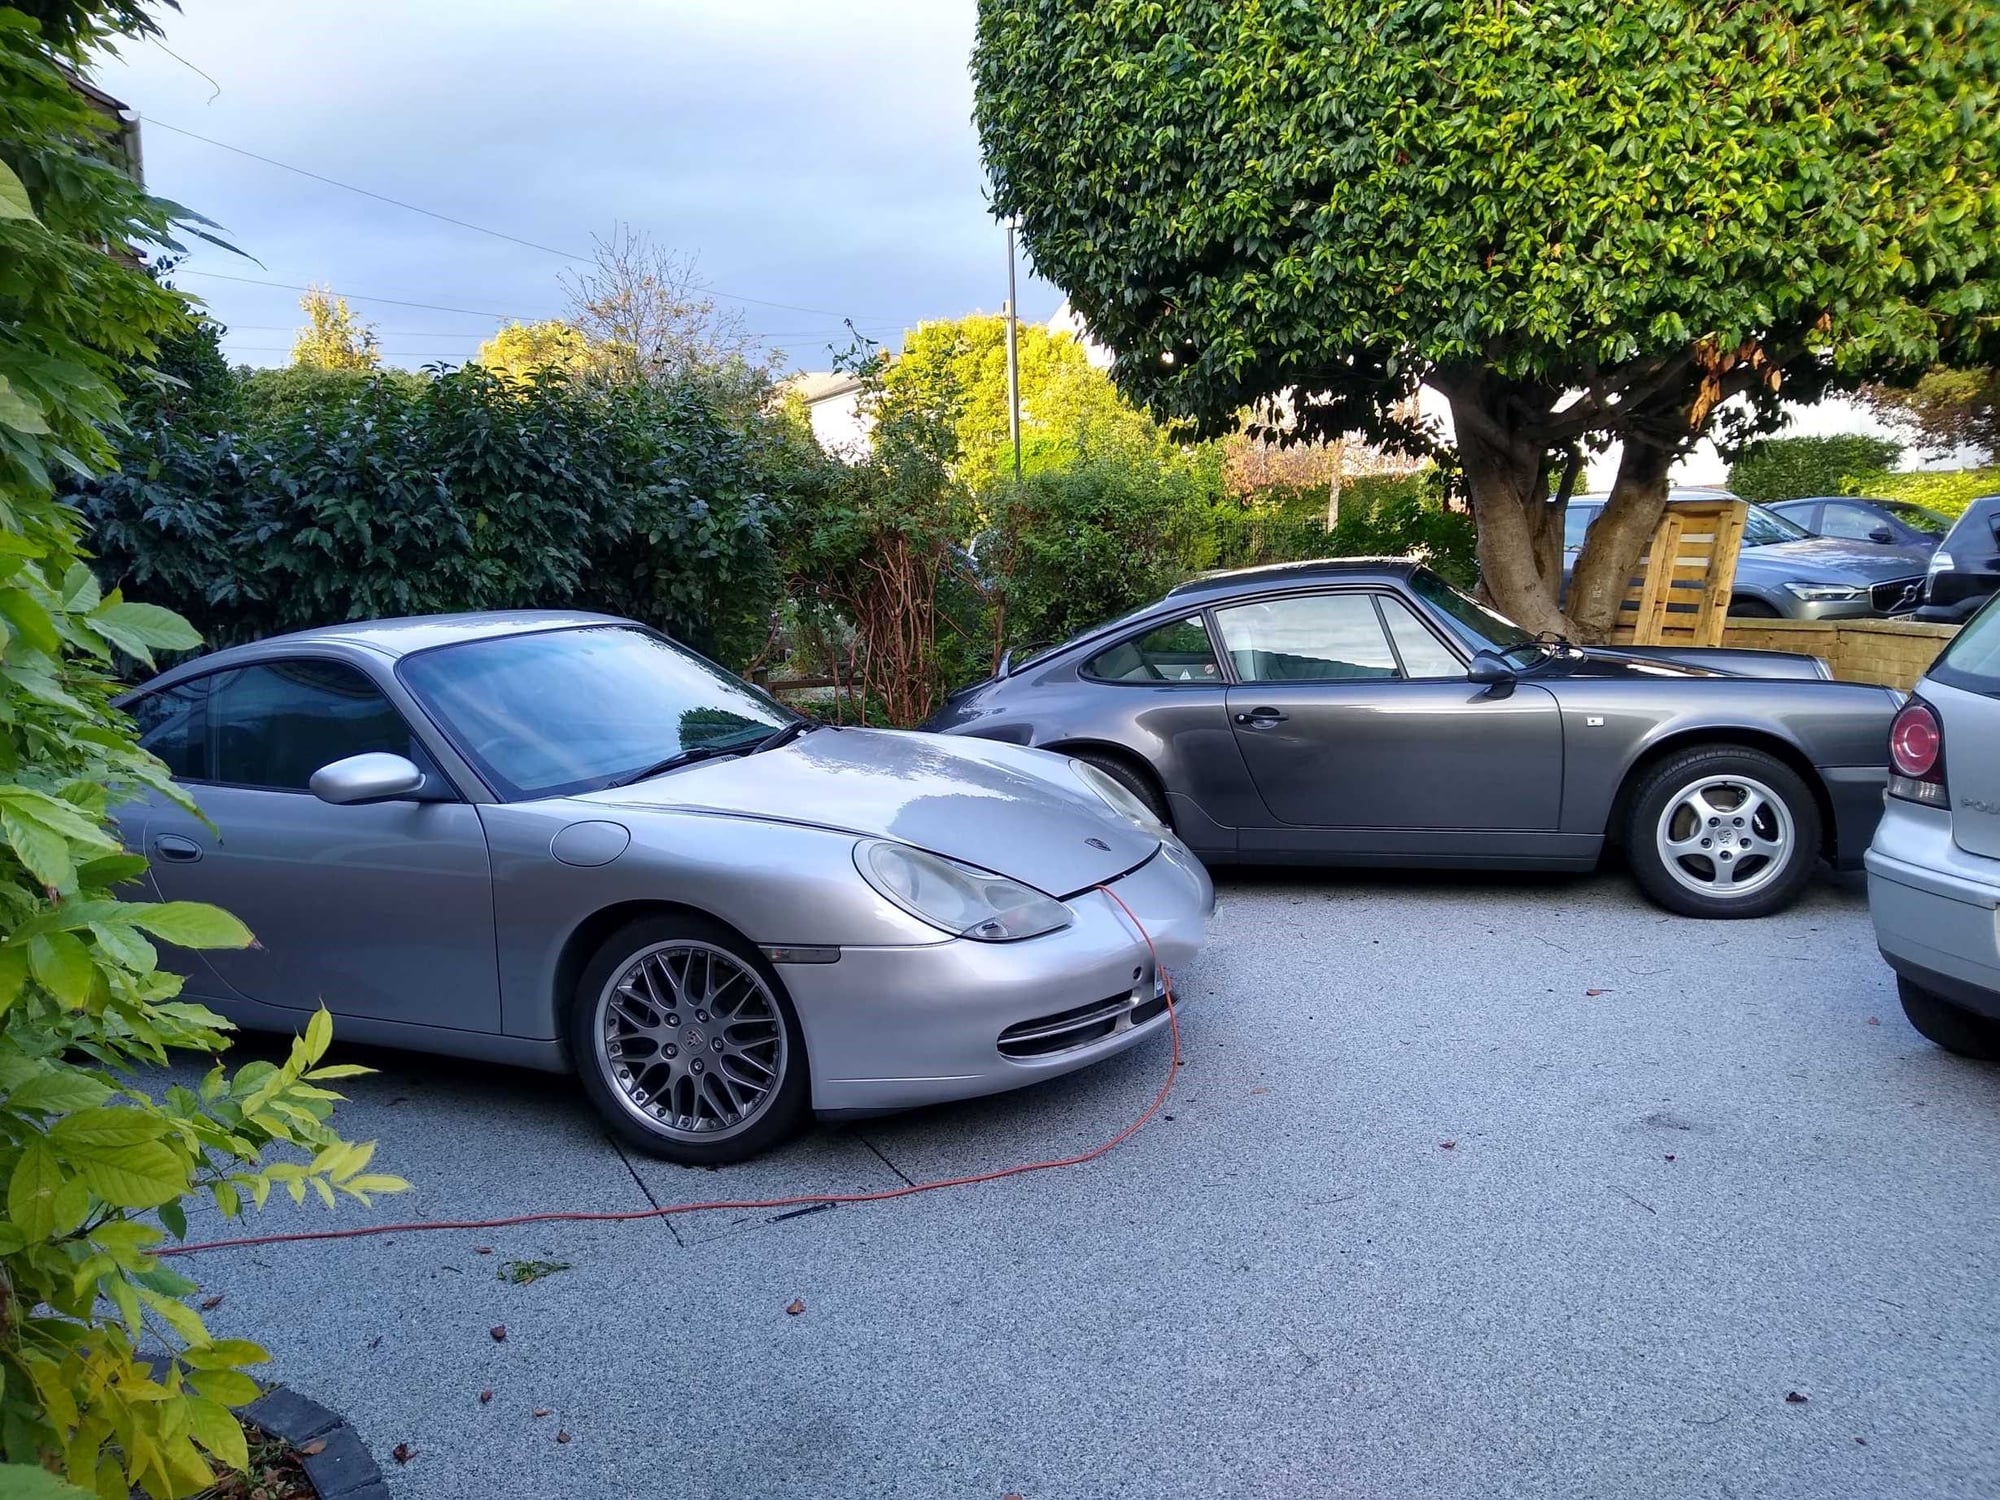
4. Did I mention I have a 996? Long story, but the relevant bit involves me wanting to upgrade the dash panel to the later one with a glovebox. Alas the only one I could find was in an odd shade of brown that somewhat clashed with the Metropol blue found in my car. I stumbled across an outfit called Northants Leathers who make re-dying kits. I was sceptical but thought I'd try it out and it turns out the products are very good indeed.
So... I thought whilst I was waiting for the exhaust, I'd start addressing the ropey handbrake and seat bolsters, so I've sent a couple of parts off for colour matching. They'll also take a look at the suitability of the leatherette for use with their dyes. The matching process is expensive in comparison with the products, but hopefully I'll be able to share the knowledge with anyone else who has Silk Grey + Standard Grey interior. Again, pictures will follow when there's something to see.
I'm itching to stick the key in the ignition and turn over the engine and might not be able to wait until the exhaust is on. There's no fuel other than what may have been between the fuel pump and filter so I'm not going to be making any noise. DME relay out, right? Anything else I need to consider?
Nearly there. New battery arrived today and we have signs of life; the interior lights all came on and the wipers went ballistic briefly.. Headlights and tail lights come on and the switch illumination is making an effort. However, disturbing the immobiliser box may have dealt it a mortal wound. I seem to recall a bleep when the dongle is inserted.. I get none & and no cranking of the engine.
DME relay is pulled deliberately but I didn't think that this would prevent the starter from turning the engine over, so it looks like I'll need to break out the wiring diagrams and multi+meter tomorrow....
Z
The HP immobiliser is actually a doddle to remove. For obvious reasons I won't post the details of where and how many cuts there are but I replaced all of them with crimped bullet connectors since I'd imagine that the replacement will want to immobilise at the same points.
So, moment of truth:
Battery terminals connected.
DME relay still out.
Quick check on the dipstick.
Dip the clutch.
Key in.
Turn...
It seems that the last 2% takes 98% of the time.
Yet, here we are with a happily idling engine.
The DME wasn't dead (and thanks again for the kind offer of a loan to test with @willmip) and nor were either of my DME relays. If anyone can remember way back when this odyssey started, I thought I had mysterious electronic problems and smeared a small amount of copaslip on some of the terminals in an act of mindless vandalism. Don't do this, it's a stupid idea. There is such stuff as conductivity paste, but as long as the connectors are not worn out from repeated action then just make sure it is dry.
Once I knew that the fuel pump was good, the next logical test is to verify power at the DME - which is as simple as putting a volt meter between pin 12 of the DME connector and earth (of which there are lots of choices under the left hand seat). This should be permanently live. It was. Next, pin 37 should be tested, with the key in position 2. Now this is switched by the DME relay, which is why there is so much focus on this in all the "no start" advice out there. For anyone who is interested, the +ve current path is:
Batt+ - G25 - E35 - E31 - R41/3 - R41/5 - E34 - E44 - F14 - T15/3 - DME Term 1 - DME/37
As I said, I found that the DME wasn't switching so I also traced the current path for this:
Term 15 Bus - K14 - Central Locking Plug 1/6 - CL Plug 1/4 - F12 - E42 - E32 - R41/1
I had voltage all the way up to F12 but not at R41/1, so I cleaned everything, disconnected the battery and did a continuity test. All good, connect battery, 12V at R41/1. Plugged in a DME relay and turned the key to see if I could hear it click. Yep. Crank the engine because why not?
Cough, cough, WHOOOM!
Blimey. Opened the garage door, fired up the unwilling engine, which responded with a load of smoke as the various bits of grease used assembling the exhaust (a small amount of which ended up on the inside) burnt off, and settled into an unhealthy 2500-3000rpm idle.
This turned out to be my not seating the throttle cable correctly at the engine bracket. Best way I found (eventually) was to withdraw the cable from the rubber grommet, then install the latter in the bracket and push the cable sleeve back in, which allowed the throttle to close against the idle stop.
With the engine running, I could finally extend the spoiler and change the curtain. @Babalouie 's thread gave an excellent set of instructions for fitting this, none of which worked for me. I removed the top element (4 allen bolts) and then fitted the top edge with the aid of washing up liquid (remnants of which are visible in the picture), a hot air gun, a steel straight edge, towel and mallet. Maybe my new curtain had hardened over the years in its bag on top of the car. With the spoiler bolted back in, the lower edge snapped in as per instructions.
Time to come down off the axle stands. Fiddly in the confines of the garage but I got it up there so it was always coming down back on to its wheels. Nothing for it but to refit the seats, get in and reverse it out of the garage. A 5 minute photo shoot later and I inched it back into place in the garage, the first drive in 10+ years being entirely uneventful.
No signs of fluid leaks but I do have ABS and brake pad warning lights on. The latter I know about as I hadn't bothered connecting the sensors when I did the pads. I've just picked up some front discs as I don't think the ones I have will make it through an MoT test, so I'll do the sensors with the discs and check the ABS sensors at the same time. It's possible that they're simply not connected.
After that, I don't really have any excuses why I shouldn't contact Cotswold Porsche and arrange an MoT. Or should I do an oil change first? What do you think?
The HP immobiliser is actually a doddle to remove. For obvious reasons I won't post the details of where and how many cuts there are but I replaced all of them with crimped bullet connectors since I'd imagine that the replacement will want to immobilise at the same points.
So, moment of truth:
Battery terminals connected.
DME relay still out.
Quick check on the dipstick.
Dip the clutch.
Key in.
Turn...
Chugga, chugga, chugga, chugga.
The Porsche is (nearly) alive!
Fancy PMing me the details? I'd like to get rid of mine as it feels like a weak link. That, and it's annoying AF.
Fancy PMing me the details? I'd like to get rid of mine as it feels like a weak link. That, and it's annoying AF.
Check your inbox.
As far as I can tell, the HP system is actually a very good one (with more circuit cuts than any modern replacement I have yet encountered) but the physical connection of the encryption key dongle is the weak link. Once the connector wires wear, it's increasingly difficult to get it to disarm. If I had the skills to splice in a secure radio transmitter then I'd be tempted to retain it - but I don't so I'm looking for a decent replacement.
Booked in for an MoT test tomorrow, so thought I'd sort out the remaining gremlins:
1. Non working horn: Check. Spade receptacle needed a pinch with the pliers.
2. Non working right side repeater light: Uh oh. Well after about 3 hours, I now know what the problem is. A small nick on the outer of the 2 wire loom (177) behind the wheel well cover is actually a complete break in the wire. Has anyone tried accessing these? World's most frustrating job. I now have it out, but not before taking the off side front wheel off, removing the arch liner, removing the filler panel to the central electric box, removing the luggage compartment lid, straps retaining the oil hard lines at the back of the wheel arch, [the bonnet release catch, carpet panel, informer control box, plastic duct, aluminium duct (which tore, irreparably) - all of which were an unnecessary red herring since the cable remains behind the firewall.] The loom then jammed on the grommets (I can't be sure if they're intended to come out from the outside or inside) but the usual mix of copious swearing, patience and a small screwdriver eventually did the trick.
I looked up the price of a replacement wire and the first one came up at about 90 quid (!!!!), so it looks like I'm repairing this one. I have a suspicion that this one has been replaced incorrectly in the past as the route seems both tortuous and too tight to comfortably plug into the main loom. This may be how it got the cut. I'll try and take some snaps as I refit this monster to save others from hell. An old-fashioned wooden screwdriver handle jammed between the oil hard line helps push them apart enough to at least be able to see the hole the cable is supposed to go through.
Once this is done, I just need to replace the front orange reflector with a clear one then we'll see what the MoT inspector thinks. Fingers crossed.
Z
PS/ Then I have to deal with the broken footwell air duct. Grrr.
Managed to scrape a fail on some pretty trivial things:
The horn (which I'd fixed) unfixed itself
One headlight is illuminating the moon
The windscreen washer wouldn't work
The clamp bolt on the cat to exhaust junction needs tightening to stop a leak there
etc (few & similarly boring/trivial)
So, I'll attend to these and have another go.
It was great driving back from the test though - so, so different to the 996. As you can imagine, I took it VERY gently on the way there in case I'd missed something. Examiner was pretty impressed with the work overall - notwithstanding the "fail" result, that is.
I may have to change the thread title to "Redemption" soon.
Not sure if I can claim redemption just yet: today was my appointment for MoT retest and the result was a story of 2 halves. Thanks to a new washer pump, a mid-tread nail puncture repair, much faffing with the brake light circuit (poor bulb connection), replacement of the horn connector, re-aiming (mid test) of the headlights and some work on the handbrake, the car HAS PASSED.
(Just taking a moment for the enormity of that to sink in.)
It's a very thorough check, apparently, the MoT test. Lots of poking around, shining lights on everything critical to safe road usage, measurement of emissions etc etc. Testers take their role very seriously.
I was happy enough on the way back to turn on the soon to be replaced Blaupunkt Symphony and enjoy my new speakers, just before "clunk" - and a total loss of drive. Uh-oh.
Turns out that it's up to you, the so-called home mechanic, to check that you torqued the driveshafts on BOTH sides of the car. The side that was merely finger tightened half a dozen years ago let go. Mrs Z drove out with a couple of axle stands and I re-fitted the errant shaft in a lay-by, before continuing my journey home, embarrassed.
Got an MoT test certificate now though, even if I am an incurable twit. I'm also a proper 964 owner once more.

 08-09-2023, 10:02 AM