When you click on links to various merchants on this site and make a purchase, this can result in this site earning a commission. Affiliate programs and affiliations include, but are not limited to, the eBay Partner Network.
Have you tried 964parts on instagram? He always has what I need
Thanks for that! I reached out to Mike, and have a pair of longitudes on the way. Mike was very responsive, and the longitudes were very fairly priced.
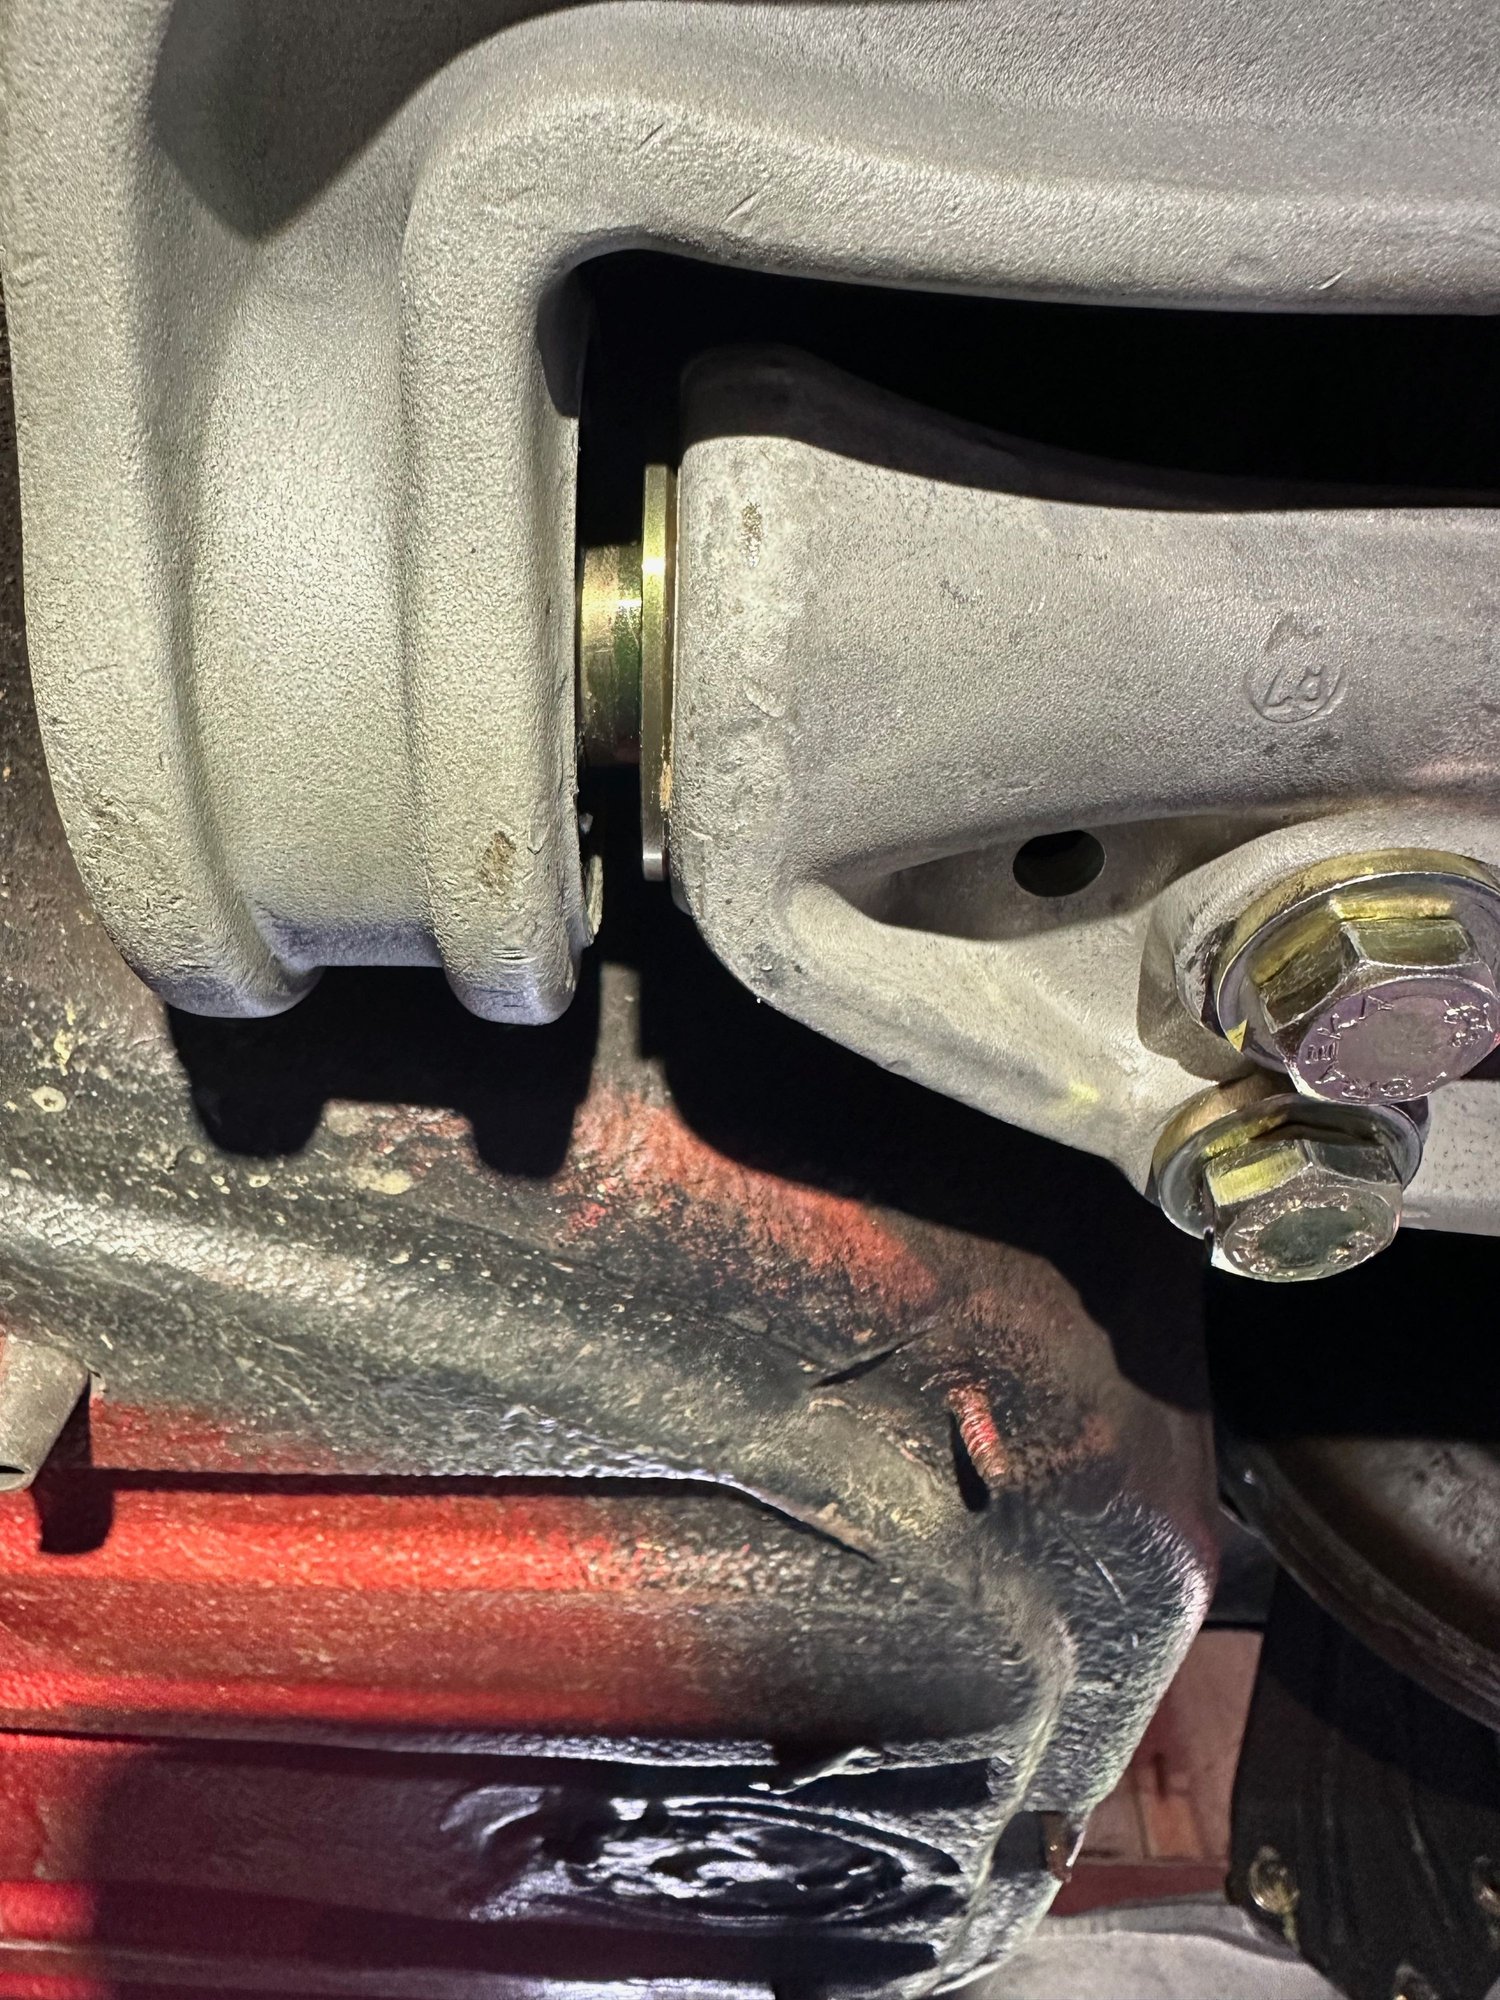
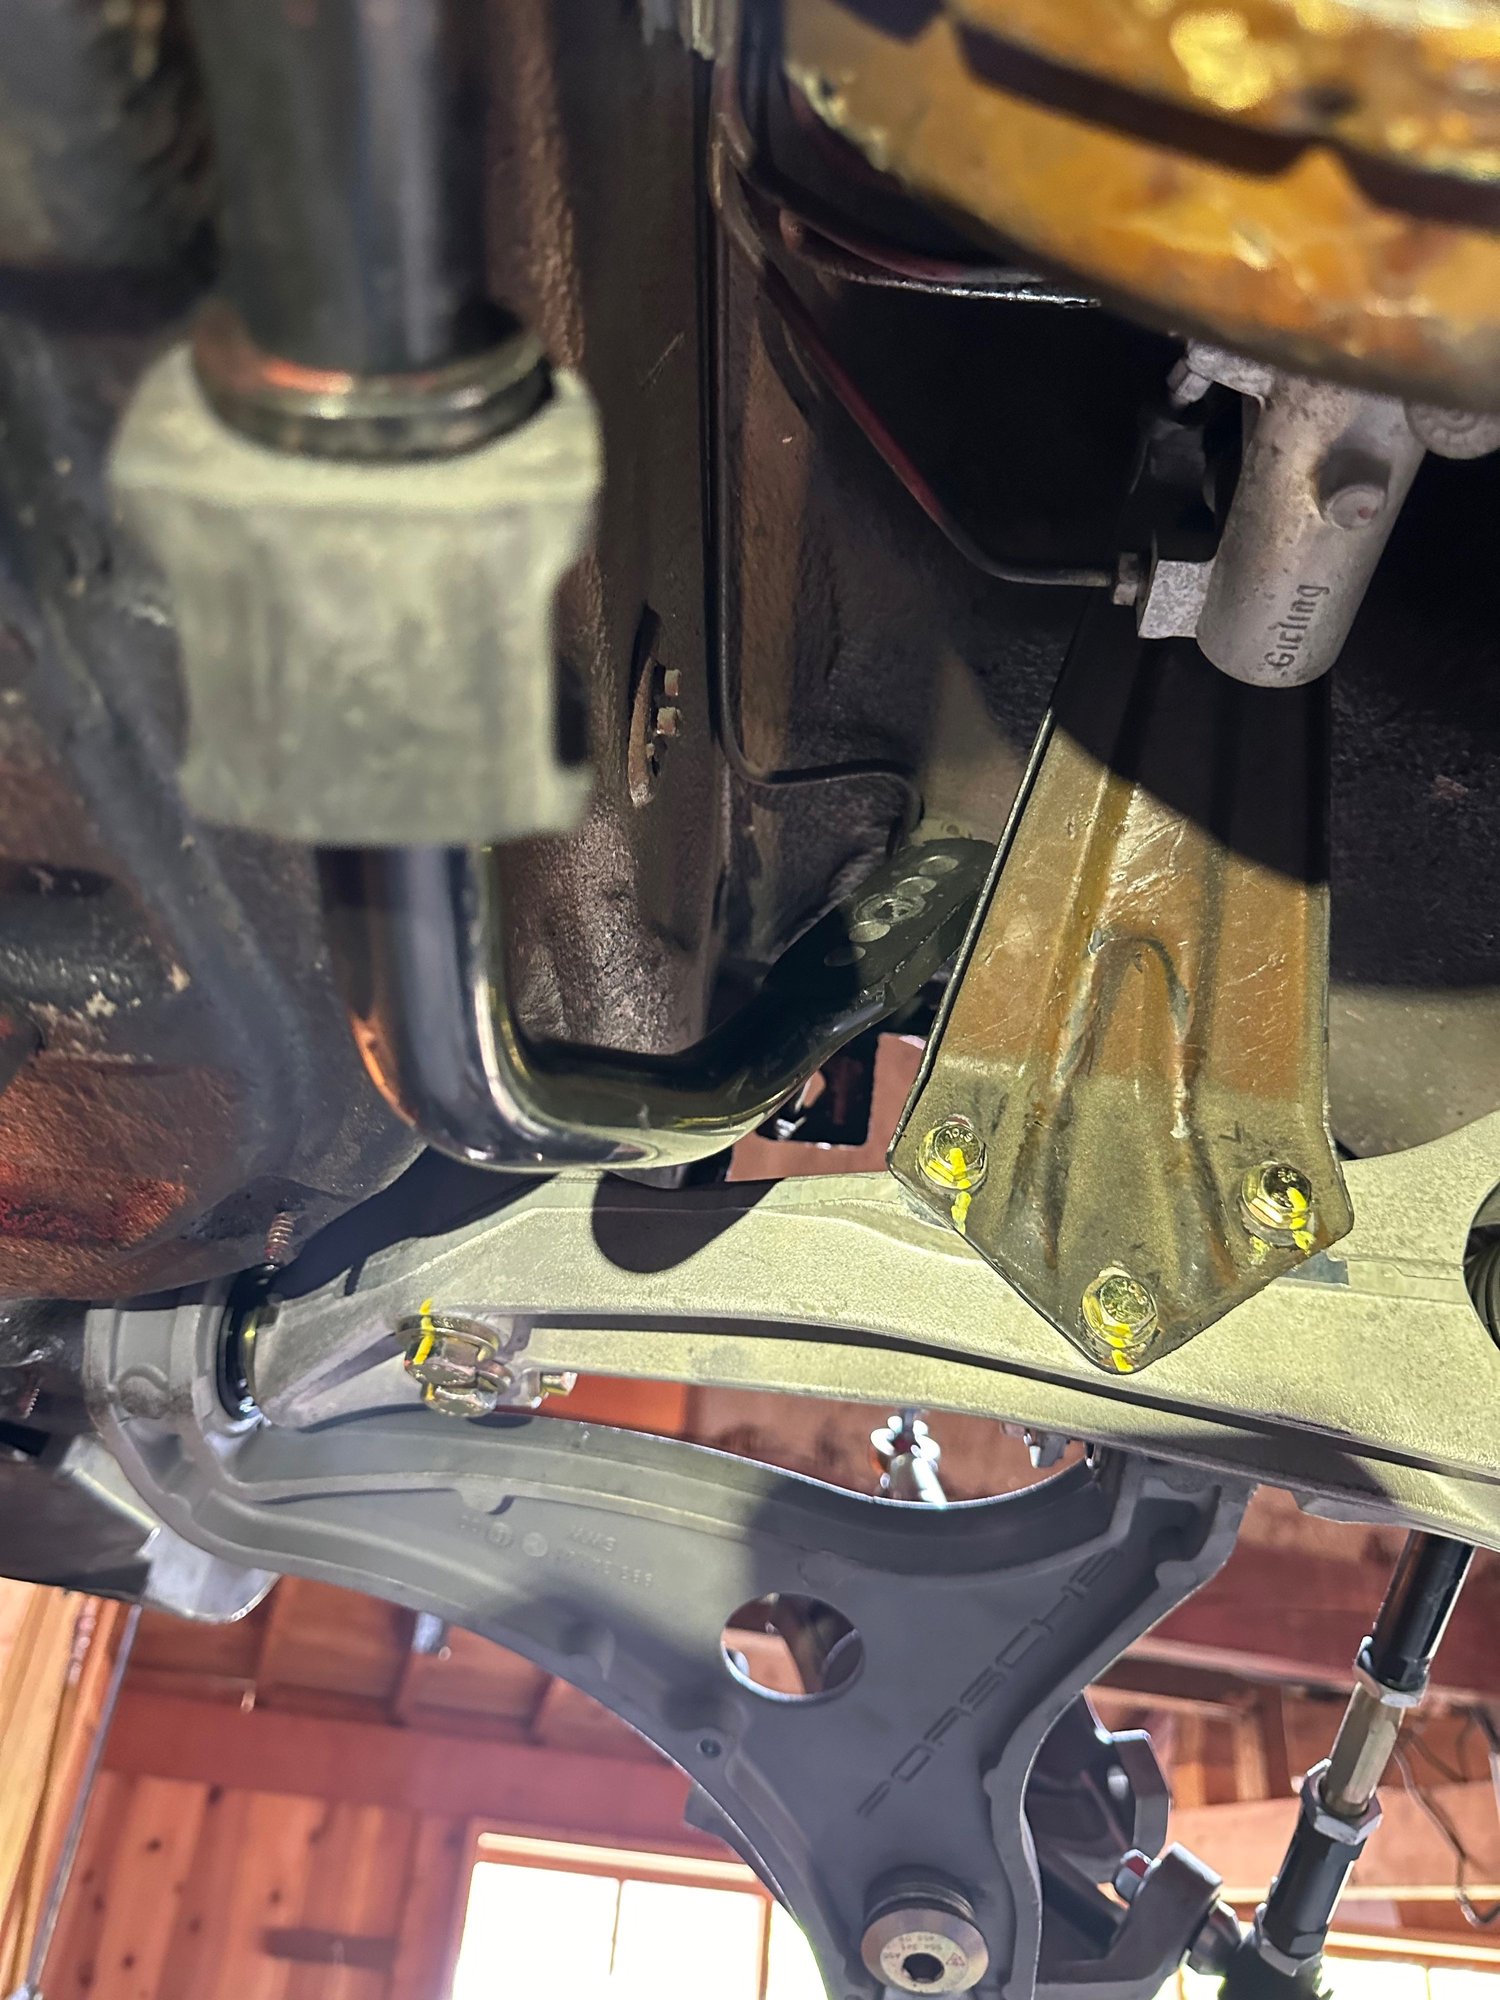
Heard back from Chuck at Elephant about the wishbone bearing issue. He asked if I was sure that I greased the outer race before installation. Actually I had them install the parts for me so I assume they were greased. Anyway- this helped me to understand that the front bearing is supposed to slide into place upon being tightened down. Neither of mine did. On the right side I was able to persuade the outer race with the bearing in the car using a brass drift on the race front he front of the car. This however did not work on the left side and the outer race was just getting beat up. so off the assembly came. Its not an easy part to fit on a press when its assembled to the long. Unfortunately the only way I could get it to move was but putting a gear puller on it with a 36mm socket as an arbor. Not a big deal but the wishbone did get beat up a little with this method as you can see in the 2nd pic. Also int he 2nd pic you can see the outer race has slid out of the arm to the rear of the car. Now both sides require the same amount of force to rotate the wishbone- about the same as moving the ABR once its all snugged up. I need to get this car on the ground- so I'll take the progress....
So all that it torqued down- hopefully for the last time.
The MCS' are stuck in Japan beuracratic hell as I try too find how to send them back for warrantee stuff withough having to pay import and sales tax again when the come back I'm going to put on the RS upright and put back the PSS10's for now. I actually have 2 solid days with the wife and kiddo out of town this weekend. Goal is to get the car back on the road and get the 914 up on the lift. So stage 1 of the suspension project will end up being 993rs uprights, ERP drop links front and rear, Elephant mono ***** all around, Brembo GT 332mm and the manual rack from The Machine Shop. Stage 2 will be the ERP uprights and the MCS'.
One quick little hack- turns out that a large spade terminal with a little massaging will fit the brake pad sensor connector perfectly. I plan to fill these with silicone afterwards.
Thanks for that! I reached out to Mike, and have a pair of longitudes on the way. Mike was very responsive, and the longitudes were very fairly priced.
Sweet! He honestly is awesome. Always has anything I need. Glad it worked out for you man
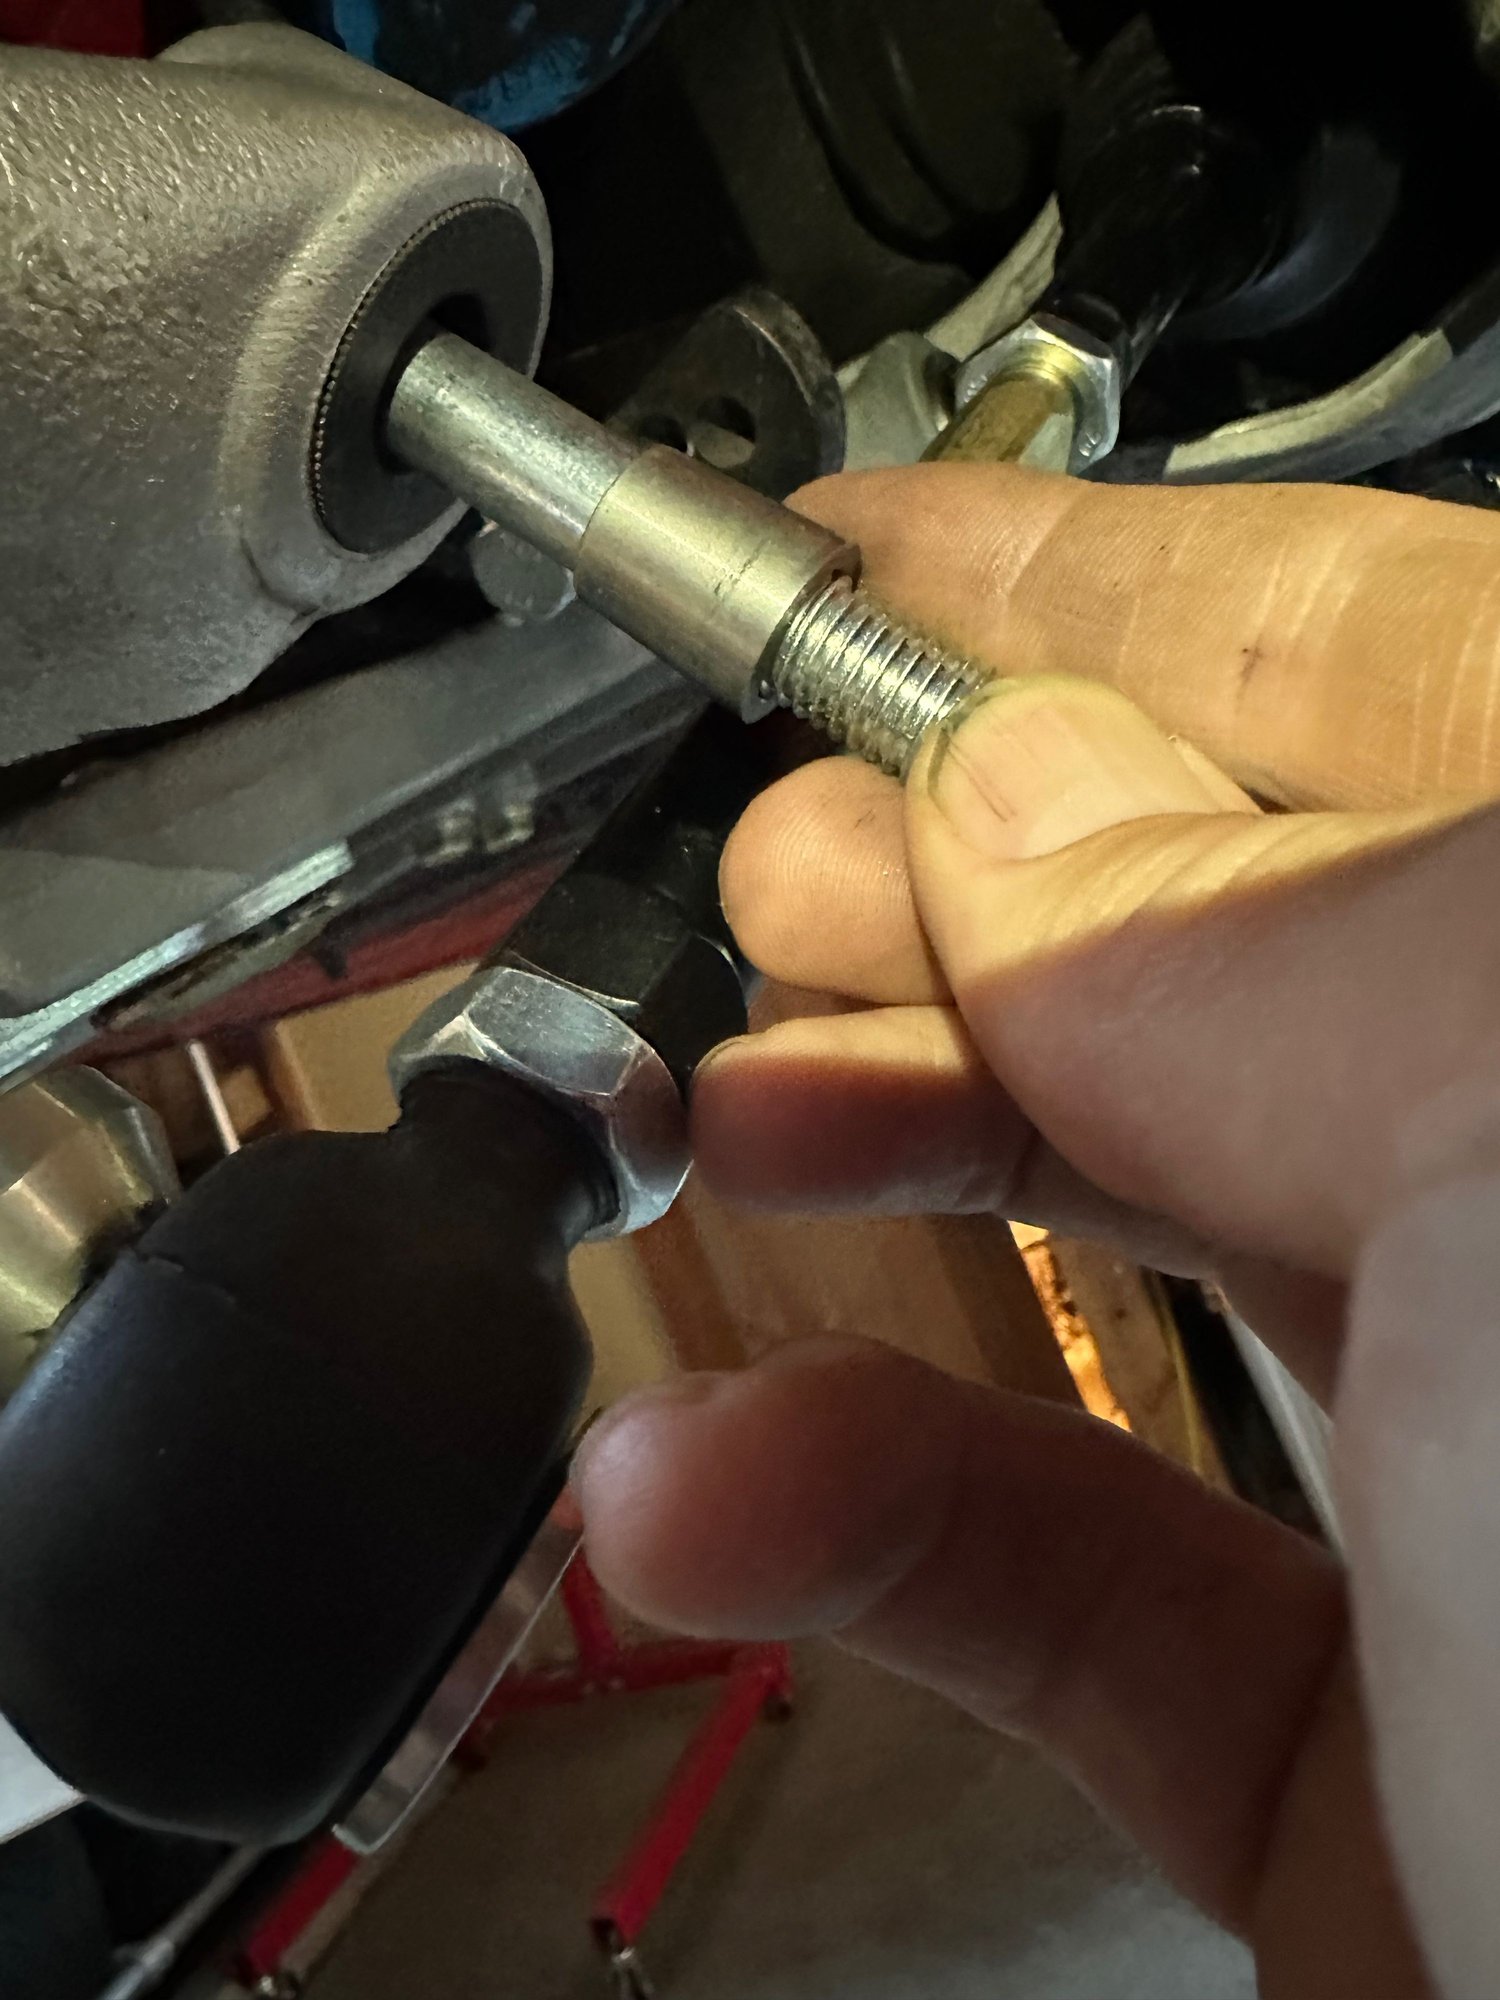
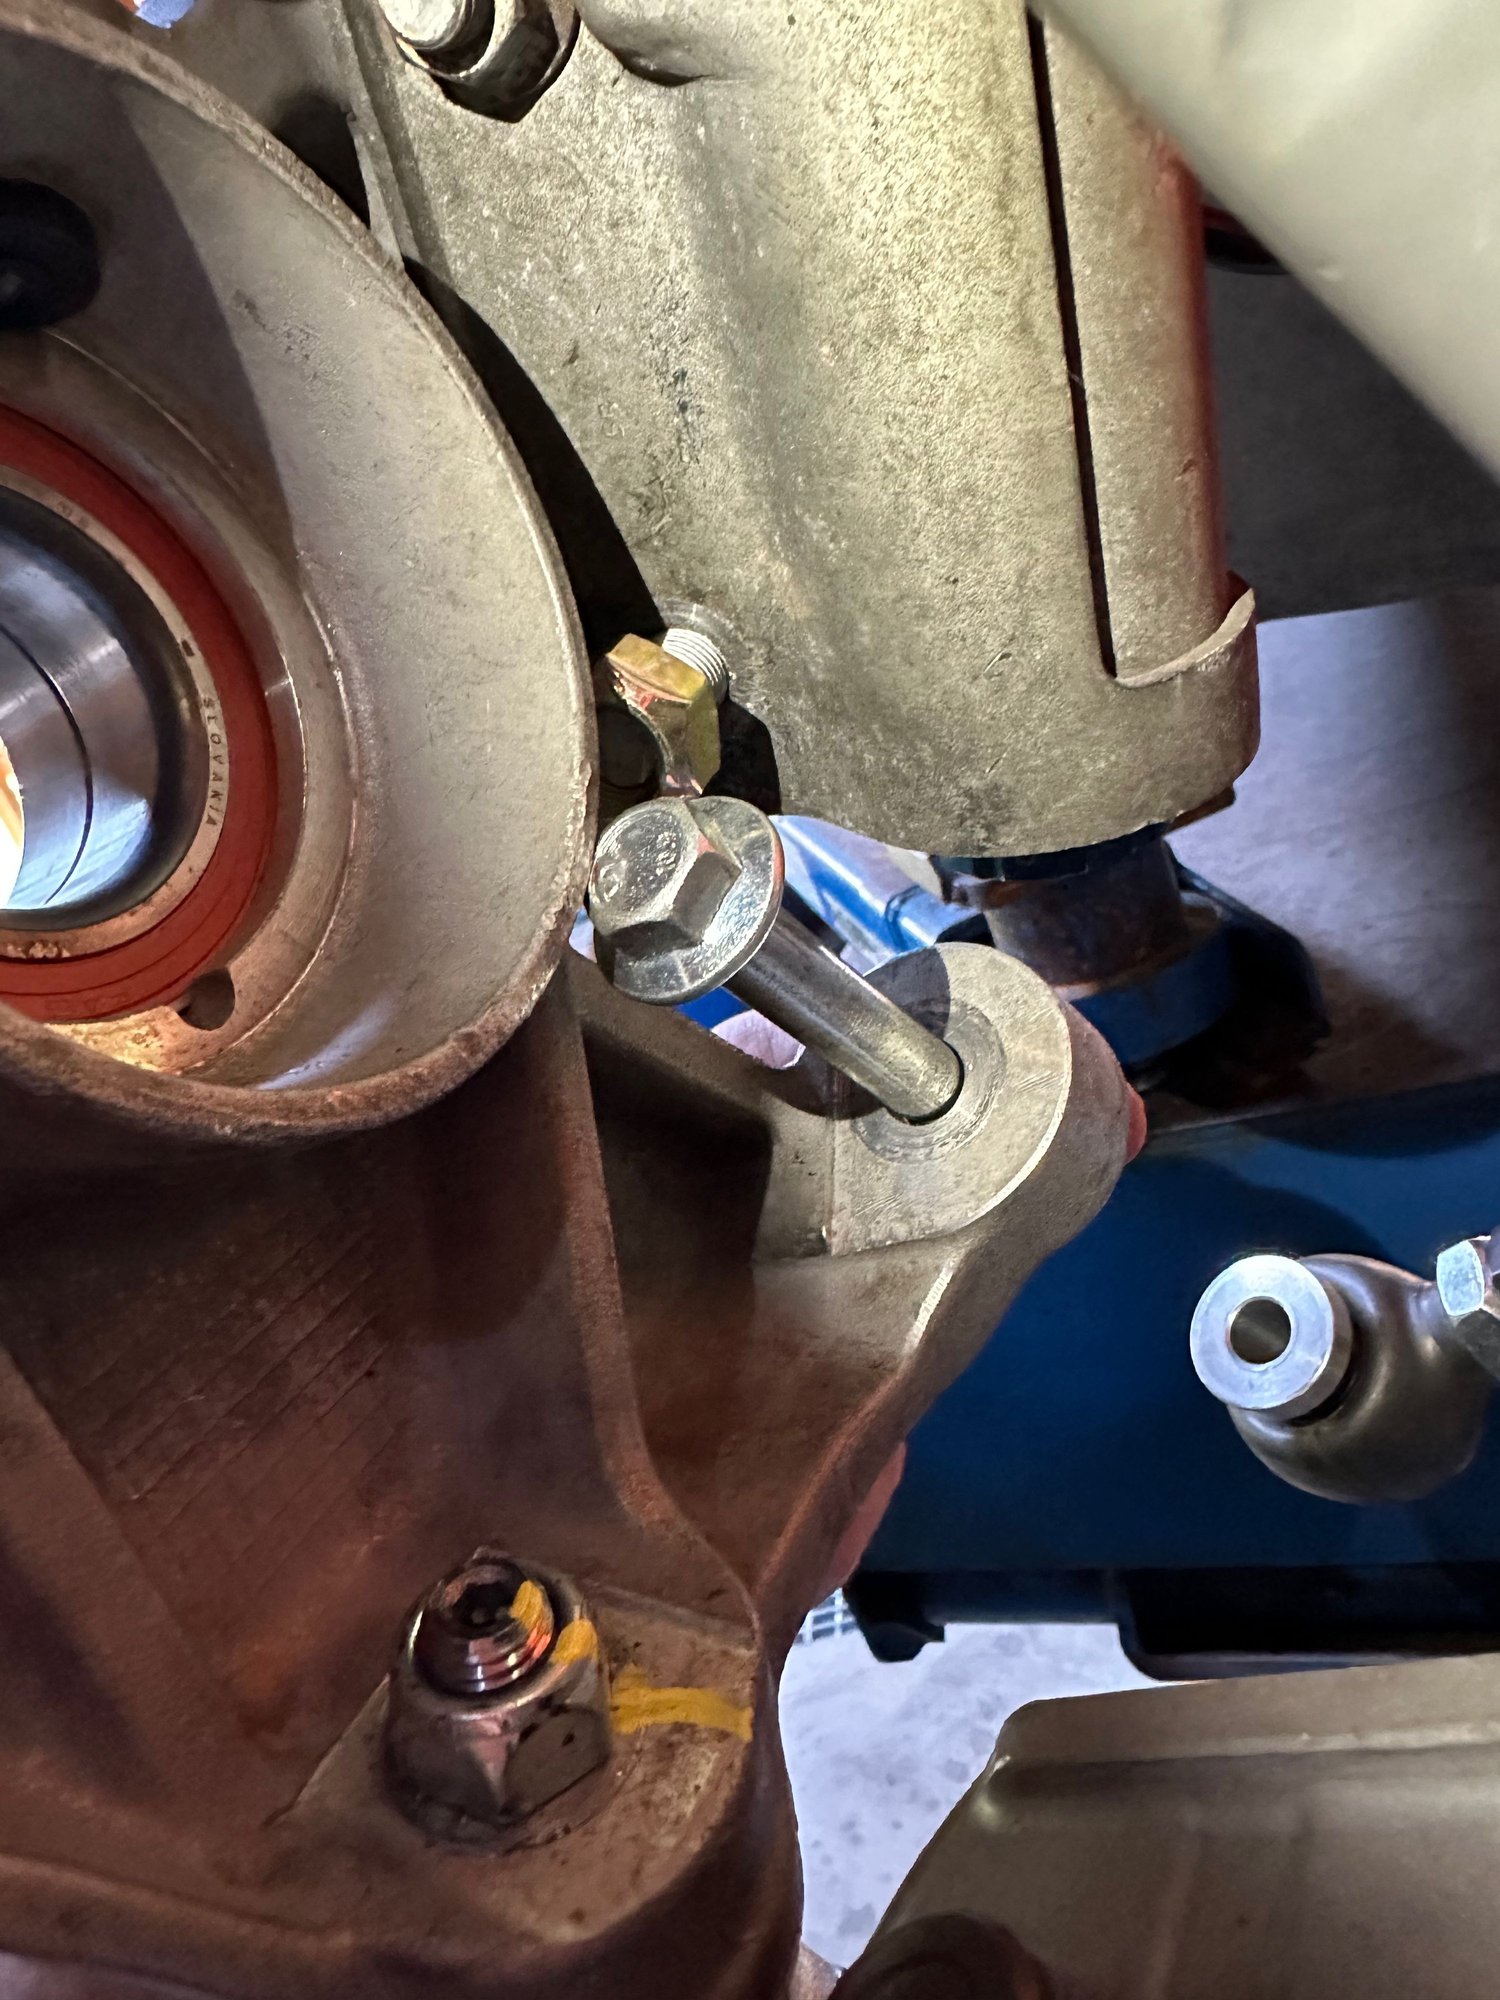
ERP tie rods use a conical insert for the tapered receiver in the oem uprights (these are 993rs.) I thought I was doing something cool by putting the bolt in from the top for easier assembly and to put the torque wrench on the nut but....
Turns out the once the tapered insert is socked down into the plastic receiver of the upright the bolt can not be removed. I need to remove the bolt so I can transfer this setup over to the ERP uprights once that all gets worked out...... No way to tap out that conical insert with the bolt in....
Old snap on socket spring to the rescue??
Lille nip and tuck and it fits on the bolt. After banging away on it for a bit I just about gave up because it took a bit more hammering than I wanted and I didn't want to end up with a bigger problem of having the little homemade collar stuck in there as well- then it gave- thank you!
So- don't do that if you are installing these parts.
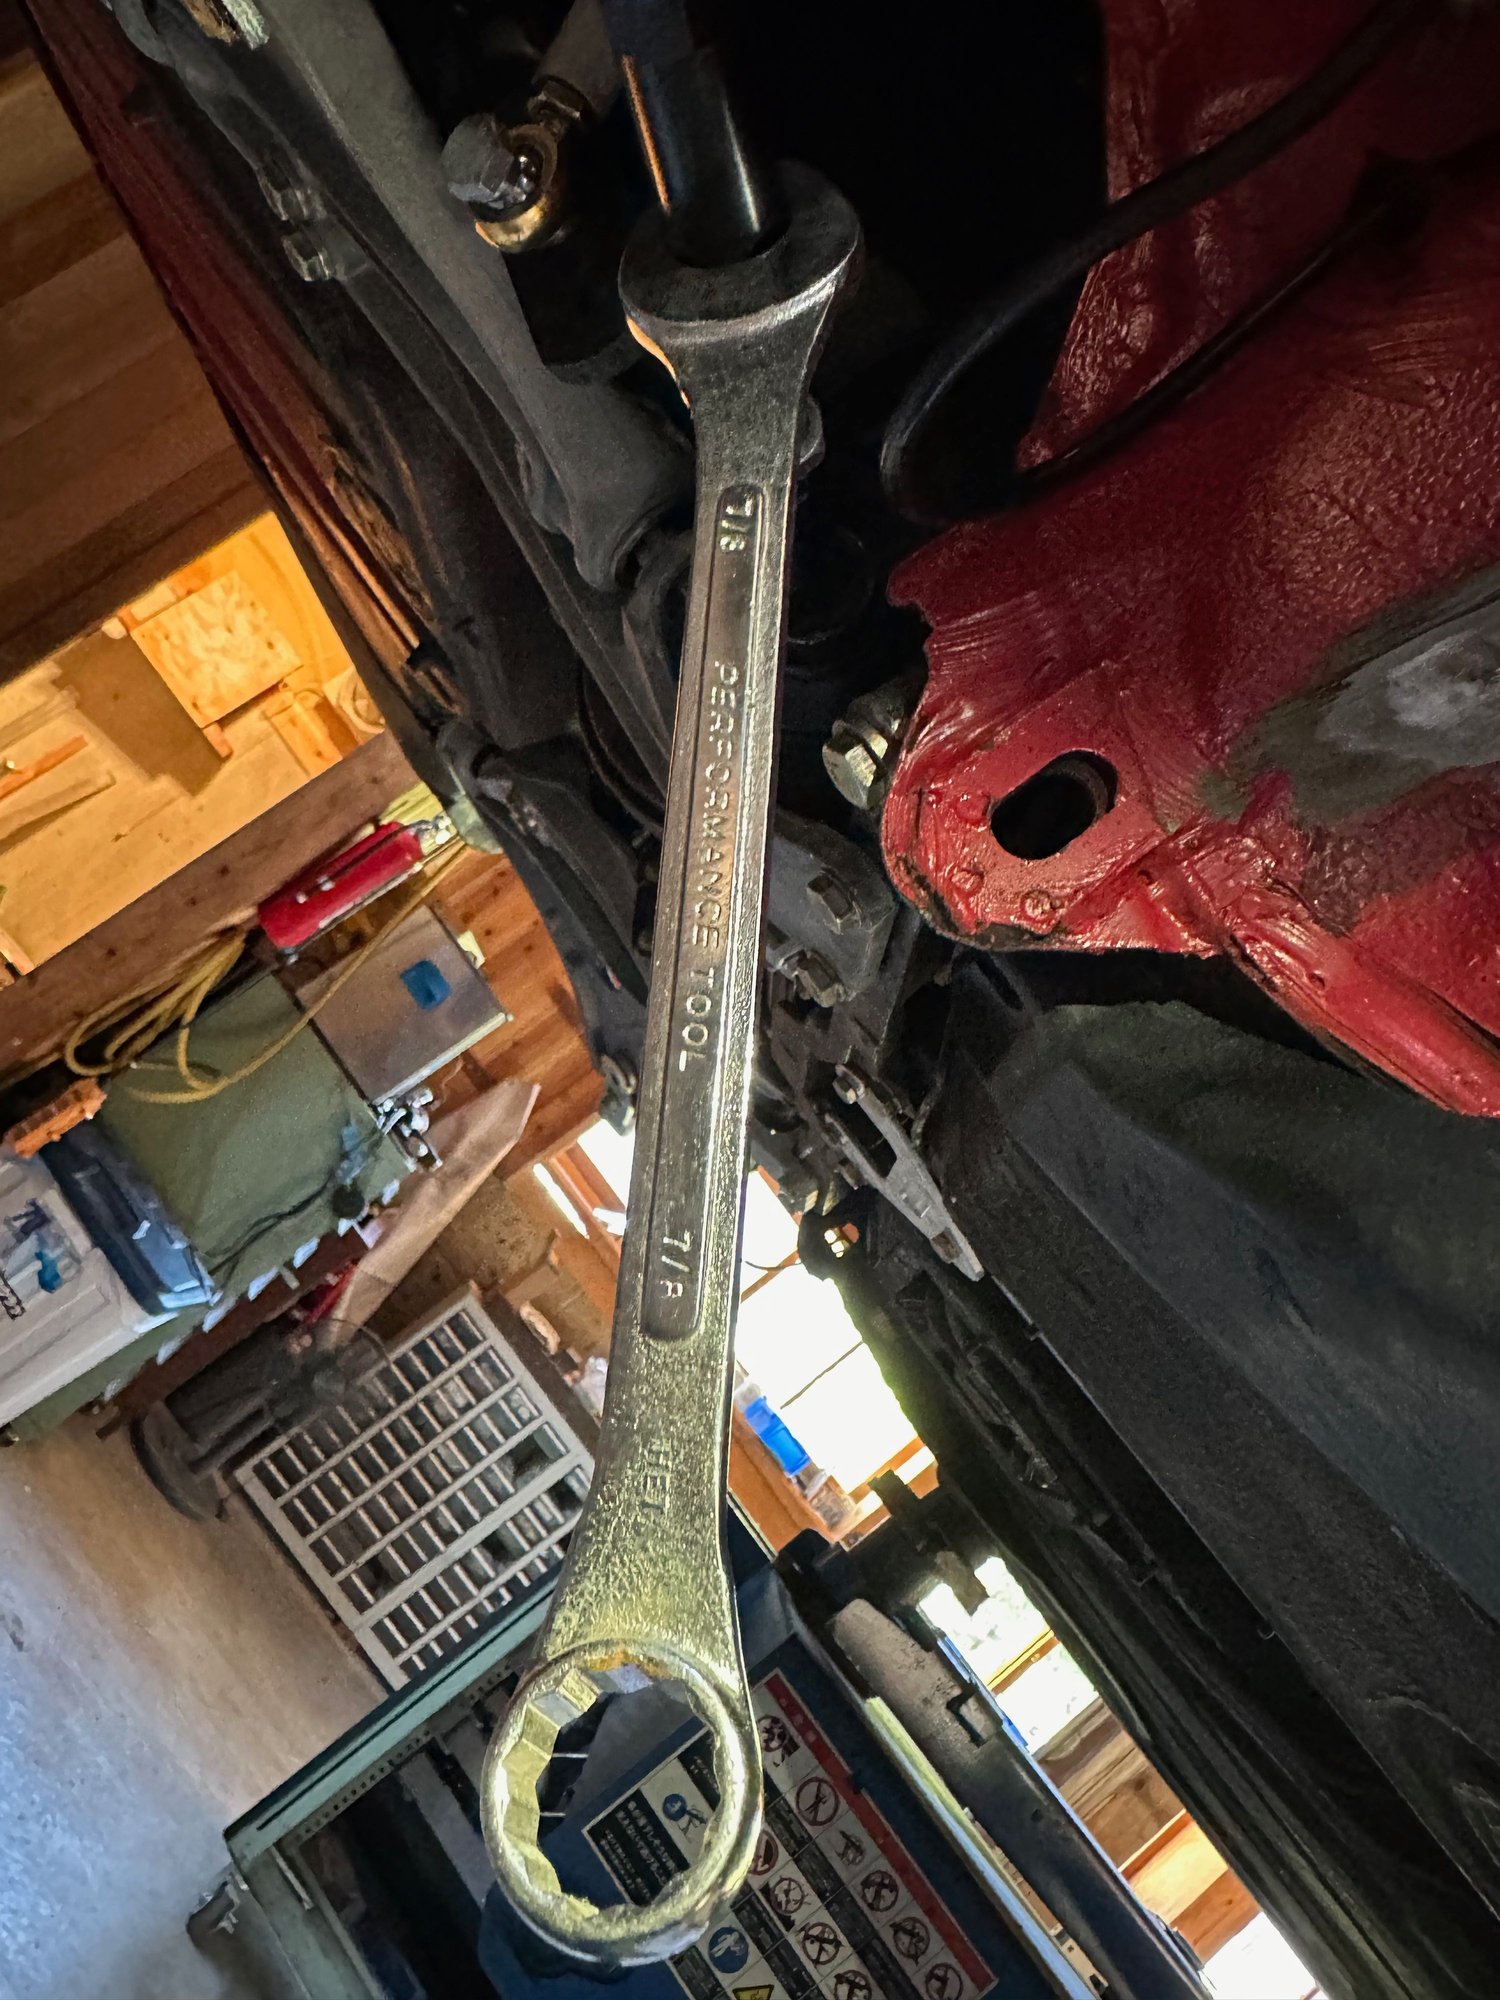
On that note- I just have to say- if you are making these things from scratch why make them SAE?? Maybe I'm in the minority here but in principal I just don't like mixing inch and metric on the same car much less on the same part. Then there is also that I am in Japan and no alignment shop is going to have a 7/8" wrench in the the toolbox so my beautiful parts will get... less beautiful.
On that note- I just have to say- if you are making these things from scratch why make them SAE??
At lunch once in Charlotte, we ate 'American cheese' because according to the caterer, 'cheese was otherwise socialist, and the locals would not eat it unless labeled such'.
Perhaps suspension parts are like cheese in 'Merica?
Thanks Skorj- I love using clean stuff- though I can't manage to keep it that way- haha.
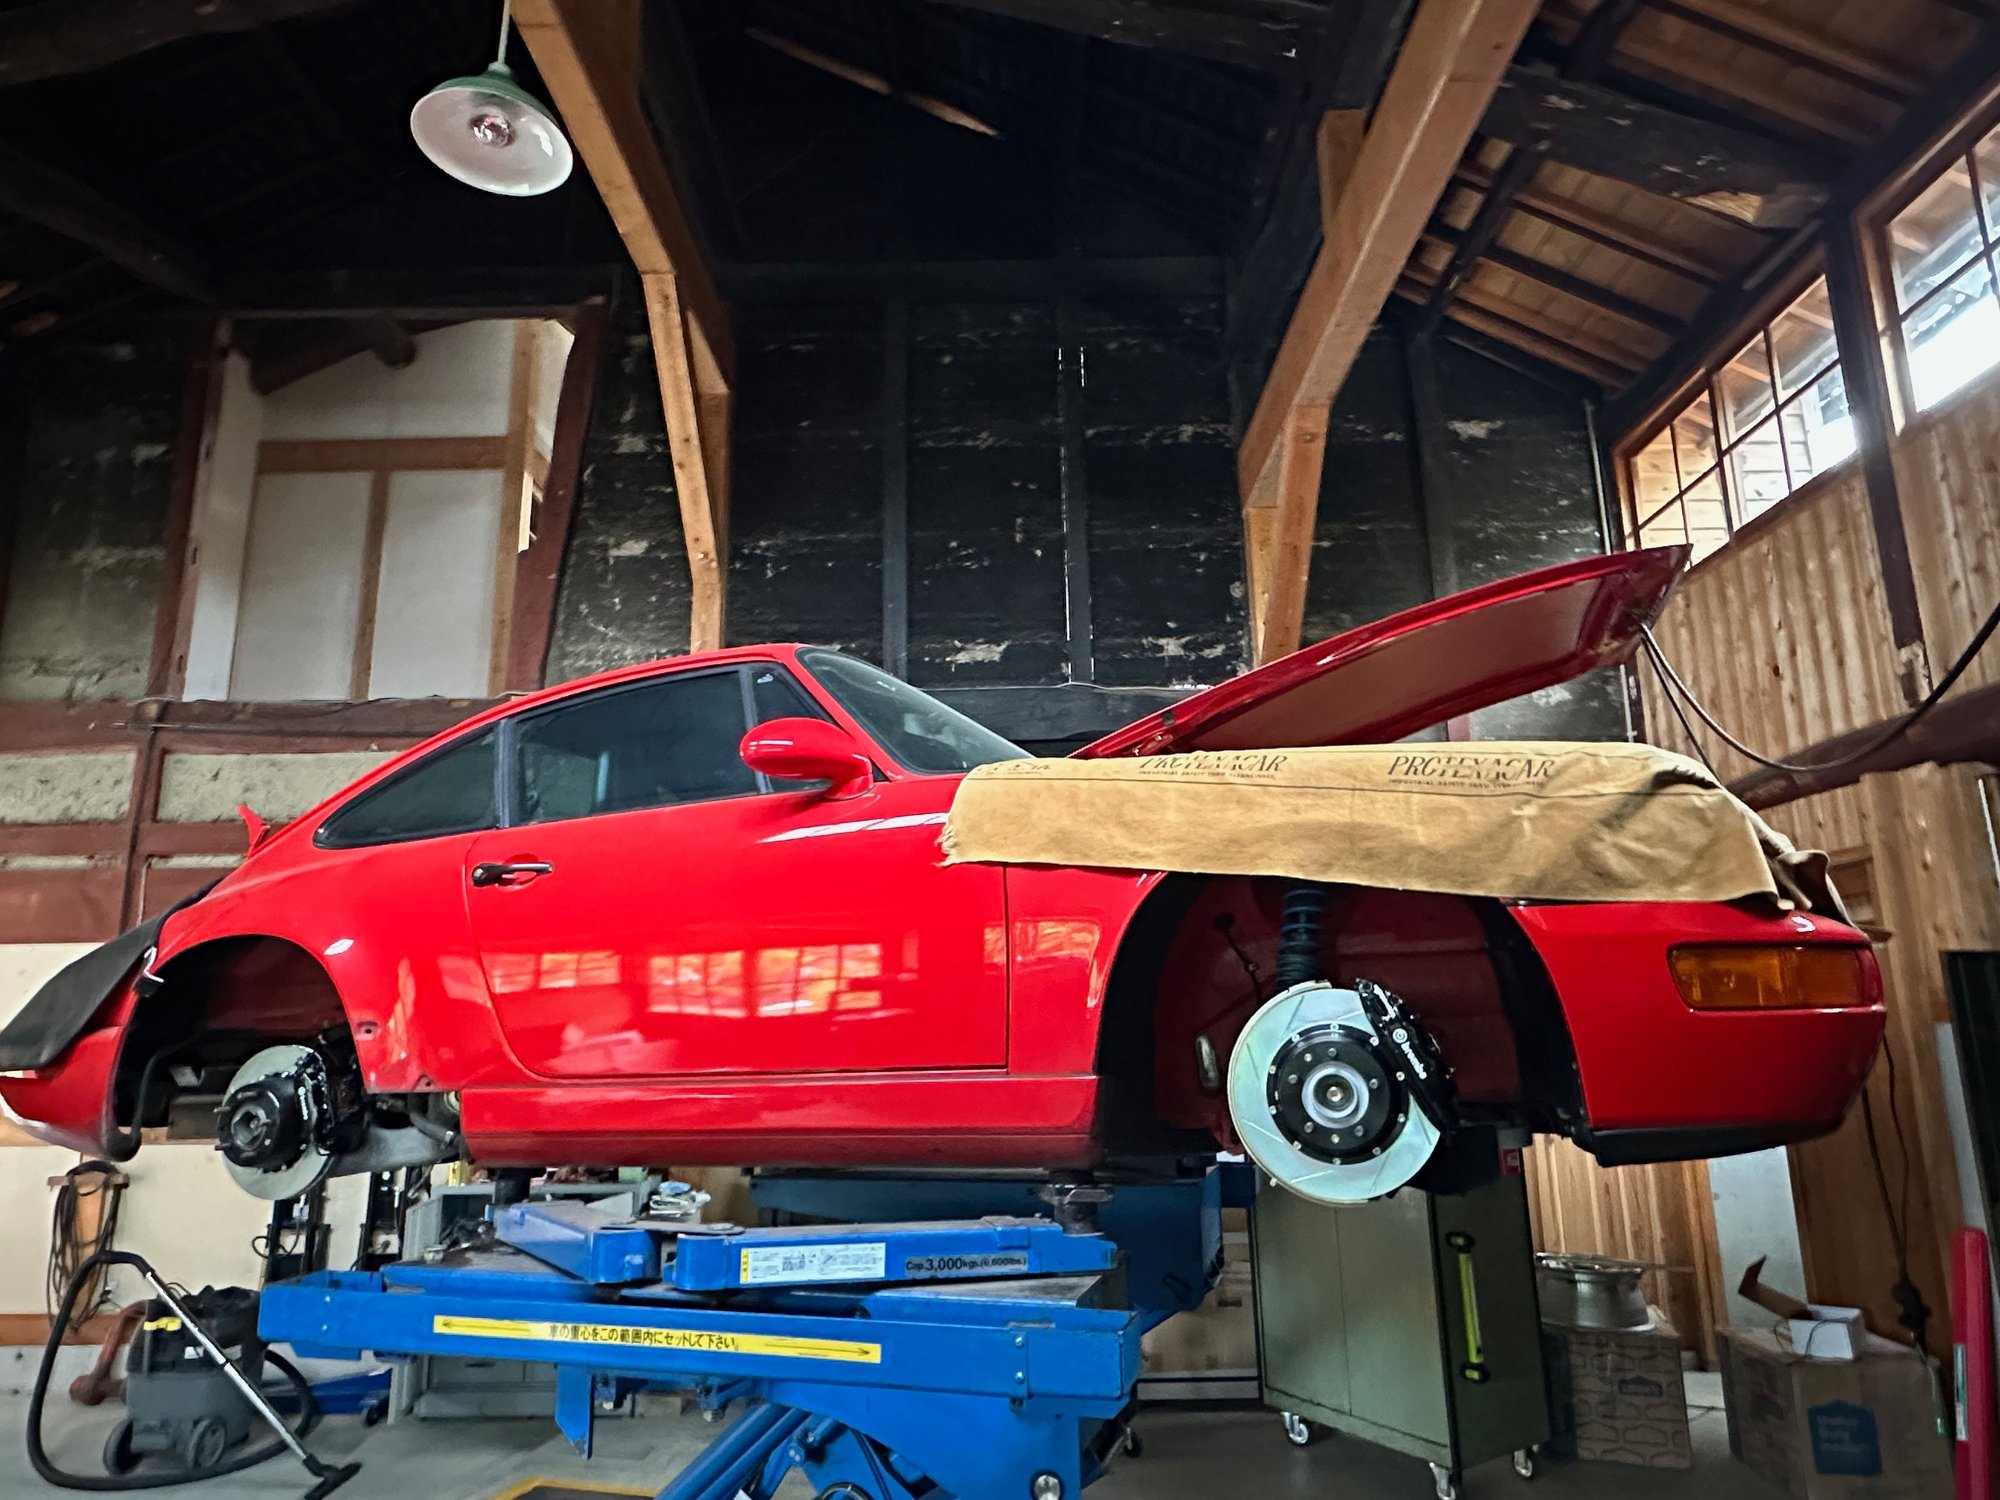
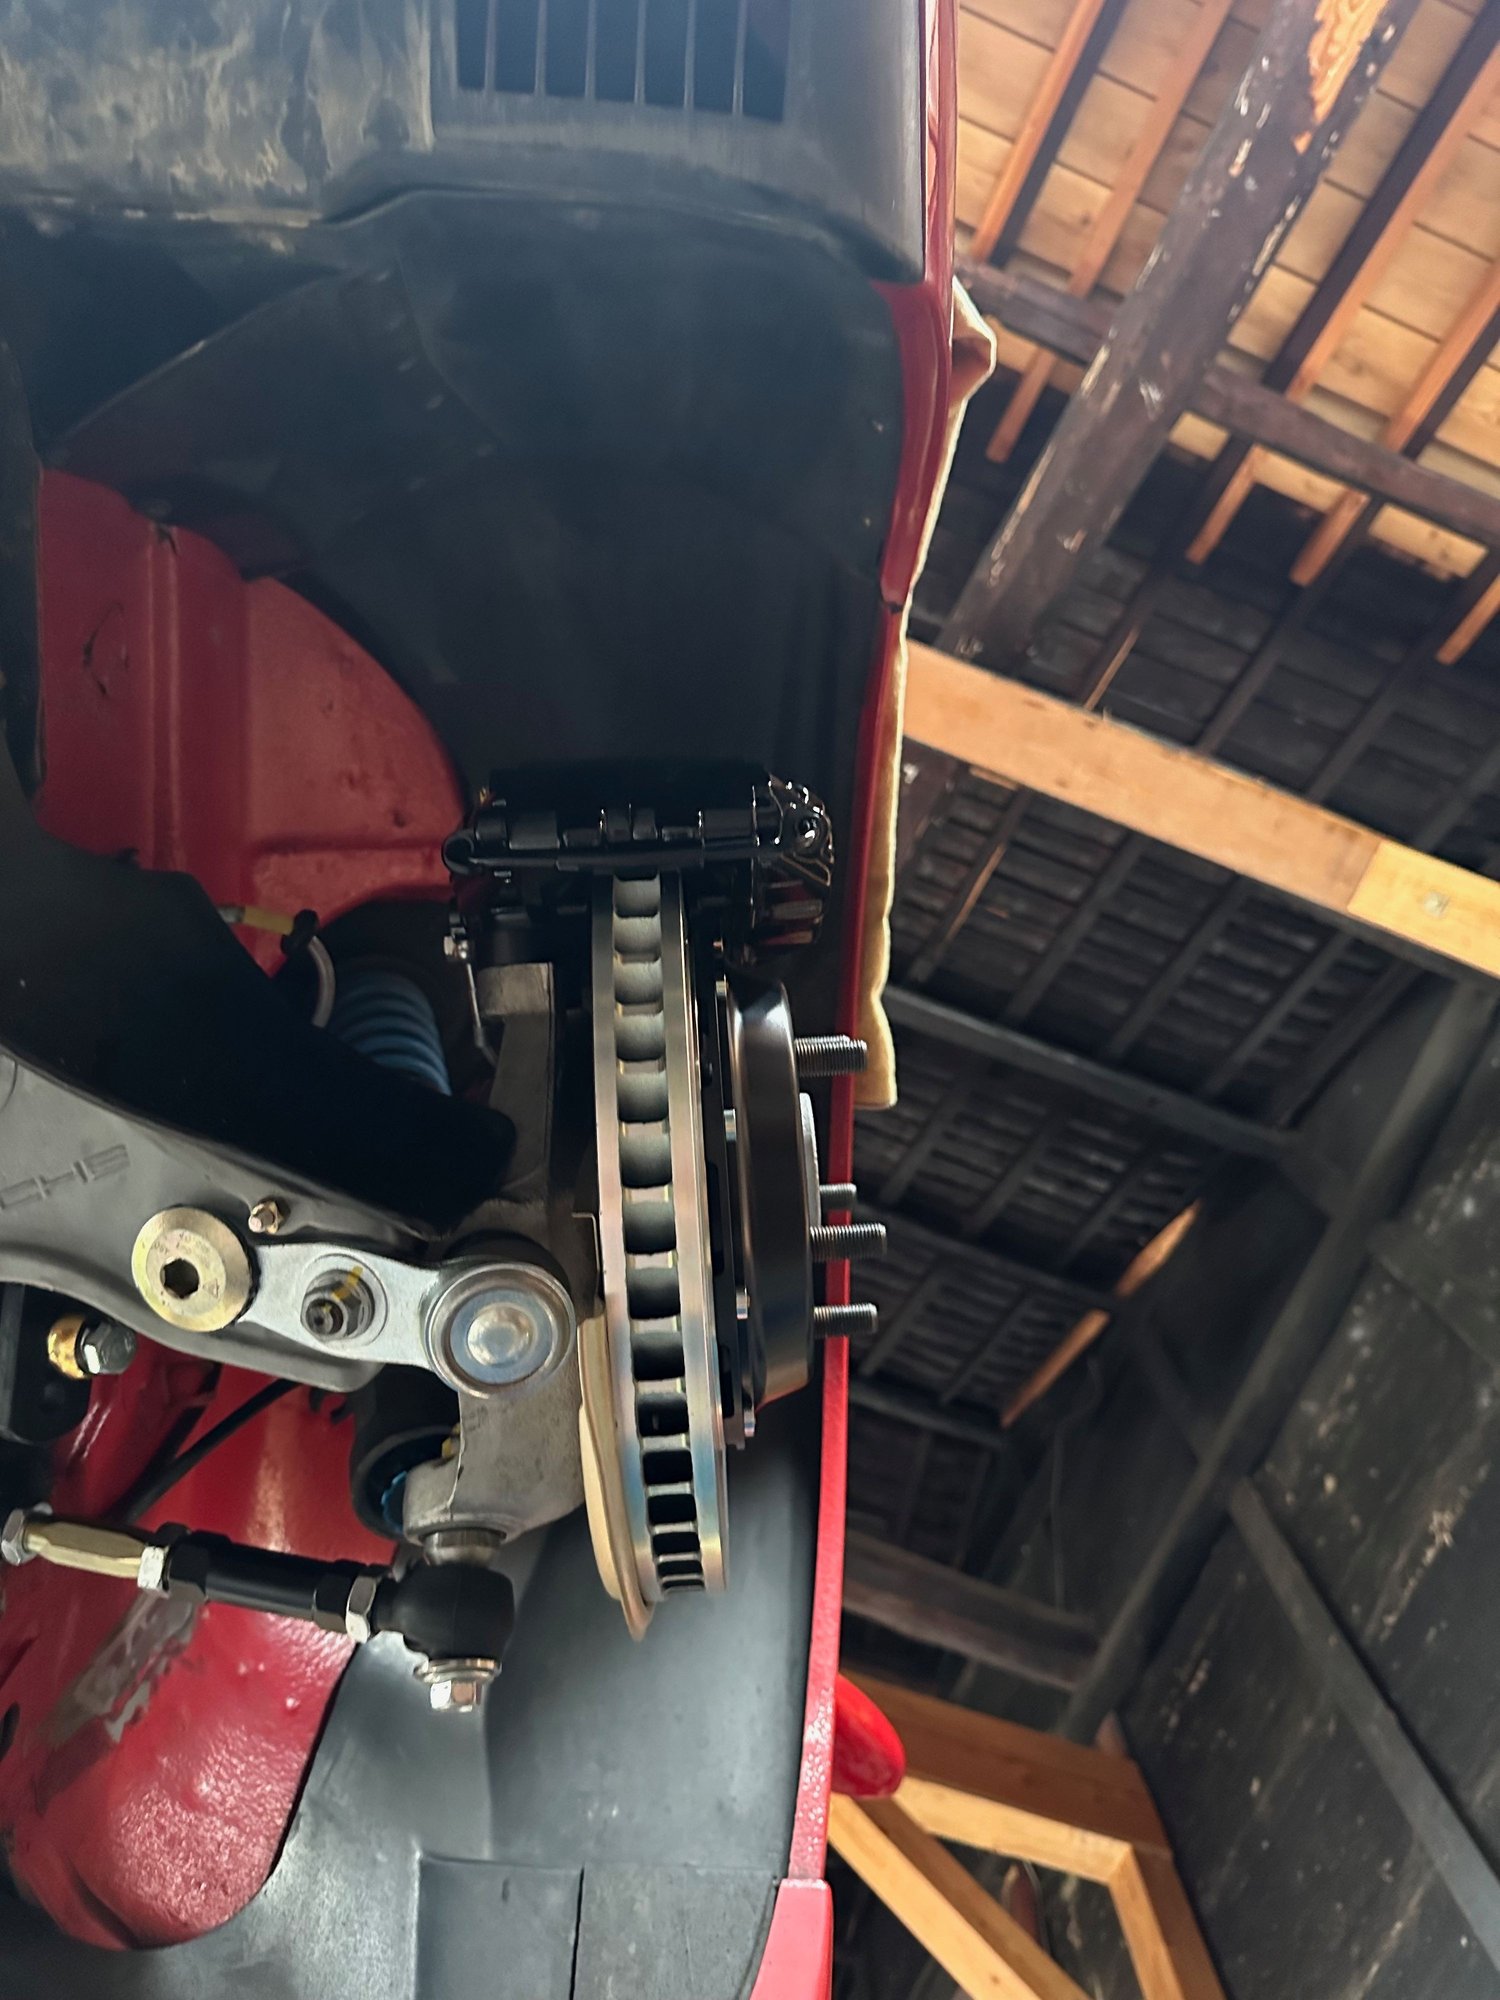
Finally got everything torqued and on to the brakes. Starting to look like a car again. Hoping to have it on th ground in the next couple of days.... even if its not totally ready to go. Which it won't be but I'll get to that. New disc shields in place and time to unbox the Brembo kit.
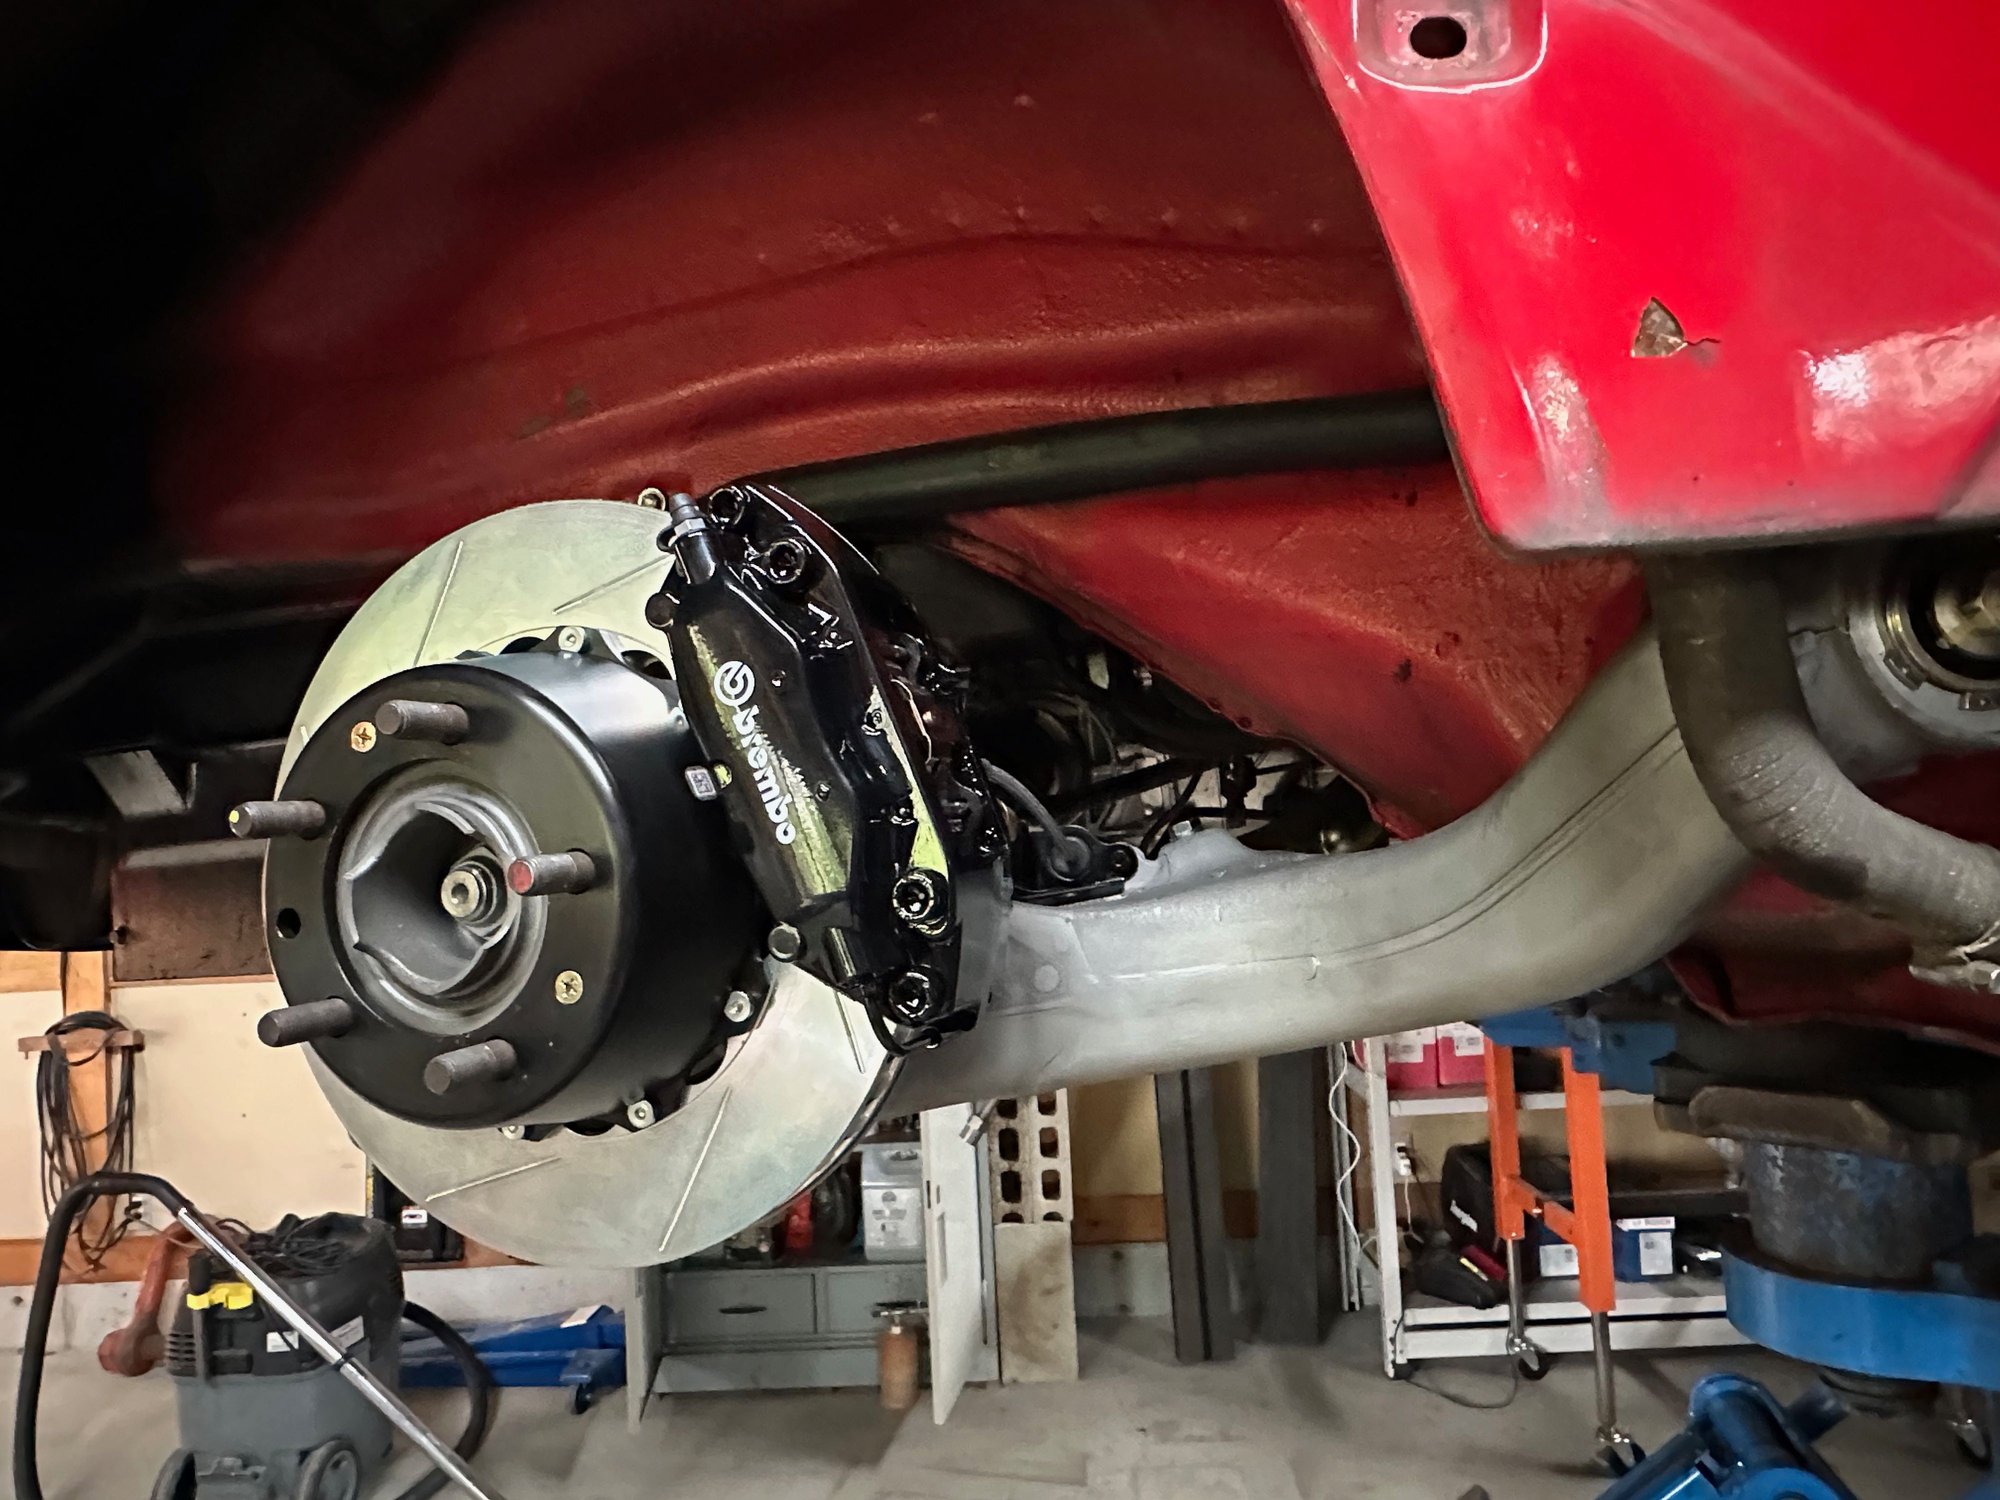
As I mentioned before this is the brembo GT kit with the smaller (and lighter) 332mm front rotors. As there are many who track the big reds and have no issues with fade and get good pad life plus the fact that I run on some bumps roads and wanted the option of 17" wheels this package made the most sense for me. Another advantage is that the piston sizes are the same as the 964 units so the master cylinder will be up to task. Given the leverage provided by the larger rotors that same hydraulic force it will be interesting to see how the braking effort turns out.
Front specs are 332x32 with an annulus of 54mm. Pistons are 36/40 (as stock 964) Rear is 328x28 annulus 54- again pistons same a stock 28/30. I've the rear proportioning valve in for the time being as I do drive in the rain and my ABS is not operational at the moment.
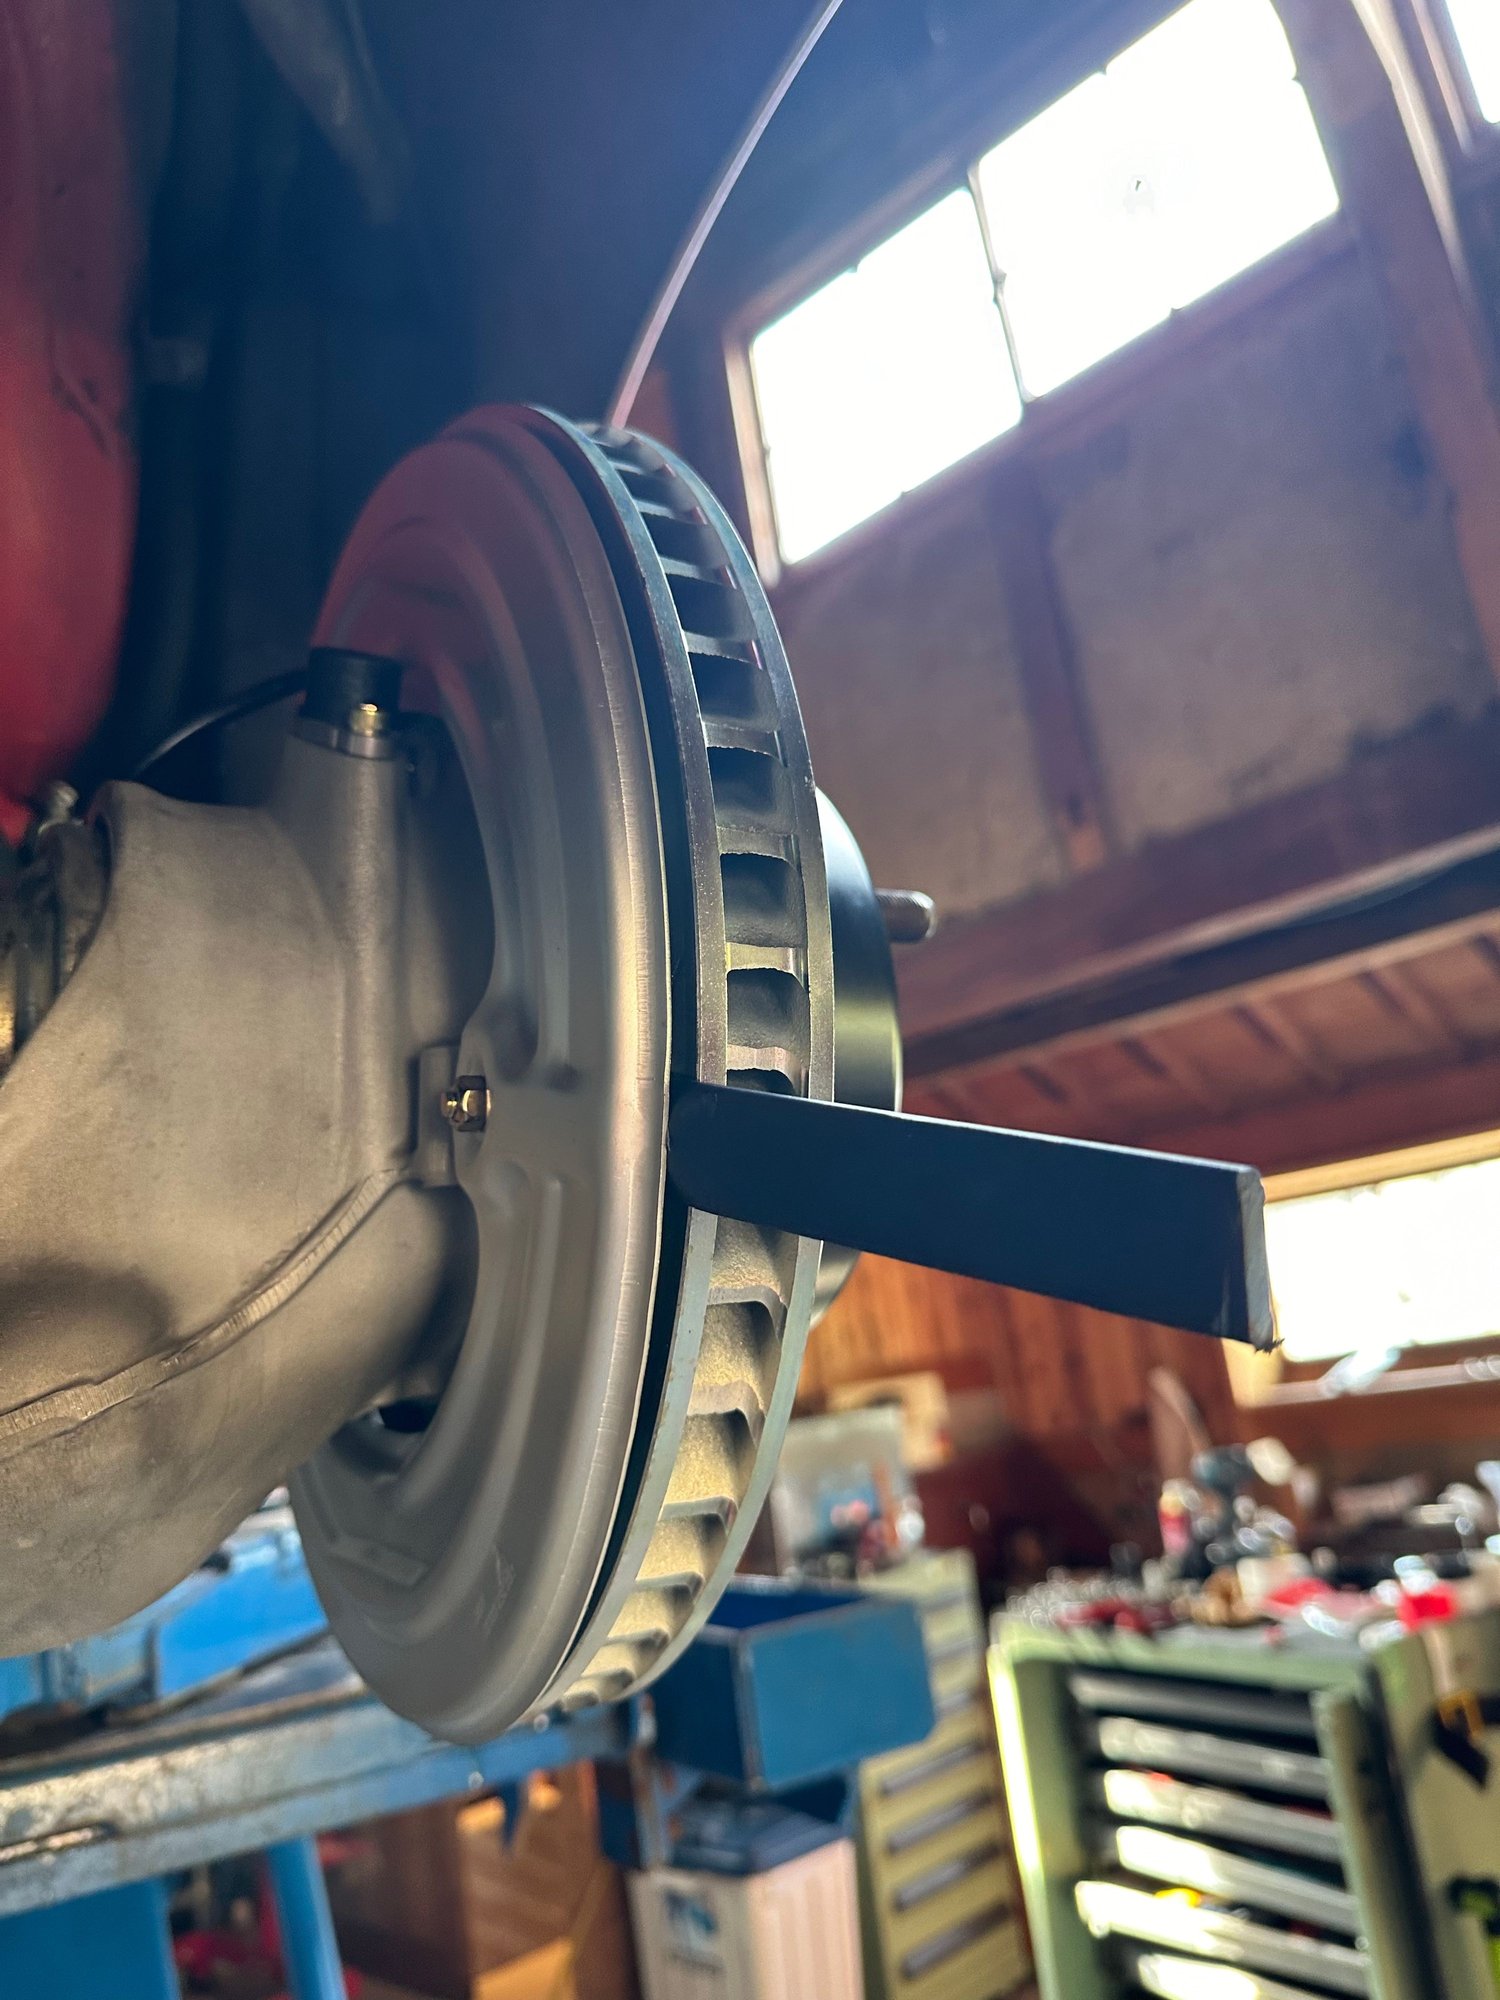
The disk shields are a little smaller than the disks and needed some persuasion to clear- front was a little more difficult but not bad.
The brembo kit is pretty straight forward. There is one spot that did not have specific instructions and it went like this: instructions "O" show a different pice that requires 2 sealing washers. The 964 4 piston kit comes like this:
The washer is removed and refit like this:
A little monkeying around with the path of th line. I have yet to set it down on the ground obviously but will check again. For now this is the best routing I found:
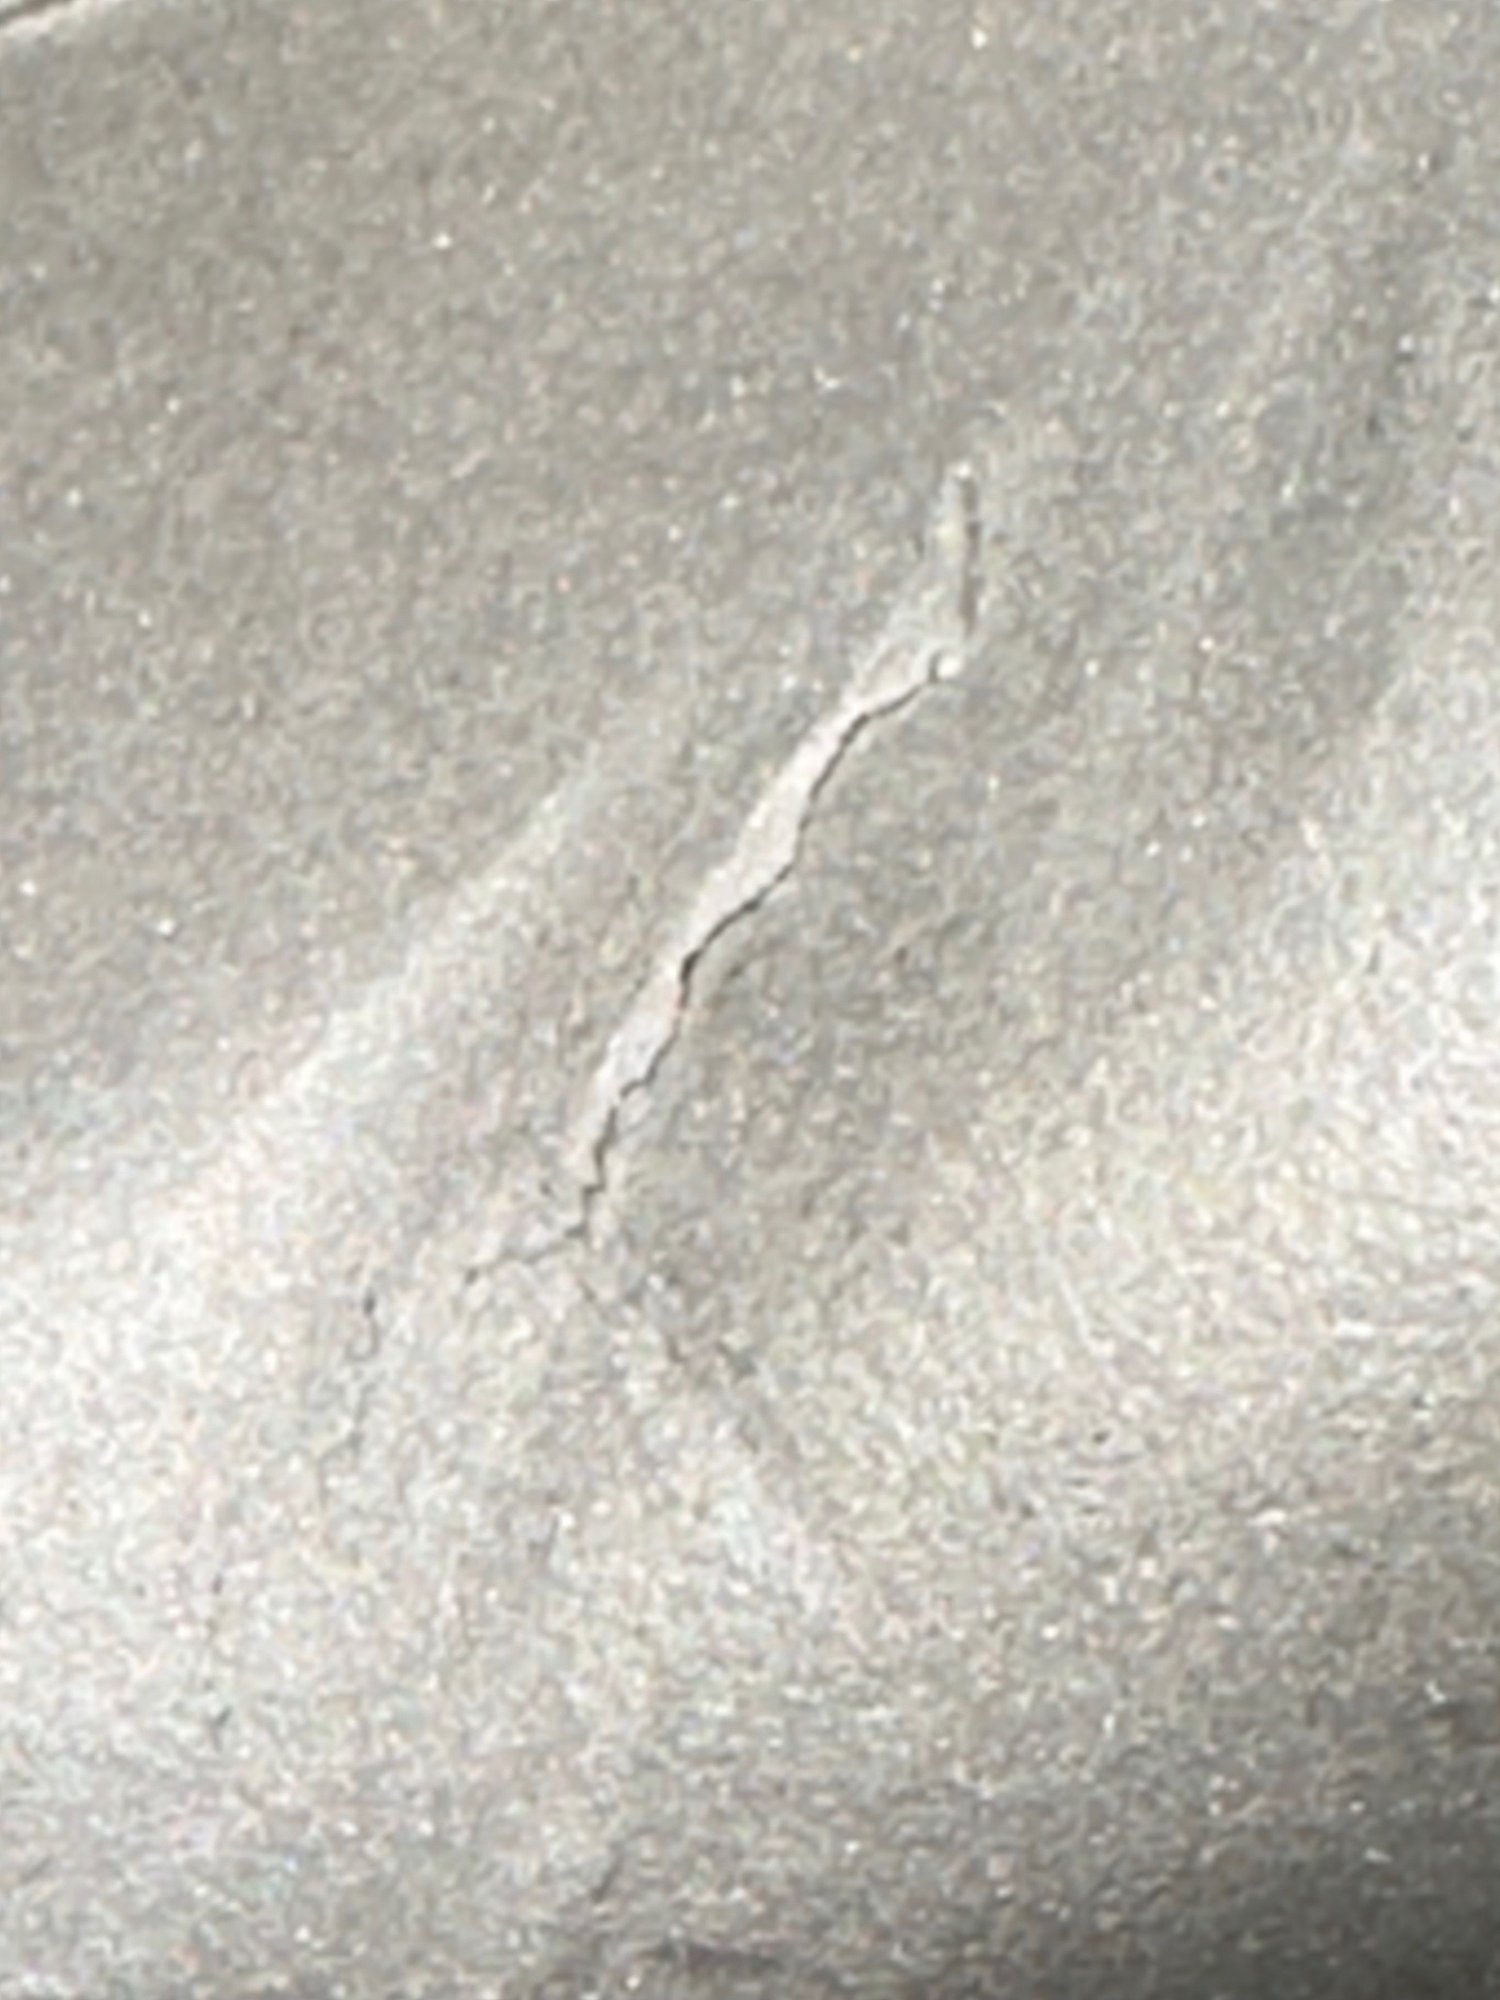
A shot from inside with a borescope shows that it is cracked though and though.
This is not what one wants to find after all this work. I ordered the parts from a dismantler and had them sent to a vendor where they were blasted and clear coated and had both bearing installed. Not sure when the damage happened but someone has put a grinder to this area so it didn't go unnoticed........ My eyes are bad so I just thought it was some flashing. (deep sigh...) Times like this really make me question using anything other than factory original stuff- especially being here in Japan and having all this shipped over etc. I still and waiting for the shipping fiasco with the ht MCS to get worked out- all for a small leak.
Ouch, that stinks. Based on the heavy grinding marks, that looks like it was hit/repaired or something. It also appears that your rotors are on backwards. The internal vanes should fling forward. I noticed that the slots/drills can go either way depending on the manufacturer, but Brembo holes also go the other way. But it's more important to look at the inside vanes.
edit: unless those rears are non-directional inside vanes? I know my cayenne only has the front vanes directional.
I wish it was repaired but my hunch is that there was a hope that grinding would remove a crack that was just on the surface... I'm not going to run this way for any serious driving. Suzuka on sticky tires- I dont want this in the back of my mind. I'm hoping it can be welded- at least of the time being.
Actually the rotors etc. came right out of the boxes marked R and L. I double checked because I thought the same thing but the vanes at the top of the rotor should sweep to the rear of the car. I assume this is to draw air from the center of the rotor.
That's odd, as all the rotors I see (I just did brakes on my cayenne- those are brembos) the vanes should fling forward. Like making a fist and springing your fingers open, if that makes sense. If the vanes are straight, install doesn't matter. I just did R1 concepts rotors and they are cross drilled/slotted and they're drill pattern/slots are backwards from Brembo, when internal vanes installed correctly. This led me to look further. See pic below and link.
Where did you get the Brembo kit? I just went on their website and it doesn't show up as an available kit for a 1990 C2 coupe.
Too bad about the cracked rear suspension. It seems like that should be repairable while on the car.
Good luck.


 05-22-2024, 10:35 AM