When you click on links to various merchants on this site and make a purchase, this can result in this site earning a commission. Affiliate programs and affiliations include, but are not limited to, the eBay Partner Network.
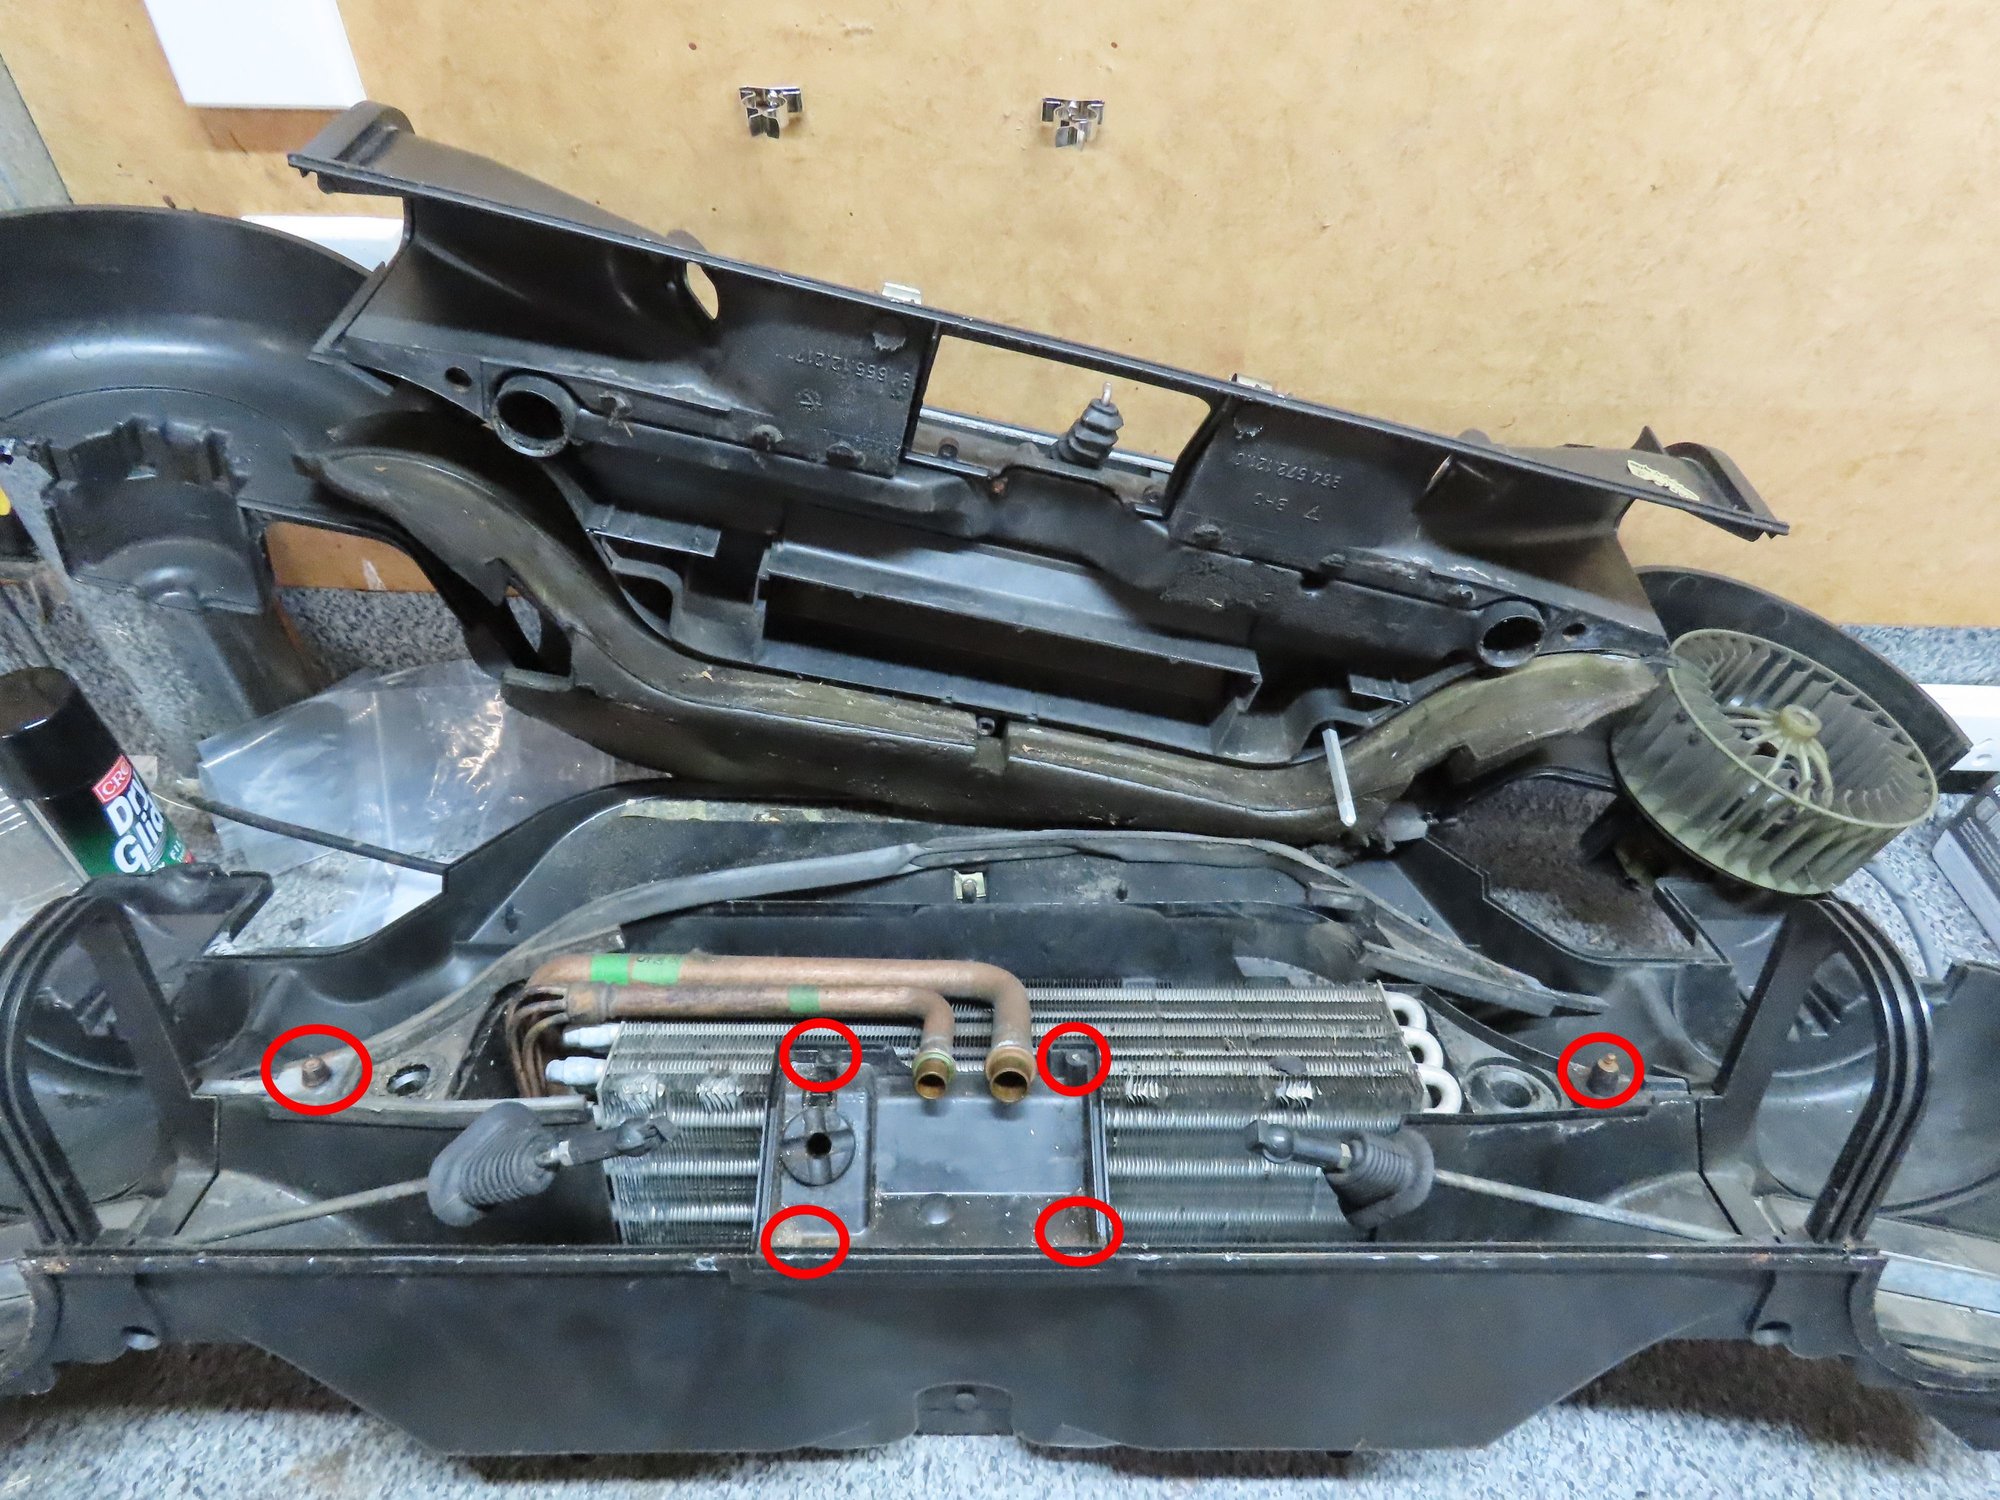
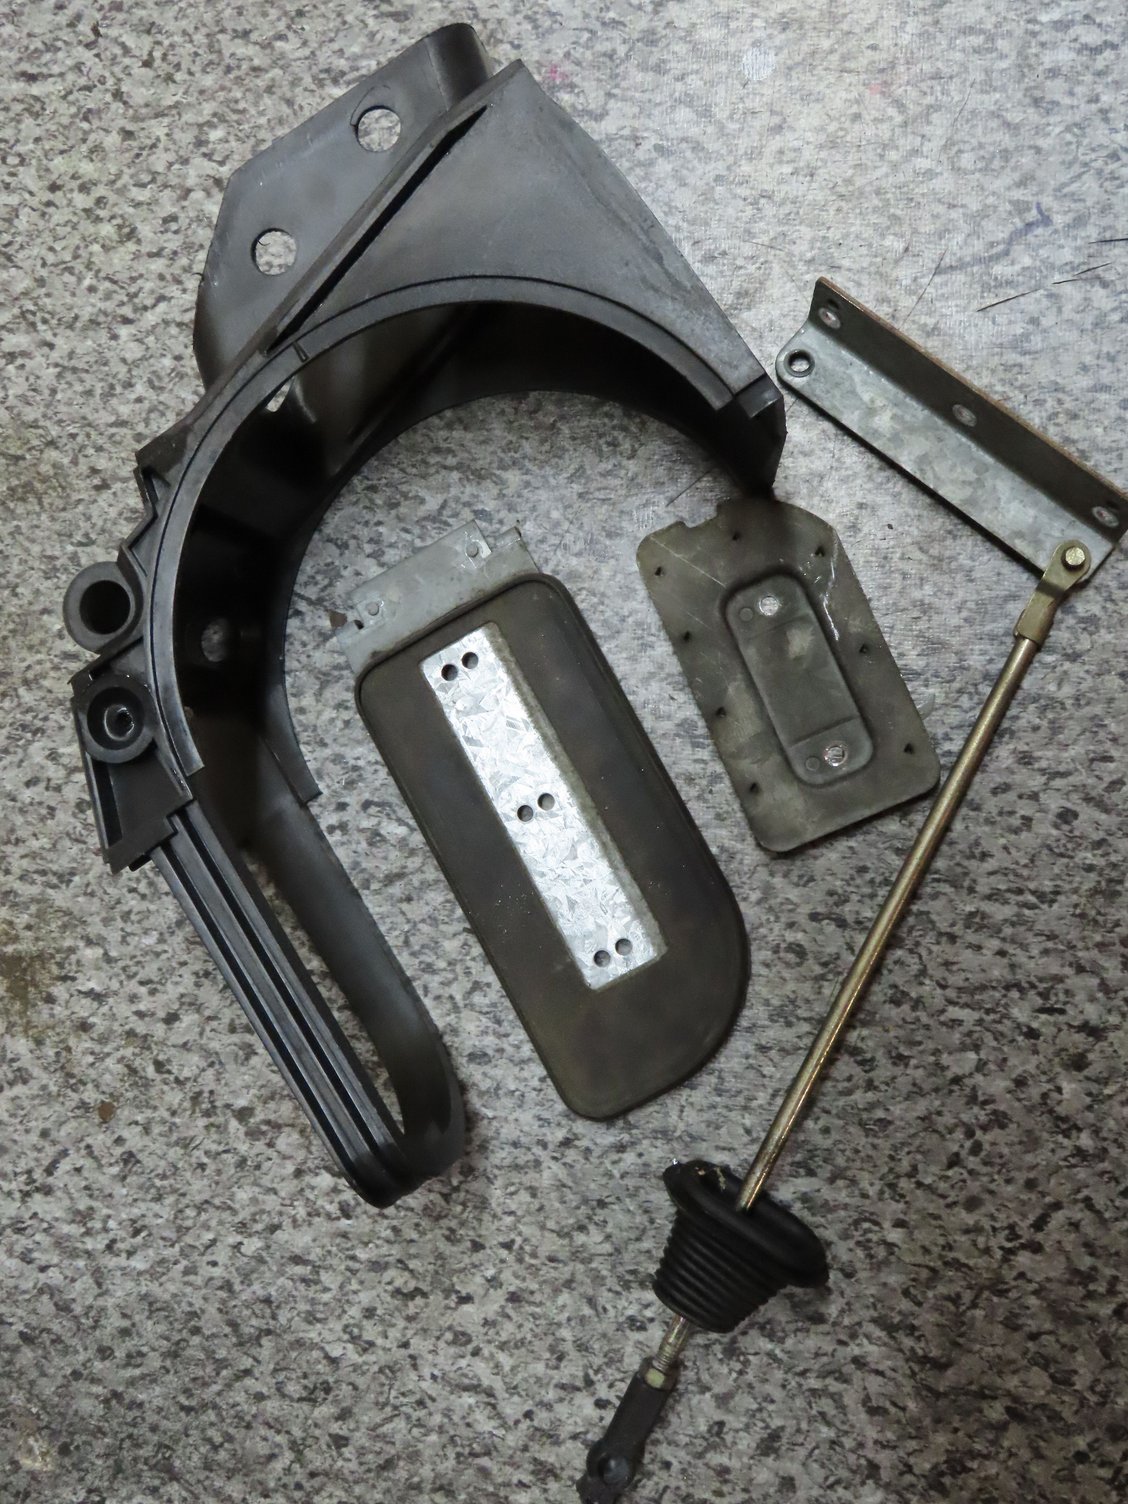
Carefully pry off all the clips around the two suitcase halves, undo the 6 screws marked in red (3 of mine where rusted in place and 2 required drilling out) and from there it should all come apart. The right and left mixer flap rods can be easily poked through the top section of the suitcase.
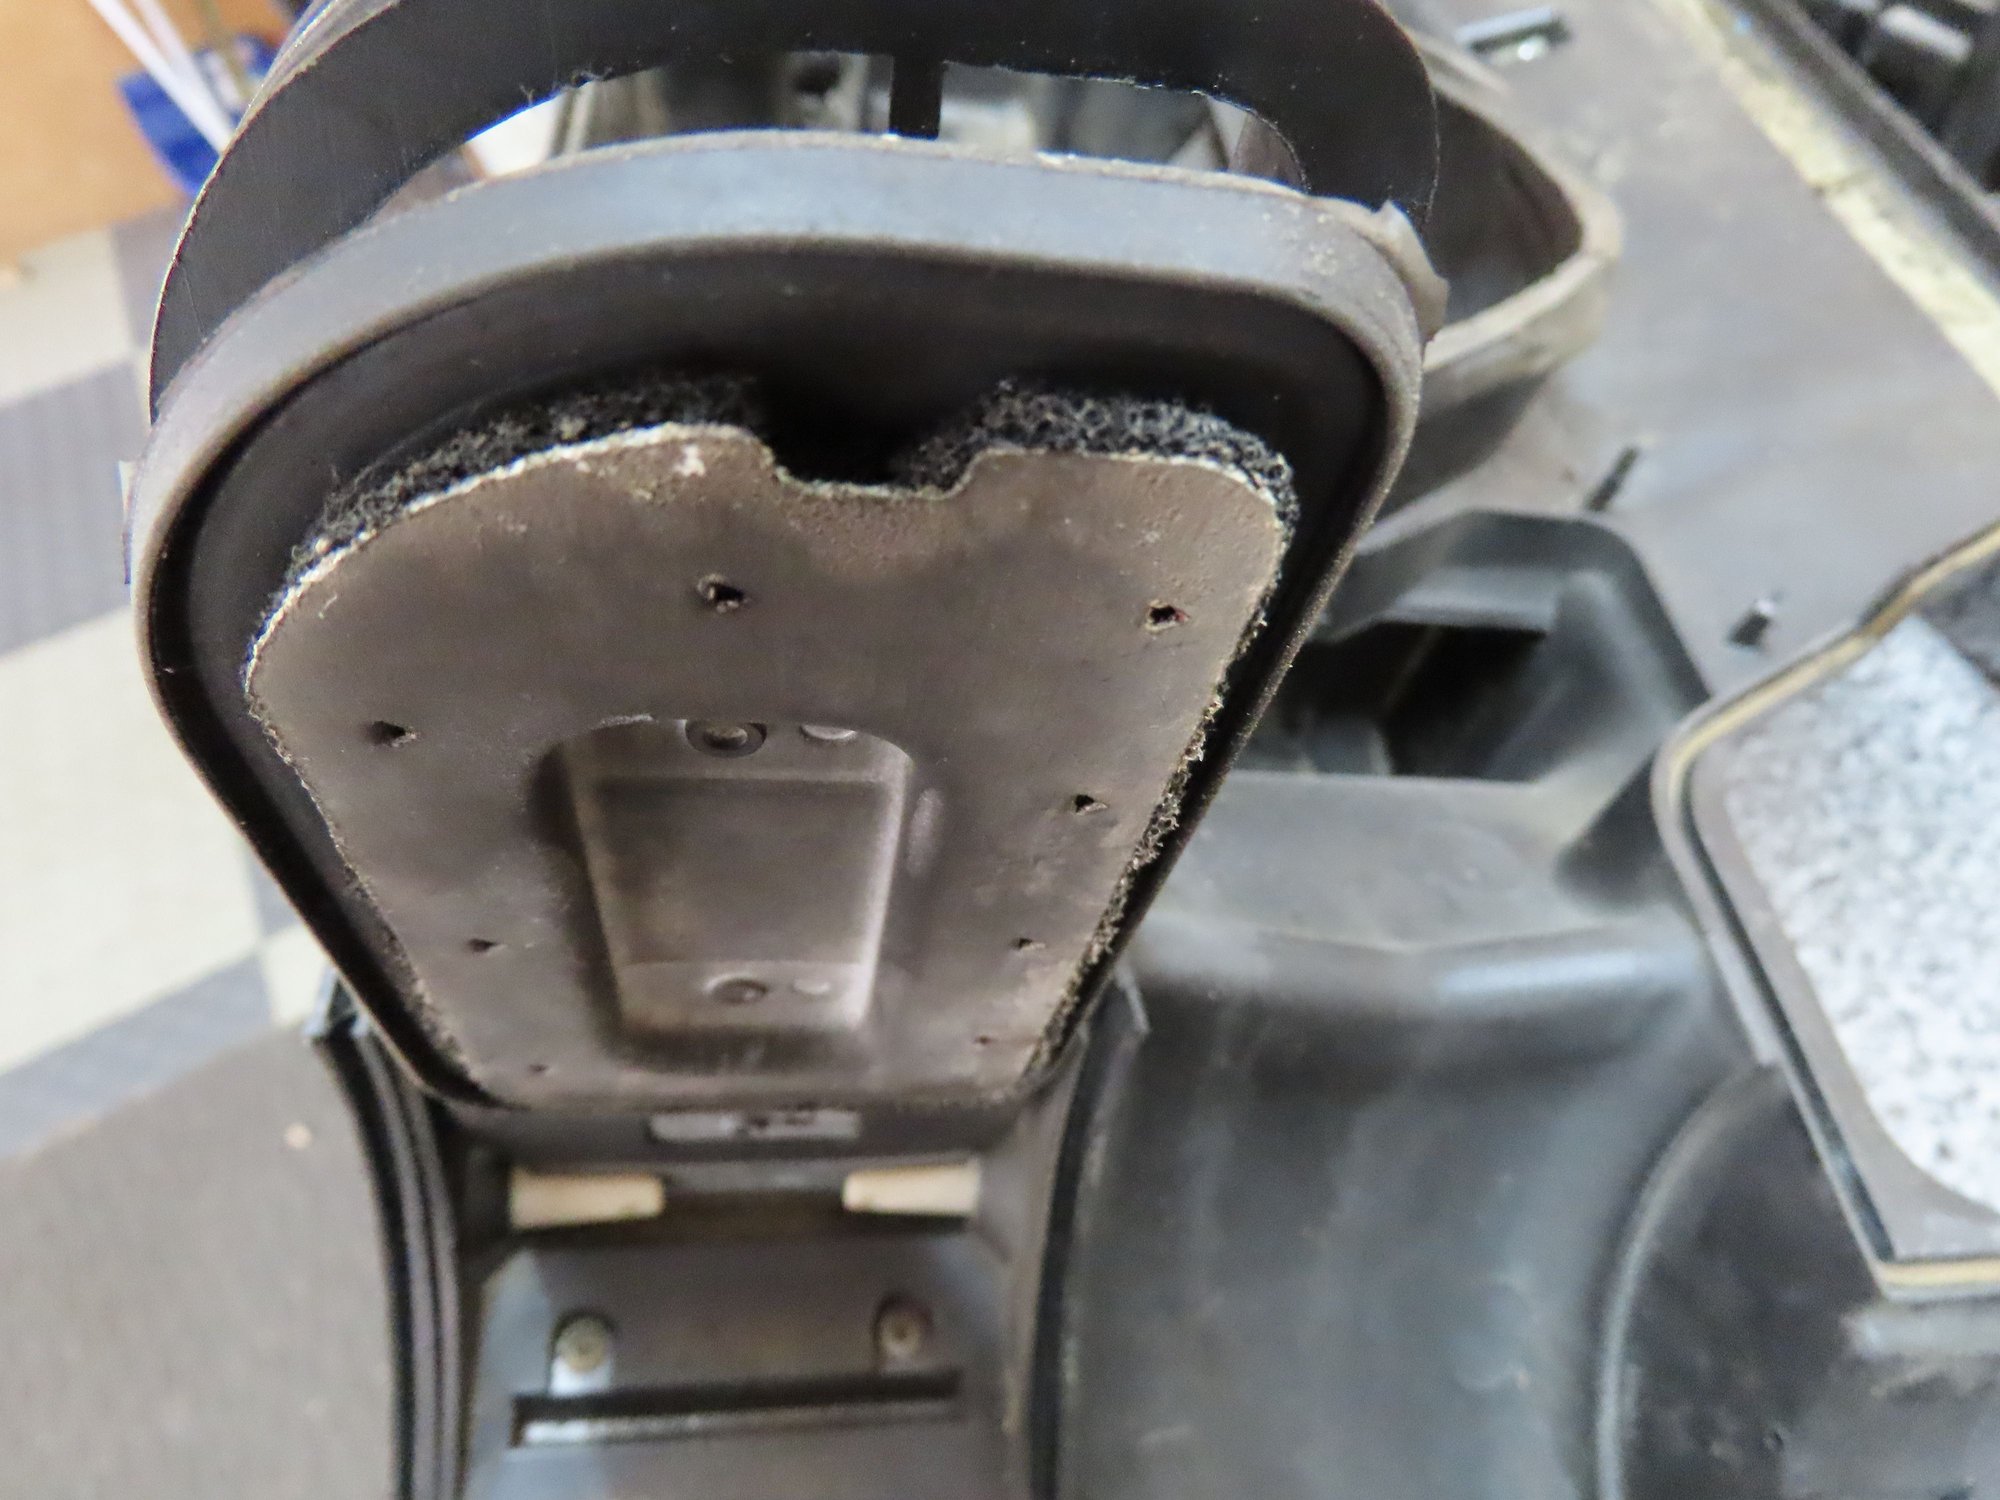
The flap has a metal plate with foam. When the flap is horizontal it is supposed to seal off incoming heat. However, when fully open (vertical) they do not seal. There is a gap of about 15 mm and there is no way a number 2 or 4 servo can close that. Presumably it is designed that way.
I drilled those flaps apart and put new foam on them and riveted back together.
for the foam on the main flap and side flaps I used headliner material. It's foam backed with a woven layer.
3 screws were rusty on my box, broke the heads off to get them apart. A little heat on the plastic and sharp small cutter pliers did the job getting the remaining rusty screw remnants out.
I drilled those flaps apart and put new foam on them and riveted back together.
for the foam on the main flap and side flaps I used headliner material. It's foam backed with a woven layer.
That's what I thought I would do to.........drill out the rivets etc. Good idea with the headliner, I was going to go with 3mm or 4mm neoprene.
3 screws were rusty on my box, broke the heads off to get them apart. A little heat on the plastic and sharp small cutter pliers did the job getting the remaining rusty screw remnants out.
Same damn problem screws. Must be some water sits in the hollows.
I drilled those flaps apart and put new foam on them and riveted back together.
for the foam on the main flap and side flaps I used headliner material. It's foam backed with a woven layer.
I was able to slip the foam under into the gap without disassembly. There are barbs to hold it in place.
Nick, since you're in this deep, did you consider getting all the hosing changed to barrier hose? That way you can have fresh hosing that will allow you to charge your system every 5-7 years. R-134a that's up to pressure and quantity has more thermal capacity the R-12.
Last edited by Metal Guru; Jul 2, 2022 at 09:58 PM.
Nick, good pics. Not that I would expect any less from you. John and I sourced new compressors from Rock Auto. About NZD 400 landed. You are going this far, it would be a shame to leave a 30 year old weak link in the system.
I was able to slip the foam under into the gap without disassembly. There are barbs to hold it in place.
Nick, since you're in this deep, did you consider getting all the hosing changed to barrier hose? That way you can have fresh hosing that will allow you to charge your system every 5-7 years. R-134a that's up to pressure and quantity has more thermal capacity the R-12.
Yup. All things going to plan the hoses will of the barrier type.
Nick, good pics. Not that I would expect any less from you. John and I sourced new compressors from Rock Auto. About NZD 400 landed. You are going this far, it would be a shame to leave a 30 year old weak link in the system.
My compressor did check out fine. But I did intend to replace it anyway as one has no idea how long those old bearings will last. I do NOT want to have to revisit this again. Rock Auto always have brilliant pricing.
And of course 'while I'm in there' the fuel tank filter will be changed, tank cleaned out, new fuel pump and hoses.
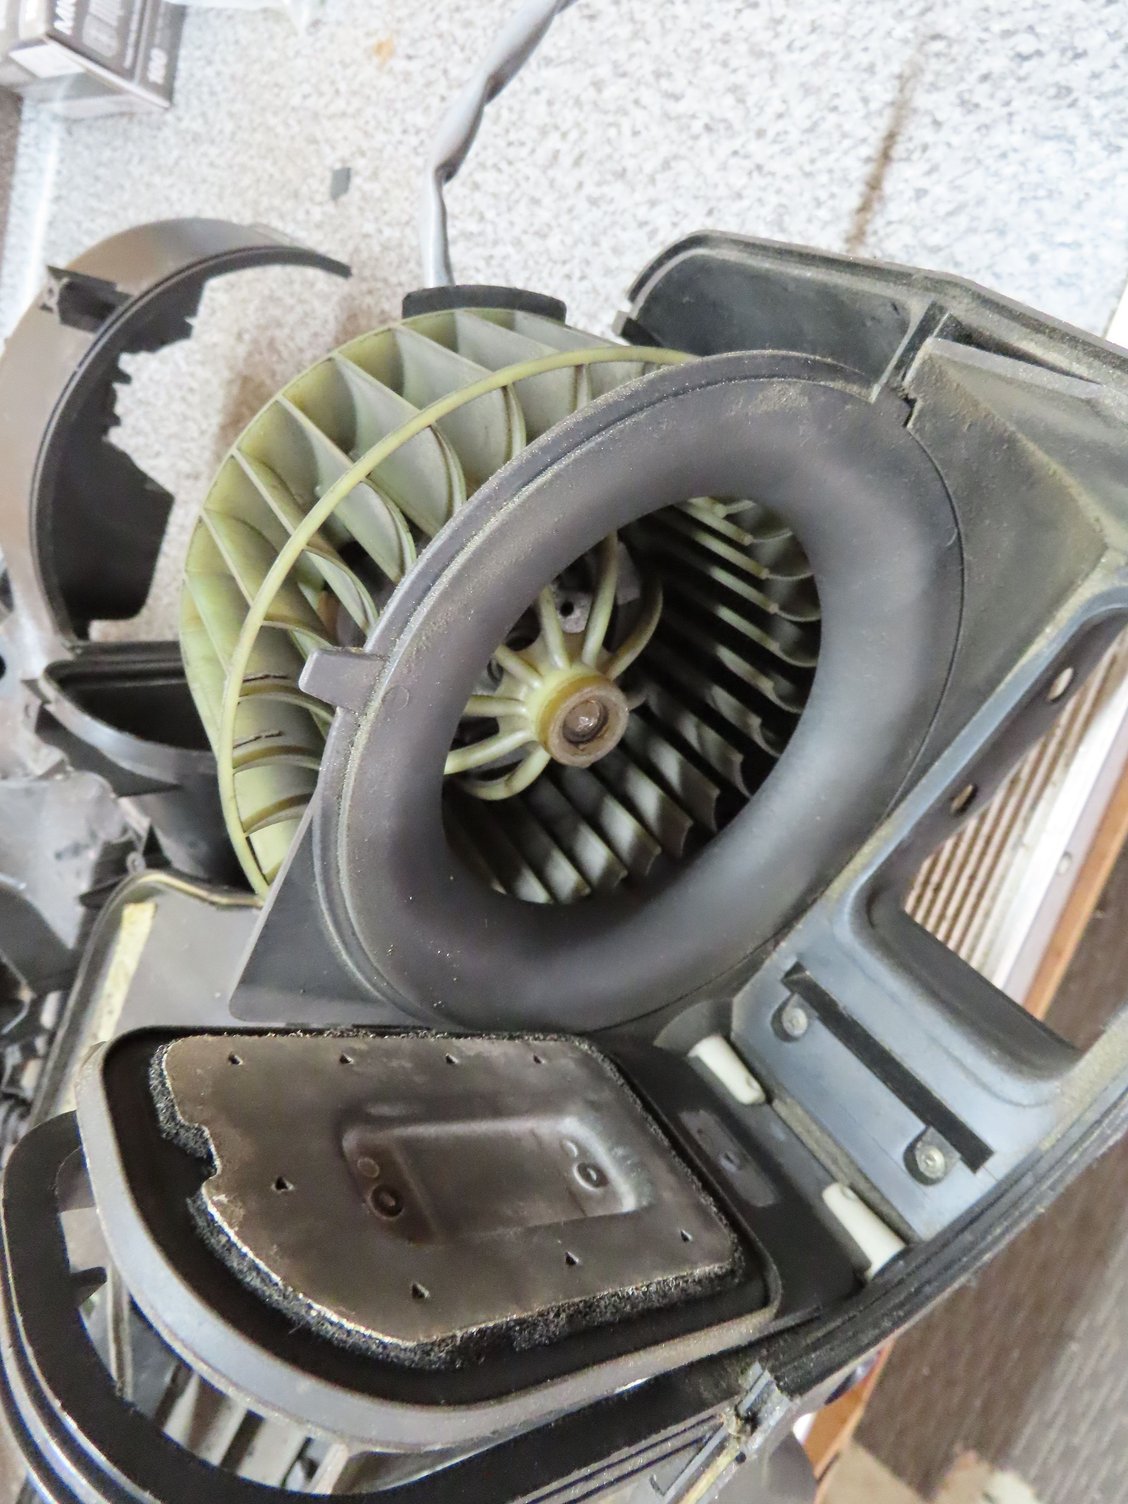
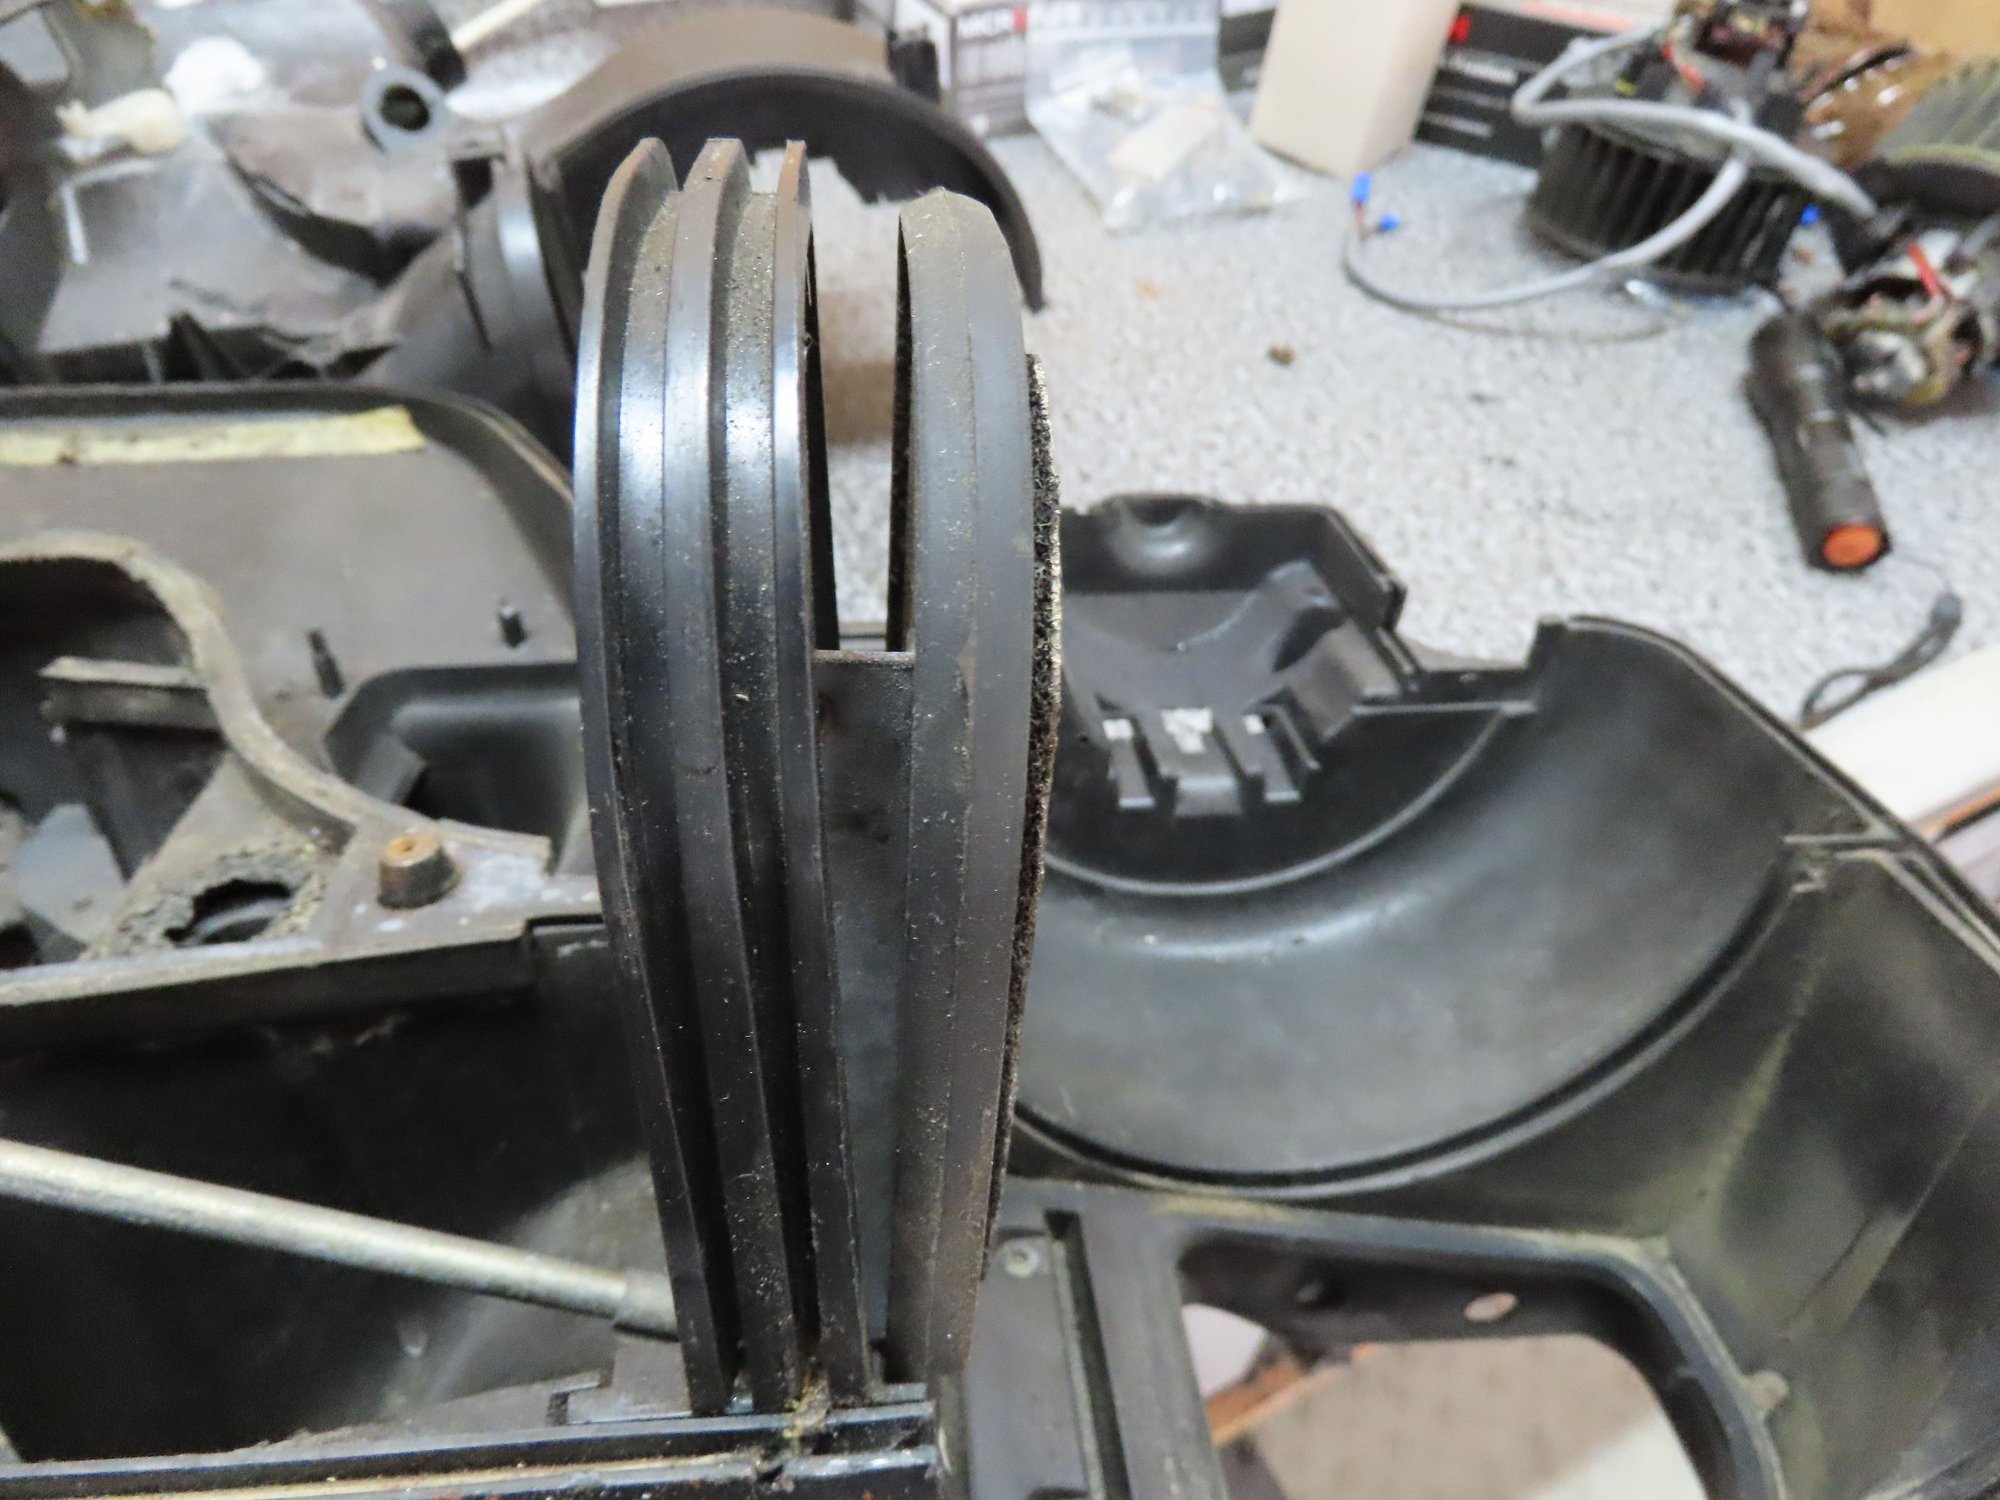
I forgot to mention that two new blowers are going in as well.
Last edited by nirich; Jul 3, 2022 at 05:10 AM.
Reason: Added bit about blowers.
One of the flaps dismantled along with its cover. I was going to remove the foam around the flap and use it a s a template. No such luck.......it went from zero to dust in 0.5 seconds!
I will take Racoguys advice and find some car headliner material for this, in the meantime I will be busy cleaning 'stuff'.
This part butts up to the car body. You can clearly see the screw hole in the center and the two studs for the nuts that need to be undone in post #19.
Theon Goes Full Carbon Fiber With Stunning New Build
Slideshow: Built around a carbon-bodied 964 and a naturally aspirated 4.0-liter flat-six, this bespoke commission highlights how far the restomod formula has evolved.
Tuner Is Converting Porsche 911s Into Shooting Brakes
Slideshow: A Polish Porsche specialist is moving ahead with one of the most unusual 911 conversions in recent memory: a shooting brake version of the 991-generation sports car.
This Coachbuilt Creation Is A Modern Take on the Legendary Porsche 917
Slideshow: A Porsche Carrera GT has been transformed into a one-off coachbuilt machine that blends analog supercar engineering with styling inspired by the legendary 917 race cars.
Is This Convertible Cayenne A Steal, Or A Returnless Investment?
Slideshow: A heavily modified Porsche Cayenne convertible with faux wood trim and a long list of flaws recently sold at auction for surprisingly little money.
Porsche's Top 5 Most Questionable Naming Decisions
Slideshow: For a company obsessed with engineering precision, Porsche has occasionally named its cars in ways that left even loyal enthusiasts scratching their heads.
Pogea Racing's 964 Porsche 911 Reimagination Stands Out in a Crowded Field
Slideshow: Pogea Racing's latest Porsche 964 project blends carbon-fiber construction, modern chassis upgrades, and up to 500 horsepower while keeping the air-cooled 911 experience firmly analog.