When you click on links to various merchants on this site and make a purchase, this can result in this site earning a commission. Affiliate programs and affiliations include, but are not limited to, the eBay Partner Network.
I spent more time partying than wrenching but did make some minor progress. BTW Weller Bourbon green label and Starlight made for a heck of a time.
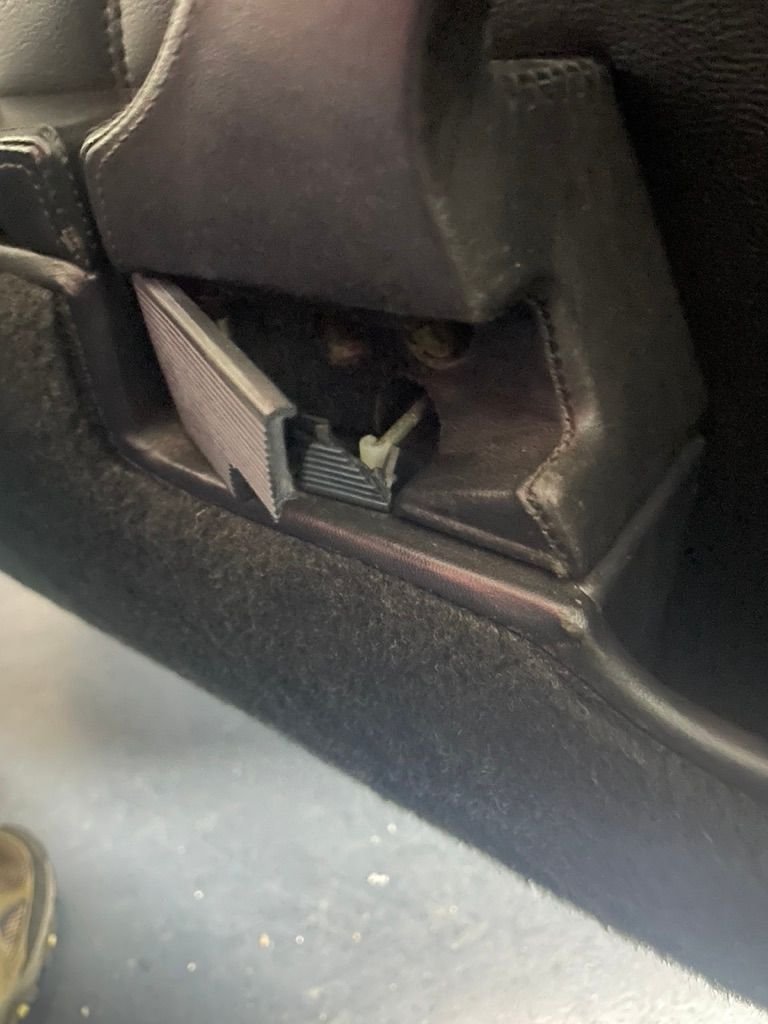
So I pulled the full intake as one unit for now which seems to be in superb stock condition. The odo shows 145k miles the engine not close. When I pulled the intake. I found some very clean intake ports. Something has me thinking this engine was relatively fresh before the little mishap. I was able to get an old borescope into the opening and attempted to take a picture of what was going on. I see no bends but the valve does appear to be sitting proud by about .050" or less. The poor quality picture is not 1/1 so the valves are larger looking than in reality. Hard to say what happened but whatever caused the rocker arm to break caused the issue I am seeing
I am not sure why the valve is sitting proud but I will attempt to look further before disassembling the engine. Exhaust is being pulled next and needs some minor welding. I will see what I can see from the underside. I am hoping not to disturb the engine as much as possible. But I am sure I will need to pull the one head. Before I do that I am going to do a second round of leak down testing to verify that the other cylinders are as good as I recall. I will also look to see if there's any damage to the exhaust valve or seat now that I can rotate the engine out of the car. There does appear to be some FOD or something I can see but can't be sure yet what it is and if it has any impact. 🤞
Cylinder #1 exhaust valve. Poor picture but you can see it is sitting just a little off the seat causing the 92% leak down I saw earlier.
Very hard to see but cylinder #6 is sitting flush and as you can see all the other cylinders look like this with relatively no carbon buildup. I suspect #1 has some due to the running of the engine for a lap after the shift and moving the car around with the leak.
Hard to see anything but Cylinder #1 is the dirtiest of the 6 valve is open
Overall quite clean. The car sat for a number of years. The dirt is surface internally it looks quite good.
I will report back once I have the leakdown numbers. For now I have a Taycan Turbo being delivered for a loaner car so I plan to have some fun with it.
Meanwhile a friend accidentally broke the door pull on my C2 so I decided to use some old cast blanks I made nearly 40 years ago to work with the gages of my Slick top build.
caught the pull on his pants getting out of the car. I have never seen this happen before.
Cast aluminum copies of the factory door handles I painted the centers to go with the sanded trim rings on my gages.
So it looks like a full top end at this point. It doesn't make much sense to take it this far without going further.
I found cylinder #6 is leaking as well. down 20%. So might as well.
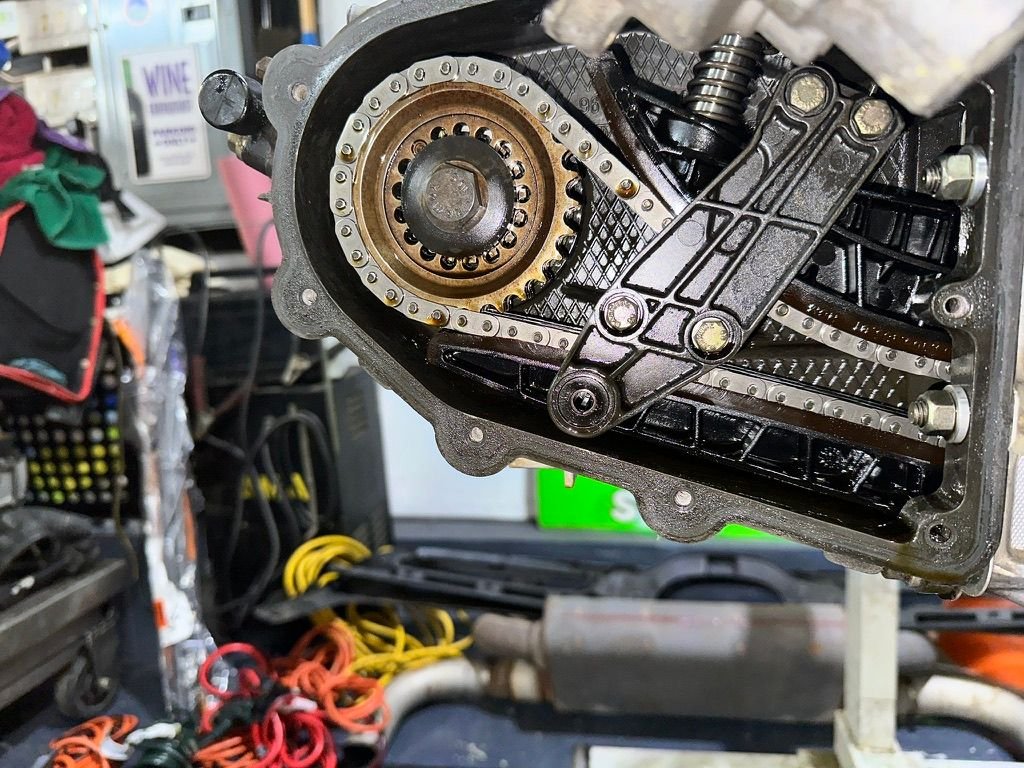
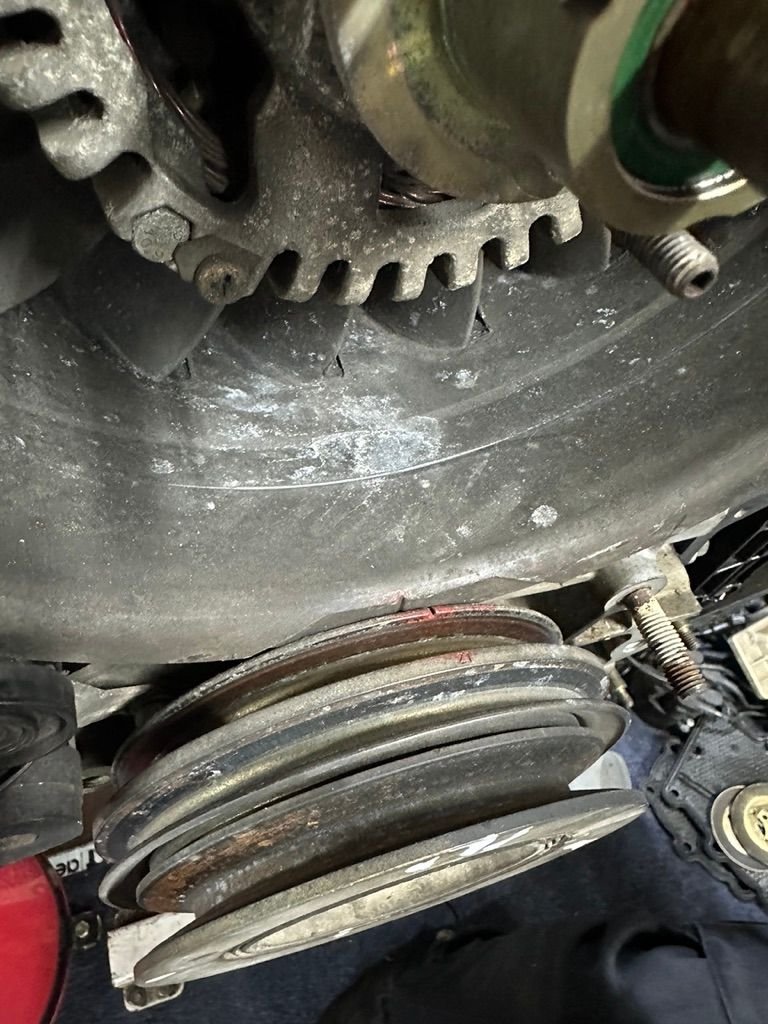
Also some minor things like someone over tightened the cooling fan cracking the support on the block. Right side crack of support strap. Timing chains seem OK Cylinder #1 exhaust is sitting high.
Fan and alternator look great considering.
So I suspect I will do a full top end and make things as good as can be. All fresh plated hardware. The engine will be pretty but the **** box will stay as is.
So it looks like a full top end at this point. It doesn't make much sense to take it this far without going further.
I found cylinder #6 is leaking as well. down 20%. So might as well.
Also some minor things like someone over tightened the cooling fan cracking the support on the block. Right side crack of support strap. Timing chains seem OK Cylinder #1 exhaust is sitting high.
Fan and alternator look great considering.
So I suspect I will do a full top end and make things as good as can be. All fresh plated hardware. The engine will be pretty but the **** box will stay as is.
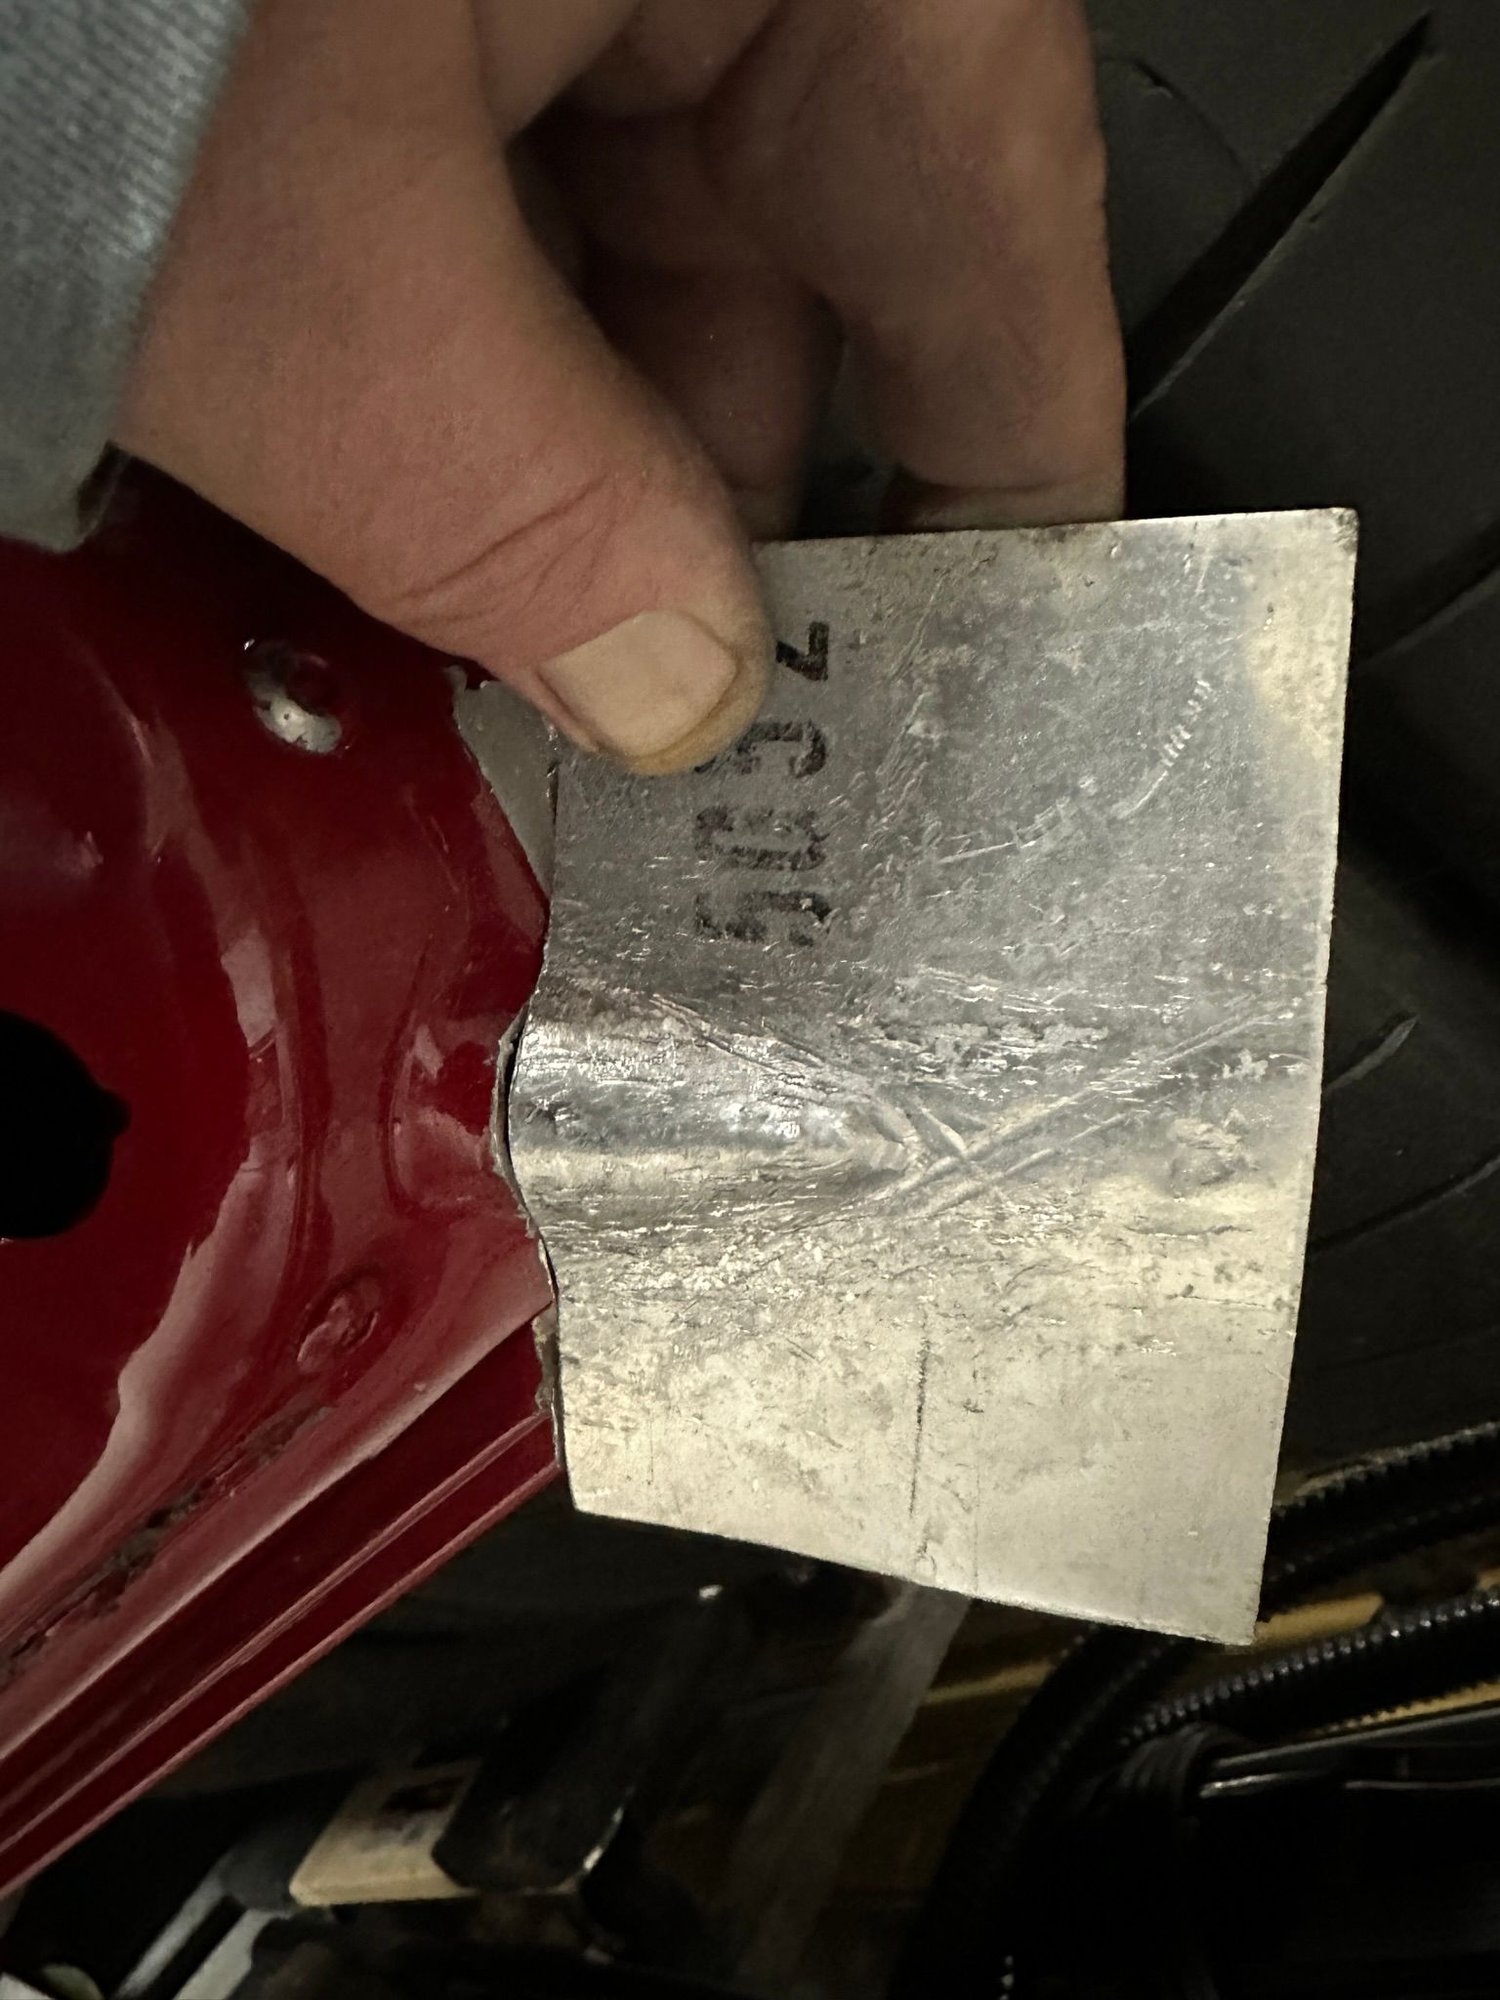
So as usual I am bouncing between projects. Trying to repair a deck lid from a GT4 for my sons car. It has minor damage so trying to make a piece in aluminum and weld it in place it won't be perfect but it's for a track car.
Hard to see what it will be but this is pretty close to the stock corner section missing from the lid.
Cleaned all the sealant so hopefully won't have issues when welding it.
Back to the **** box engine it just keeps getting worse. I will need some time to figure it out and have the Blue Meanie twin turbo engine finally ready to go back into the car. Then the rest of the plumbing.
I found one of the spring retainers on the **** box engine was cracked. I am so lucky it did not let go. It would have made a heck of a mess.
See the crack at 4:30
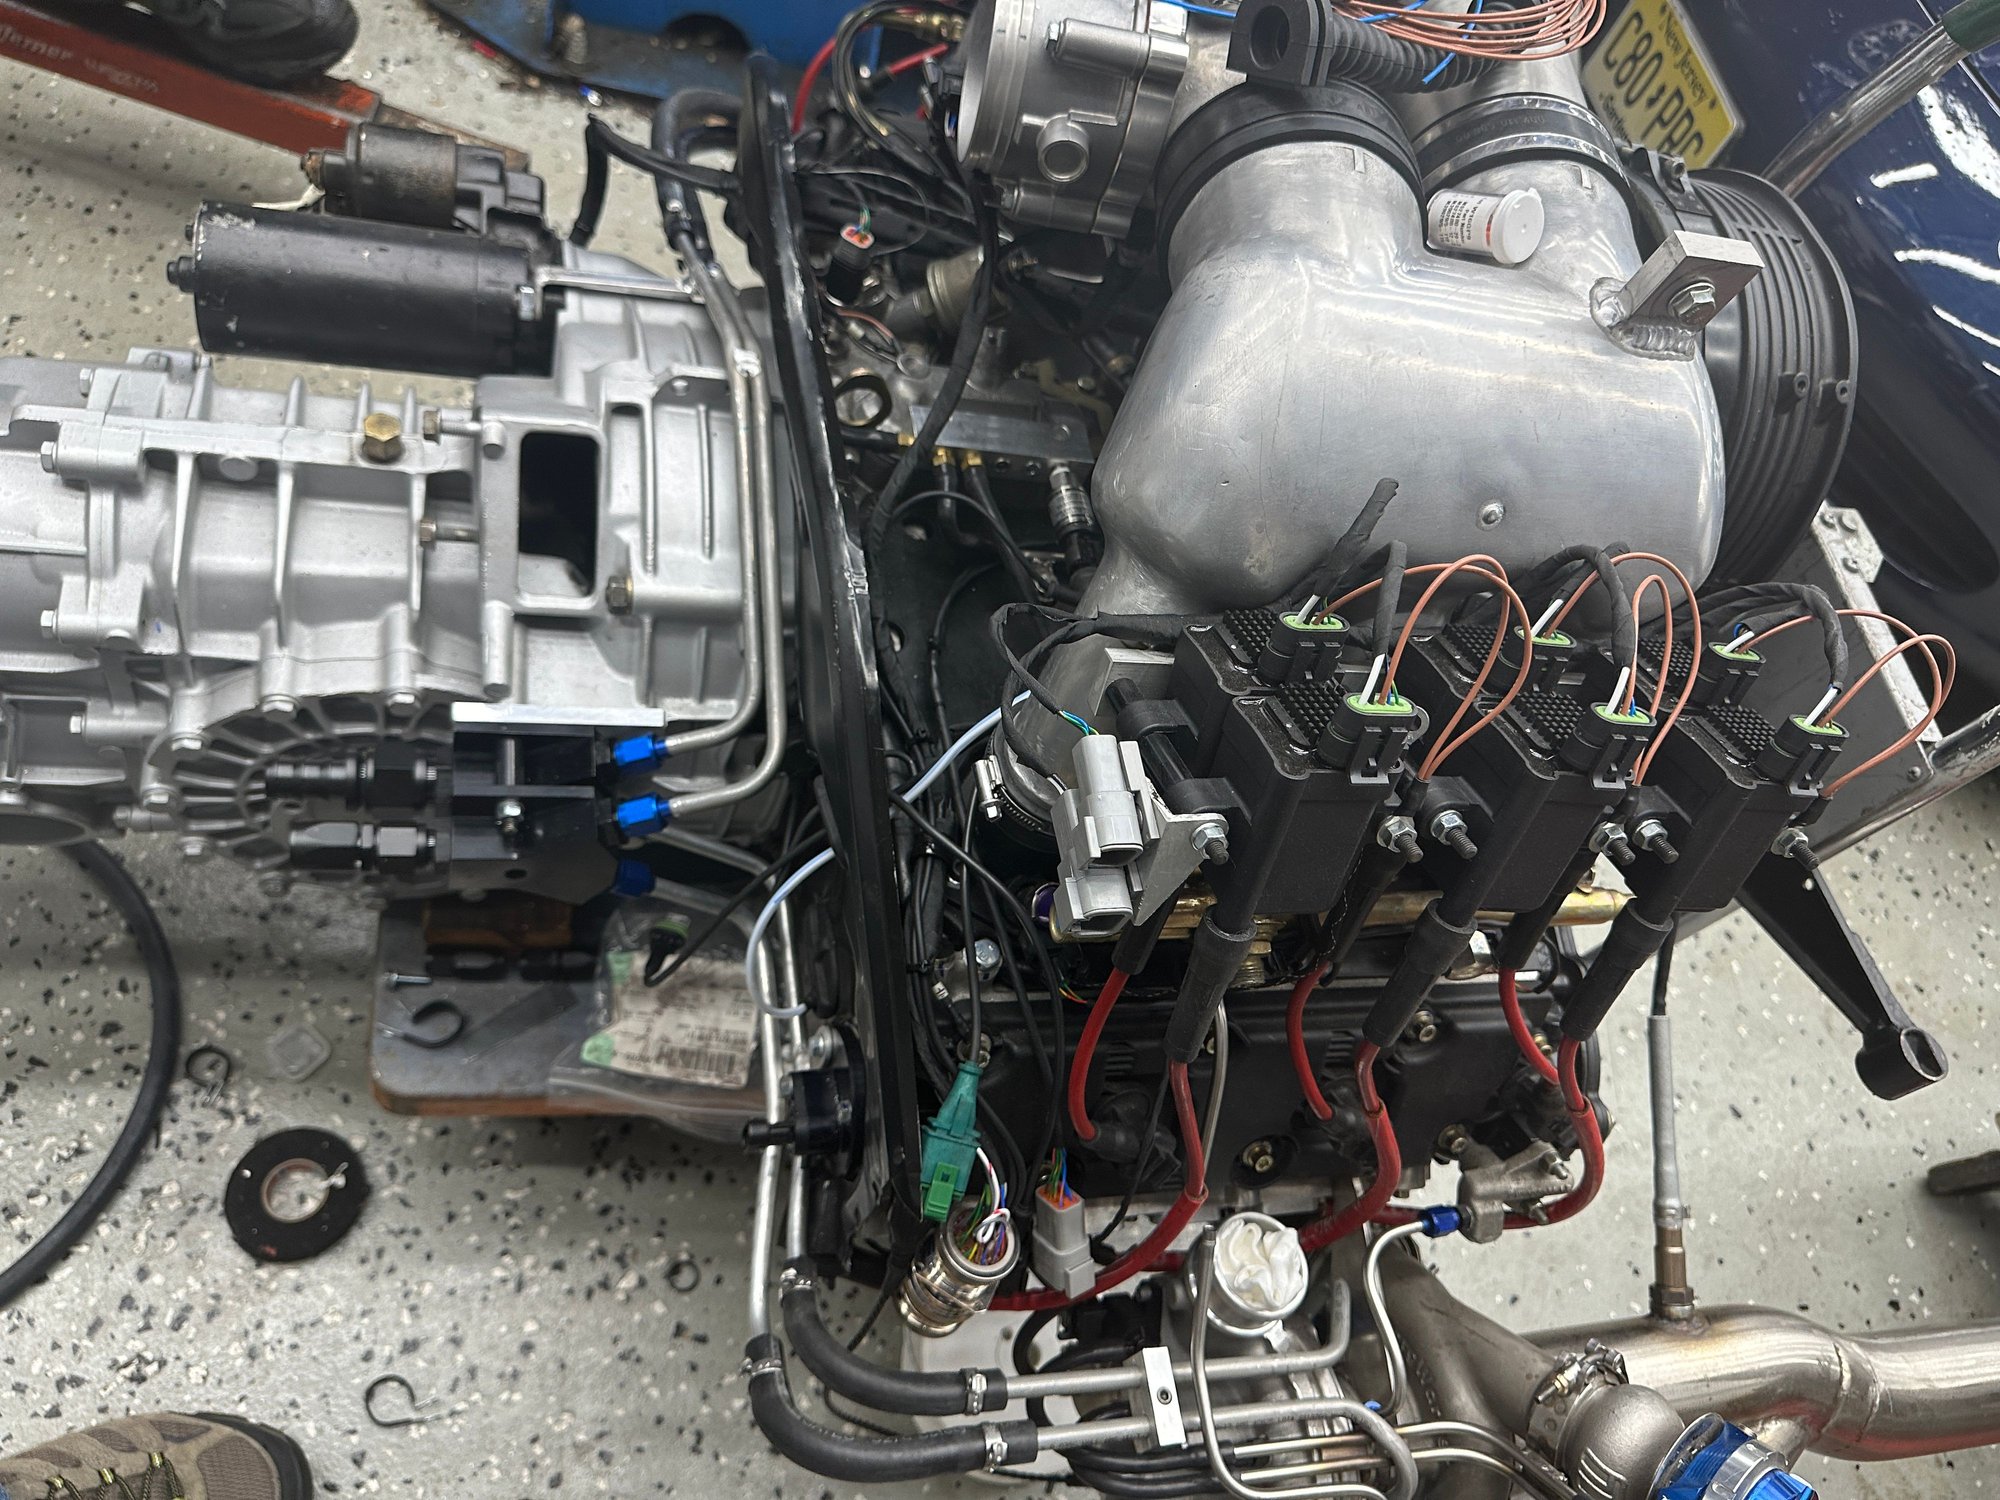
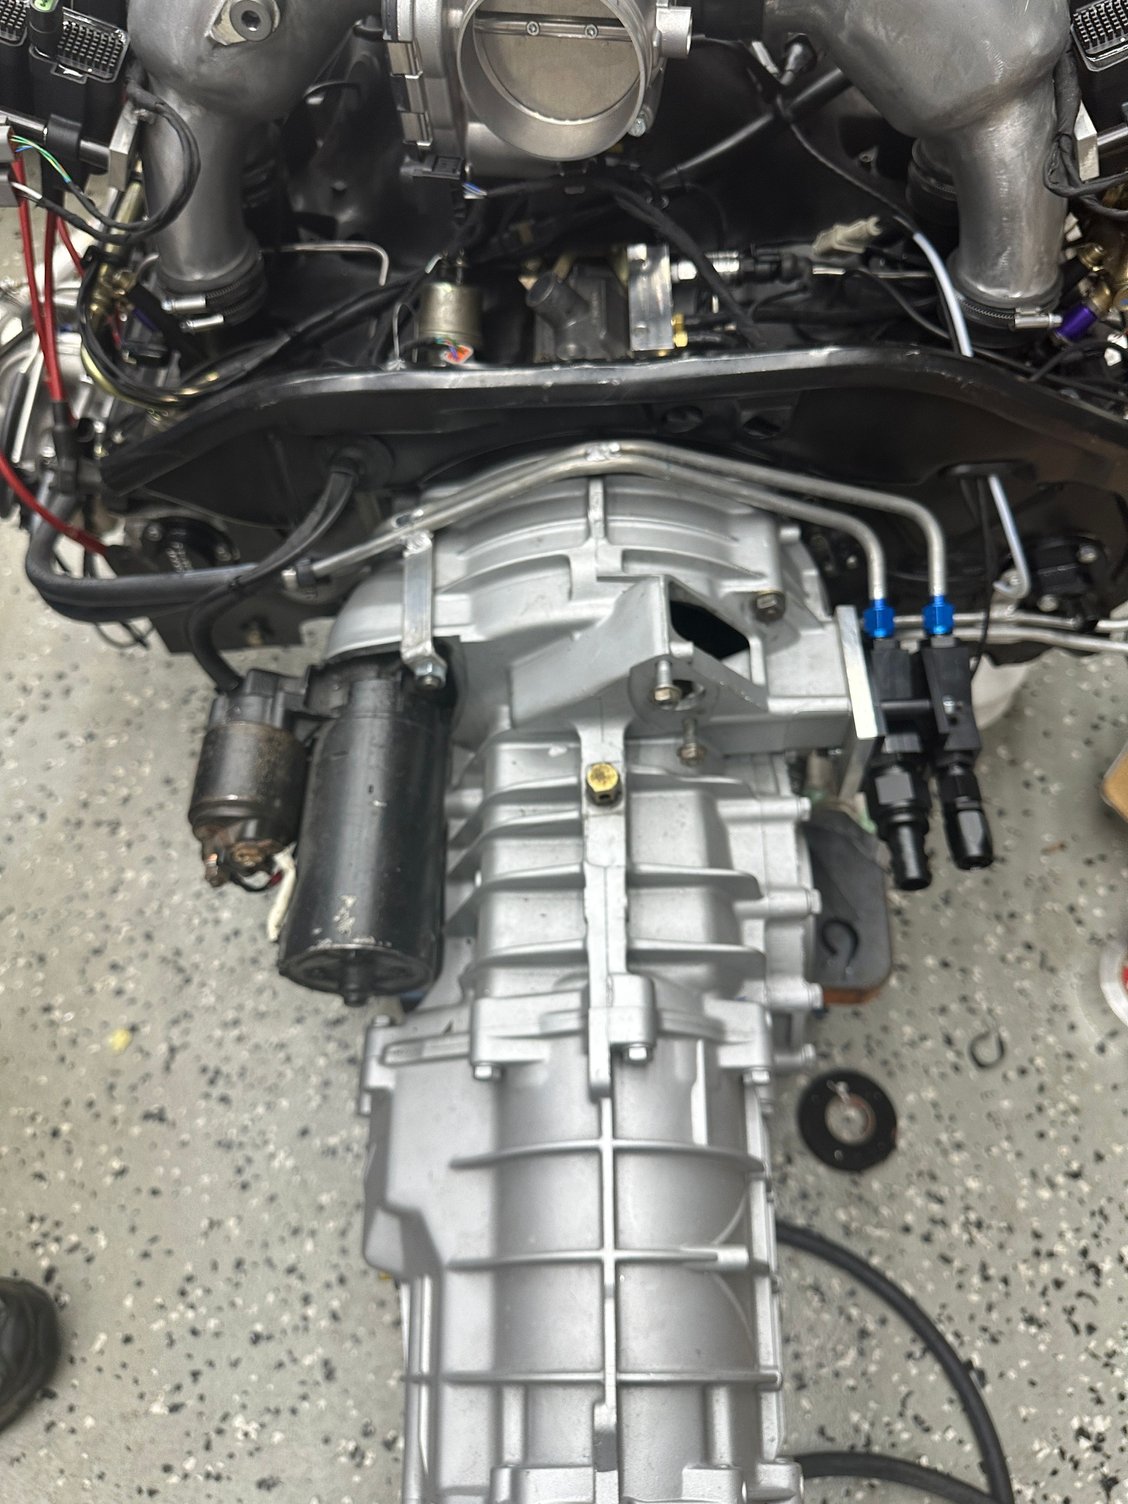
Meanwhile the Blue meanie engine plumbing is done and ready to be installed. I can't believe how long this has taken. There are so many oil and coolant lines that needed to be setup for easy R&I. Everything is quite secure for years of hopeful enjoyment.
I/C will sit on top the intakes and lock everything together. The pressure will be enough to pop them apart otherwise. Coil packs per cylinder. My need to tuck the turbos up high and keep the headers short made it impossible to use coil packs Main coolant lines are mounted over the port for the clutch access. It will be work to separate once dropped but better for R&I. These will connect to hoses to the pump and radiator located behind the secondary oil cooler. I used a 964 tip cooler to cool the turbos.
It seems every time I set a plan in motion something takes up that time. My son had some damage to his daily so he needed the cayman till the backordered part comes in so rush job to get the new plugs and coil packs into his cayman which isn't an overly difficult job just time consuming and it tore my hand up.
That took a day I didn't expect but the car looks mean and runs great now.
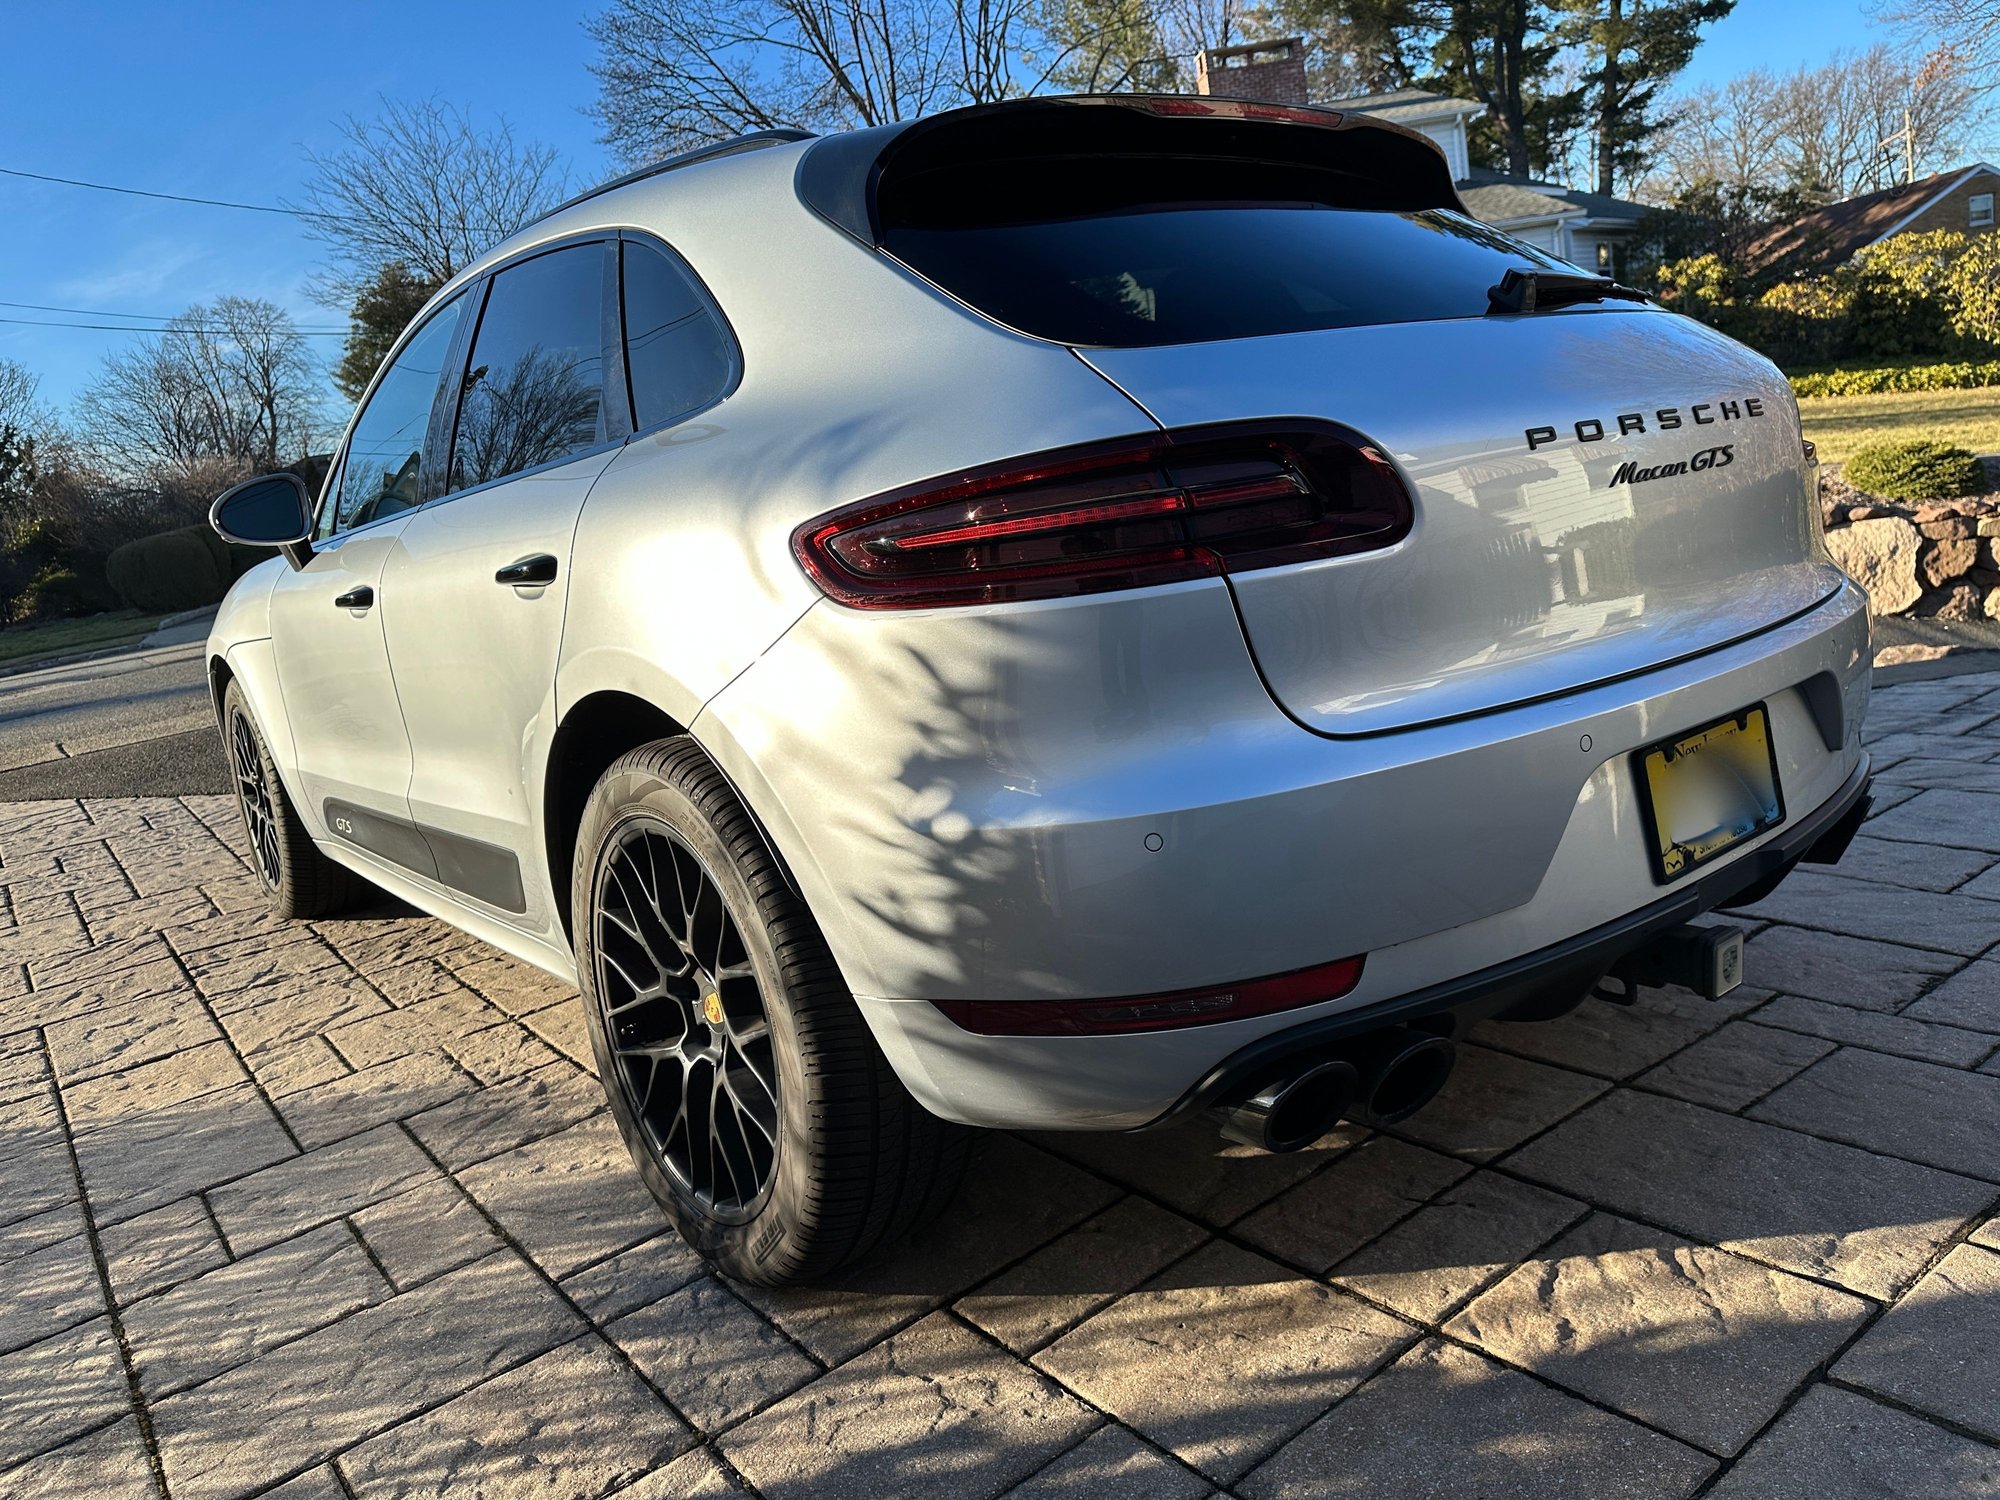
Then the Macan needed some TLC and took another day.
Finally a free moment and obtained the tools to determine the timing but I am at a total loss. I expected it to be advanced but to my surprise it was retarded by nearly 10 degrees. The engine ran relatively fine despite the cracked spring retainer which thankfully did not let go and the lack or compression in one cylinder. I don't suspect any internal damage other than what I have found so far but this week should tell more.
TDC should measure 1.78mm but actually reads 1.01mm or roughly 8-10 degrees retarded. I am not sure what to make of it at this time but will slowly start the rest of the teardown and see what I can figure out.
I thought I had a clearer pic of the lobe at TDC but the reflection is hard to read. Tried several pistons to verify. I didn't want to trust cylinder #1 since that is where the damage was most obvious. Same no matter what.
Top of the piston measured using Stomski tools vs lob position
Here is what setting the cam to the top of the lobe looks like in relationship to the crank or piston location in the rotation. This has me scratching my head.
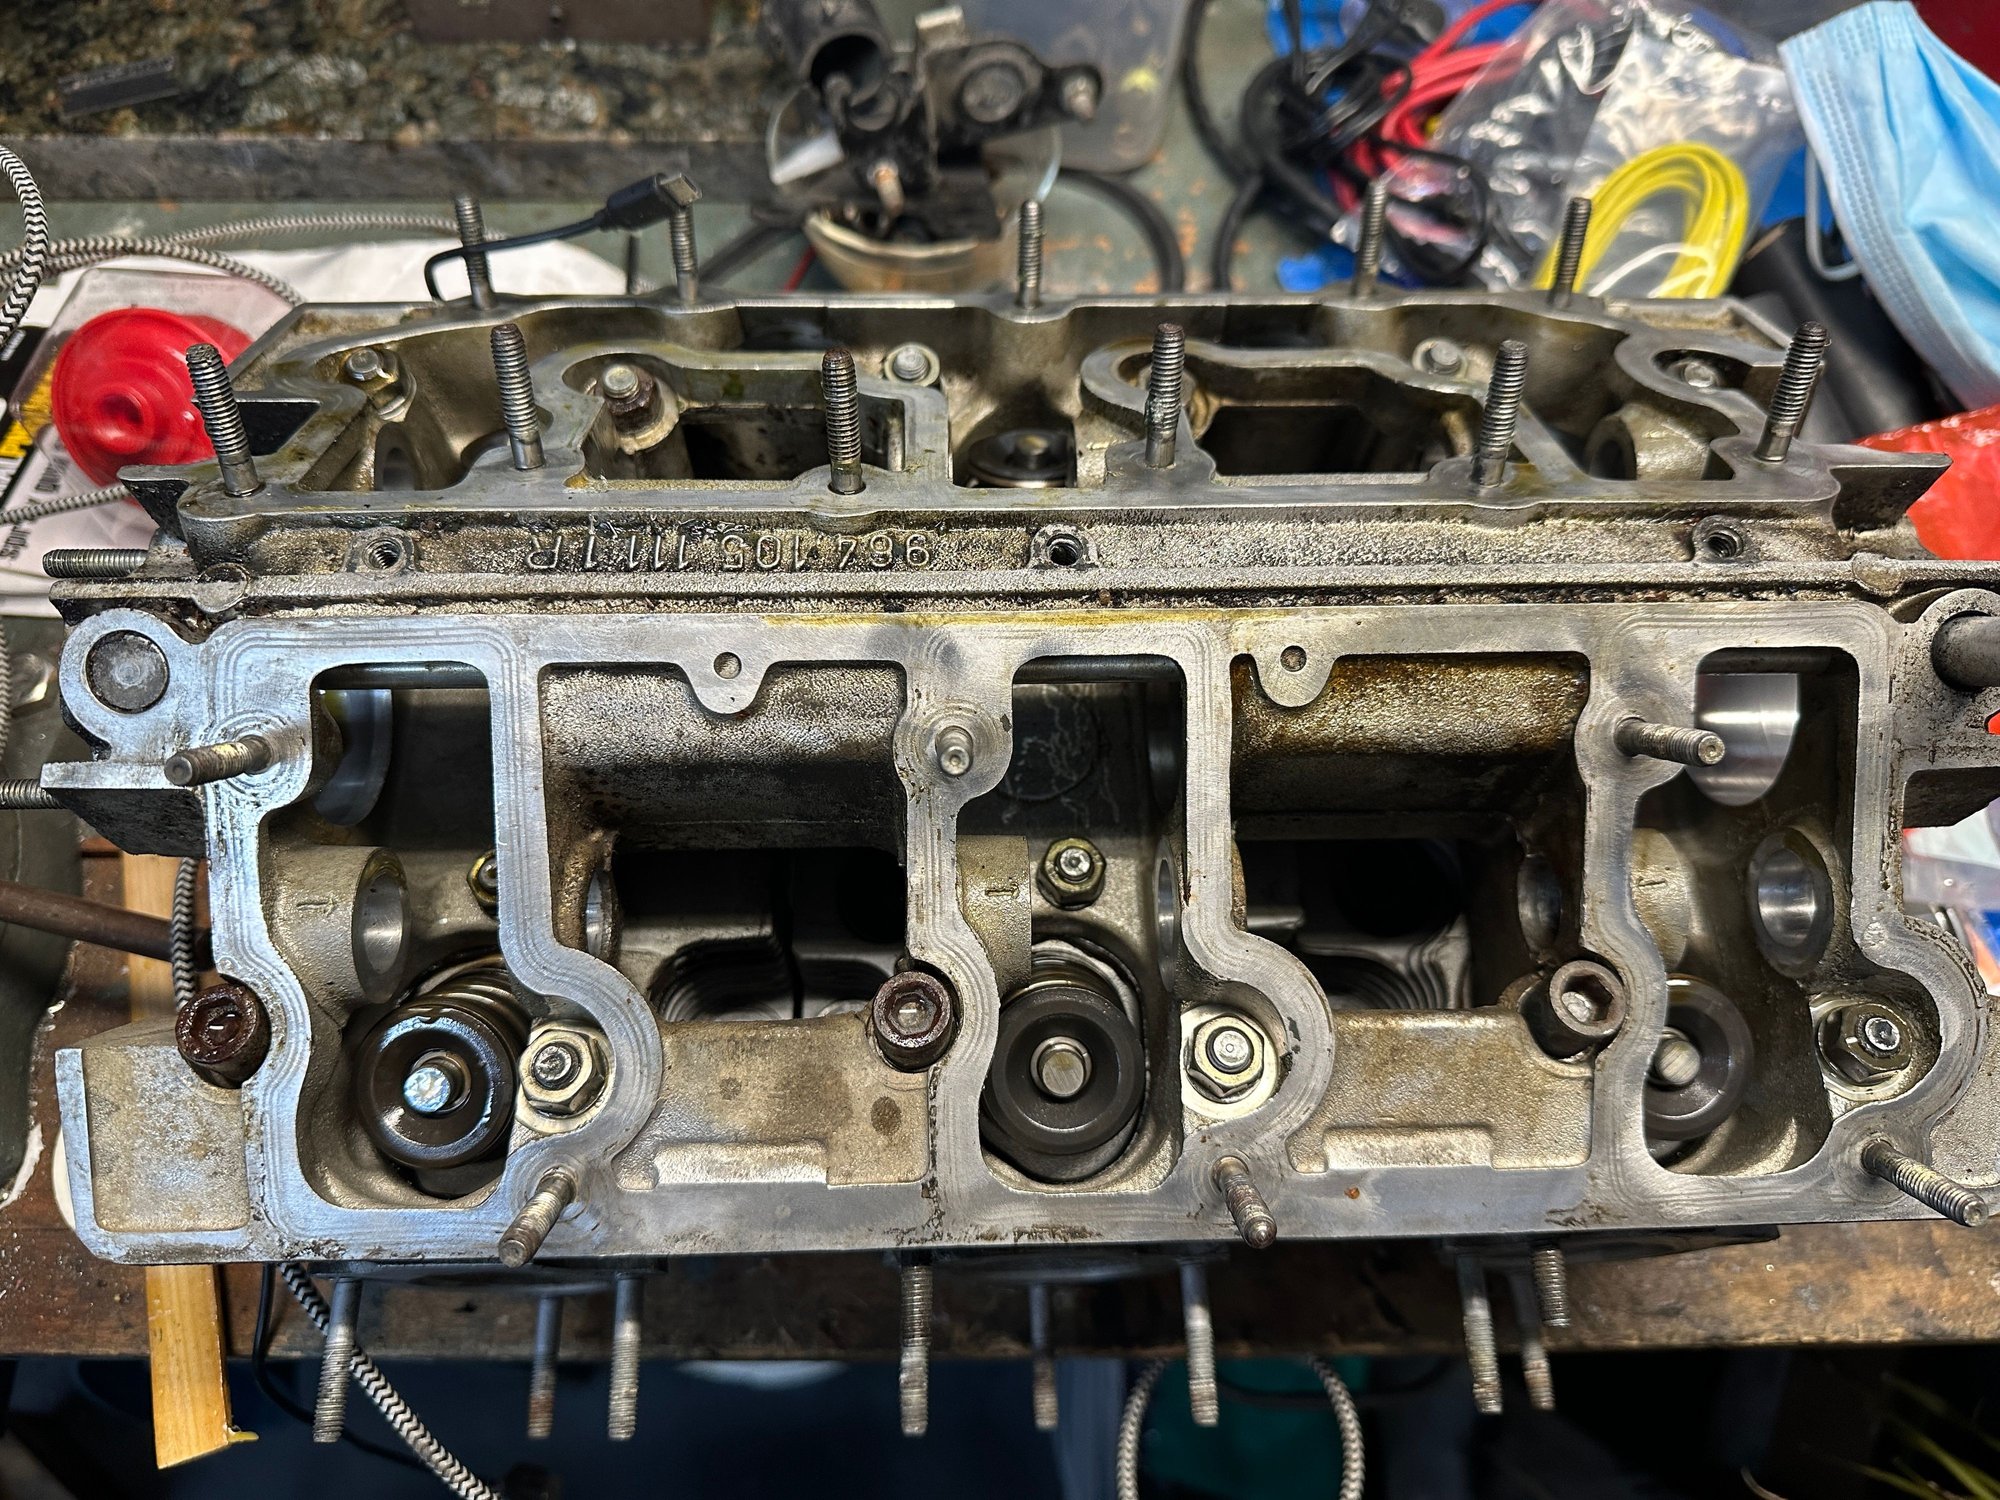
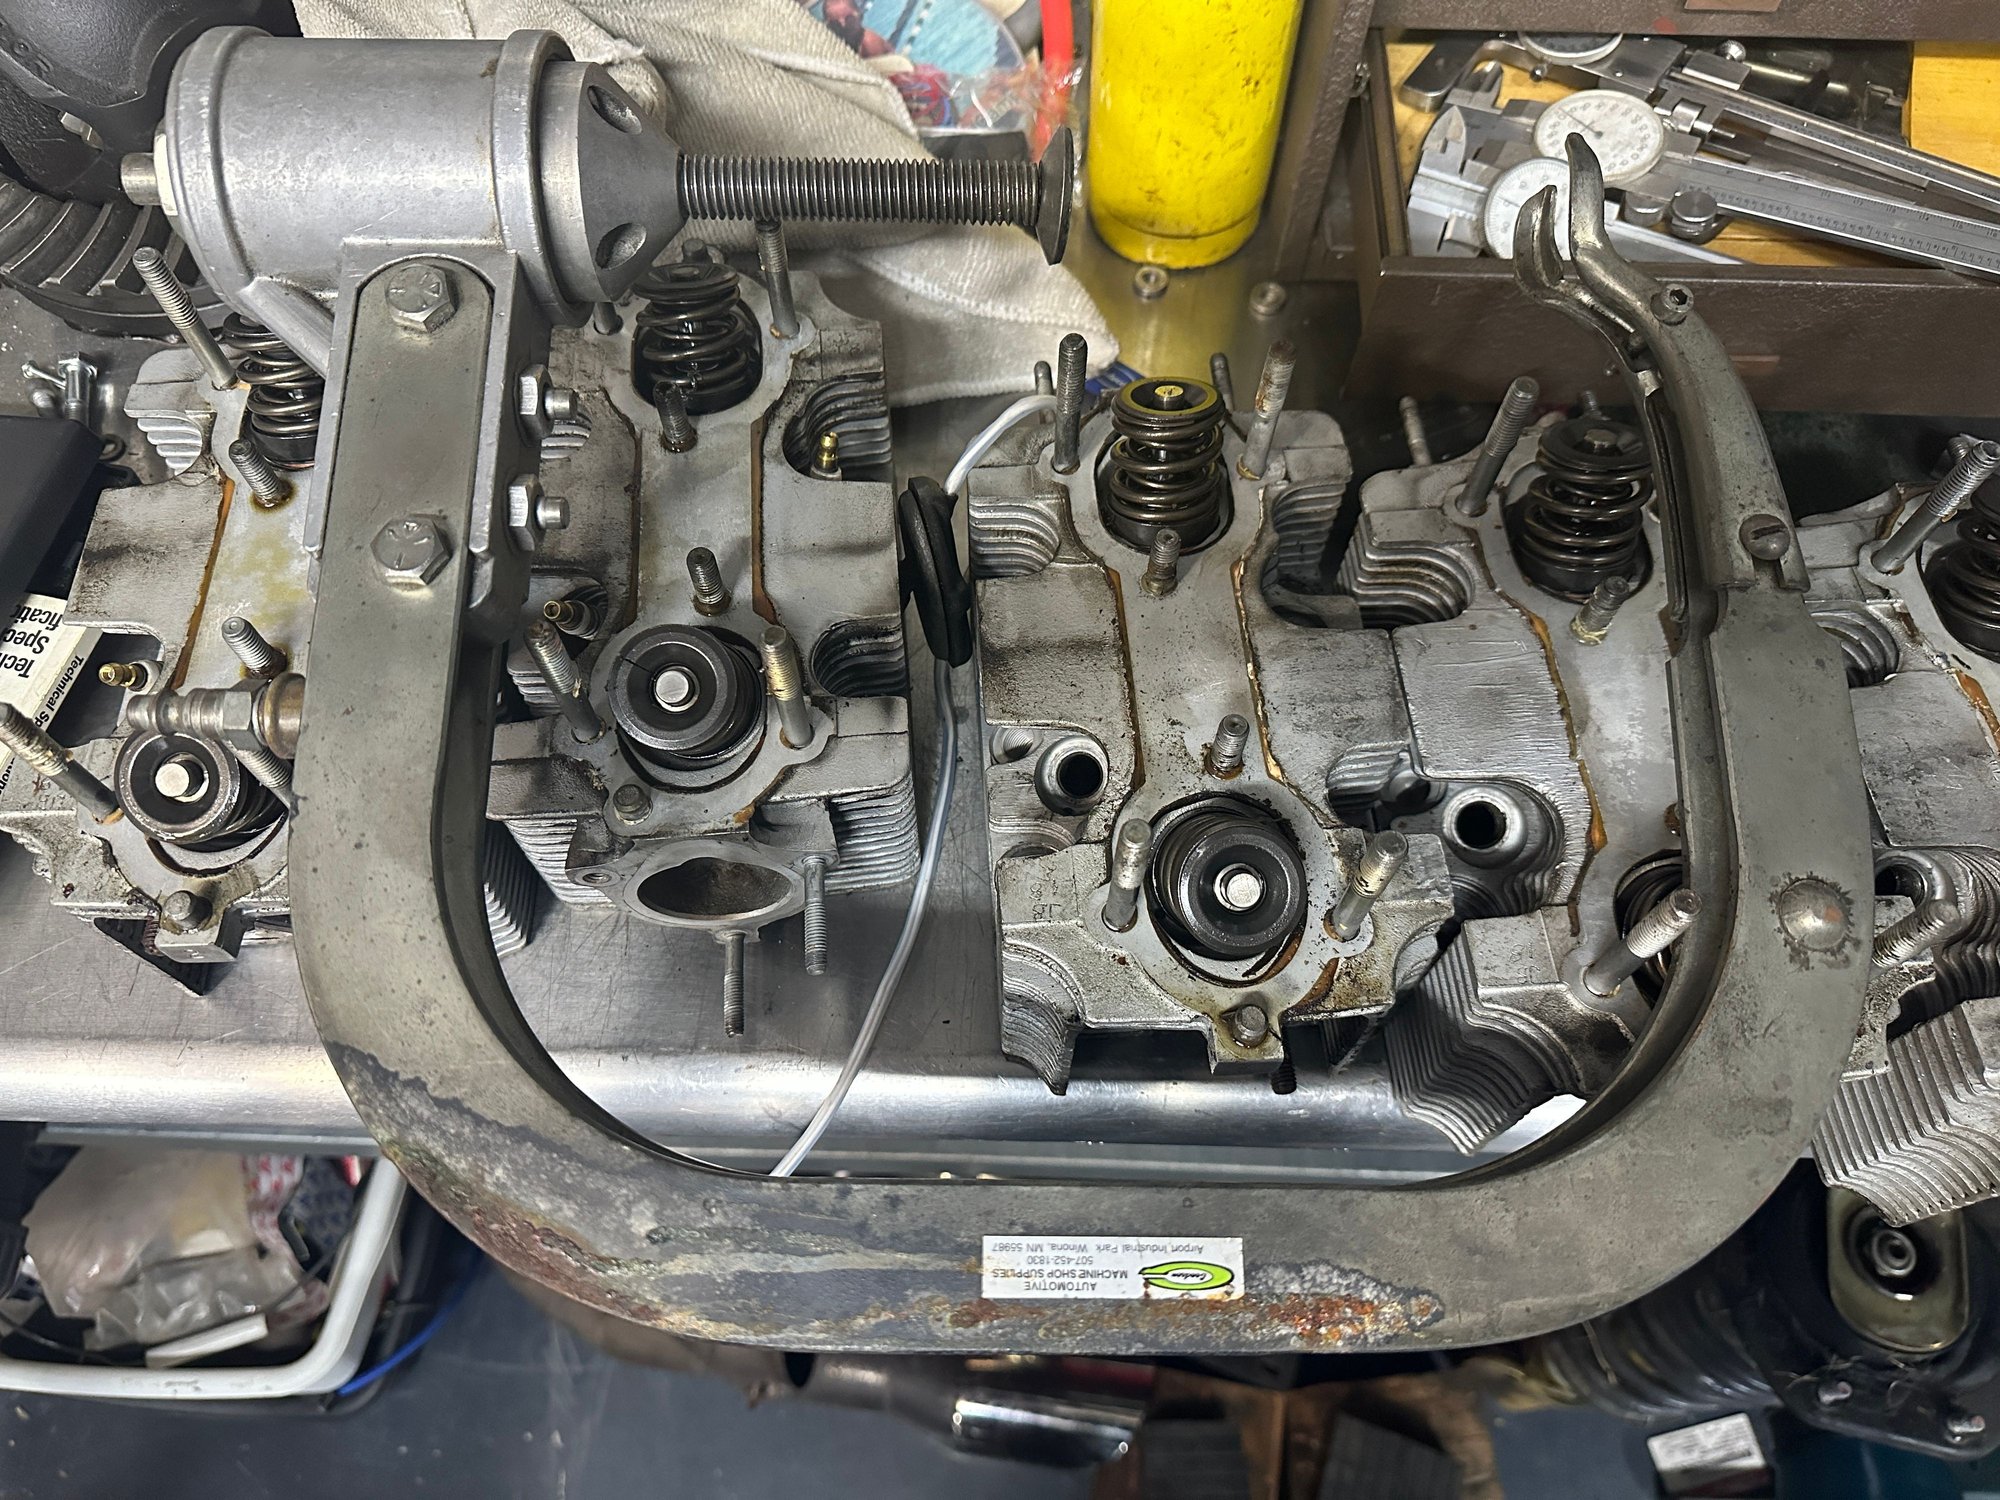
I need to focus on one project but keep getting side tracked with others. I finally pulled the heads. I decided for now to pull the entire side as one unit. I also am missing my spring compressor so I want to pull the valve springs and valves. I will borrow one today hopefully or buy another. When I spoke with Dan at Hairy Dog who built this engine he mentioned using RTV but I know after some of his comments he was BSing me in a fun way. The work done to this engine considering what I paid for the car just solidified that this was the best 964 purchase in the past 4 years I'm aware of. IMO the engine and trans were worth more than the buy in. But now it is time to fix the carnage.
One of those situations where I don't know if I should be happy or sad. The damage is so minimal but how far do I go. I can easily start the slide down that slope we all fall for but I can always pull this apart at any time and start over. I am not sure if the Blue Meanie project will be ready for track season. I am thinking just get this up and running so if I need something to track I won't miss any more seat time. This will be my backup. It is slow but so much fun to drive at speed.
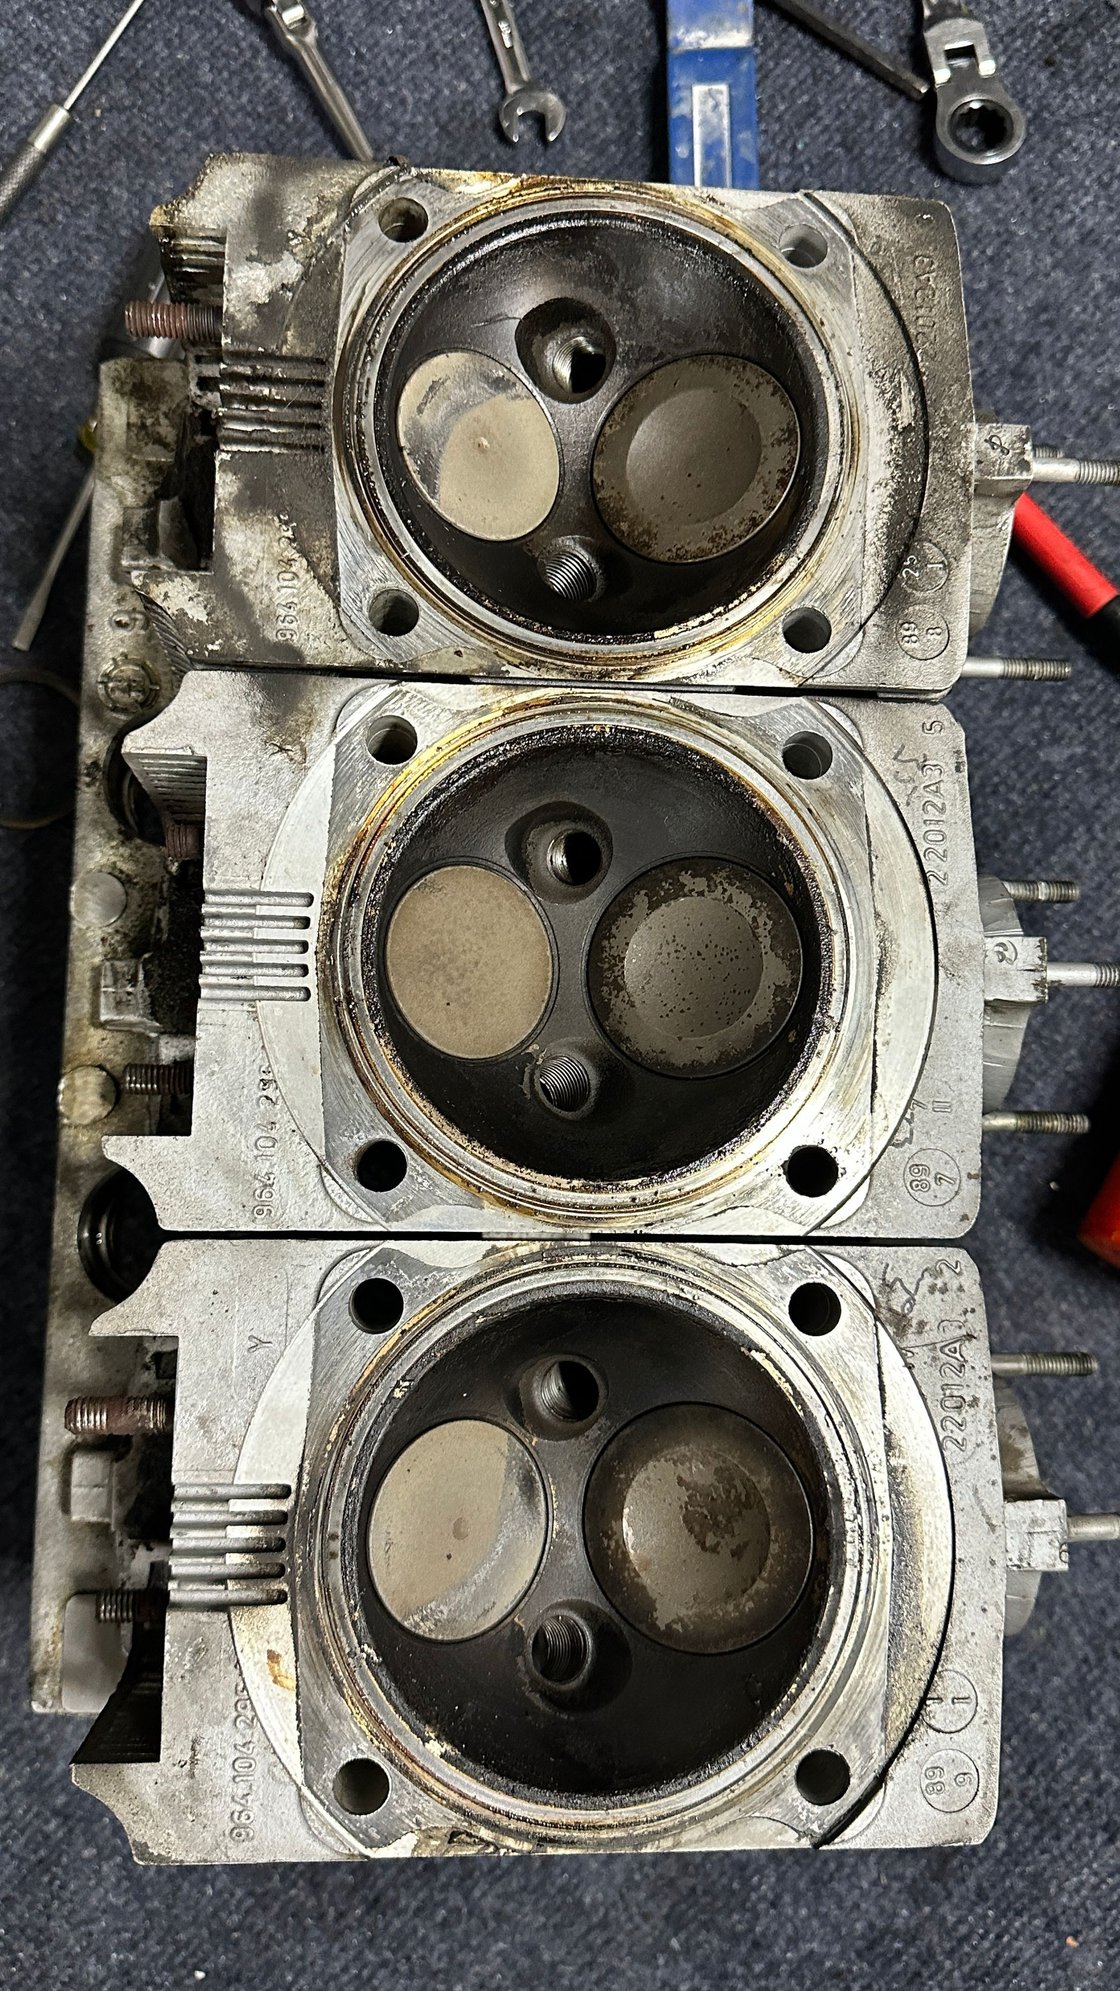
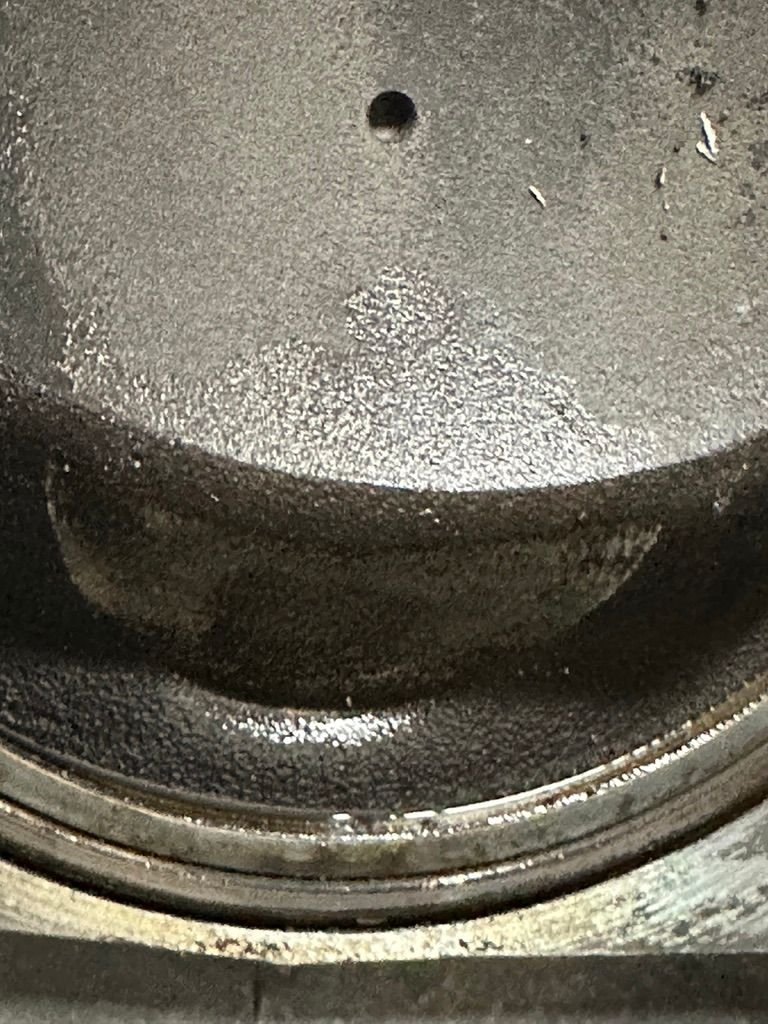
As you can see the exhaust valves all contacted the pistons slightly. #1 is where all the carnage happened. The valve is clearly bent but only cyl 1 is leaking. The valve spring retainers are Ti after all and clearly no expense was spared when building this. It would appear but I need to measure that they decked the heads by as much as 0.080" increasing the compression. It is an early 90 engine so they machined the cylinders for crush rings and increased compression, retarding the timing for more power up top. Very interesting work. They even used the fully threaded 993/996 cup car/turbo style head studs. Without all this work the engine would have been complete toast at the 8k+ it hit. I also found the chain rails looked like new as they have no signs of wear. So although this engine was driven hard it wasn't abused like many street engines I see.
So as I slowly work through this I am thinking new exhaust valves, new Ti spring retainers (one was cracked so not risking reusing them) Inspect and replace the rockers as needed and be done with it for now. Although I am not finished tearing it down i still need to finish that before I can be sure. The decked heads made this an interference engine and the uprated springs weren't enough to keep the valves from impacting the pistons.
You can see the slight impact of cylinder #1 but no significant damage. The broken rocker had an oxide in it which I believe was the point of failure.
Cam appears to be fine. Needs cleaning.
Hopefully this won't be a full rebuild and so far so good.
So, assuming skimming the heads caused the problem, what will you do to re-gain clearance?
All 911 engines are all "interference" engines so the head milling here is irrelevant to the damage. There would have been contact if the engine was bone-stock.
I agree these are all interference engines but the removal of what now appears to be possibly as much as 0.150" from both cylinder and heads guaranteed the valves would tap the pistons when the engine exceeded the RPM range of the uprated valve springs. I have to assume the engine hit 8k or more as the video shows the tach going all the way around to the stop albeit only momentarily. I have to assume the valves floated and hence the impact. It is now clear all 6 exhaust valves came into contact with the pistons. Three of which had some damage but only the one with major damage. This easily could have broken a valve and the spring retainers which I thought were Ti appear to be either stainless or a hardened steel unlike the sintered stock units which would have all failed from this.
My reason for not just tearing this down is nothing adds up and is normal. A lot of time was taken to mark each cylinder and part so future rebuilds would not be a problem. It appears each cylinder and head are machined a little differently so if I mix and match I am not sure how the engine will work. Clearly this has been appart more recently but it would appear someone mixed some of the pieces.
What is wrong here? the cylinders are marked and the flywheel is to the right. Yet he engine ran fine before the mishap.
I am being careful to not mix anything so everything is being stored together. Although every rocker arm and part has been impression stamped with its location.
Heads 4-6 all took a hit but nothing too serious. I am not going to disassemble these from the cam tower yet. I plan to visit my machinist this week and see what he suggests. He has the tools to measure the valve guides and hardness of the valves to see if and what is reusable. I suspect this will end up having new valve guides if not just for the exhaust but I might just do the intakes at the same time. The cost is nominal compared to the time spent breaking everything down. .
very hard to red but shows the M for Mahle but the markings below don't appear to make sense. looks like 86.97 but I have to assume the number is 99.97 which would be a 0 piston but I see no marking on the left I can read. I vaugly am seeing a 5 or 8 but that wouldn't be correct as they were only marked in dia sizes from 0-3. You can see where the early cylinders were machined down and crush rings installed. There are also 2 steps at the 4 corners that supported the earlier heads.
There is some oil blow by on a few of the cylinders so I will probably pull those as well and have them checked fro roundness and if needed honed or possibly sent out for new nikasil plating and honing.
So no matter how hard I resist spending money on this engine it looks like my need to do things properly will be costing me. All hardware is being cleaned for new yellow cad plating as we speak.
Ever so slight tap to the piston but enough.
All very frustrating. I suspect I could have had a number of good years out of this engine without any major expense but my son learned a good lesson that he will not be happy with when I send him the bill for the parts.
So after some deliberation and many distractions I decided to pull the cam towers. All in all everything looks fine. The heads are all good except Cyl #1 which has some minor loss of ceramic around the exhaust gide. I might use some refractory cement i have to fill it but it is so minor others I spoke with feel it isn't necessary.
So clearly the engine had some work done not long ago. The valve guide stem play is well within the factory tolerance of .10mm with practically no slop at all. The exhaust valve cyl #1 is bent a bit worse that I expected and I suspect some others to be damaged as well. A slight binding when the valve is full seated but not sure if it warrants replacement yet. Both Machinist's I know are booked through May. One will do some quick valve guide replacement so long as it isn't too involved. So far I am very tempted to replace the exhaust valves and retainers and call it a day. Still mulling it over.
The objective of this car is to spend as little as possible so far I have $35k all in and it is one of the best 964's mechanically I have ever had the pleasure of driving. Interestingly speaking with some 20 something's I know they seem to recognize the car by the bandaids and seem to love it. I could easily fall down that rabbit hole but I am trying to resist. This could cost <$1k or >$3k depending on how I approach it. I also found the valve guide seals are like new but will be replacing them I have 2-3 dozen in stock.
I did find it interesting that they used non Porsche spacers for the valve springs in the amount of 3 each 0.05" each. This confirms the assumption of 0.150 removed from both head and cylinder.
BTw the best valve spring compressing tool I have ever used. Thanks to my friend Tony Henderson for lending it to me.👍
Hard to see the bend but it is there. When you put it in a drill and spin it it is truly apparent.
I blued the intake seat and valve and spun it in place. I don't even see any need to cut the seats on the intake side I will see what the new valves are like in the exhaust. The good cylinders were at max of 5% leak down. But since all valves hit the pistons they will be repalced.
dangerous but makes life so simple and easy. Very little air need to compress the spring and a magnet to remove the keepers. makes quick work of it.
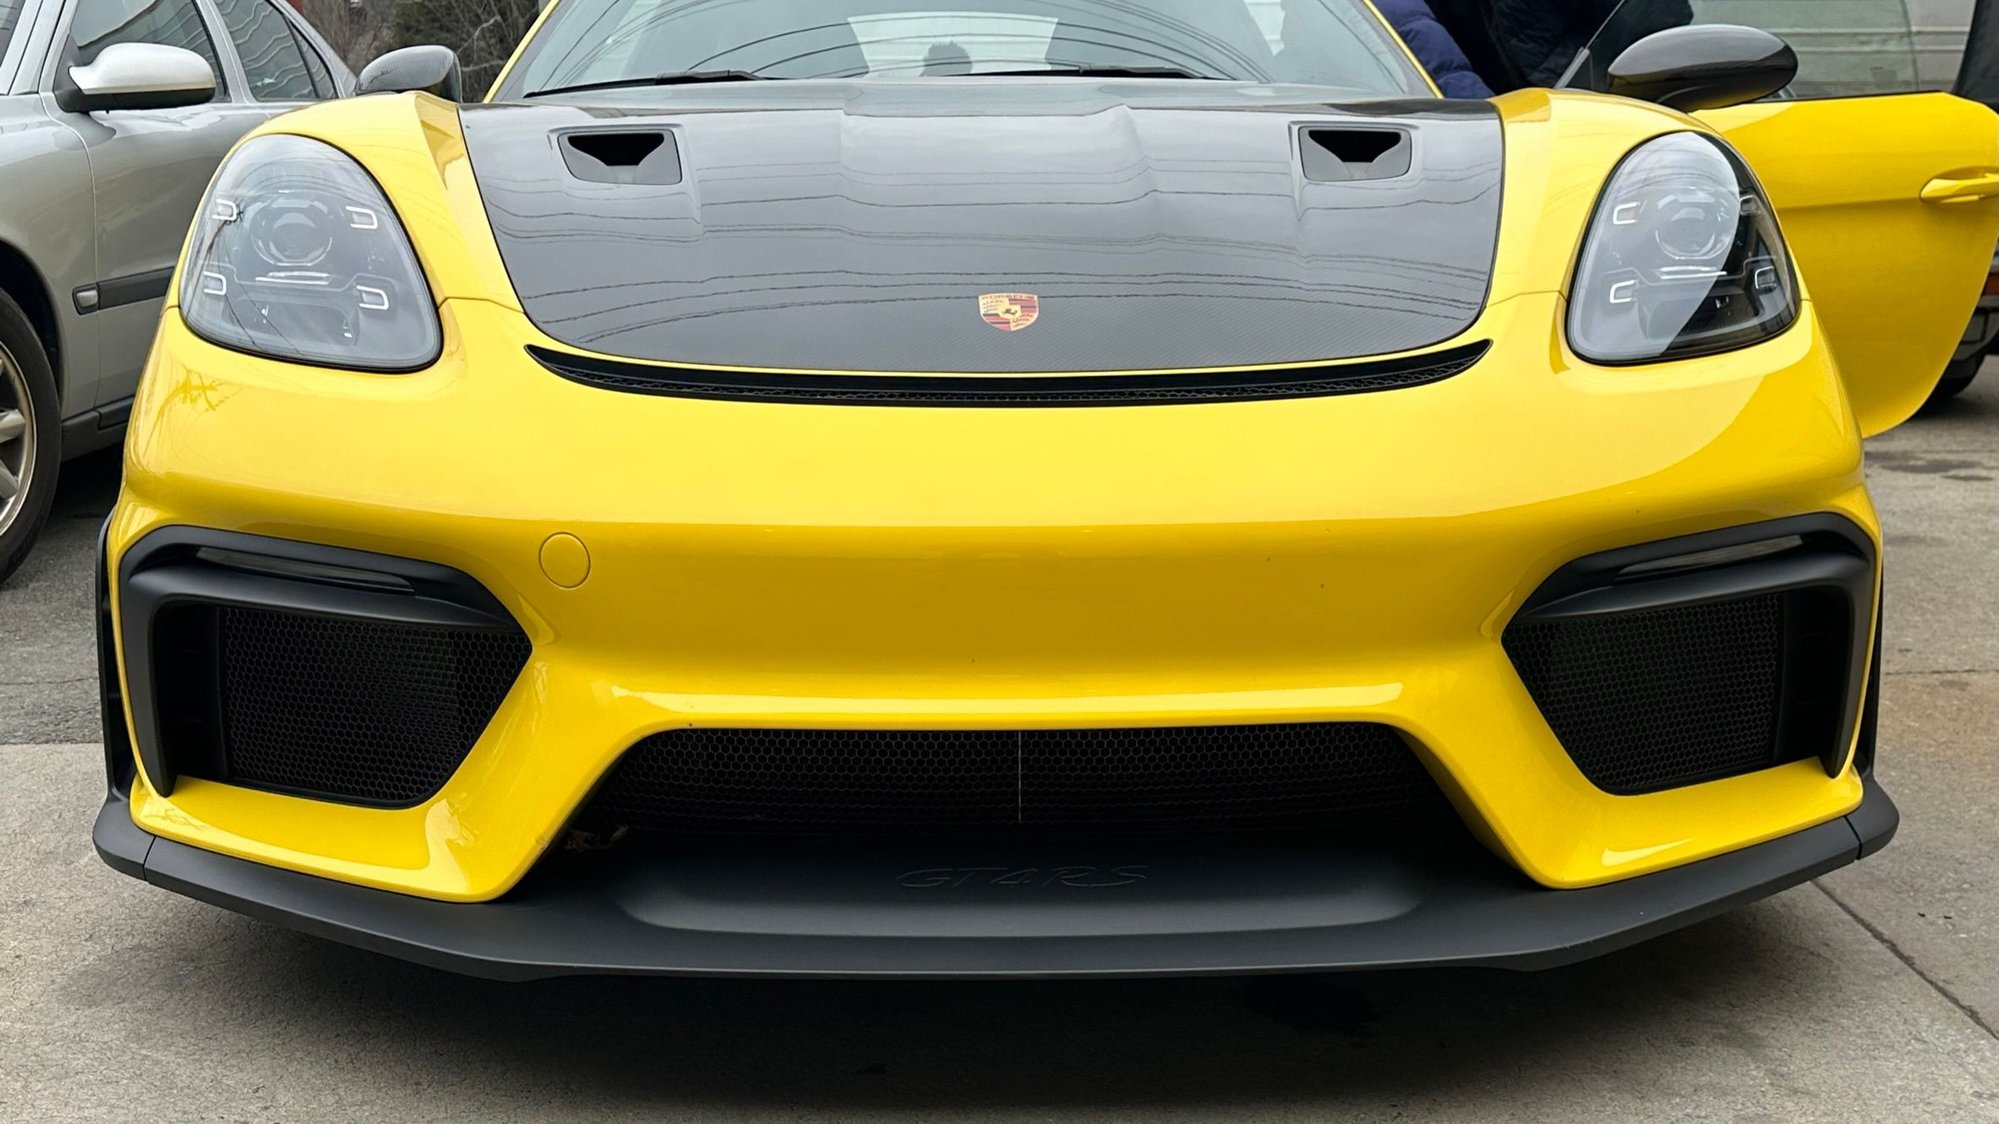
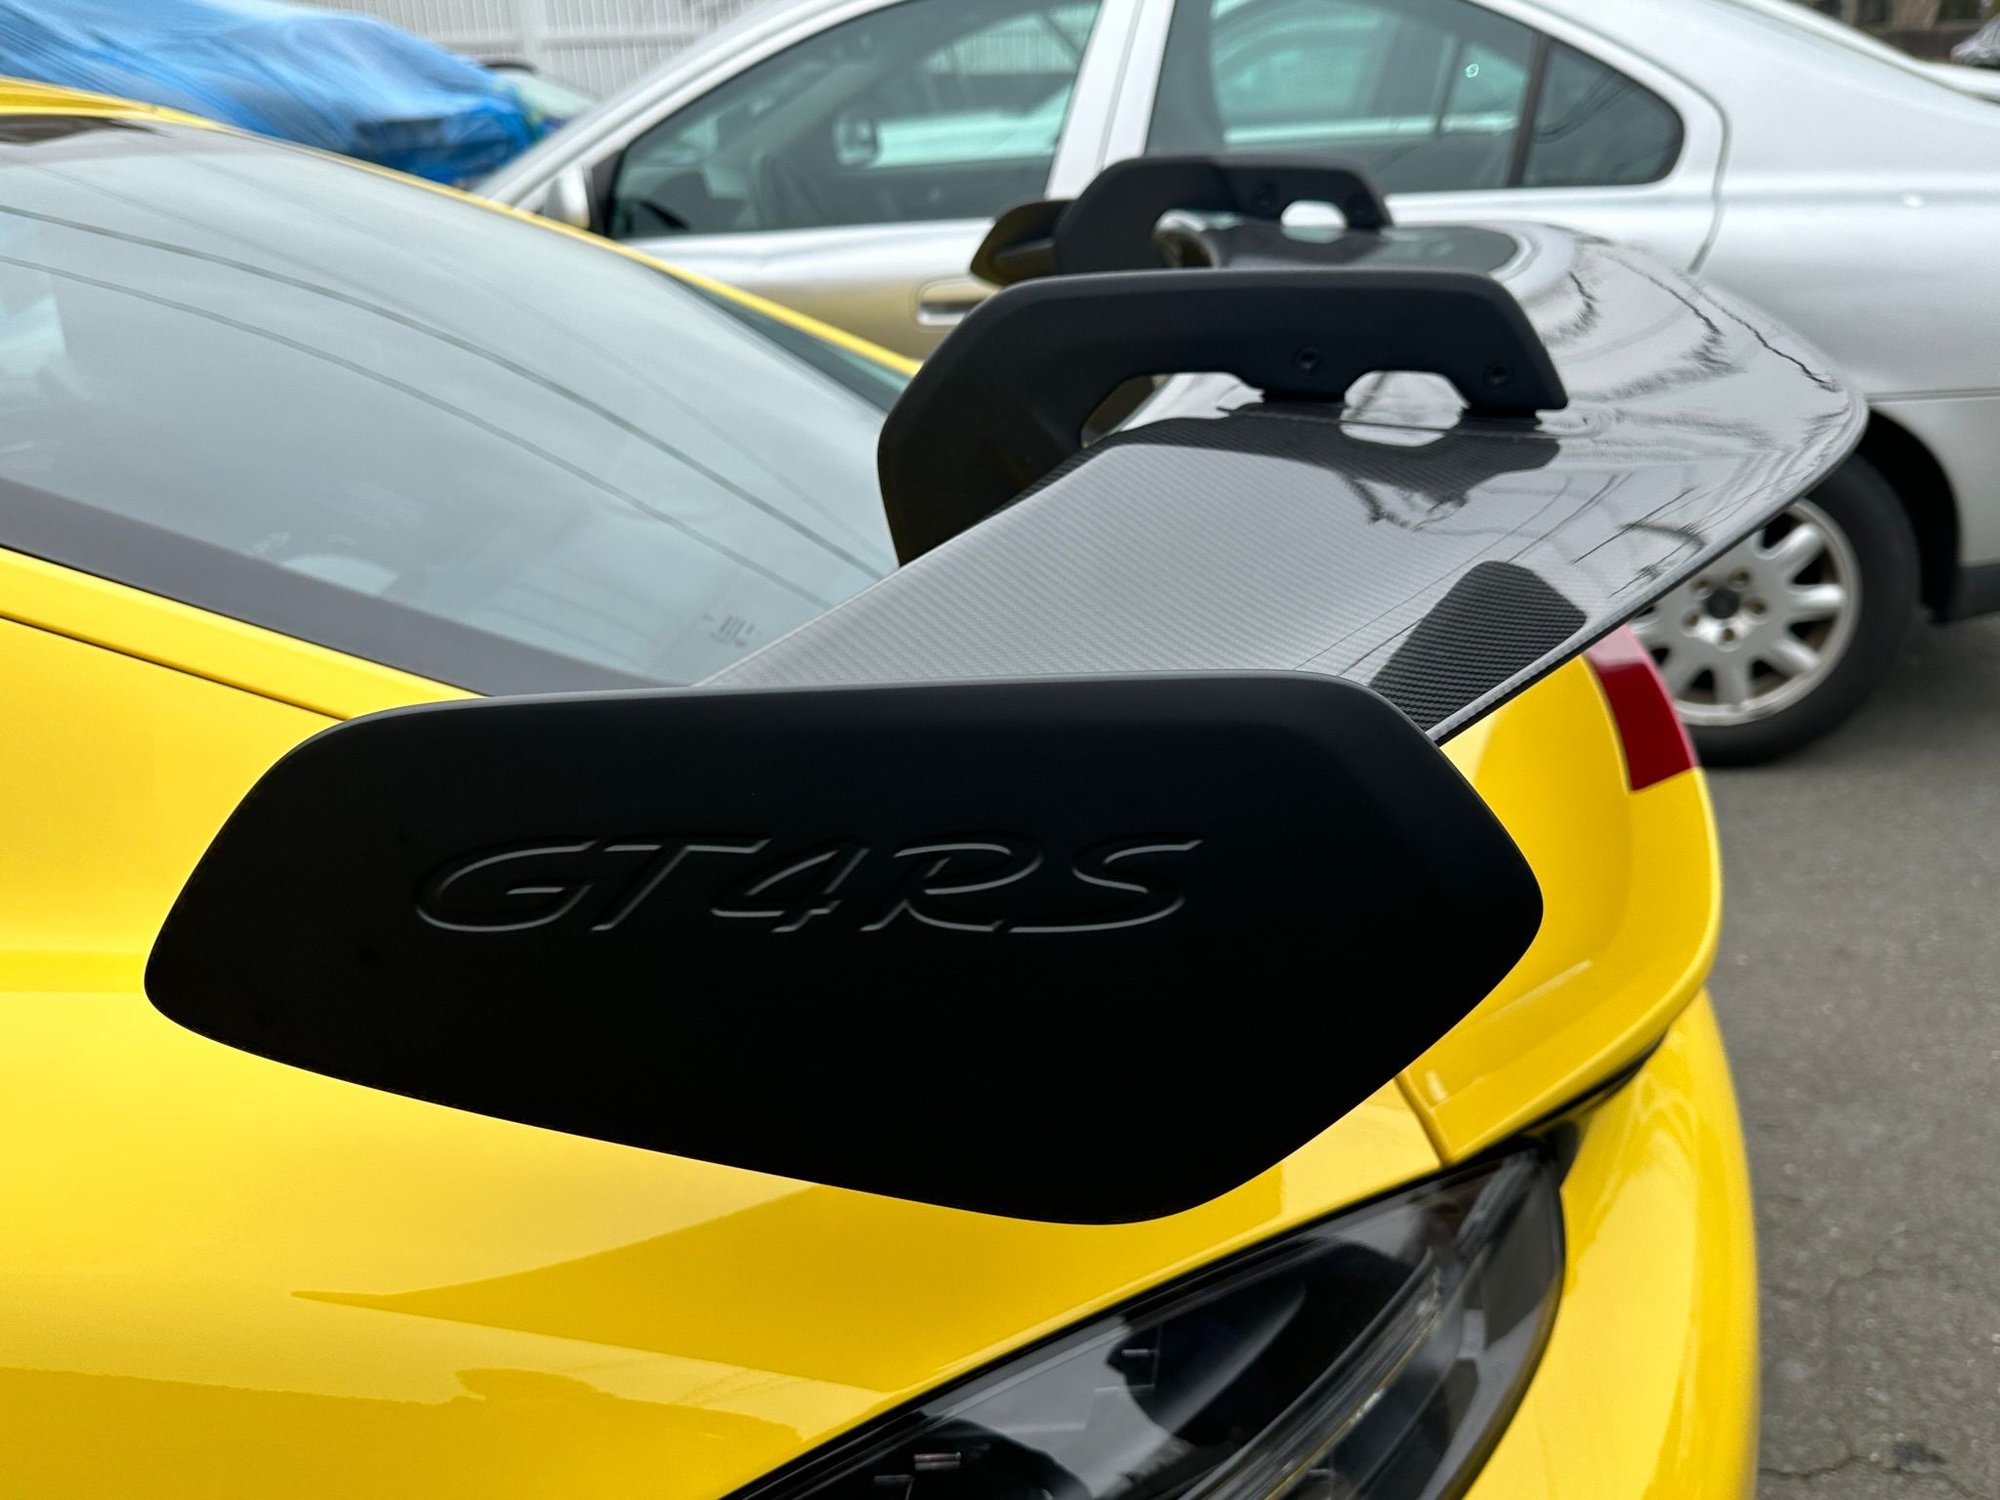
I forgot to share these. My friend showed up at RSR while there yesterday with his new toy. Trying to rack up the miles so he can drive it above 4k rpms.
So who am I kidding. Apparently this engine has been gone through and rebuilt in pieces multiple times. Some of the exhaust valves have almost no play and some are beyond the limit at .005". The intakes are all OK. So I am going to replace all the exhaust guides and valves. I might even consider replacing the intake valve guides. At over $200 ea if I don't need to replace the intake valves I am not going to. The issue is if the scope of the machine work becomes too great I will be waiting until May to have the work done. If I can keep it down I can have the work done in a few weeks. It is harder to get an appointment with the machinist than it is my Primary physician which I have to make appointments with 4-6 months out just to see. I am also a bit confused by the spacers. I am assuming the springs must be stock so they increased the pressure and limited the throw this way. I am ordering new springs and retainers from Aasco.
So I pulled all the valves and inspected everything I will use some lapping compound and play with the intake valves and see what I get.
Meanwhile I started to polish the intake ports. I hate parting lines. My castings would never leave my shop with parting lines like they allow. ALthough that was a result of the specs set forth by customers and the DoD. So I started to clean things up. I figured it can't hurt.


 12-27-2022, 10:22 AM