When you click on links to various merchants on this site and make a purchase, this can result in this site earning a commission. Affiliate programs and affiliations include, but are not limited to, the eBay Partner Network.
Yes, i�m doing it with a loft, but the loft needs a path or guideline to follow in order to keep the shape. The first drawing the guide is all in one plane but it turns out that that won�t fit. So I need a guideline that the spine in 3-D to serve as a path for the loft.lots to learn�
Ah - you're well ahead of me; Only just skilled enough to loft along a 2-D line.
I have managed to create a new insulator for the horns connection, a few drill guides and a replacement for the bit in a 996 indicator stalk that keeps breaking. All collections of primitive 3-D solids, and not a loft in sight. It's good fun though and very rewarding.
19051252[/url]]Yes, i�m doing it with a loft, but the loft needs a path or guideline to follow in order to keep the shape. The first drawing the guide is all in one plane but it turns out that that won�t fit. So I need a guideline that the spine in 3-D to serve as a path for the loft.lots to learn�
Pete it�s always a lot of trial and error. Good if you have a Big enough 3D printer and the model fits as one piece.
BTW did you mount the timing chain covers already? These were also prototyped this way (-:
Thanks Konrad- unfortunately I have found no good way to print the intake with the equipment that I have. The best way would be to print the intake vertically as that would require almost no internal supports. The filament manufacturer (addnorth) suggested this approach. However my printer does not have the capacity to do it. I'm still struggling to get the geometry right as well and for the moment have set this aside due to time constraints.
I've not mounted the covers yet! But will hopefully get the engine together this winter.
For bigger parts, for prototyping, I �cut� them into smaller pieces and then glue them together. Maybe that�s an idea. For final product you can just print it somewhere for some yens or dolars. No need to buy a big printer for few prints only.
The plastic inside your fog lights is quite brittle and I broke the mounting arm that allows aiming of the light.
This part will allow a quick fix that should last. Part can be downloaded here: https://www.printables.com/model/311...g-light-repair
I juste broke mine, thanks a lot for the sharing!
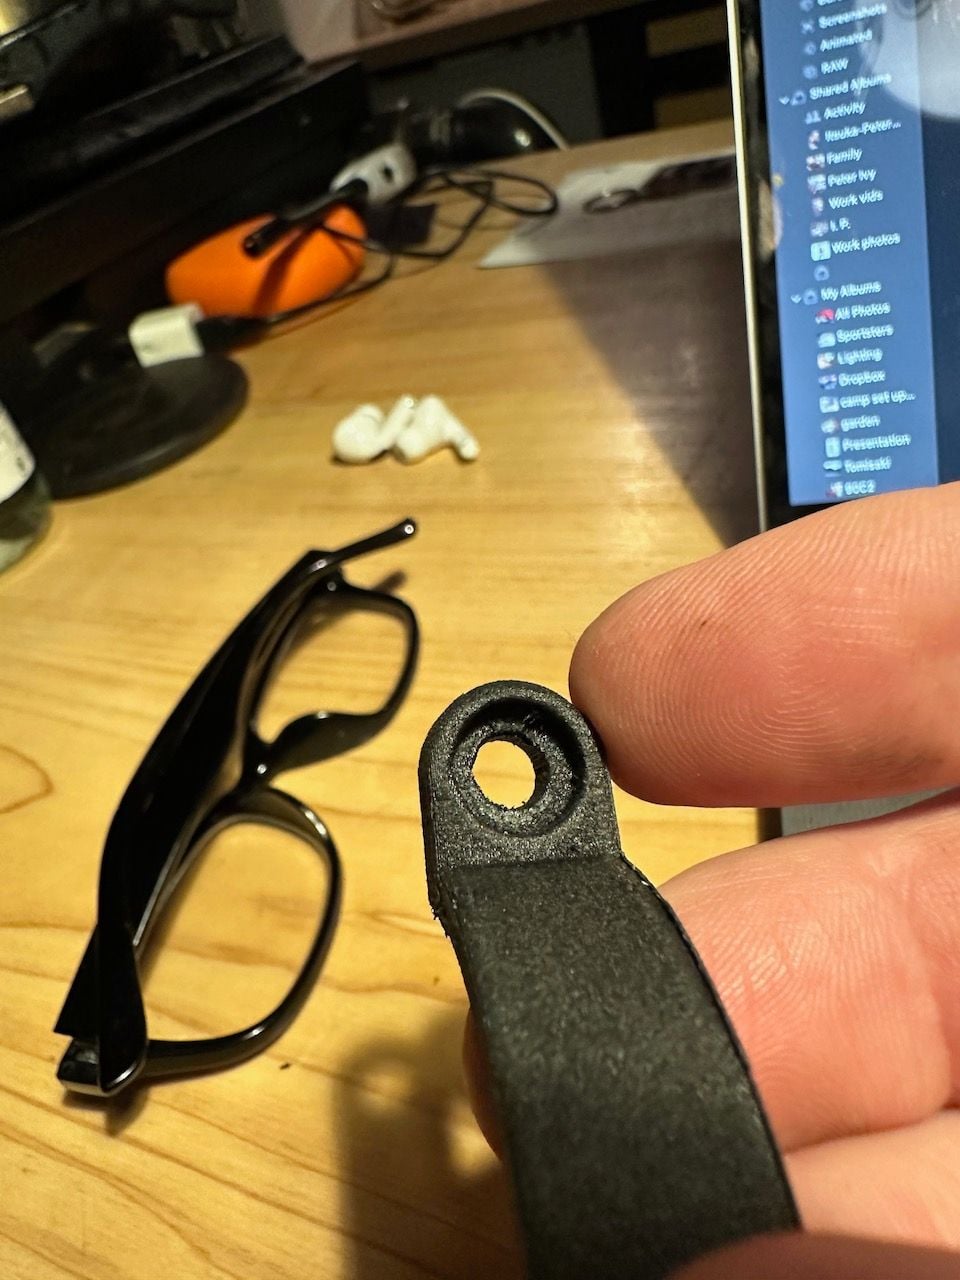
Slow going but still working on parts for routing the MCS hoses. Learning to use some more materials like the black Adura X carbon nylon:
edit: red is pla and thinking the final print should be pure nylon (no carbon) as the hose will slide against that material better. Top hose pass through has change as well so as to keep the hose from twisting. These 2 parts keep the hose from hitting anything throughout the full travel and steering lock.


 10-09-2023, 05:26 AM