When you click on links to various merchants on this site and make a purchase, this can result in this site earning a commission. Affiliate programs and affiliations include, but are not limited to, the eBay Partner Network.
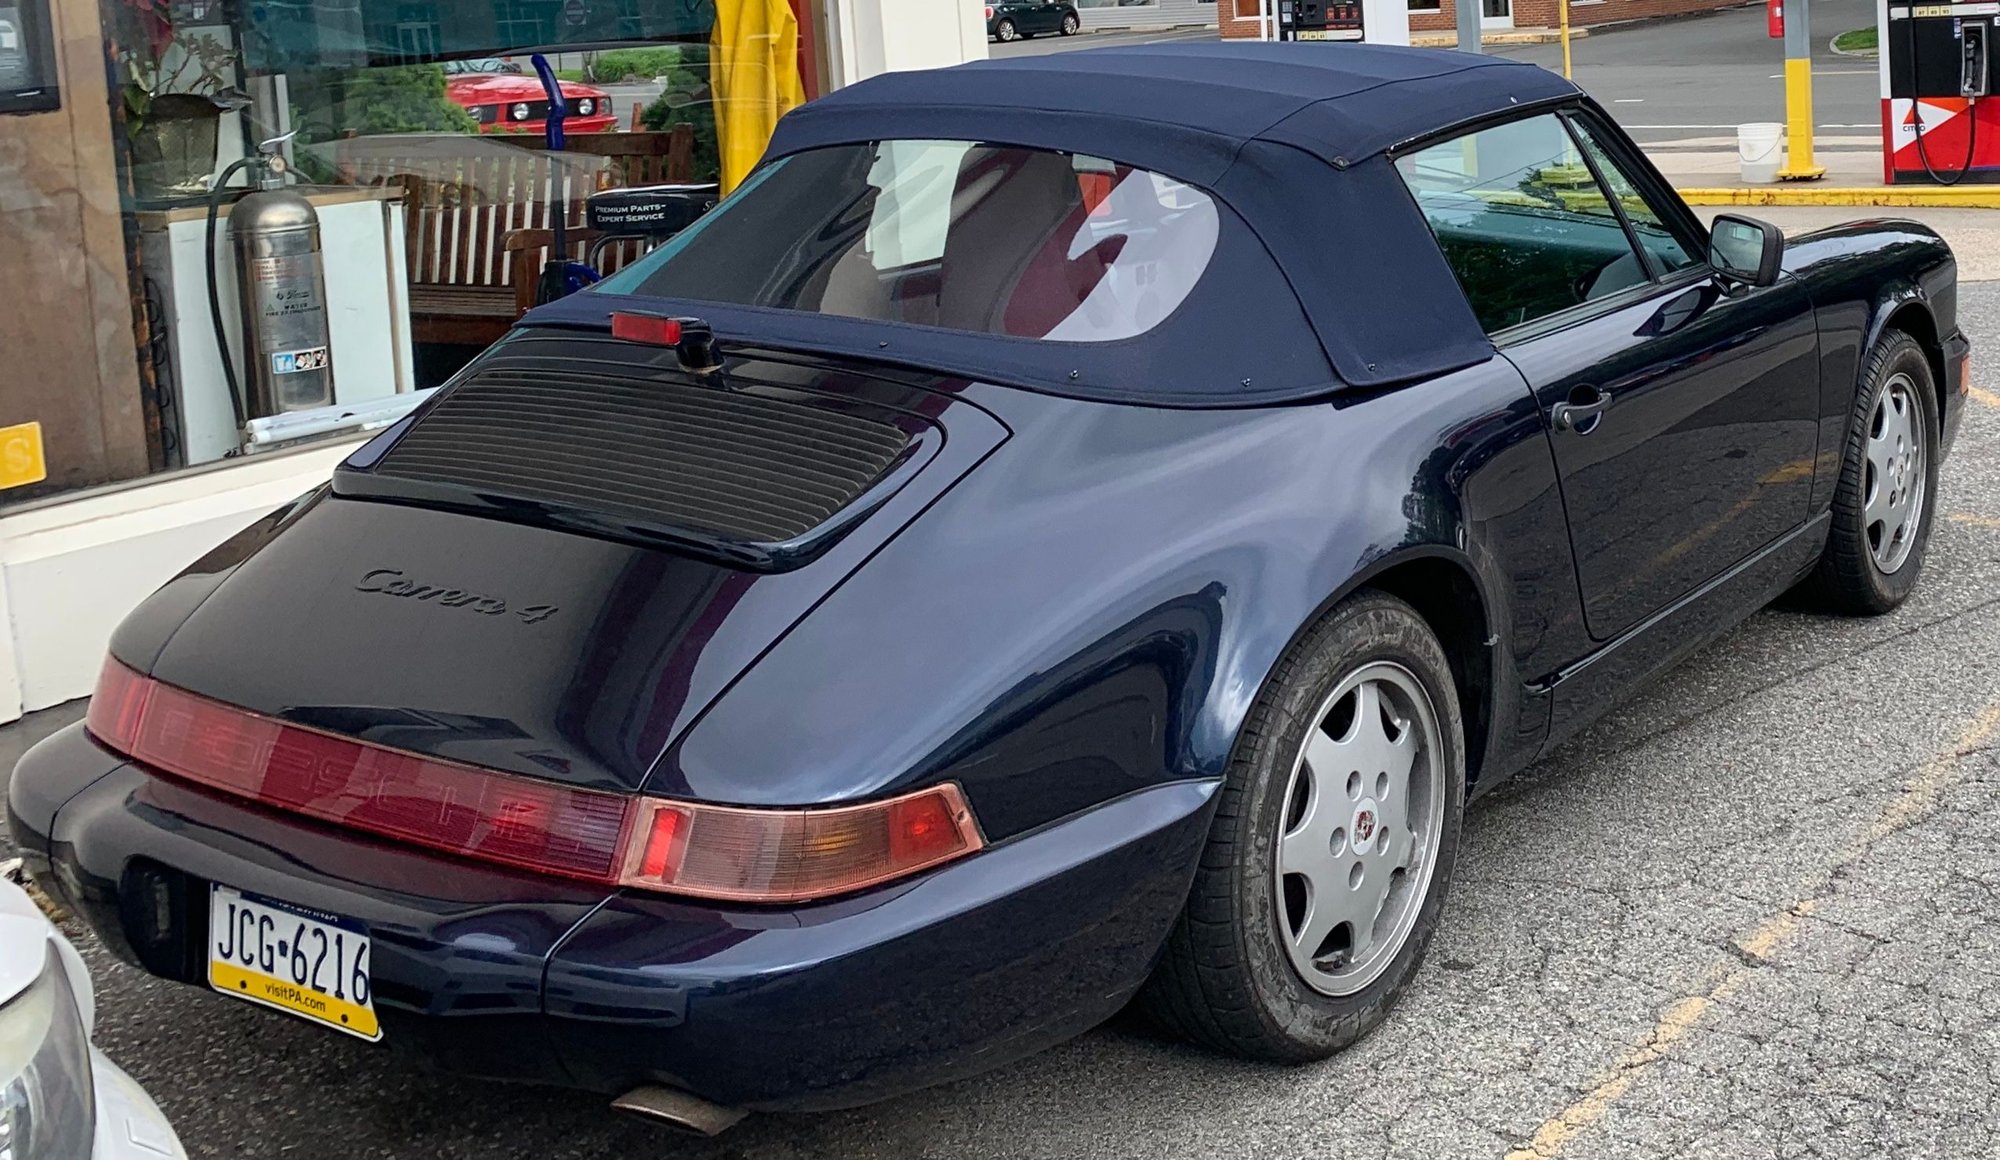
You may want to consider Speedline replicas - going to 17 or 18 inch wheels that fill the wheel wells totally transforms the look of the car - see my before and after photos below.
How difficult was it doing the wiring for the heated 997 seats? Are the switches for the heaters on the seats themselves? I have non-heated 997 seats and am considering adding aftermarket heat elements with the switches mounted next to the e-brake.
Yeah the Speedline look good, but whatever is left of my "Porsche money" this year will go against fixing my leaking oil lines and if there's enough money left for a valve job.
About the heated seats; disclaimer I love to tinker with electrics and electronics, so that took me some time, but was actually fun for me.
But it also wasn't rocket science, if you are comfortable with electric work, you will figure it out.
So here's what I did, this is just an overview and not a DIY, not all of the eBay aftermarket heaters work (electrically) the same, so I can't just give you a step-by step what i did.
I ordered a set of aftermarket seat heater pads from eBay, I chose the ones with the two stage switches (and yes the switches are next to the e-brake, I can add a picture tomorrow)
HOWEVER I wanted a solution that looks stock, so I wanted to use the exiting heating elements in the 997 seats
The eBay pads essentially work like that:
Each seat has two pads: one for the bottom and one for the back
In "low" setting both pads are switched in line, which results to basically the same as putting two resistors in line. That means that less current flows and hence you have less heat
In "high" settings both pads are switched in parallel, lower resistance, more current flows, more heat.
The Porsche 3 stage heated seats work totally different: in a *very* simplified explanation they get different voltages for low / med / high. In reality it's actually much more complex.
Porsche totally over-engineered that, so no chance for me to replicate that.
But then I looked at the wiring for the heating elements in the 997 seats and I noticed that de-facto the 997 seats also have two separate elements for the bottom and the back, but they are wired together.
Now I had to figure which wires go to which individual elements (and which go to the airbags etc).
After tracing the wires and measuring with a muti-meter I started cutting wires and created connectors to each heating element
Now I connected the 997 heating elements to the electronics of the after market heater..
So in summary: I used the electronics and the switches from the eBay heaters and connected them to the individual heating elements in the 997 seats
One more important thing:
The seat connector in the 964 has two wires: ground and permanent 12V
I wanted to avoid that I drain the battery if I forget to turn off the heated seats after I stop the car
So I added a relais into the 12V connector. The relais is triggered by switched power, which can easily be grabbed from behind the radio
Now as soon as I stop the car, the relais cuts power to the heaters.
Happy to give you more pointers if you want to tackle this project
My 92 targa w 2 way seats has 12v (red), switched 12v (black), and gnd (brown) at the seat harness. Seems like it would be easiest to add relay and switch on seat bottom. You�re not usually adjusting seat and the heat element at the same time, so load should be fine.
edit... I just remembered to add the switched12v you need to add a pin to the seat connector, which was not the easiest item to obtain for me. I probably should have scavenged from another seat... but ended up sourcing a Mercedes part A0015453826.
My 92 targa w 2 way seats has 12v (red), switched 12v (black), and gnd (brown) at the seat harness.
Oh thanks for the info. I shouldn't have assumed (that black is just another ground) but checked.
That would have made it a little easier, well now I know.
Thanks very much for the detailed instructions concerning the seat wiring, guys! My seats are base model 987 2-way seats (only power recline - all other adjustments are manual), so hopefully they�ll be a bit simpler to wire.
and as promised, here's a picture of the switches
I only drilled holes into the handbrake surround after i secured a used on one eBay, whatever modifications I do to the car, I make sure that all of them can be reversed.
Last edited by Hatzenbach; 06-14-2019 at 10:52 PM.
Reason: spelling
Thanks very much for the detailed instructions concerning the seat wiring, guys! My seats are base model 987 2-way seats (only power recline - all other adjustments are manual), so hopefully they’ll be a bit simpler to wire.
I wrote this post a while ago in which I deciphered the pinout of the yellow connector under a 9x7 seat (2-way electric with seat heating), might come in handy for you: https://rennlist.com/forums/997-foru...-for-this.html
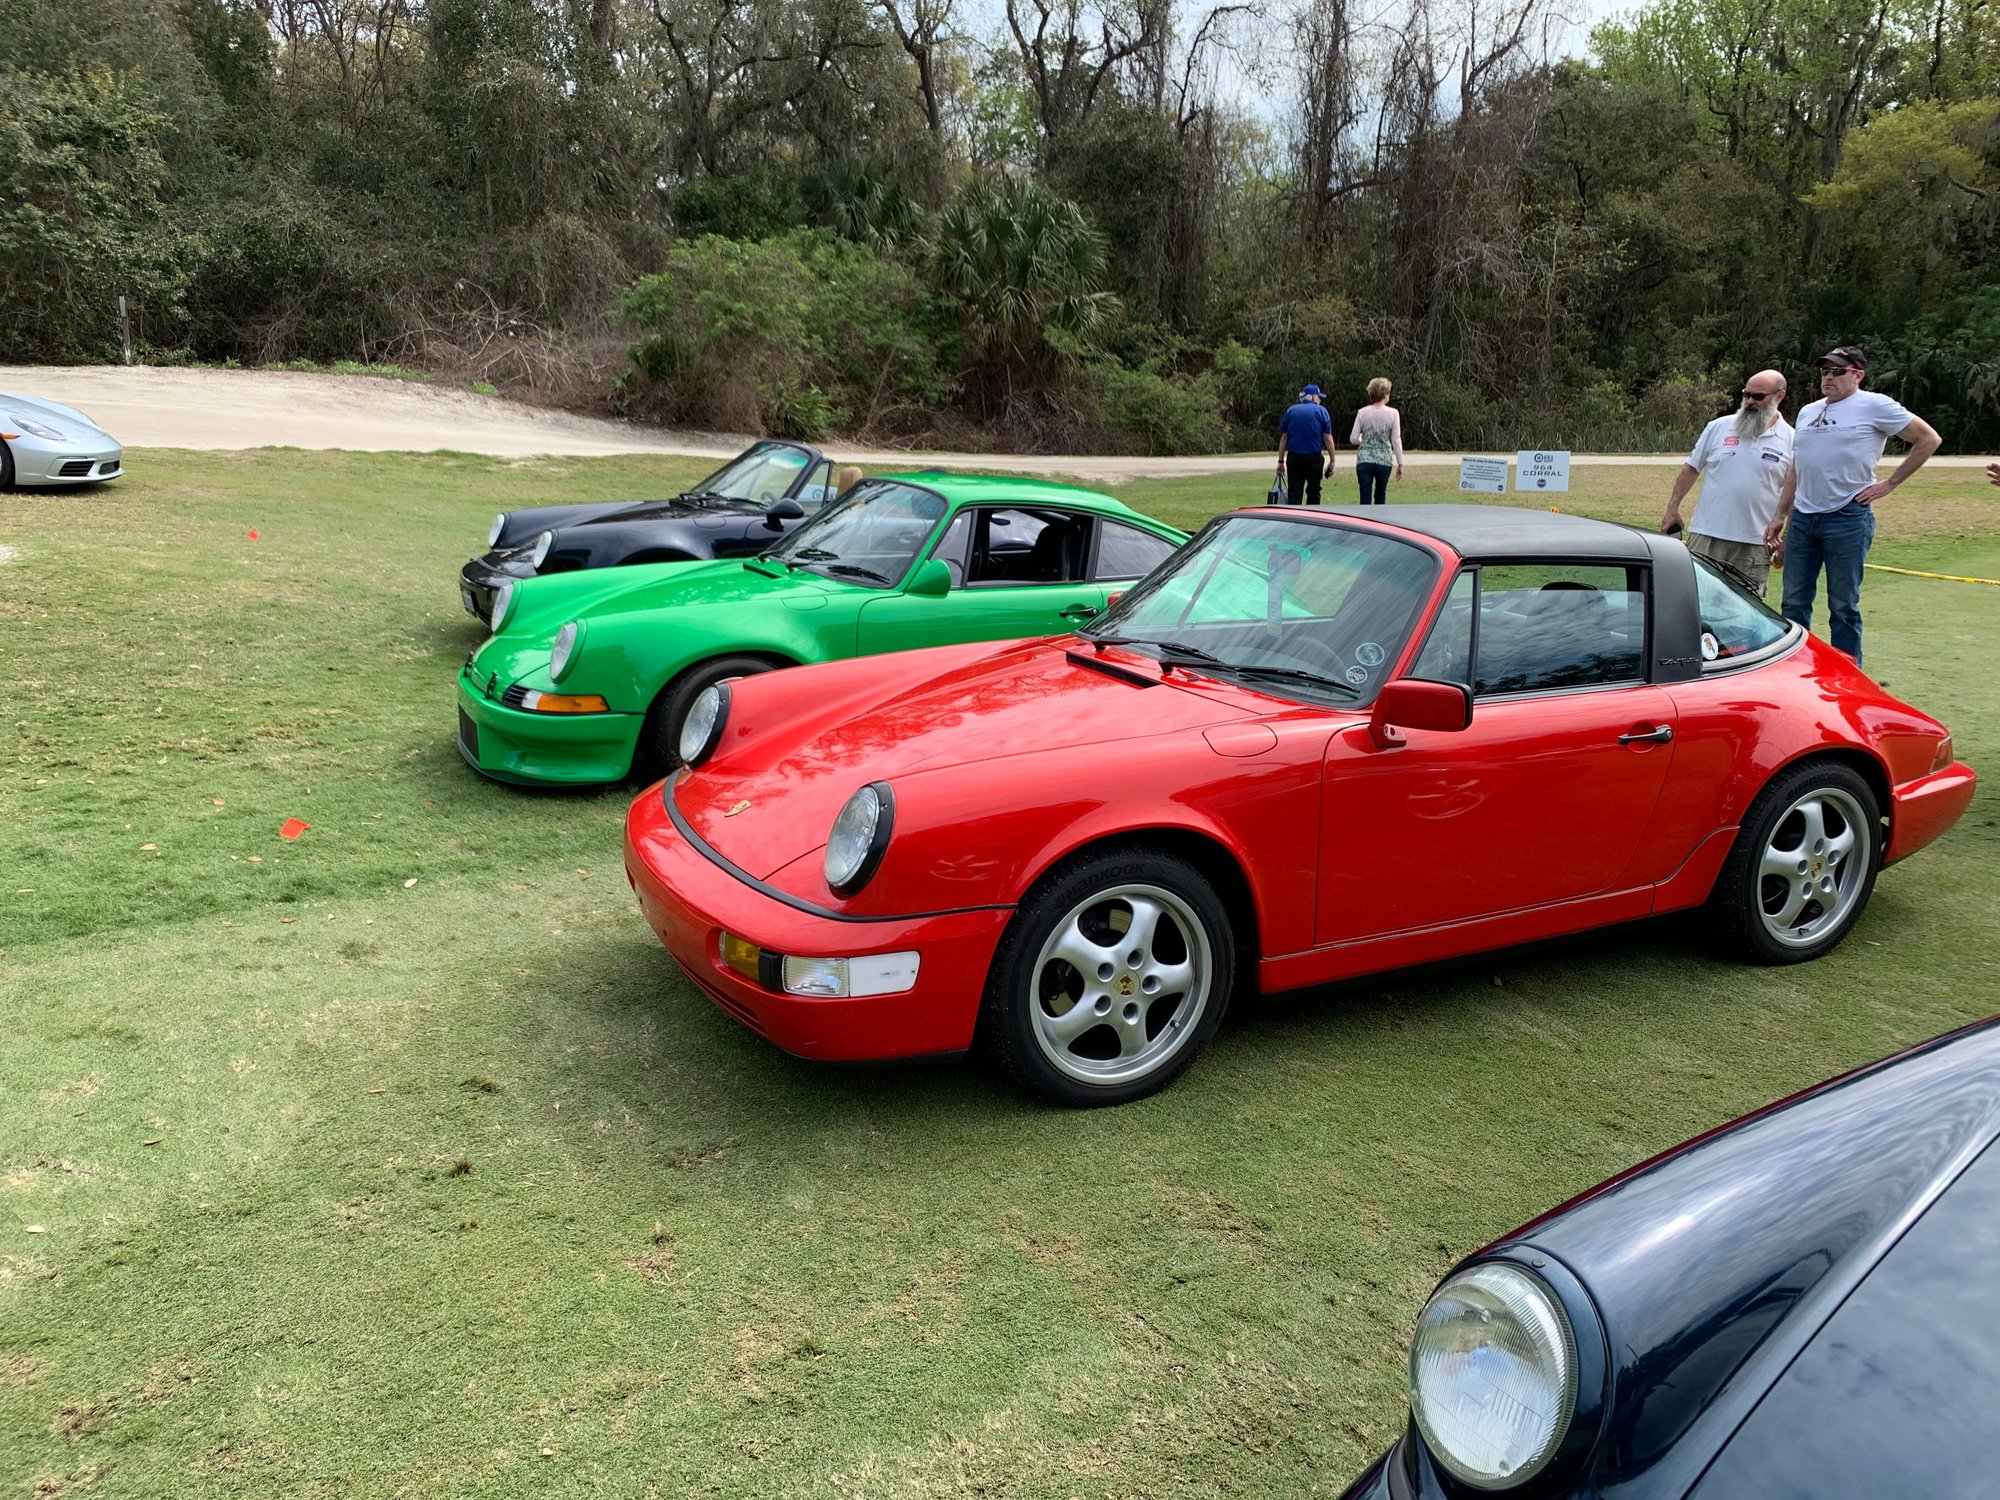
Next step of my journey with my new (to me) Targa:
Even though the pictures on bringatrailer made it look like the rear of the engine was bone dry, well it wasn't exactly *as advertised* :-(
As a matter of fact: the car left huge puddles of oil on my garage floor.
The oil didn't come from the heads but from the oil lines, looks like all of them were cracked and leaking.
I just picked my car up from my trusted air-cooled mechanic.
Summary of work done:
6 oil lines replaced
power steering fluid flushed and filter changed
major service (valve adjustment, spark plugs, replace all belts, oil change, filters, etc)
The good news is that there is absolutely no leakage from the cylinders :-)
I'll do the brakes next weekend and then she should be in tip-top shape for years (fingers crossed)
Next project (maybe)
replace steering wheel with 986/996 3-spoke steering wheel


 06-13-2019, 10:23 PM

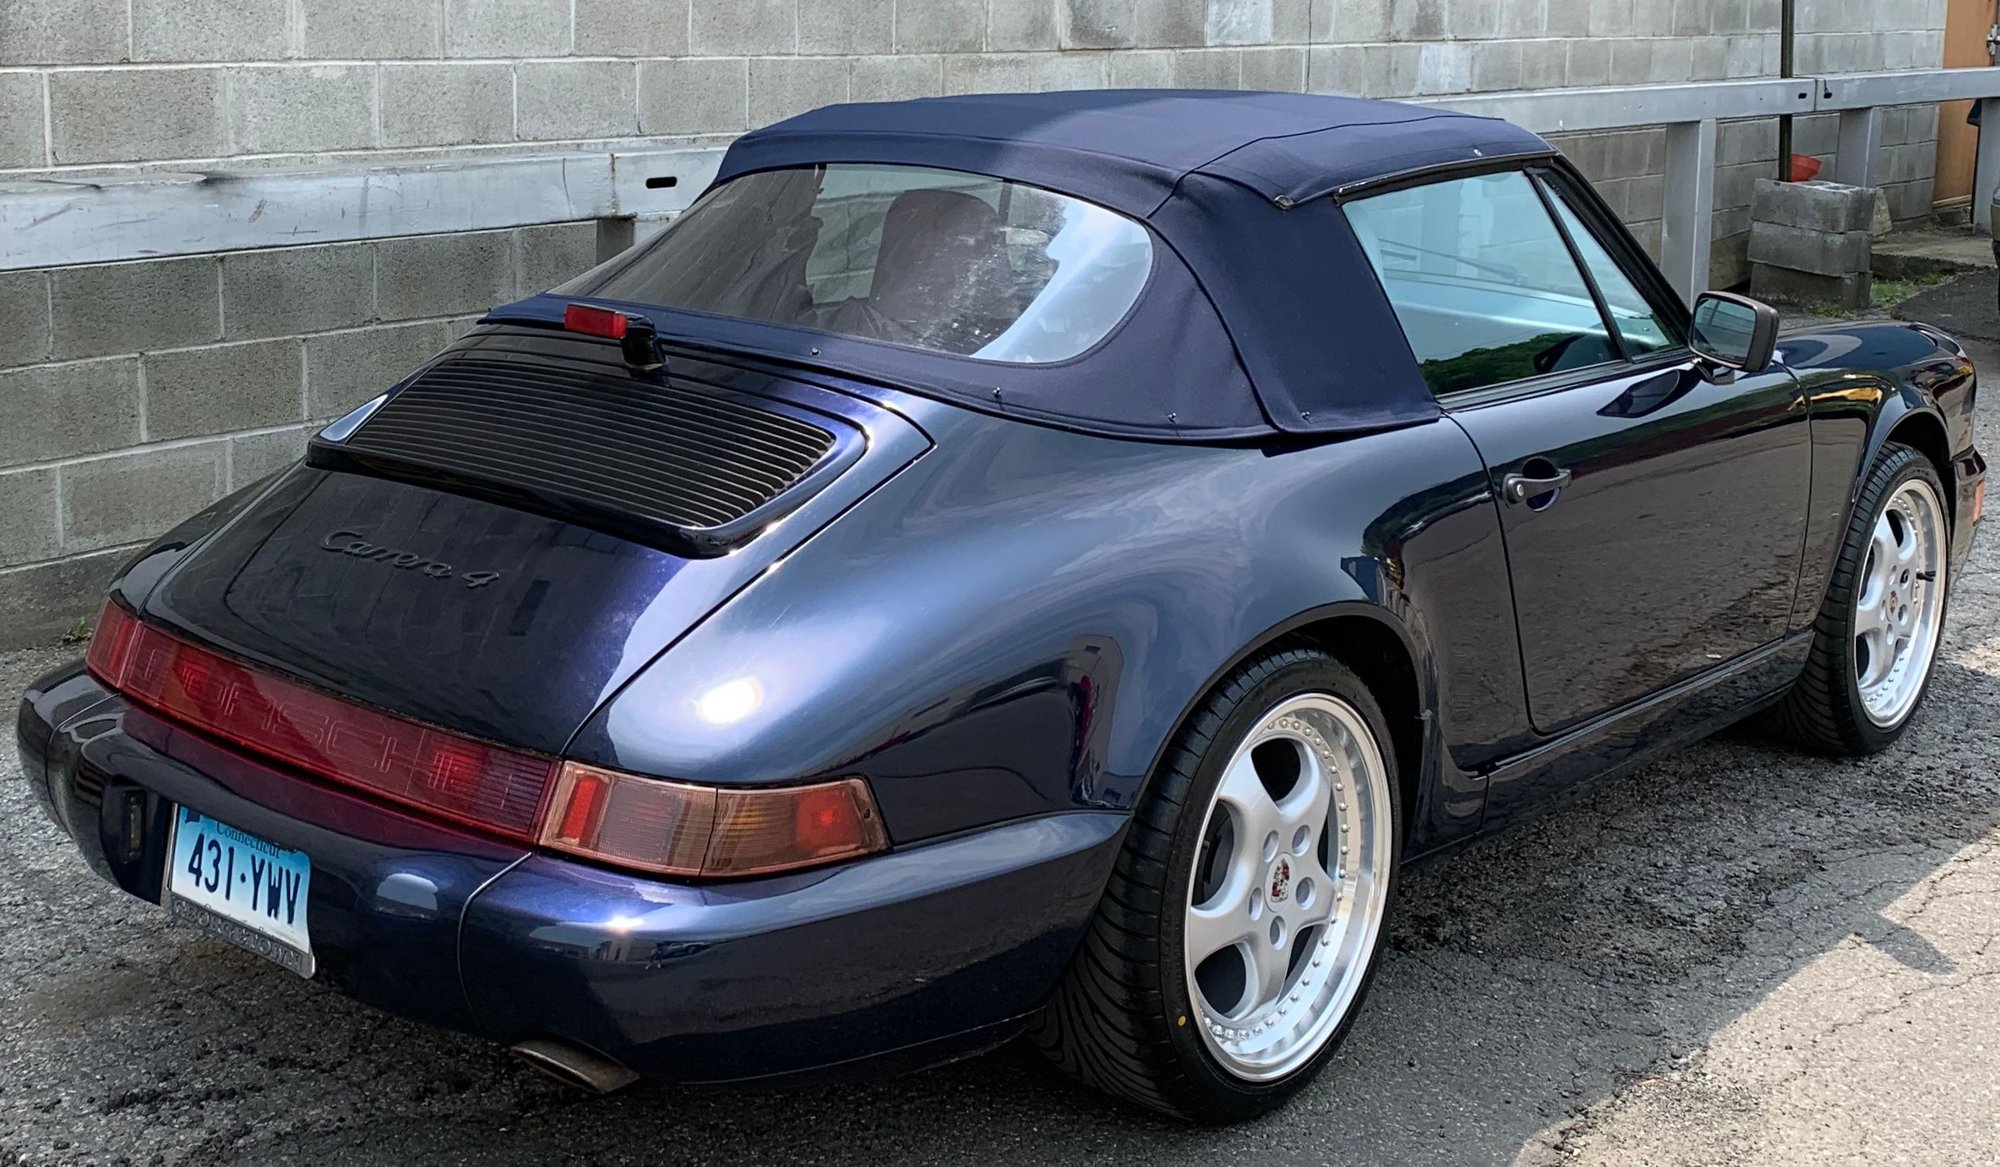
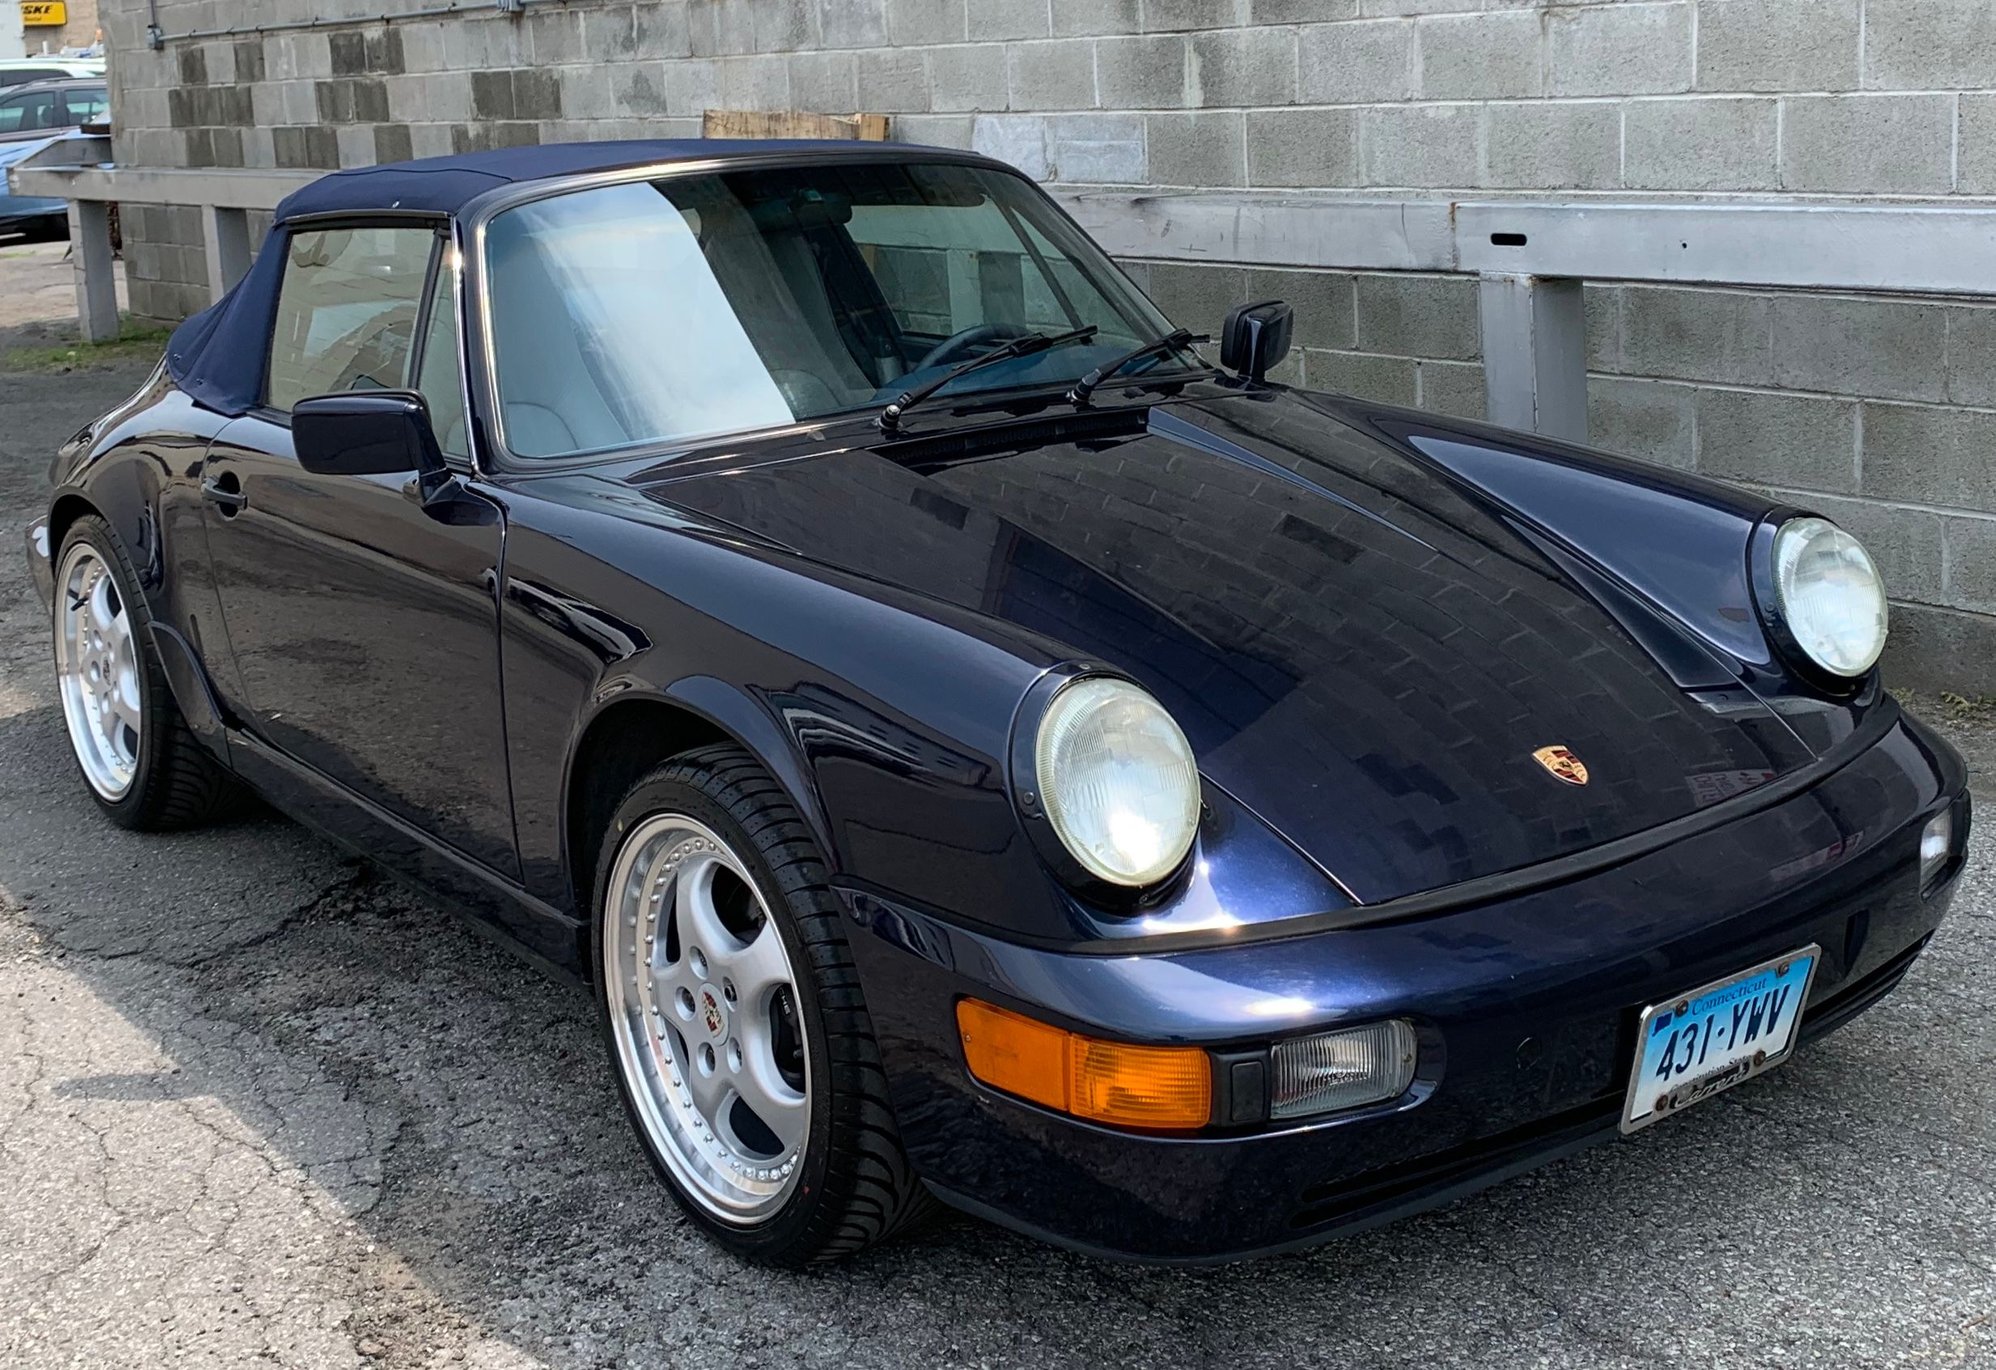
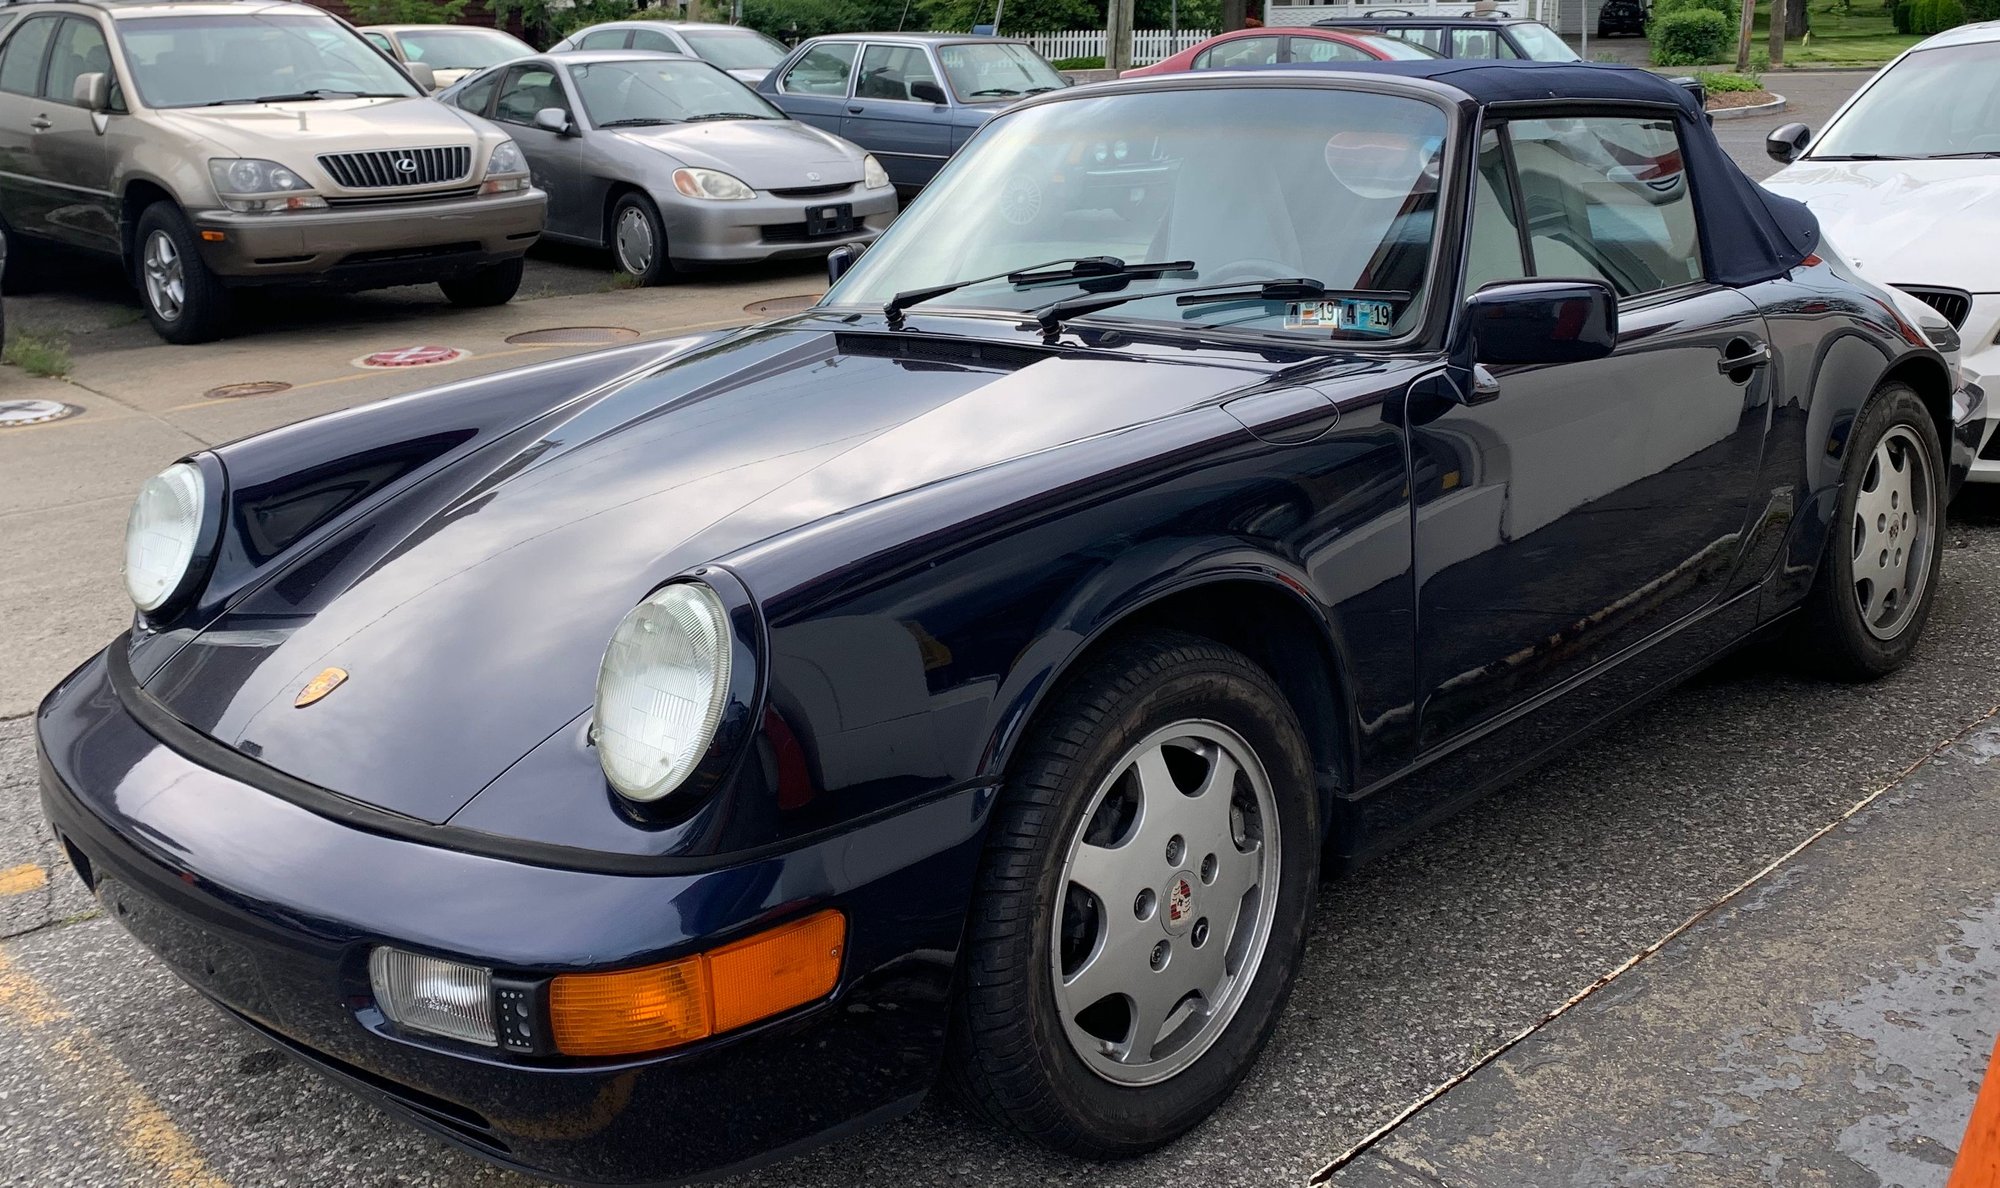


 IMO the black rings tie in well with the door handles and rollbar.