When you click on links to various merchants on this site and make a purchase, this can result in this site earning a commission. Affiliate programs and affiliations include, but are not limited to, the eBay Partner Network.
I would grind more off the mount. Maybe file it. Or remove it and fit it off the car. It's not that hard to remove that mount.
Removing the mount may be the way to go, but I think I will still have to notch the backside of the turbo to get it to fit. I'll wait and see what LR suggest before next steps. Like I said, I don't want to grind a hole in the turbo by mistake trying to get it to line up.......that being said, any idea how thick the metal is on the housing?
I didn't like having to grind on my new at the time turbo 2008, but that's what I was told to do by Dave. He was unaware at the time his turbo supplier had changed the backing plate type.
I didn't like having to grind on my new at the time turbo 2008, but that's what I was told to do by Dave. He was unaware at the time his turbo supplier had changed the backing plate type.
Thanks...Do you recall how much material you removed or how thick that plate is?
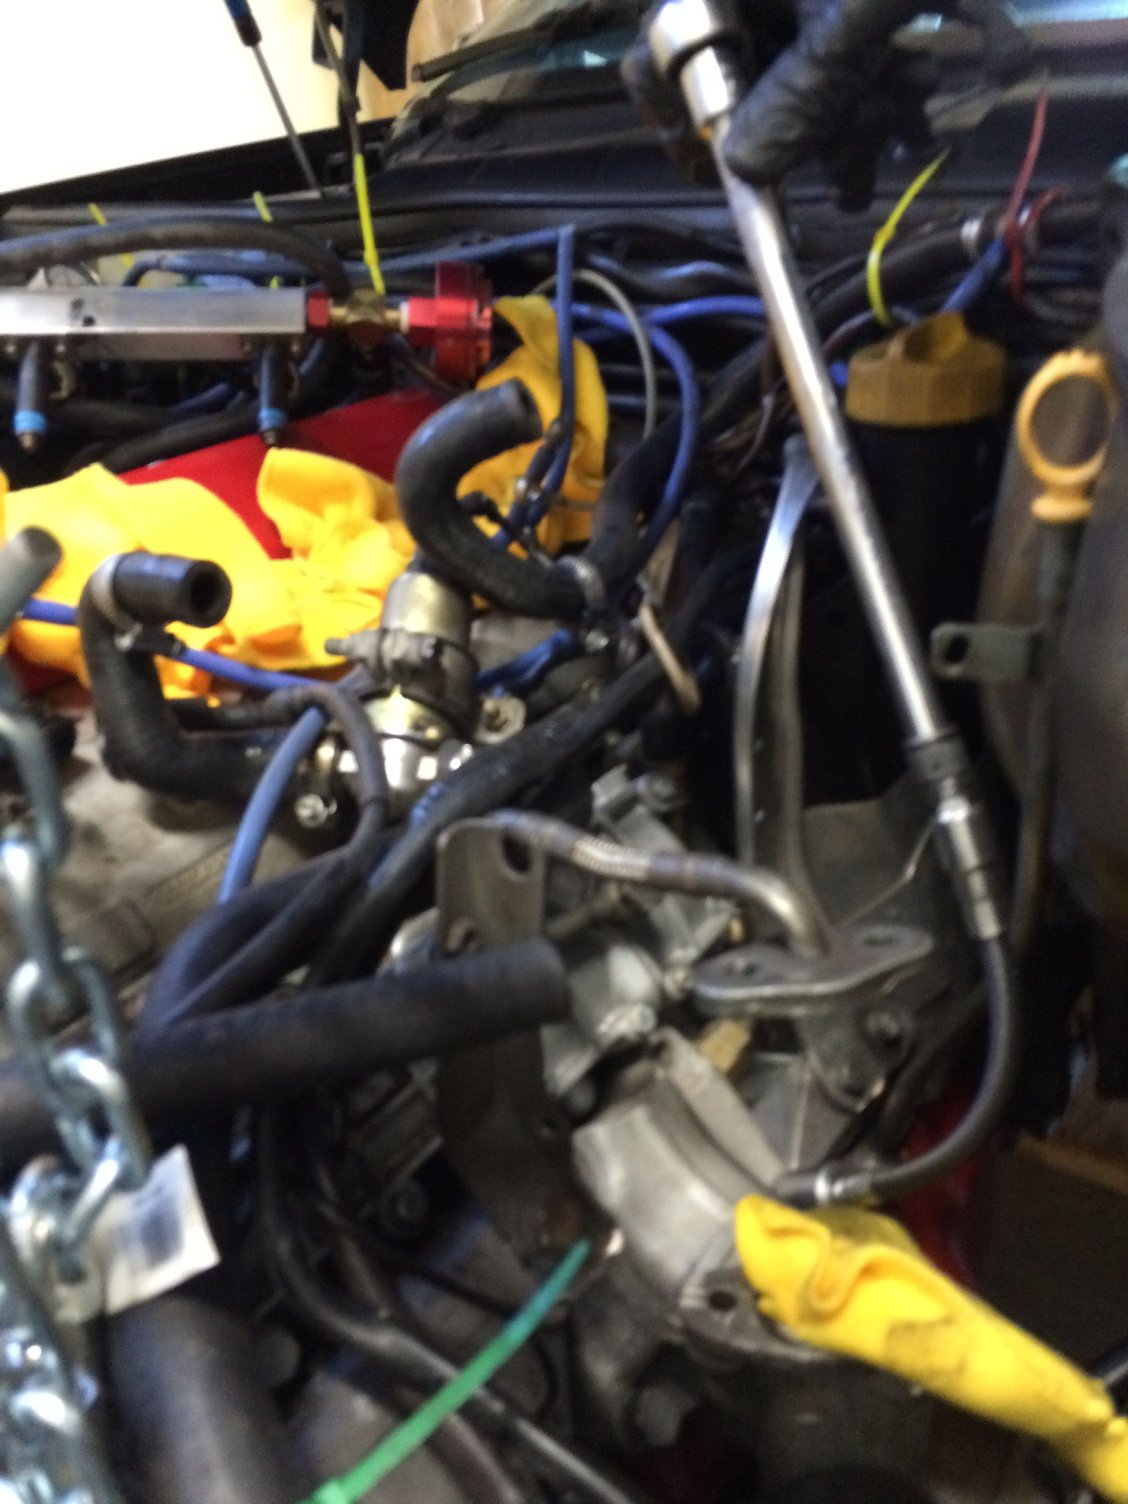
It fits. I removed the engine carrier (great suggestion....I would have failed without removing it). Ground down the base on the engine carrier, enlarged the short side bolt hole by one drill bit size on the carrier, ground the back side of the turbo and was able to get it to line up. Did a test assembly with all bolts loose and the new down pipe and crossover all fit. Hopefully this weekend I'll start final assembly.
Found a replacement long turbo bolt, with allen head at my local fastenal store. they actually had it in stock.....its 130 mm long versus 125, but did not have to cut it down.
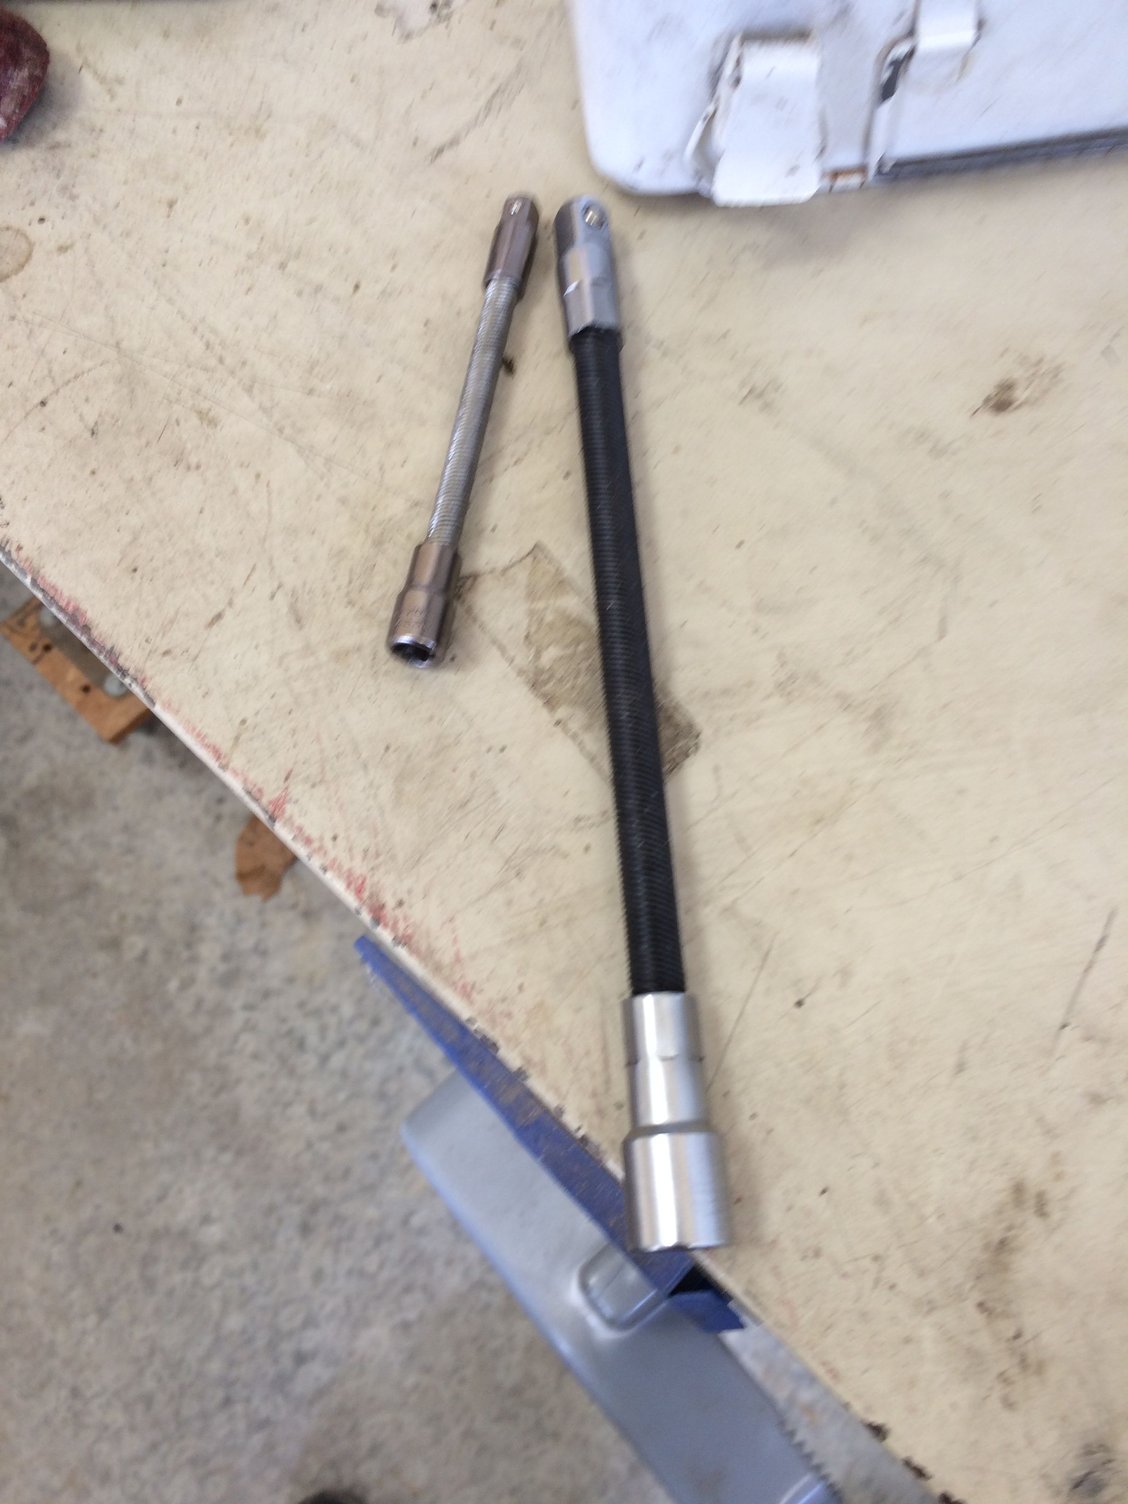
On a tool note, these flexible extensions have paid for themselves ten times over when working on this car. Seems every bolt is a pita to get too....hose clamps, heat shield bolts, engine carrier bolts, you name it. Once loosened I go to these and take it all the way out. Also great for getting them started and "finger" tight. These are my second favorite tools......the first of course is a lift.
I realize the photo makes it look like a normal ratchet could back these out easily, but believe it our not it was bumping into everything. The older I get the lazier I am
Thanks for all the tips. The turbo is on the car with 3-inch downpipe and first piece of crossover installed (two piece) This is a very tight fit.
I attached the downpipe to the turbo and then installed them together. I tried to wrestle it in by myself for about an hour and finally gave up. I tracked down a neighbor kid to hold the assembly up top while I installed the bolts from the bottom. With two sets of hand it went in pretty quick.
While grinding the backside of the turbo I hit the mounting flange area on the turbo. It put a decent scratch/gash on it but fortunately it was just on one of the ears. it was close to the o-ring seal so I used the o-ring and gasket just to give me the best odds against leaks.
I was missing one exhaust crush ring so I couldn't finish the job. I decided to start the car anyway with open headers and let it warm up. I figured this would be a good way to help with "pre-oiling" since it would just be sitting there not spinning without the exhaust connected. Good news....I did not see any leaks.
Should finish the job this week. I'm curious to see what my exhaust pressure is with the new setup. Old one was 30 psi with 16 psi boost....not good.
Had I known things would be this tight, I would have done the nissan alternator conversion at the same time....I had the grinding wheel out anyway.
Got everything back together and finally had time for a test run. Had the exhaust pressure gauge hooked up and using the wife as the gauge pod. Good news it I saw less back pressure. At 20 psi boost was only seeing 25 psi on the exhaust (I was seeing 30psi on exhaust at 16 psi boost). This is with the new turbo and lindsey 4 inch exhaust. Bad news was seeing 20 psi boost?? Was working fine before the exhaust and turbo change......M-tune kicked in over-boost protection at 20 psi. Fortunately with help from here determined it was a clogged MBC. Took it apart...blew out dirt (looked like fine rust). Not sure how that occurred??? But MBC appears to be working again. Might mount inside cab instead of under hood to elimiate heat.
While I had the MBC eliminated to diagnose the problem I was hitting 9 psi boost and only 12 psi on the exhaust.
I did switch to manual steering (sport rack) since I had the rack and it seemed like a good time to try do it since things were accessible. Still getting used to it.....note to self, start moving and then steer.....next DE is in May so I'll see how I like it.
Need to get to the Dyno and see what its doing now.
One more problem is the damn airbag light came on. Tried resetting it about it about 10 times but no luck. I recoreded the code but it doesn't seem to match up with whats posted on Clarks.
1 short flash
1 long flash
3 flash
2 flash
3 flash
2 flash
then stays one.
I assume that�s hex code 27?? I may post the video if no one has any other suggestions.
The 3 inch downpipe is definitely a tight fit. If you ever put a GT turbo on your car in the future, I would recommend going v-band for the hot housing. Yes it's a bit of a pain fabbing it to fit perfectly, but the results are unquestionably superior than bolt up, IMHO. The key is to not cheap out on the flanges. Those are the ones that warp.
Yes one of these day's I would love to buy a tig welder and start building parts but that's not going to happen near term.
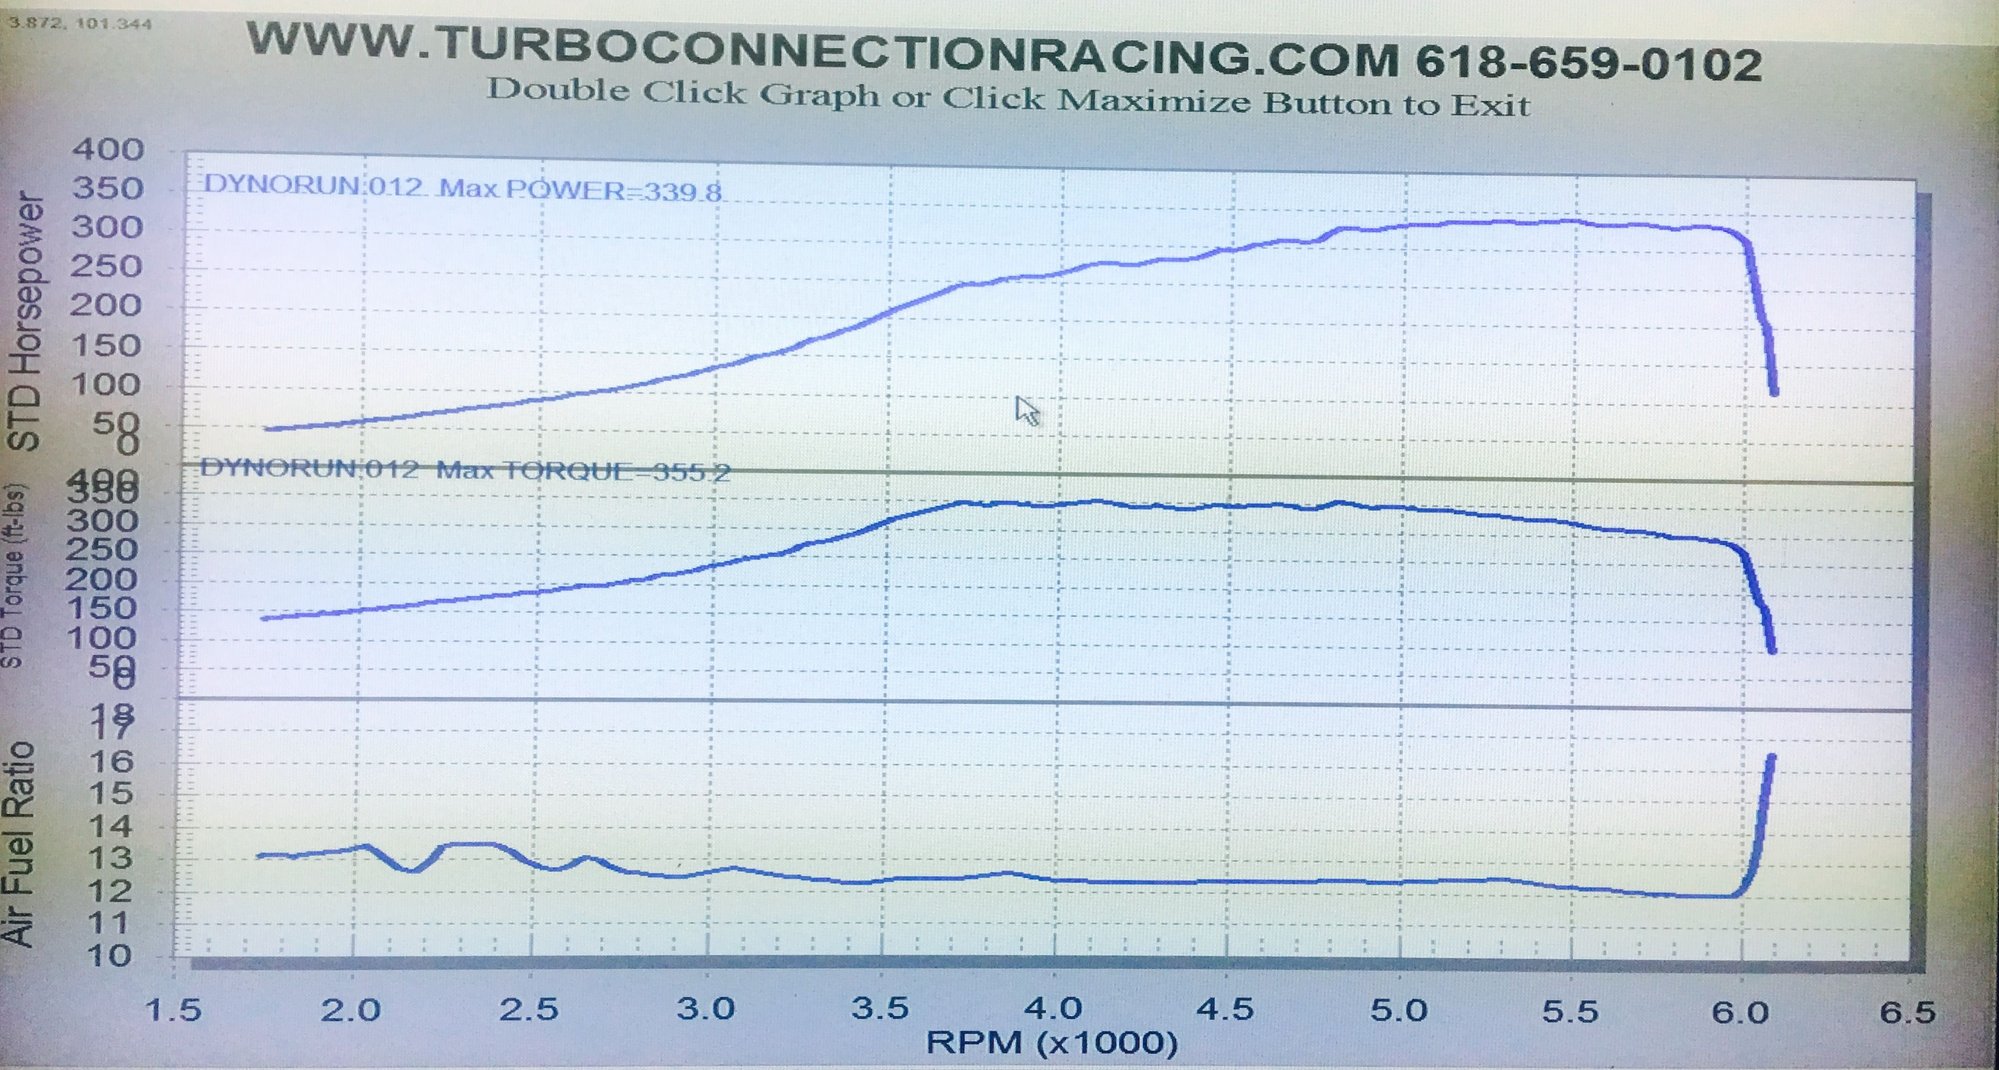
Did get the car back from a local dyno shop. He had to add fuel throughout the tune to keep it in the safe range (by the way he said his a/f reads high and actuals would be below 12. I'm going to double check with my gauge when I get it hooked back up). With the new LR 4 inch exhaust and Super 65 at 15 psi boost it hit 340HP and 355 TQ. I'm pretty happy with the results. With stock brakes that's enough for me. I welcome any comments on the dyno curves good, bad, about right, suggestions, etc.
Speaking of brakes, thinking of going to the cayenne rotors and caliper setup. I know you have to add the adapters to get them to fit. Just curious if anyone ever had any problems with the adapters? bolts come loose? extra vibrations? abnormal wear due to alignment? or is it a pretty straight forward upgrade? Or should I just learn to drive better and not use the stock ones so much and stick with them?
Speaking of brakes, thinking of going to the cayenne rotors and caliper setup. I know you have to add the adapters to get them to fit. Just curious if anyone ever had any problems with the adapters? bolts come loose? extra vibrations? abnormal wear due to alignment? or is it a pretty straight forward upgrade? Or should I just learn to drive better and not use the stock ones so much and stick with them?
I've got Cayenne rotors and 996 Turbo/GT3 calipers on my car. Rennlister Xschop made the adapters for the calipers and the centering rings for the rotors for me. No issues at all with vibrations or abnormal wear. My car is really only on the street to go to the track and back, it sees frequent track use, so much more intense usage than street driving. It's always nice to have a bigger heat sink.


 03-25-2016, 11:56 PM