
Front Splitter installation??????


 08-12-2008, 03:05 PM
#3
Burning Brakes
Join Date: Oct 2006
Location: San Diego (miramar), CA
Posts: 804
Likes: 0
Received 0 Likes
on
0 Posts
08-12-2008, 06:34 PM
#5
Addict
Rennlist Member
Rennlist Member
I took the bumper cover off the car. (Avatar pic not up to date)
In so doing I didn't need to drill extra holes in the bottom of the splitter. Allows for a cleaner look post-install. It will not be as easy to service for certain things, but it's been on over four years and I haven't had the need to remove it yet for anything. I used 13 bolts to secure it. Rock solid.
In so doing I didn't need to drill extra holes in the bottom of the splitter. Allows for a cleaner look post-install. It will not be as easy to service for certain things, but it's been on over four years and I haven't had the need to remove it yet for anything. I used 13 bolts to secure it. Rock solid.
08-12-2008, 07:36 PM
#6
Nordschleife Master
Installing the AIR type tomorrow.. just finished painting and reinforcing one side with some extra fiberglass matting. It was a bit thin (enough light shine through pretty easily). Not a big deal, still a pretty well constructed piece..better than most of the aftermarket fiberglass stuff i have had to deal with!
Luckily i have a spare bumper at work to line everything up to drill the holes. Im just not 100% sure how i am going to mount it yet. Either bolts / nuts requiring removal of the bumper or using screws / speed nuts with holes drilled in the bottom to access them. I like the idea of making it easy to remove, but the other method is a much cleaner install.
A question for you guys who run them, are ramps basically useless with the front lip now? I have a set of Rhino Ramps..love using them for basically everything that dosent involve taking the wheels off. I have to drive up on 2x4's to clear the front end at stock ride height.. wondering if it will even come close to clearing with the front splitter. I mean i would hate to put the car on ramps, install it..then realize i cant get the car off the ramps .
.
Luckily i have a spare bumper at work to line everything up to drill the holes. Im just not 100% sure how i am going to mount it yet. Either bolts / nuts requiring removal of the bumper or using screws / speed nuts with holes drilled in the bottom to access them. I like the idea of making it easy to remove, but the other method is a much cleaner install.
A question for you guys who run them, are ramps basically useless with the front lip now? I have a set of Rhino Ramps..love using them for basically everything that dosent involve taking the wheels off. I have to drive up on 2x4's to clear the front end at stock ride height.. wondering if it will even come close to clearing with the front splitter. I mean i would hate to put the car on ramps, install it..then realize i cant get the car off the ramps
.
08-12-2008, 09:40 PM
#7
Rennlist Member
For paint think "rubberized undercoating!" On my black car I can get away with no color coat, but I think it would look good on any car with the stock rear wing. The splitter takes a beating and I have bee using the 3M undercaoting for a few years now. It is actually black and has a texture. Hides dings and can be recoated. I take it off as needed -- once now -- and re-fiberglass cracks and damge, then hit it with rubber. Wa better than fixing rock chips. Additionally, I mounted an "L" bracket snugged up to the inside of plastic fender liner and some ez fasteners to stiffen the rear half of the splitter. Helps keep it from fluttering at speed...
Trending Topics
08-12-2008, 09:45 PM
#8
Rennlist Member
Installing the AIR type tomorrow.. just finished painting and reinforcing one side with some extra fiberglass matting. It was a bit thin (enough light shine through pretty easily). Not a big deal, still a pretty well constructed piece..better than most of the aftermarket fiberglass stuff i have had to deal with!
Luckily i have a spare bumper at work to line everything up to drill the holes. Im just not 100% sure how i am going to mount it yet. Either bolts / nuts requiring removal of the bumper or using screws / speed nuts with holes drilled in the bottom to access them. I like the idea of making it easy to remove, but the other method is a much cleaner install.
A question for you guys who run them, are ramps basically useless with the front lip now? I have a set of Rhino Ramps..love using them for basically everything that dosent involve taking the wheels off. I have to drive up on 2x4's to clear the front end at stock ride height.. wondering if it will even come close to clearing with the front splitter. I mean i would hate to put the car on ramps, install it..then realize i cant get the car off the ramps.
Luckily i have a spare bumper at work to line everything up to drill the holes. Im just not 100% sure how i am going to mount it yet. Either bolts / nuts requiring removal of the bumper or using screws / speed nuts with holes drilled in the bottom to access them. I like the idea of making it easy to remove, but the other method is a much cleaner install.
A question for you guys who run them, are ramps basically useless with the front lip now? I have a set of Rhino Ramps..love using them for basically everything that dosent involve taking the wheels off. I have to drive up on 2x4's to clear the front end at stock ride height.. wondering if it will even come close to clearing with the front splitter. I mean i would hate to put the car on ramps, install it..then realize i cant get the car off the ramps
.
08-13-2008, 08:08 PM
#11
Nordschleife Master
Just finished installing mine. It took about an hour to mount on the car. The actual prep work like drilling all the holes took about an hour aswell. Luckily i have another bumper cover at work to line everything.
I used speednuts and screws and basically did it exactly as Ballistic installed his. I used a #10 speed nut on the two ends, this is the same size as the original speed nuts also. I also hole saw'ed a 1'' hole under each hole so it can be removed without taking the bumper cover off.
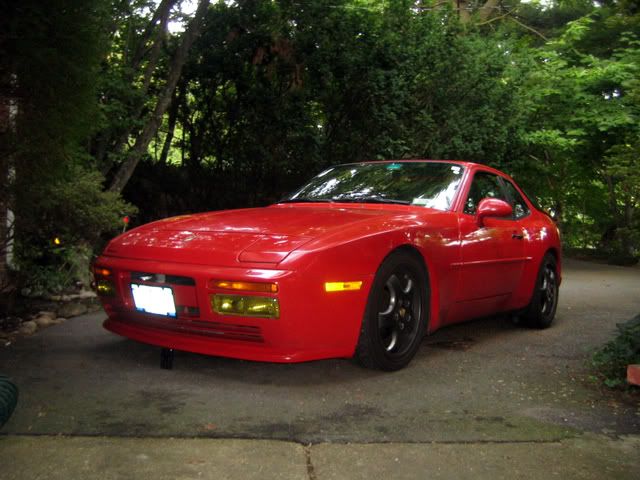
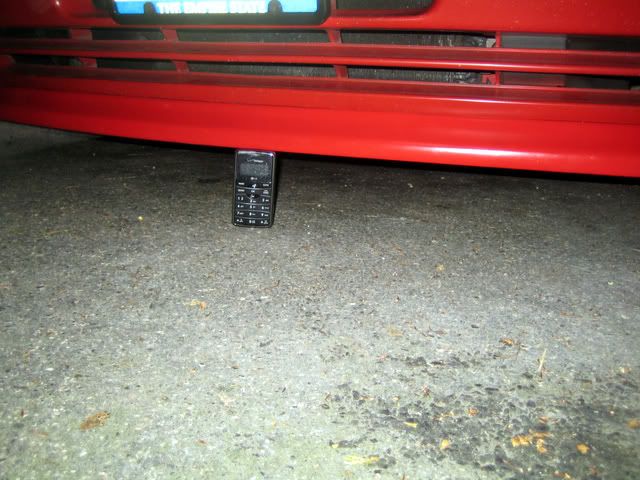
All i gotta say is its pretty damn low now! My car is stock ride height and its about 3.75'' off the ground in the front now. My n/a was a bit lower but did not stick out as far. Luckily i can still make it on and off ramps.. just need to stagger two 2x4's on top of each other now. And to think, i was planning on dropping the car more once i did the suspension.
I used speednuts and screws and basically did it exactly as Ballistic installed his. I used a #10 speed nut on the two ends, this is the same size as the original speed nuts also. I also hole saw'ed a 1'' hole under each hole so it can be removed without taking the bumper cover off.
All i gotta say is its pretty damn low now! My car is stock ride height and its about 3.75'' off the ground in the front now. My n/a was a bit lower but did not stick out as far. Luckily i can still make it on and off ramps.. just need to stagger two 2x4's on top of each other now
. And to think, i was planning on dropping the car more once i did the suspension.
08-14-2008, 07:50 AM
#12
Addict
Lifetime Rennlist
Member
Lifetime Rennlist
Member
Just finished installing mine. It took about an hour to mount on the car. The actual prep work like drilling all the holes took about an hour aswell. Luckily i have another bumper cover at work to line everything.
I used speednuts and screws and basically did it exactly as Ballistic installed his. I used a #10 speed nut on the two ends, this is the same size as the original speed nuts also. I also hole saw'ed a 1'' hole under each hole so it can be removed without taking the bumper cover off.
All i gotta say is its pretty damn low now! My car is stock ride height and its about 3.75'' off the ground in the front now. My n/a was a bit lower but did not stick out as far. Luckily i can still make it on and off ramps.. just need to stagger two 2x4's on top of each other now. And to think, i was planning on dropping the car more once i did the suspension.
I used speednuts and screws and basically did it exactly as Ballistic installed his. I used a #10 speed nut on the two ends, this is the same size as the original speed nuts also. I also hole saw'ed a 1'' hole under each hole so it can be removed without taking the bumper cover off.
All i gotta say is its pretty damn low now! My car is stock ride height and its about 3.75'' off the ground in the front now. My n/a was a bit lower but did not stick out as far. Luckily i can still make it on and off ramps.. just need to stagger two 2x4's on top of each other now
. And to think, i was planning on dropping the car more once i did the suspension.You are going to have to be VERY CAREFUL! I live in a flat state and mine was still ripped off TWICE!
08-14-2008, 10:40 AM
#13
Nordschleife Master
Yea, i already scrapped it coming out of my driveway.. and i was being careful!
I am going to buy a few sheets of thin aluminum and rivet them to the leading edge of the splitter. This way it wont be ground down every time it rubs on something..which is basically unavoidable.
I am going to buy a few sheets of thin aluminum and rivet them to the leading edge of the splitter. This way it wont be ground down every time it rubs on something..which is basically unavoidable.
08-14-2008, 11:31 PM
#15
Rennlist Member
I hope you have a lot of that red paint left...you are going to need it. I use rubberized undercoating on mine, takes the chips and keep on chipping. BTW, you'll be re-glassing the leading edge every once in a while; I've done mine twice in three years. Easy enough and looks good. Wouldn't do the alunimum thing though, bad idea. The pop rivite are going to waer through and you wan the thing to give under load and not be too tough; the bumper cover would start moving around a bot too much then! good luck.