AOS R&R without Turbo removal???
#16
Three Wheelin'
The 2 piece crossover helps out a ton! If you're skilled at welding you can just buy the flanges from Lindsey... That's what I did and Im constantly messing with doing things to the turbo... plus it makes access to the BH E-Z when it comes time to take the bellhousing off..
Side note on penetrating oil... TIME.... Let them Soak.. I always spray down bolts at least a day before I take them off.. Sure the penetrating oil is meant to "Creep" but it doesn't do it instantly..
Side note on penetrating oil... TIME.... Let them Soak.. I always spray down bolts at least a day before I take them off.. Sure the penetrating oil is meant to "Creep" but it doesn't do it instantly..
#17
Having just done it I think I’d opt for pulling the turbo. I’ve literally taken almost all the accessories off the block without a broken bolt or stripped head. I may have gotten lucky on a 30 year old car but I used penetrant as GPA said, let it soak for a day or two and they came out. I have new fasteners and nuts and will use anti seize.
Fuel rail, intake, alternator and turbo were actually easy to remove to access AOS.
The thing that I really hated were the speed/reference sensors. See my post about that...ugh.
Ok, onward to the oil pan gasket install. Rod bearings were also reasonably easy if you’re careful.
Fuel rail, intake, alternator and turbo were actually easy to remove to access AOS.
The thing that I really hated were the speed/reference sensors. See my post about that...ugh.
Ok, onward to the oil pan gasket install. Rod bearings were also reasonably easy if you’re careful.
#19
Thread Starter
Burning Brakes
Is it necessary to remove the heat shield for the brake booster?? I'm thinking that if I don't I will need to purchase some straight combination wrenches. But hey that gives me an excuse to purchase more tools!!!!
Thanks
Mike G.
Thanks
Mike G.
#20
Thread Starter
Burning Brakes
The turbos mounting bolts can be removed with extensions and swivels from underneath but if you remove the alternator you can get at them with a rachet and a 6mm Allen socket very easily from the top of the car without m-fing the car and the engineer who designed it lol.
Thanks Mike G.
#21
Thread Starter
Burning Brakes
Ok removed the Brake heat shield, of course the most rear stud broke off.
But now I'm struggling to get to this bolt as the other side has the nut tag welded on the flange.
https://cdn4.pelicanparts.com/techar...arge/pic13.jpg
Anyone else have this issue too? It kinda sucks!
Thanks
Mike G.
But now I'm struggling to get to this bolt as the other side has the nut tag welded on the flange.
https://cdn4.pelicanparts.com/techar...arge/pic13.jpg
Anyone else have this issue too? It kinda sucks!
Thanks
Mike G.
#22
Thread Starter
Burning Brakes

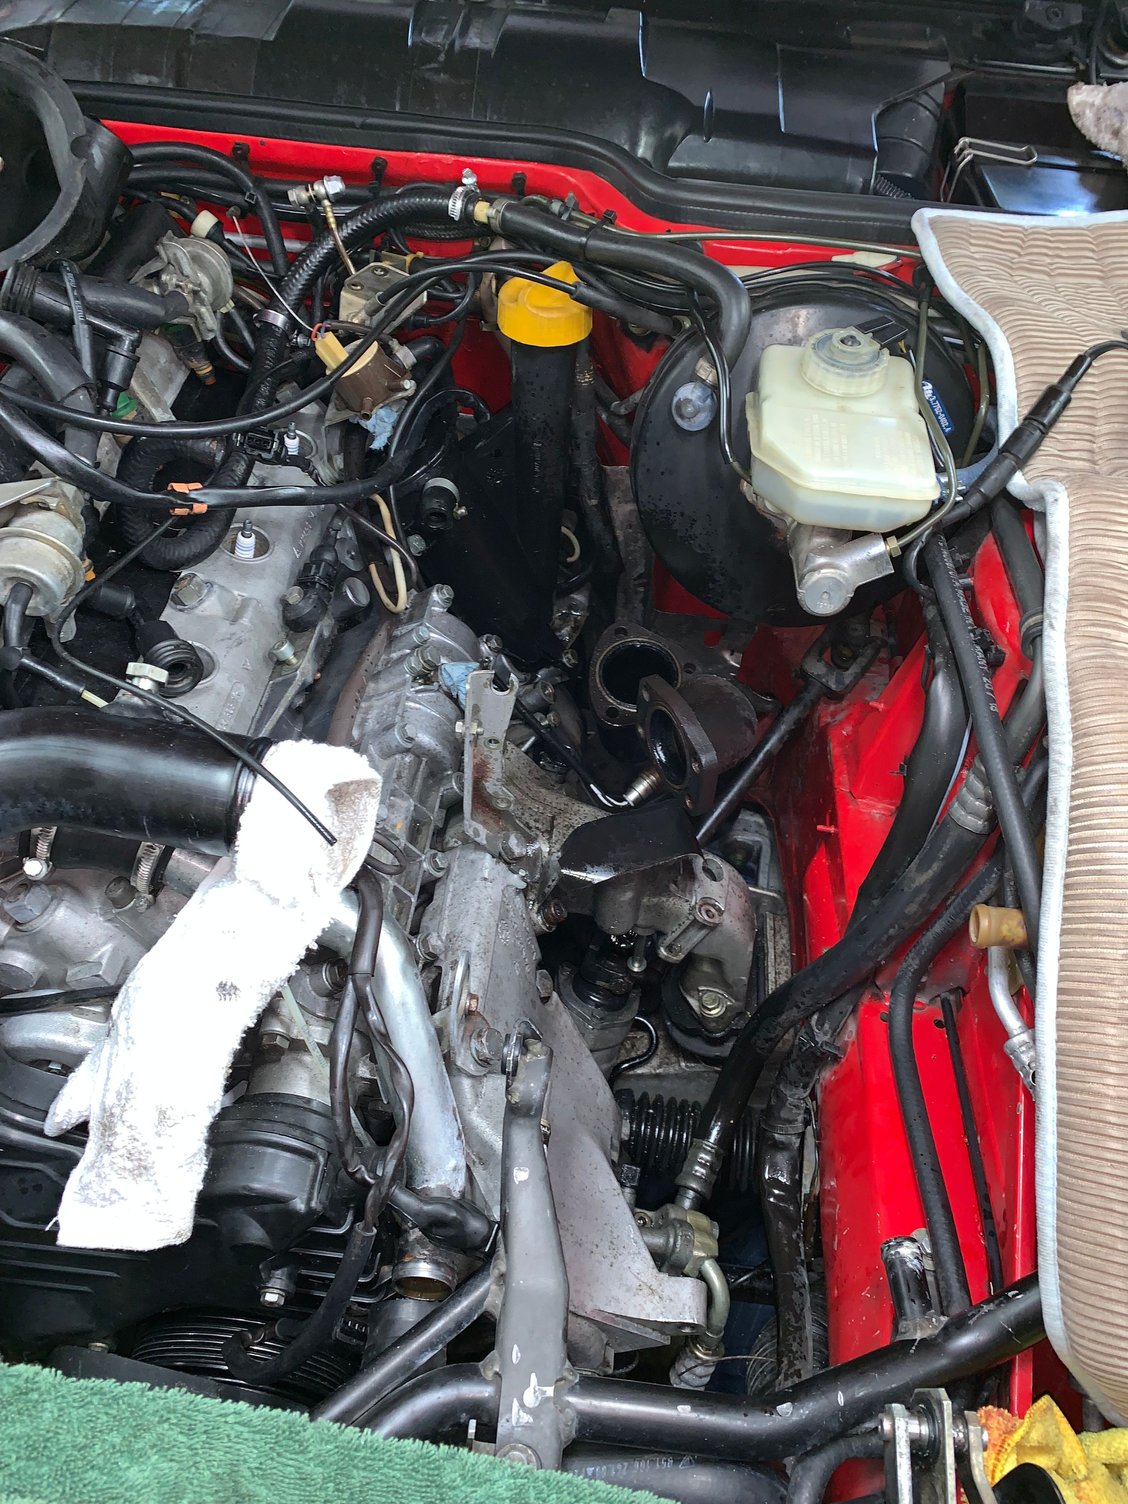
Hereís an update heat shield off alternator out Turbo out. Strangely enough I still access the turbo bolts from underneath since it seemed easier to me. I also didnít drop the steering rack I just used a universal joint on the 6 mm Allen socket.
#23
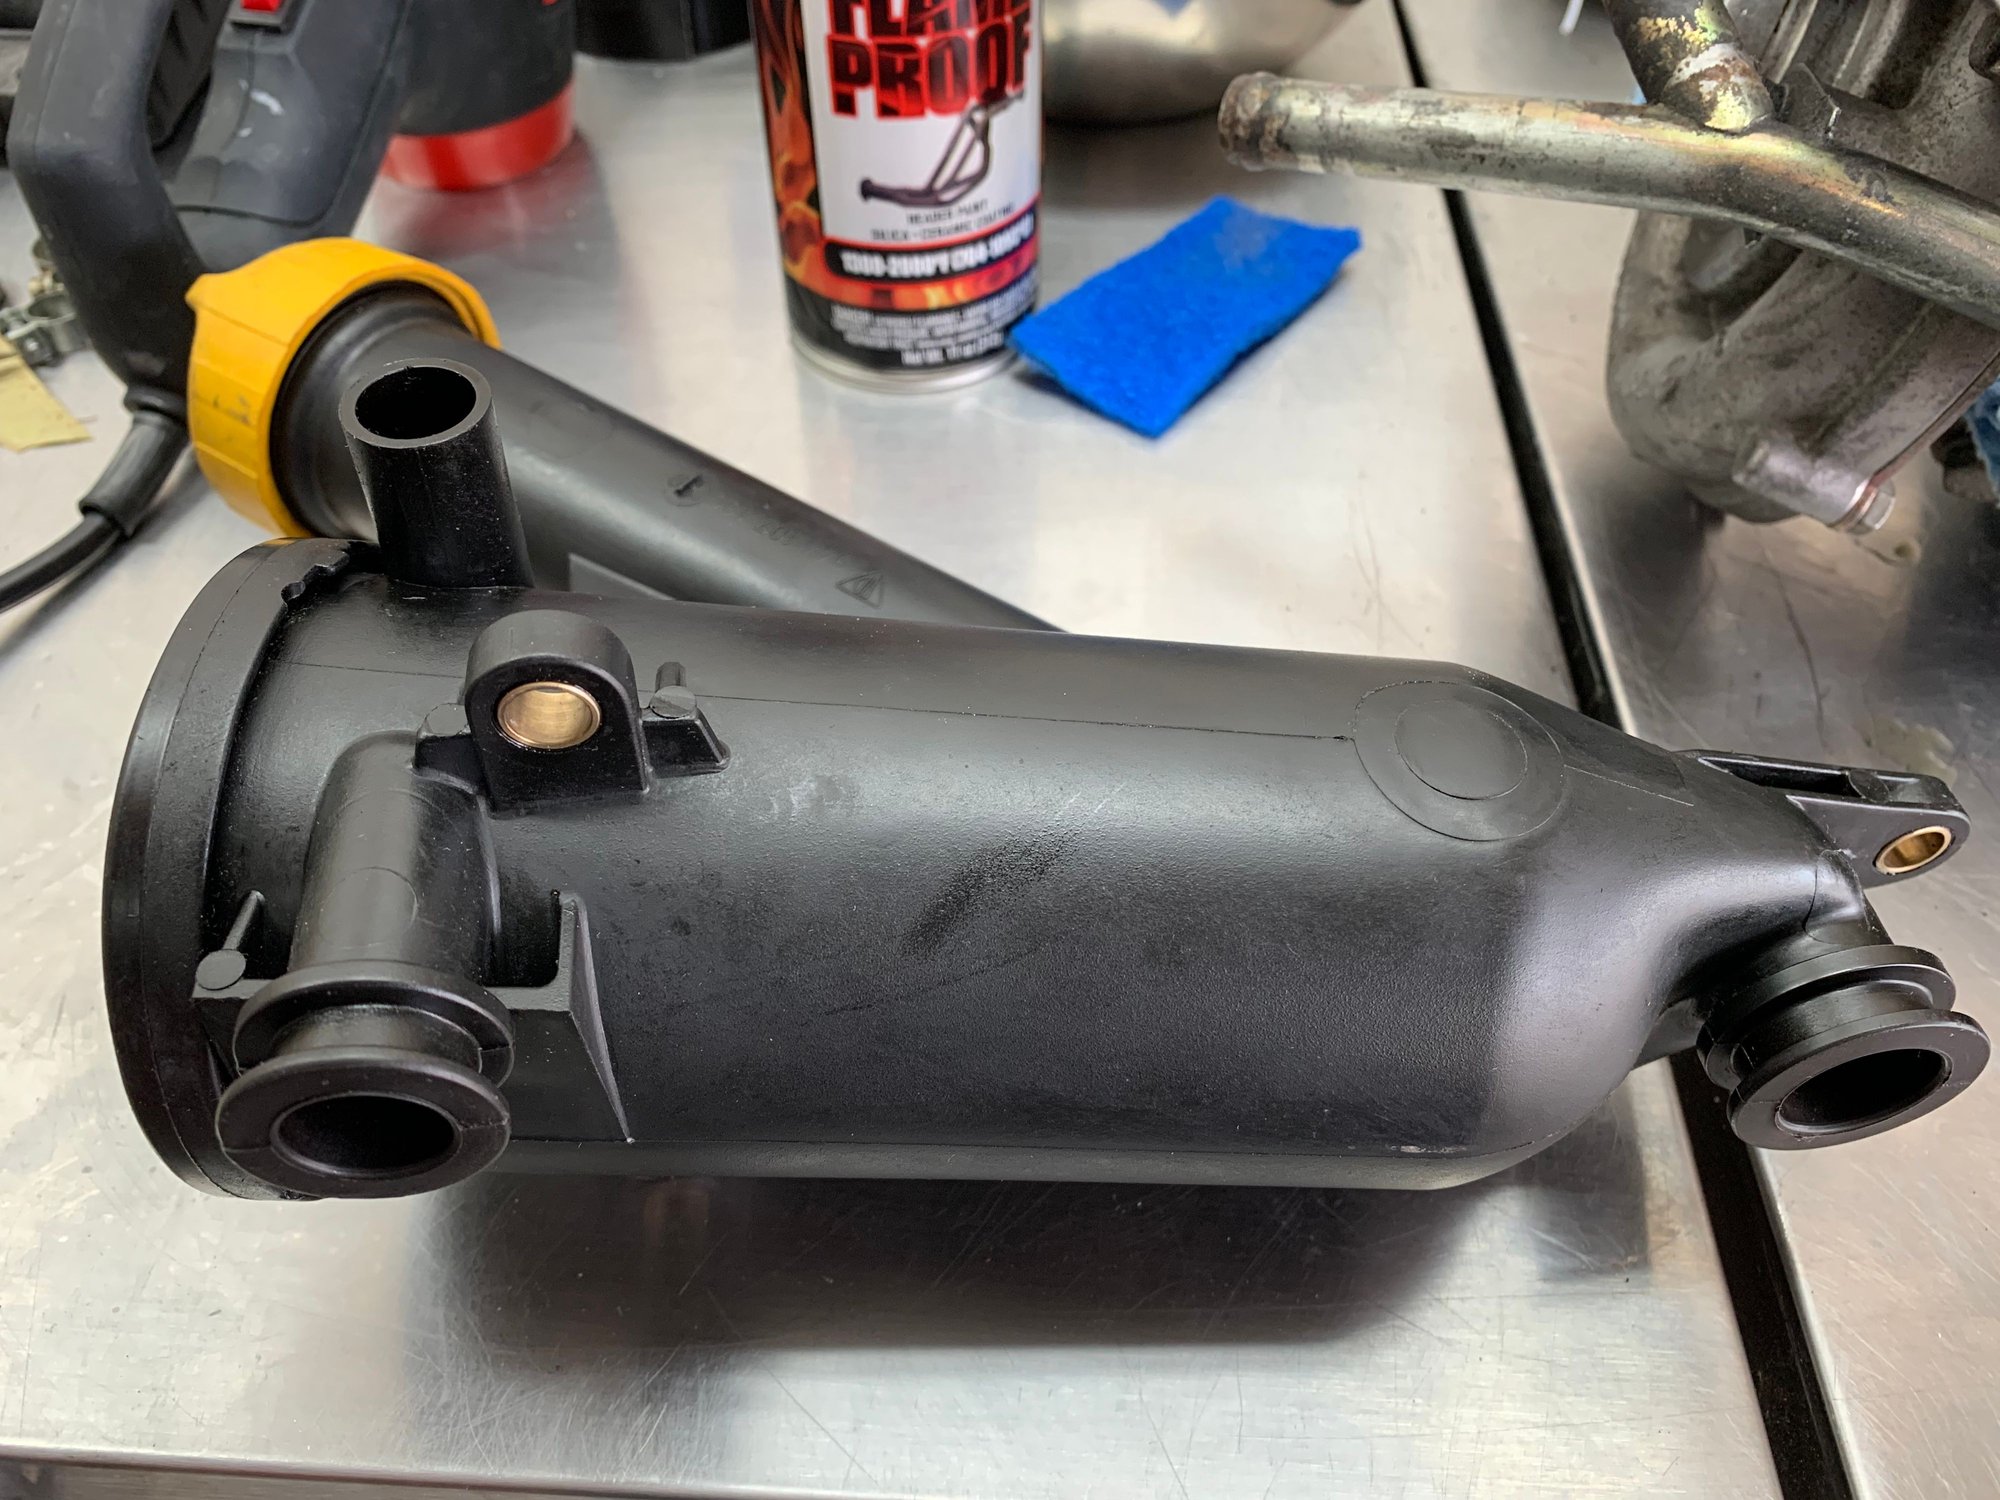
Ha, that looks like where I am also. Just installed the AOS and turbo but that bolt that connects the exhaust flange to the block, which goes through a metal support that connects to the intake (it’s black, vertical and connects to heat shields) is kicking my butt. It’s the last bolt in the turbo assembly, I can get to it easily from under the engine, but it’s not lining up... time for a beer!
Looks good Mike, the alternator and turbo provides lots os space.
Looks good Mike, the alternator and turbo provides lots os space.
#24
Thread Starter
Burning Brakes
Yeah I was considering slightly reaming out that hole that interfaces with the block in the down pipe before assembly!
BTW every beer improves parts alignment!
L8er
Mike G.
BTW every beer improves parts alignment!
L8er
Mike G.
#26
Hey Mike, tip for you (ask me how I know). When you reinstall the turbo to the exhaust system and heat shields, especially the one near the AOS and that black support that connects to the intake, keep it all very loose. I had to lift my engine a bit (have an engine support on it right now) to release the tension on the the exhaust and on the flange to the heat shield so that everything would line up. Took me a few hours to figure out the puzzle though.
No reaming or modification of any parts. Thought my recent experience might help.
No reaming or modification of any parts. Thought my recent experience might help.
#27
Thread Starter
Burning Brakes

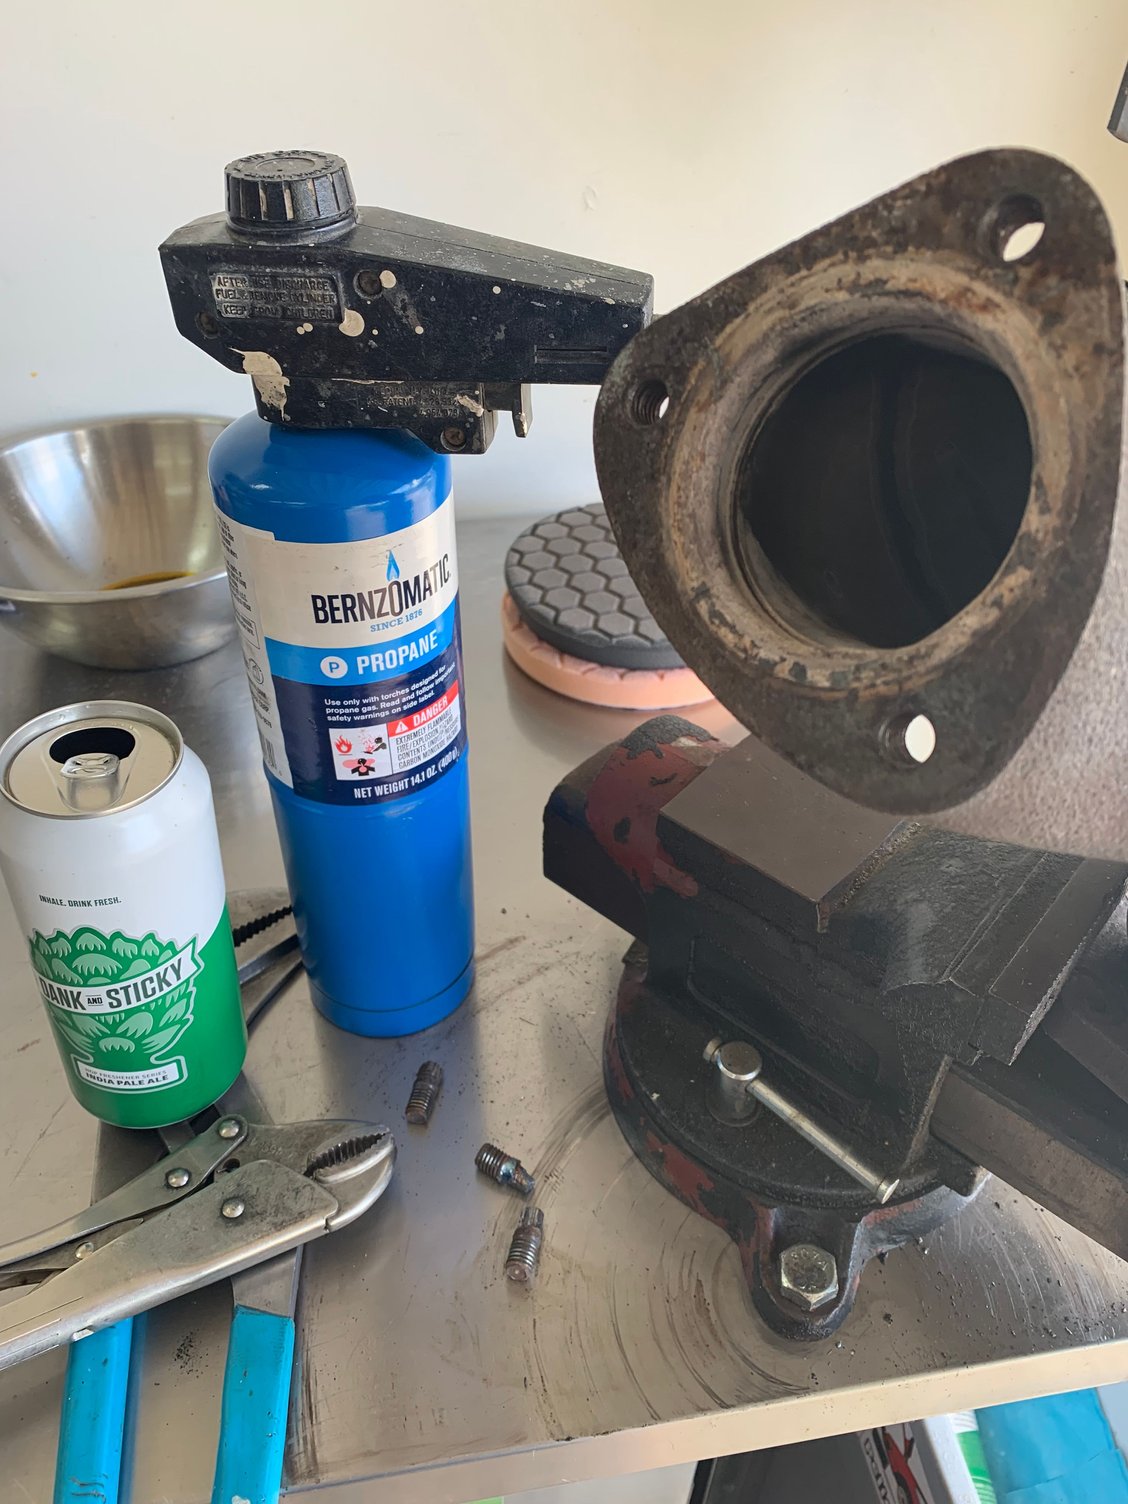
Iíve got an issue Iíve got to resolve slightly before I get back to putting everything back together. These suckers are on there I soaked them in PB blaster for like 3 to 4 days and I tried heat. But nada!
Last edited by Mike Goebel; 05-19-2019 at 01:24 PM.
#28
Looks like you’ll need to drill them out. Ouch.
Anyone know now if I can install the cross over pipe before I install the cross member? Clark’s garage lists the order as cross member then cross over pipe, but I’m thinking otherwise. Working from inside the bay outwards and cross member has just 4 easily accessible bolts.
Anyone know now if I can install the cross over pipe before I install the cross member? Clark’s garage lists the order as cross member then cross over pipe, but I’m thinking otherwise. Working from inside the bay outwards and cross member has just 4 easily accessible bolts.
#29
Drifting
First weld on a nut to whatís left of the stud. Use a hammer along with the PB Blaster and tap the end of the broken off studs for a while. Iíve spent upwards of an hour tapping the top of a stud but it helps break it free of the rust. Then with a box end wrench on the nut try to move the stud back and forth. Once it starts to move progress slowly on removing it with the loosening/tightning method. If you just try to remove it immediately once it starts to move it will gaul up and possibly break off flush with the flange. Thatís requires a whole different method of extraction. If you have a vise and can secure the pipe you can tap the stud while trying to move it.


