When you click on links to various merchants on this site and make a purchase, this can result in this site earning a commission. Affiliate programs and affiliations include, but are not limited to, the eBay Partner Network.
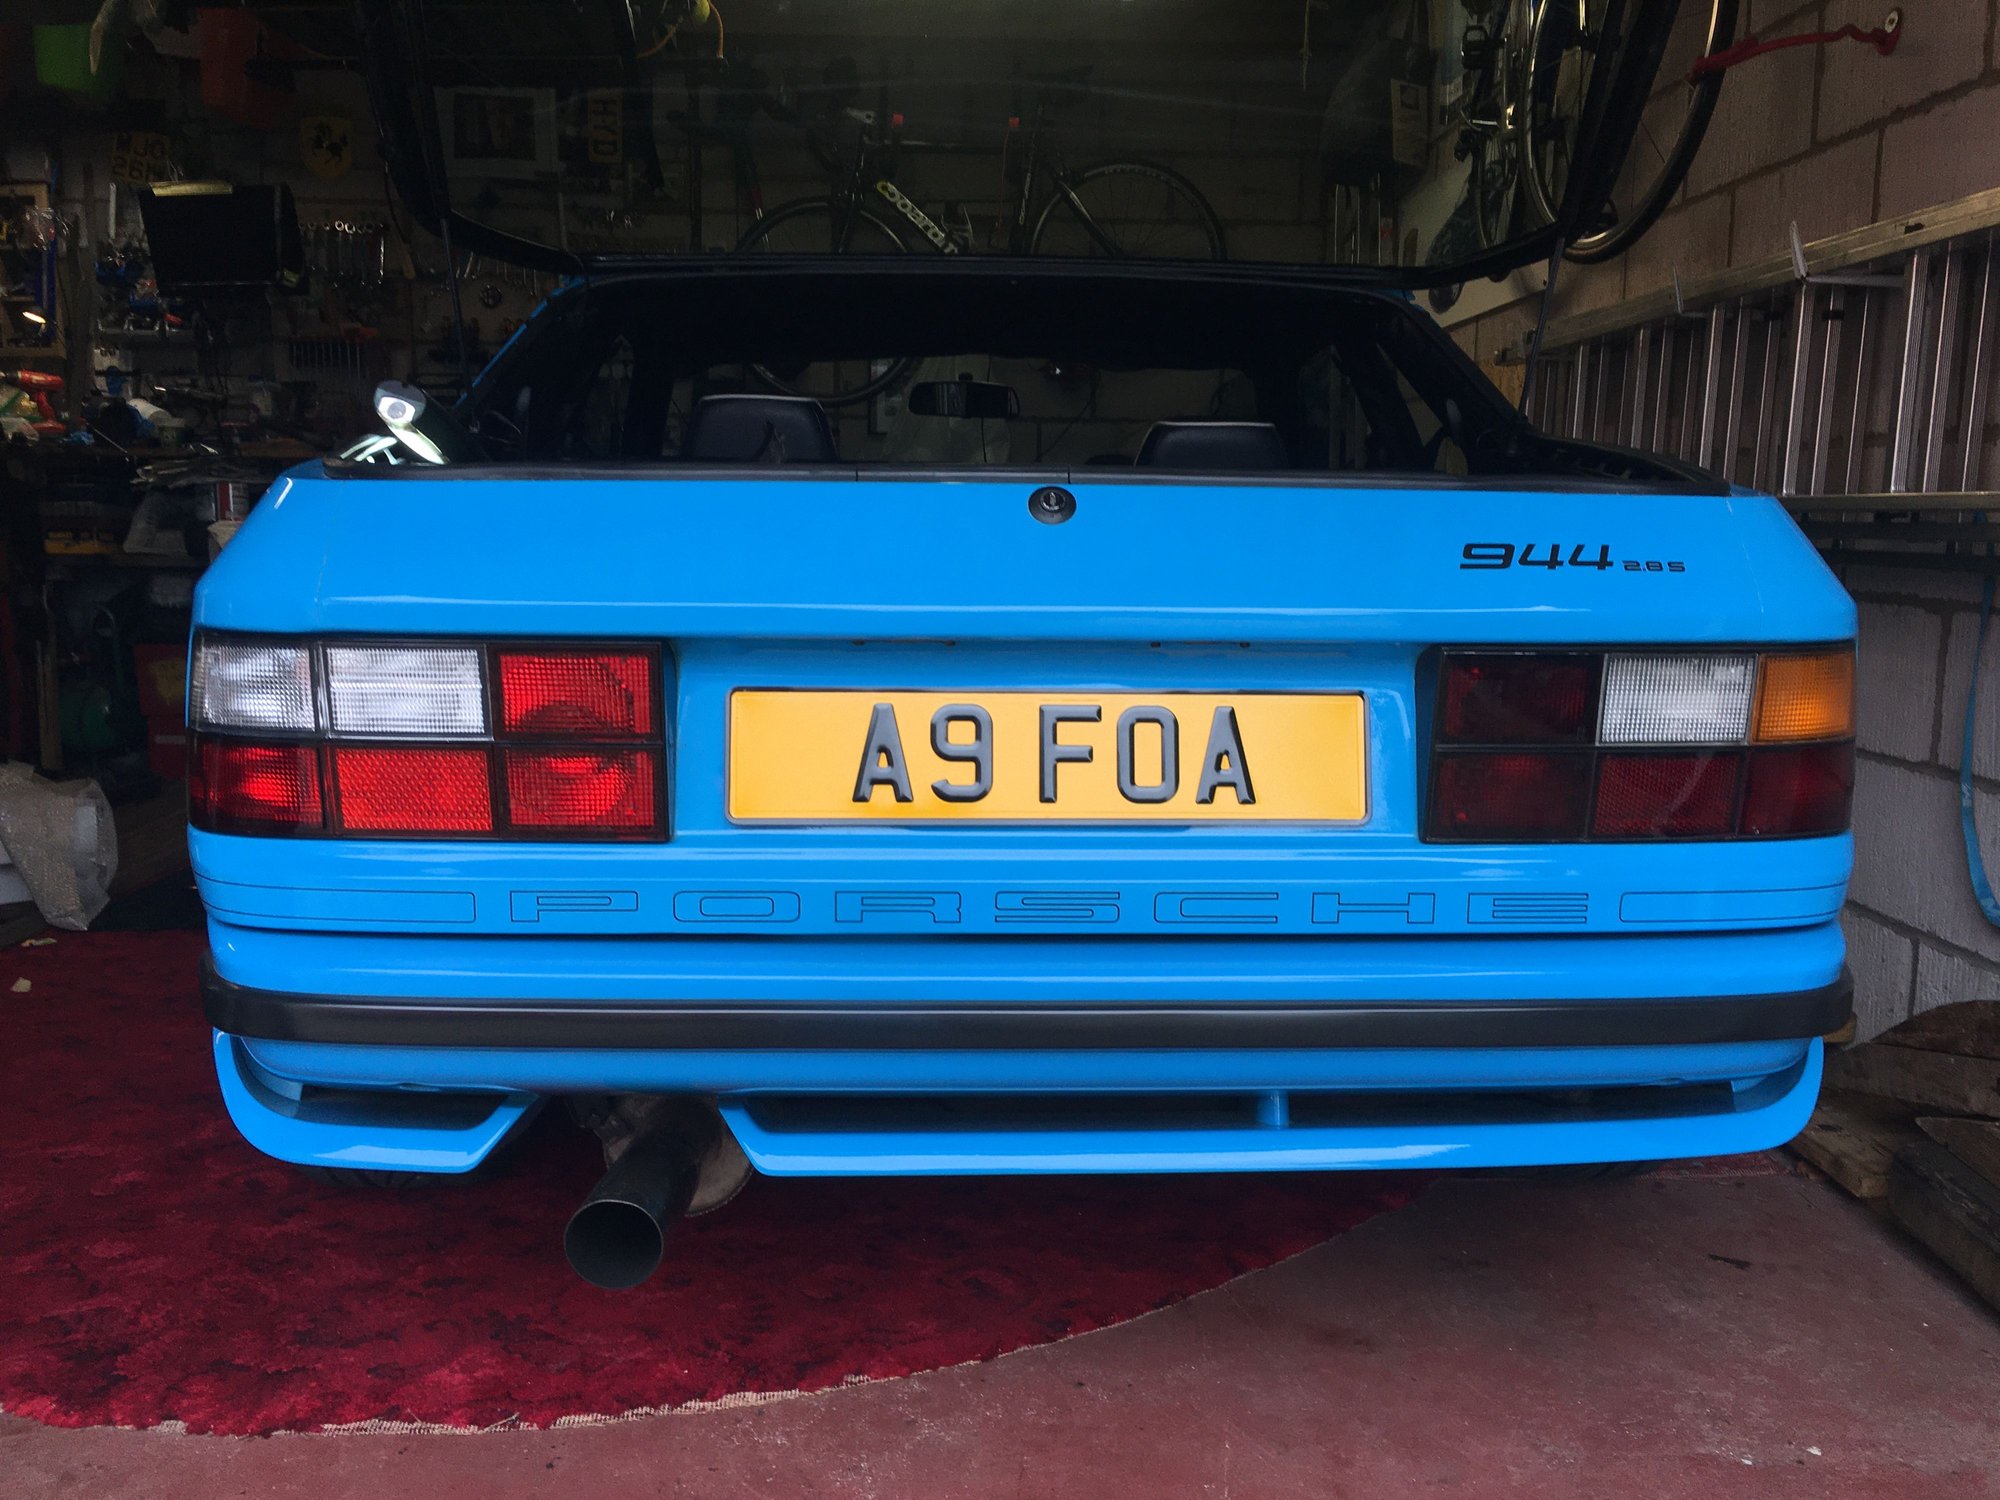
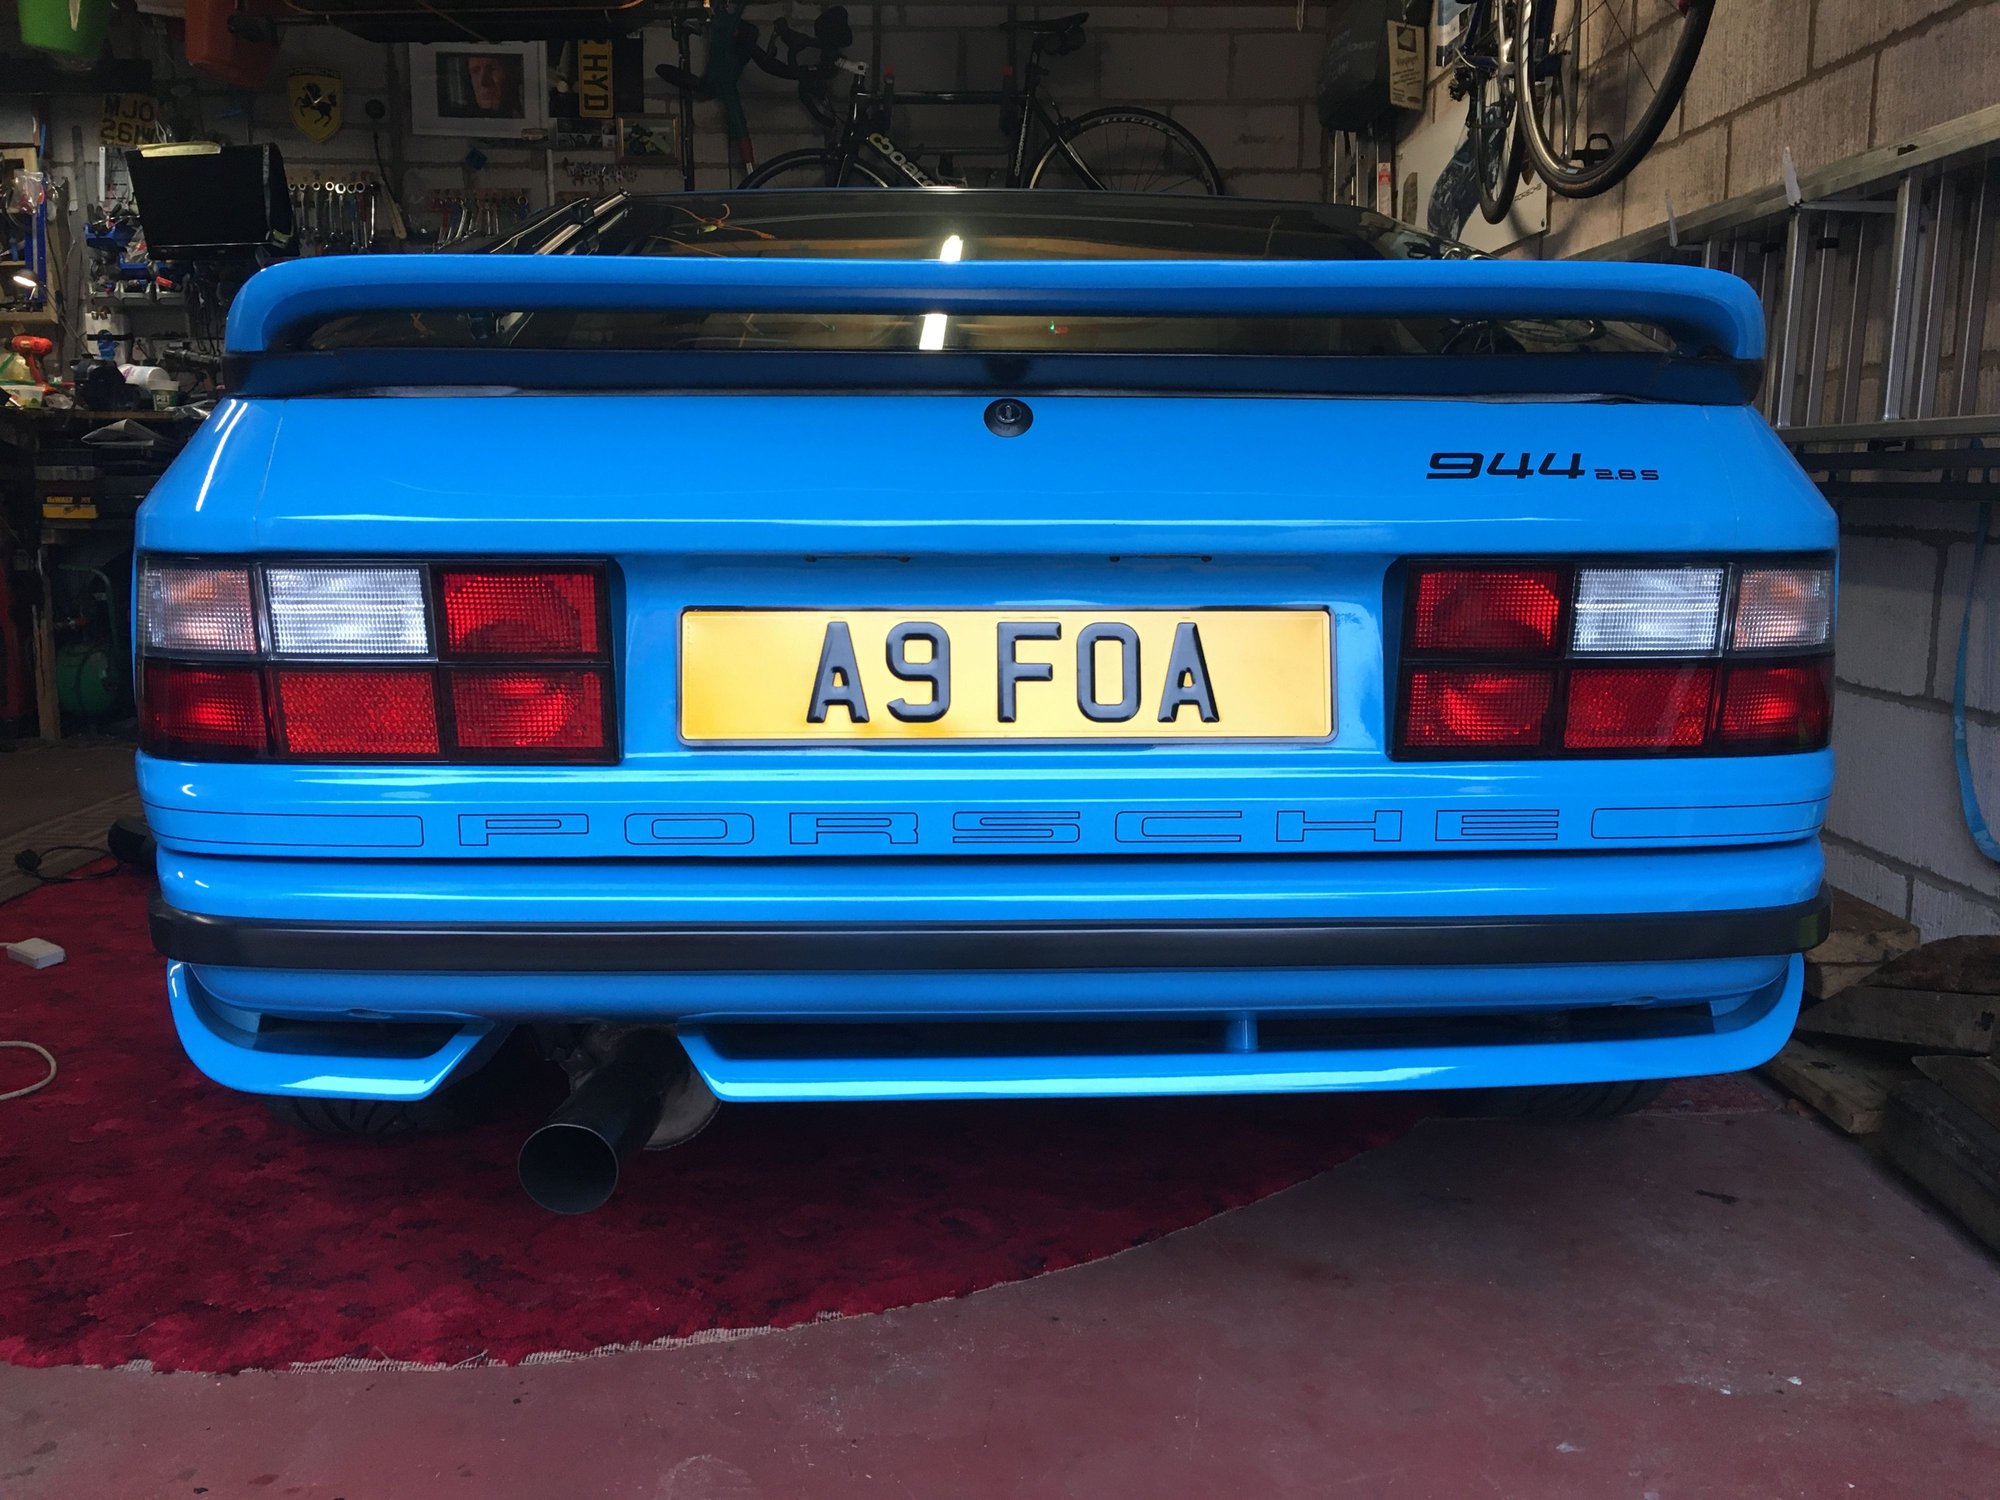
True to my word, having been persuaded by your tail light change, I've replaced mine.
changes the back end , and maybe a little modern look too.
The old lights were cracked and discoloured, but they were over 30+ years old.
True to my word, having been persuaded by your tail light change, I've replaced mine.
changes the back end , and maybe a little modern look too.
The old lights were cracked and discoloured, but they were over 30+ years old.
Looks great. Did you also do the additional running light mod so all the sections have illumination in them?
US Setup must be different. Made a video of all the lights when we did it a few months ago, but did not do the rear fog. In the US, the parking lights are the bottom outside corner, and the bottom section next to it is just a reflector - added the kit that makes that section a second running light.
It's strange that they're not universally the same, but I assume it's to do with the US regulations.(more brake lights etc)
I don't have a third central brake light in the centre top of the rear glass either .
What's next with the 944?
I'm waiting patiently for the summer, and hoping to take it back to Germany and the autobahns 😀for a roadtrip with my son.
Next month, new BT receiver, remote control power door locks and hatch release, better inside FM antenna than the one in the windshield, refreshed gauge cluster with Lutz LED boards, silver trim gauge bezels, and odometer gear fix, auto dimming rearview mirror with Homelink buttons, new shift **** with lighted pattern, and a few other things. Tearing the interior apart once to do all this and powering all the accessories from a secondary fuse box I'll install where one side of the circuits have continuous power and the other side is switched.
Then it should be done other than maintenance items as they come up.
Good luck with that. It should keep you busy.
You obviously like tinkering with your cars as I do . What bt receiver you got your eyes on?
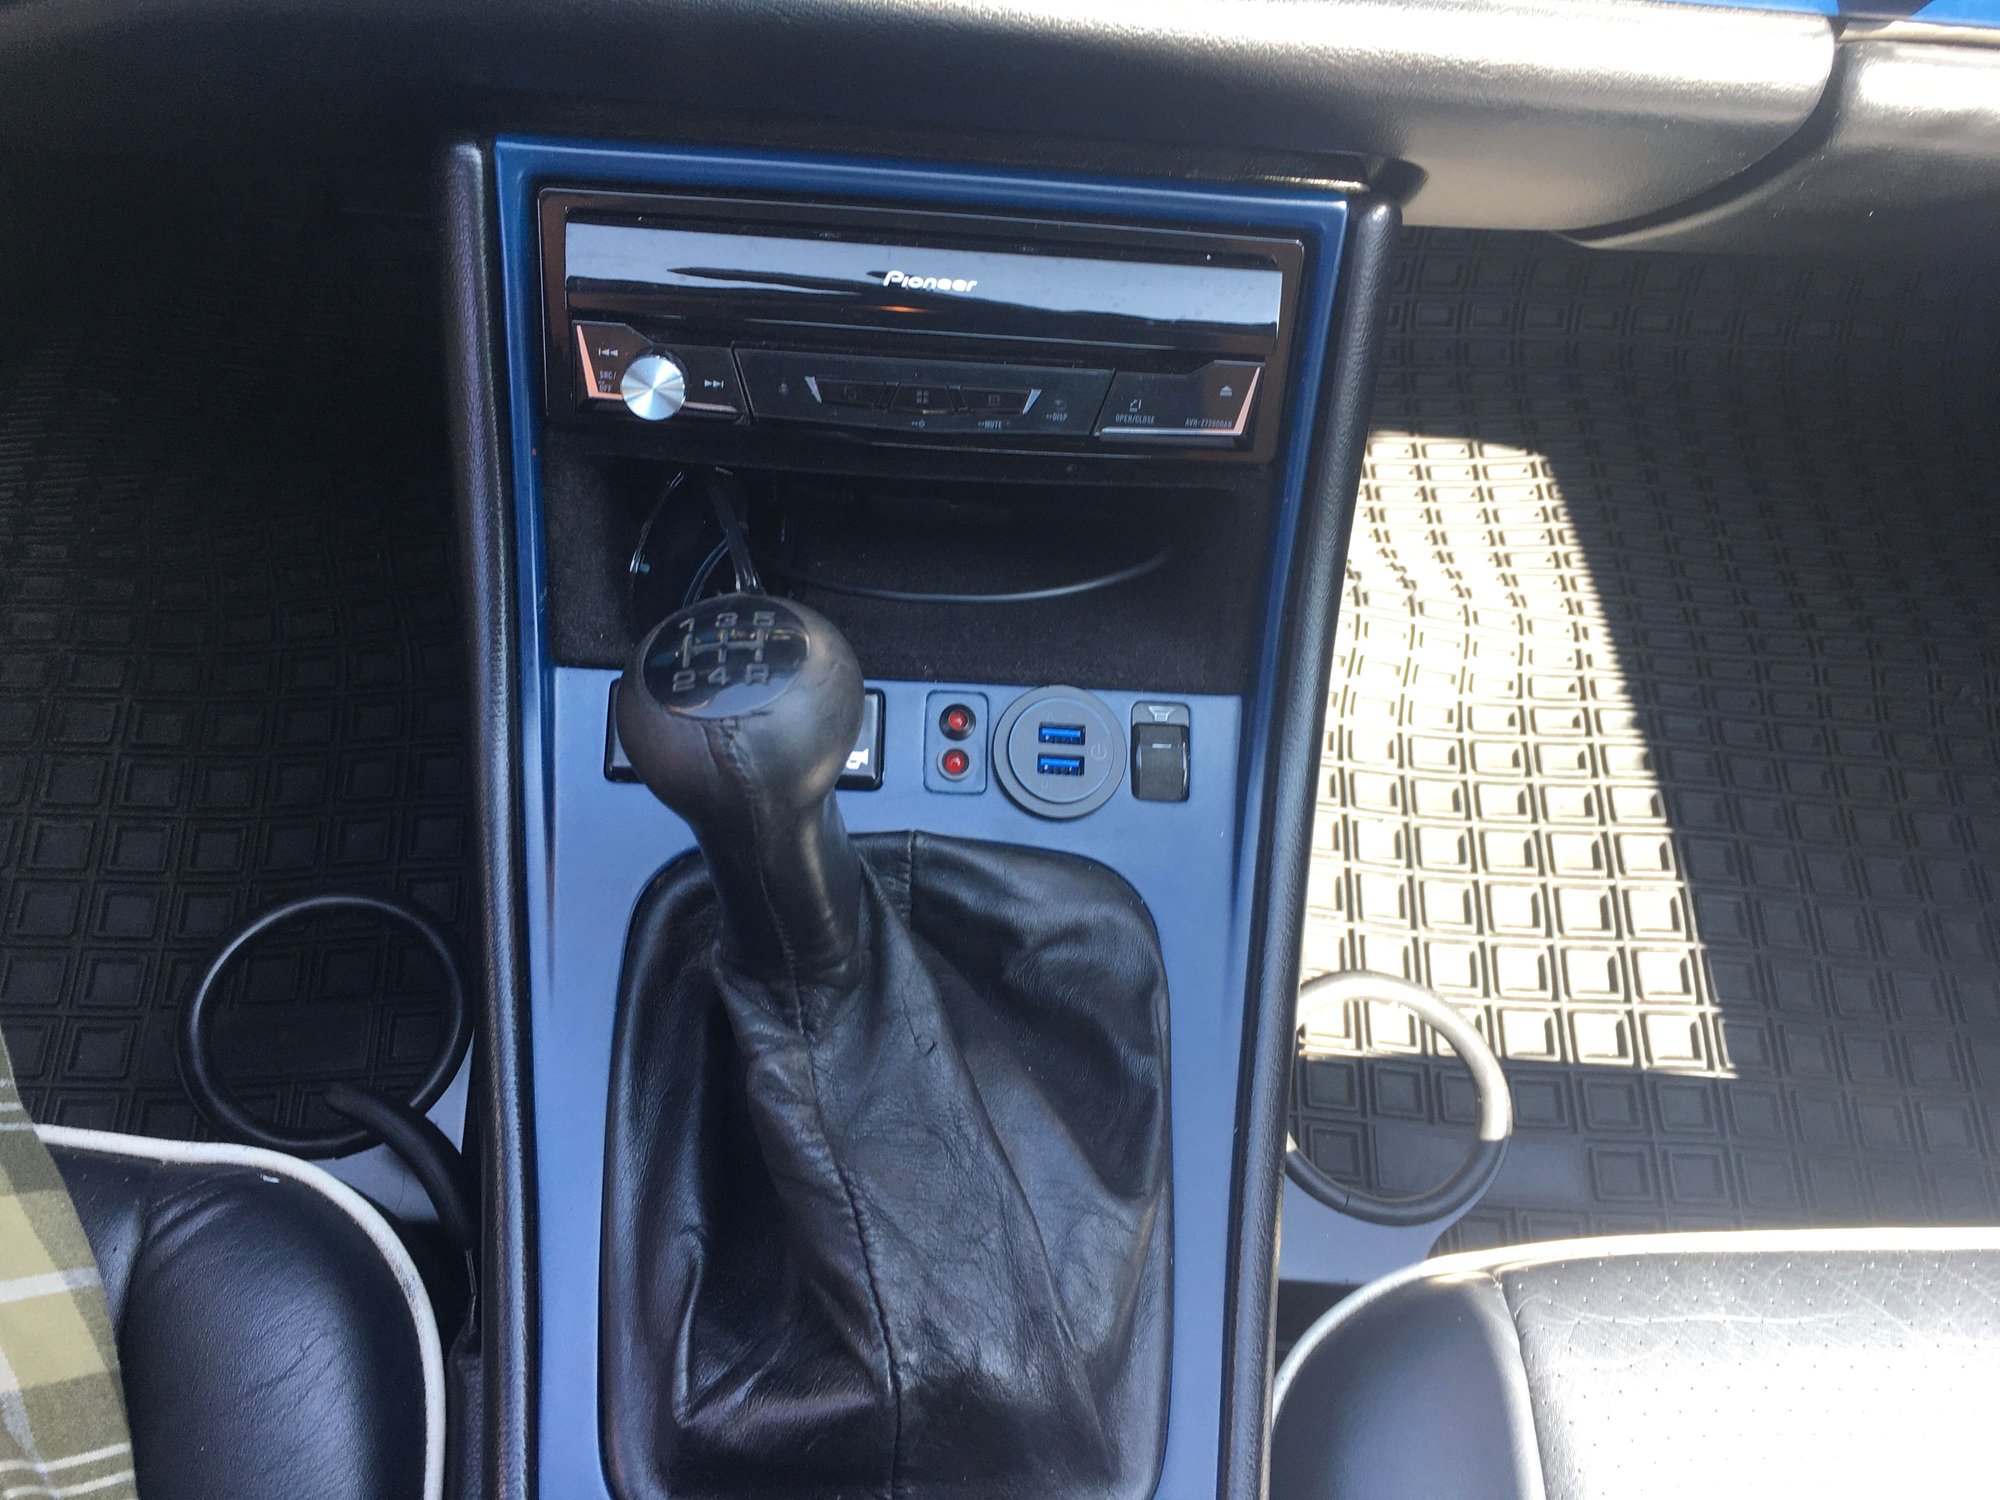
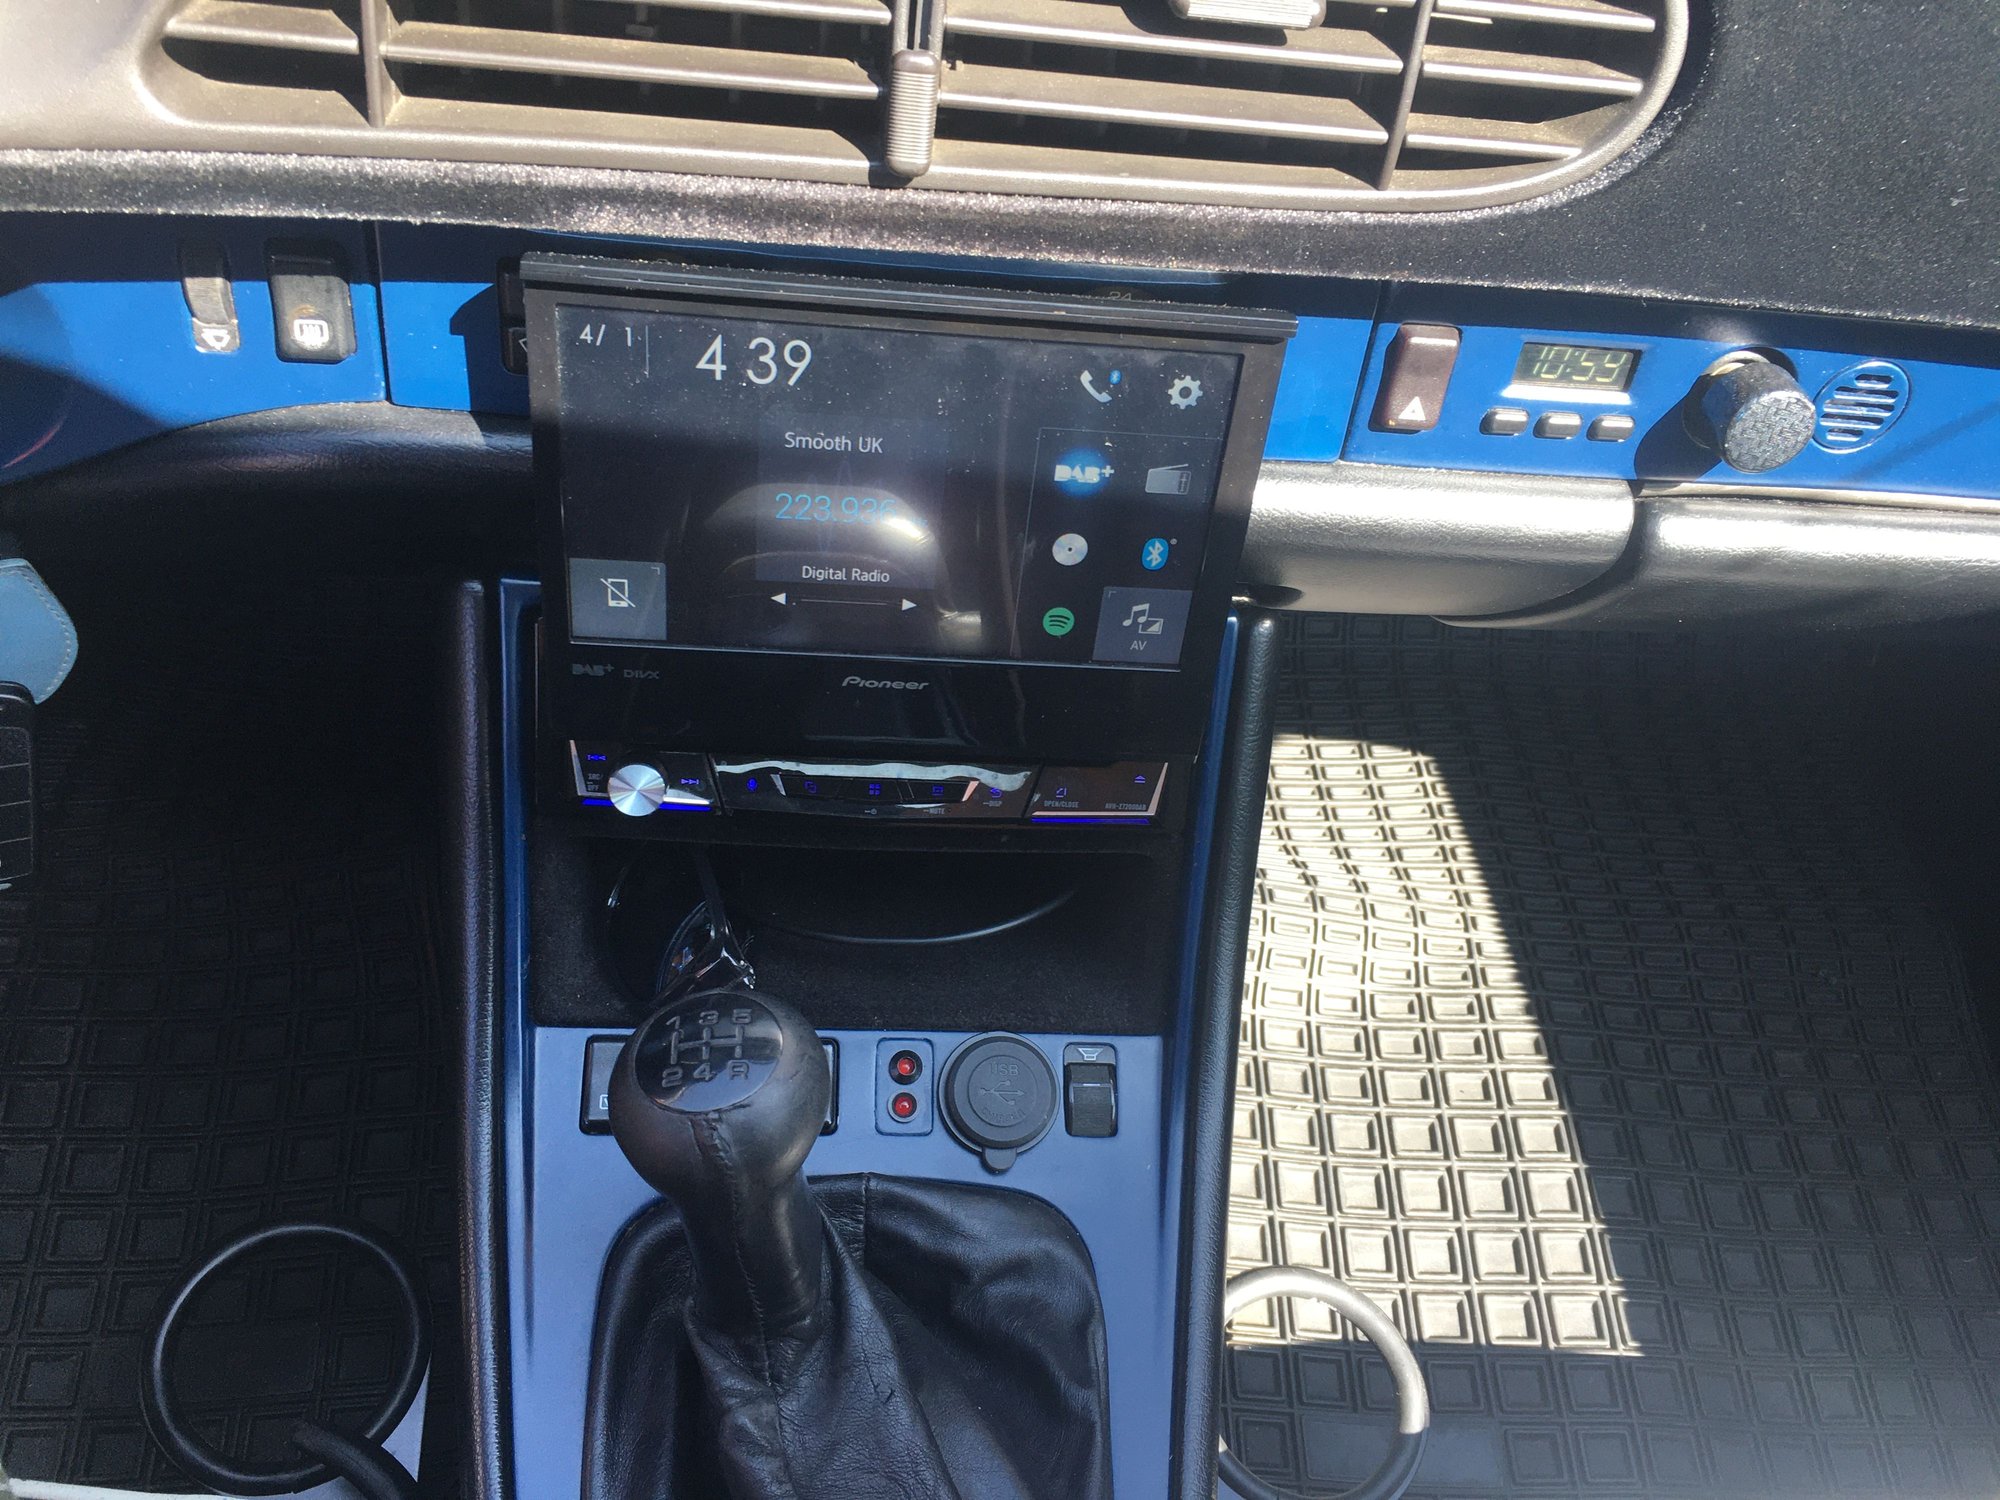
I fitted a pioneer avh-7200 dab single din with fold out screen a couple of years ago. It's excellent with apple car play etc.
Uprated speakers and a 10" alpine speaker and amp (20 years old now) in the spare wheel well.
Regarding poor FM reception, I've suffered this for the 34 years I've had the car!
Good luck with that. It should keep you busy.
You obviously like tinkering with your cars as I do . What bt receiver you got your eyes on?
I fitted a pioneer avh-7200 dab single din with fold out screen a couple of years ago. It's excellent with apple car play etc.
Uprated speakers and a 10" alpine speaker and amp (20 years old now) in the spare wheel well.
Regarding poor FM reception, I've suffered this for the 34 years I've had the car!
Thanks. Should bang it all out over my son's Spring Break next.month.
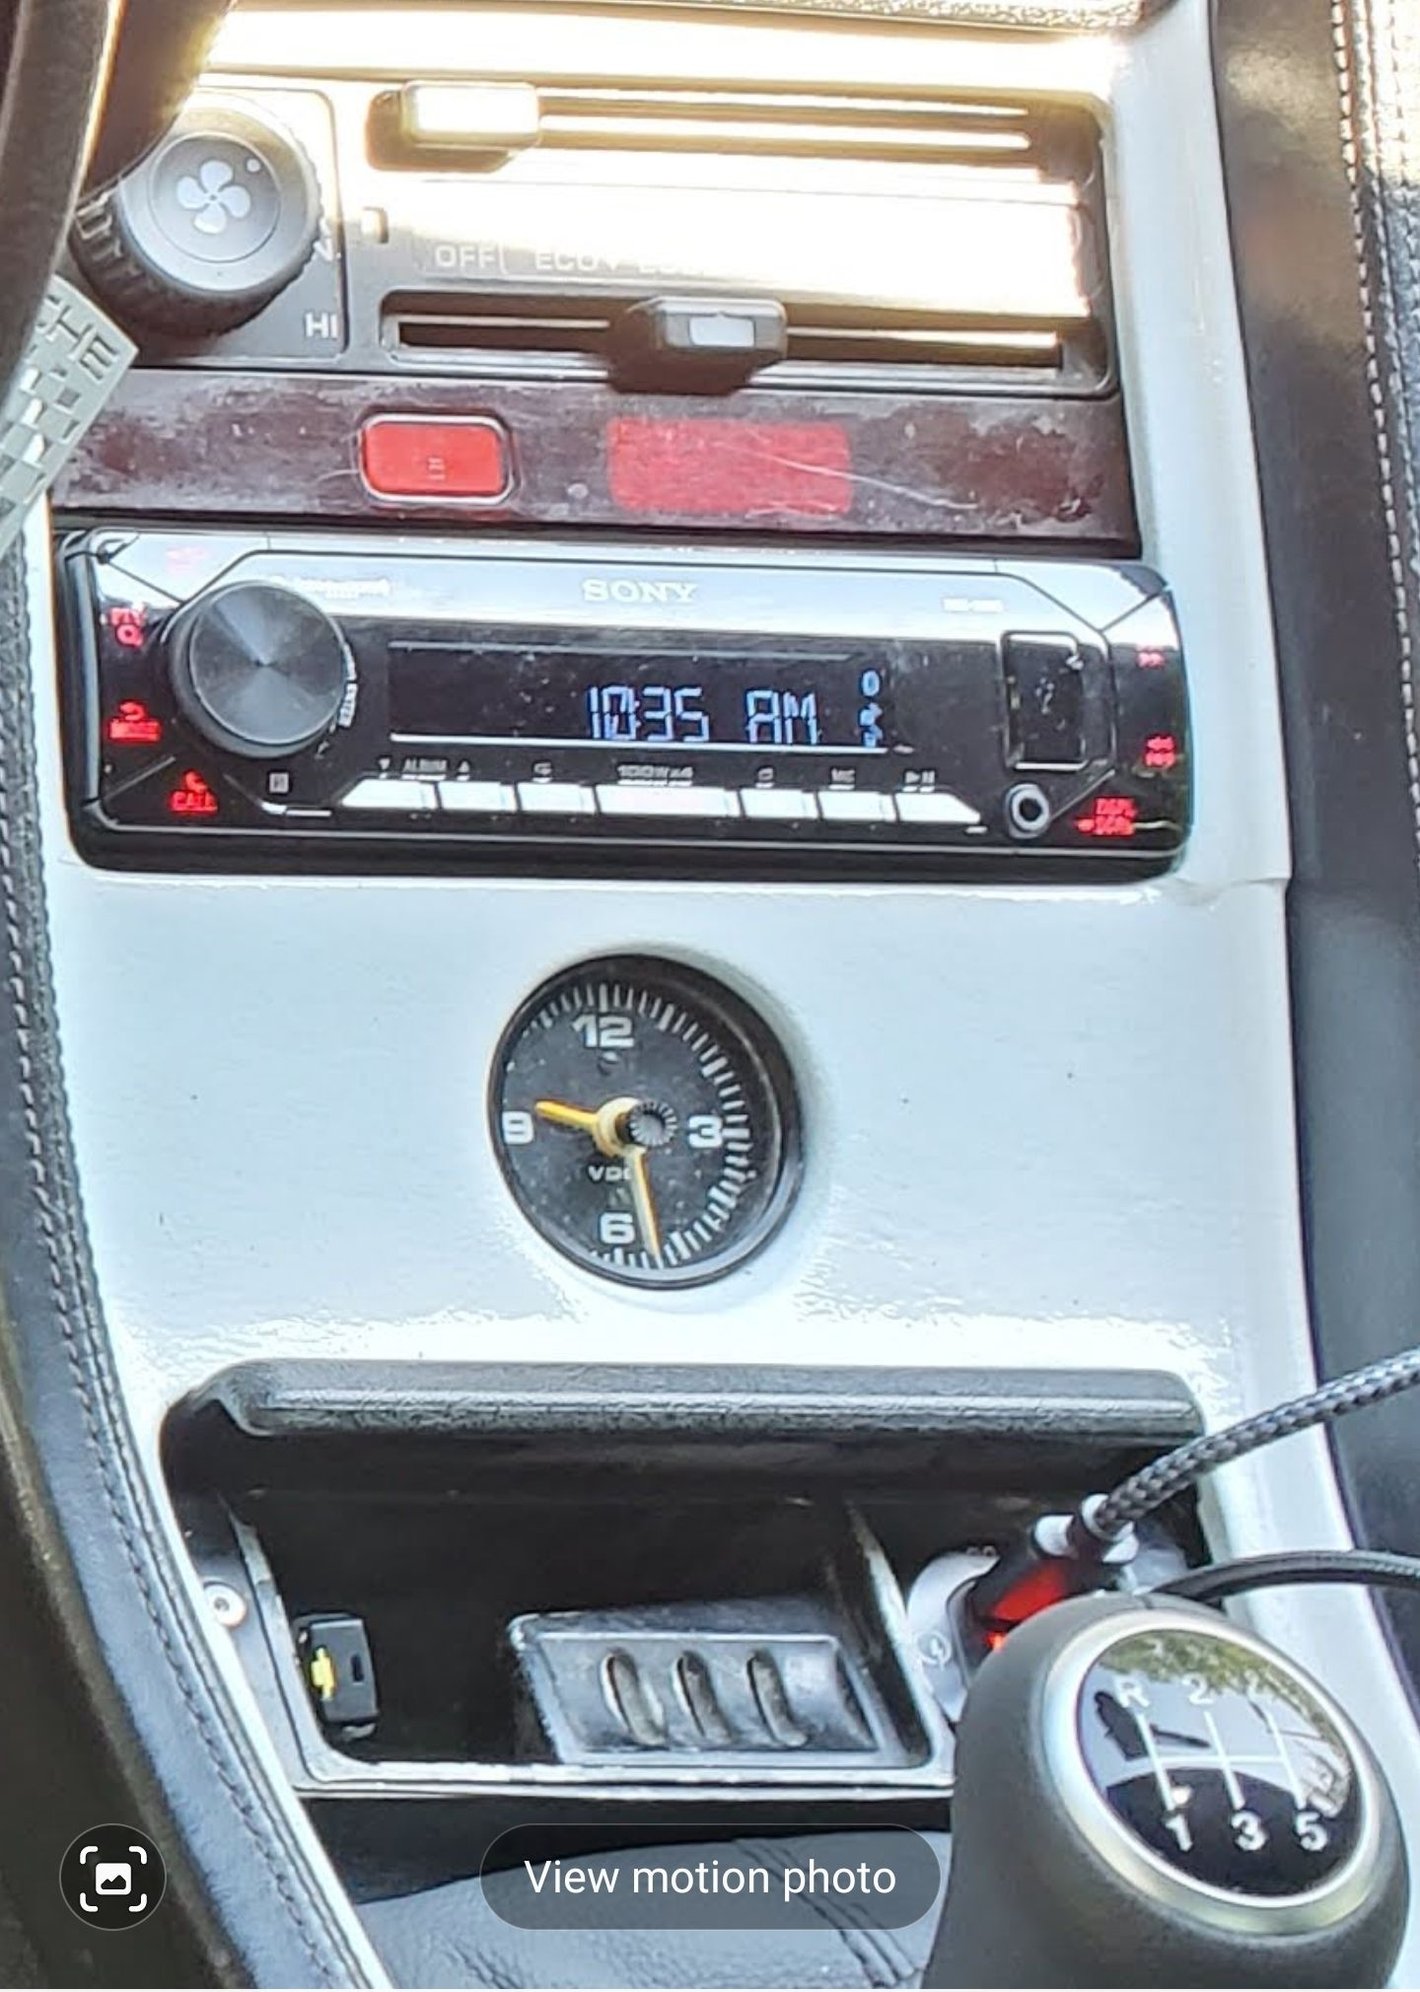
Using the same Sony DSX-GS80 I put into one of my 928s. 45watts RMS (not peak) per channel from the integrated MOFFSET amp, so simpler install with no external amp needed, and simple look that doesn't look out of place in the classic Porsche interiors. Backlighting is also customizable to red and white so it matches the gauges.
Car already has the Infinity Kappa speakers from the PO so should work well together.
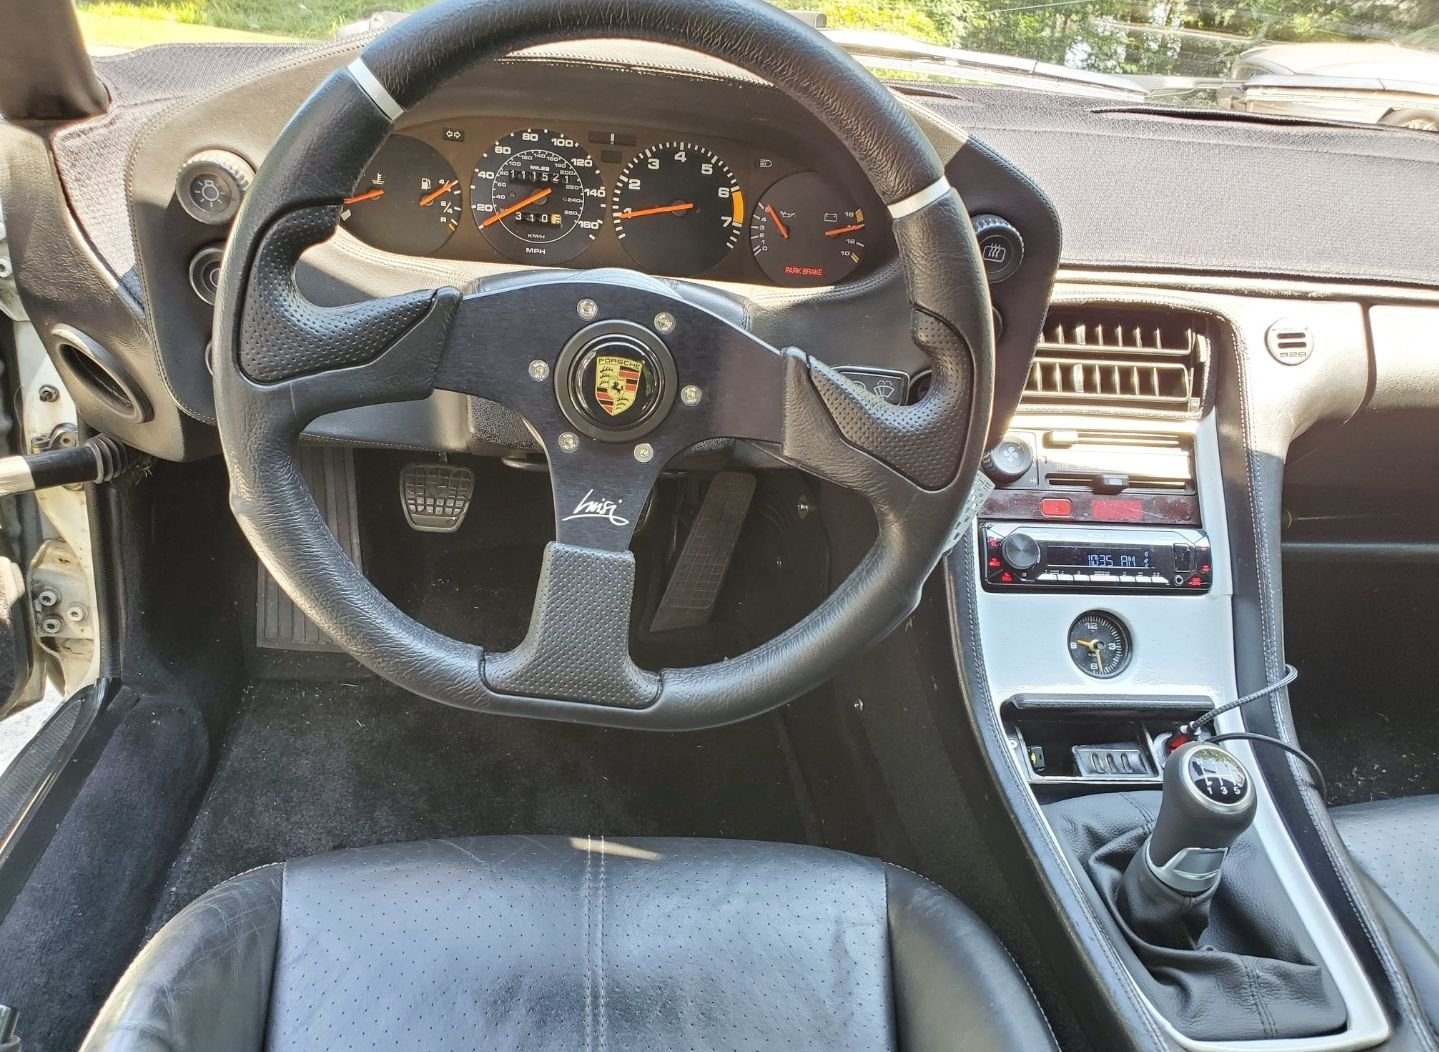
Here it is in the 928. Using the same shift **** too but with red pattern illumination.
It looks good and suits the interior. Nice steering wheel too.
it must be a full time job looking after your classic Porsches, and expensive at times no doubt.
I just love late 70's to early 90's Porsches , and to be honest other European and Japanese cars of this era.
My head unit is quite unobtrusive when touchscreen is inside unit, and the only disadvantage is the HVAC controls are hidden , but takes seconds to park screen so I can live with it.
Thanks. That looks great too.
Yes, lots of time spent taking care of the fleet.
The 944 is my son's.
My daily driver is an 84 928 Euro S twin dizzy auto. No back seat and all stereo instead.
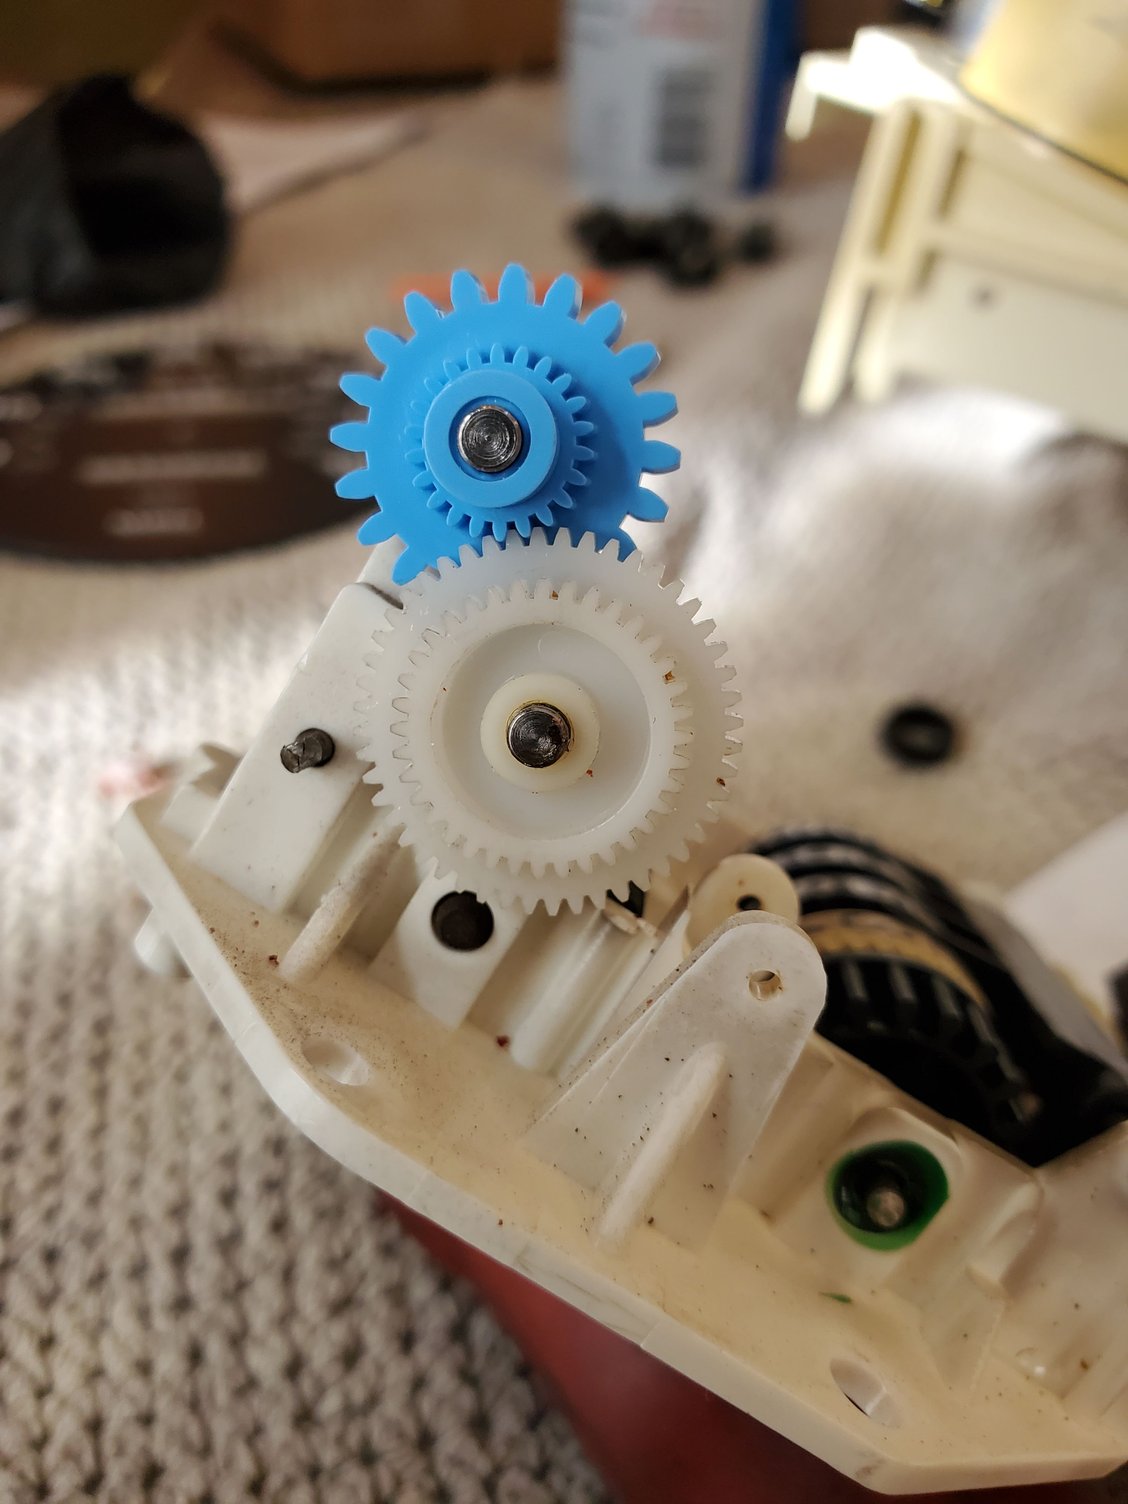
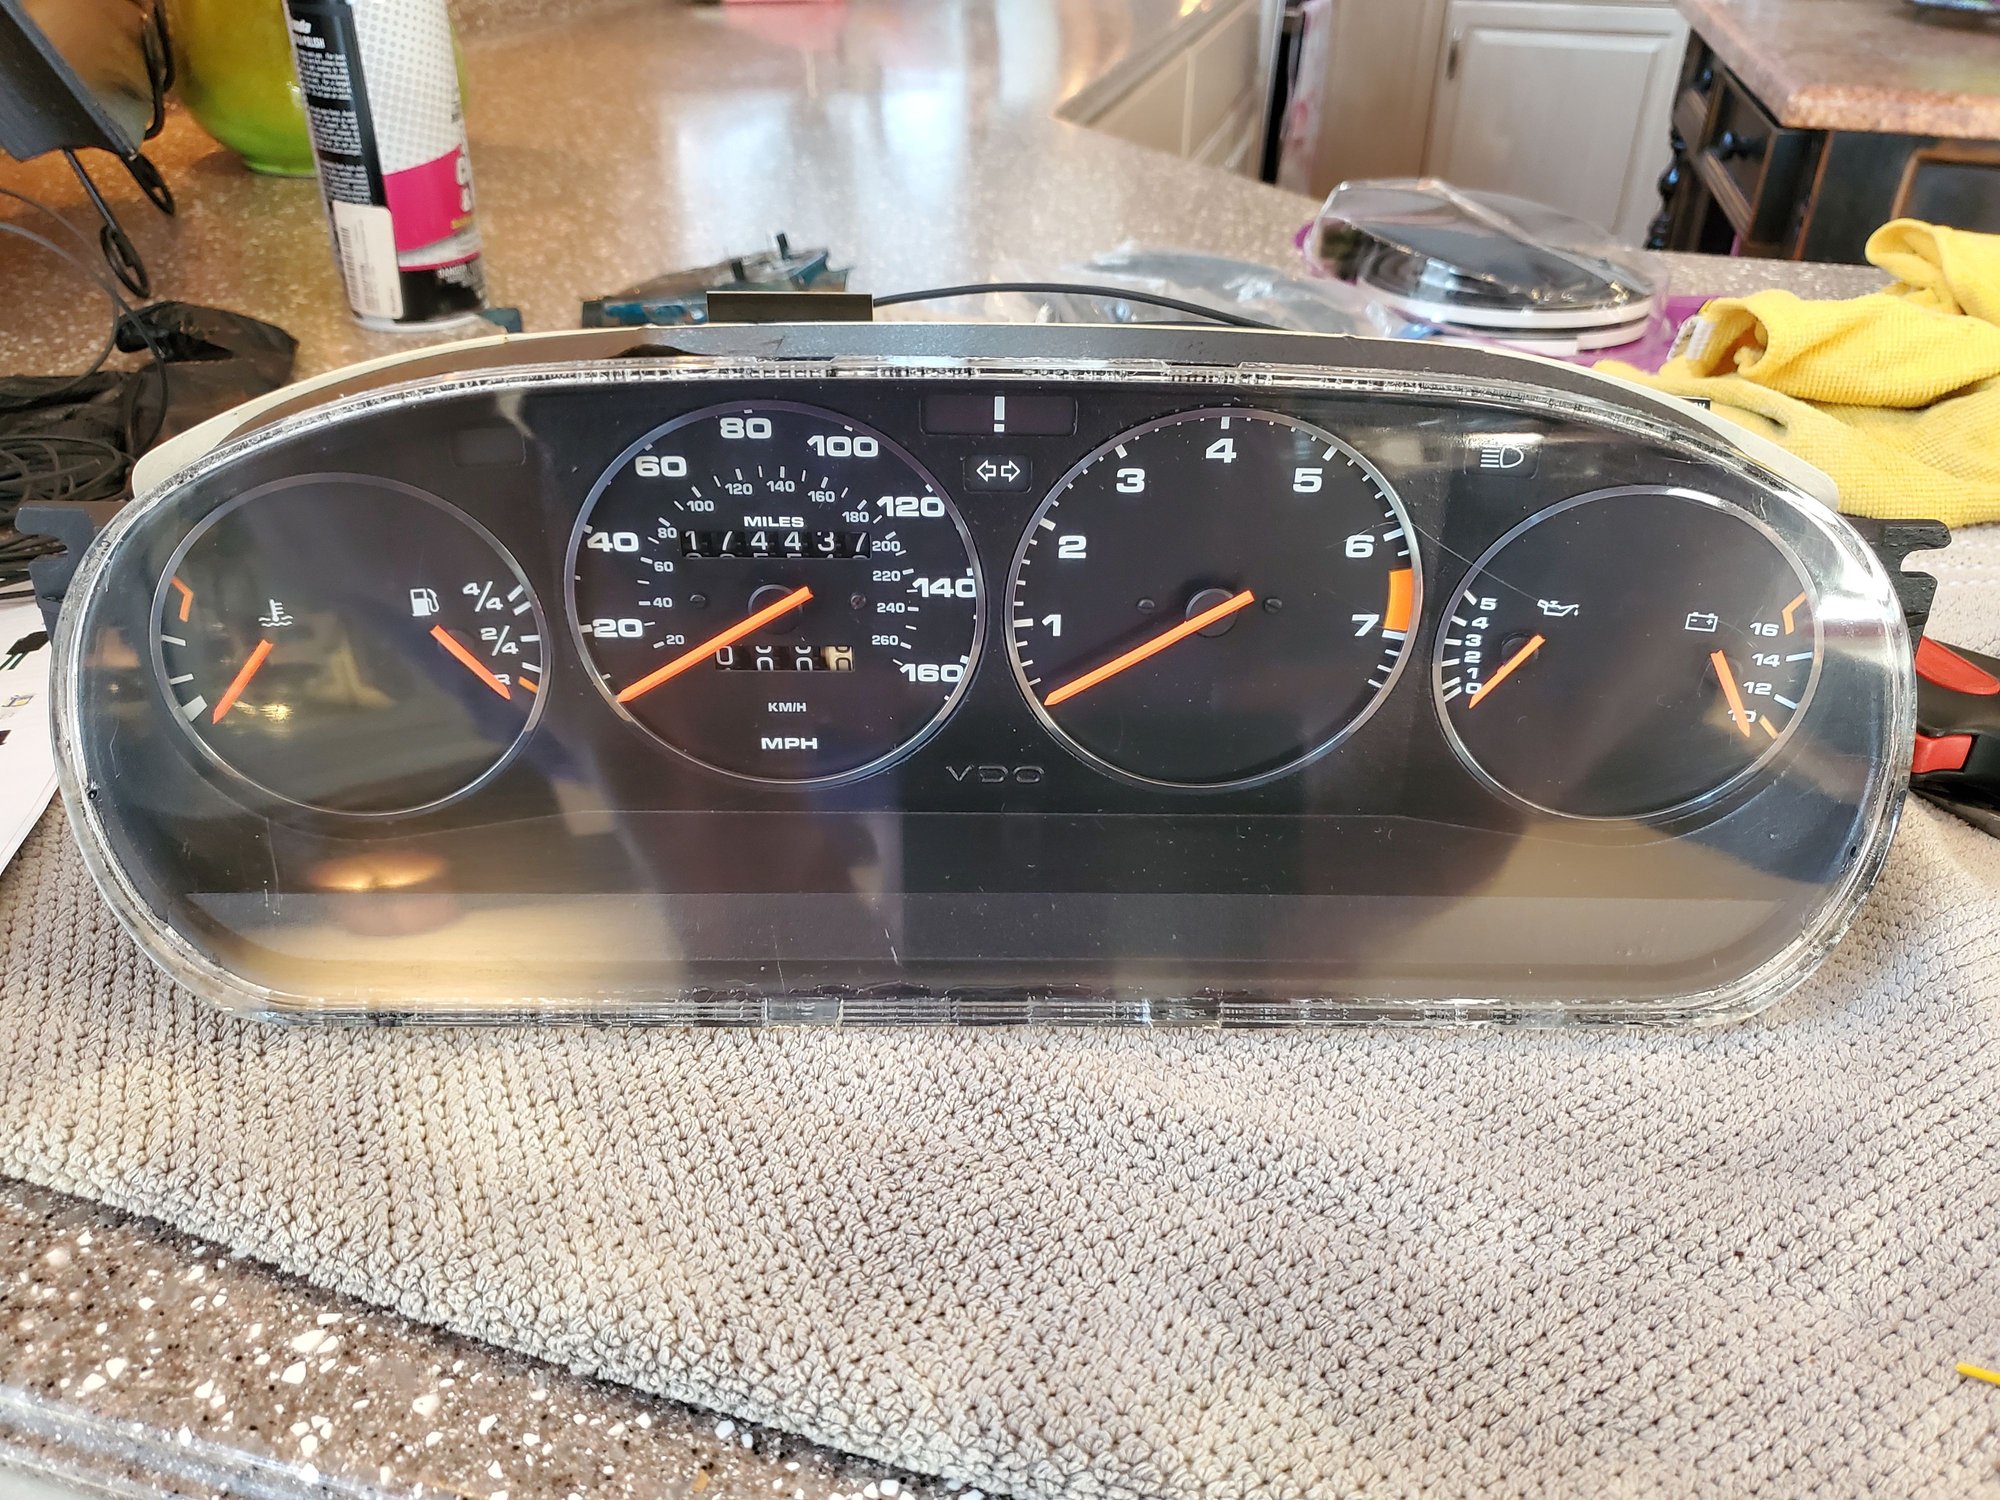
I'm getting ready to do a bunch of interior stuff on the car and since my odometer doesn't work, knew I'd need to pull the cluster and replace that gear.
So, I purchased a complete spare S2 gauge cluster so I could have one ready to swap in to save some time.
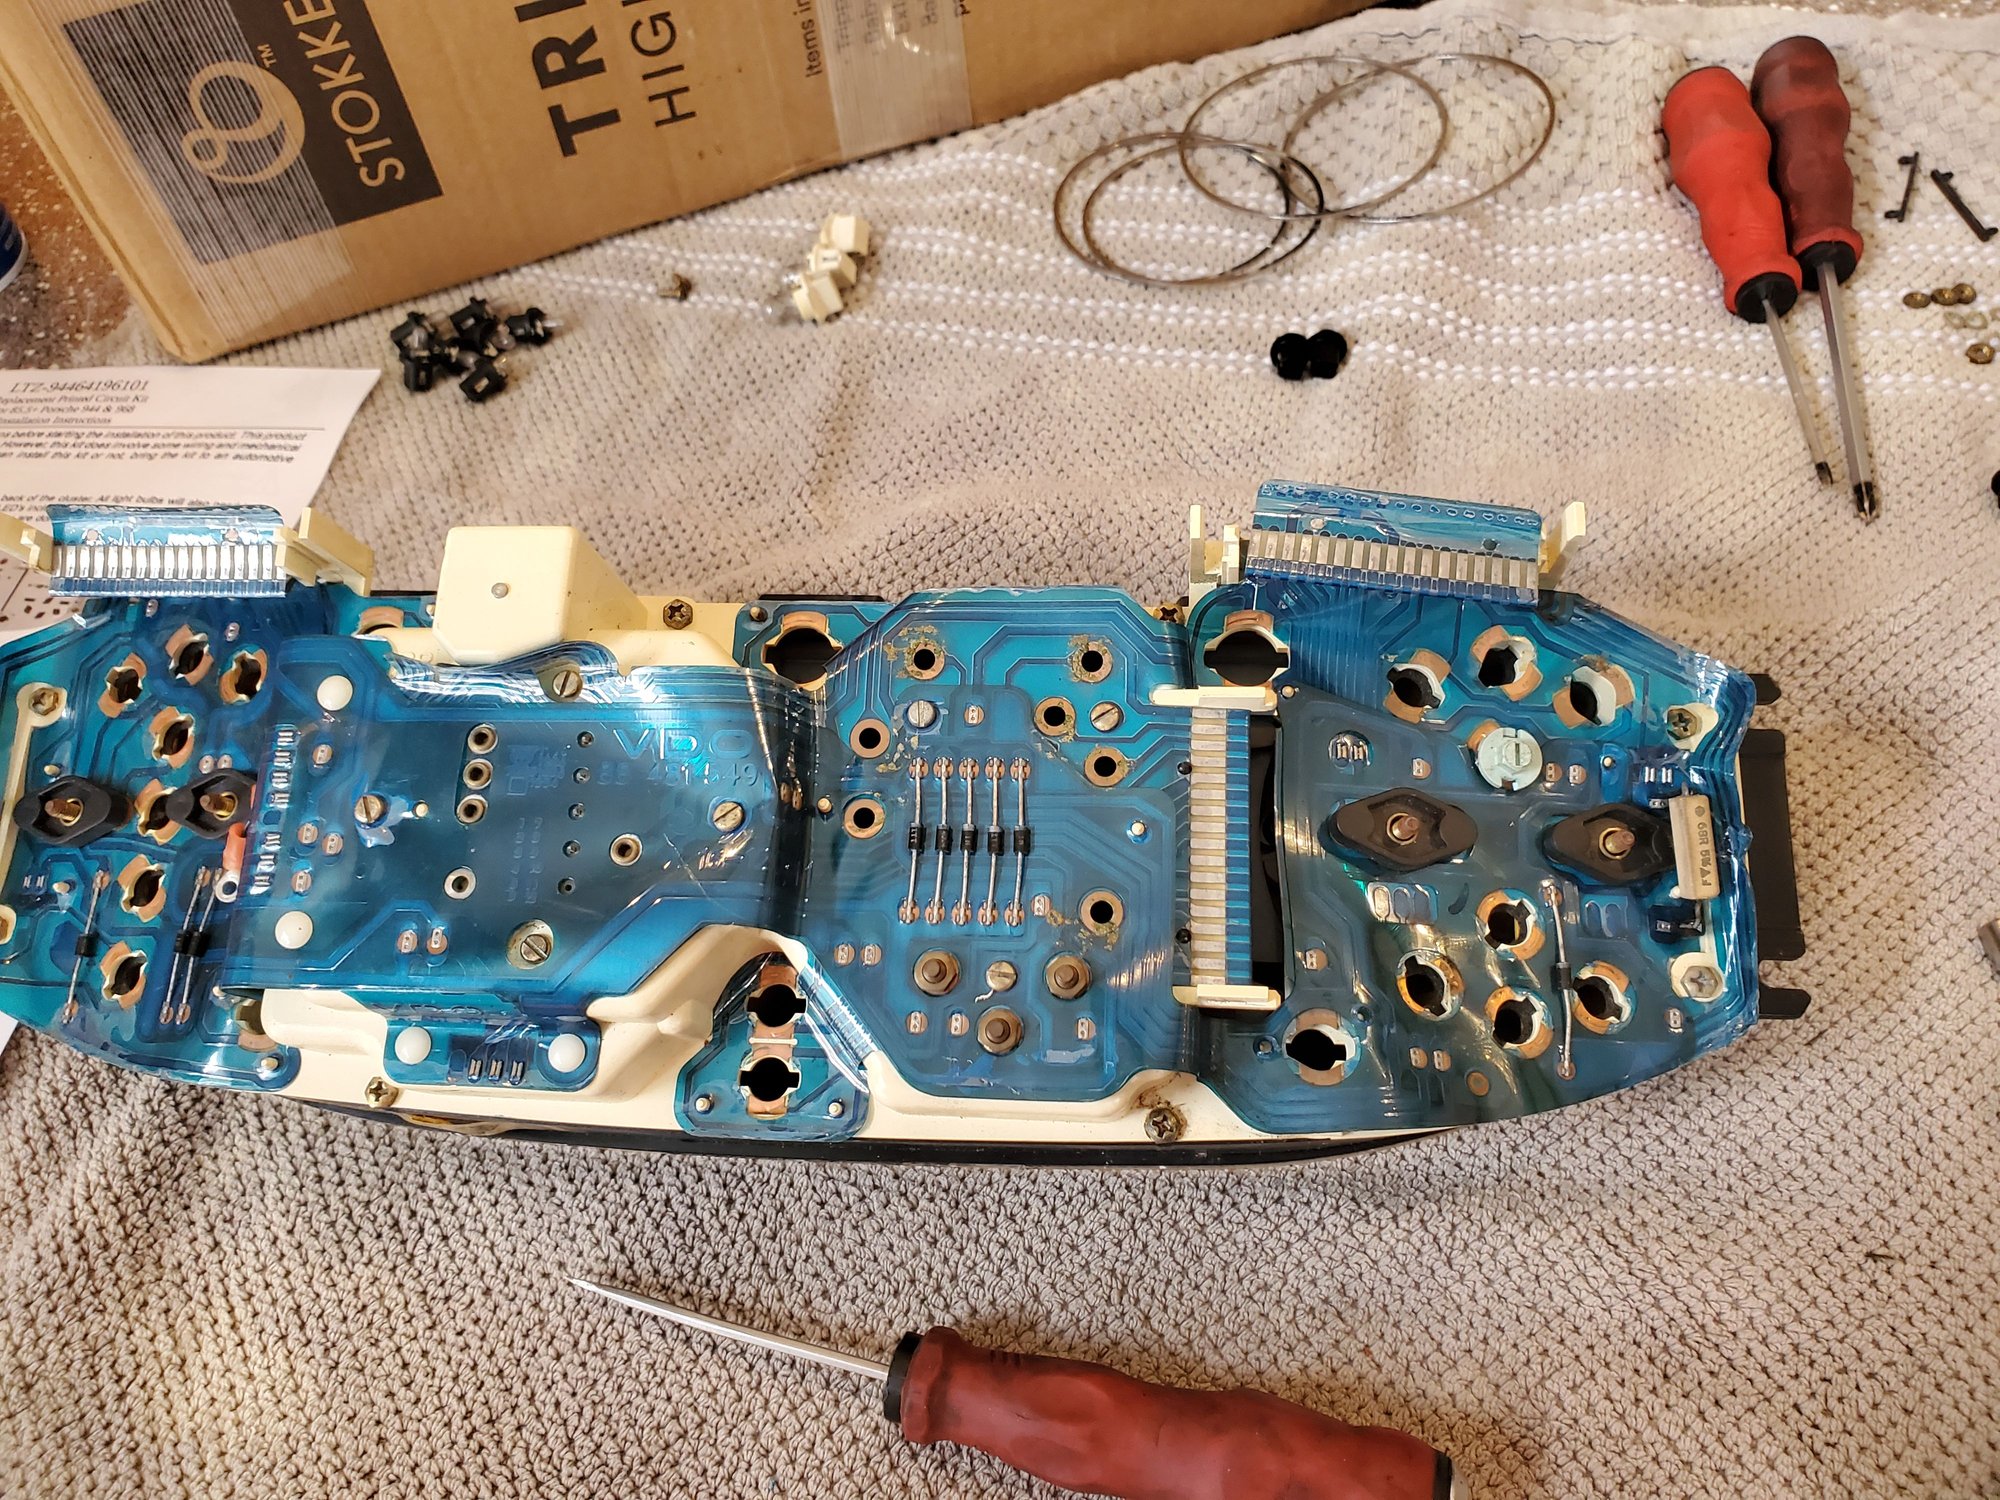
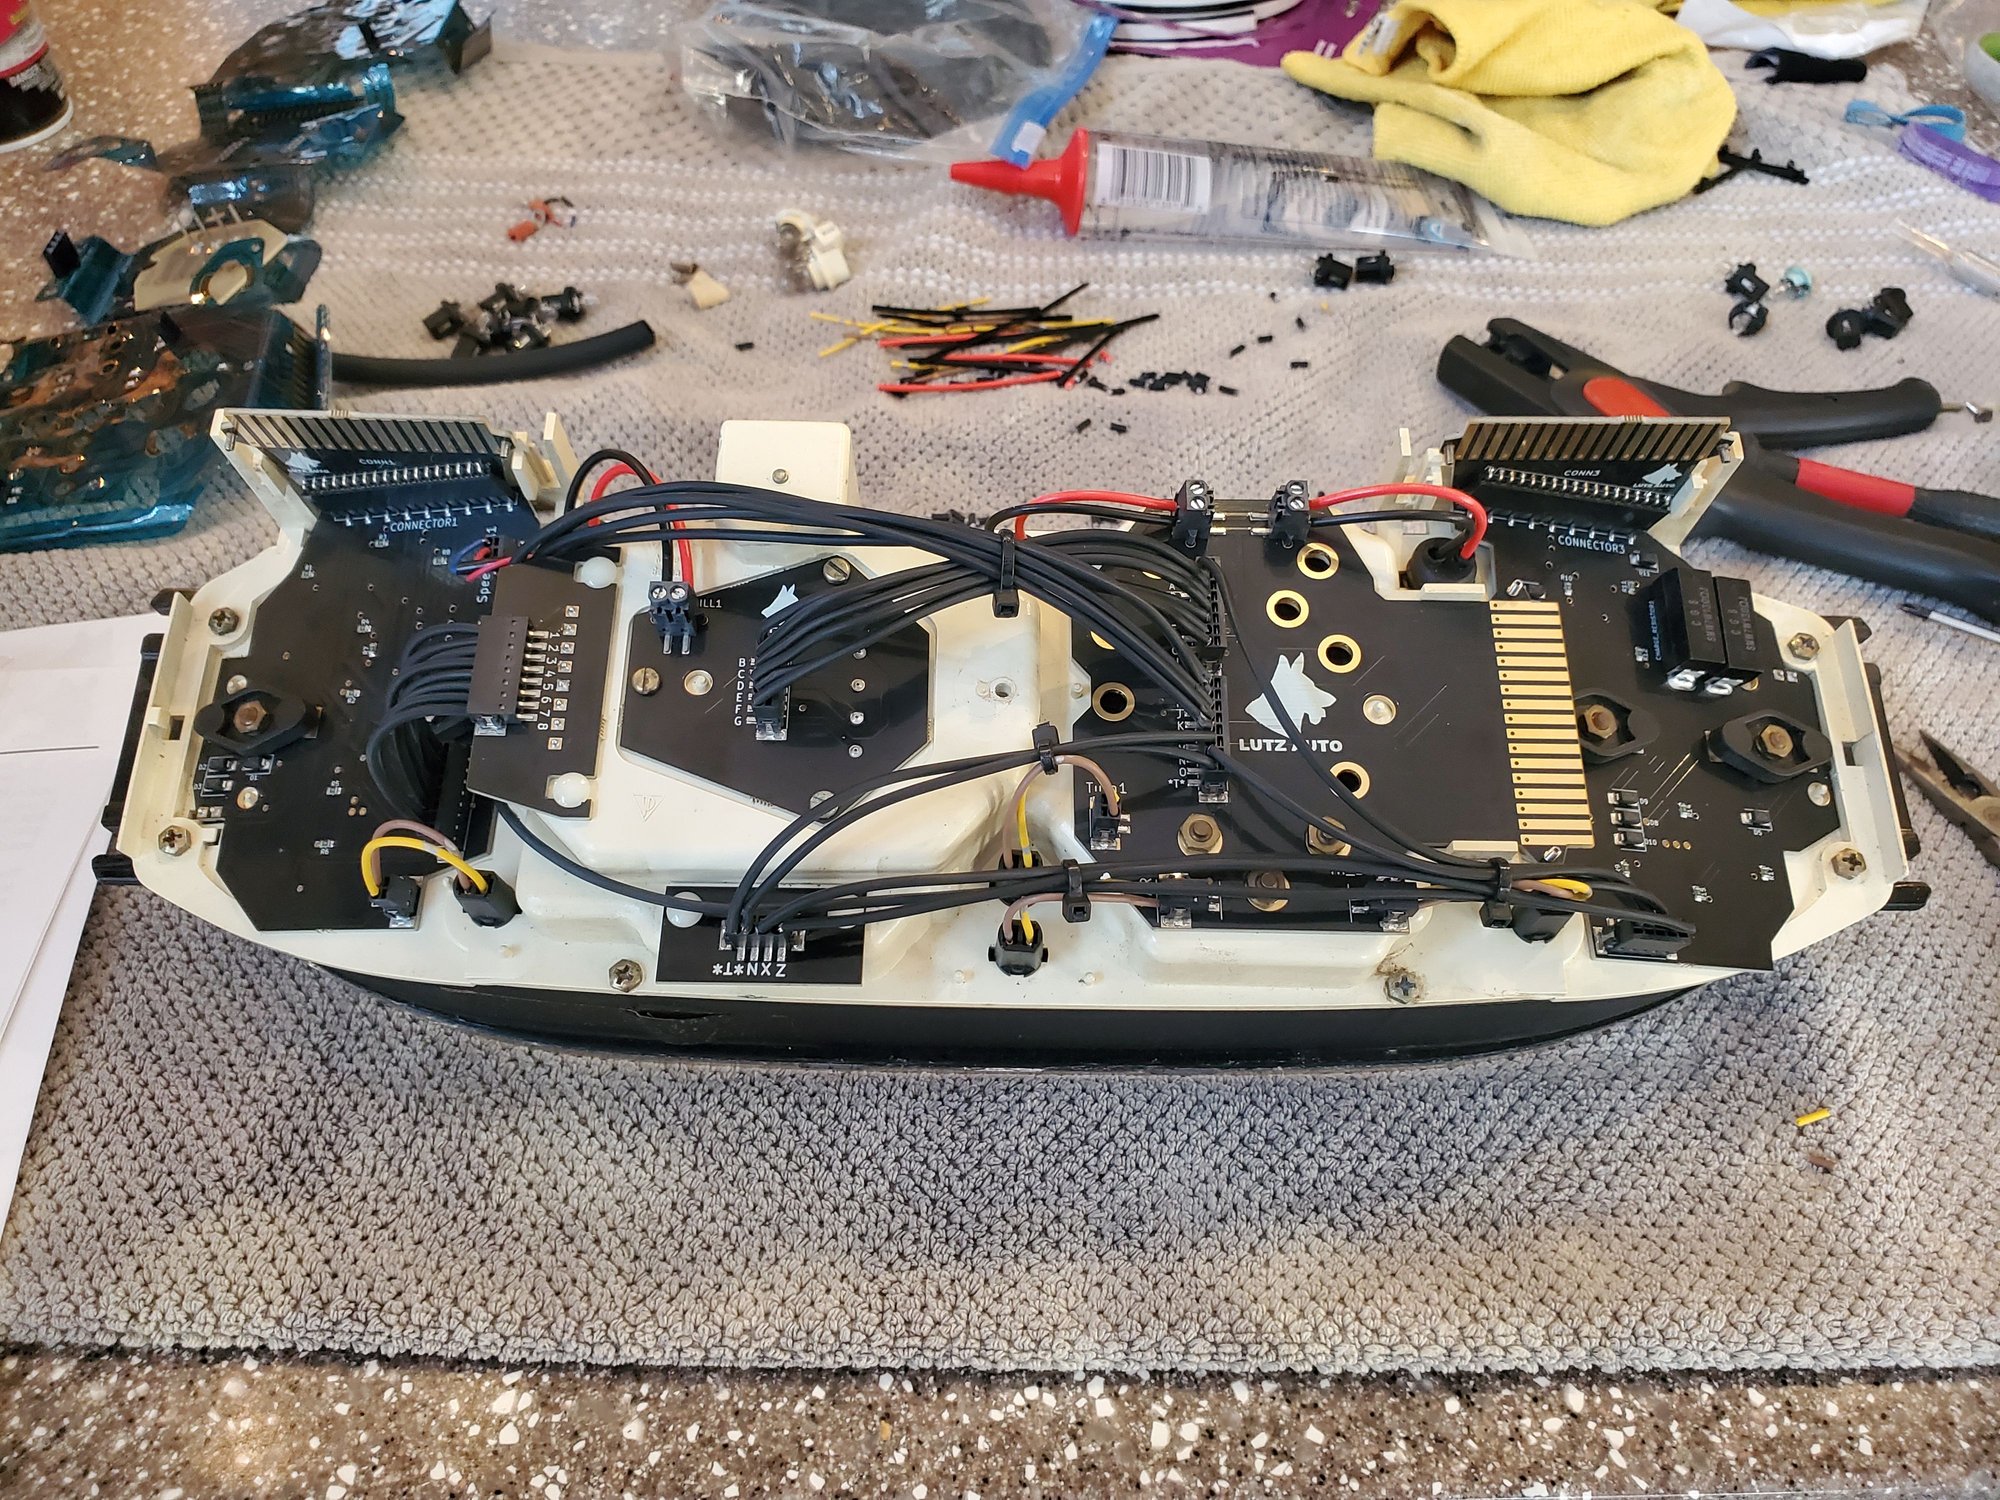
While doing this I decided to go with the Lutz Auto solid state boards with LED upgrade (www.lutzauto.com).
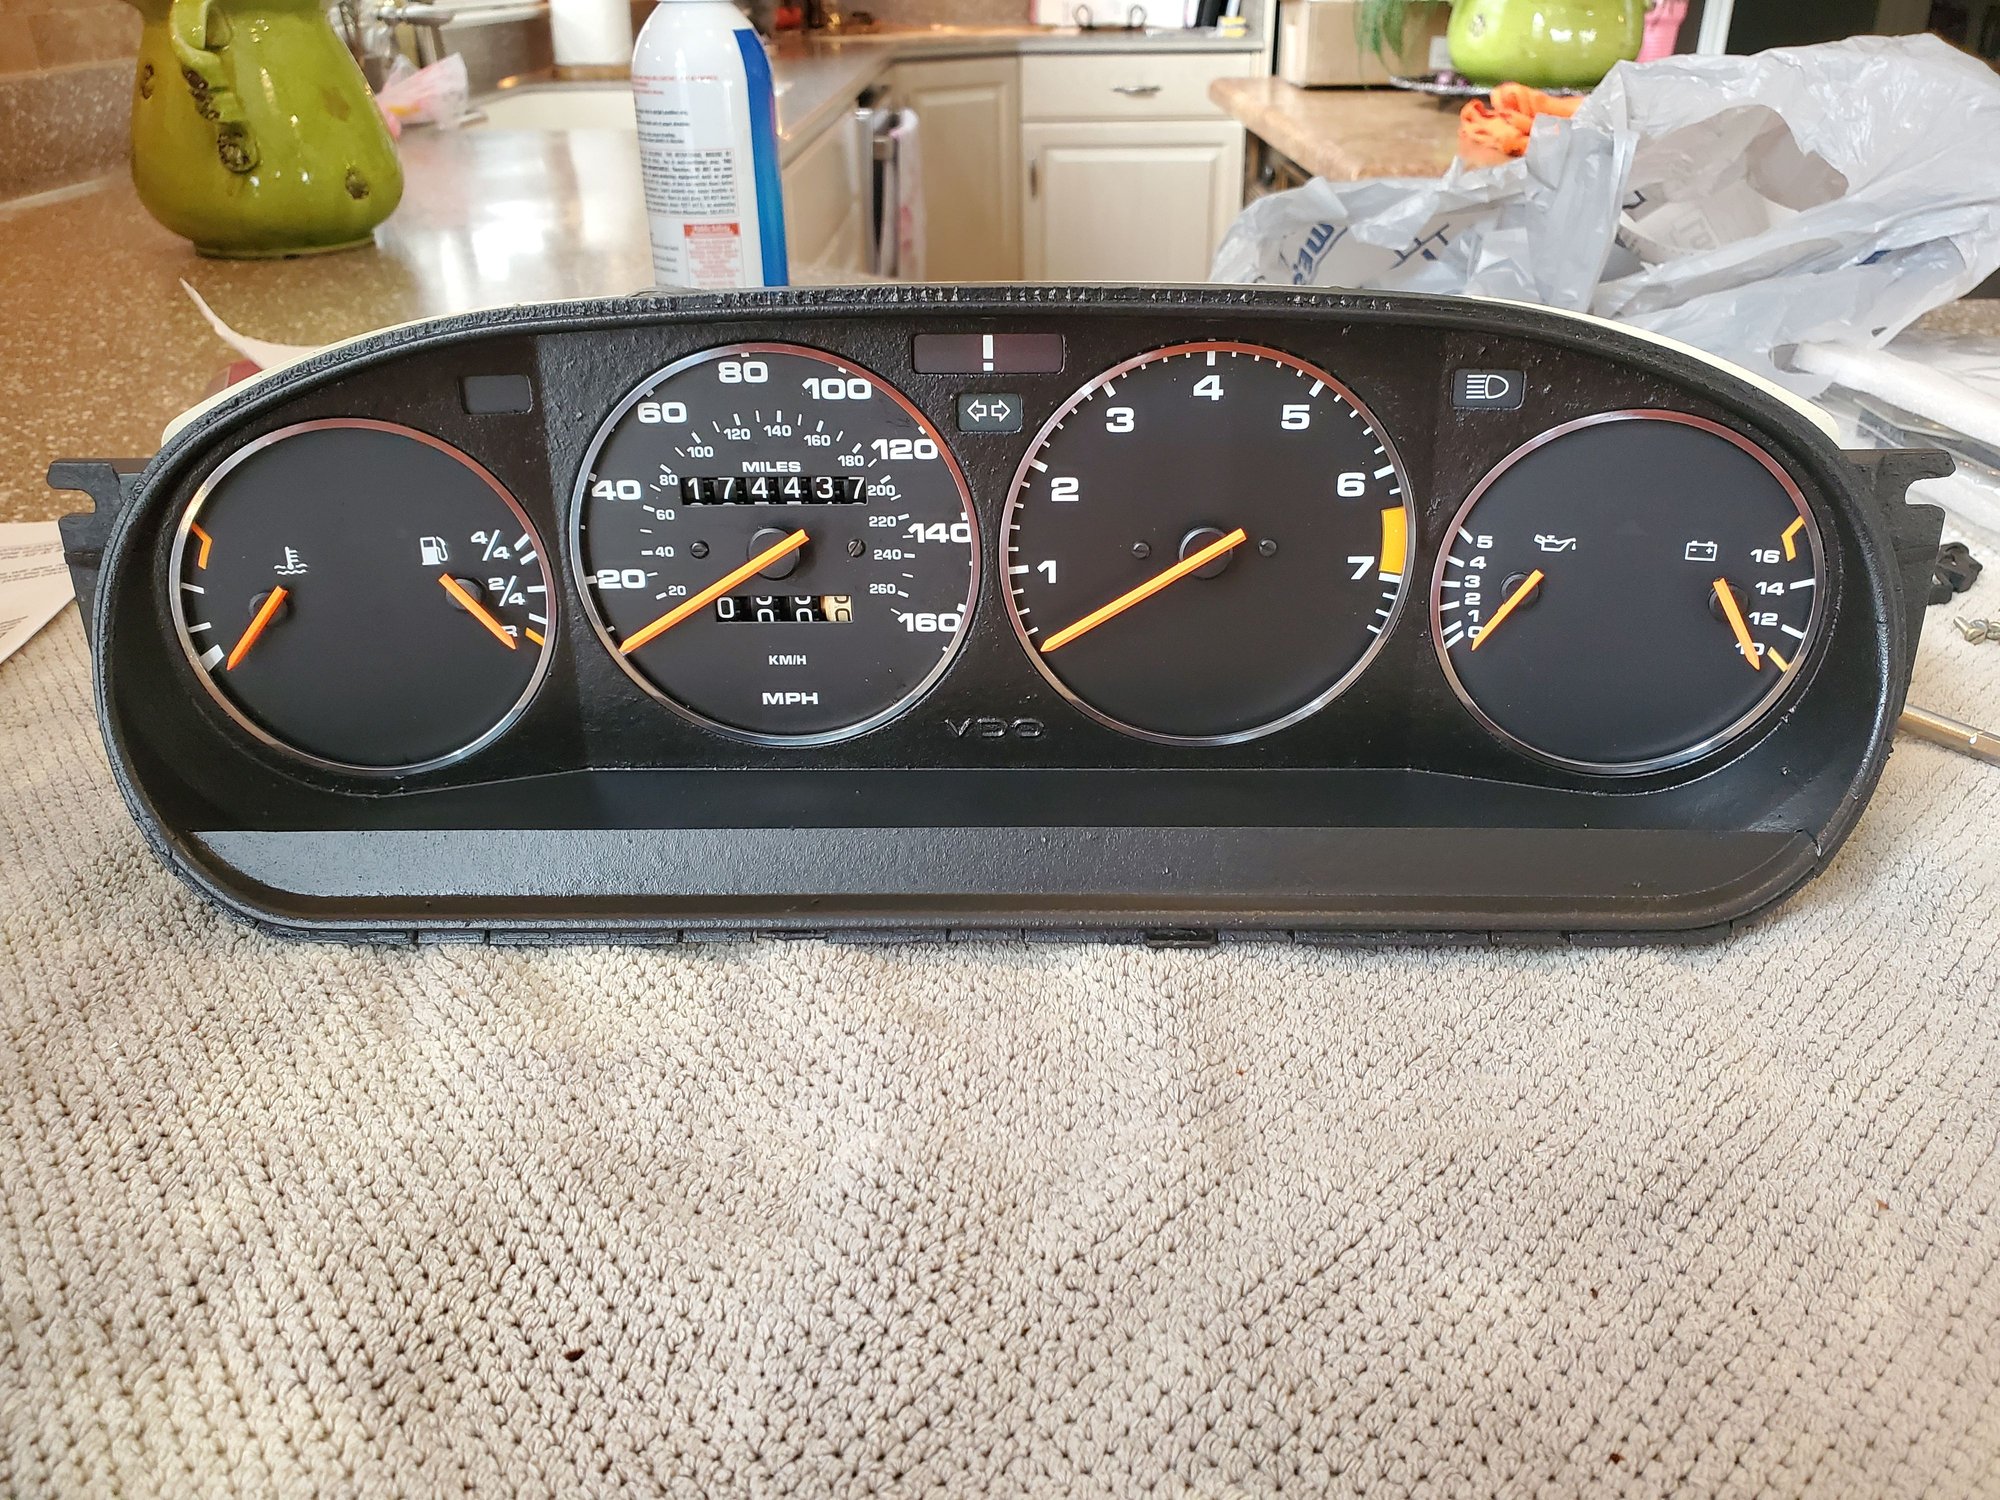
Here's my completed, refurbished cluster with the Lutz boards, polished lens, repainted interior surround, and metal trim rings.
Also - this spare cluster had what looks to be a perfect printed circuit board / gauge foil on it, so I carefully removed it and will put it up for sale since it looks like these may be NLA and refurbed ones look like they're $350 or so. None of the contacts are lifting, no tears, in the plastic, etc.
Installing next month.
Old cluster with foil. Foil is available for purchase.
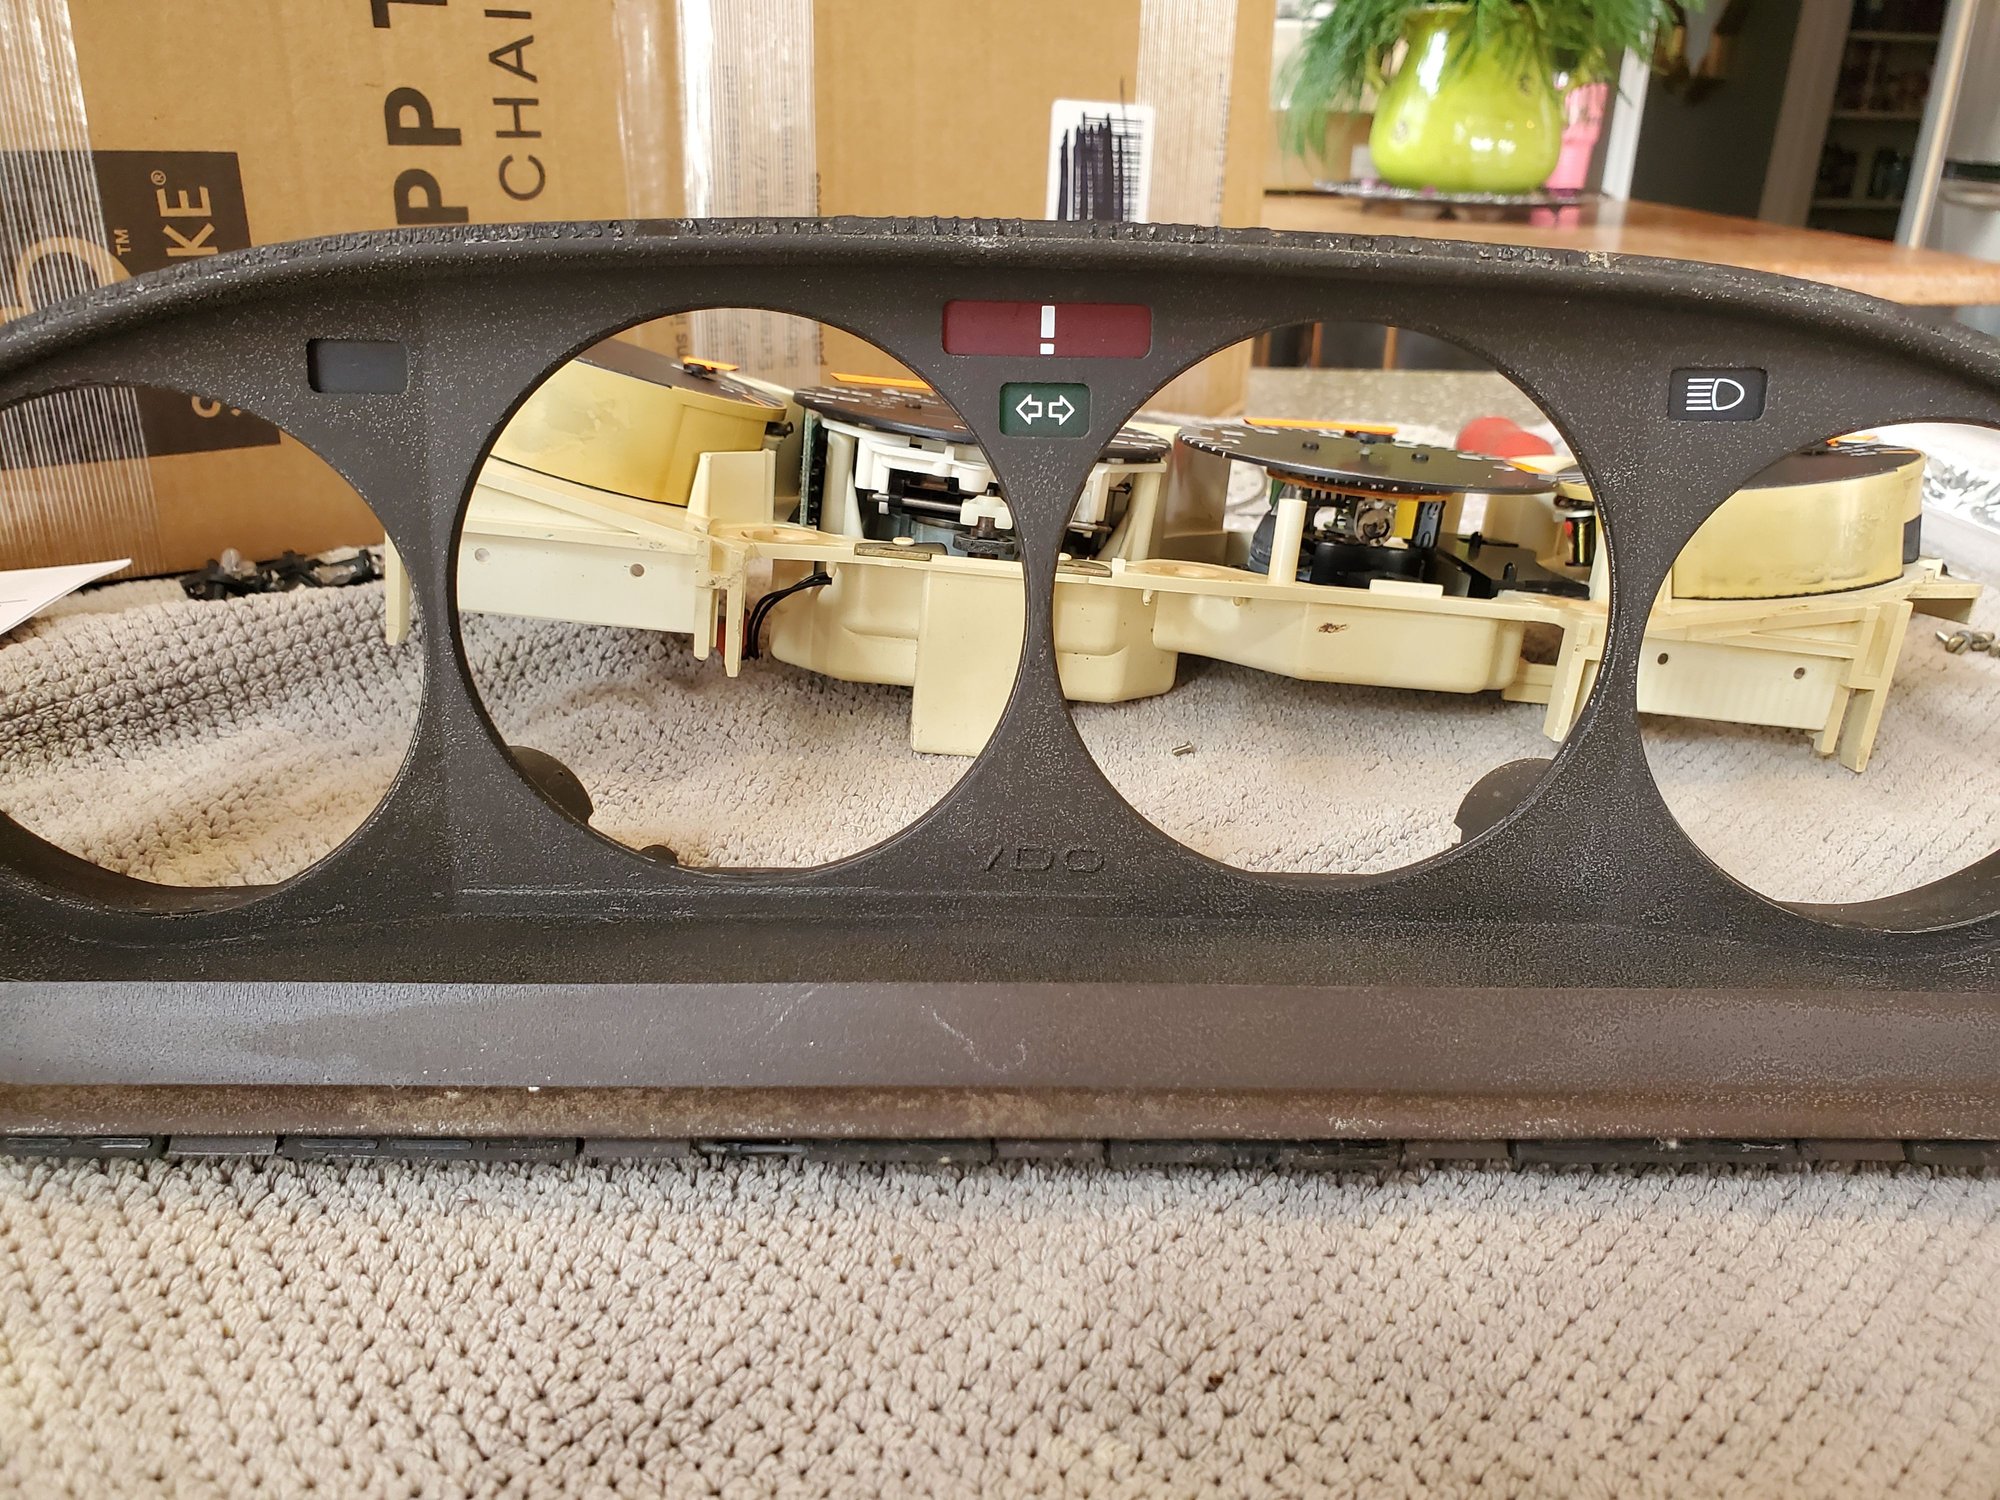
Tired gauge surround
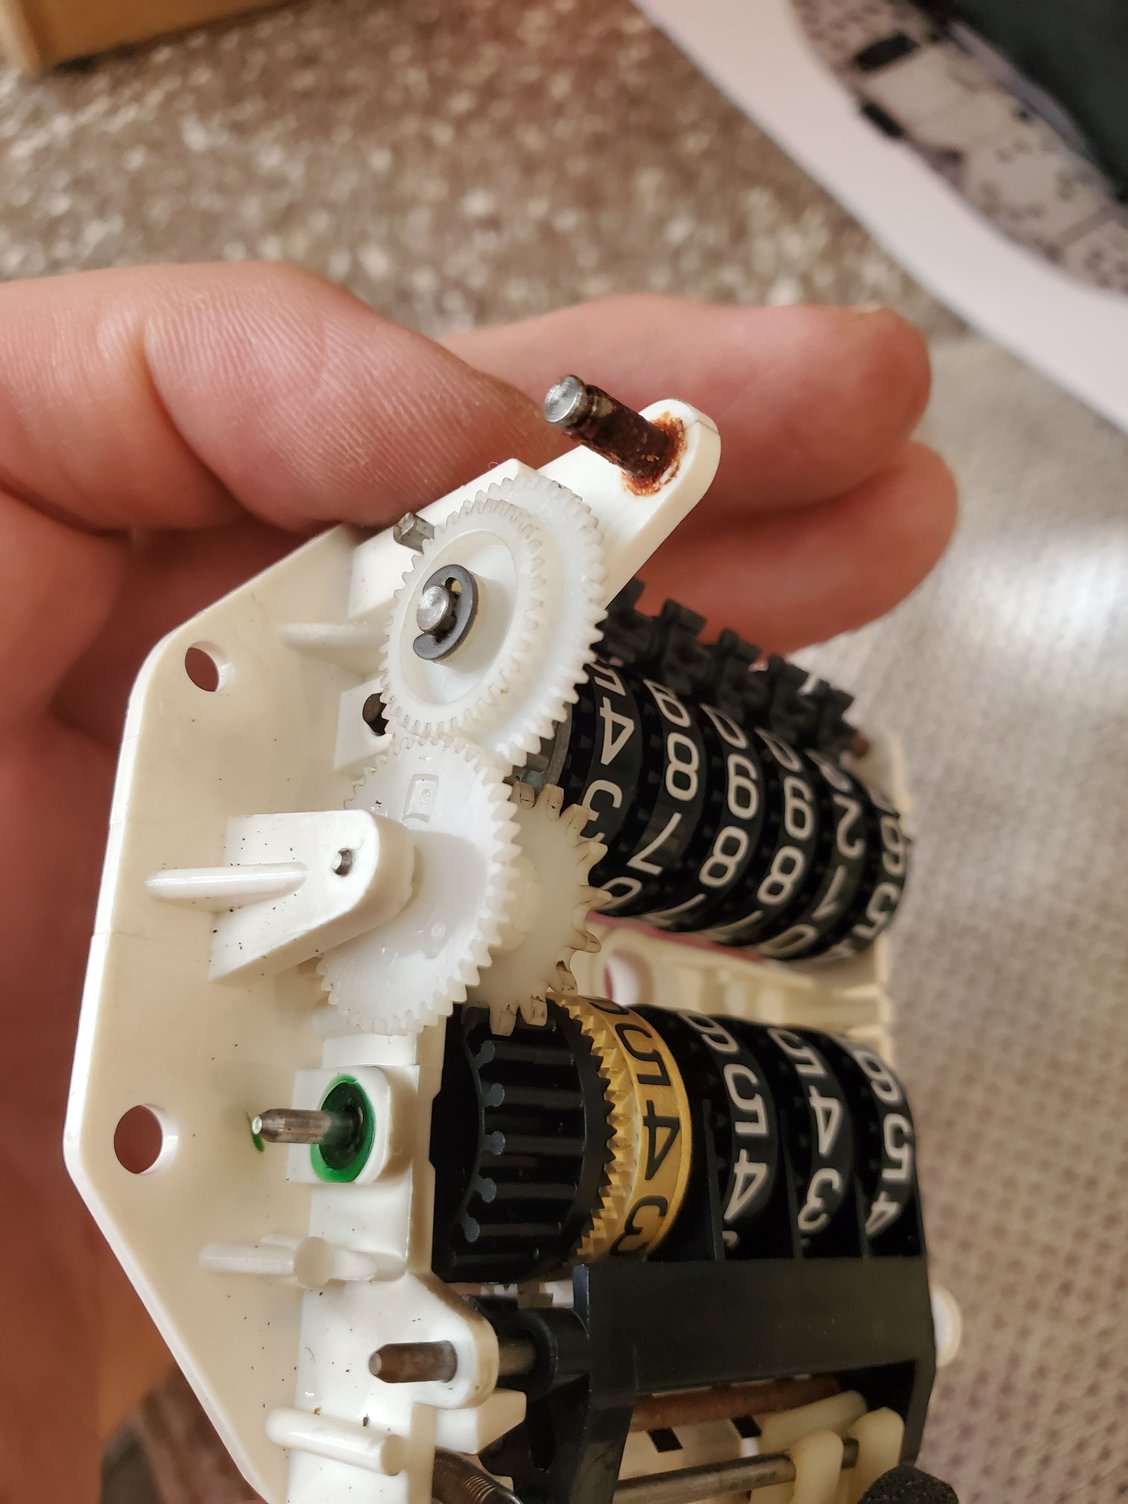
Replaced the odometer gear
Rolled back the mileage to match the mileage of the car and polished the crudded up odometer gear spindle (this is before).
Repainted Gauge Surround with textured satin black paint, installed trim rings and reassembled
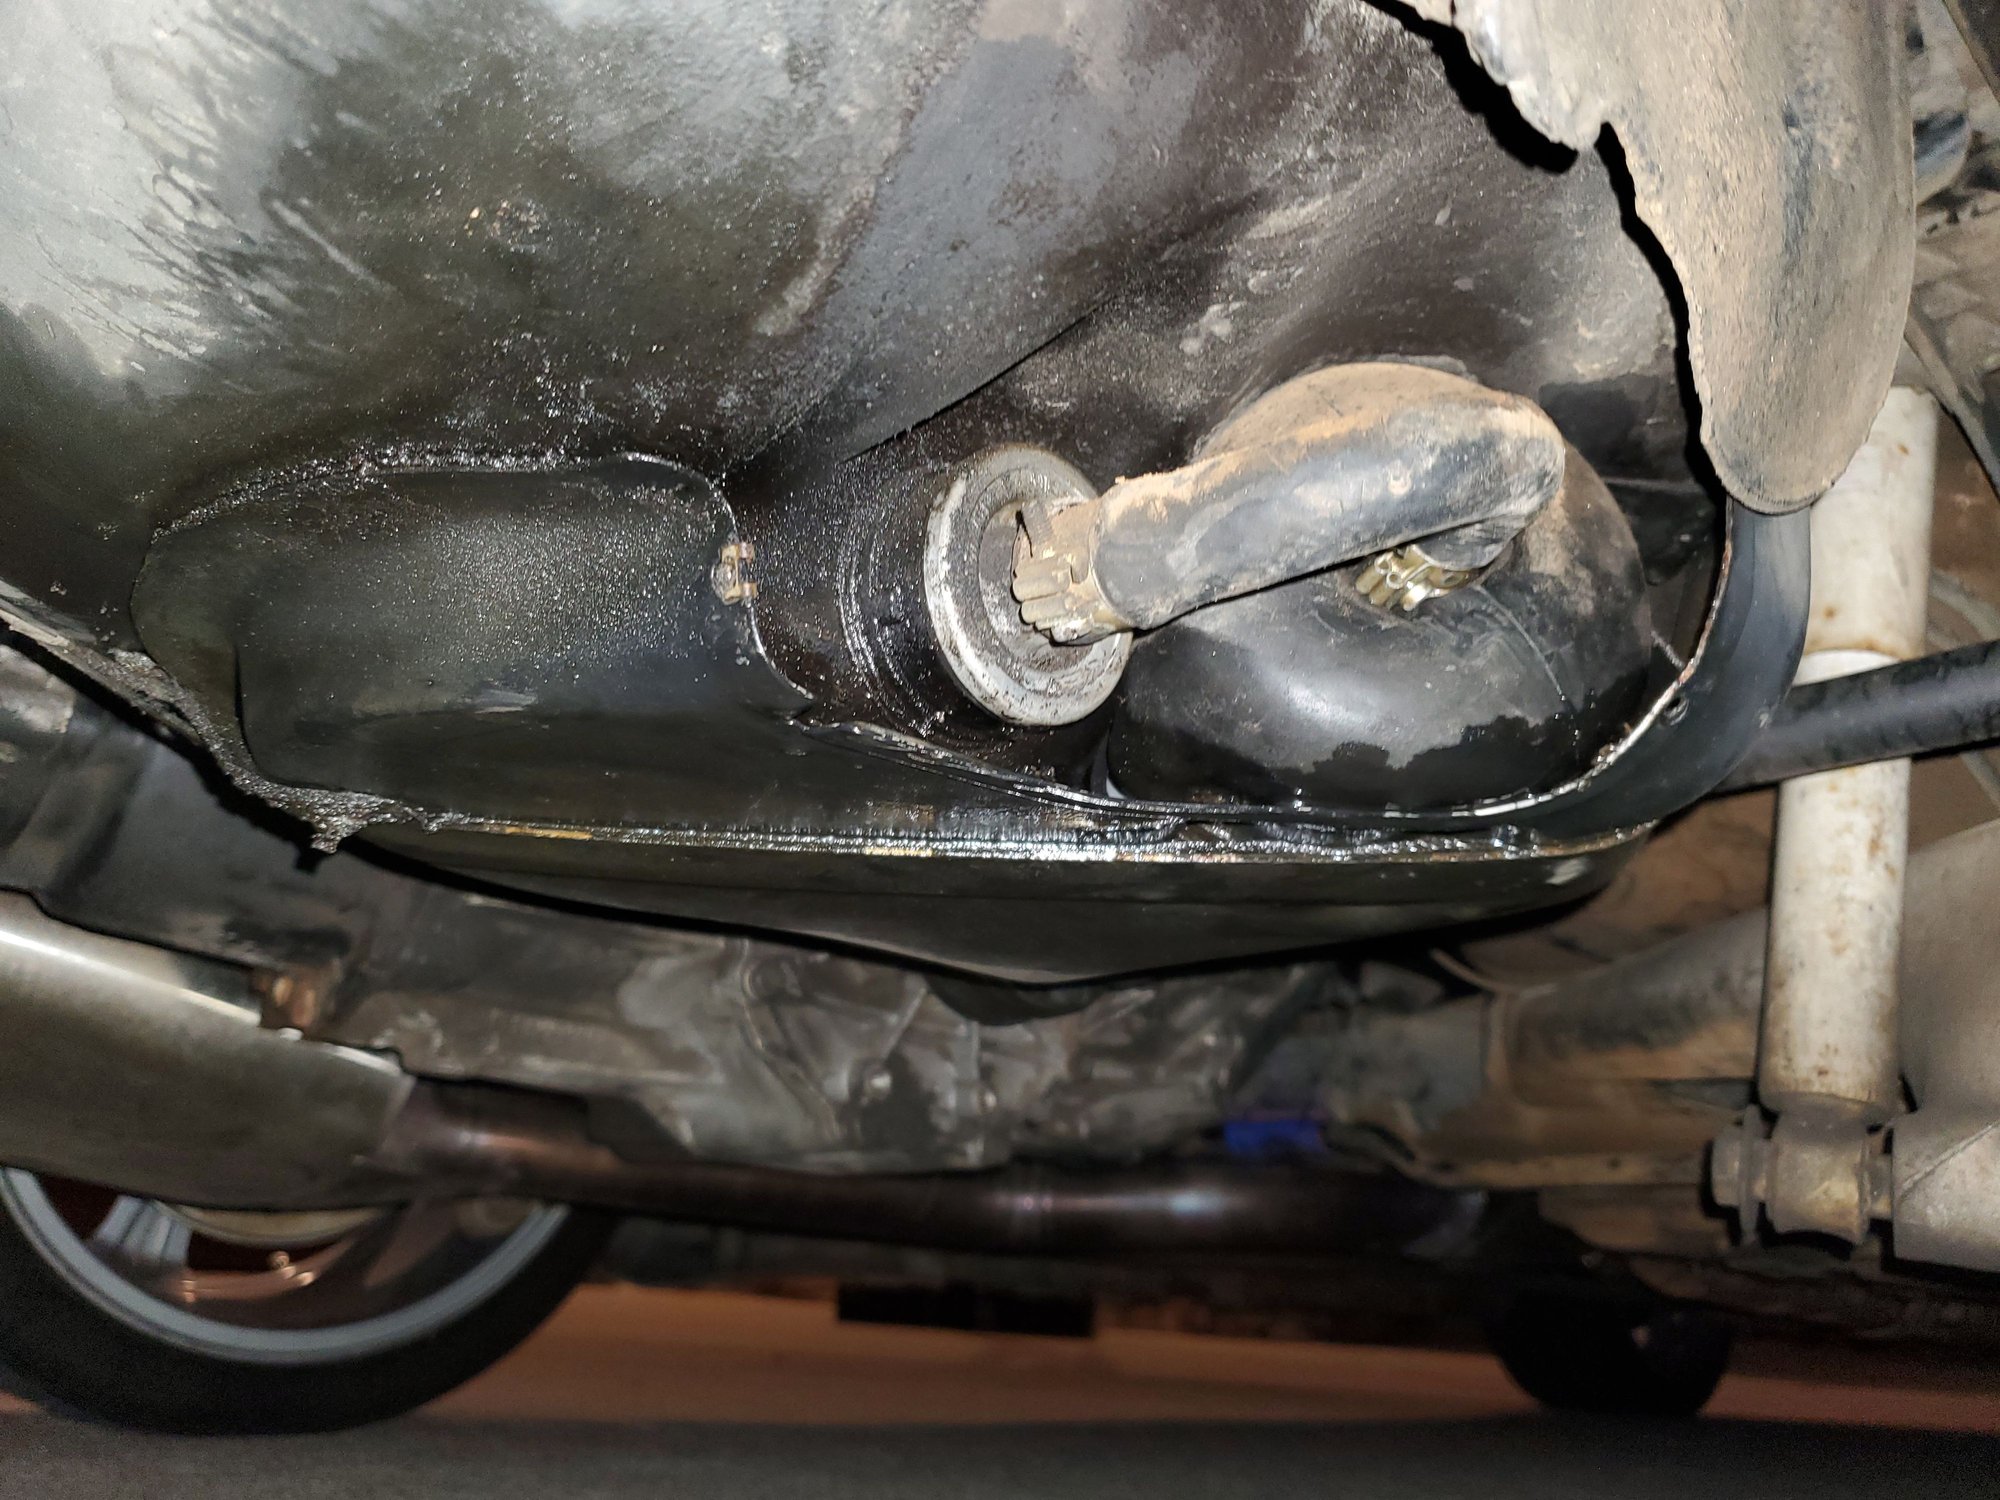
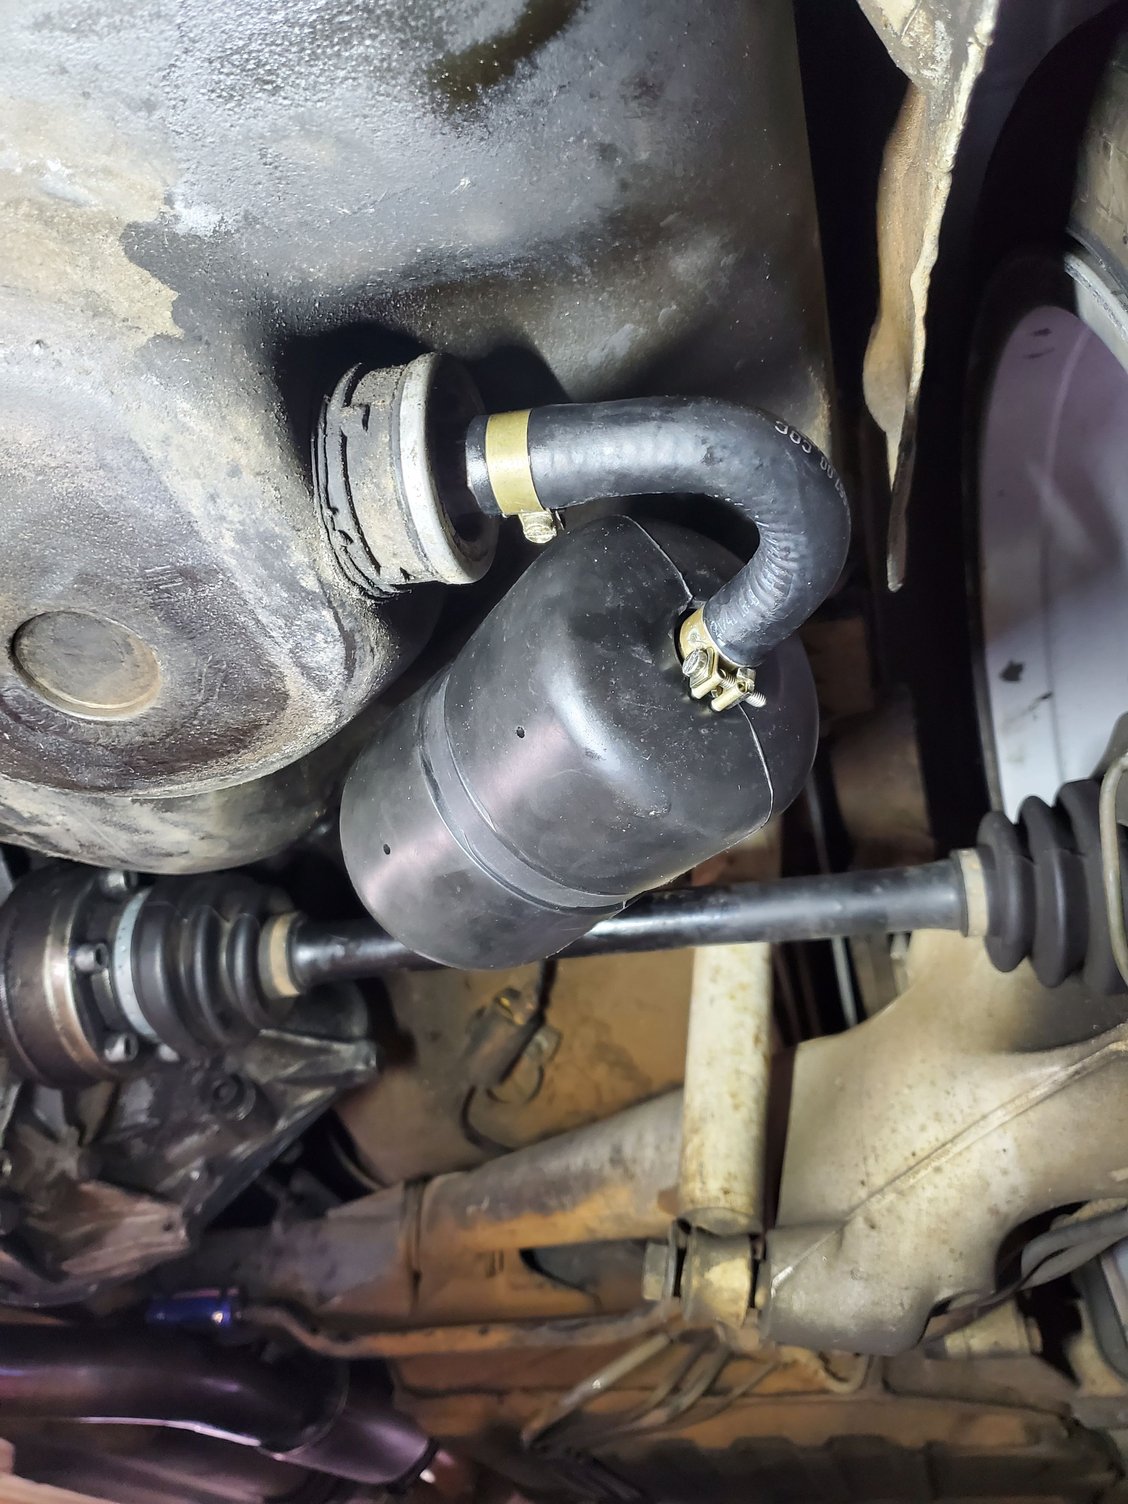
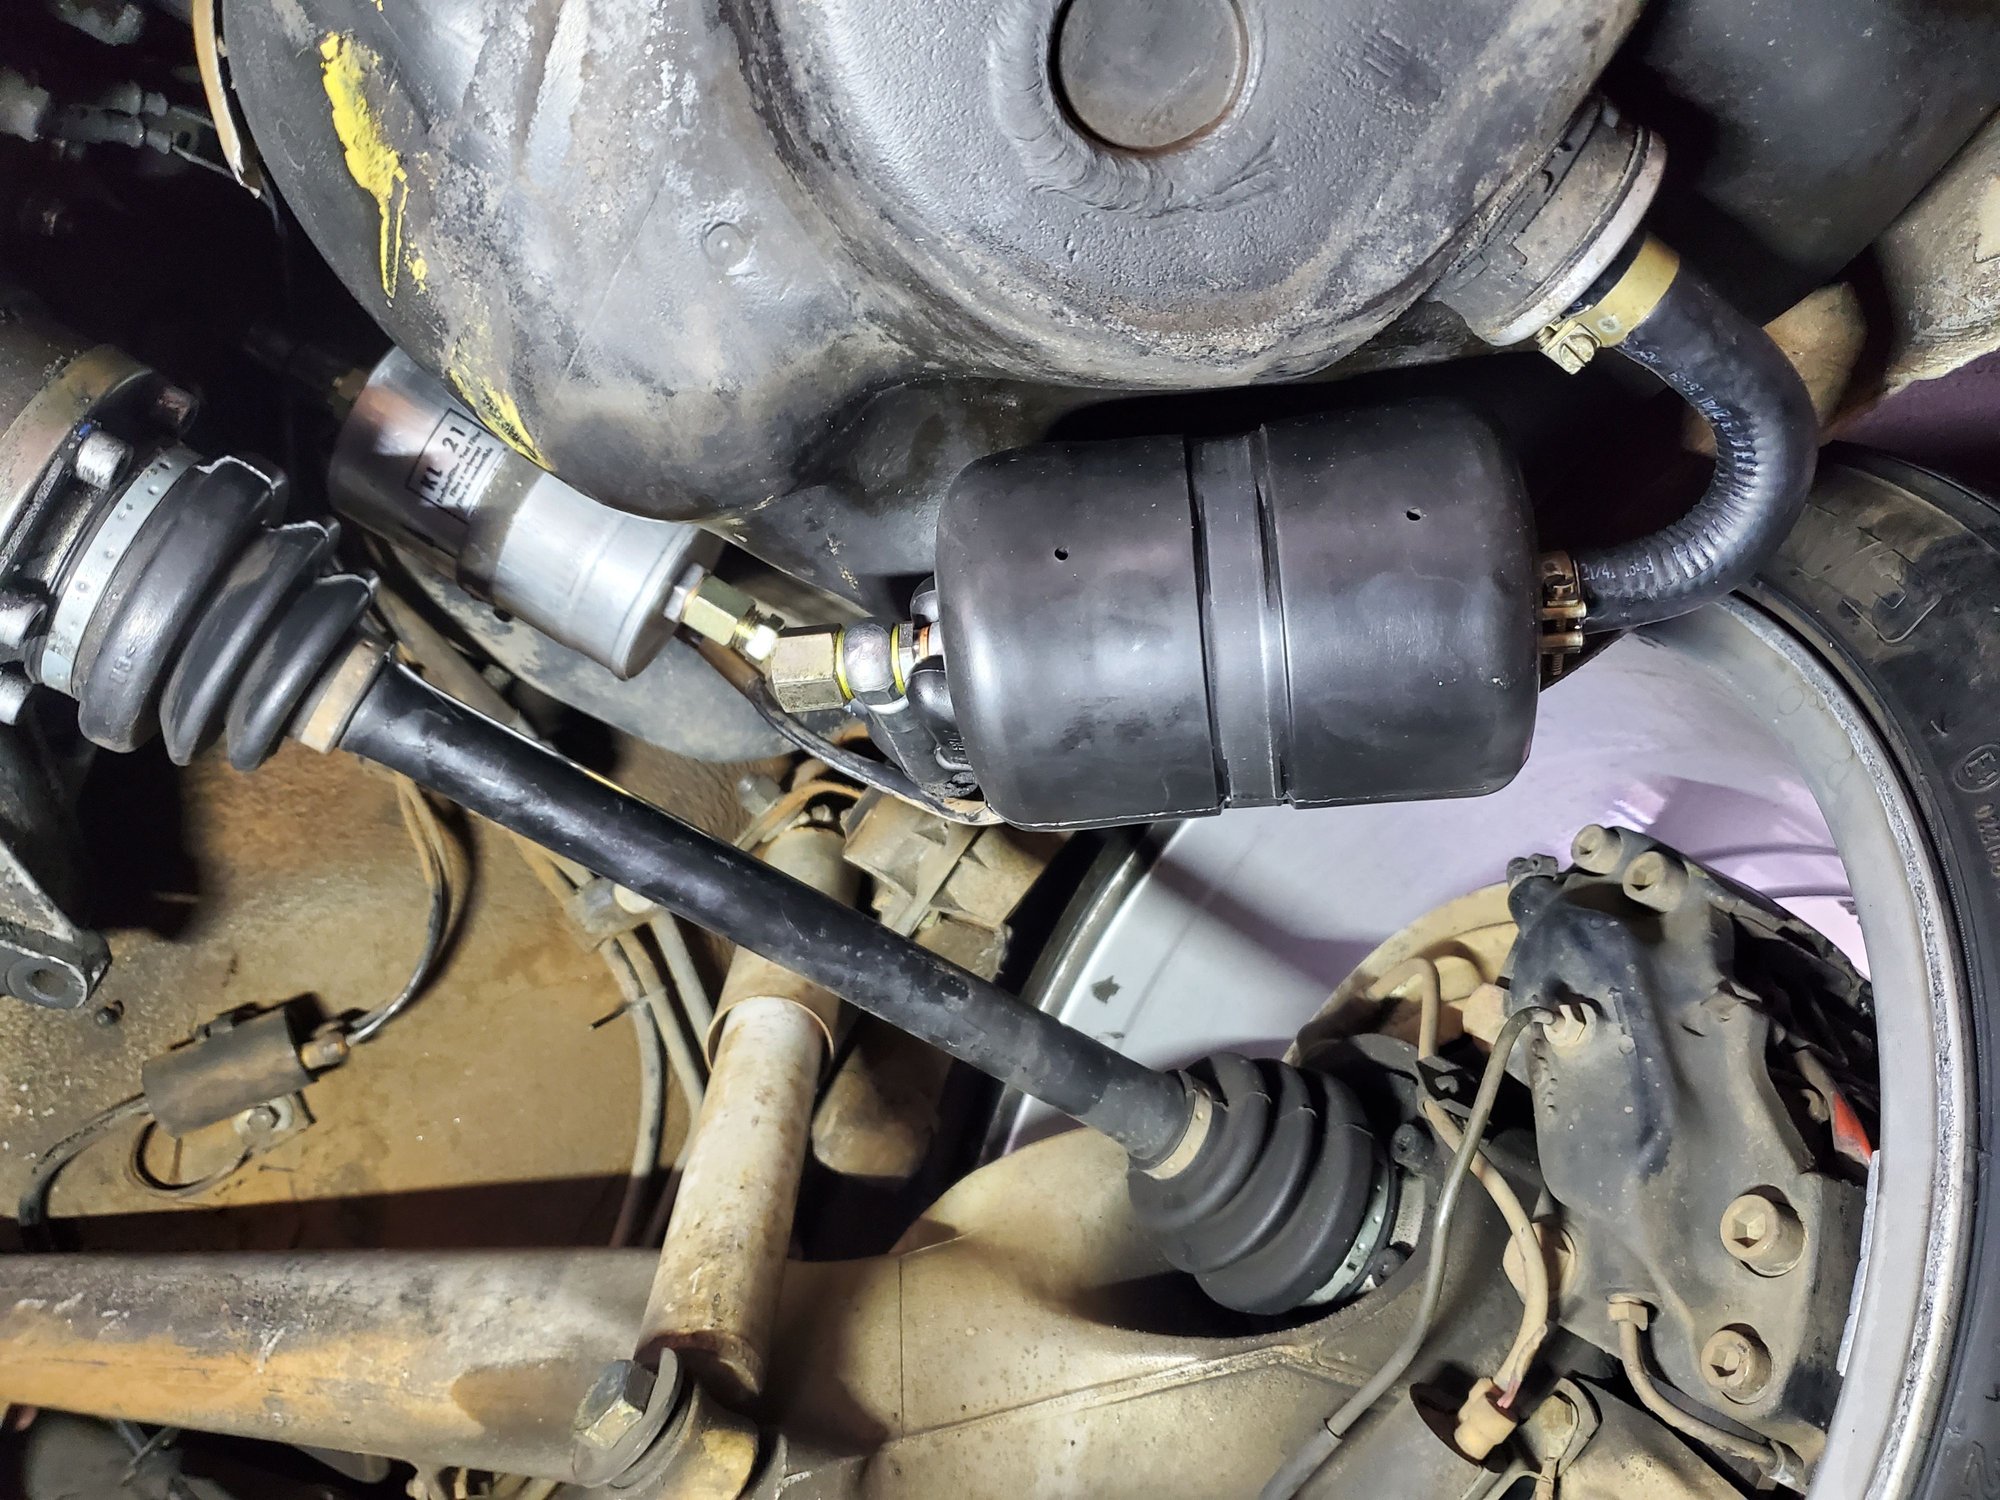
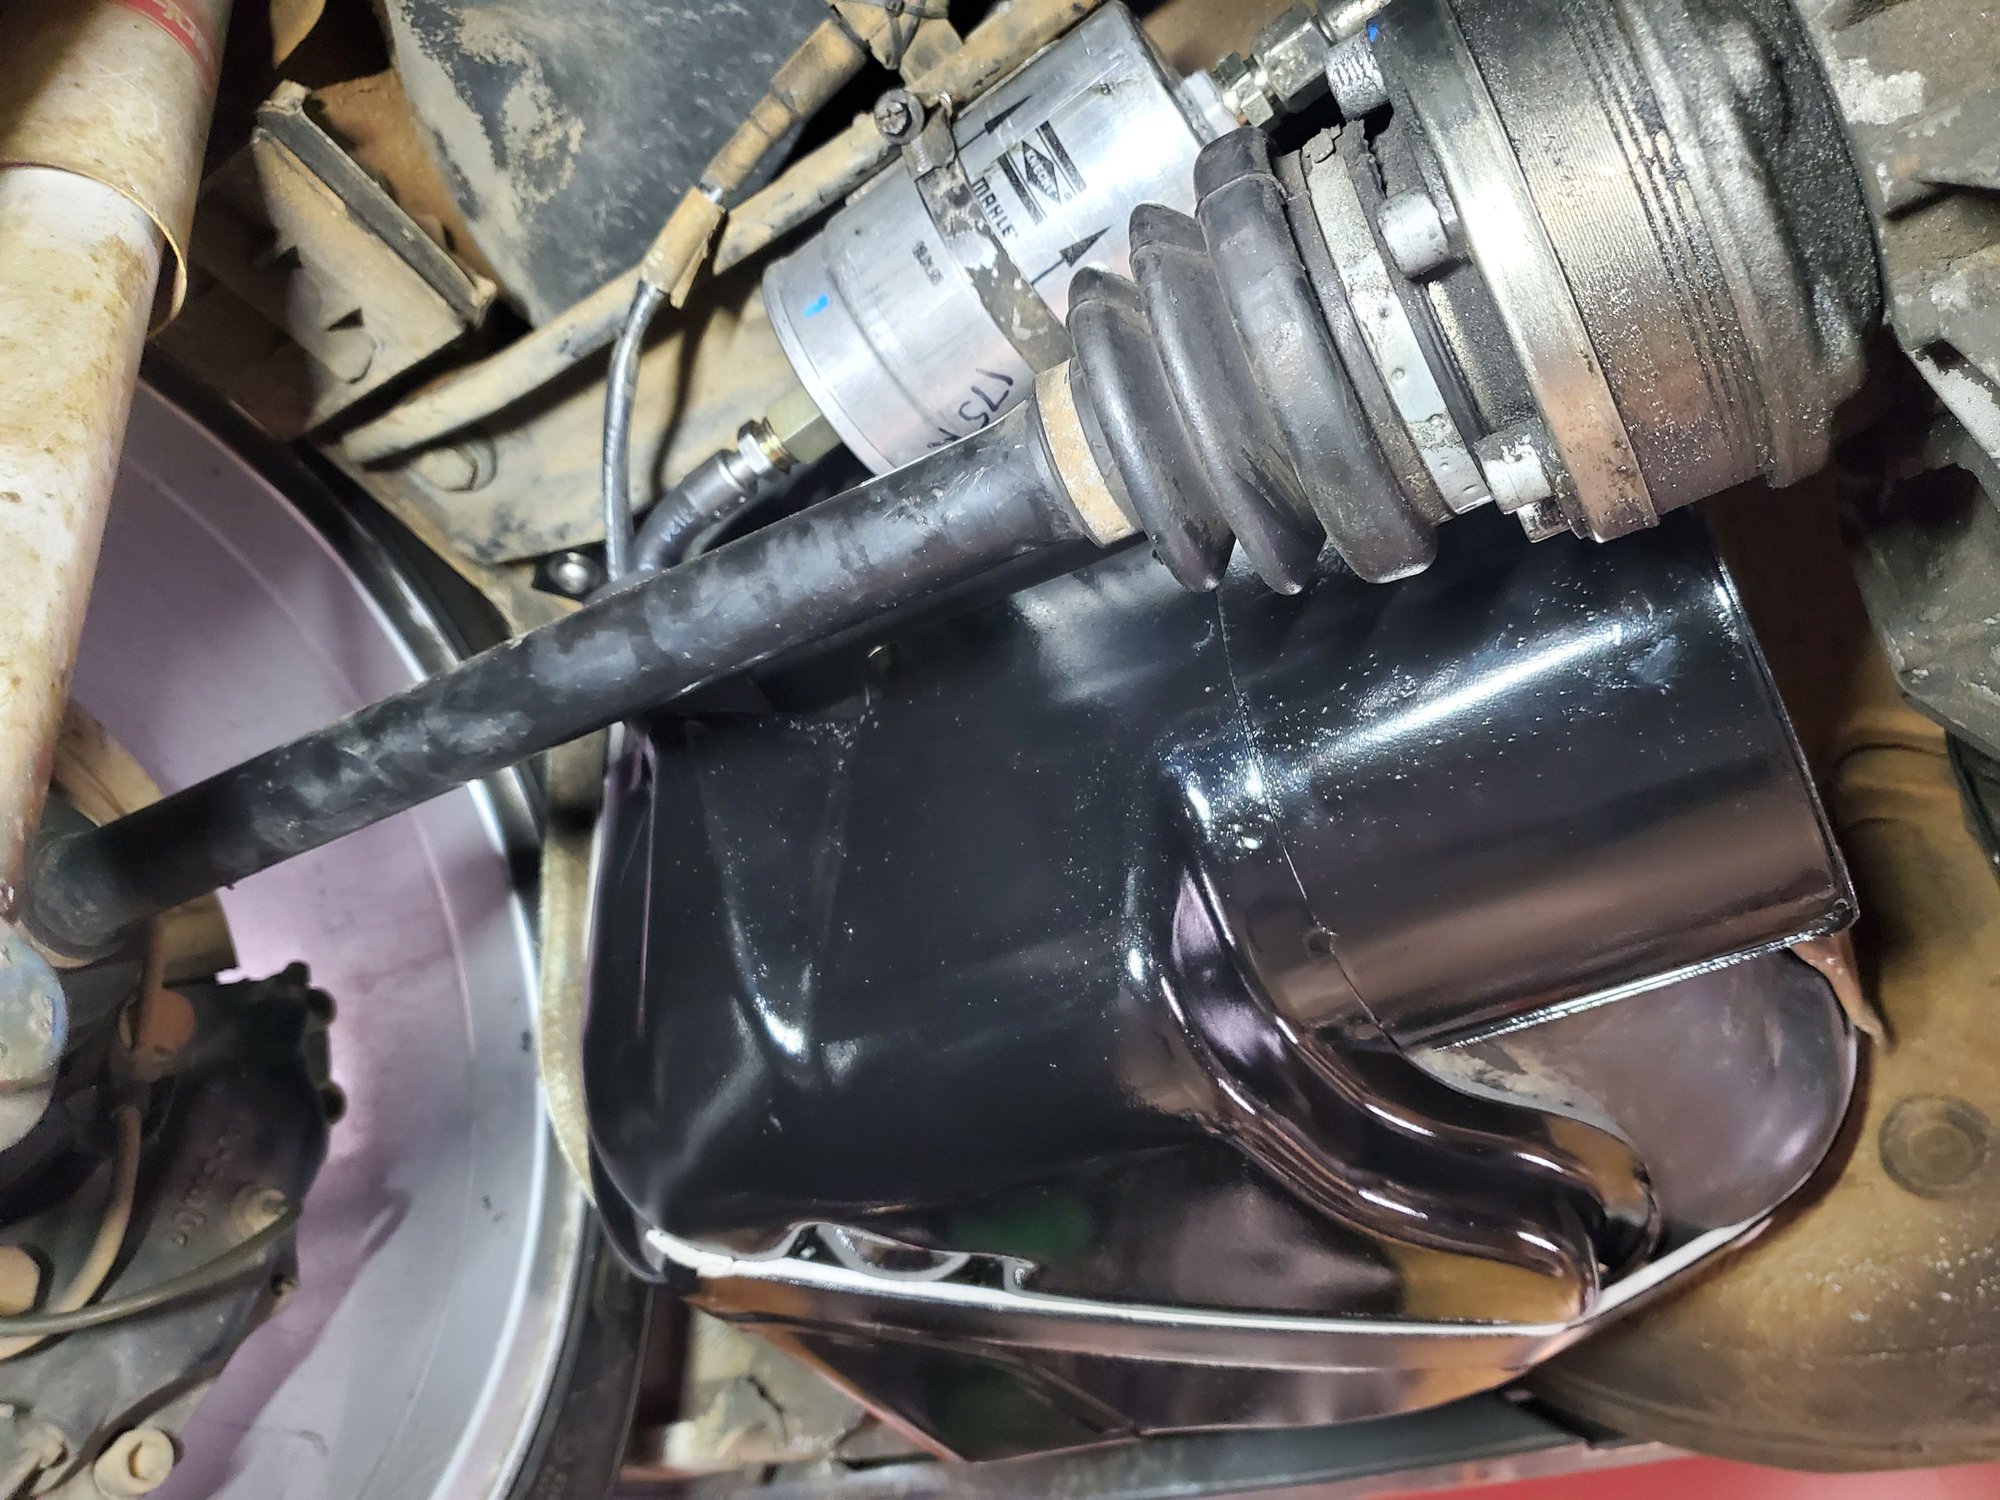
Developed a fuel leak back by the pump about a week ago...
Parts from FCP Euro arrived today and 3 hours later, my fuel leak on the S2 from the crimped ring around the pump was fixed up and the car back on the road.
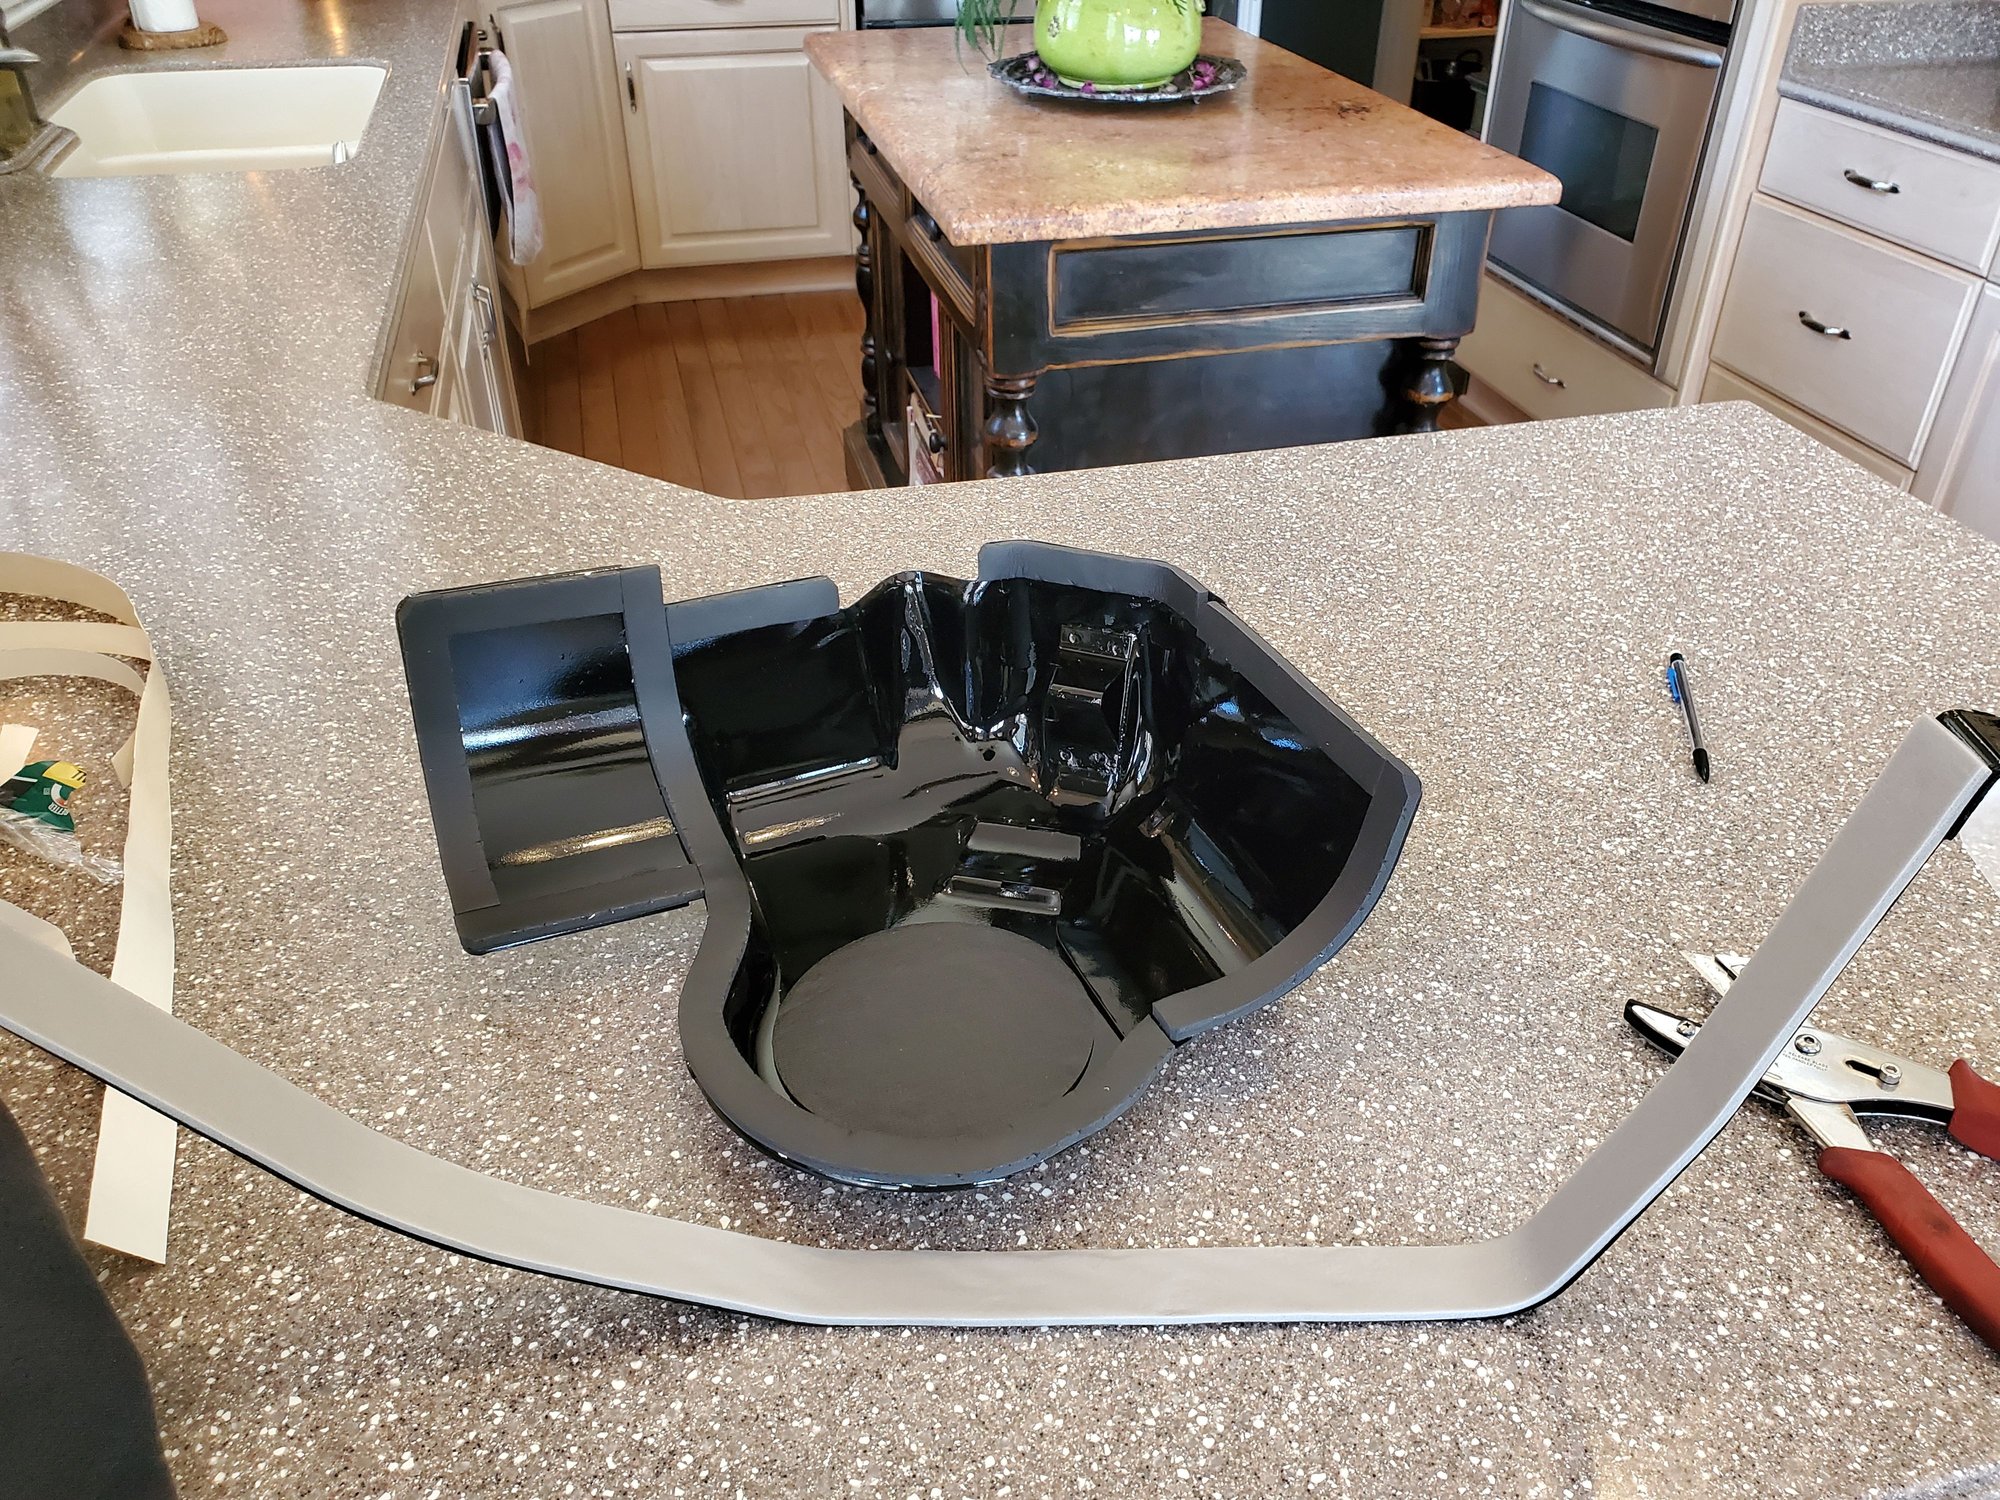
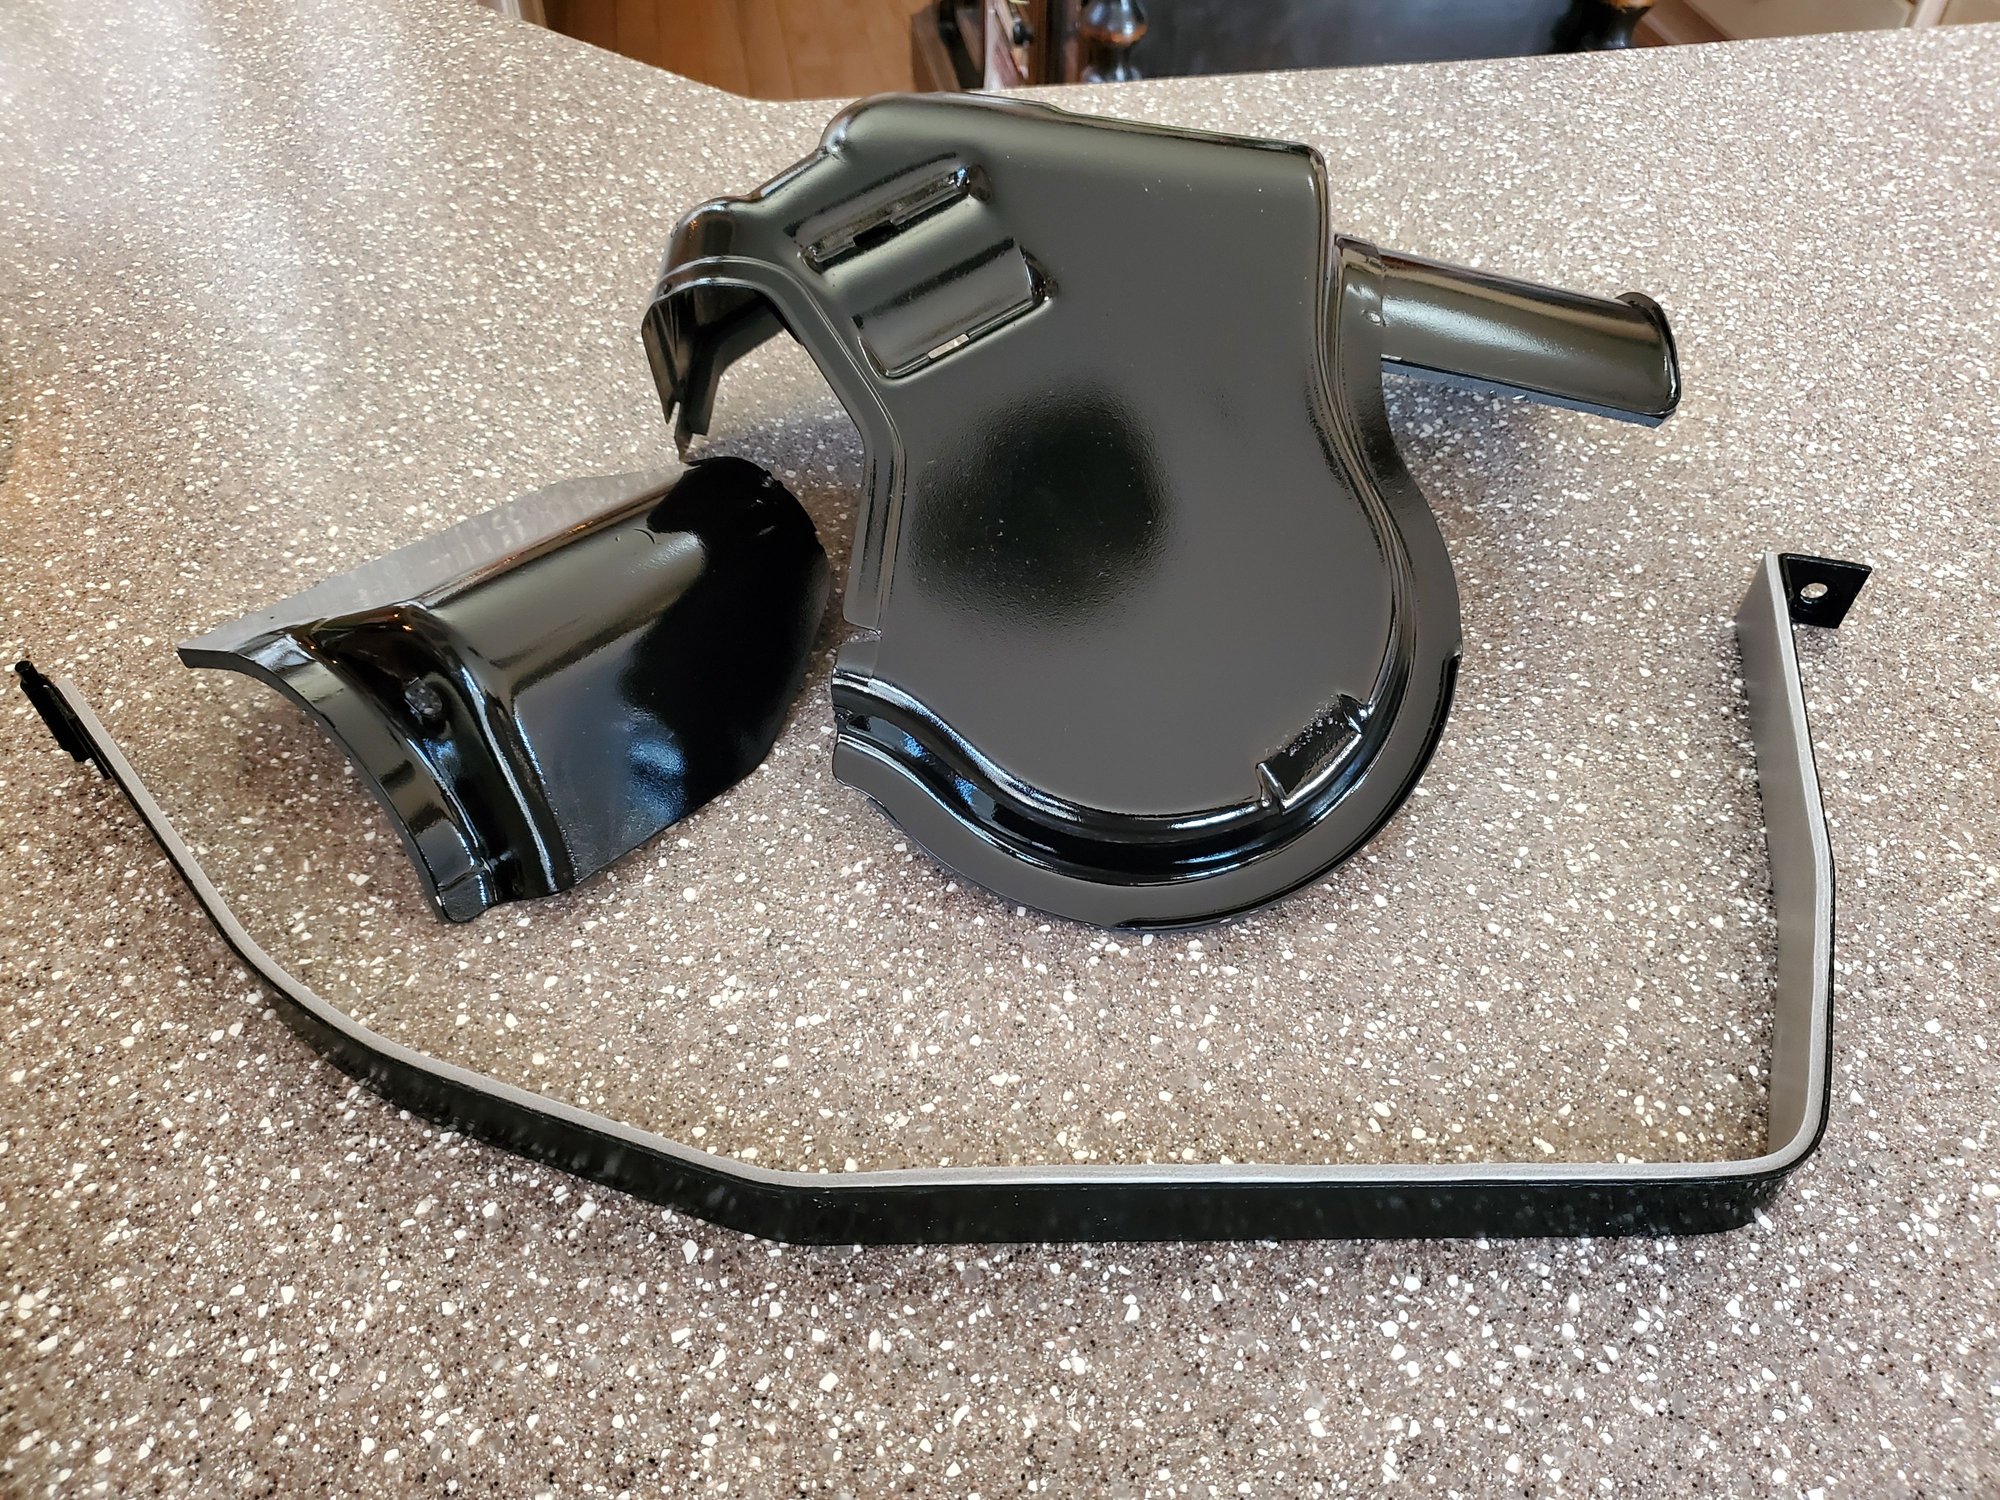
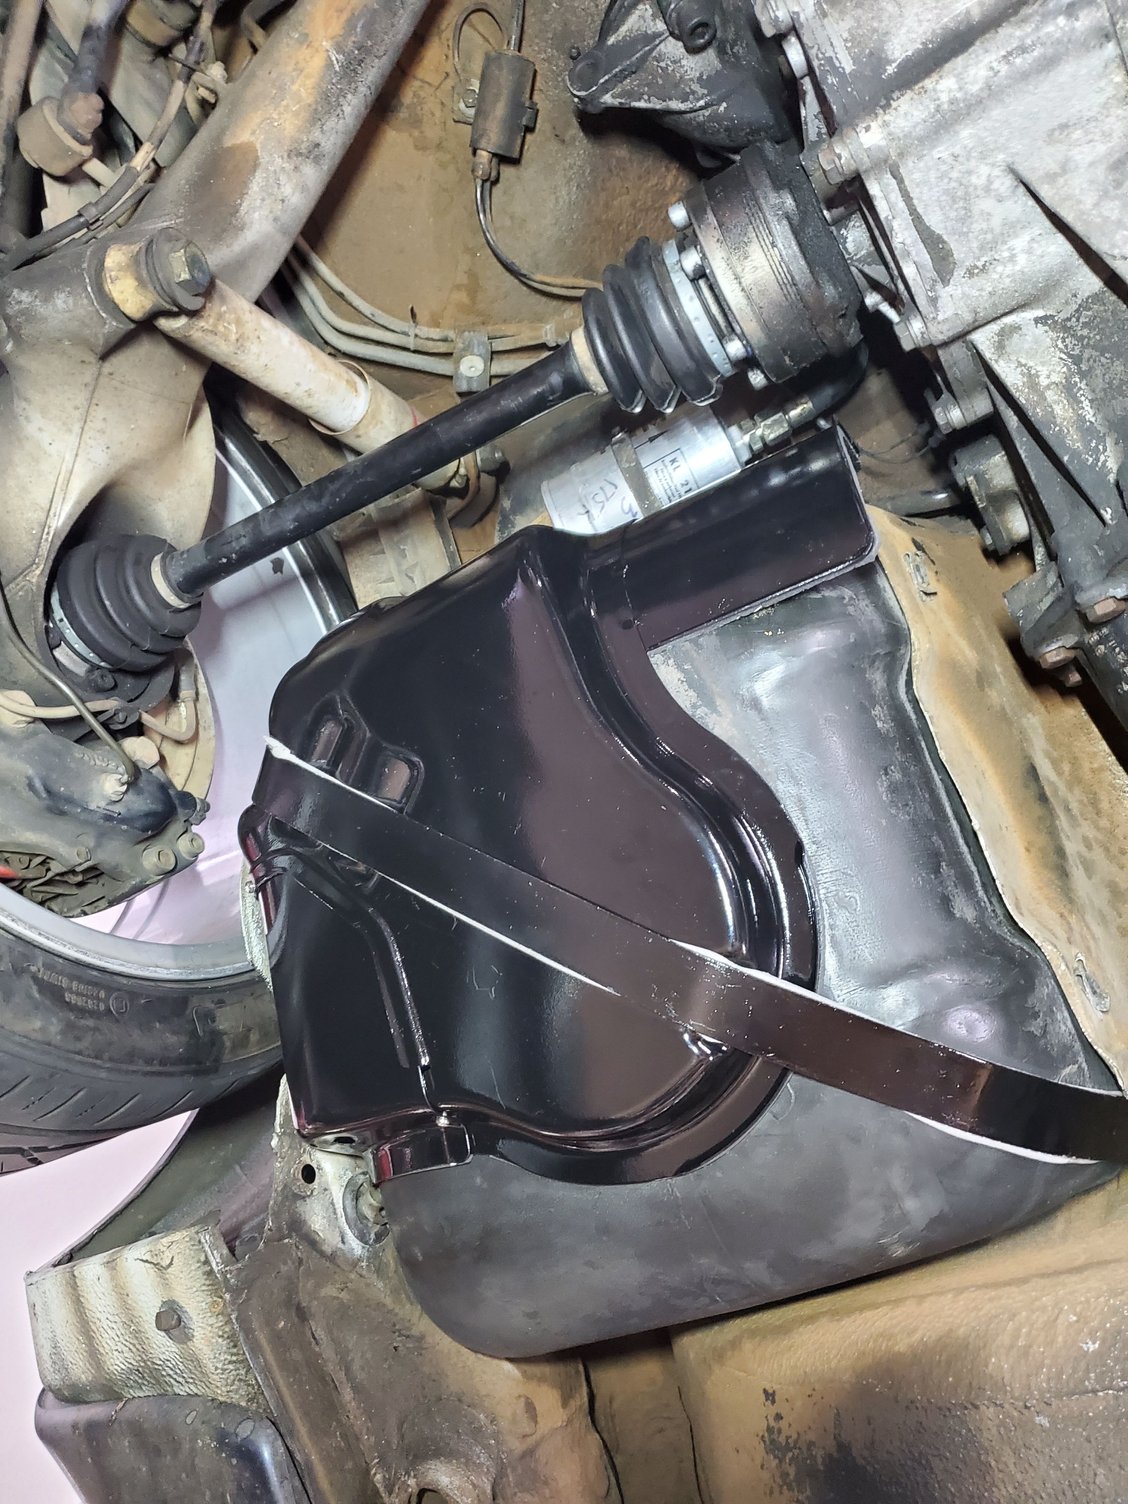
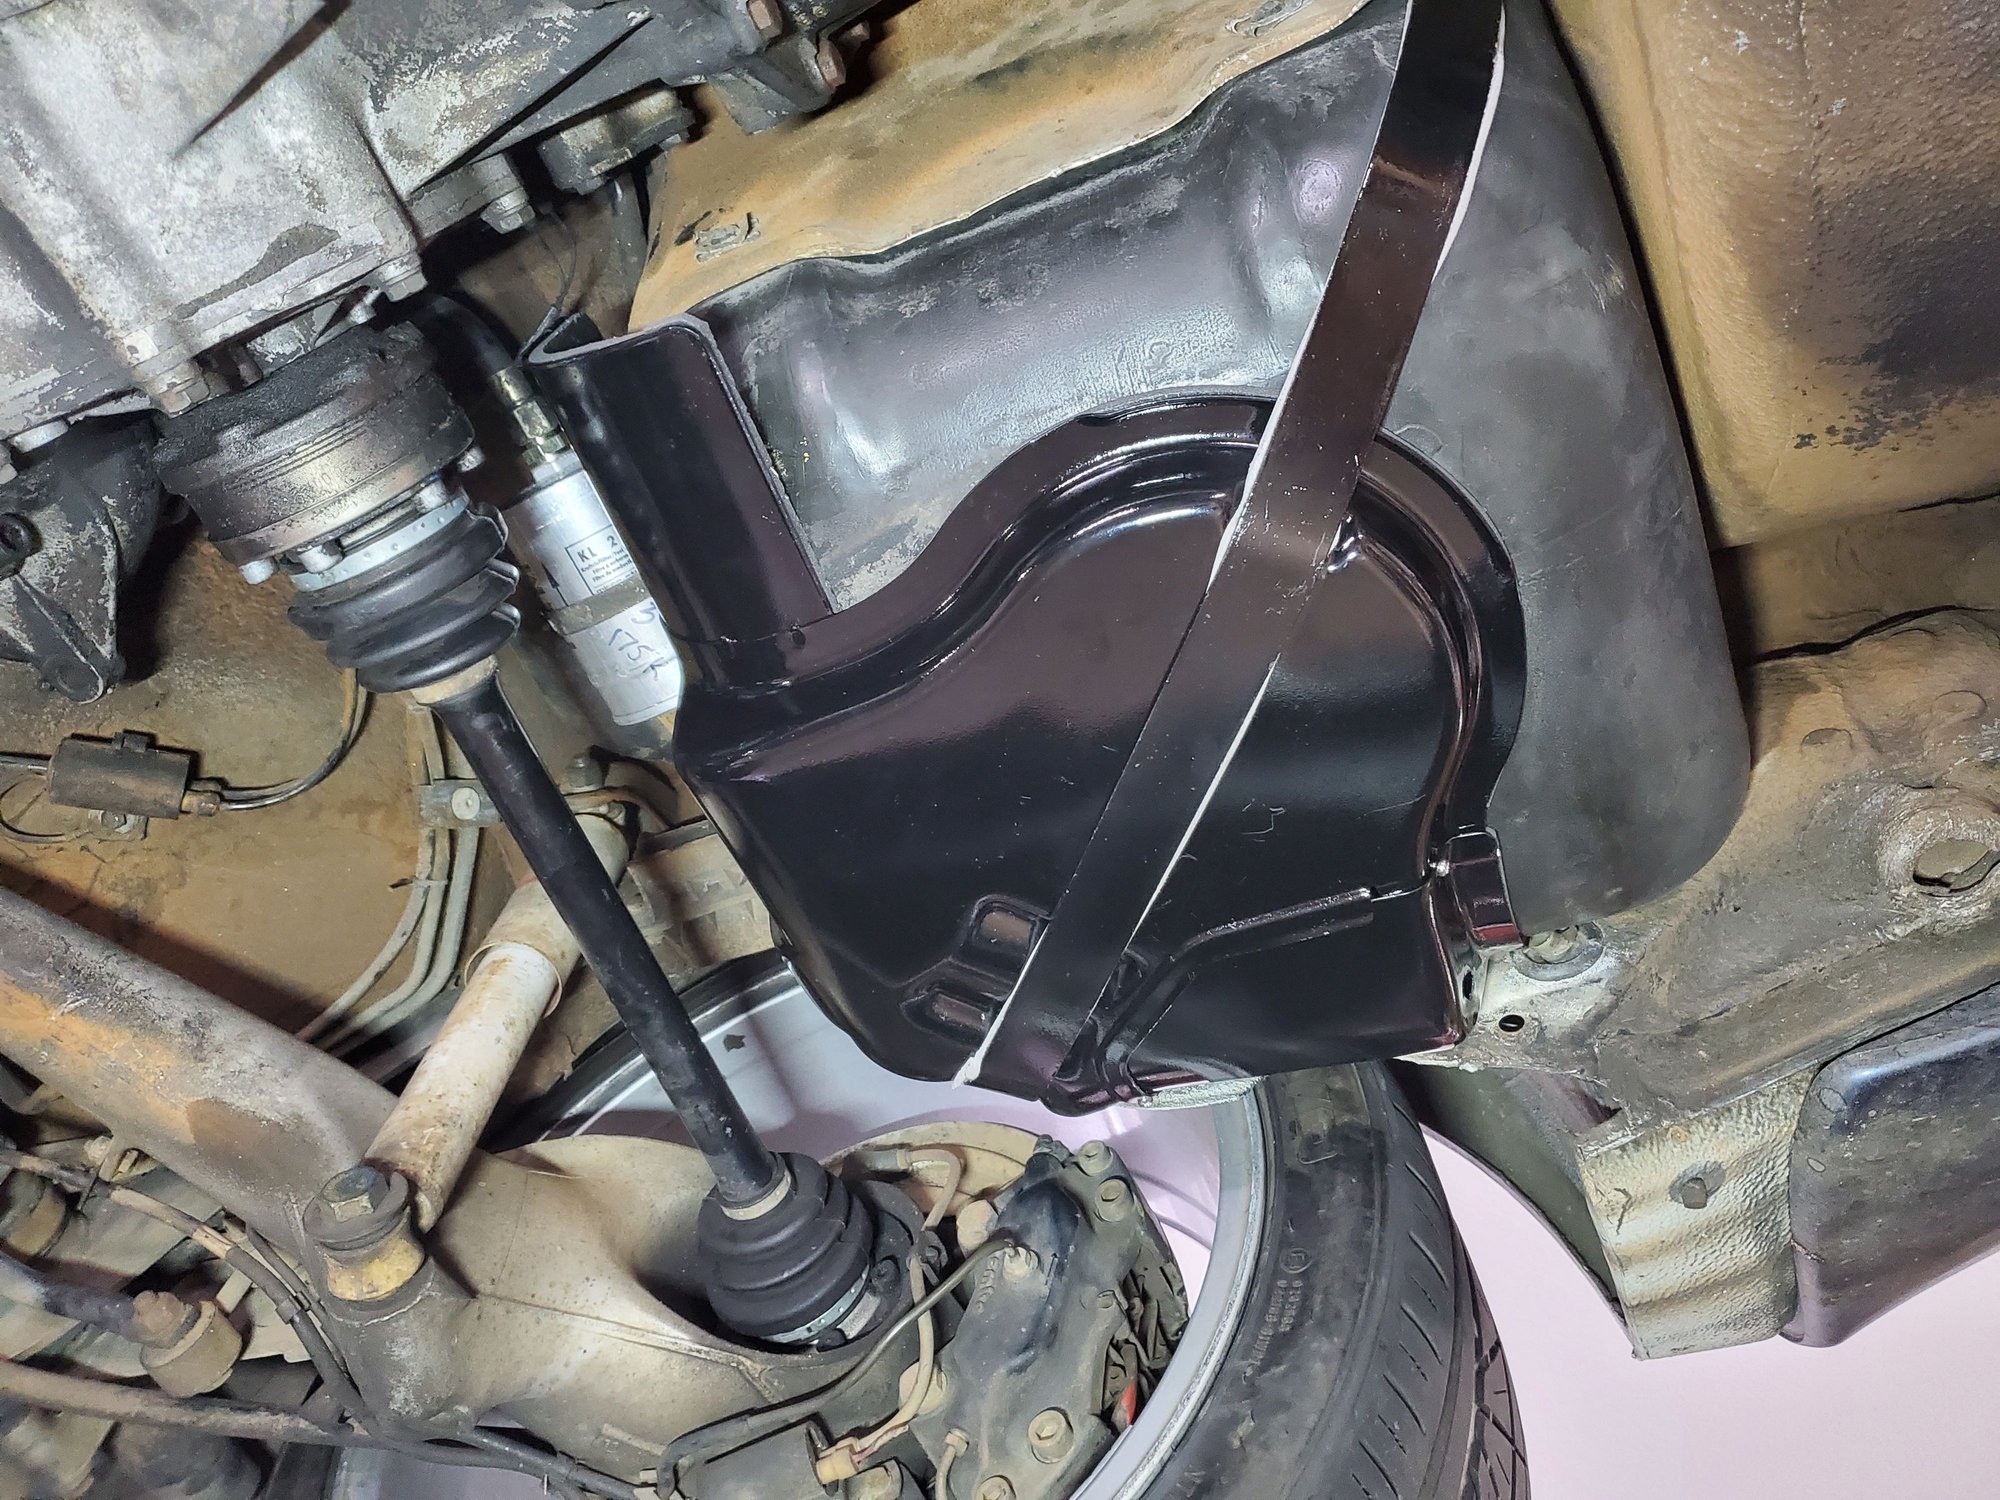
While waiting on the parts, I refinished the strap and covers with new paint and new foam insulation.
In-tank strainer wasn't leaking so didn't mess with that, but replaced everything else - strainer outlet to fuel pump hose, the fuel pump, pump to fuel filter hose, and the fuel filter even though it only had 10k miles of use on it from the PO.
After thinking I had a better idea for the clamp that goes around the fuel pump and working on getting a stainless hose clamp around the pump cover and out the slots in the metal cover and snugged up for 30 minutes or so, I realized why Porsche puts the tightening assembly inside the cover - it's because the cover strap doesn't fit right with the adjuster outside the cover, as it's right where the strap goes 😡
...so had to take that off again and just left it off. The rubber baffle around the pump seems to fit very tightly between the tank and cover without the clamp so the clamp seems unnecessary anyway, and being able to remove the cover without the pump being attached to it for future inspections seems like a better plan.
This was the evidence of my leak. Gas was getting inside the rubber pump baffle, running along the cover and dripping out.
Refurbed the tank cradle, cover, and strap with new paint and insulating foam tape
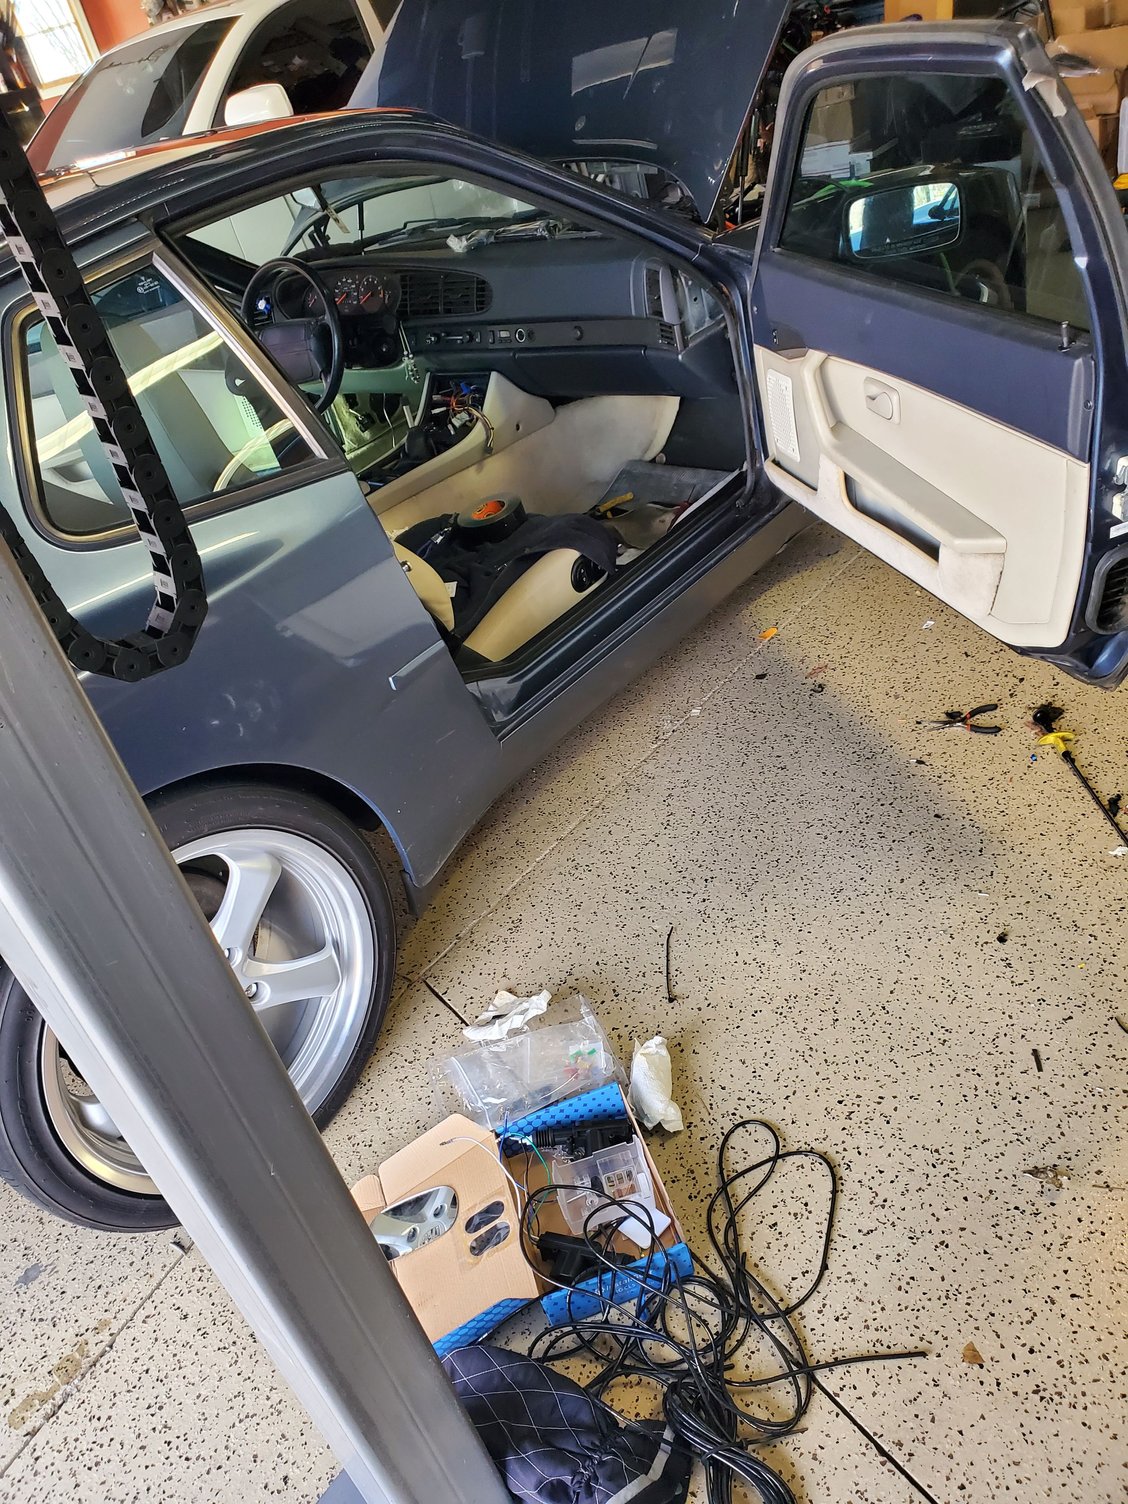
Just wrapped up a big week of work on my son's S2 while he was on Spring Break.
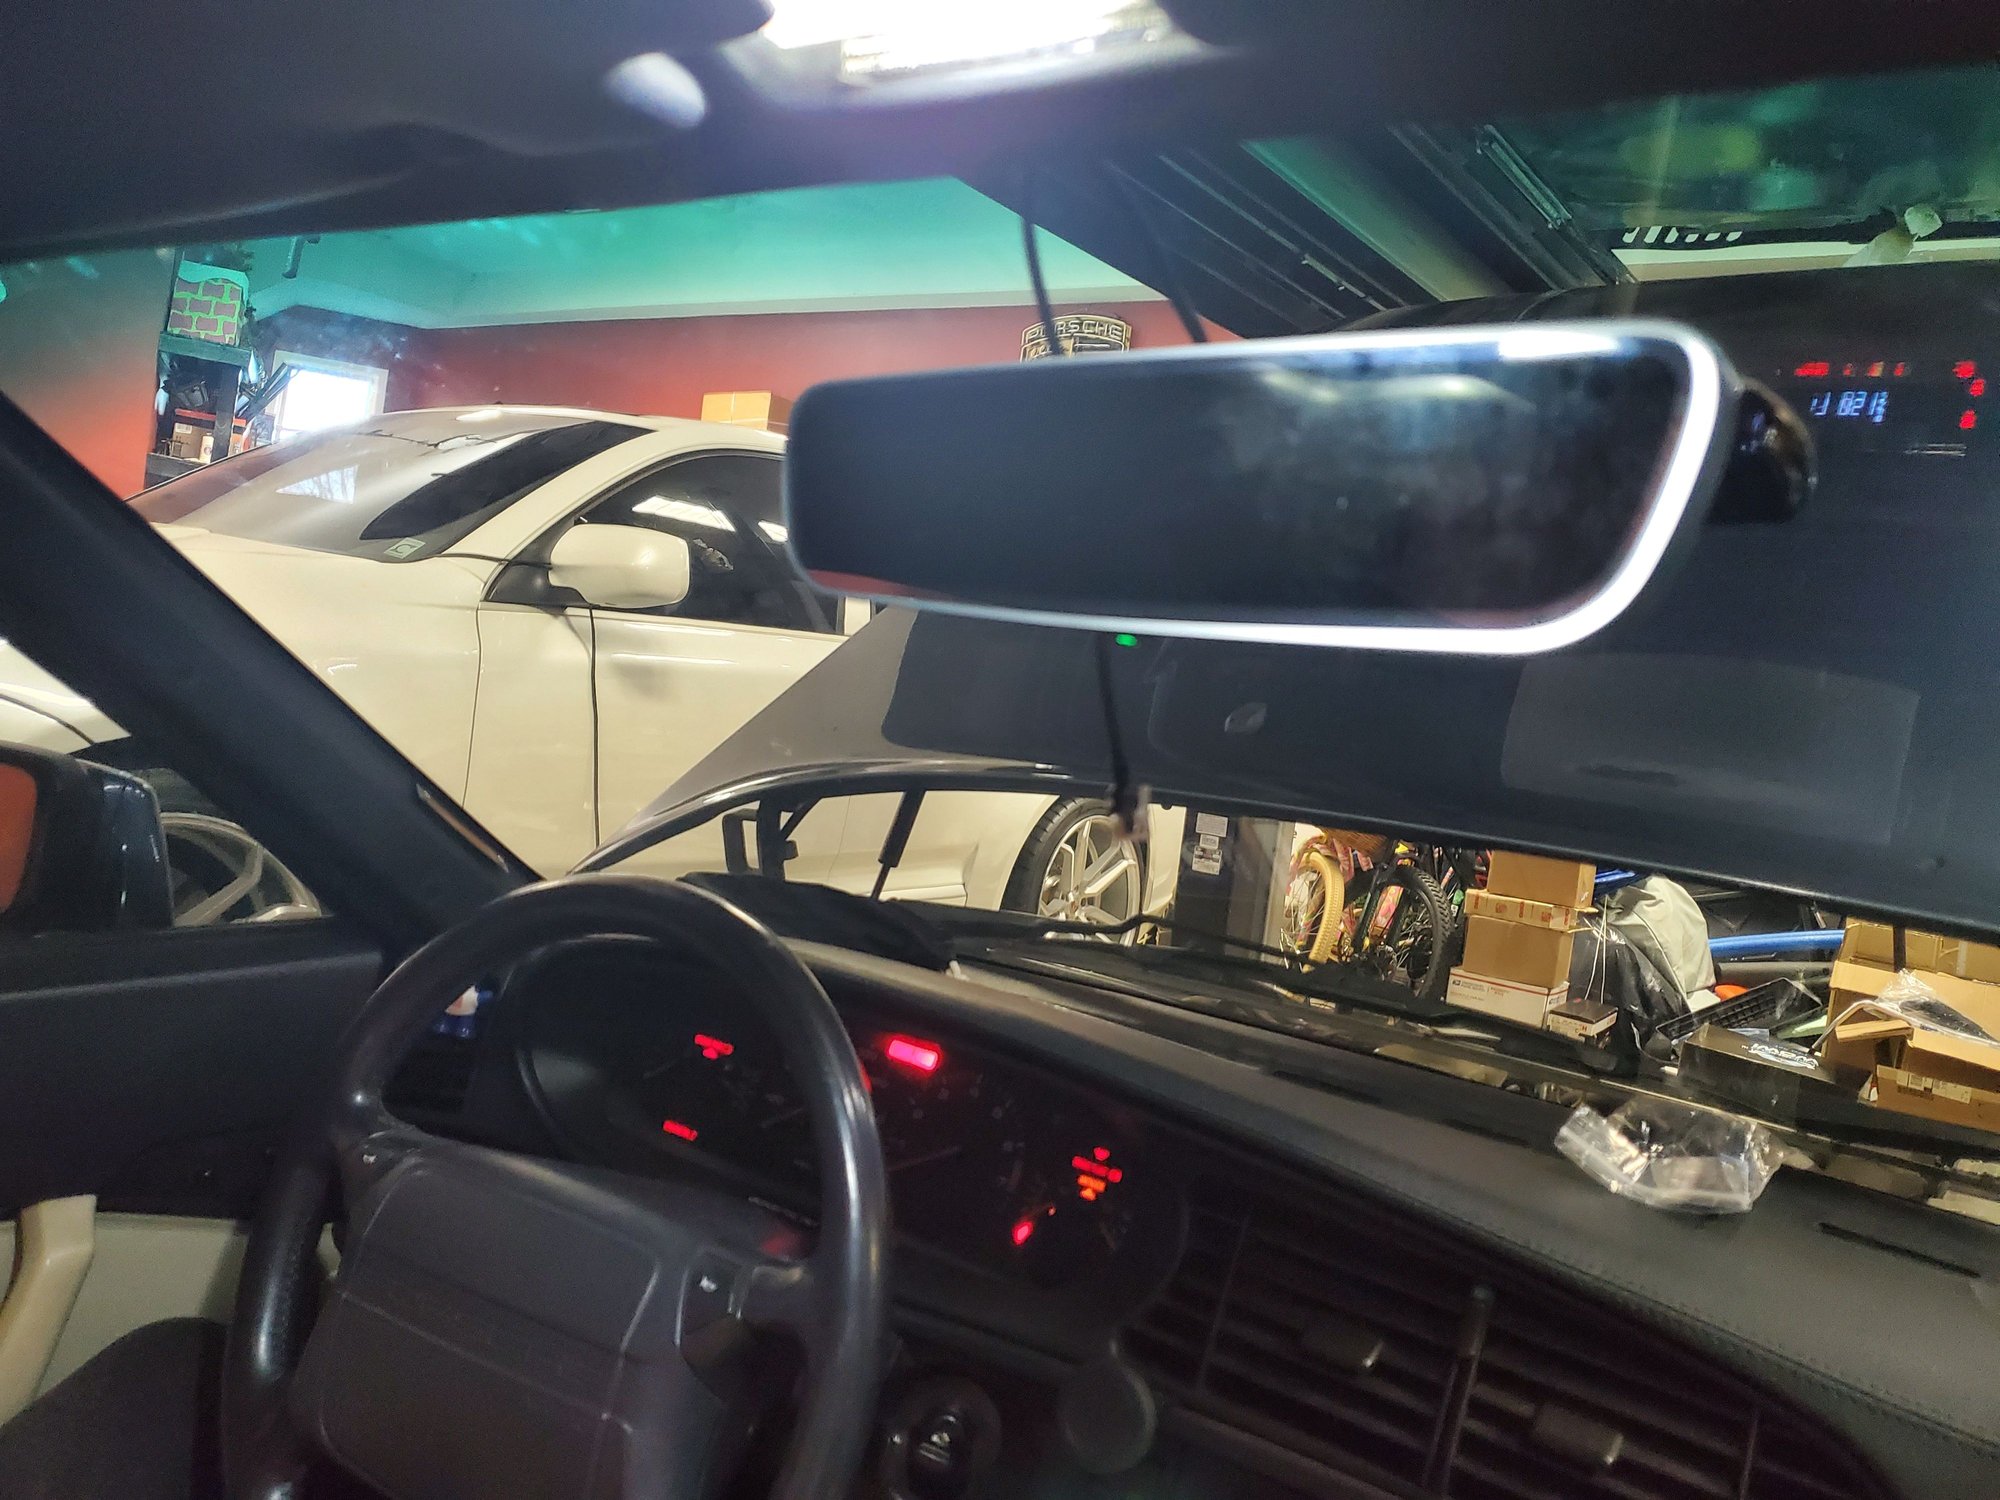
Remote Power Door Locks and Hatch Release, new Sony BT stereo, interior powered antenna that actually now has him getting all the radio stations around the area, new lighted shift **** with new leather boot, auto-dimming rearview mirror, new middle dash panel (thanks Elliott Grafton) that now fits flush since the left edge tab isn't broken off, & an auxiliary fuse box to power all these new electronics with individual fuse protection and to not mess with the factory wiring.
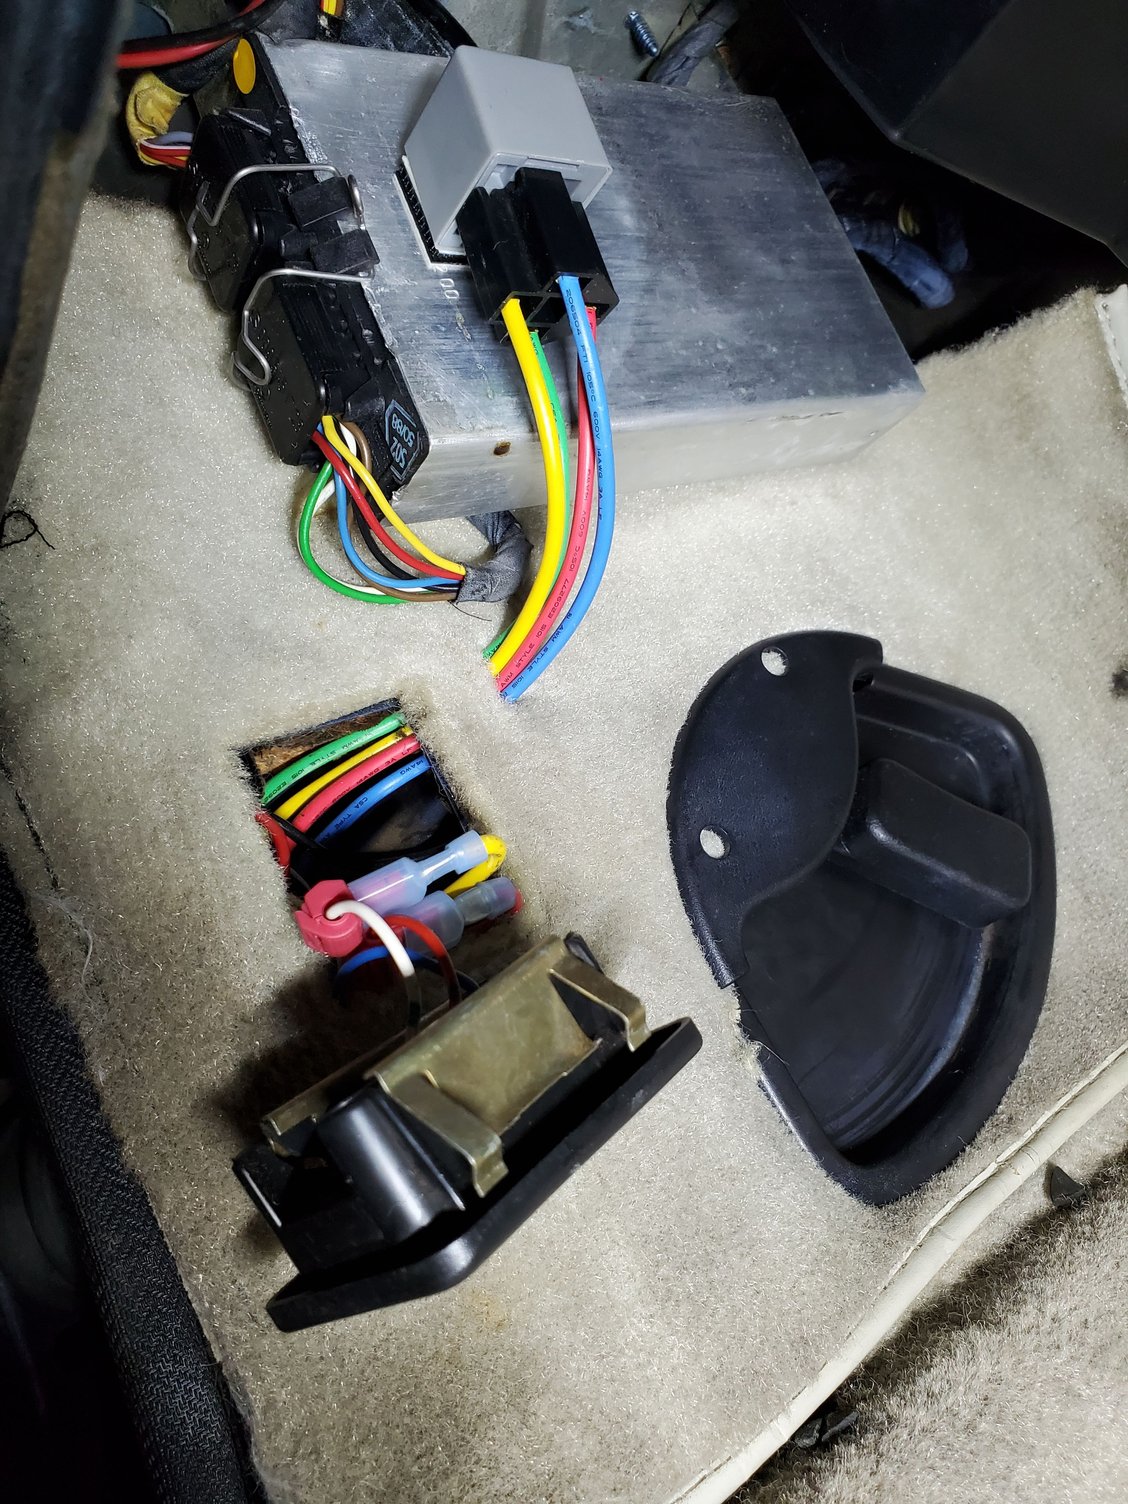
Secondary Fuse box for the new electrics. One side is constant 12v and the other switched. Each circuit is individually fused and don't have to mess up the OEM wiring.
Auxiliary Fuse Box mounts with click Velcro up and out of the way.
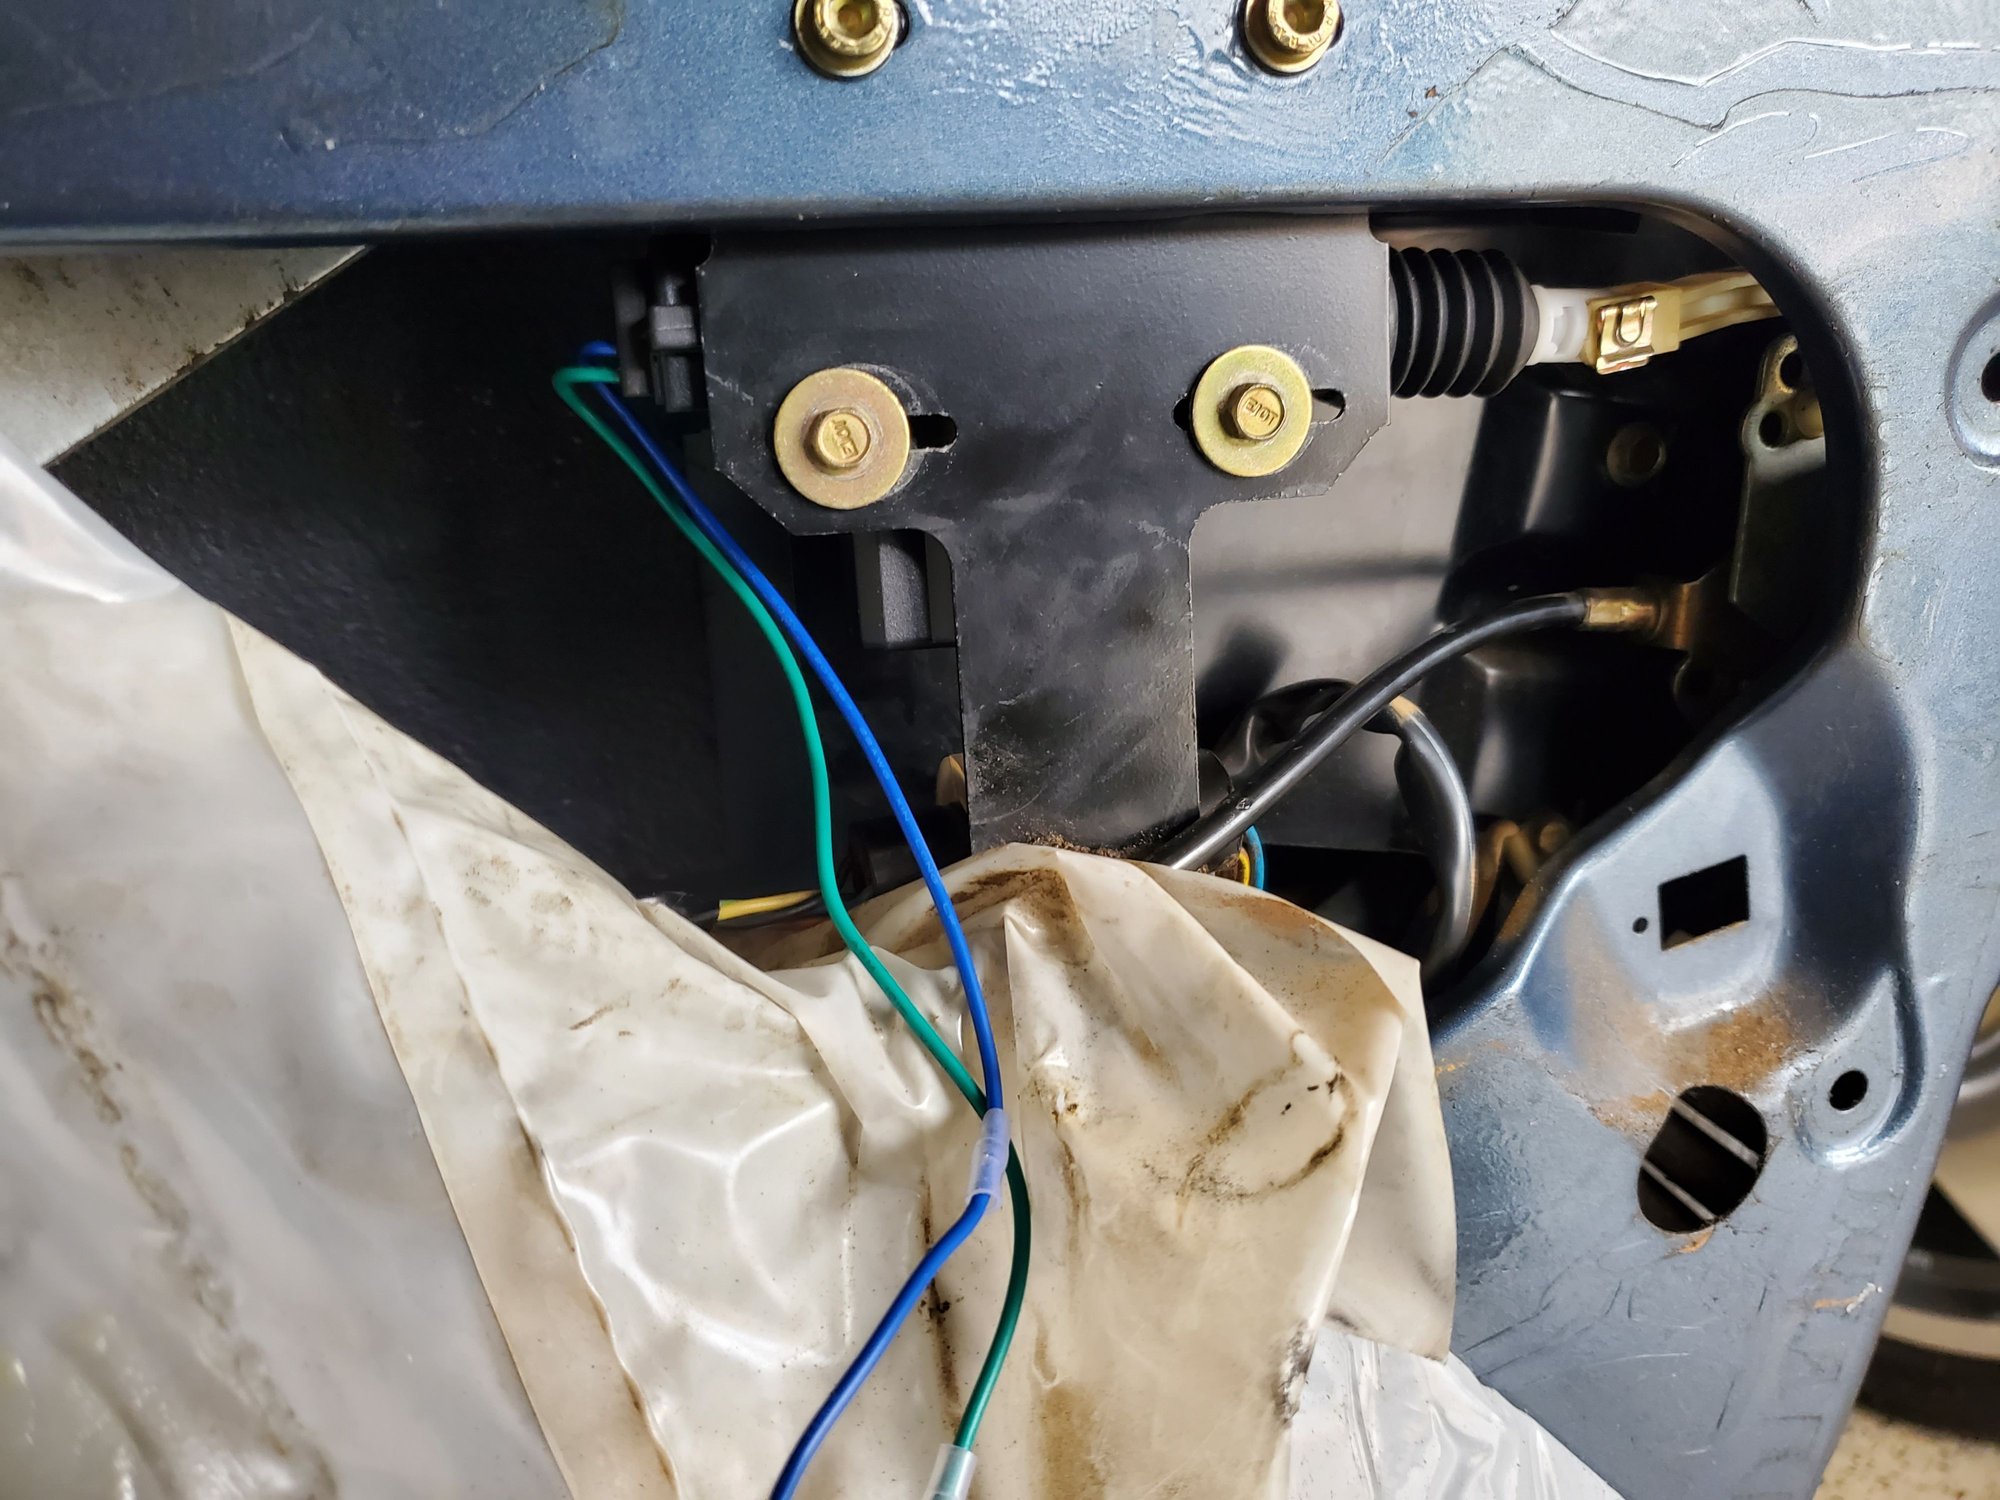
Remote door lock actuators installed
Lots of wiring fun
Relay used to convert the ground signal from the remote lock controller to a 12v trigger to pop the hatch. Original switch works also.
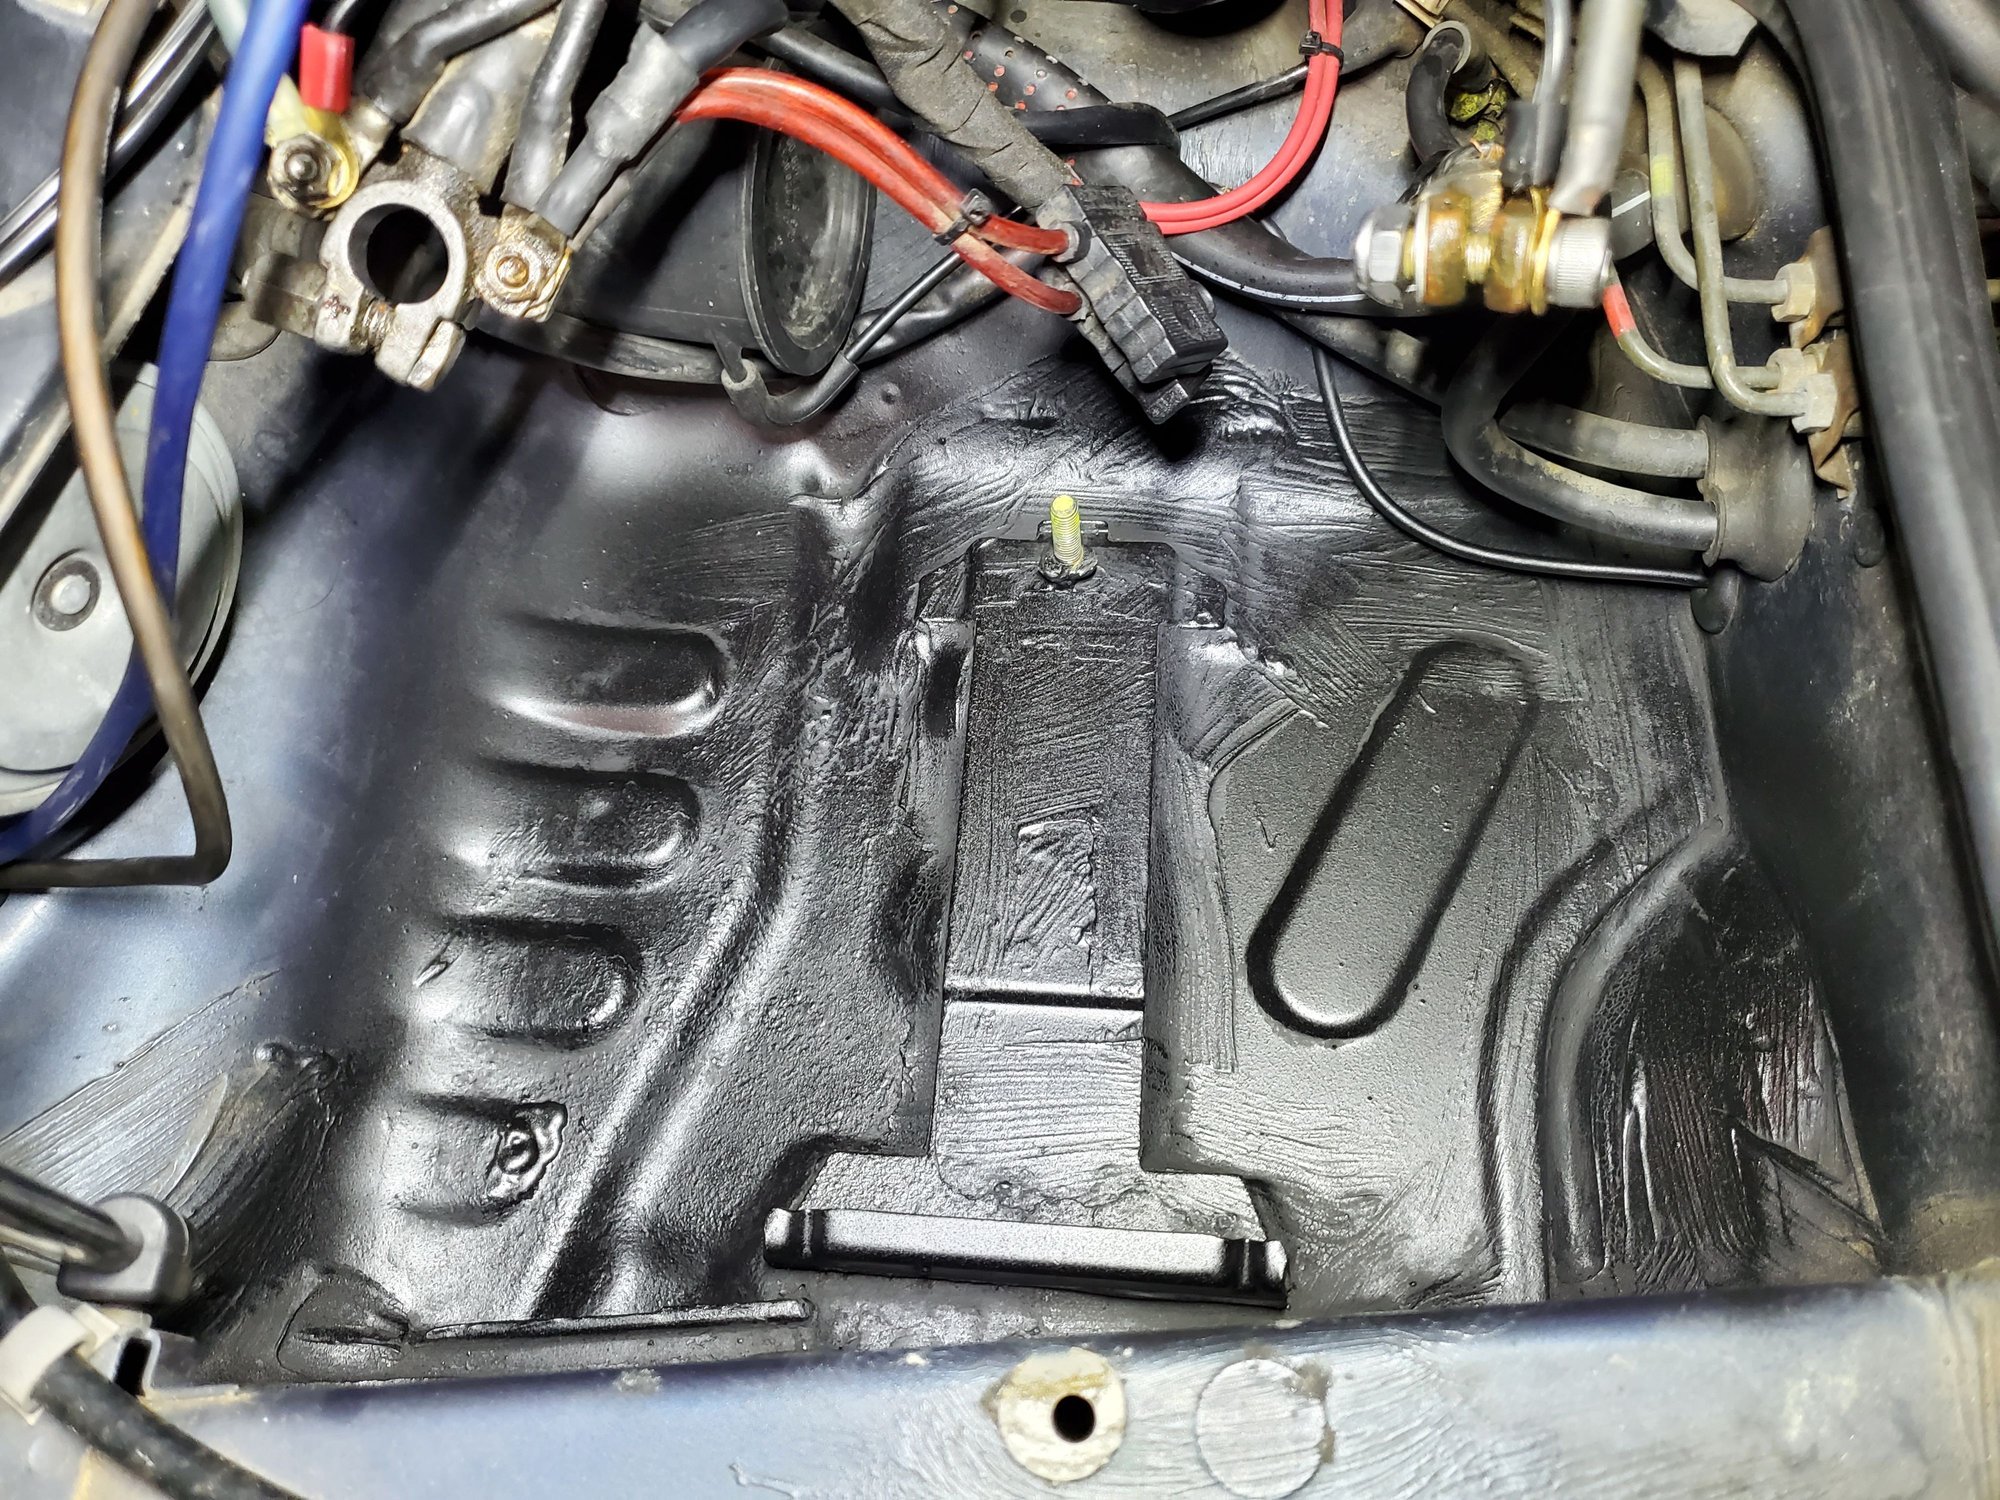
While running wires from the battery area for the new fuse panel, fixed a small hole with JB Weld then painted the try with Eastwood Rust Encapsulator texture paint and cleared the drain channel.
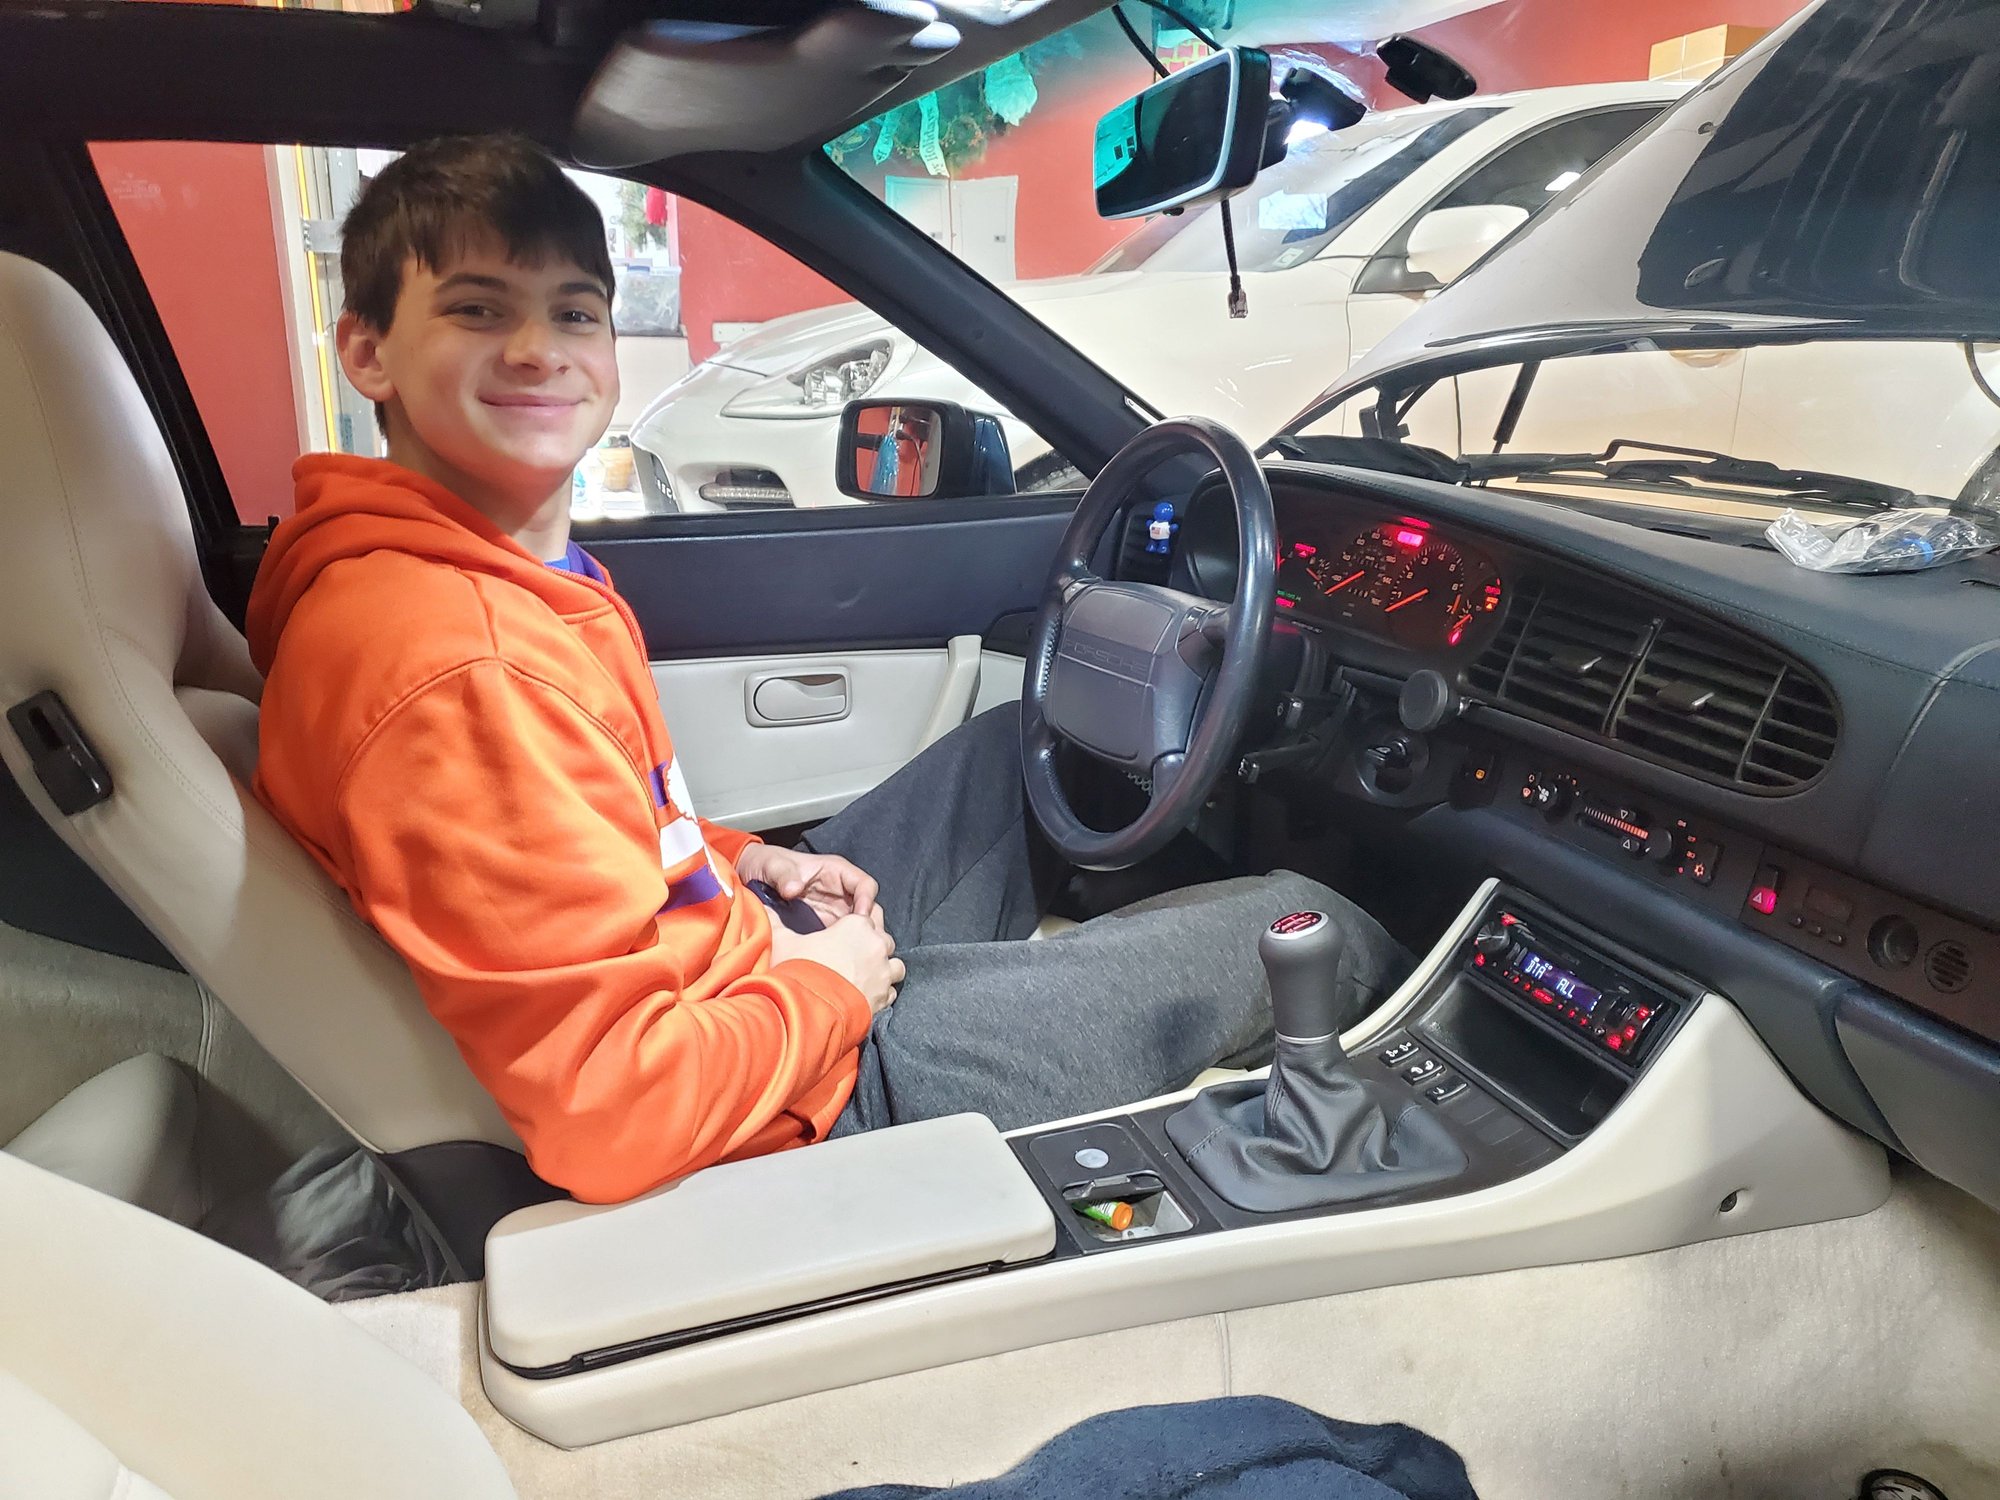
JP testing out some of the new stuff
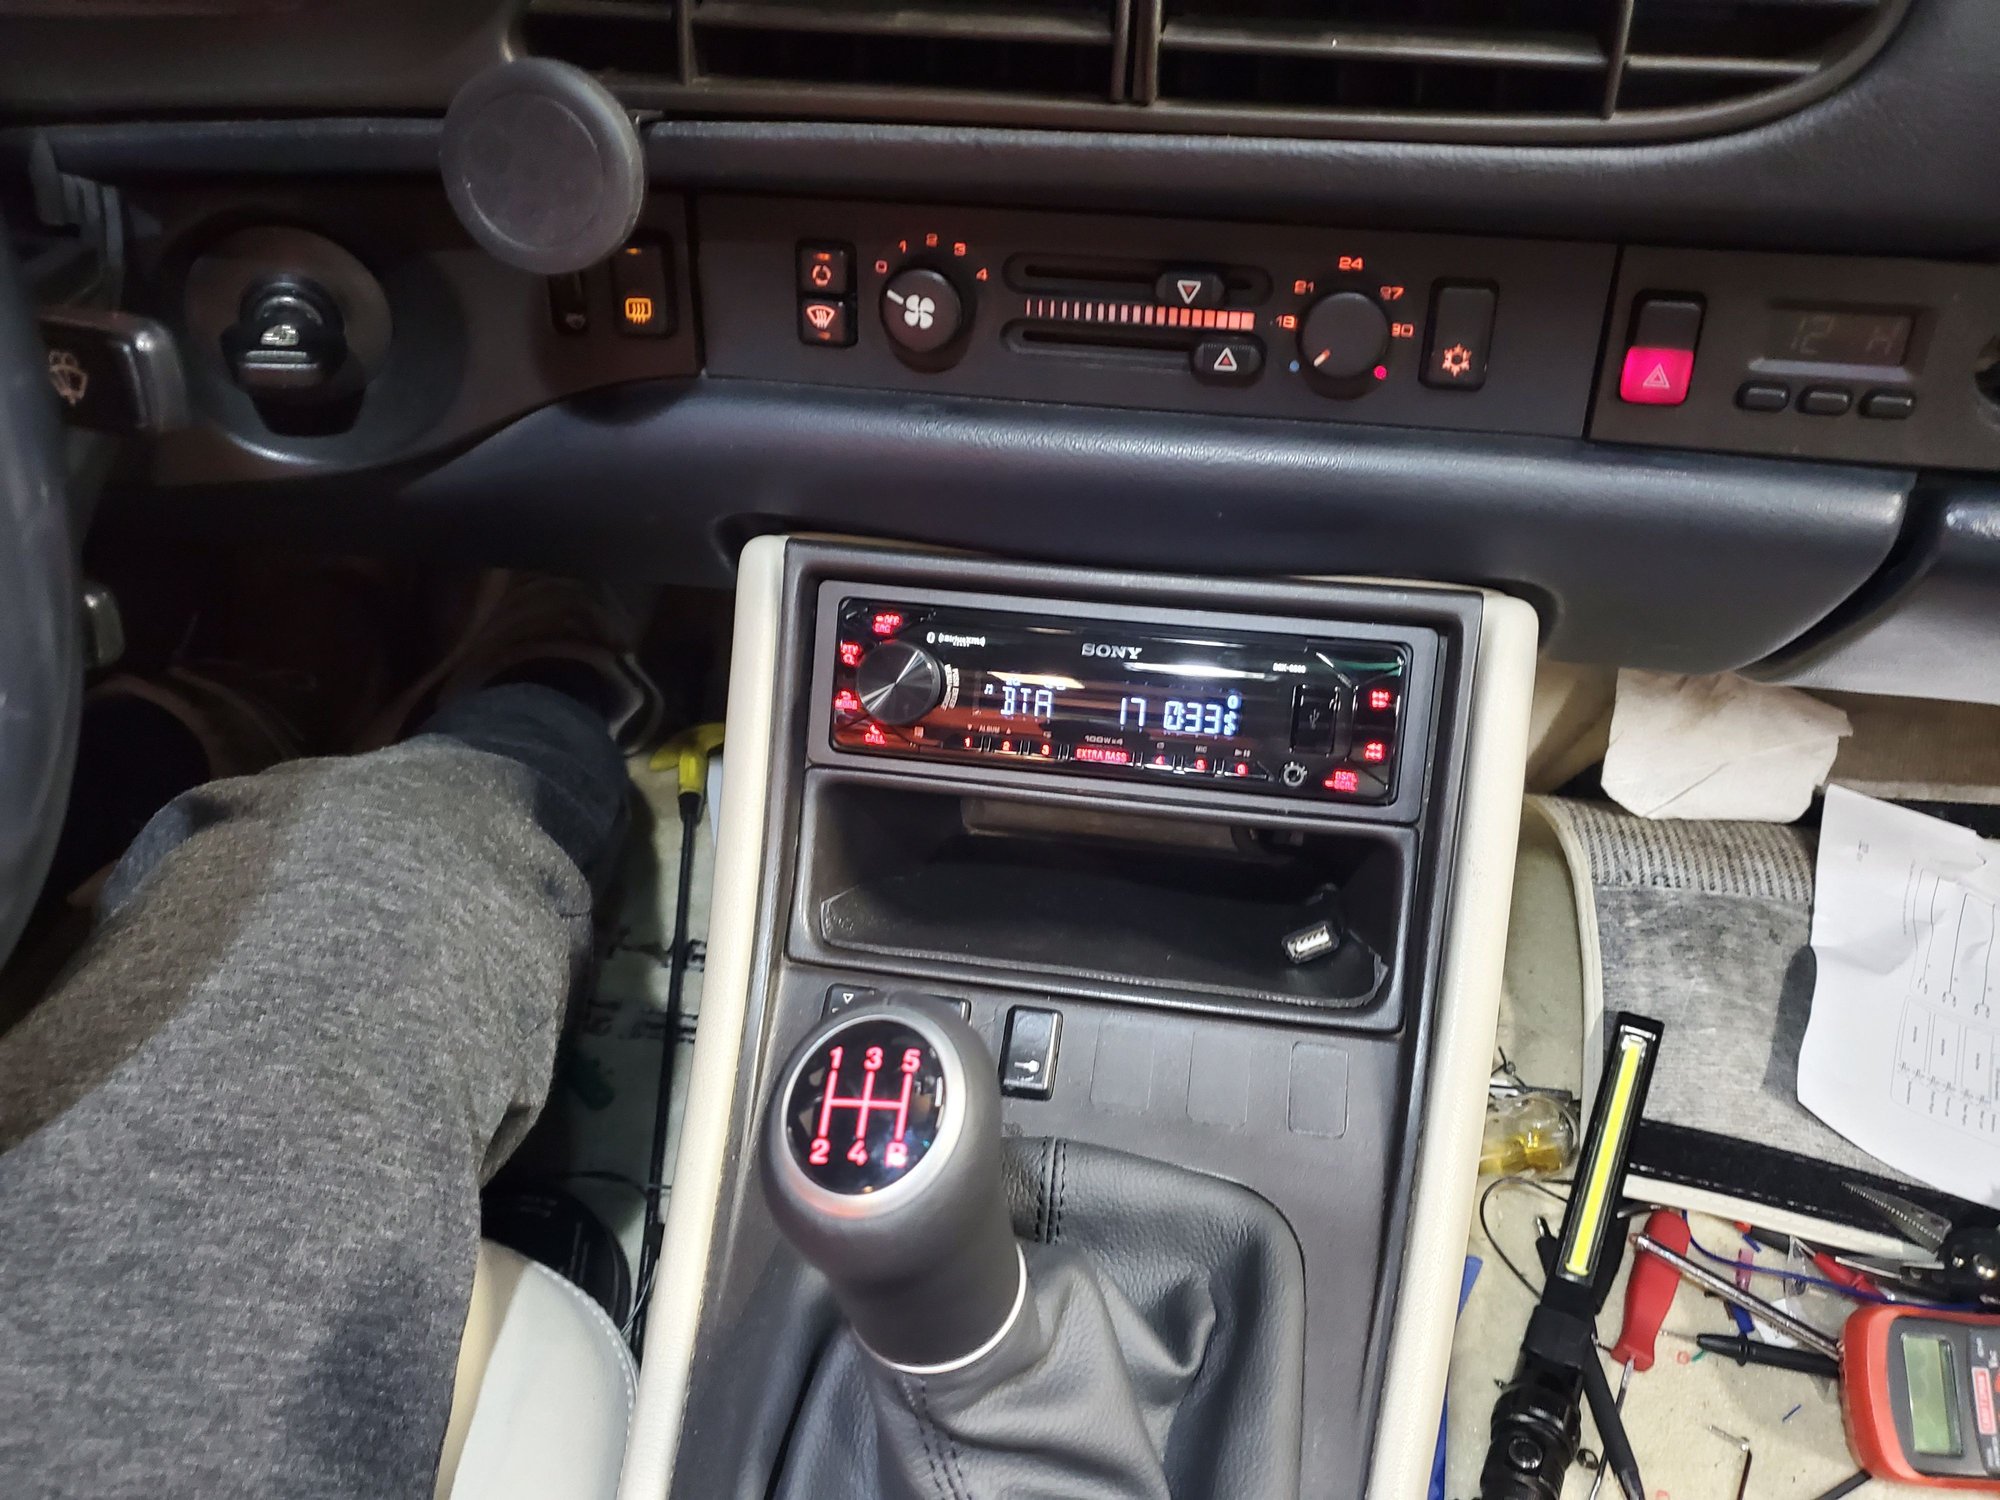
New Sony head unit installed and new shift **** and boot. Radio has BT streaming and hands free calling, display colors are customizable to match the interior lighting, shift pattern illuminates red when lights are turned on and the radio dims. Radio is 45 watts RMS and powers the Infiniti Kappa speakers installed by the PO well without amps. Also has an app to customize the settings.
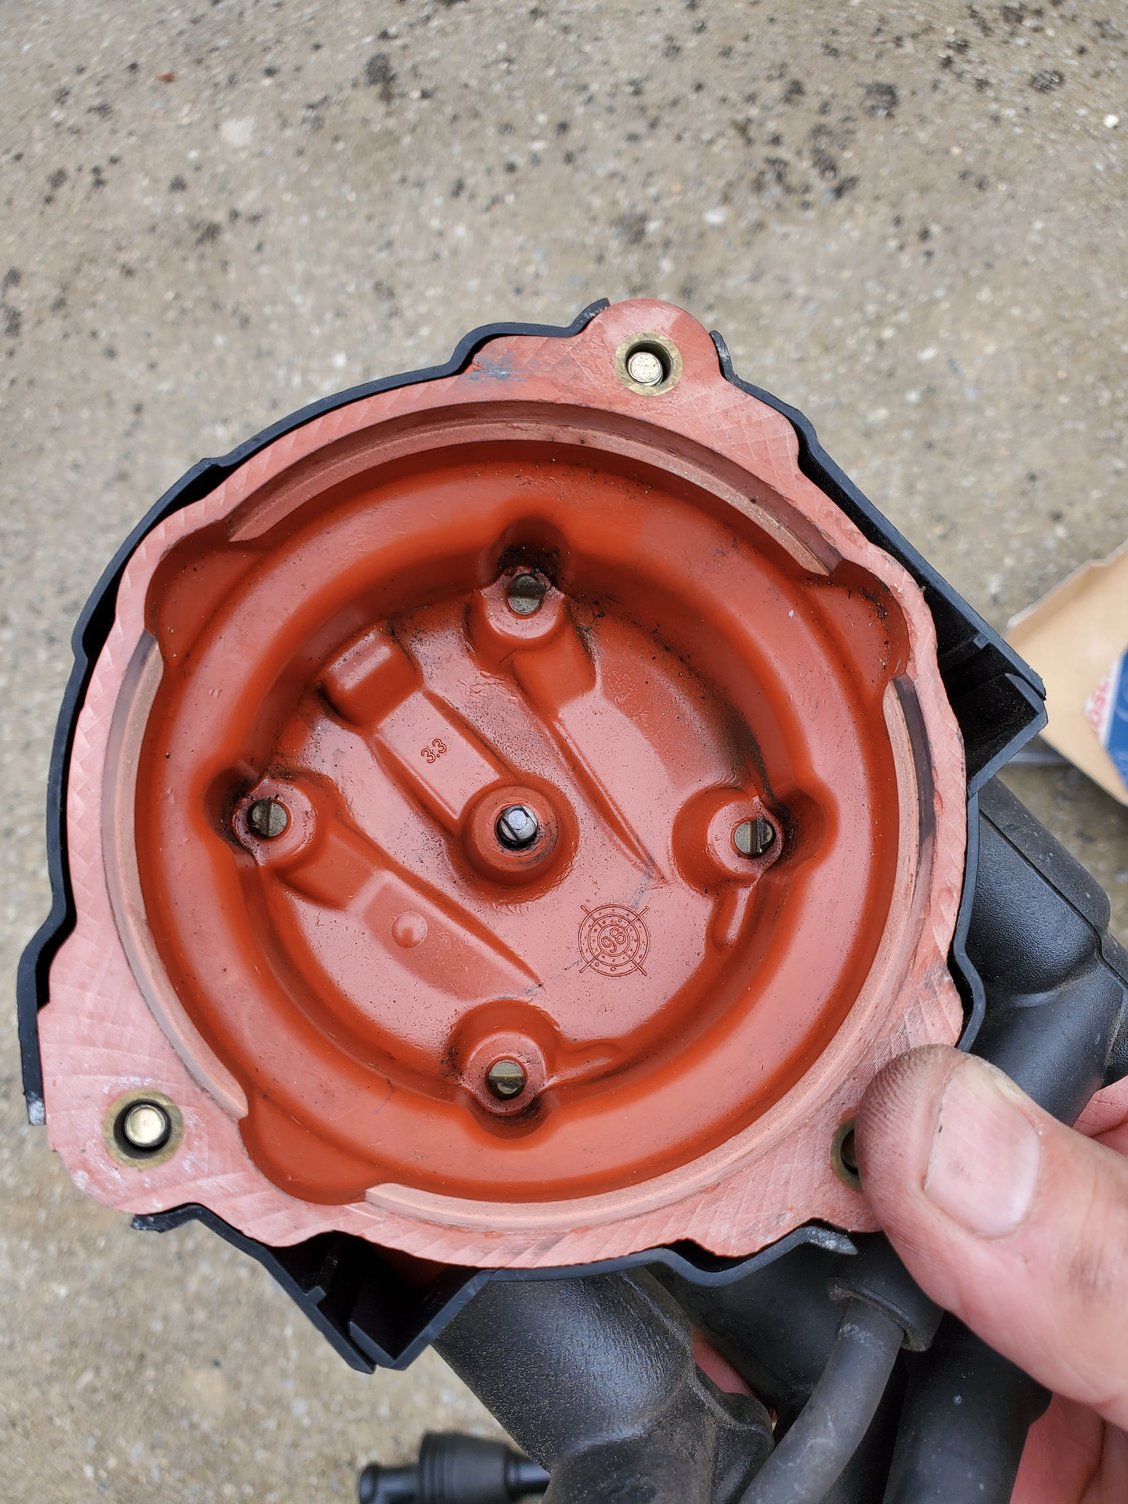
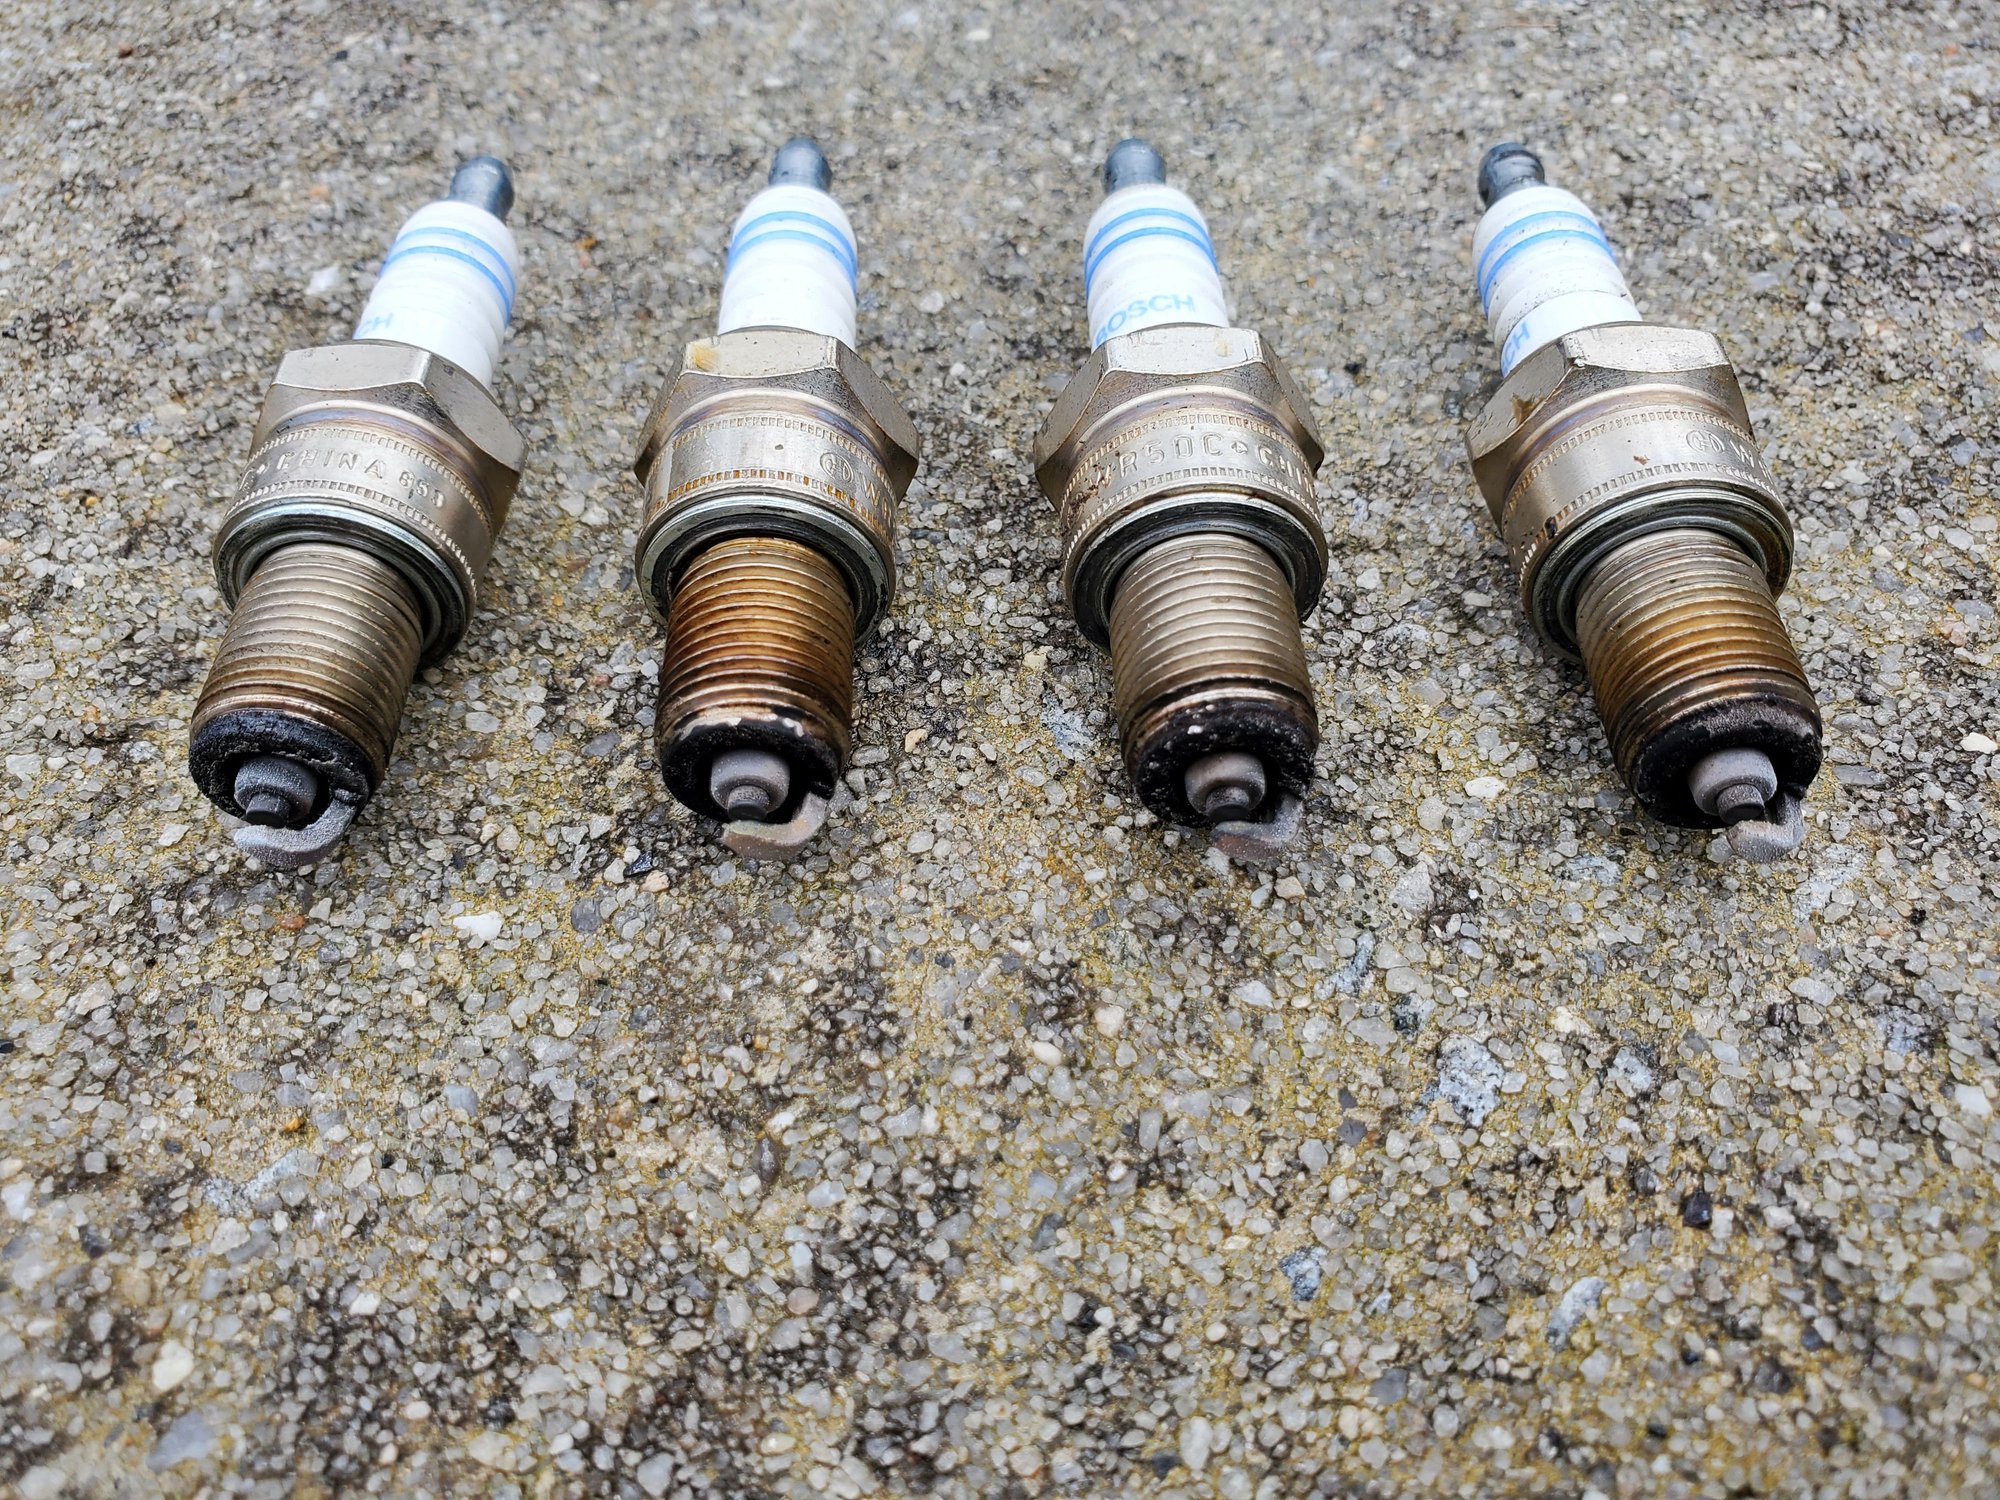
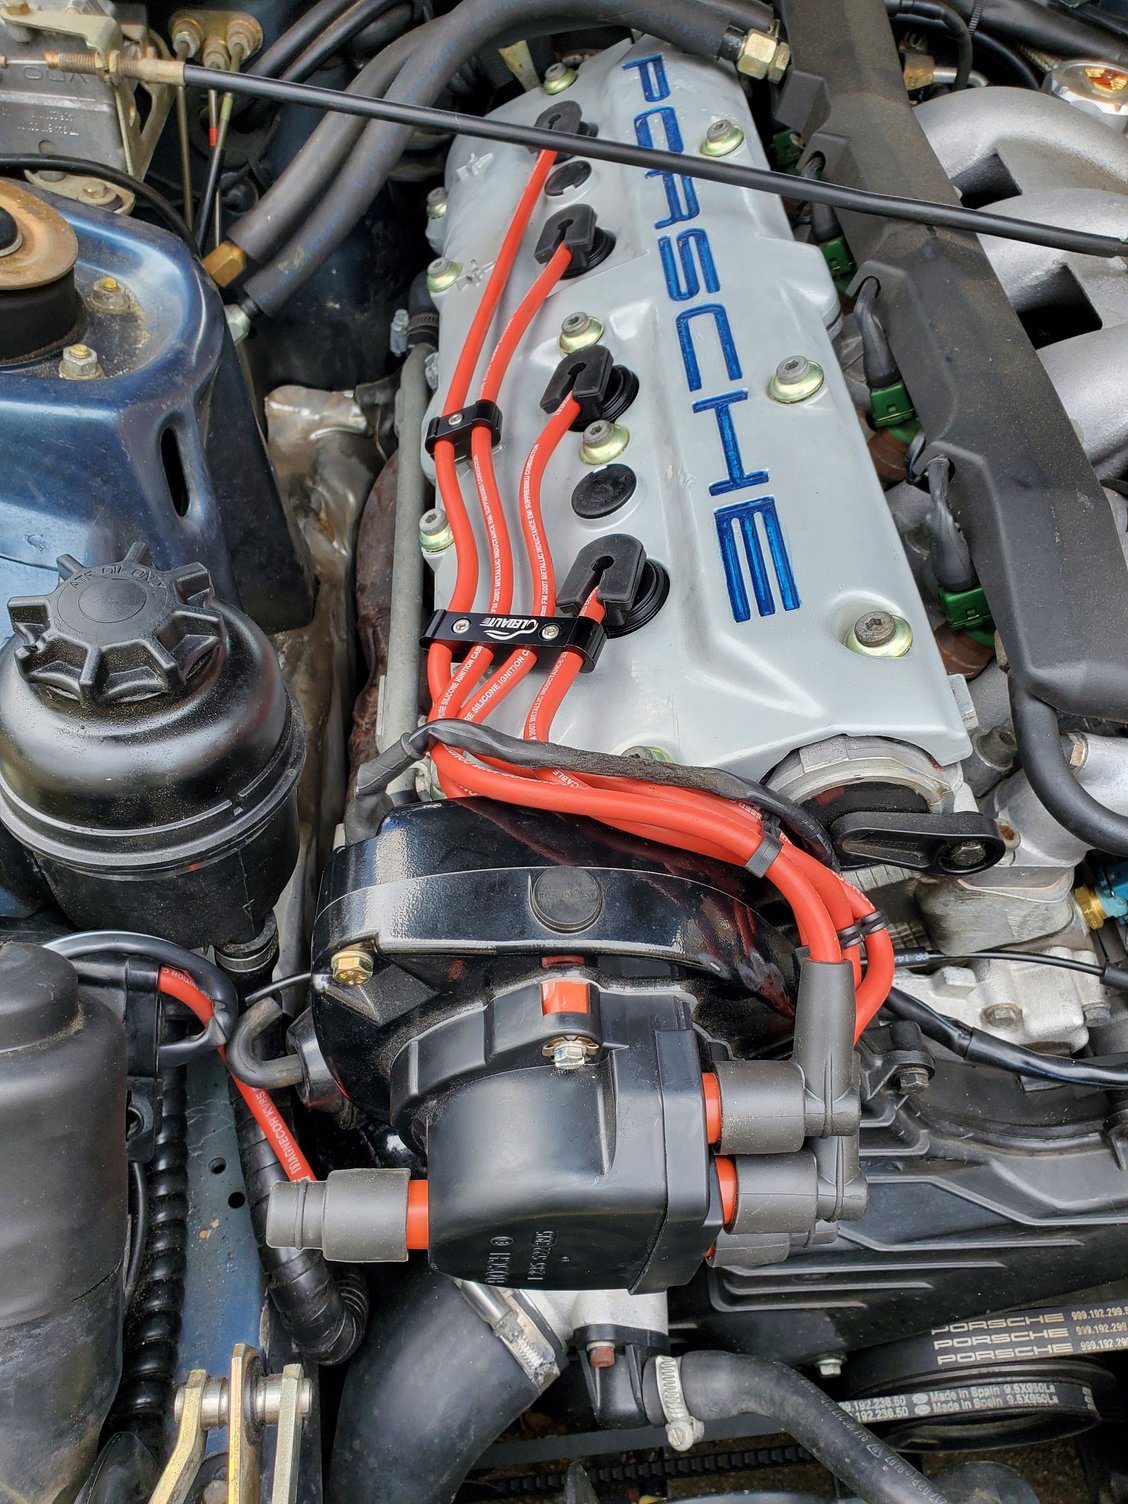
New Plugs (NGK BPR6ES), Cap, Rotor, & Magnecor Wires on the S2 today.
Old plugs had good coloring. Cap & Rotor had some wear.
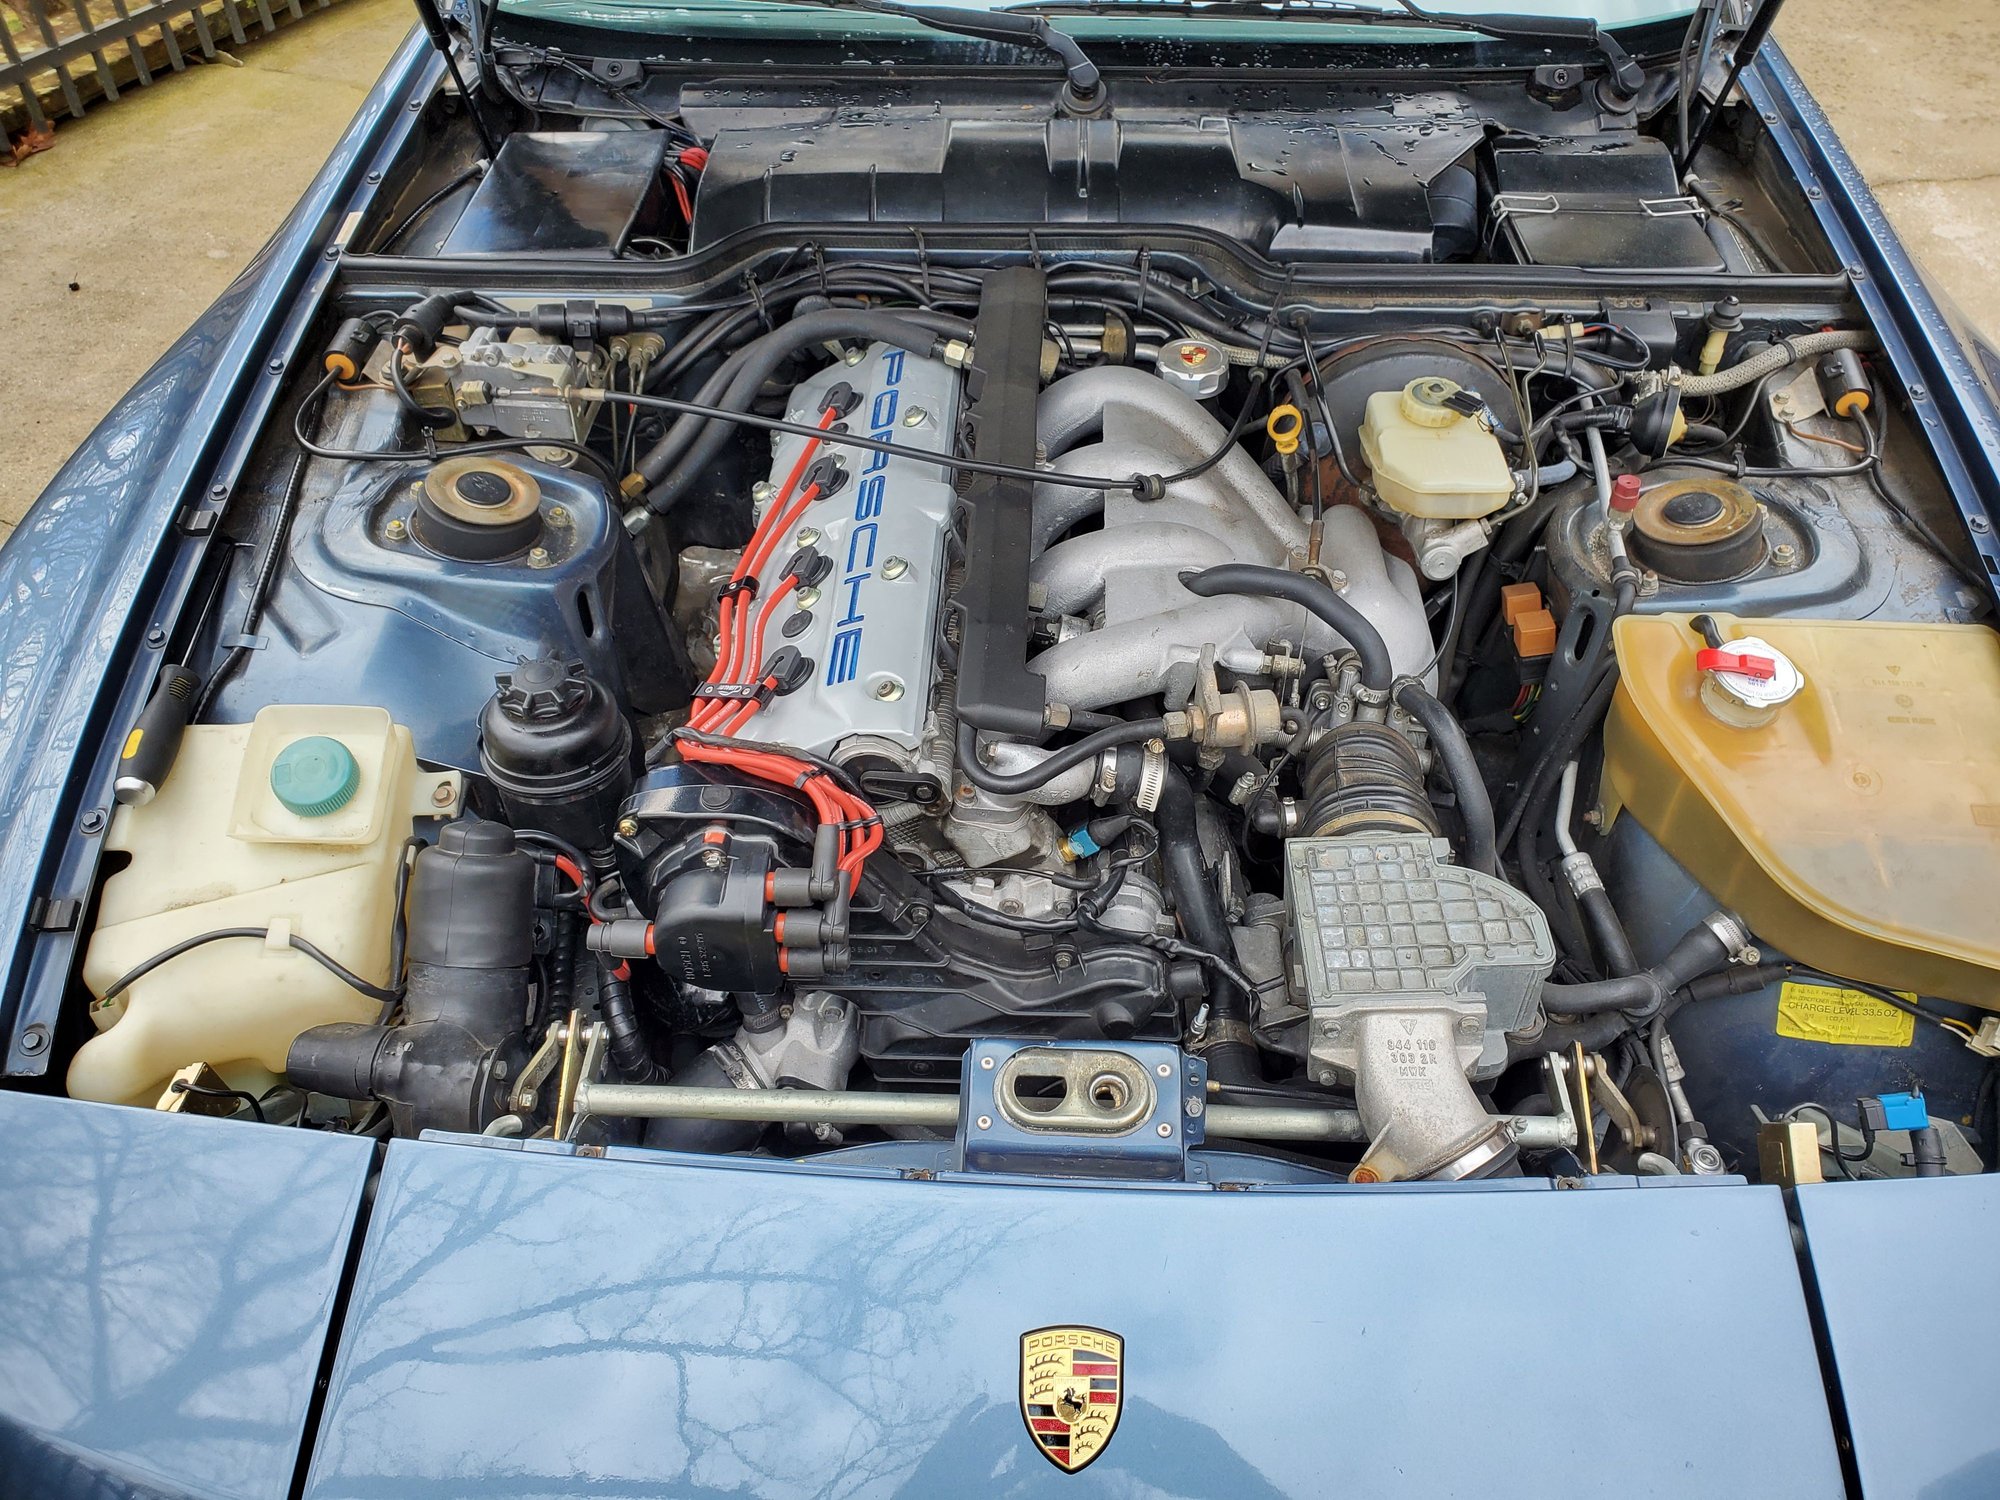
Magnecor wires are thicker (thicker conductor and more insulation 8.5mm vs 7mm) than the Berus I removed, so needed to come up with a different way to nicely organize them in the engine bay across the cam cover. Seems to have worked out.
New Plugs (NGK BPR6ES), Cap, Rotor, & Magnecor Wires on the S2 today.
Old plugs had good coloring. Cap & Rotor had some wear.
Glad to hear your S2 is running so well. I've had really good luck with Denso IW22 (5307) Iridium plugs in my S2. Before those I ran the Bosch tri-electrode.
My 951 currently has the 8.5mm Magnecore wires, but I'm changing those (and the stock Beru on the S2) to 8mm Clewatt Engineering plug wires since the (old) 951 plug wires do not have the 90 deg attachment and are hard to get secured.

 02-08-2024, 12:08 PM