When you click on links to various merchants on this site and make a purchase, this can result in this site earning a commission. Affiliate programs and affiliations include, but are not limited to, the eBay Partner Network.
So I had an experience very similar to Mr. Pyle's, that he posted about around a month ago. I noted an awful lot of nearly microscopic metallic dust in my oil. Unfortunately threw it away before I thought to get it analyzed. Cut my oil filter open and found a few larger gold colored particles. Not much in the media, but it seemed a bit much since the oil only had about 1500 miles on it. Definitely more than I was seeing in my other cars. So I plan on inspecting the rod bearings as soon as I have the time and the right socket. A couple other concerns about this engine are, I have no idea how many miles are on it, since it has an 86.5 block number on an 86.0 car. Also, when I pulled the thermostat, I discovered some blind person put a 93C thermostat in there that didn't fit correctly. So suspect the engine has been running pretty hot.
Getting the pan off probably took me about 12 hours all together, working on my back. Quite a pain getting the crossmember out. I don't plan on doing the motor mounts as they seem to work well, and my crossbar just barely fits over the TPS as it is.
I think a 928Motorsports three-piece crossmember is a must. Are there any big advantages to the silicone oil pan gasket? The cork one seemed to seal just fine, although I notice a couple tears in it. What else can I do while I'm in here?
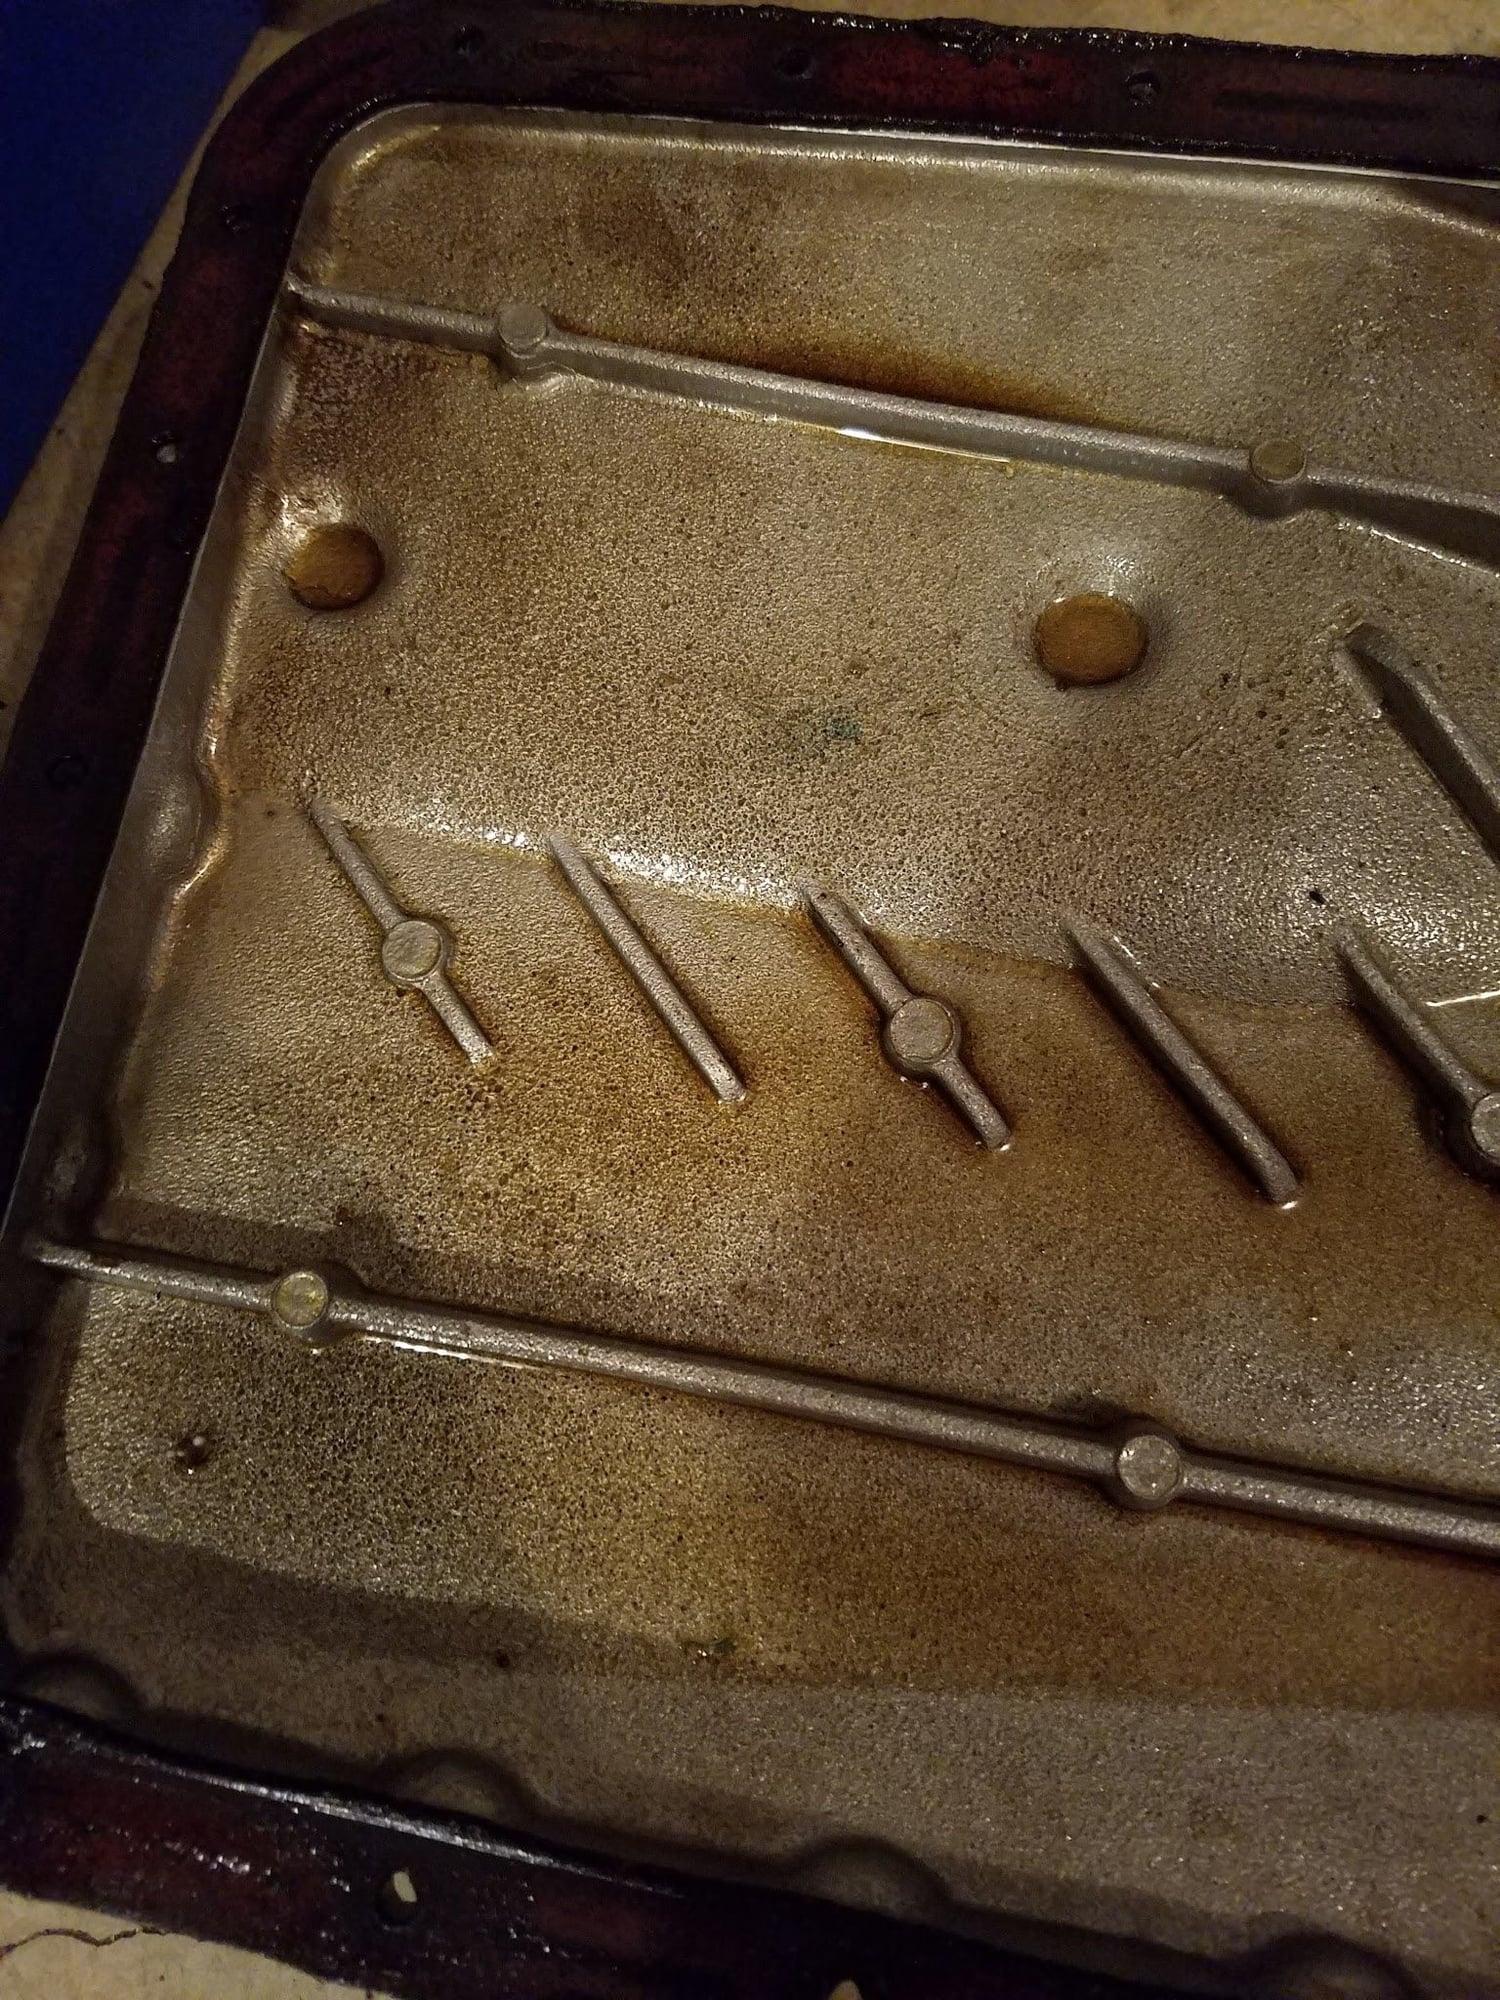
Pickup looks good. Guess I'll have to take it off to inspect the rod bearings.
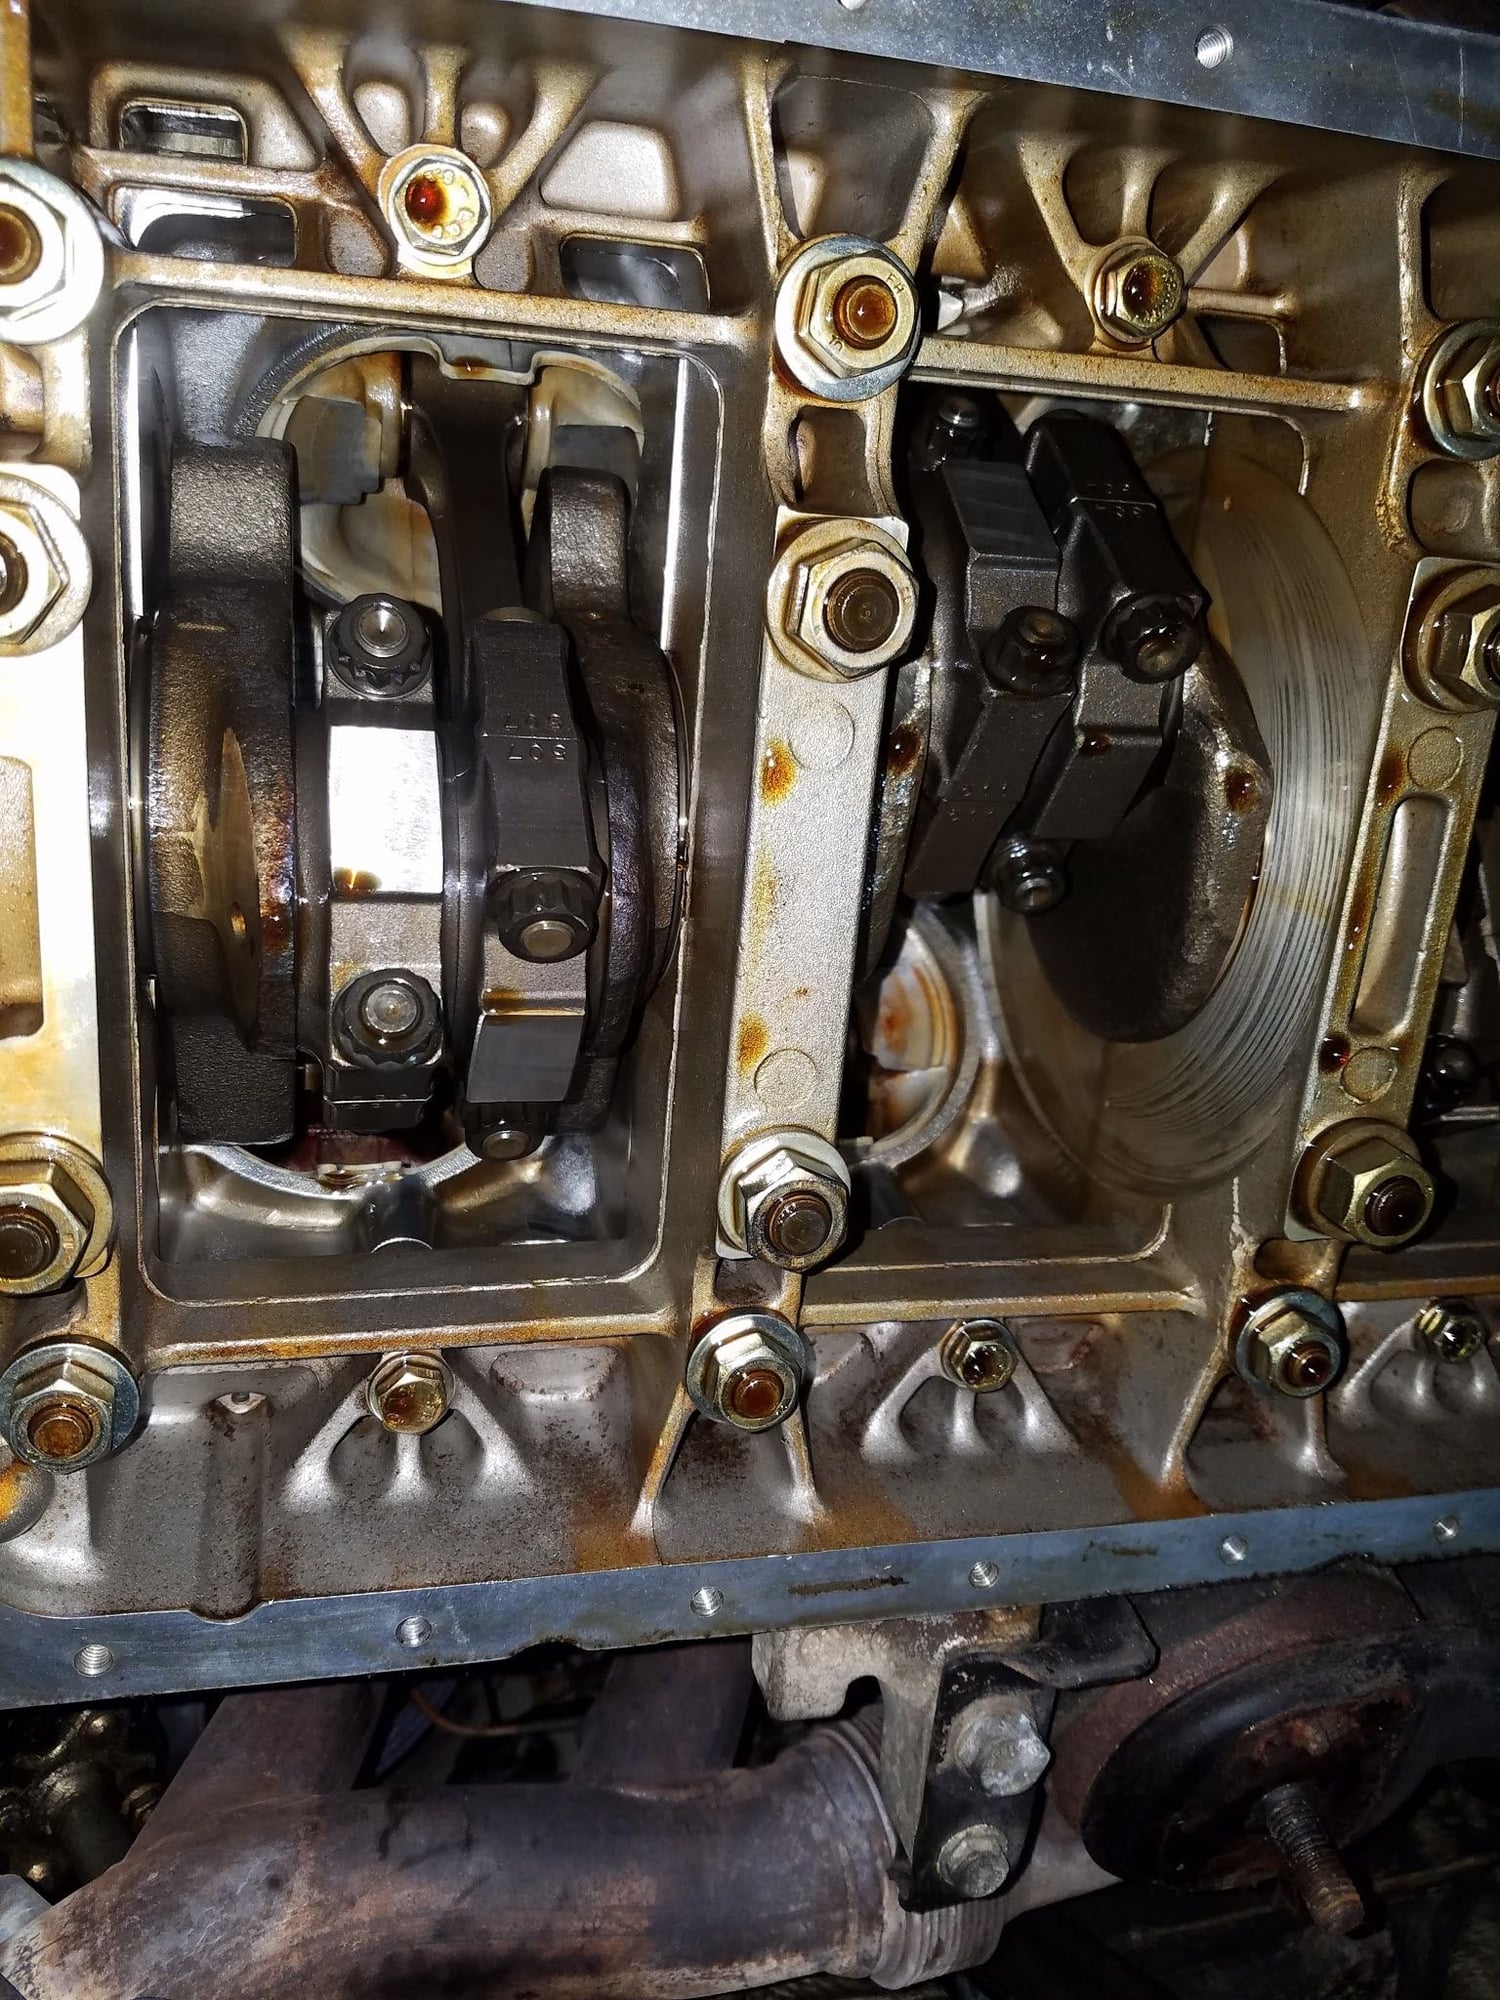
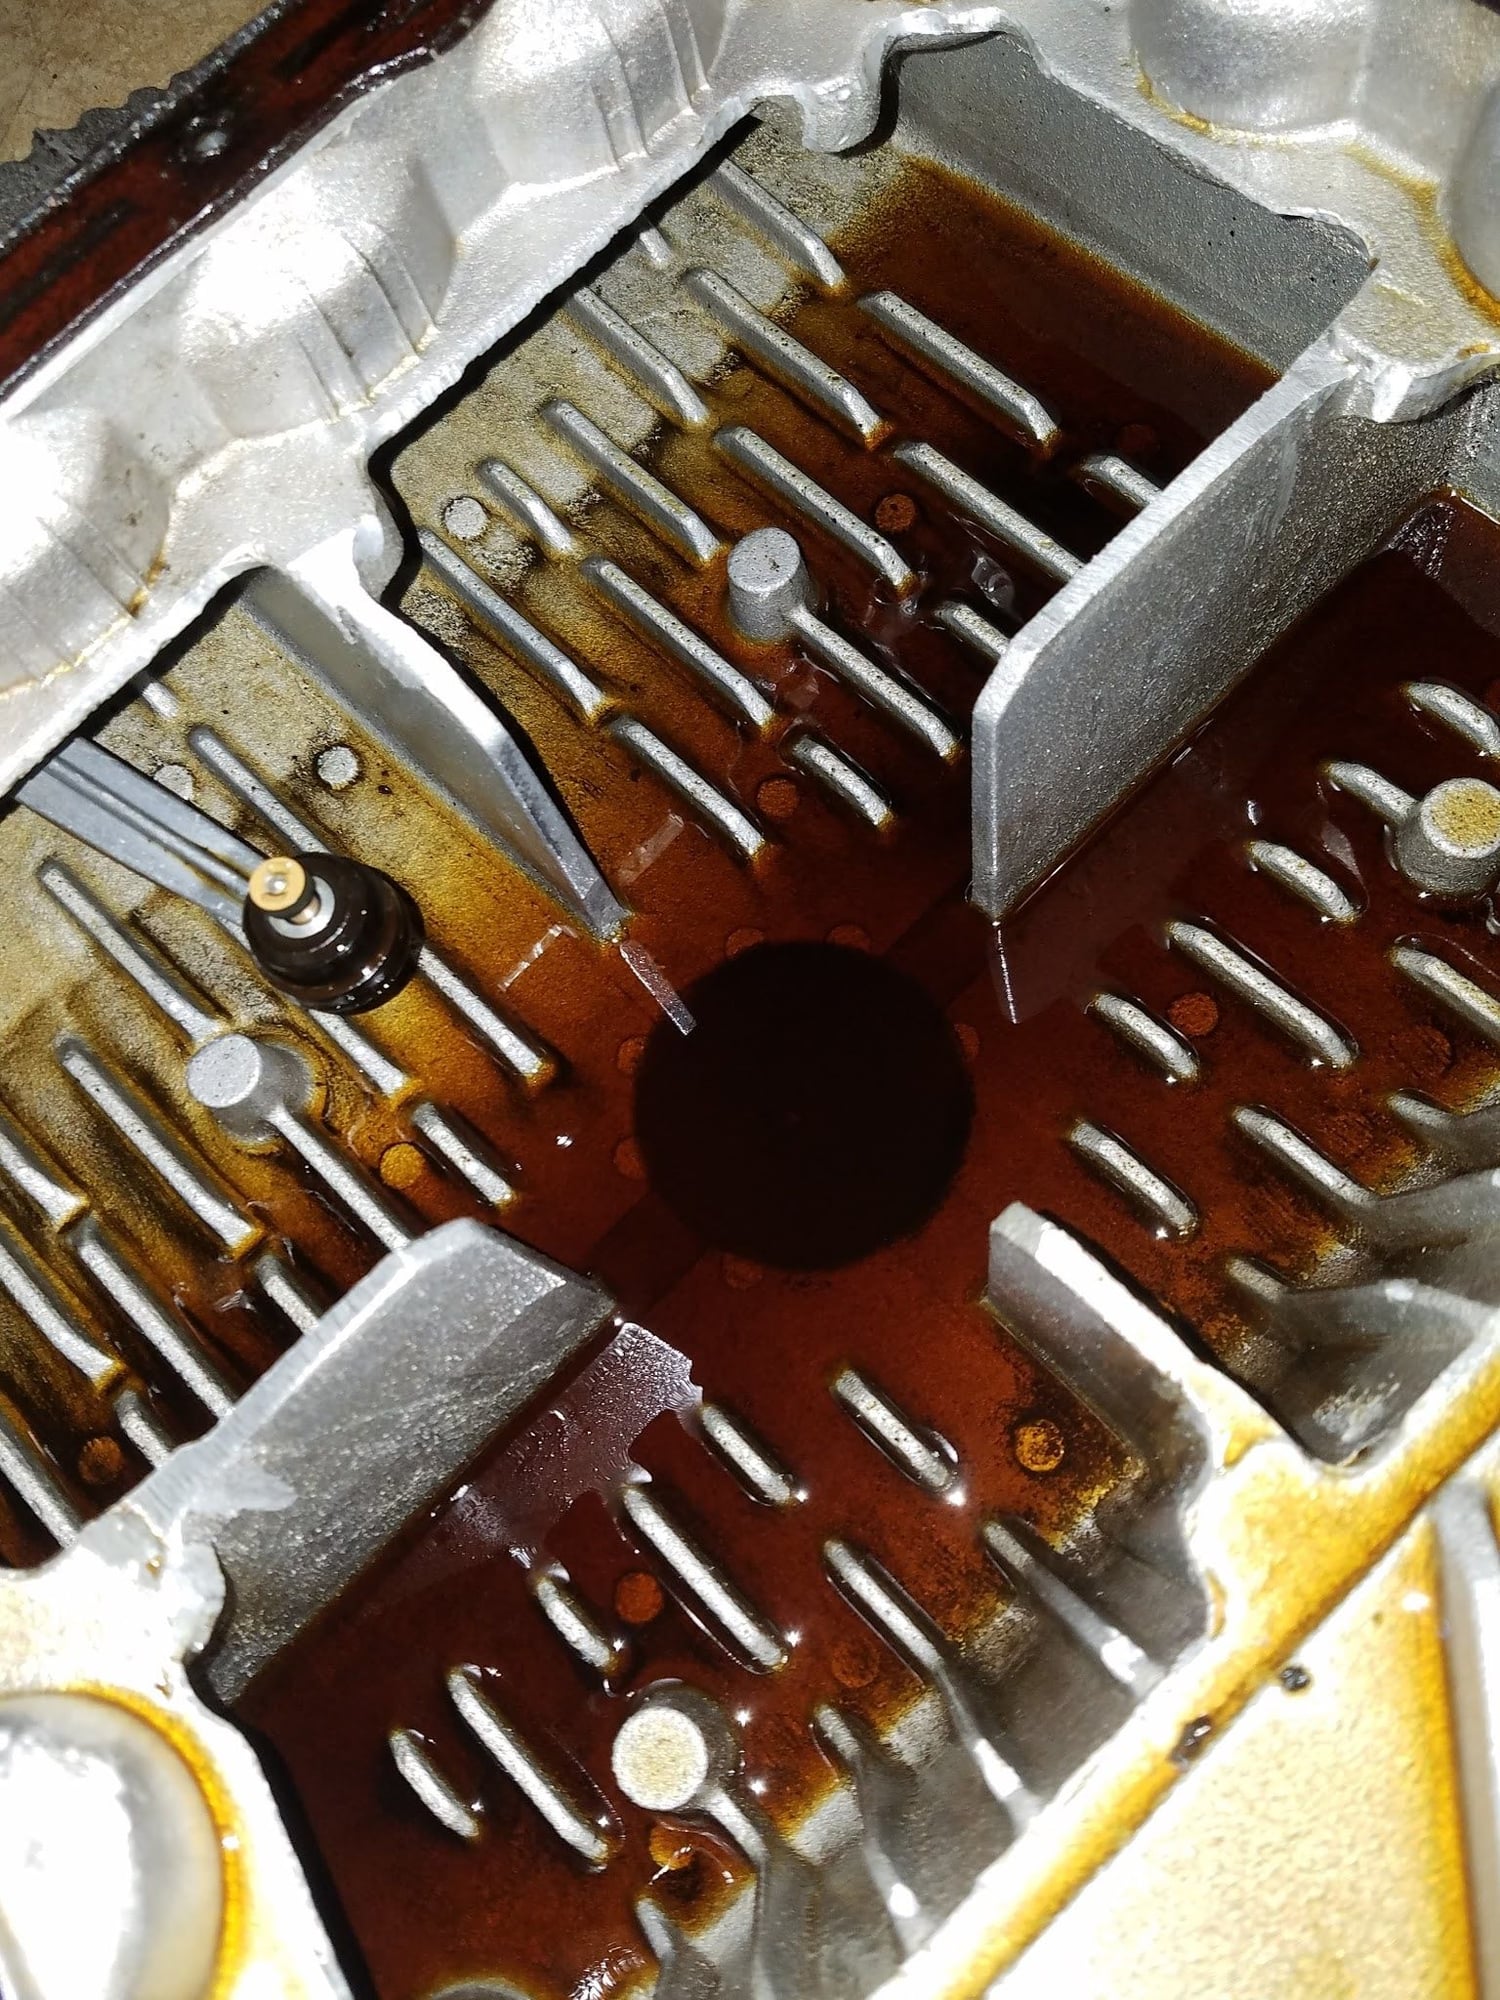
I see some bluing around the rod journals. But I have read that's from the machining process?
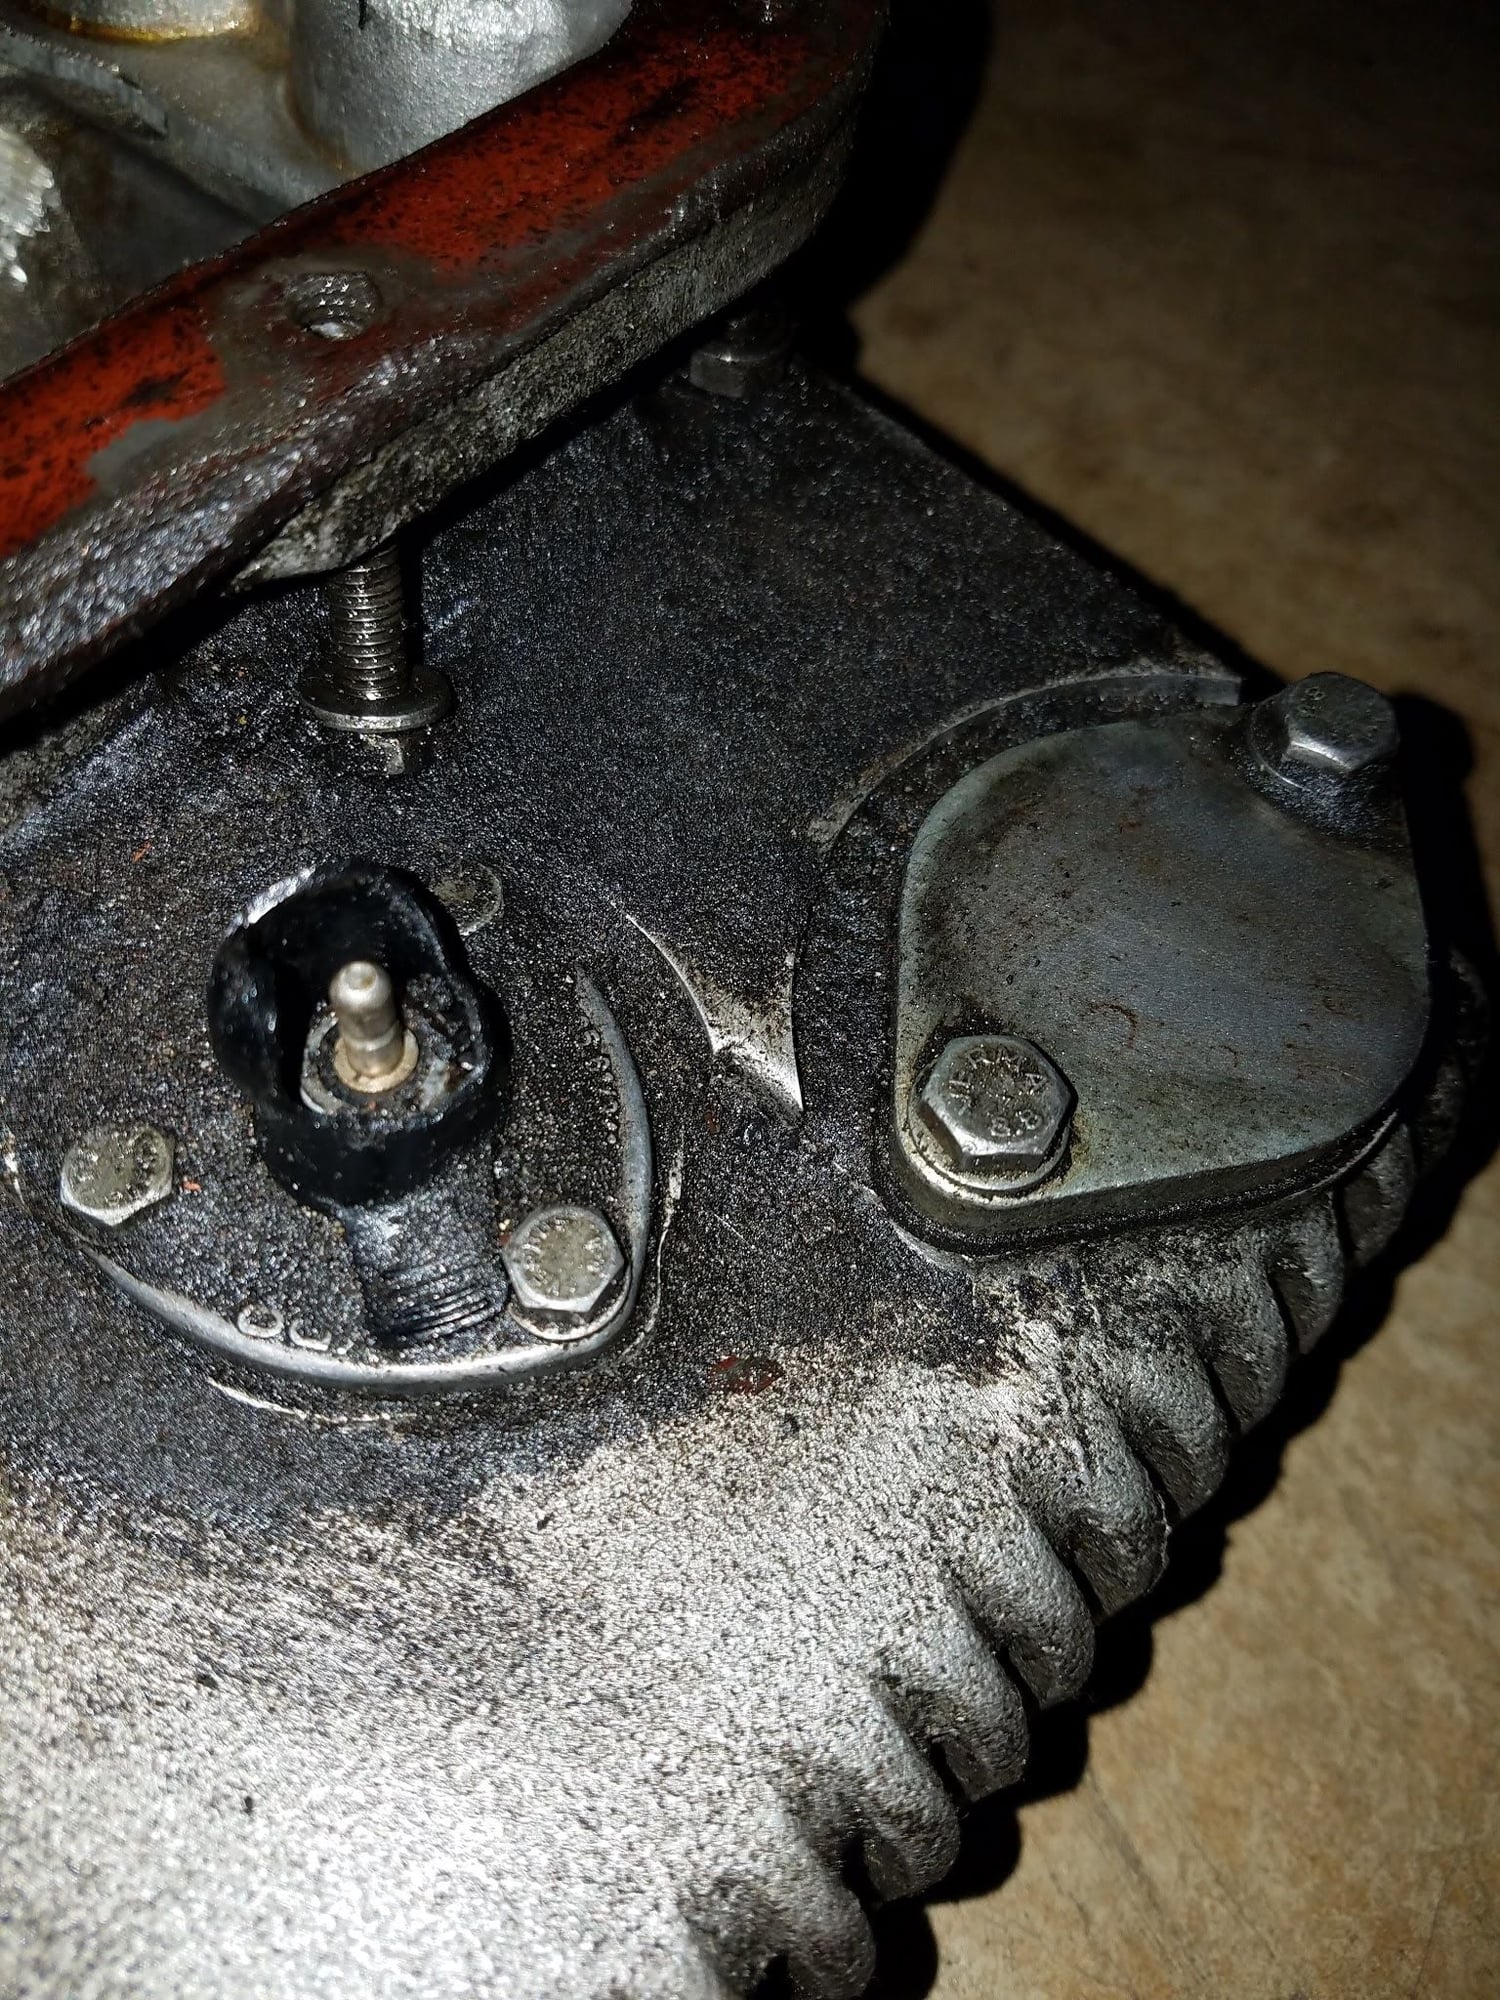
Level sender boot cracked off. Any recommendations how to replace?
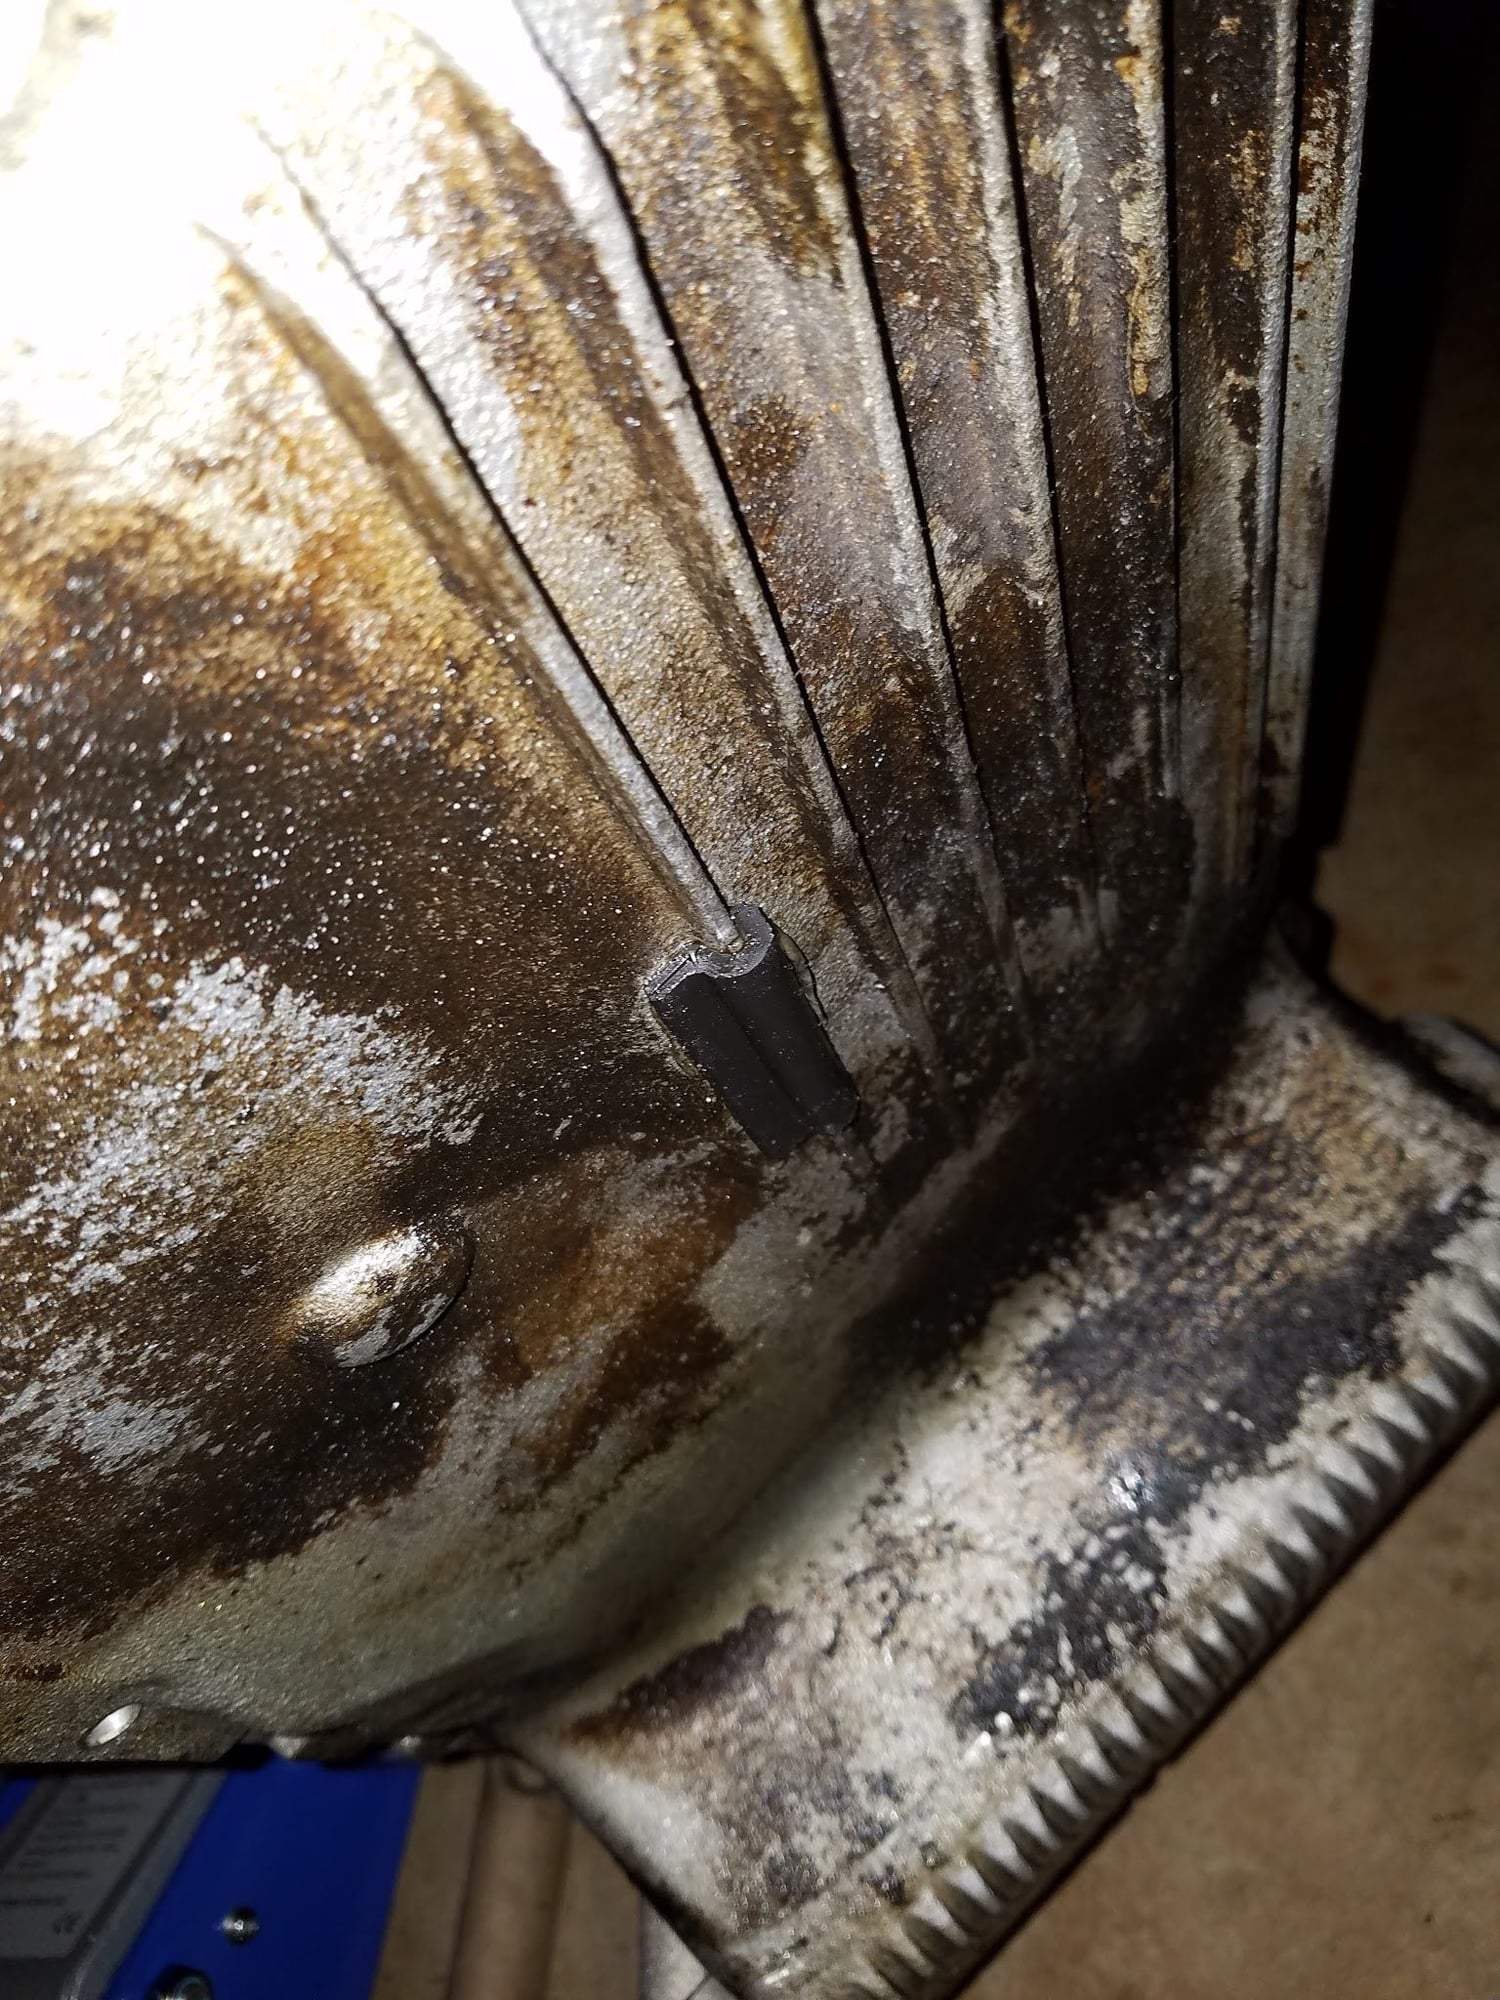
Piece of rubber was glued to the underside. I thought it was to patch a crack...
I have not used the silicone gasket, but have heard very good things about it. I used cork for mine, but paid a great amount of time cleaning the bolts, and threads to achieve a good, dry fit. A dab of blue loctite and tightened to correct torque. Zero leaks for (I really don't remember how many years) many years.
The rubber piece looks familiar (also on my pan) but have no idea what it is for. The oil sender boot, maybe roger has something (I cannot remember) but others will know.
Definitely use blue loctite on the threads as posted above. The most common issue with leaking pan gaskets isn't the gasket itself (unless it is original 30+ years old), it is the bolts backing themselves out due to their low torque spec.
My factory 928 master tech contact told me that when people would come in for a leaking pan gasket, they would just tighten the bolts to spec and send them on their way.
Normally I hate putting anything non-standard on the car, but when I did this job that boot was ok, but the wire was frayed at the joint to the connector. It looked like a flimsy connector and I didn't fancy soldering under the car, so instead I replaced the connector and boot with a female bullet connector, which made a very tight and positive fit to the pin on the pan. It's a good solid crimped connection to the female bullet. Initially I tried to use a hollow crimped connector inside the original boot, but the boot only fits well over the original flimsy terminal. I used a bullet identical to the one below, and it seems pretty well protected.
The concours judges will have trouble spotting it on top of the pan (not that they'll spend too much time on my car anyway).
After years of a weeping old gasket (I put a new cork one on, not silicone) the pan gets filthy but cleans up beautifully. I could literally have eaten out of it once I'd finished. It was a shame to refill with oil!
"I think a 928Motorsports three-piece crossmember is a must"
Why? If you do the mounts and gasket now, you're good for 30 more years, for $0.
Was thinking the same thing.
Do it right and you're good for a while. I did use the silicone gasket and replaced the MMs also. I was bruised and ended up with a swollen eye from something falling on me. But I survived.
-Since you are going that far in to check the rod bearings, replace them. I am doing the exact same thing. I was able to get a full set of standard Glyco's from Roger for around $150. Greg Brown strongly recommended I do this as opposed to putting the OEM 165,000 mile bearings back in.
-Strongly suggest you replace the motor mounts while you are in there. I understand you said they appear fine. For now. For how long? They collapse next year, you are back in there to replace them.
Also, my crankshaft exhibited the same bluing. Nobody else seem concerned, so I wasn't either.
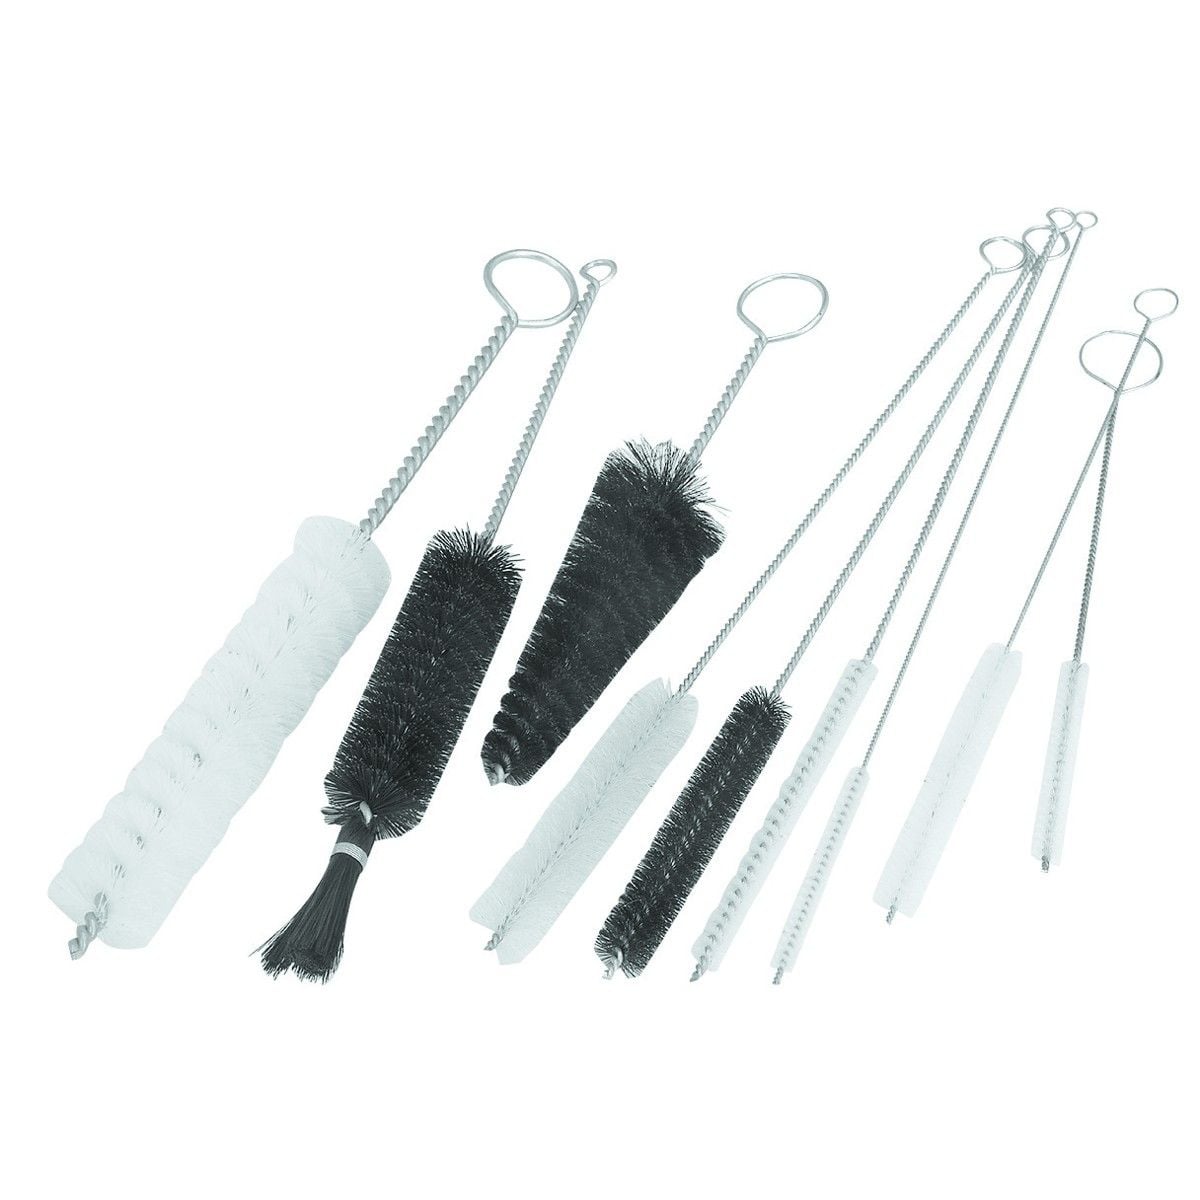
When reusing the pan bolts it's important to get the threaded holes clean and dry so the Blue thread locker will hold. I used brake cleaner and this HF set of pipe brushes. Work great and I've found lots of uses for these brushes... https://www.harborfreight.com/9-piec...set-90631.html
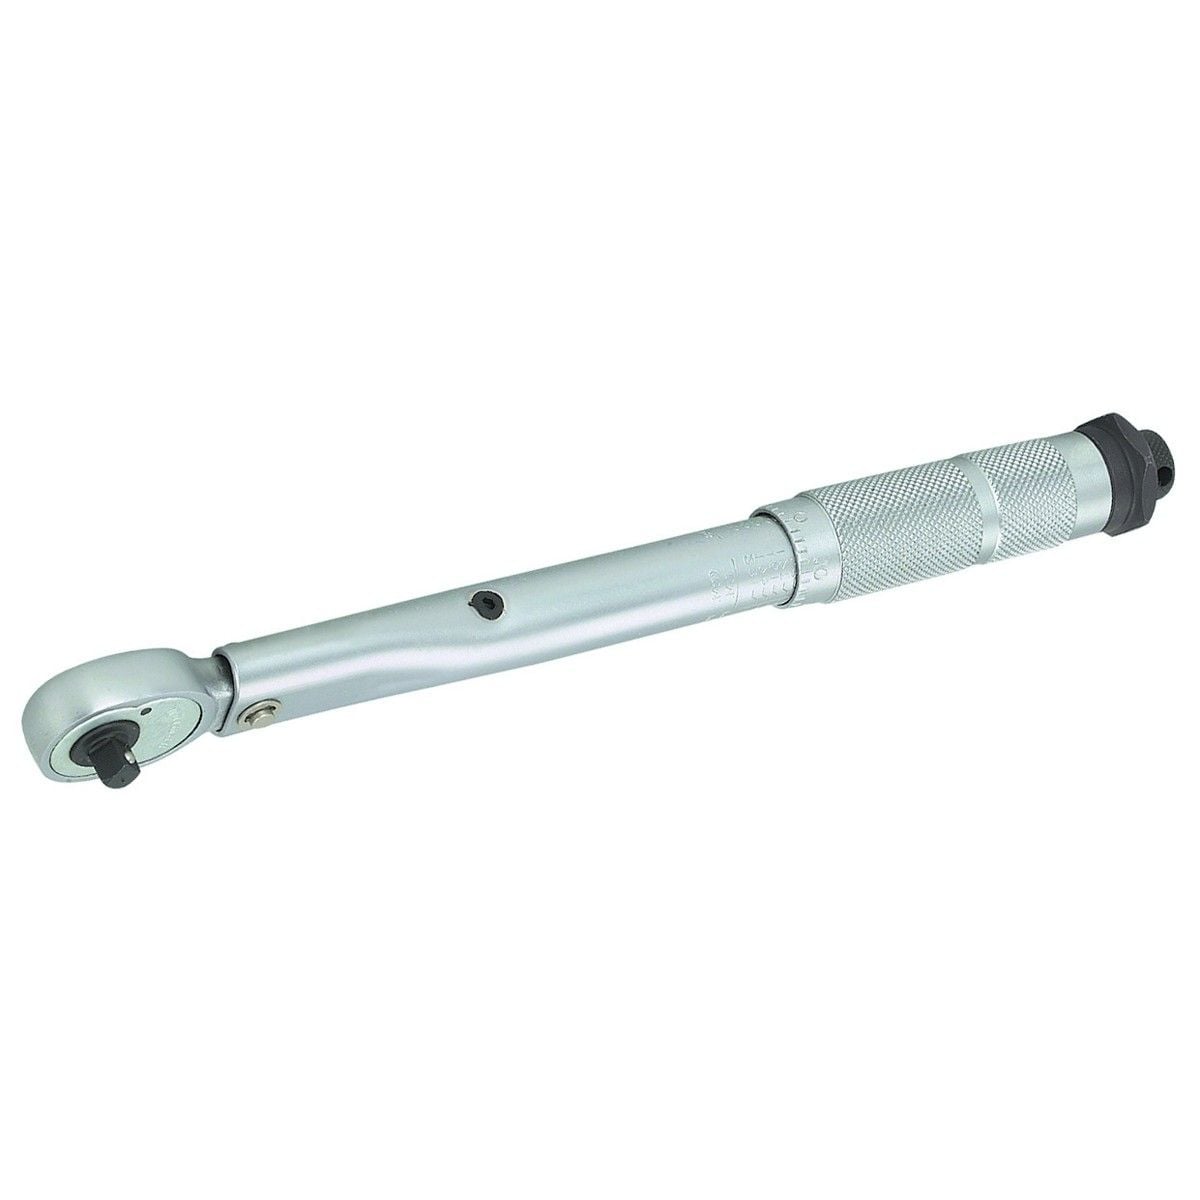
Definitely replace the motor mounts. I used the Volvo mounts and so far they have been flawless. I also used the silicone pan gasket. Going on three years with no leaks. I recommend a small torque wrench...inch pounds. A regular torque wrench, even if it says it can be set to under 10 ft-lbs is inaccurate. I've used this small HF torque wrench for the oil and transmission pans. It's amazing how the smaller wrench provides feel/feedback that feels snug at low torques. The larger wrench provides no snug feedback until you've gone way to far.
To answer all the questions (even the ones that have been answered):
Do the motor mounts. Roger has Volvo ones that work very well.
The silicone pan gasket is "nice". I put one in. One caveat on it: DO NOT overtorque it. The specs come on the sheet with it. 25 inch pounds. If you overtighten it, it will split.
The cork does an adequate job, many people use it with good results.
Roger's Oil Pan Stud Kit is nice. While there's some question in the justification of spending $50 on something you really don't plan on taking off ever again, it makes putting the gasket and pan on very easy.
As noted, clean the holes very well and use blue locktite to make sure the fasteners stay in place (bolts or studs).
Roger has the boot for the level sender connection. $12 IIRC.
If you had a hard time getting the cross member off, you may have a lot of "fun" getting it back on.
Dwayne's writeup on the MMs has a couple tricks and techniques for this. If you aren't already reading it, it would be a good idea to.
Great advice, guys. I think if all the bearings are showing normal wear, I'll replace them all and forget about it for the next 150k miles. But if I find some are wearing faster than others, it might be nice to have the three-piece crossmember so I can have a peek every 10k just to see if there's still an issue.
What's the mode of failure on the original motor mounts? Do they collapse suddenly or is it more of a gradual sag? Think I'll take some measurements to reassure myself the new ones will fit. Engine sits awfully close to the cross brace. I had to remove it just to lift the engine a tiny bit.
I'm curious as I am in no way and expert on 928s but thought I'd ask- In the third picture from the top, it looks like there is some bright maybe rub marks on the block between the crankshaft and the inside of the main bearing saddle? I'm sure that is normal from the manufacturing process, right? Just wanted to know as at some point I'm going to do the MM/OPG in one of my cars, probably the '89 S4 this Summer.


 06-29-2017, 12:11 AM