When you click on links to various merchants on this site and make a purchase, this can result in this site earning a commission. Affiliate programs and affiliations include, but are not limited to, the eBay Partner Network.
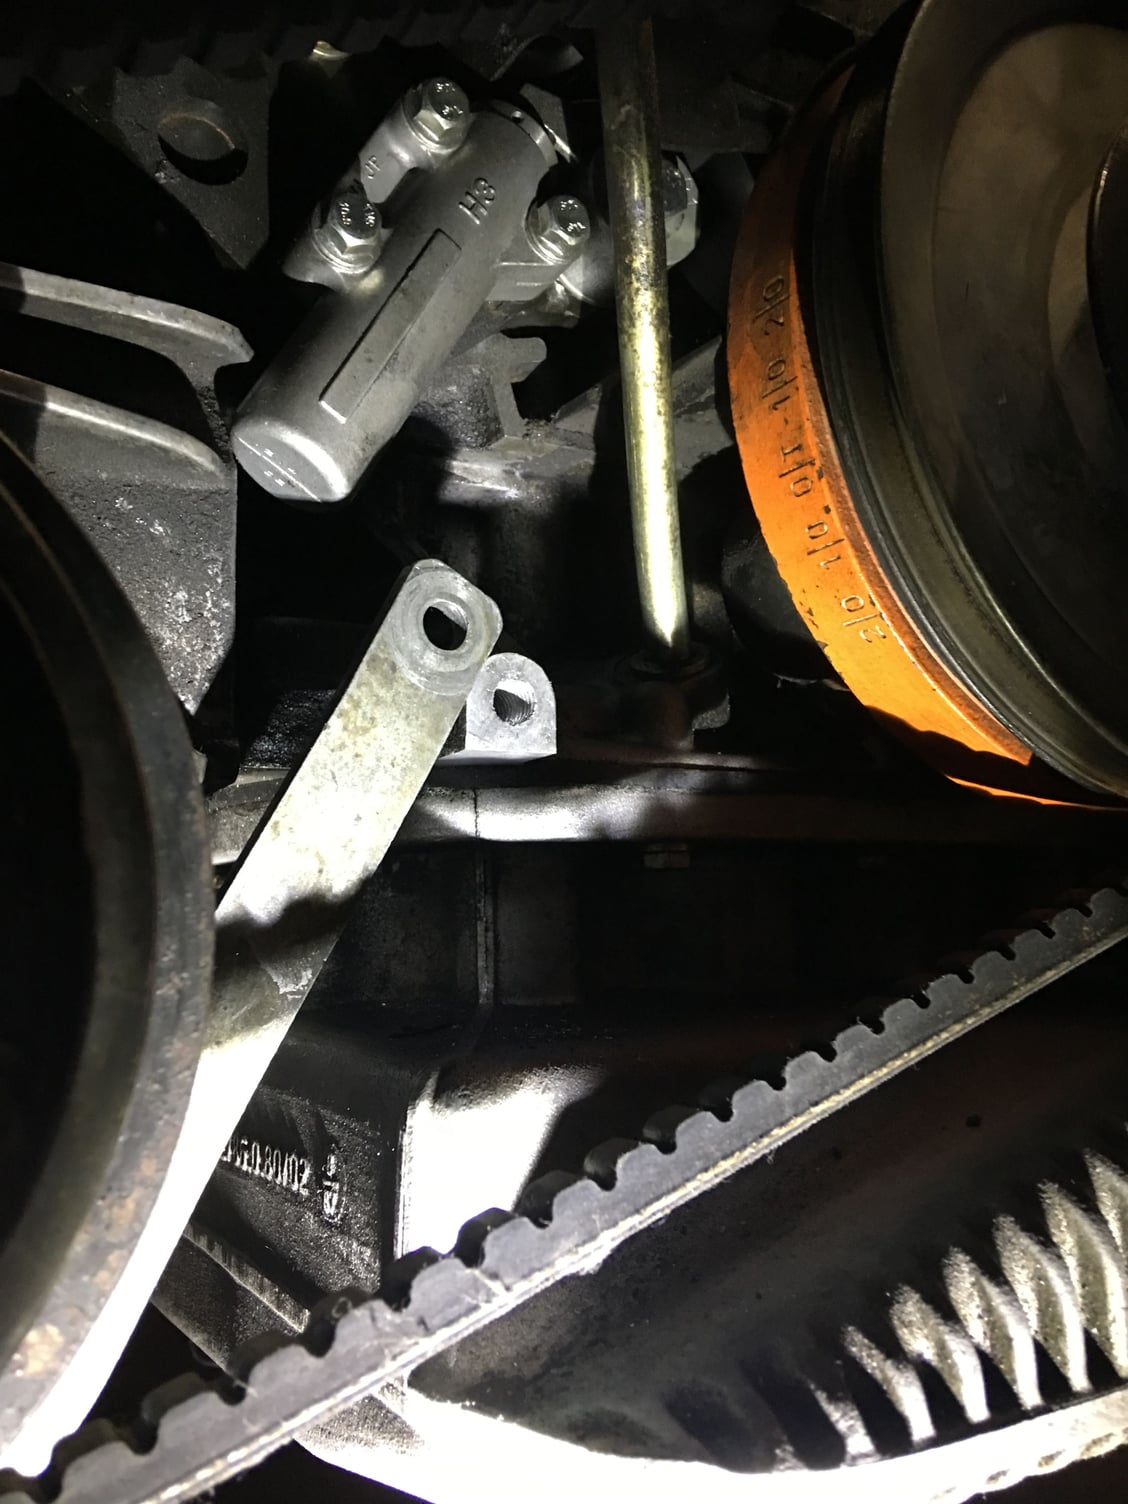
The threads for the bolt that holds the tension brackets for my AC and Air pump to the block are not in good shape. I noticed this when trying to re-assemble the components. The mounting bolt is M8, 28mm long and thread pitch of 1.00 and the required torque is 15ft-lbs.
I need to repair the threads and I am looking for suggestions. I have read/watched videos about helicoil and time-serts. Are there other suggestions? Which would be the most appropriate for the block?
Also, I am dealing with the constraint of limited space to use a drill. I only have about 6" of clearance to the fan shroud and even. I don't have a right angle drill but don't think that would fit without a stubby drill bit. Can I hand bore the holes?
If the hole is truly munged up, I'd get an M8x1.25 timesert kit- might need to pull the radiator for clearance. The drill, counterbore, tap and insert tools are all stubby in the kit.
One of the holes for my alternator bracket was stripped out. When I removed the bolt, chunks of a heli-coil were wrapped around it.
Timesert kit was about $70 on Amazon. Nice kit, everything I needed (all the drill bits and countersinks included) and very clear instructions.
I already had the fan and radiator out, so I had plenty of room to work. But I don't see why hand drilling wouldn't work. It's aluminum, so it won't take forever to do it that way.
Rob, thank you for correcting the thread specification on the bolt to 1.25. I was going off memory from what I remember reading off of my tap. I will need to make sure which tap I used to chase the threads with my tap. Hopefully USED the correct size. I remember reading my tap but but testing the tap and respective bolt in a nut before chasing the block and I remember the threads were visually more coarse compared to another fine bolt I had. Ugh, I hope the bolt in there was the correct pitch. It was not an OEM bolt.
However, even if I used the correct tap (1.25), and the bolted the correct pitch (1.25) the threads are not tall enough to bite for 15ft-lbs of torque. Based on the feedback, time-sert is the way to go for me. I just hope I can fit it in the space.
instead of tapping the hole clean it out with some acetone then get a strong bolt cut 3 slices into the tip so its now a thread chaser that will thread into the hole as afar as possible.
Make sure the bolt is long enough that also leaves enough room to attach both brackets and a flat washer and nut,
mix up some JB weld and spread it into the hole with a Q tip,
then spread some onto the bolt ,
thread it into the hole all the way,
NOTE add a nut screwed up to the head of the bolt. before you put the JB weld onto the bolt.
Once the bolt cures screw the nut down to the girdle,
then get dremel or a cutoff wheel and cut off the head of the bolt,
file the threads down, then remove the nut.
this should provide a trouble free mounting stud.
NOTE if it does pull out then you can timecert it,
I have not been able to pull one free yet.
what about tapping the hole to a larger diameter like 10mm, instead of using a time-sert. That seems like the easiest option, there would be threads deeper into the hole rather than the 12-15mm of threads on a time-sert. And, if it didn't work, a time-sert could still be added.
Thanks everyone for the good advice. In the end I decided to use a Helicoil solution because the threaded hole was over 20mm deep and the longest sert fitting I could find was 12mm. Plus the seat fitting required milling out the face of he bolt hole stand off which was quite narrow already. I dint like how little space where would be.
The helicoil solution required me enlarging the M8 hole to 9.3mm, this was smaller than the seat fitting. Plus I was able to stack two helicoils into the hole for a full length thread which I felt was more useful in supporting the lateral loads of the belt tension. I was able to do all the cutting work with hand taps so I didn't need a right angle drill or radiator removal. Plus but using self guiding taps I make sure the hole stayed aligned as I increased the diameter.
Thanks again for all the suggestions. Hope to have the car up and running in a week or so. Just waiting on some small parts and a flush of the PS system.

 11-21-2016, 02:47 AM