When you click on links to various merchants on this site and make a purchase, this can result in this site earning a commission. Affiliate programs and affiliations include, but are not limited to, the eBay Partner Network.
i replaced all the power steering lines when I did the water pump/timing belt/tensioner rebuild this summer. Guess which job was the biggest PITA? I had the pump off the cassette, supported by my tired hand plus braced against whatever while I (couple hours later) finally threaded the banjo bolt on. Those new hoses are incredibly stiff. Once you get the banjo bolt and threaded hole where you can actually see the bolts entry angle, it gets better
No records of this, but I know for a fact my motor mounts are compressed. Now that you mention it, that would cause the lines to travel upwards to meet their connection at the radiator. When Jerry mentioned jacking up the motor, I was thinking it would also jack up the PS pump, but it would have the effect of straightening out those lines. That actually does make sense...
I would hope the lines did not travel upward after they were tightened...you would need to loosen them first. (Maybe I'm not understanding you correctly )
As a data point, I measured the angle of my oil lines at the hard section: they are about 22 degrees BELOW horizontal. Looks as if yours are angled upward. Might be worth rotating those downward.
Some of this is probably perspective distortion, but I'll take a closer look when I get down there.
What I meant was that, if proper engine height means the soft lines are more-or-less level, the engine being lower than it should be would have them going uphill towards the radiator. I don't know if that would account for the difference but every little bit helps down there!
sorry i gave instructions for replacing the screwed on supply line the hi pressure line that comes in from the side is a different story ,
you might try a 19 MM flex head gear wrench always use new sealing washers or dont start the job
I borrowed a flex-head (didn't have one in that size, which is dumb, those are like the best things ever) but still couldn't get it around the head...however I should be able to with the pump/console dropped.
I got a pack of the copper sealing washers for this purpose, so I'm good in that area.
Some of this is probably perspective distortion, but I'll take a closer look when I get down there.
What I meant was that, if proper engine height means the soft lines are more-or-less level, the engine being lower than it should be would have them going uphill towards the radiator. I don't know if that would account for the difference but every little bit helps down there!
Your picture in post #12 would indicate that the opposite is the case. There's an S-bend + 1 in those lines. Fewer bends is better in general. My guess is they've been replaced (in the wrong orientation), since the hard lines/fittings look to be fairly new.
Looking again....you're right! Interesting. I know in a former life this car had a Timing Belt Incident and bent a valve, so perhaps when the put the engine back in they caused this. This was prior to my ownership though, and I don't have any additional details.
Originally Posted by Brian'sIris
Your picture in post #12 would indicate that the opposite is the case. There's an S-bend + 1 in those lines. Fewer bends is better in general. My guess is they've been replaced (in the wrong orientation), since the hard lines/fittings look to be fairly new.
Success! At least partial...I finally got the banjo bolts off on both ends. Now, this seems like perhaps a dumb question, but what's the best way to remove the old line....from the top? Or pull it through from the bottom? I assumed the former, but I haven't been able to get that right angle metal piece at the rack end past the hoses and conduits or whatever is in the way there. And pulling it through from the rack side almost worked, but that donut won't pass...obviously cutting it is the easy answer, but that won't help me get the new one in. I'm going to keep pushing and prodding and wiggling, but if there's a clear answer I can eliminate some of that effort. I know I read where some people had to jack the engine a bit to free it, but I don't think that's my issue here....it seems pretty free, everywhere, I just can't get enough room to get that right angled metal piece around the obstacles.
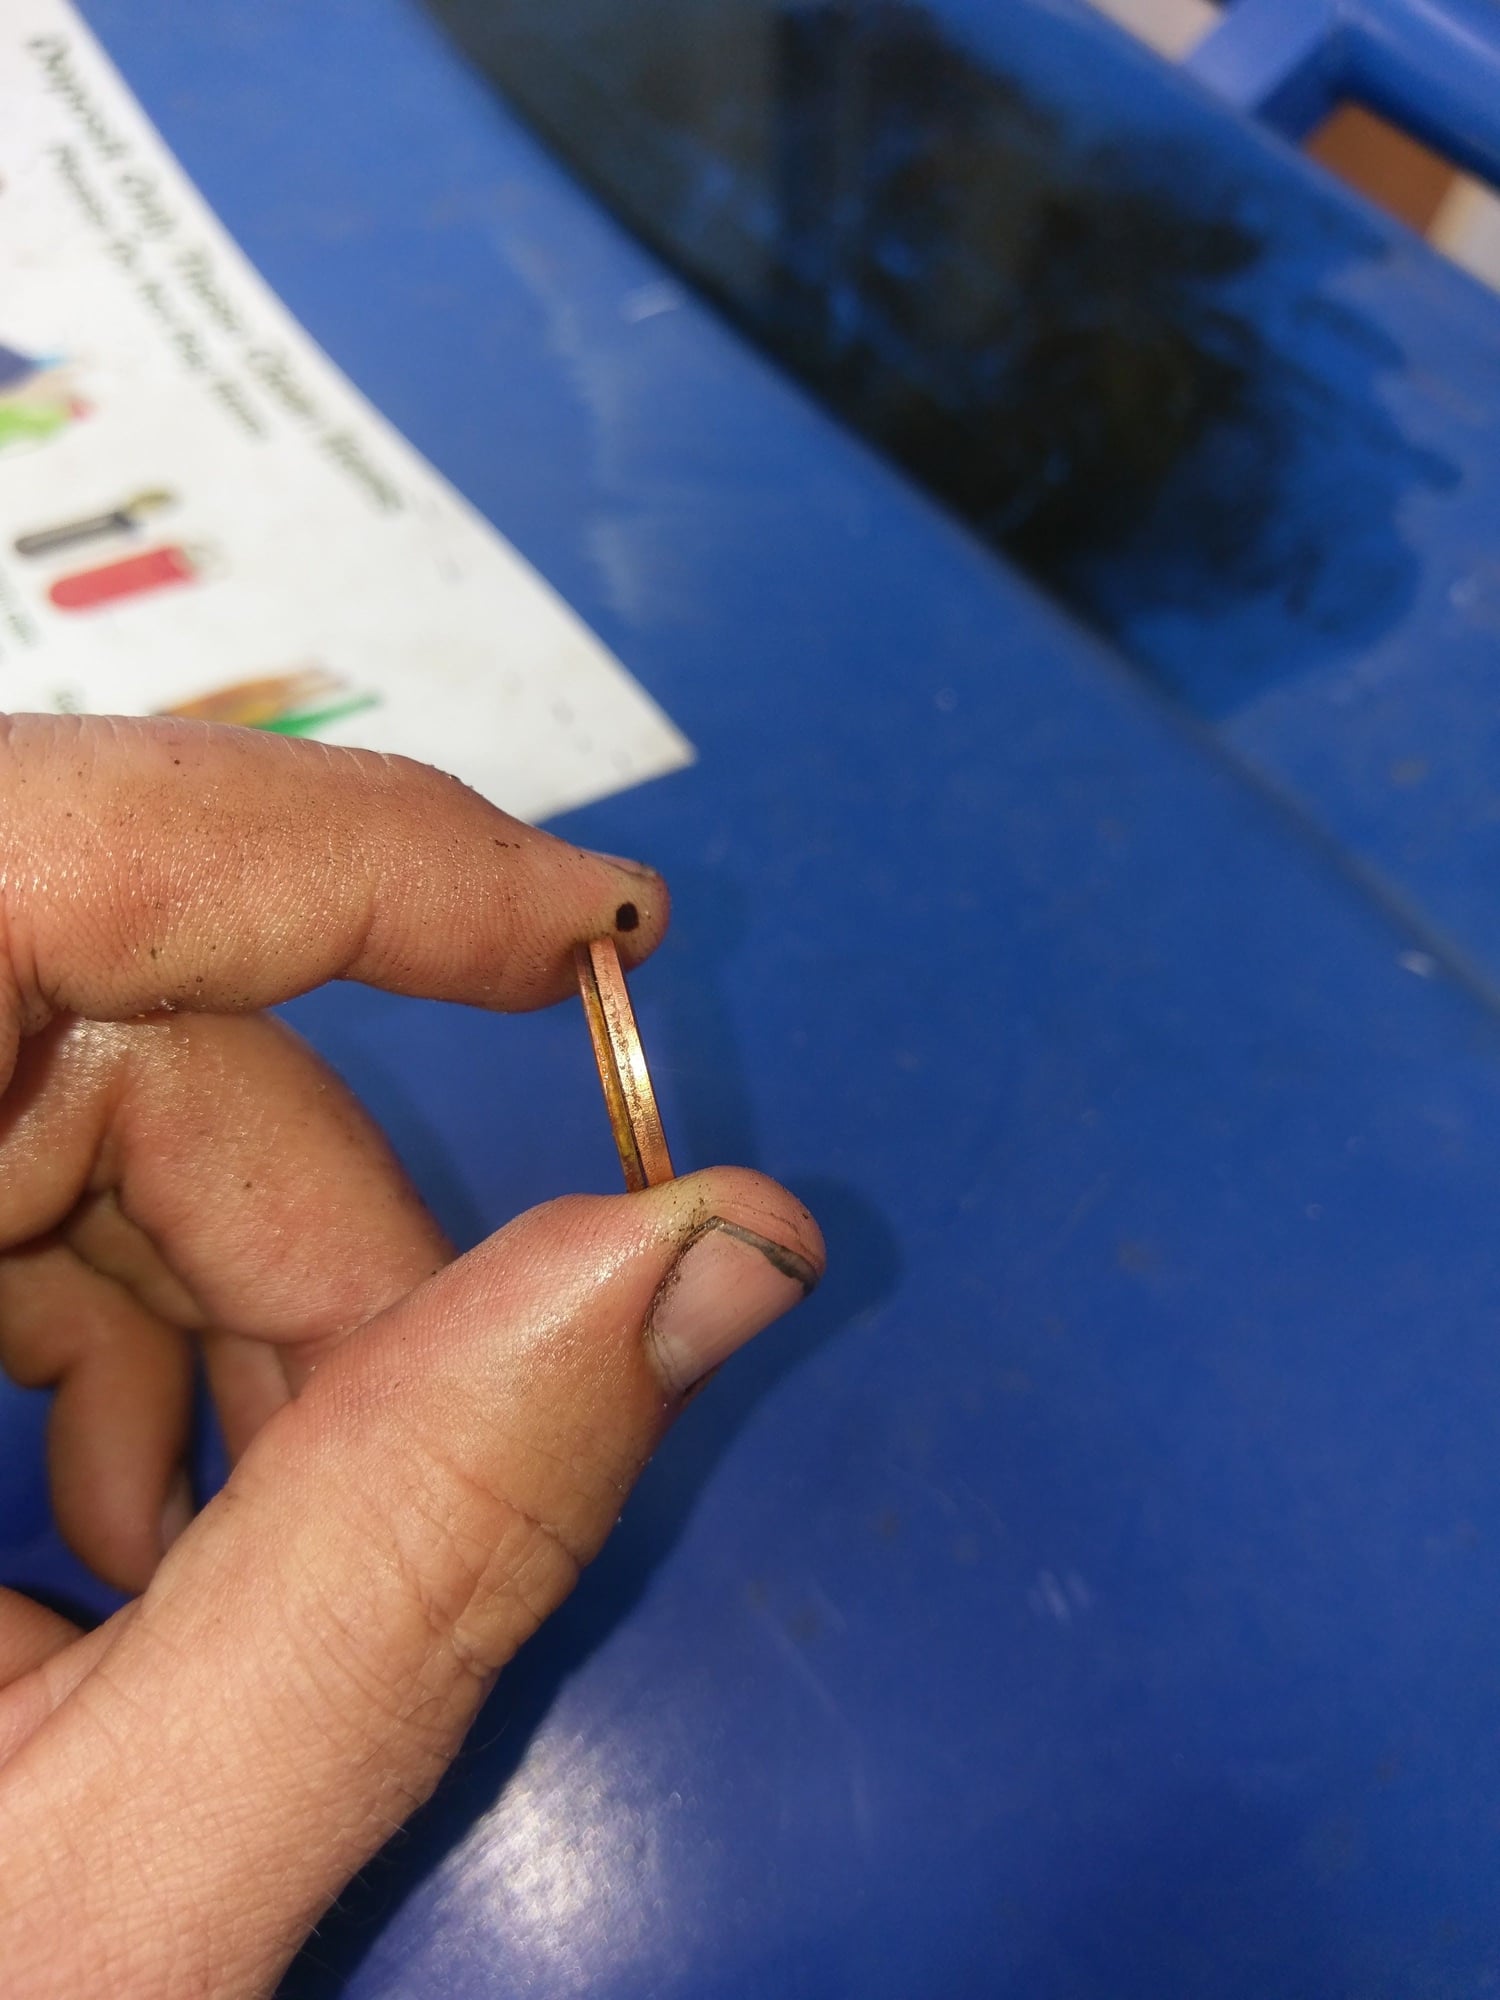
While I'm here...these new crush washers look a lot thicker. Now, I realize that the old ones "crushed," but they didn't really spread out. Is this normal?
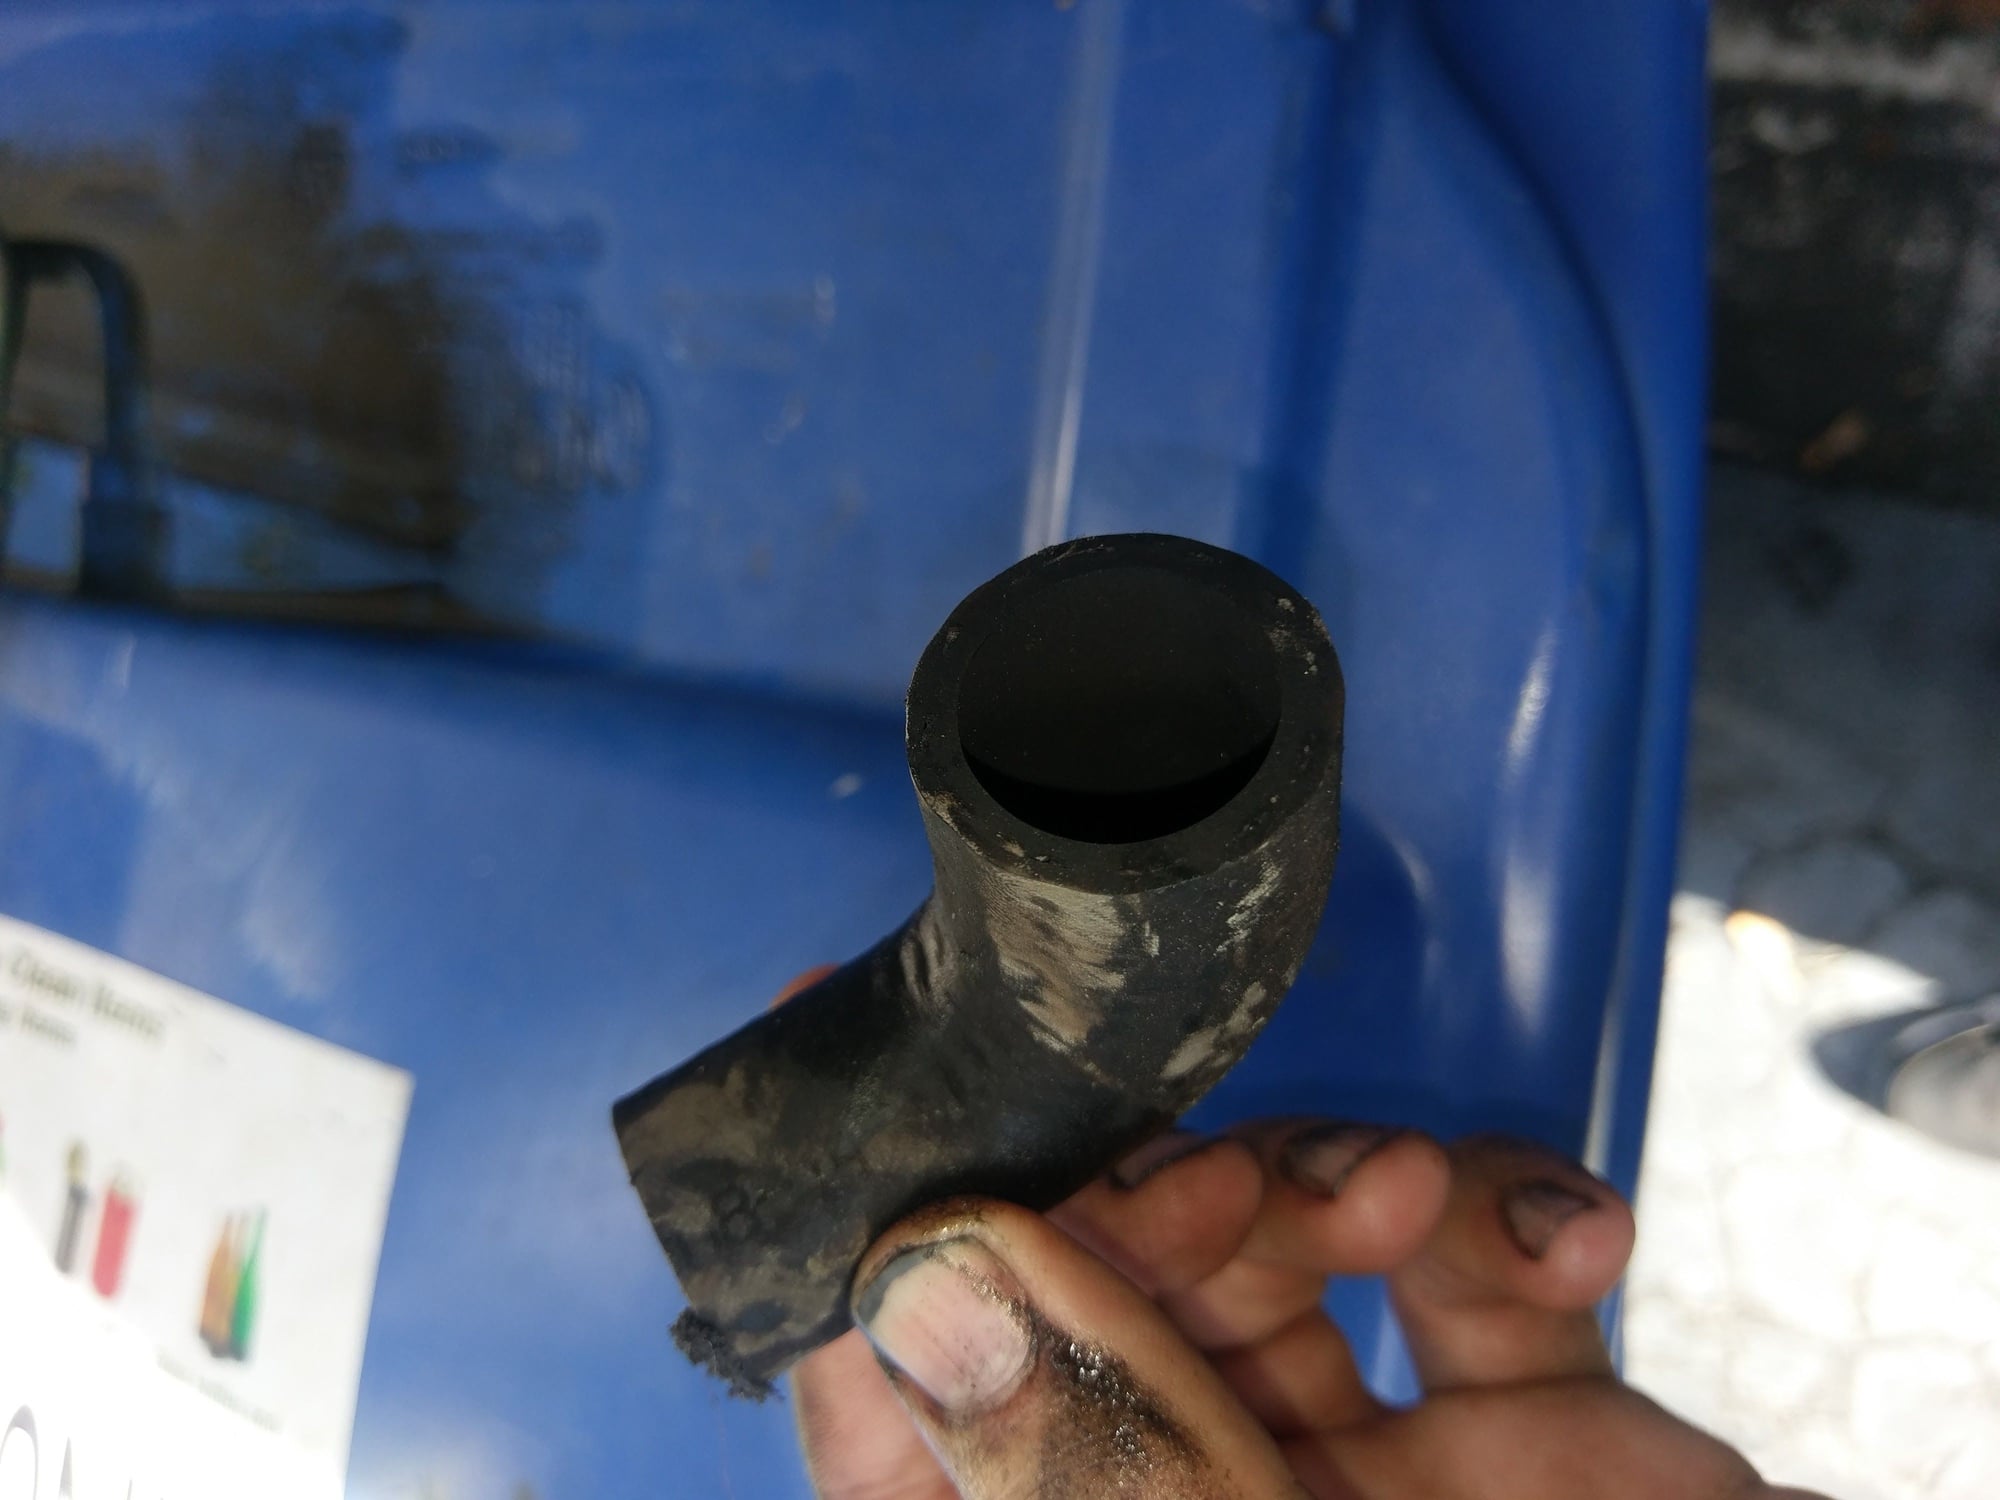
Also, while pushing and pulling on the rack end of the line, this fell out of nowhere. Was it just loose up in there? I don't see anything that it could have popped off of.
Copper sealing rings....thin one on the left is old, new one is on the right. Obviously much thicker.
When I replaced high pressure line I removed it from the bottom - didn't have much space either as just on jack stands, but it was done with very new motor mounts.
It was a few years ago now, but I do recall it was a puzzle as to how to steer the line past everything. In true 928 fashion I probably left it for a bit, and when I came back it slid right out!
Ha ha yes, I use that method all the time. I usually come inside, whine on here about how I'm stuck, and then when I go back out it's embarrassingly easy. At least that's what I'm hoping for!
Good to know yours came out through the bottom, I'll tackle it that way...
Originally Posted by StratfordShark
When I replaced high pressure line I removed it from the bottom - didn't have much space either as just on jack stands, but it was done with very new motor mounts.
It was a few years ago now, but I do recall it was a puzzle as to how to steer the line past everything. In true 928 fashion I probably left it for a bit, and when I came back it slid right out!
And, as predicted, it came out more or less without fuss lol.
I'm onto the attempting-to-thread-banjo-bolts-back-into-place part of the job. Quite a struggle considering the very simple concept at play here. On the pump side, I can really only get one hand up in there to manage the bolt, with the other hand pushing the pump around to line it up. It's not helping that the pump is once again dripping ATF in my face. The weird thing is, I couldn't get the rack side in either, and I can see it, get both hands where I need them, and nothing is dripping on me. I was approaching the critical limit of f-bombs uttered per minute of work, so decided to take a decompression break. This is without a doubt the least enjoyable job I've undertaken so far. By far lol...
I struggled with the banjo bolt at the rack end and the engine wasn't even in the car at the time. I believe in a subsequent thread that Rob advised that the fitting might need some gentle bending to get it lined up correctly and on reflection would have made mine quite a bit easer as well.

 09-06-2016, 07:42 PM


 )
)