When you click on links to various merchants on this site and make a purchase, this can result in this site earning a commission. Affiliate programs and affiliations include, but are not limited to, the eBay Partner Network.
The longer/heavier attachment flange goes to the inside of the hatch. Rubber bead/tit should lean inward, also, heavier part of bugle should face outward, narrower bugle inward (if you look at the round portion of the seal, you can see that there is more bugle on one side of the bead/tit than the other).
Plus, there should be vent holes in the rubber seal...and they face inward.
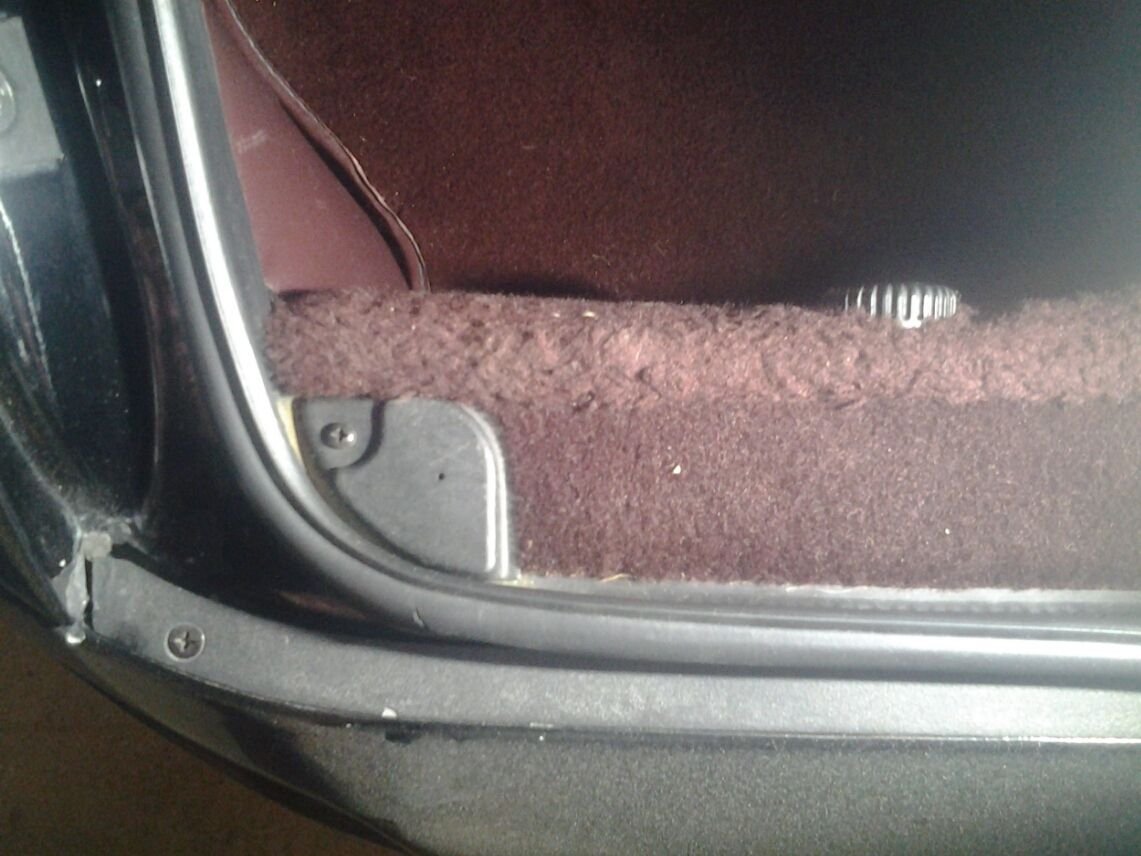
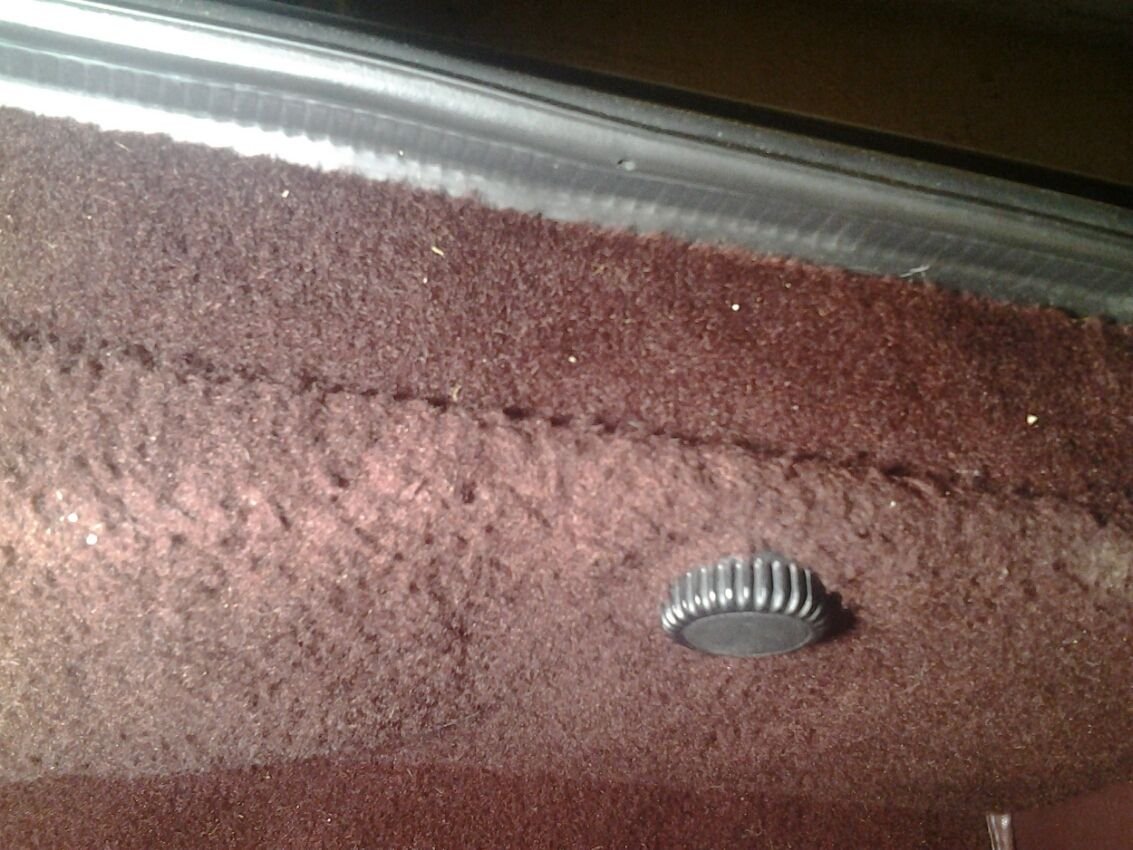
Pictures, for more clarification.
Brian.
Last edited by The Deputy; 08-19-2016 at 08:01 AM.
Reason: Cleaned up spelling mistakes and put pictures in correct order......
Hi Brian, Just checked the orientation of my rear hatch seal and the vent holes you mention face outward on mine. Could that be the reason my tool cover gets wet in heavy rain and water drips down into spare wheel well. I always thought that that was caused by water dripping in somehow from the sunroof drains. Does putting that seal on the wrong way mean that it will definitely leak into the interior?
Hi Brian, Just checked the orientation of my rear hatch seal and the vent holes you mention face outward on mine. Could that be the reason my tool cover gets wet in heavy rain and water drips down into spare wheel well. I always thought that that was caused by water dripping in somehow from the sunroof drains. Does putting that seal on the wrong way mean that it will definitely leak into the interior?
I would think so. It looks to me like the rubber bead/tit leans against the inner edge of the hatch, when closed, causing the rain to deflect away from the hatch and into the channel. If it were reversed...in my mind...it would channel the water towards the hatch and into the car.
Hopefully, a few more folks will chime in with their findings.
Brian is correct - the really long lip on goes on the inside of the hatch, to cover the gap between the hatch and the interior quarter panel trim.
I can't say I've noticed which way the breather holes go - but the lip only goes one way. From memory, the long lip need to be trimmed back at the bottom edge of the hatch, where it meets the carpet - look at the one you removed for guidance
^^ What Hilton noted is correct re cutting. You need to trim the long lip at both left and right sides from the corner, to where it meets in the middle, at the hatch lock. there is also a cut out on the left side at the top, where the wiring goes from the body across to the hatch. Check your old seal to get the cuts right, and then double check once you have them marked, before you cut to avoid an error. The breather holes are inward.
Does anyone have pictures of the "trimmed" areas? When you say long lip you mean the longer side of the lip that slides over the flange that the seal slides over and down onto?
I stand corrected. I actually installed mine correctly when restoring the car, but looking at the picture in the original post, thought that the larger flange would seal out the rain in the channel better.
Hi Brian, Just checked the orientation of my rear hatch seal and the vent holes you mention face outward on mine. Could that be the reason my tool cover gets wet in heavy rain and water drips down into spare wheel well. I always thought that that was caused by water dripping in somehow from the sunroof drains. Does putting that seal on the wrong way mean that it will definitely leak into the interior?
If water is in the center of the tool tray, maybe, but it still would need to ride high in the channel to get in. You can test the roof drains with a pitcher of water and see if it flows easily down the channel.
If water is appearing near the tool tray, particularly a side of the tray, and the water channels around the hatch are clear, there is another place to look. I'd pop off and check up under the inside hatch side trim. This is the inside trim that conceals the hatch glass mating to the hatch on each side inside of the car. Look for sign of water or corrosion on the trim clips. Inspect the seal between the glass and hatch. If it is good, check also the screws that go thru the hatch from the inside and fasten the outer hatch trim. If any are loose or if the screw seal is bad you can get water thru these. The water will run down the hatch trim toward the tool tray and it can exit onto the rear deck above the tray. This can then run down to the battery box.
If the screws are leaking you can just reinstall them with a dab of silicone or butyl to fix the problem.

 08-18-2016, 04:06 PM