When you click on links to various merchants on this site and make a purchase, this can result in this site earning a commission. Affiliate programs and affiliations include, but are not limited to, the eBay Partner Network.
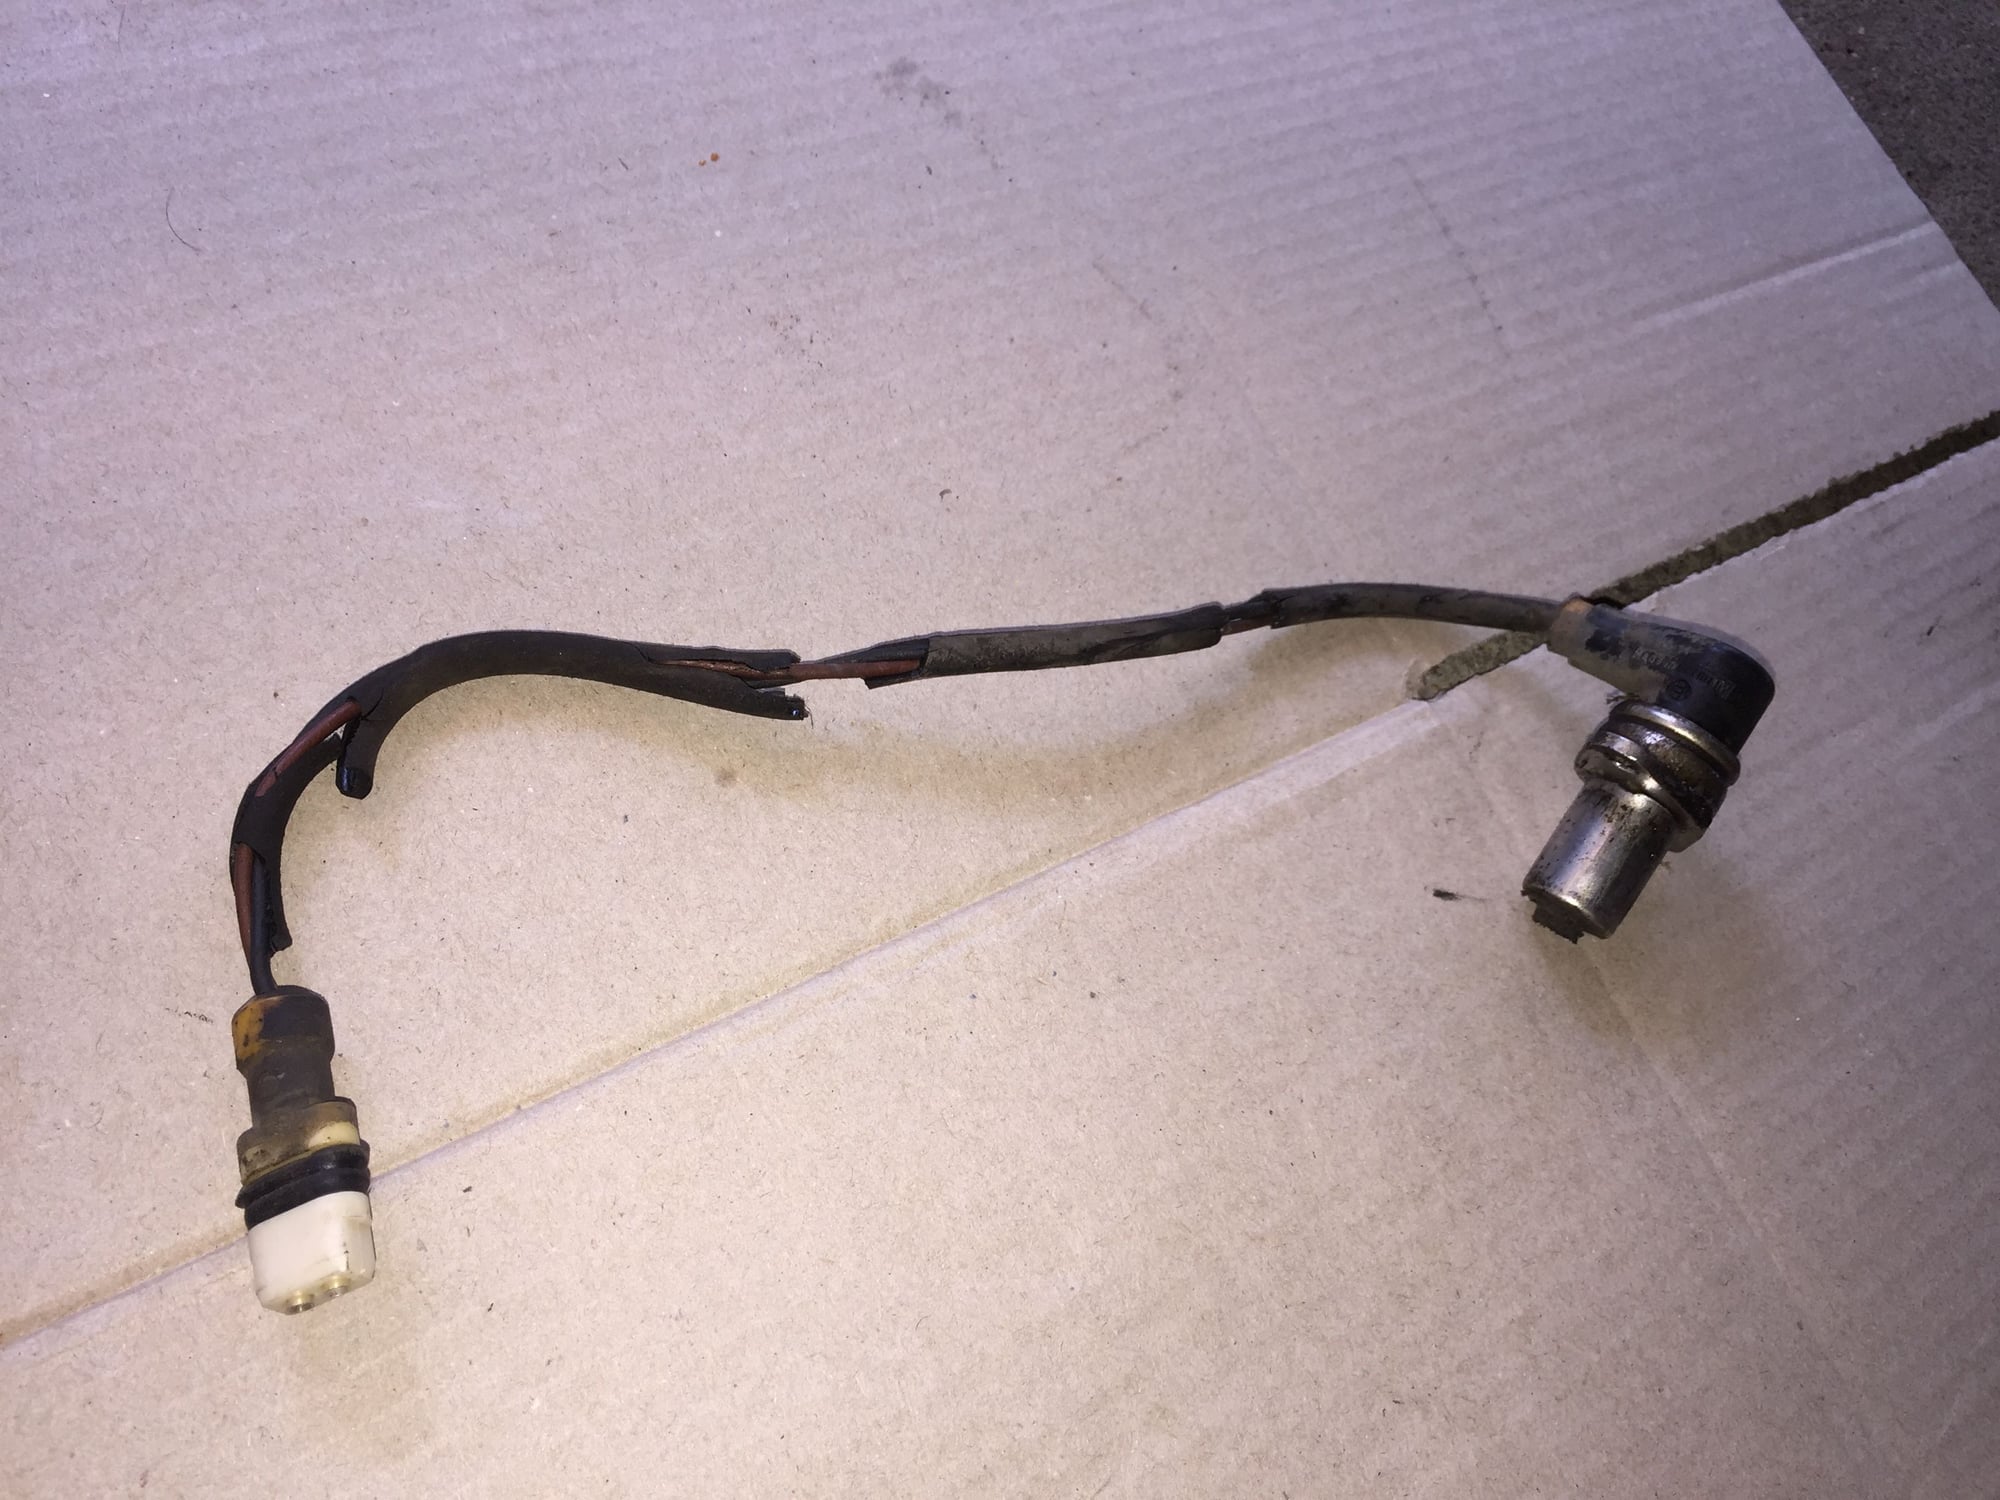
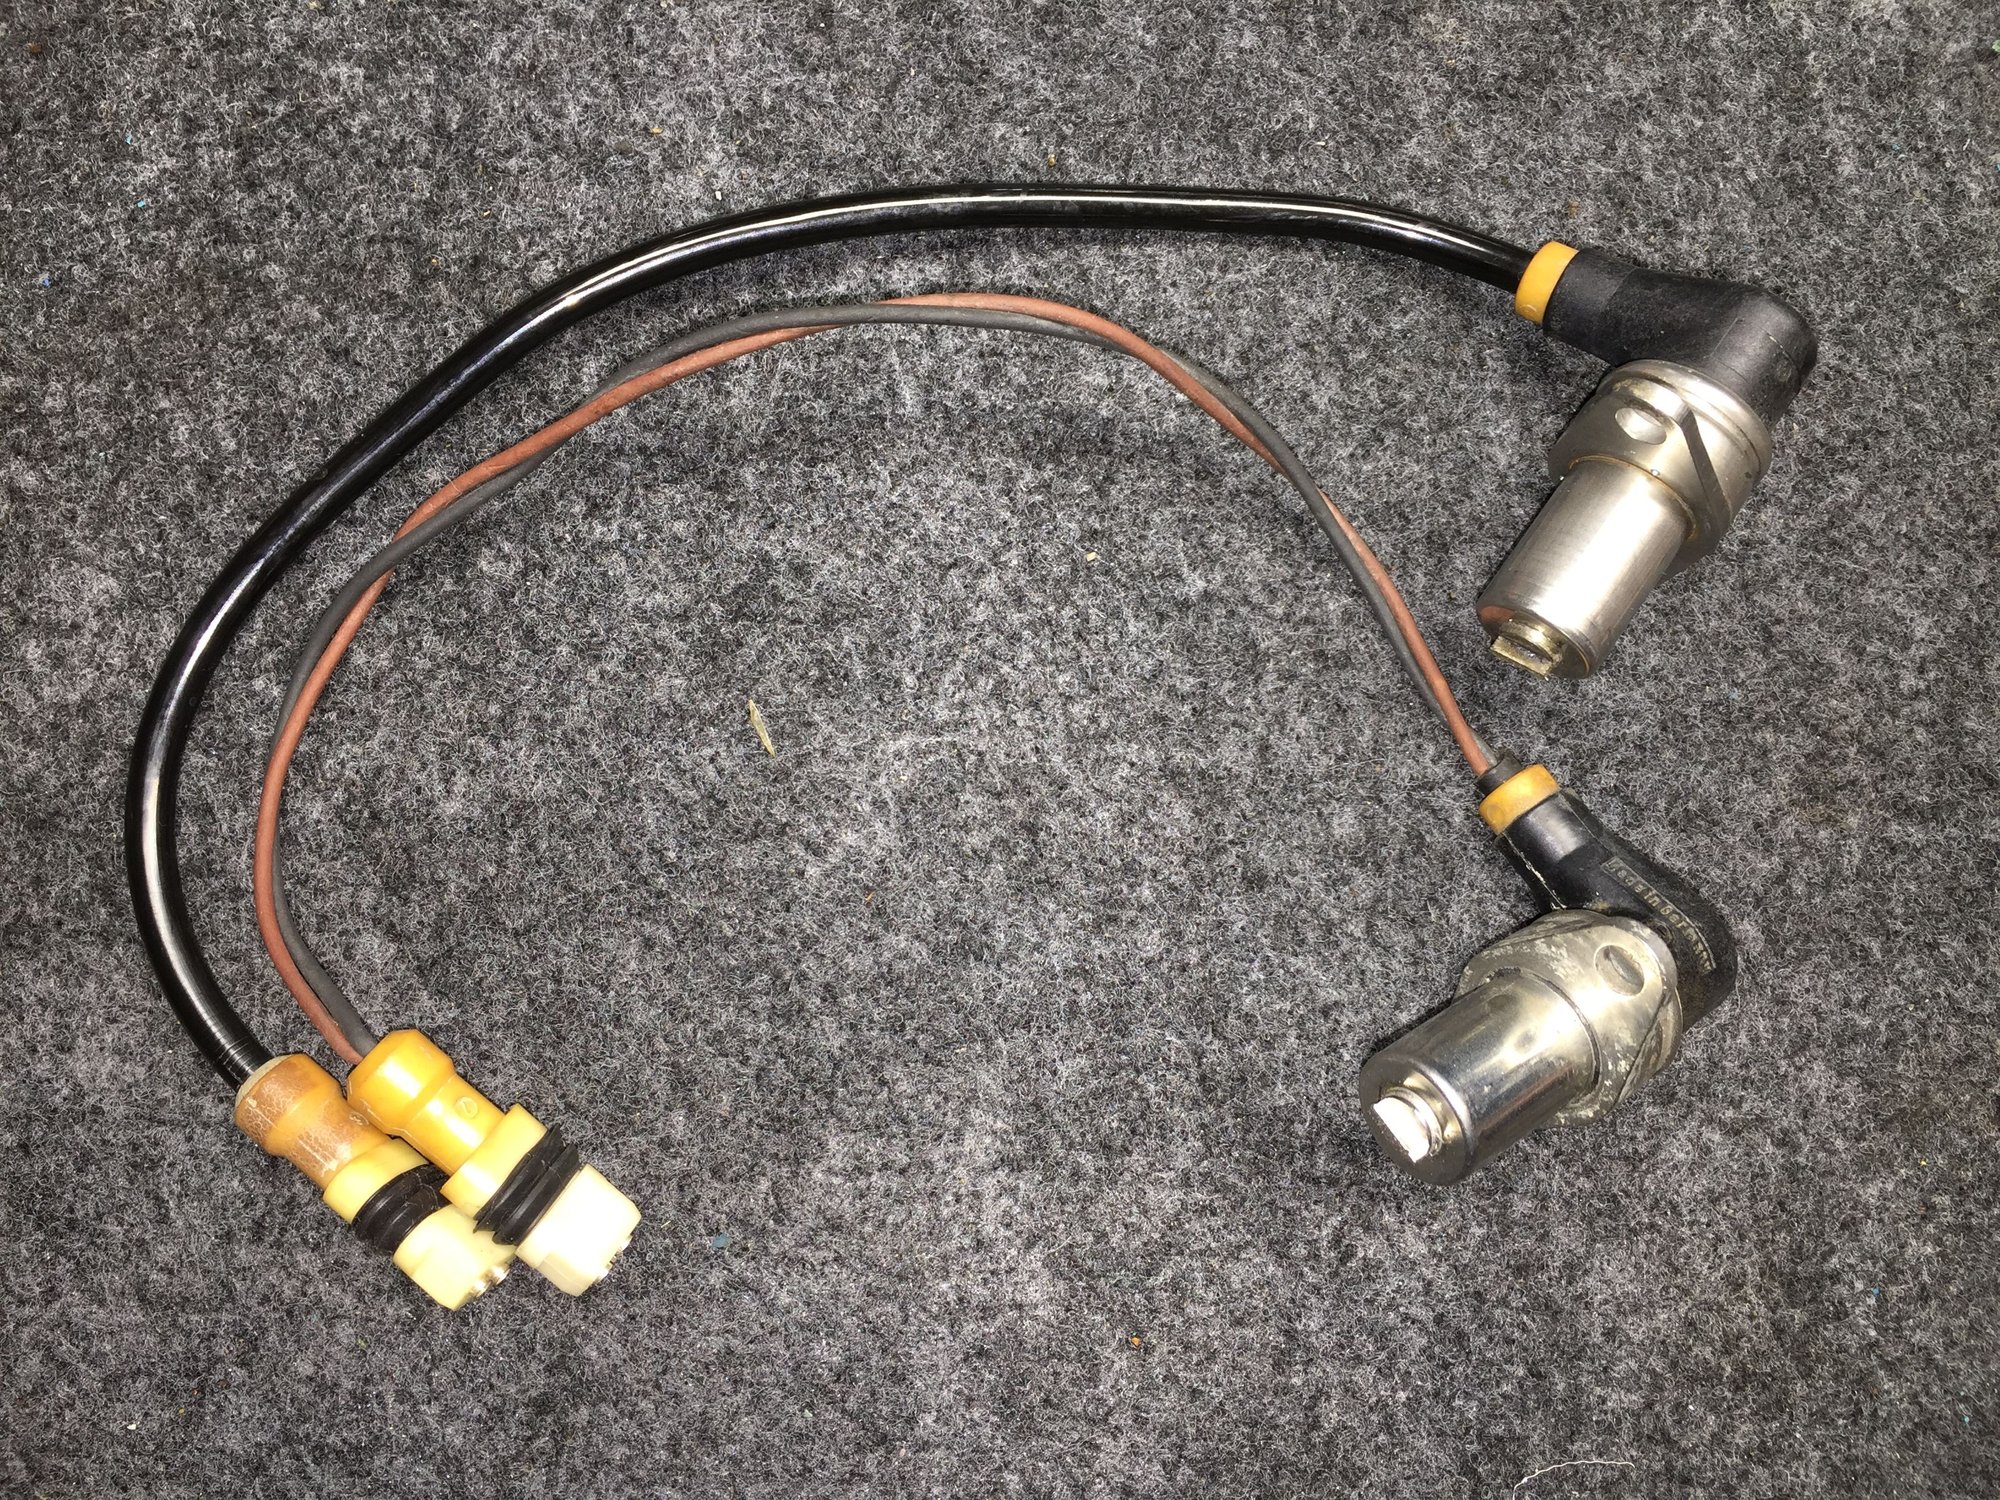
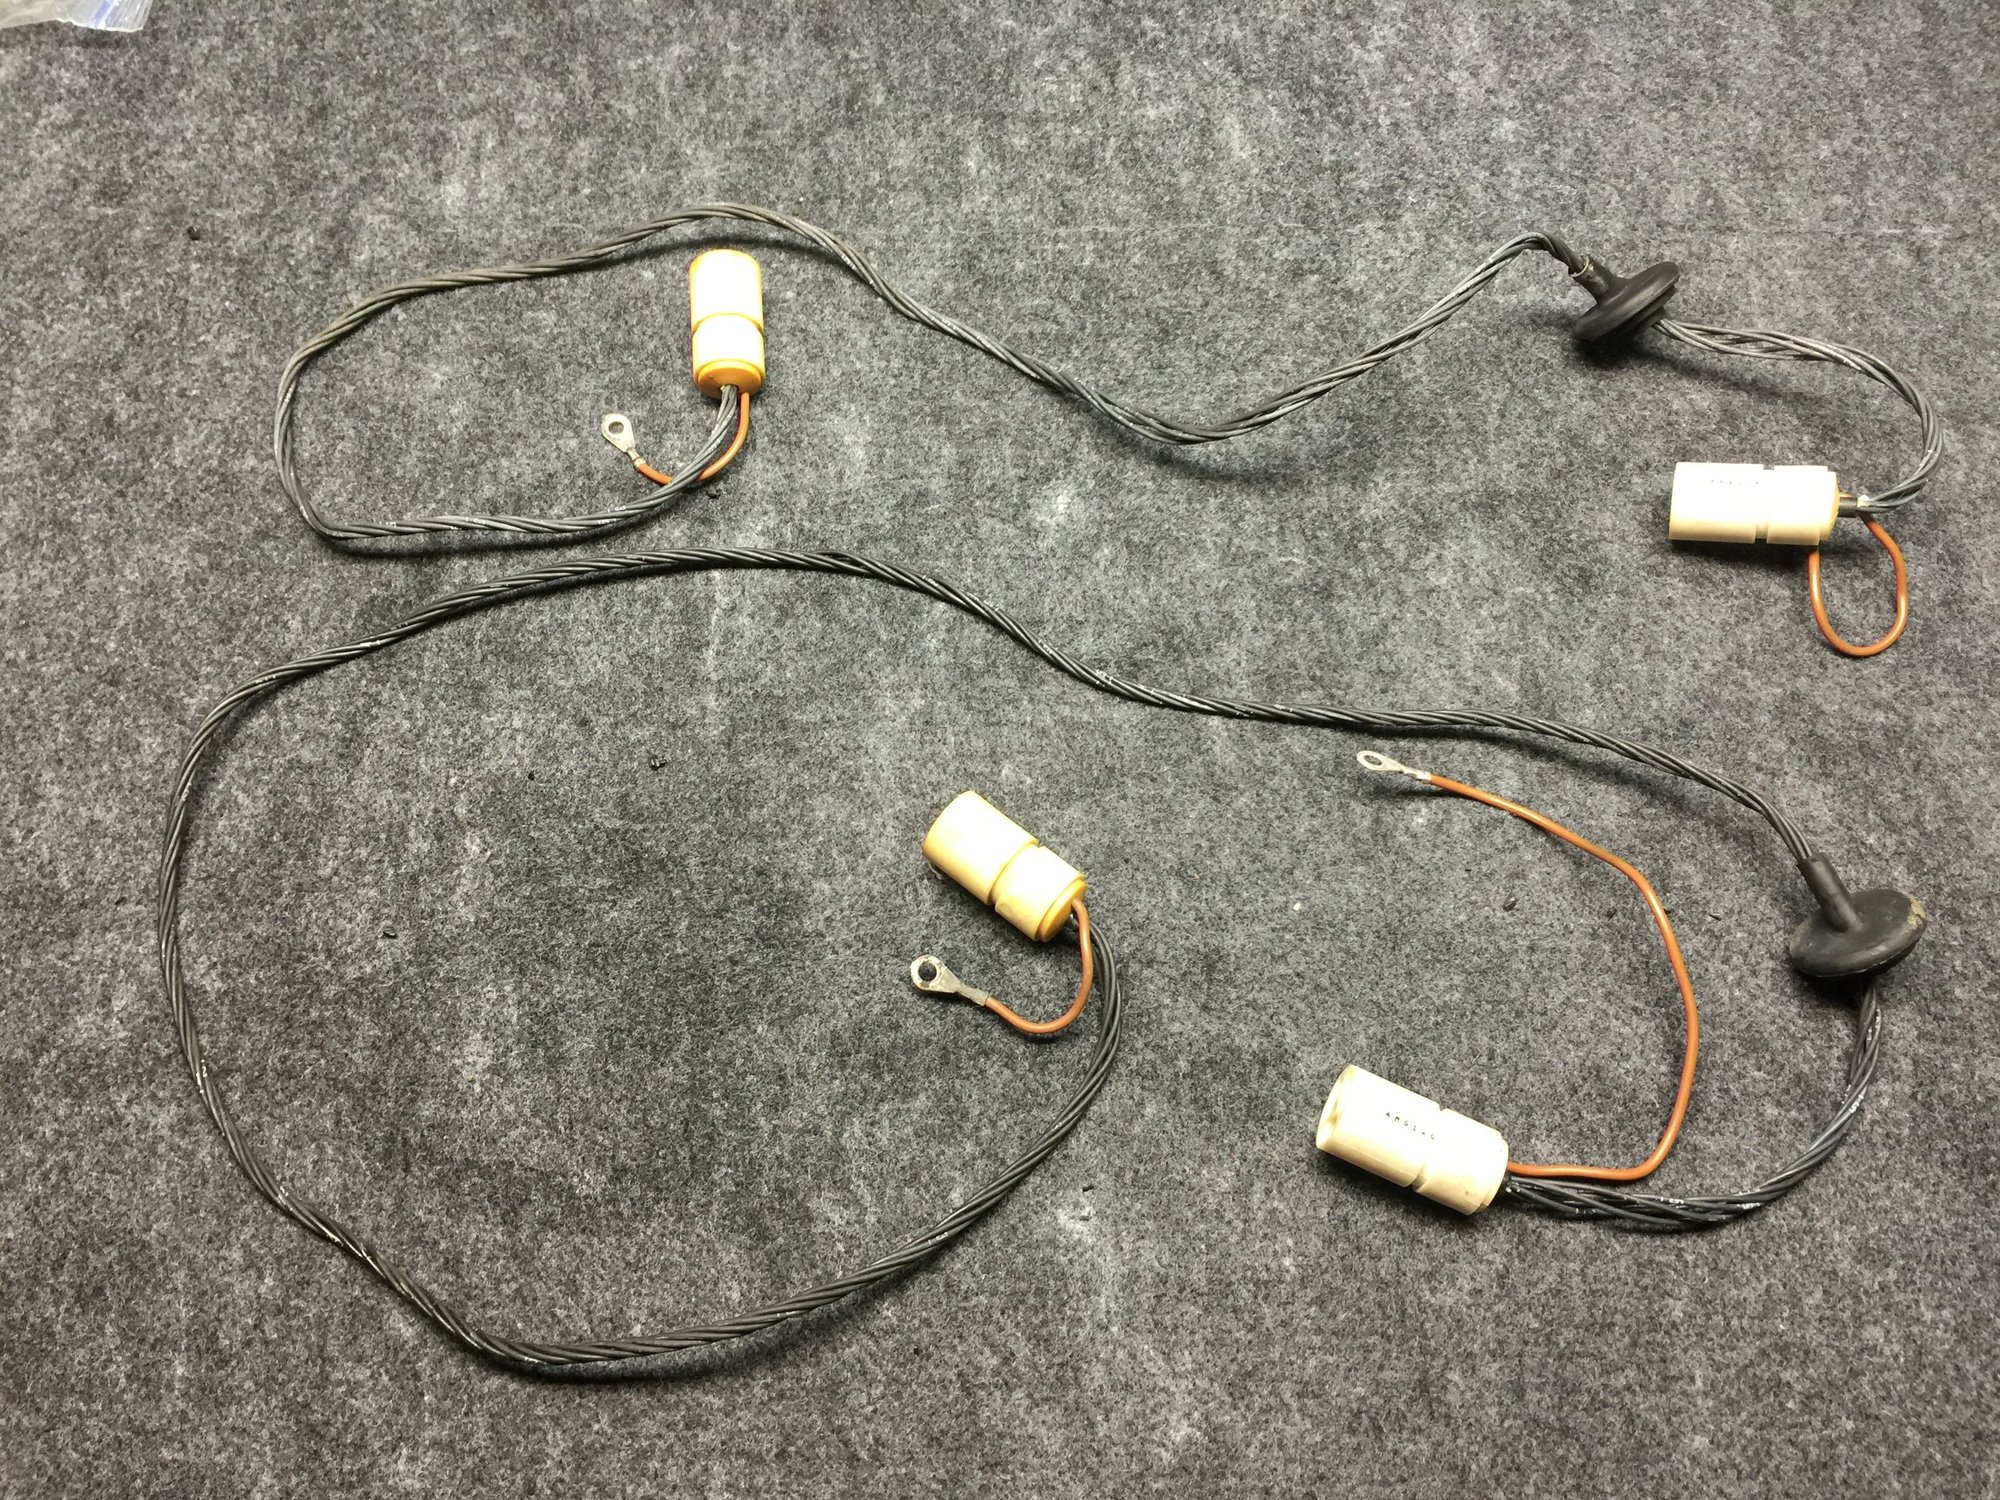
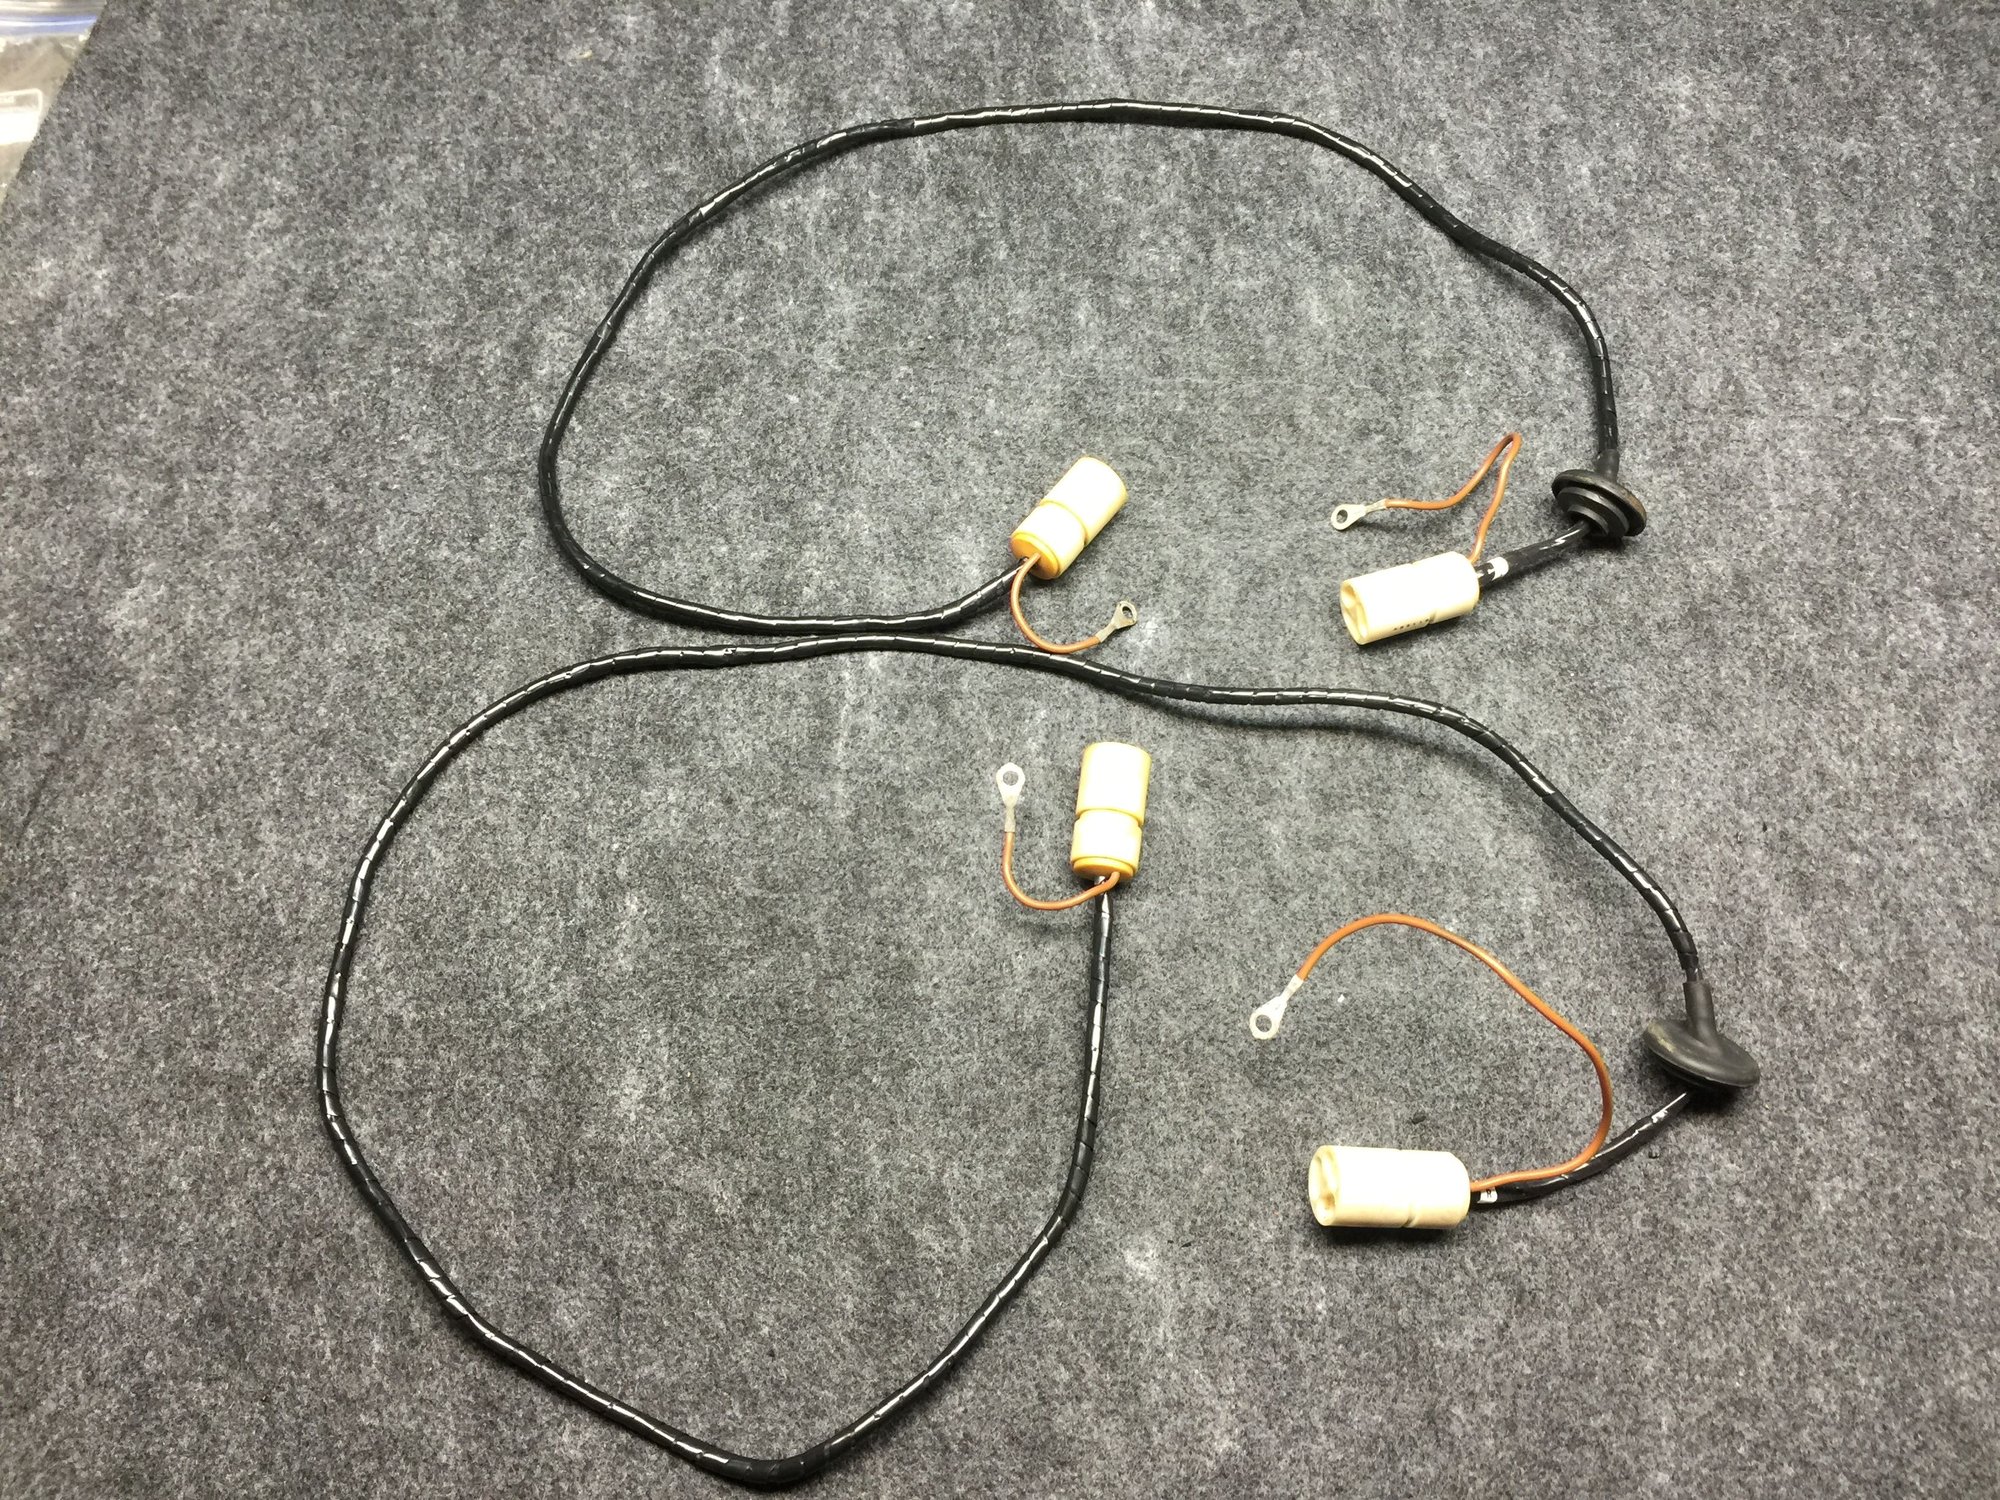
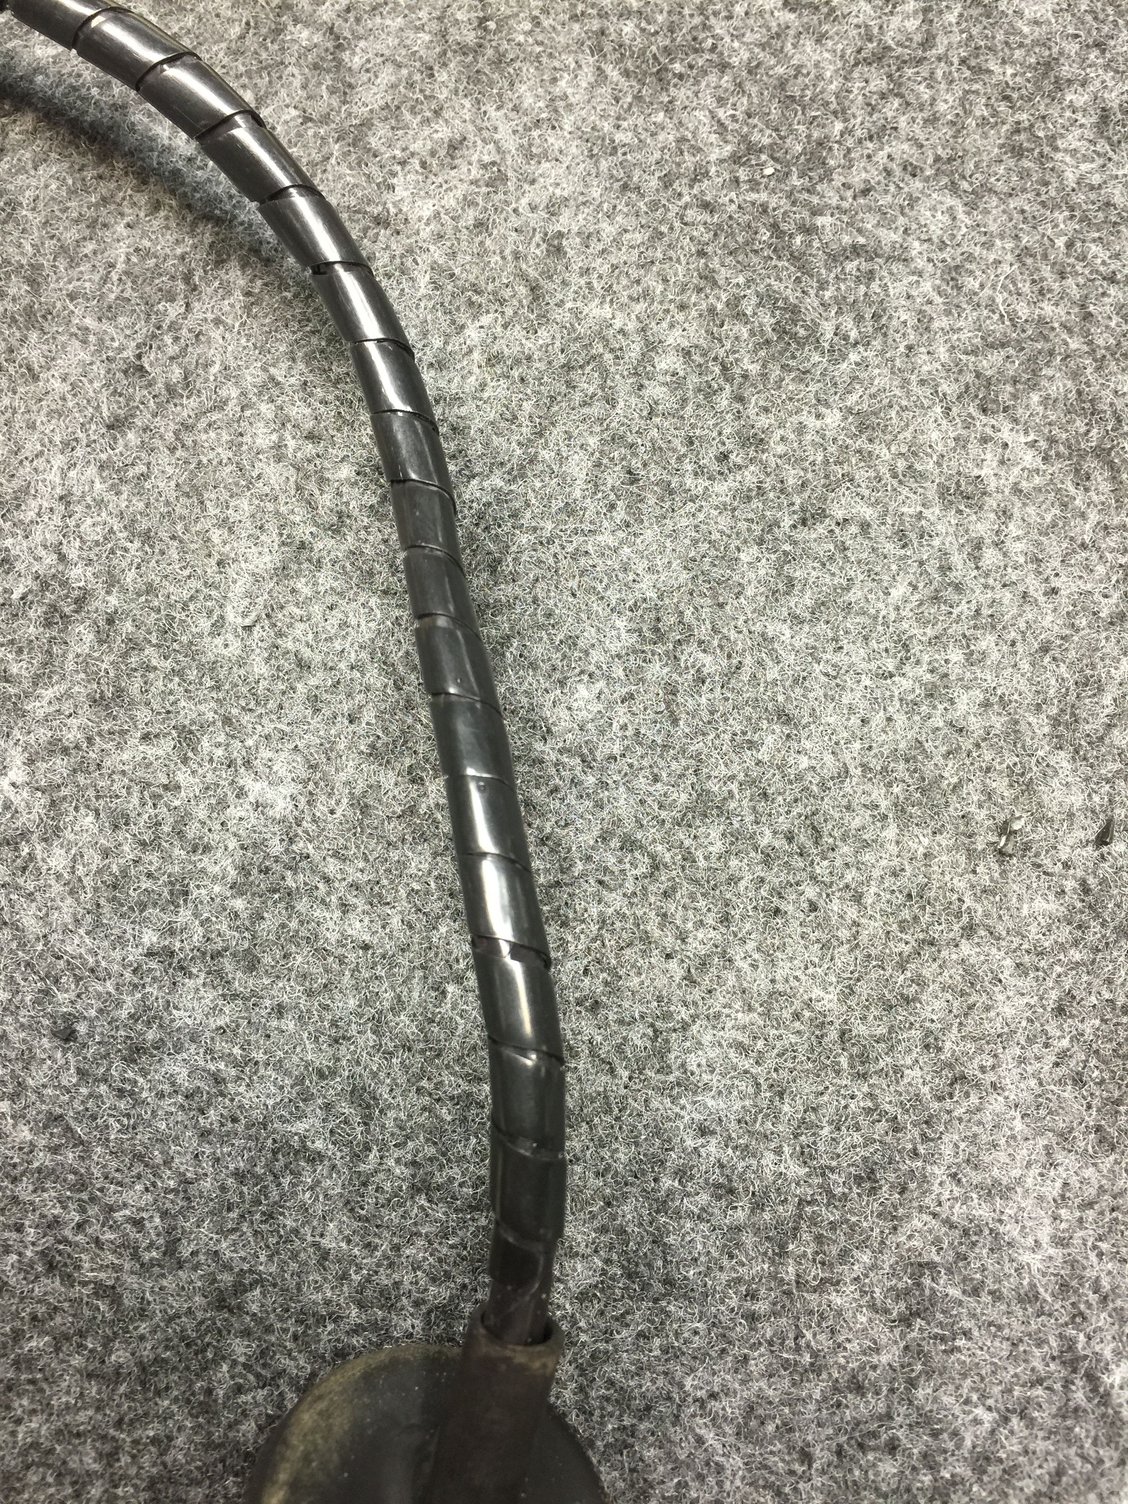
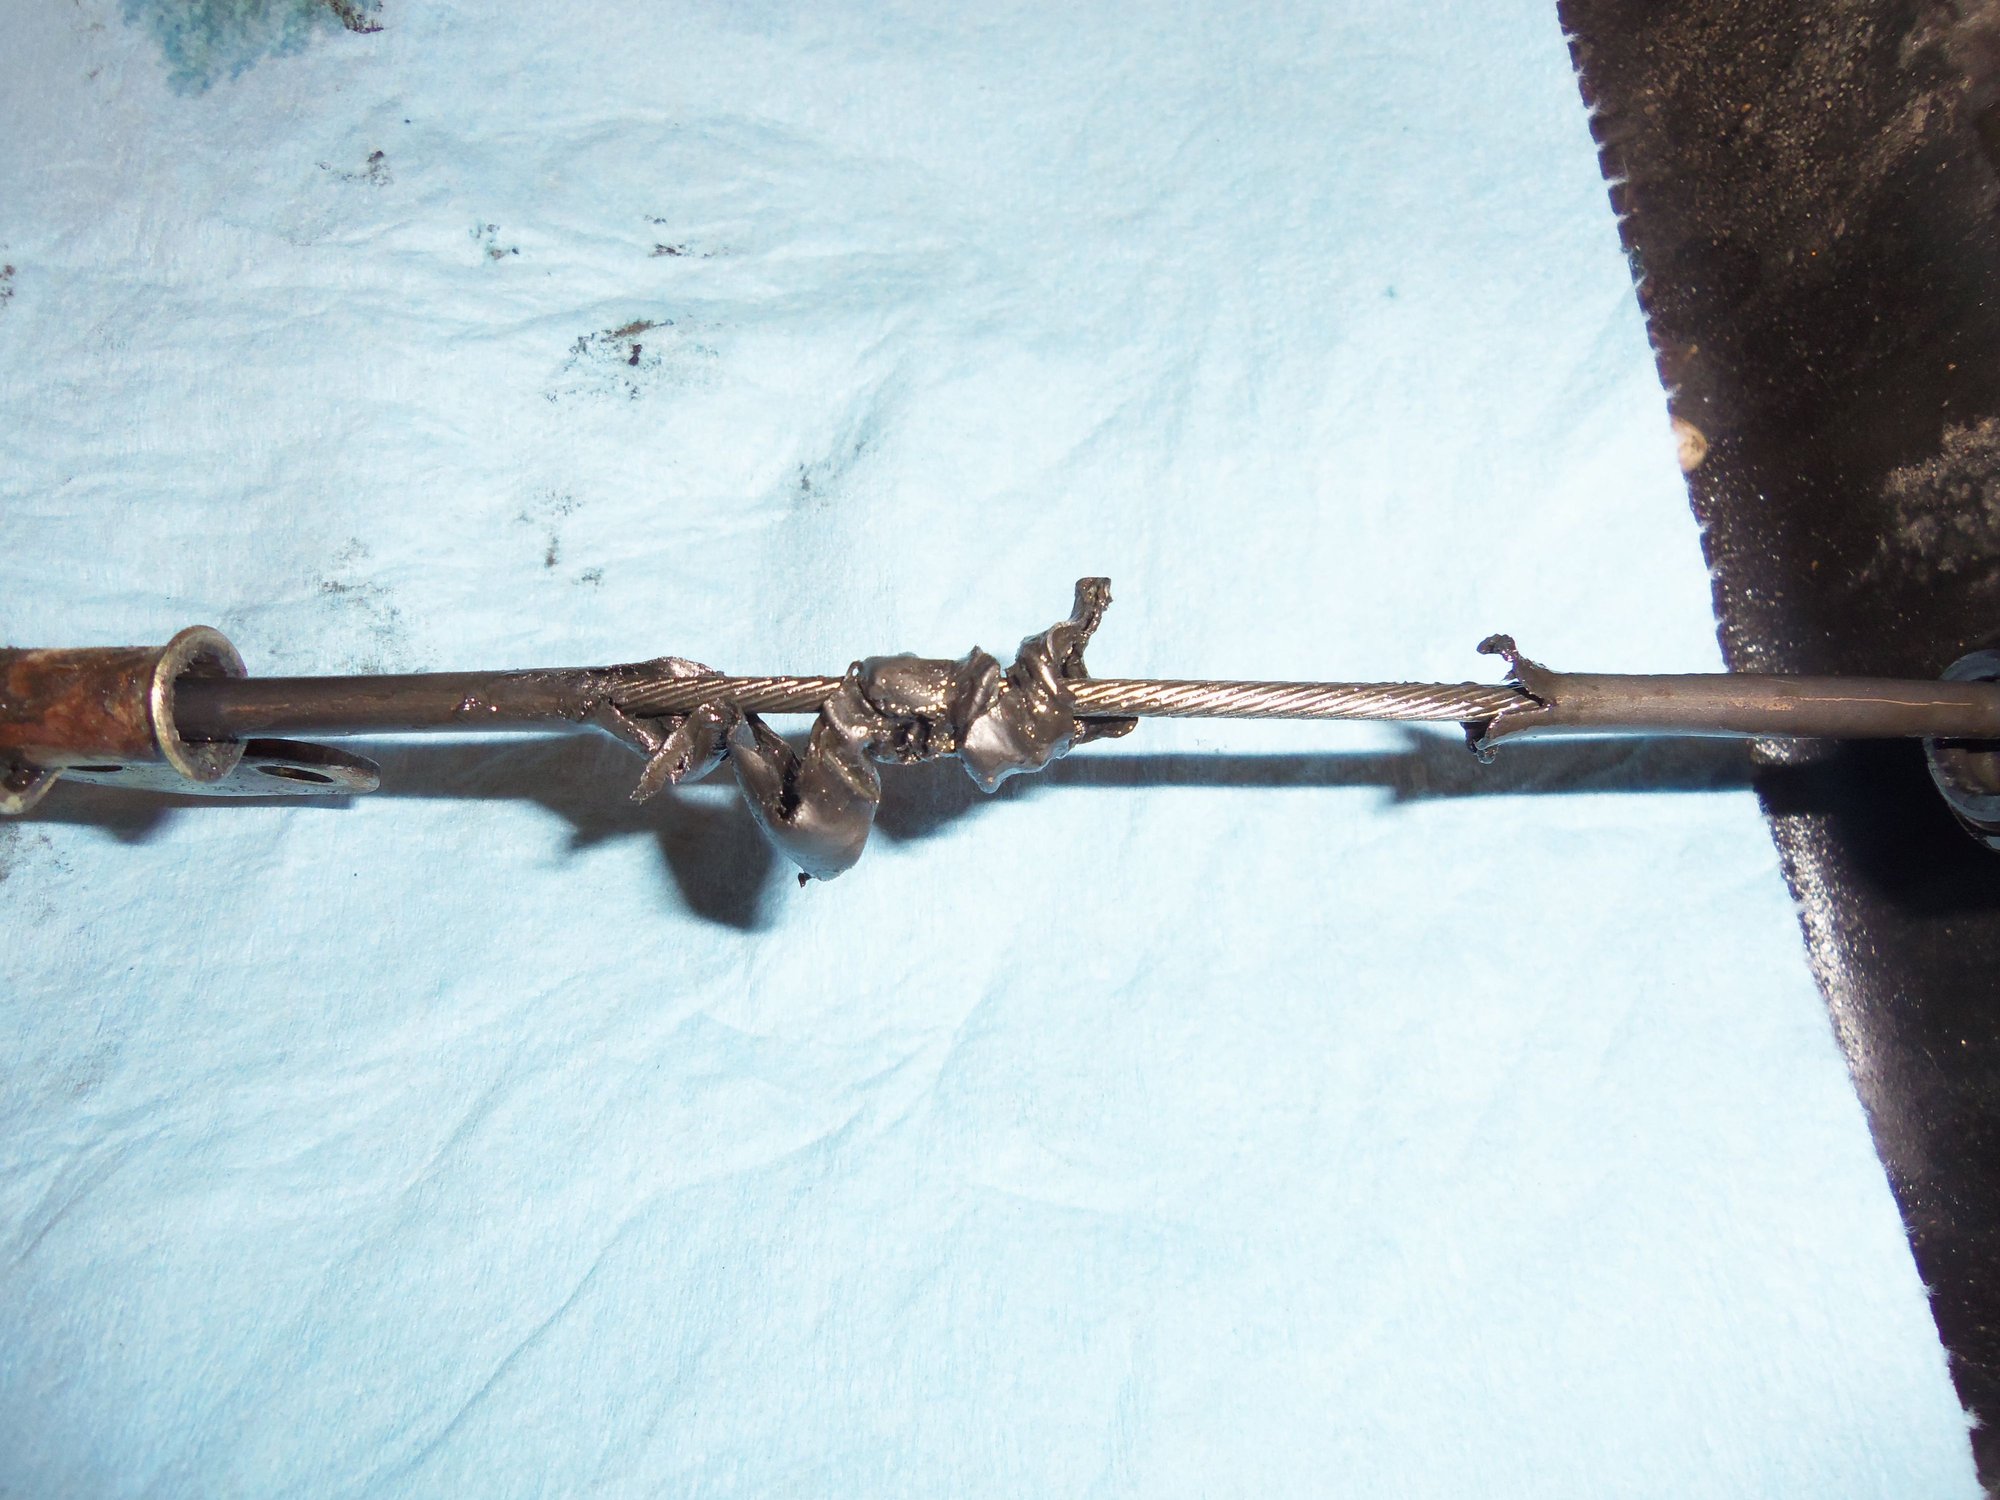
Finally finished cleaning up the ABS wiring harnesses. Like all the others out there, the outer jackets were cracked and stripping on mine.
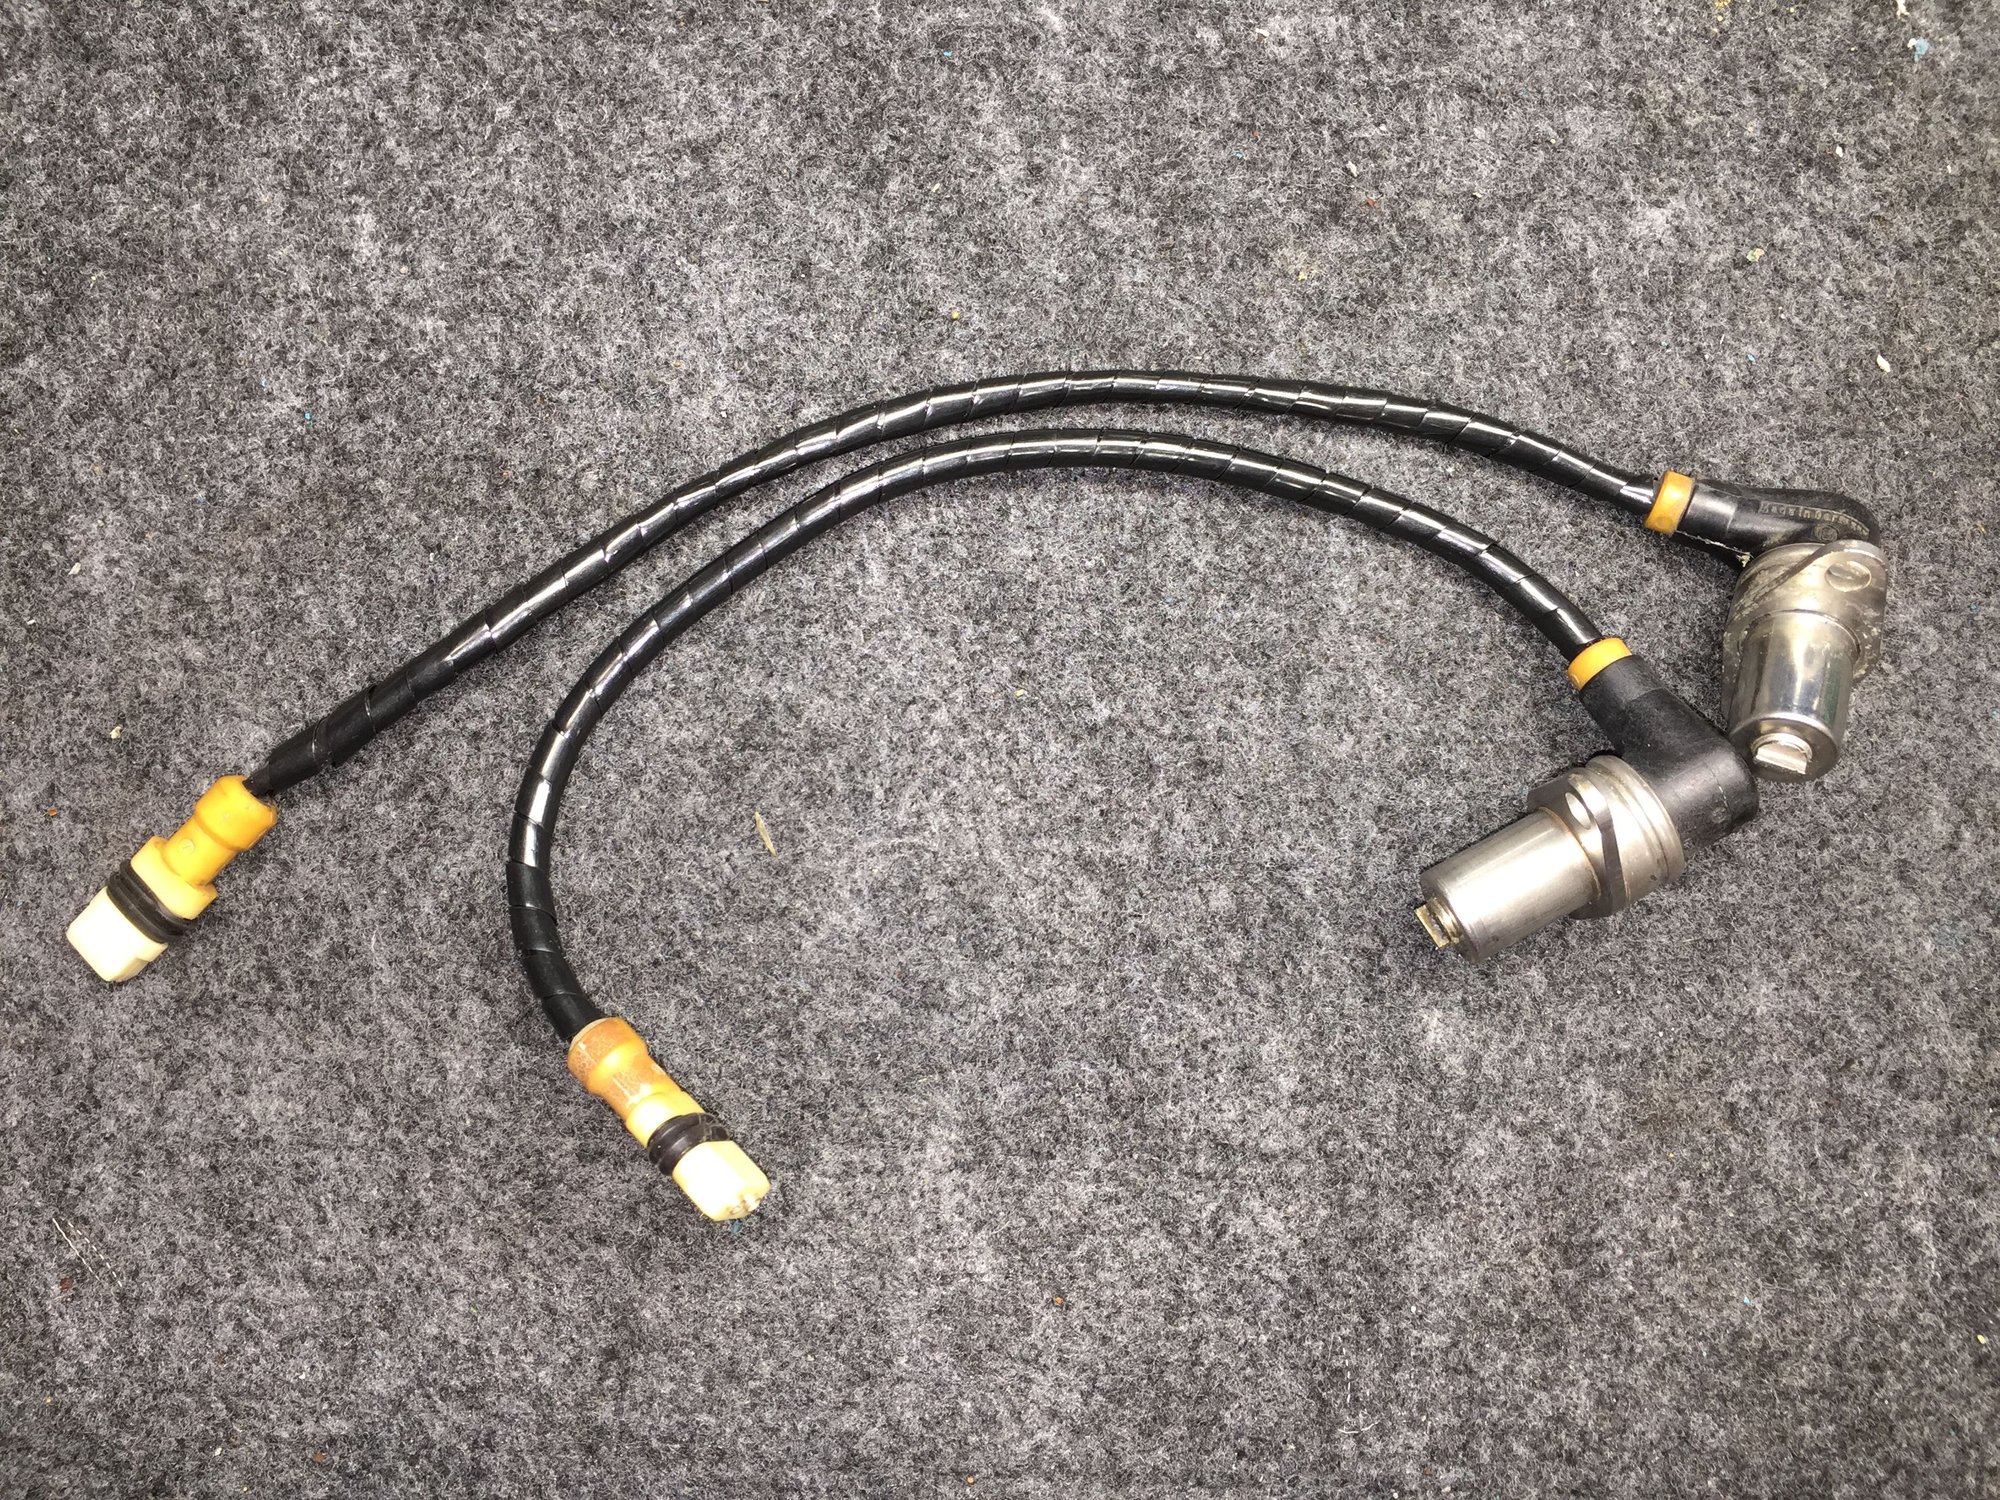
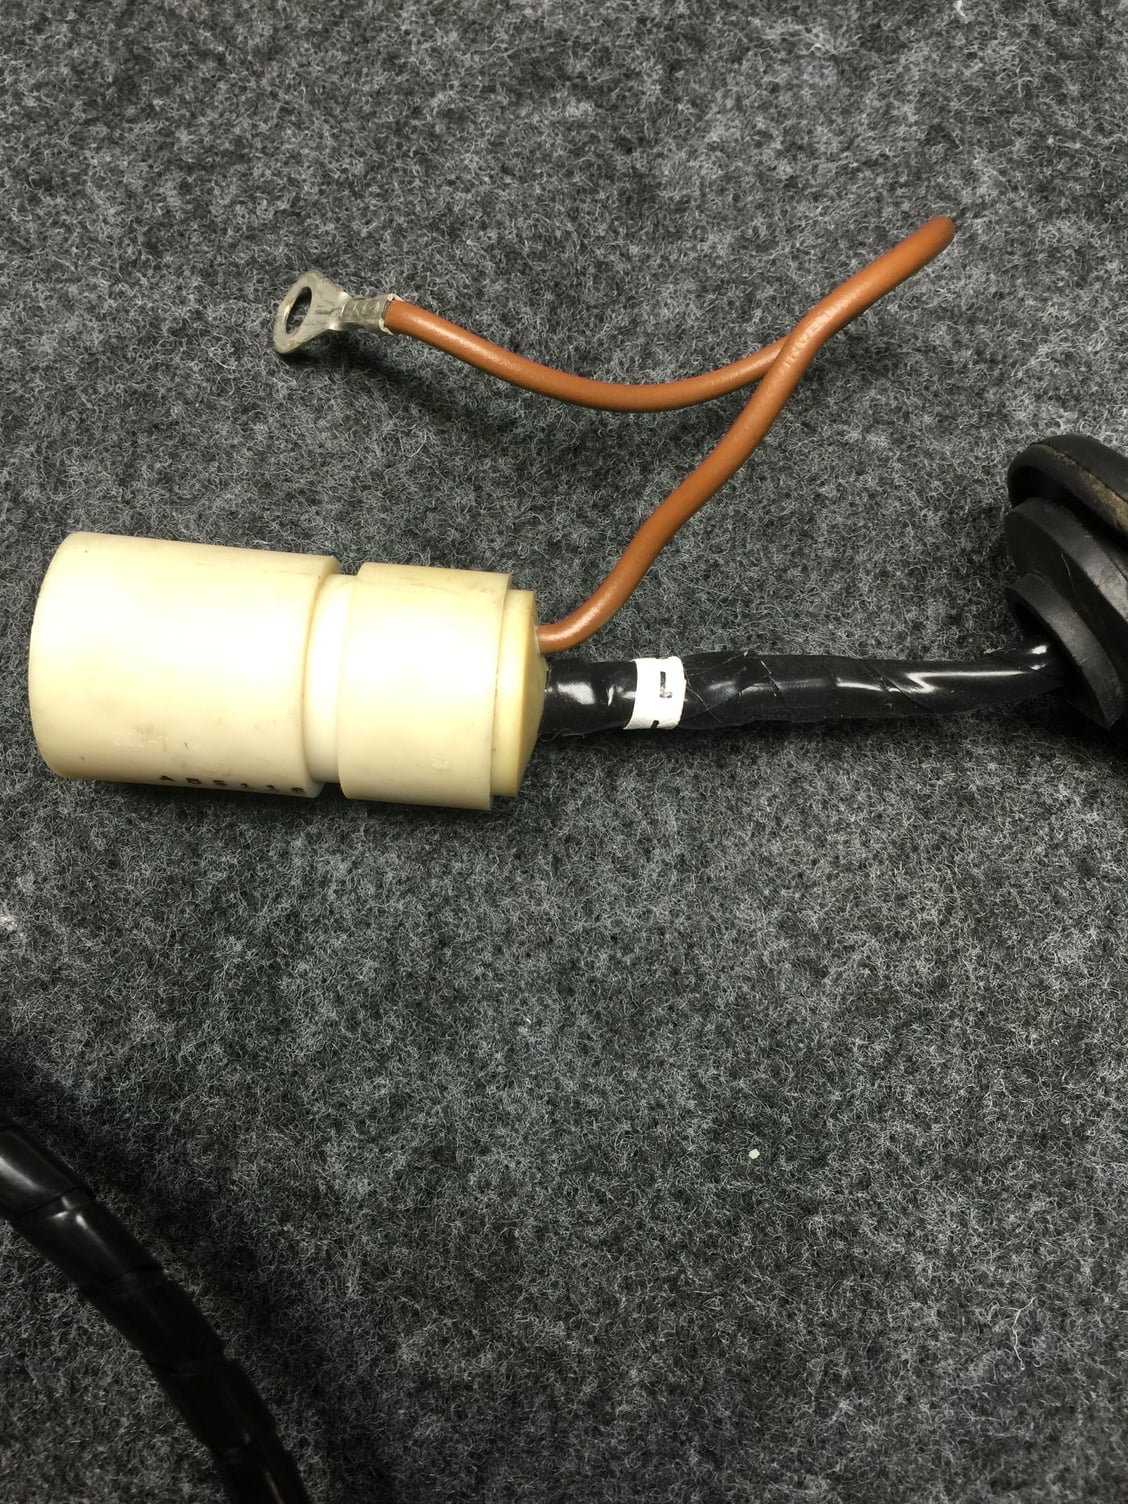
I removed all the damaged outer jackets from the left and right rear body harnesses, the left and right front ABS sensor, and the right rear ABS sensor. I did not have to strip the left rear ABS sensor because I bought it used from Mark Anderson. The outer jacket was pristine.
Upper ABS sensor is the pristine one I got from 928 Intl.
After stripping the jackets off, I snipped the nylon center threads and removed them. Then, came a thorough scrubbing with mineral spirits and a toothbrush.
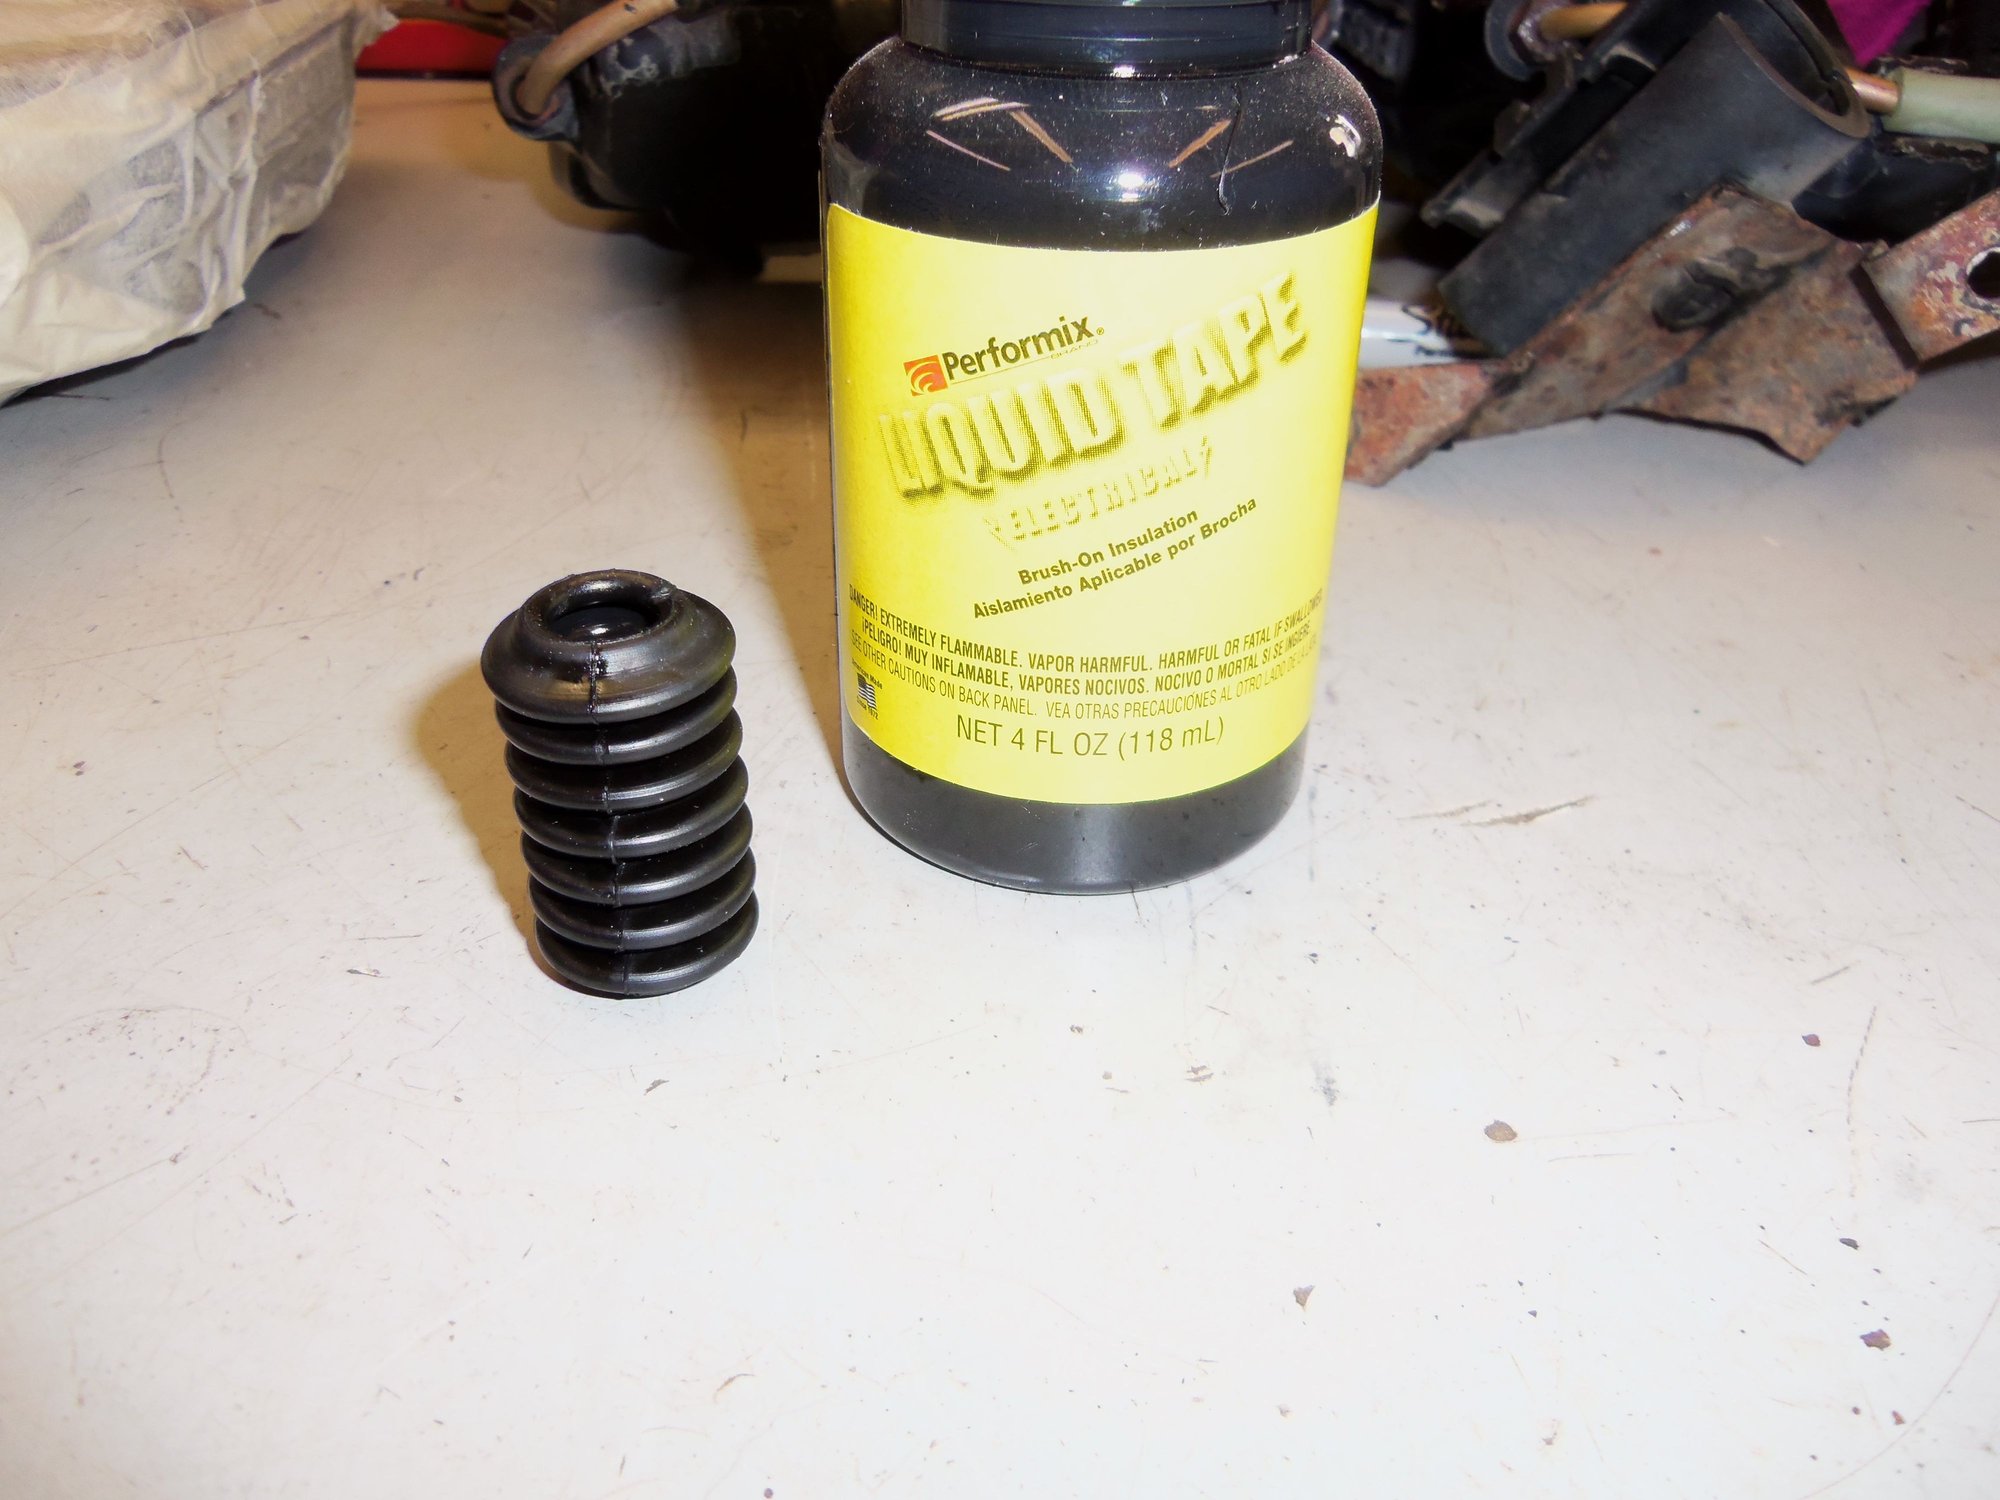
I completely stole this idea from a few people here on Rennlist. I wrapped each harness in self-fusing silicone tape, then covered it in nylon spiral wrap. A tad fugly, but quite functional. I sourced both the tape and spiral wrap from ebay. I was able to get a buddy at work to hold the harnesses, keeping tension on them while I wrapped the tape. A bit of a pain in the ***, but well worth the effort. I also covered the pristine jacket on the used rear ABS sensor with the spiral wrap. When its jacket deteriorates, I will wrap it in silicone tape as well.
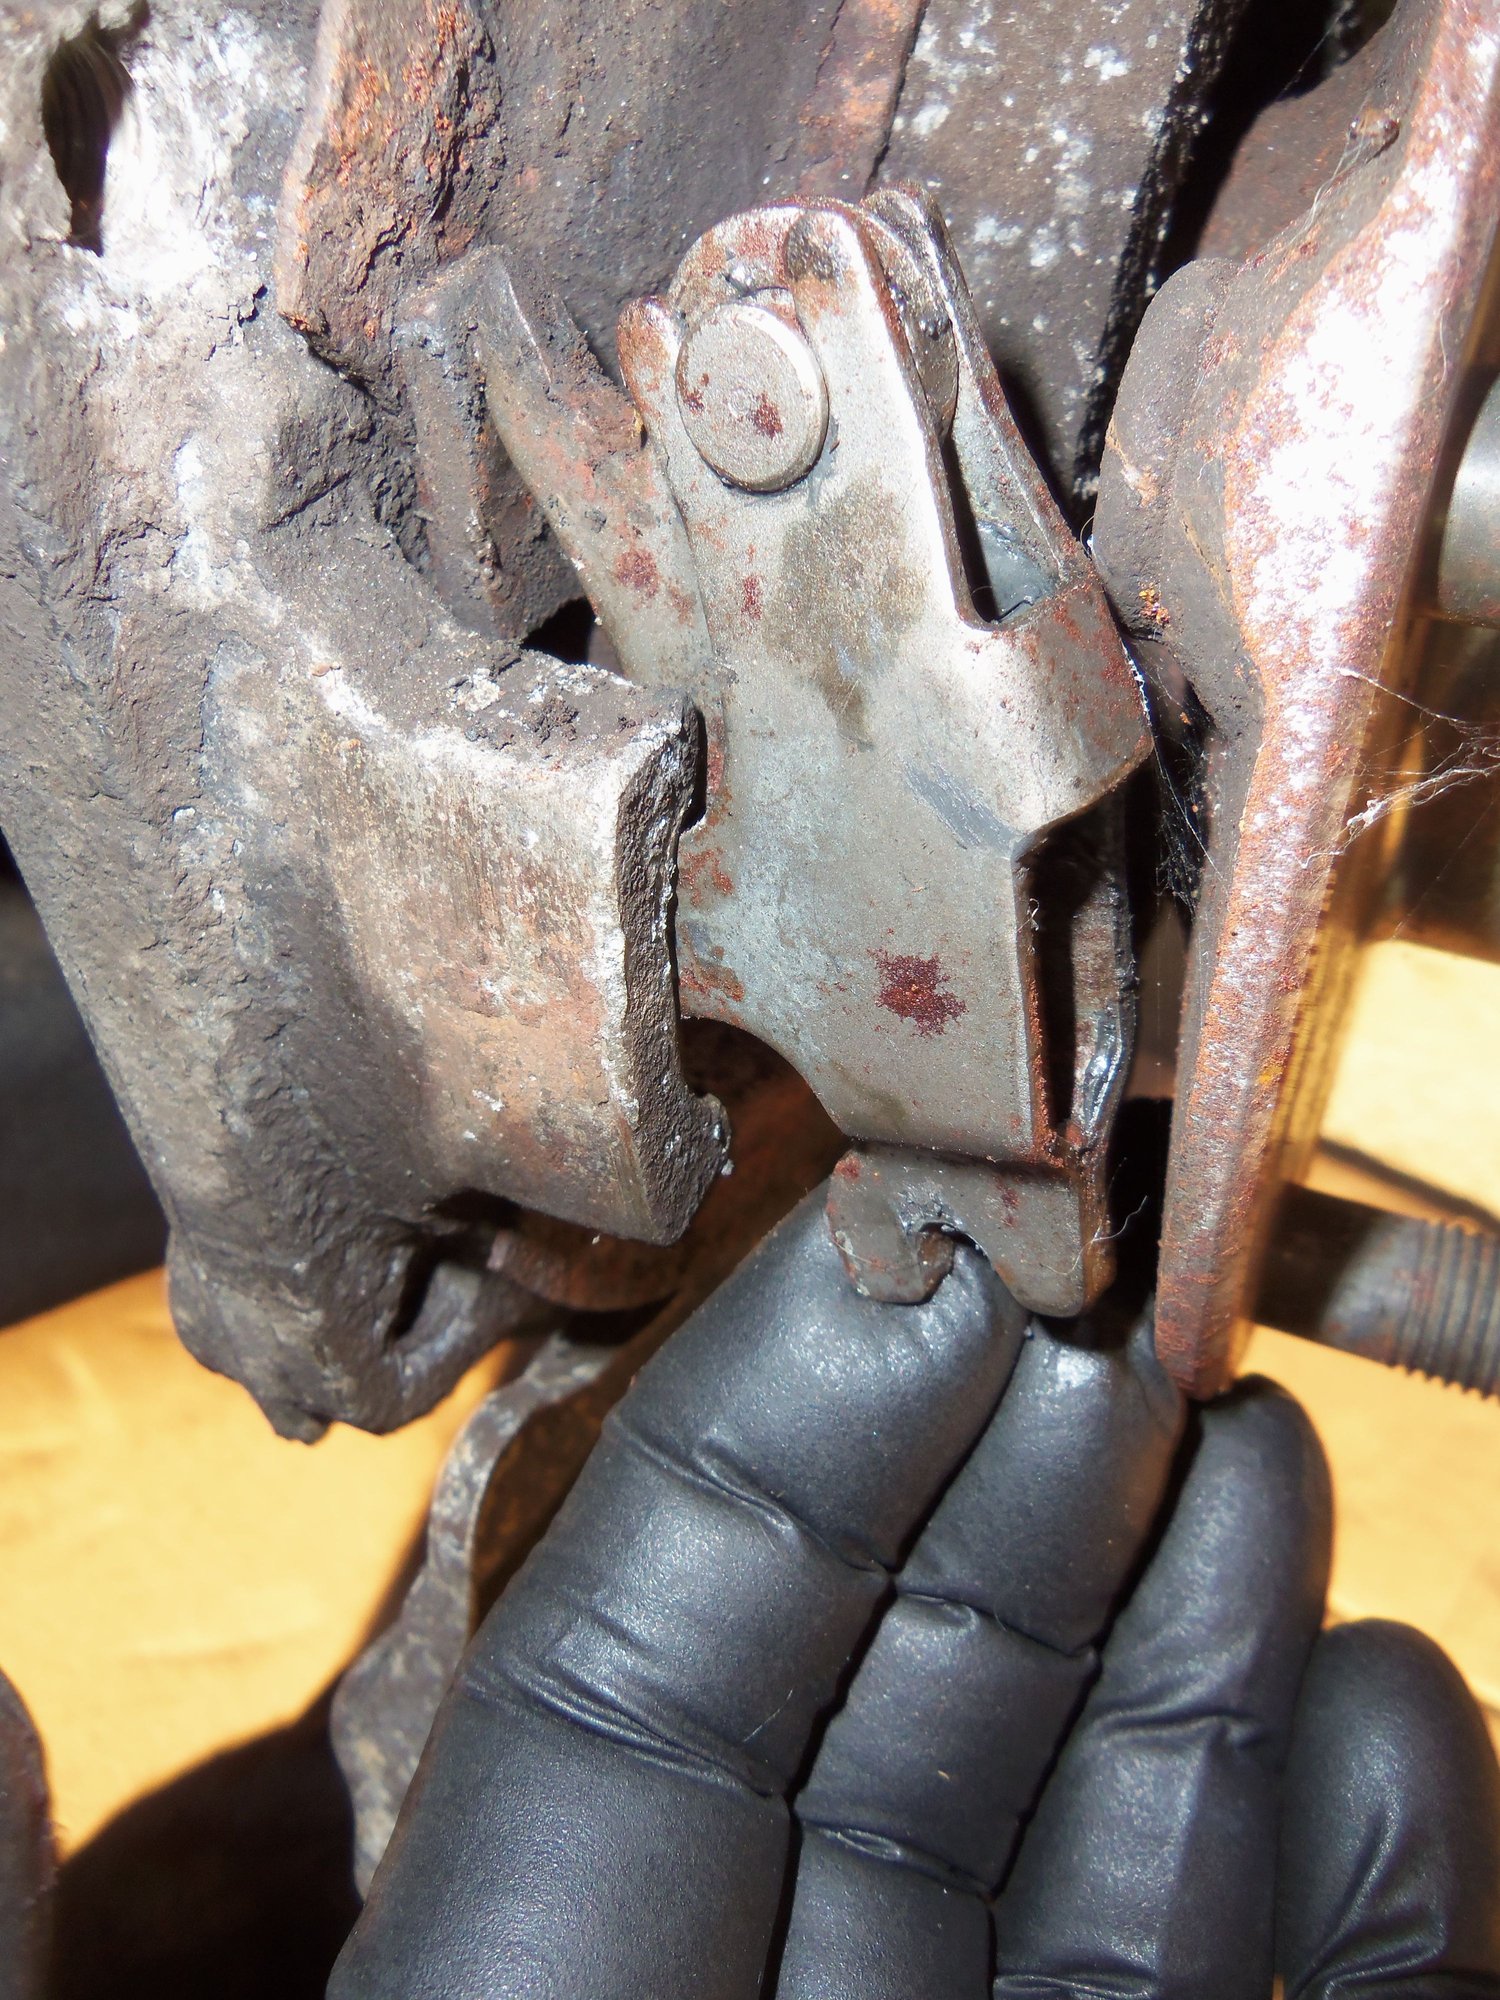
The rear ABS body harnesses had letter tags signifying L and R at the inside connections. I replaced those as well.
I am now on vacation for the next 9 days. I plan on spending most of it binging on the Red Witch. My goal is to have her driving again very soon.
Most of my vacation was spent working on not-brakes parts of the Red Witch.
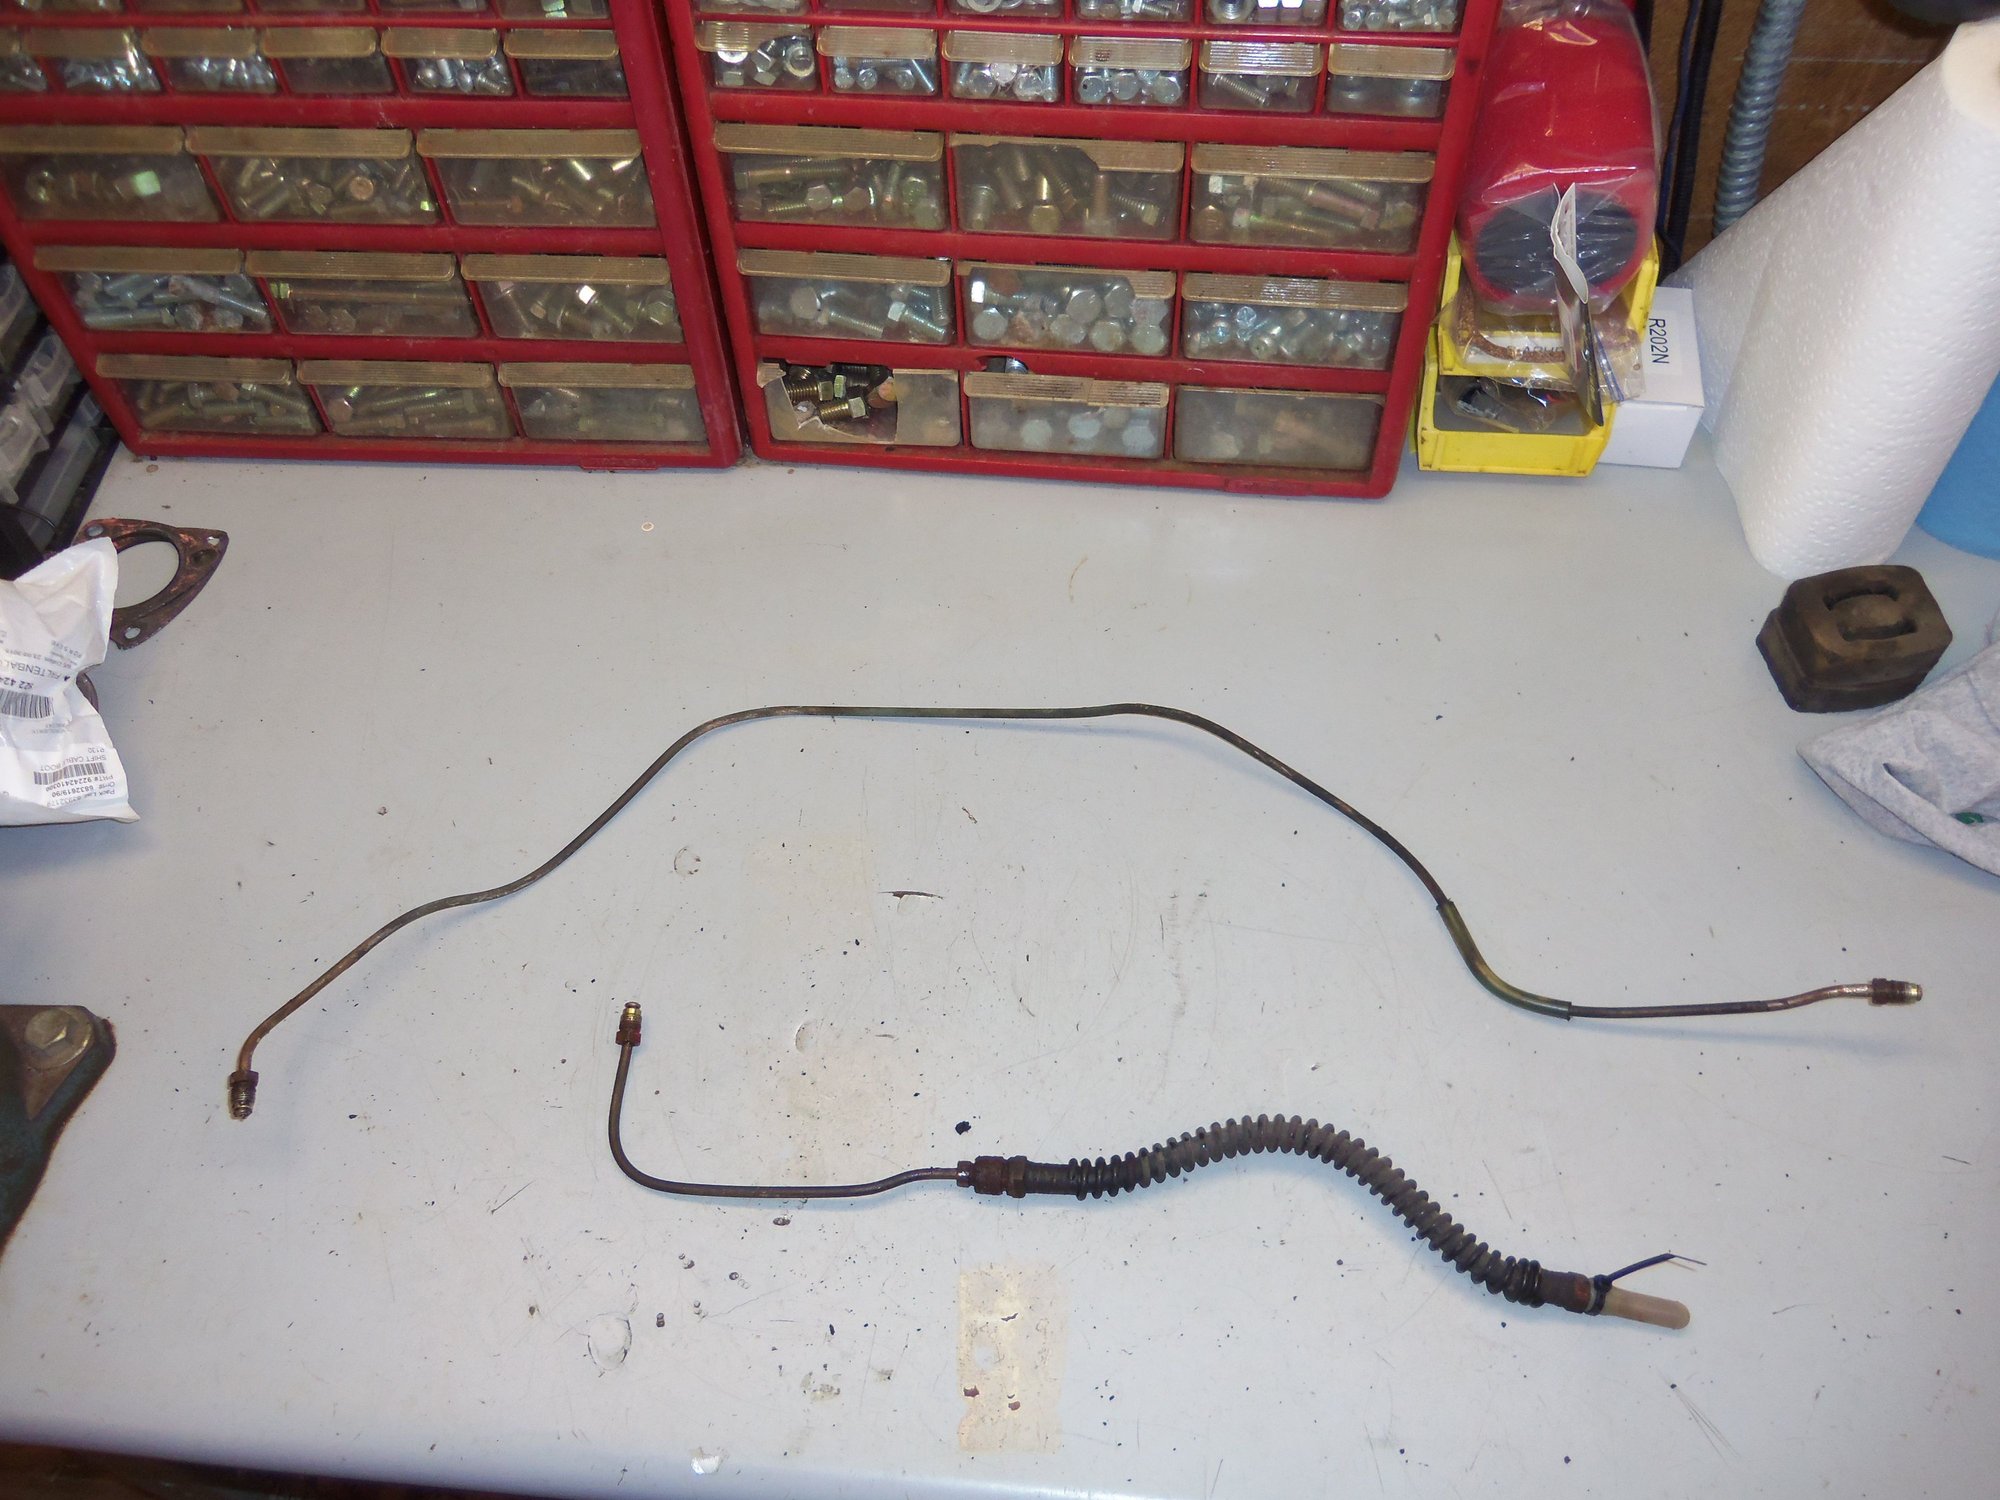
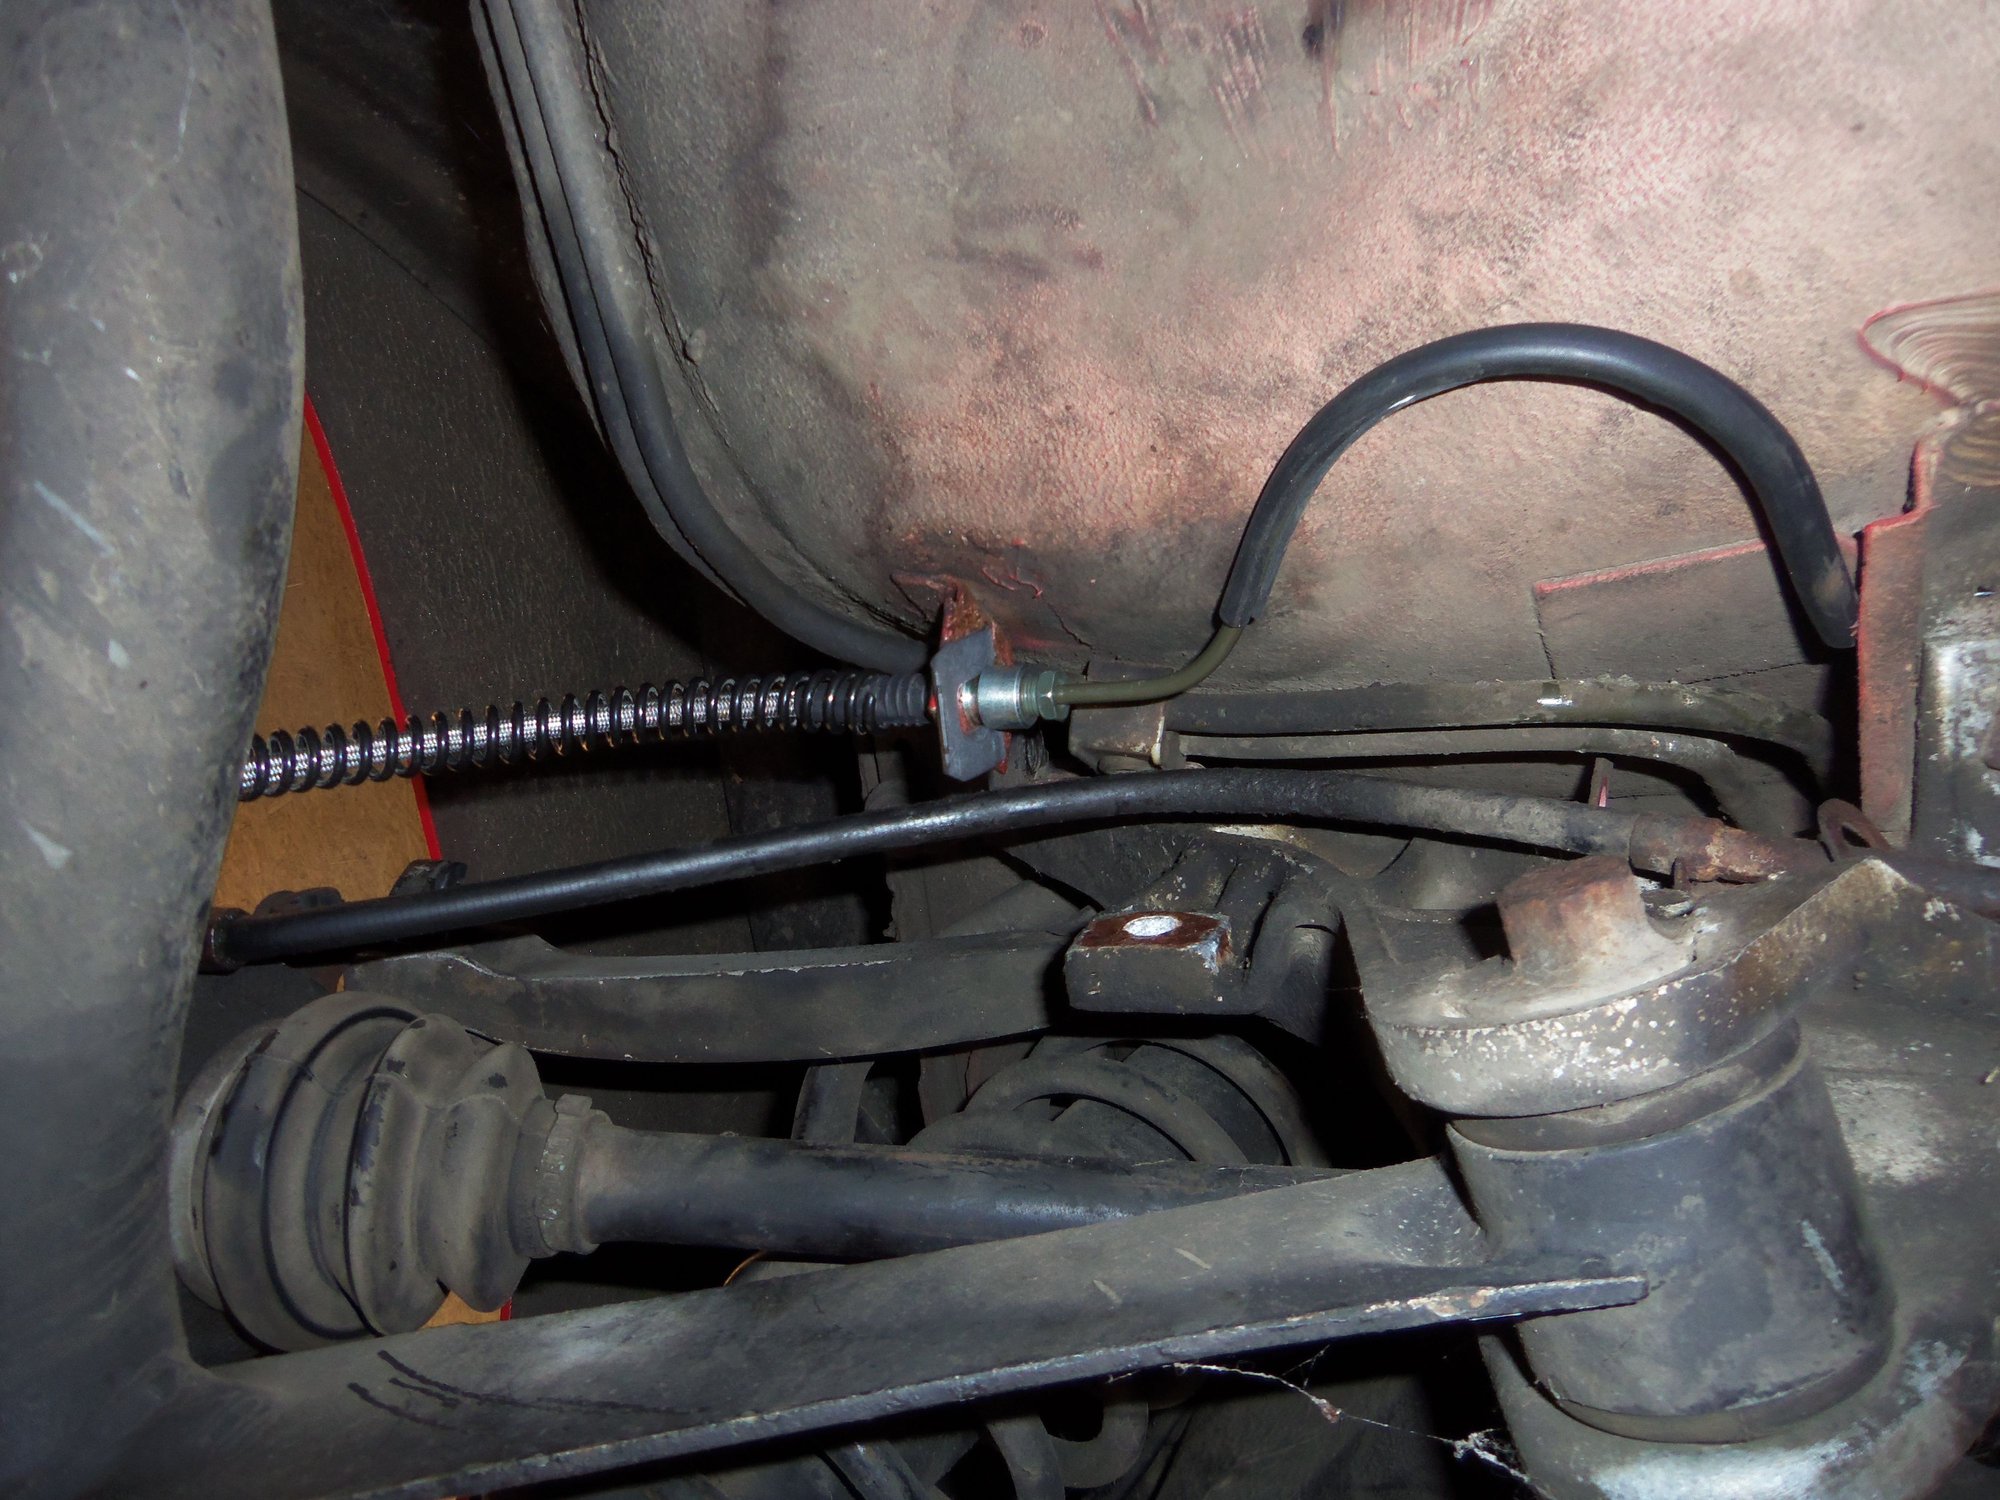
However, I did get the rear brake lines replaced. Flush with my success in getting the front brake lines freed from the hoses, I worked on the rears.
And failed miserably.
The passenger's side fitting was seized to the tubing. I was able to unscrew the old brake hose from it. The driver's side fitting was so rusty, not only was it seized, but it rounded right off with the flare wrench. I couldn't even get the old brake hose off.
I was able to remove both lines without mangling the line from the ABS unit and the brass distributing TEE fitting.
Brake lines would have come out of Germany, around a week arrival time. I decided to roll the dice and bend my own. Growing up in the north, and having an affinity for 70's GM cars, I have bent a brake line or two.
Not having the correct bubble flaring tool kit, I elected to try pre-bubbled tubing from NAPA. I found 3/16" bubble flared tubing with the correct metric fititngs in lengths near what I needed. I took the first longest length from each brake line I had.
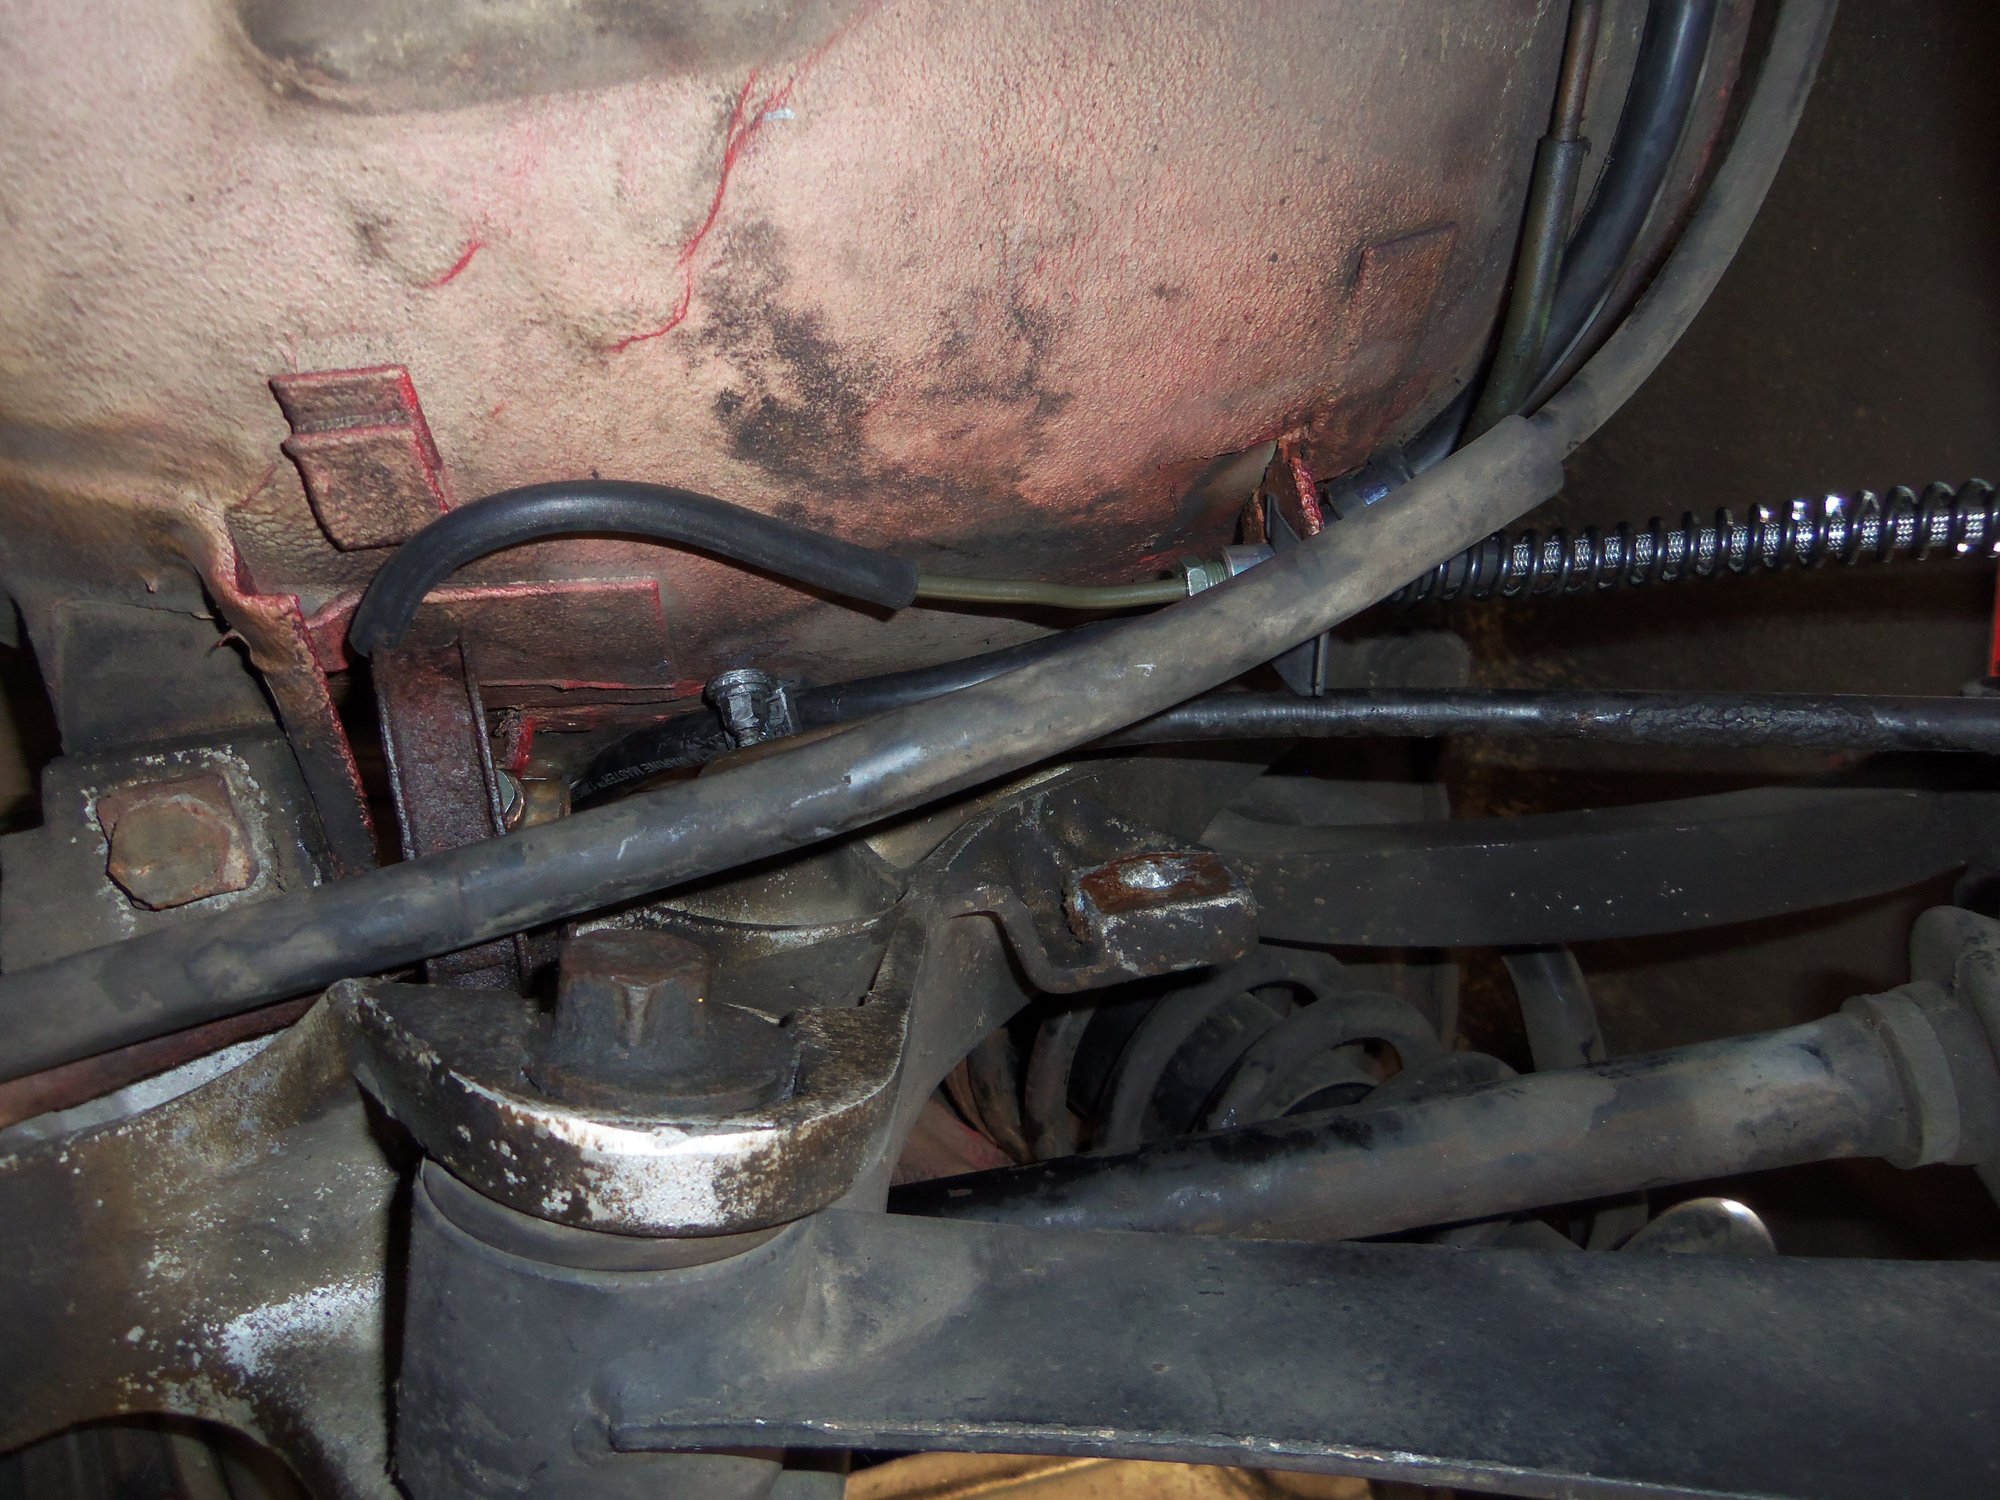
Surprise! I successfully bent and installed both rear brake lines. Using the old lines as patterns, I bent the new ones to match. I dealt with the extra length by bending a loop near the connection for each brake hose. I fiddle and tweaked the lines so nothing touched or rubbed. I was able to get the passenger's side line into the nylon clamp near the wheel. I could not get it into the clamp above the transmission. Not enough leverage.
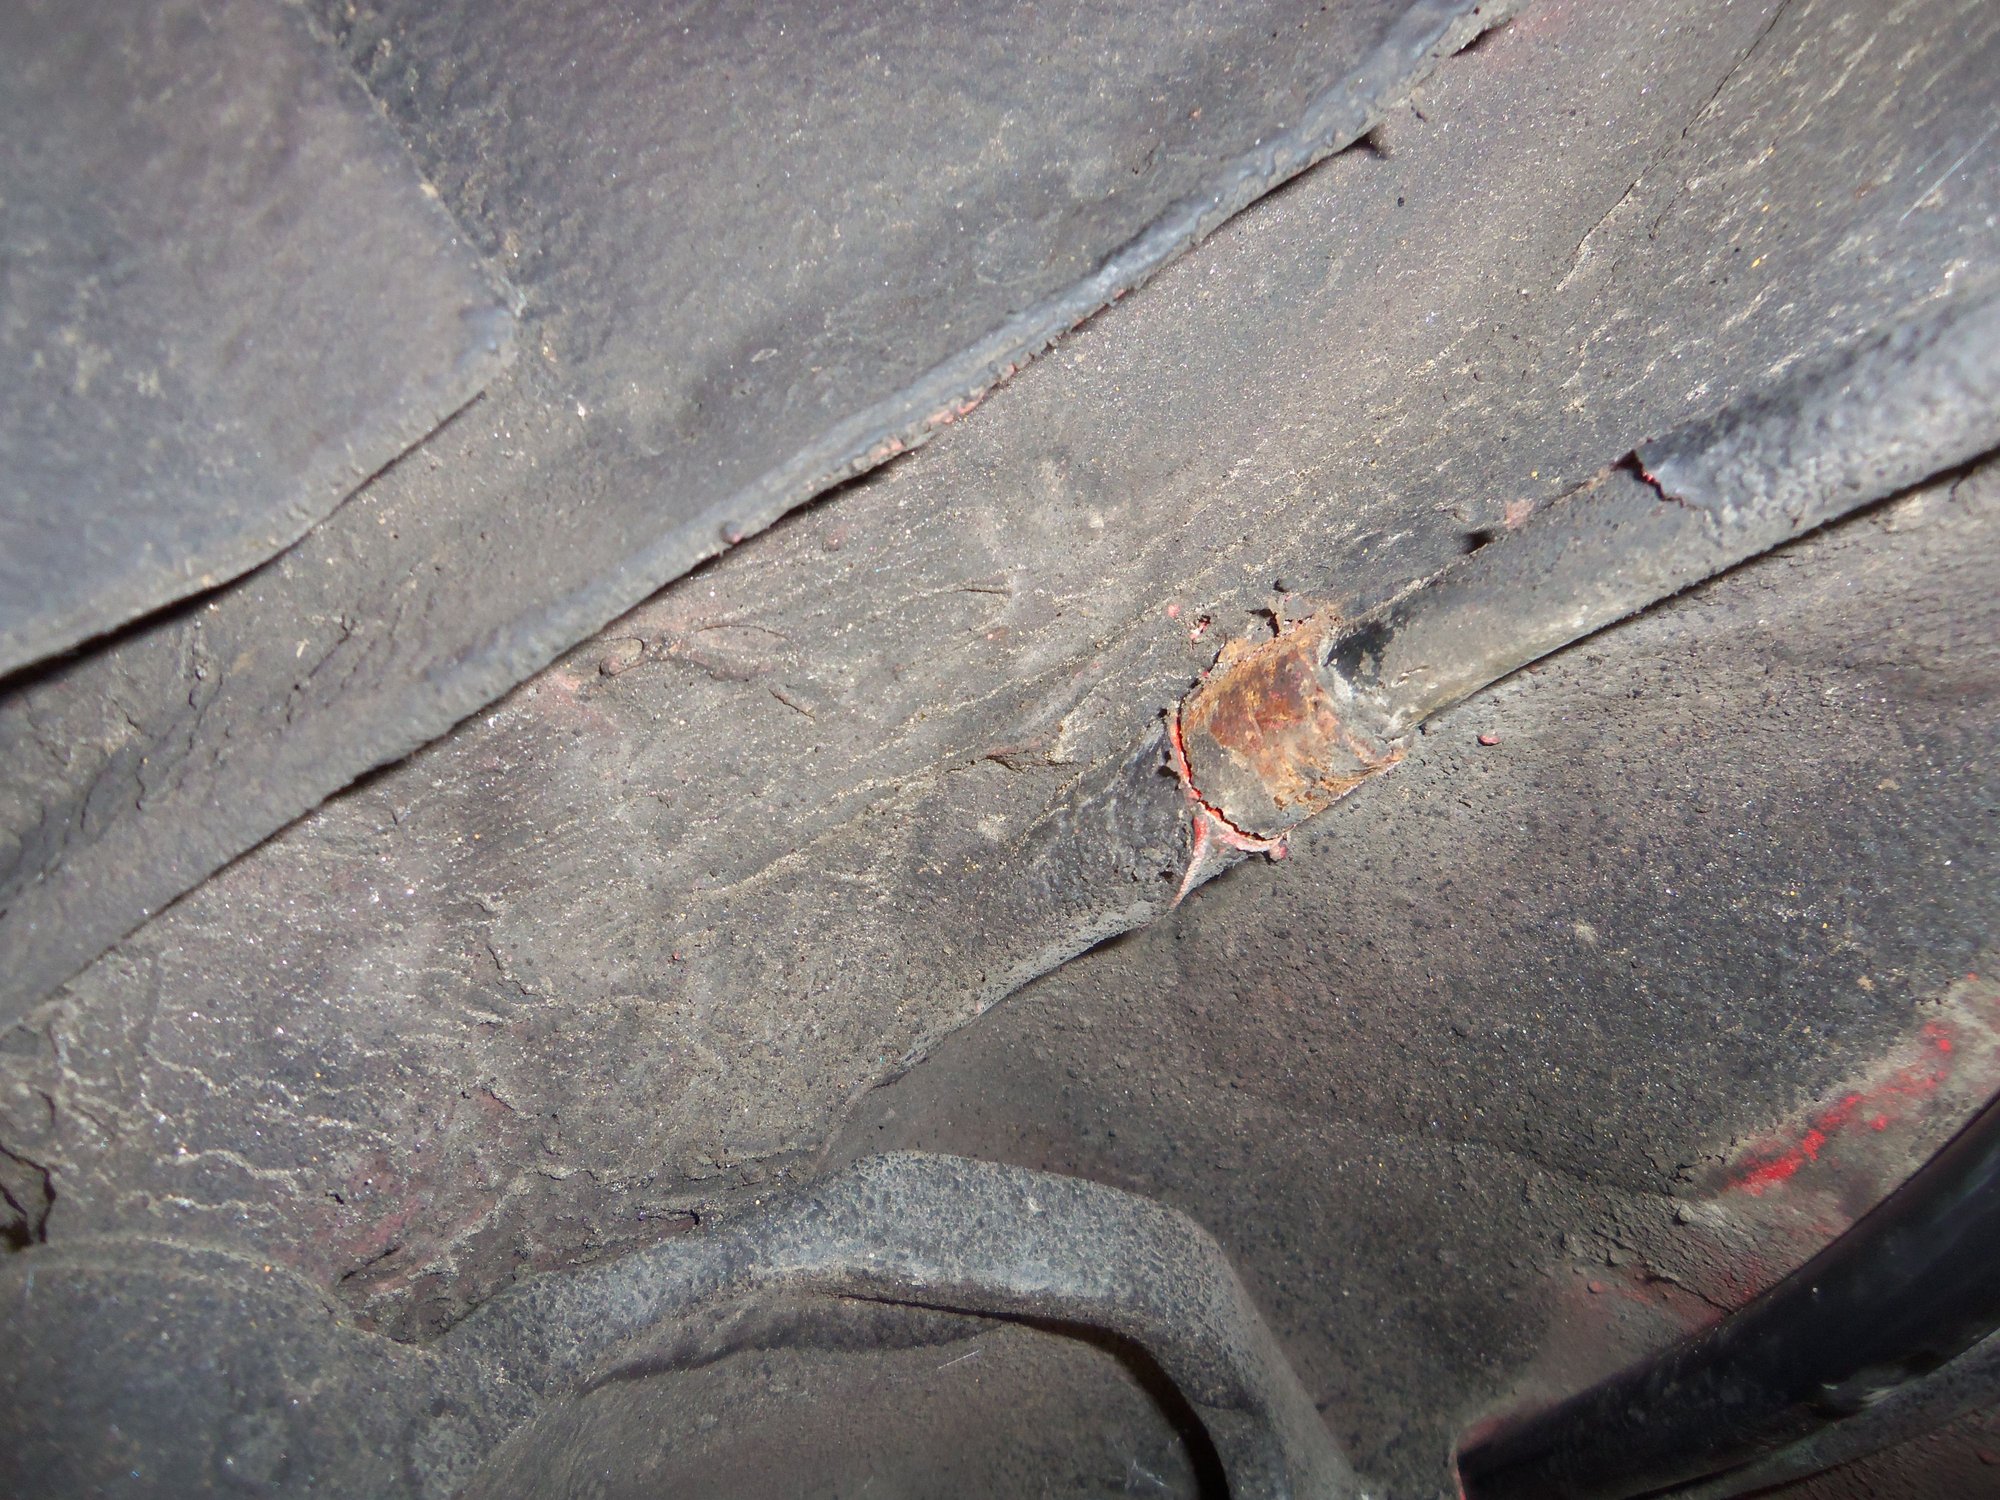
As a precaution, I have slit vacuum hose, and have put it on the loops near the floor pan. Just in case...
Yes, I know this is not right, and a little fugly. I know the correct solution is the Porsche cunifer lines. However, I believe the lines that I have bent are safe and functional. We shall go from there.
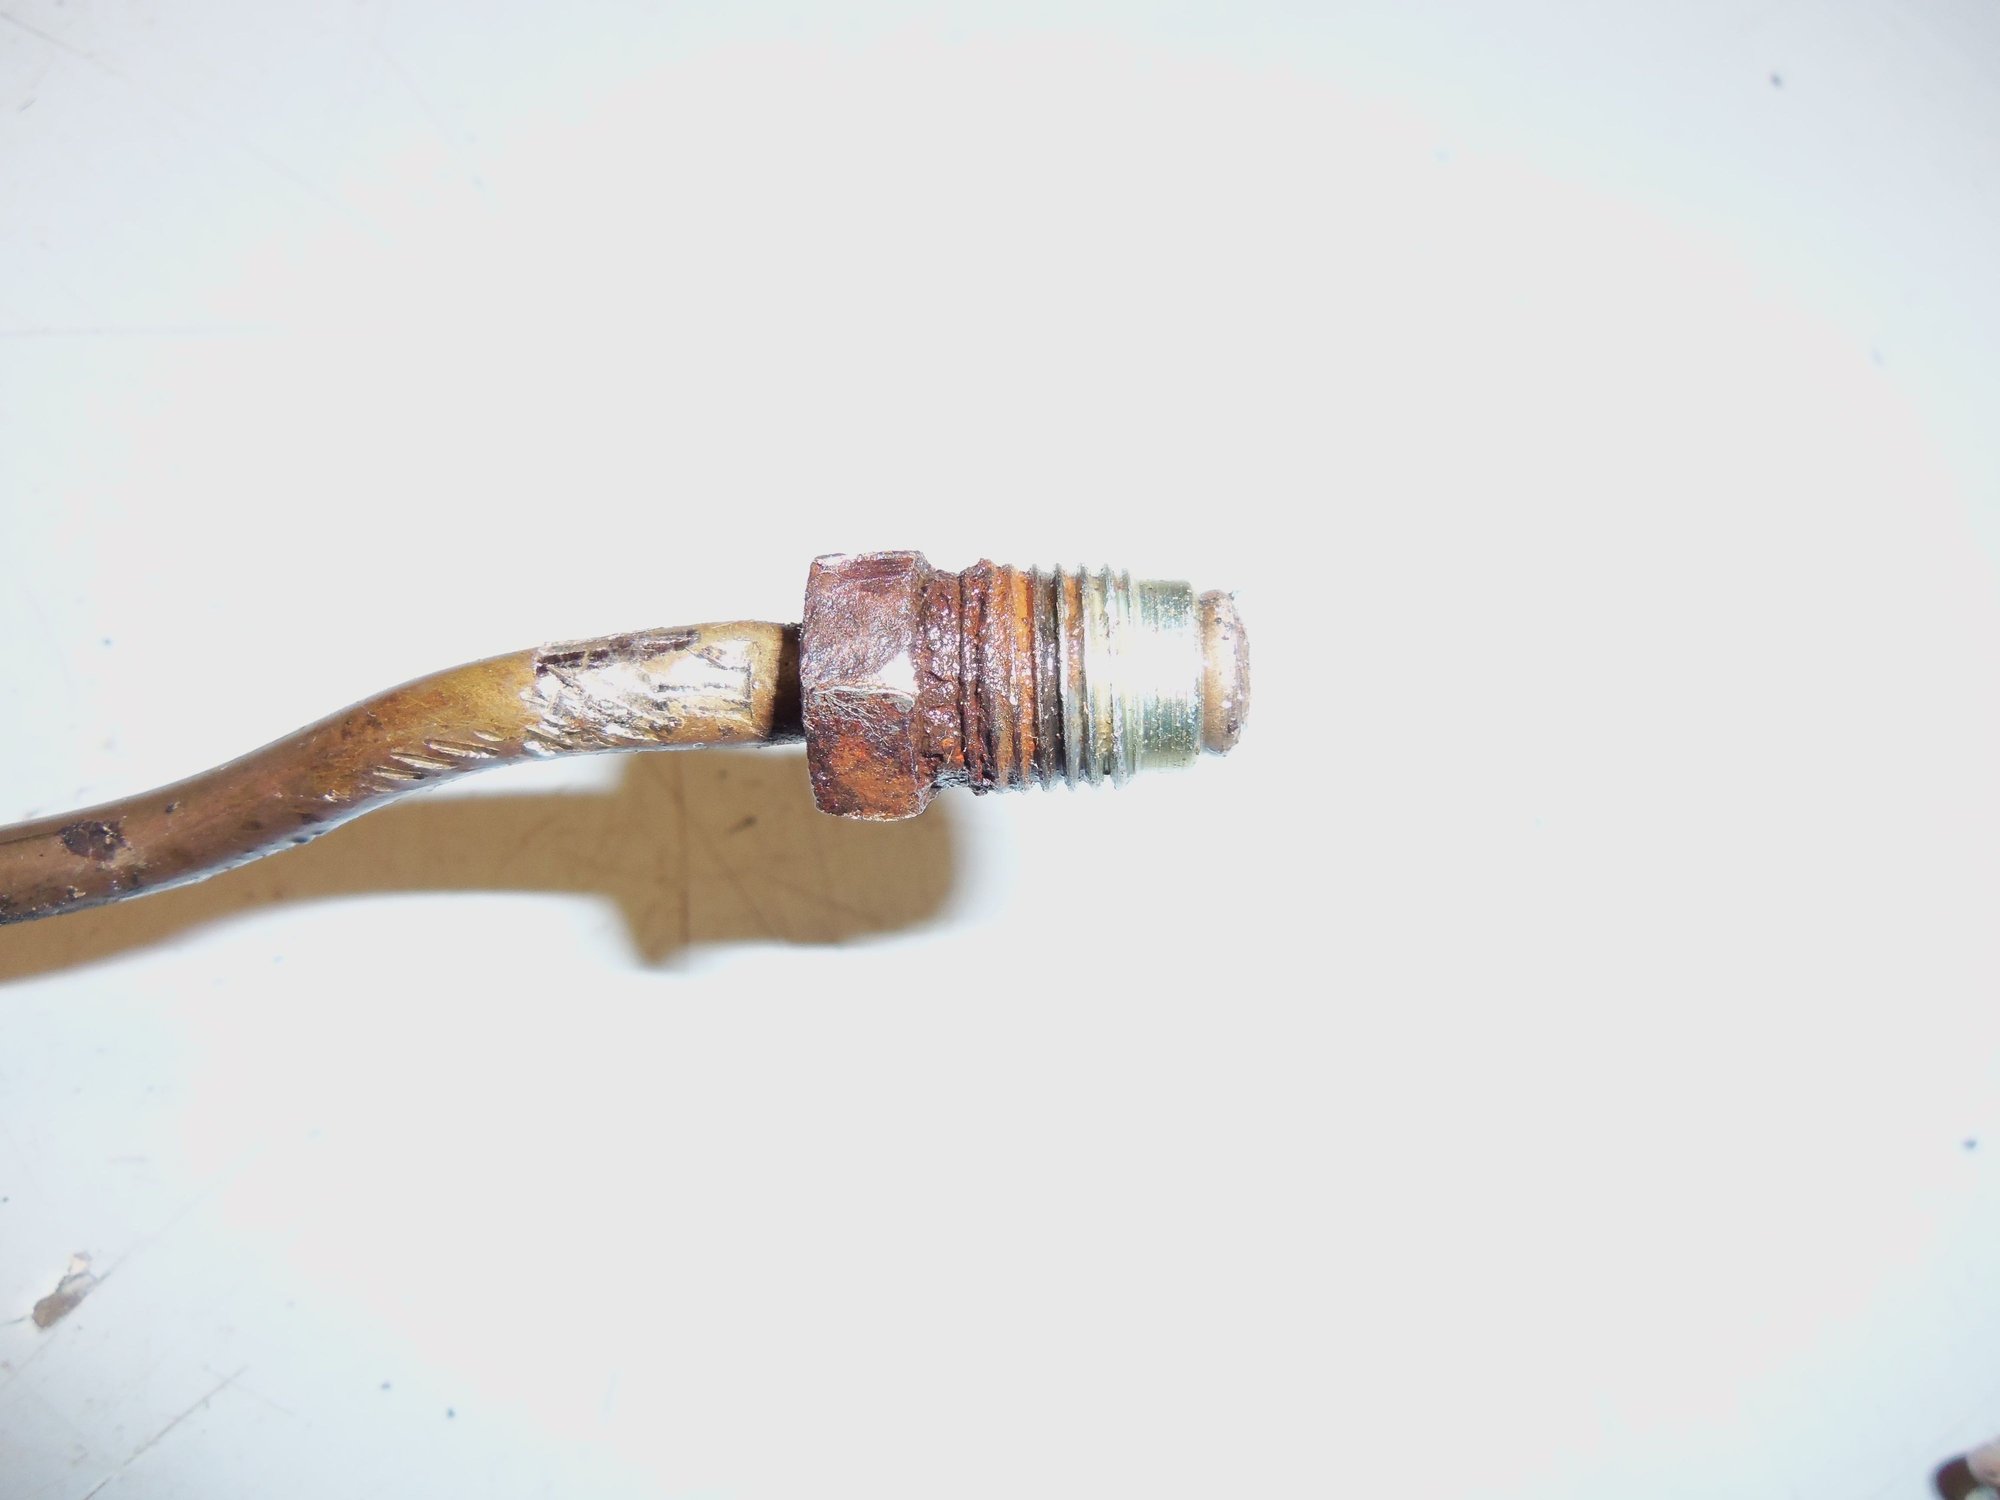
Passenger's side line at the hose connection.
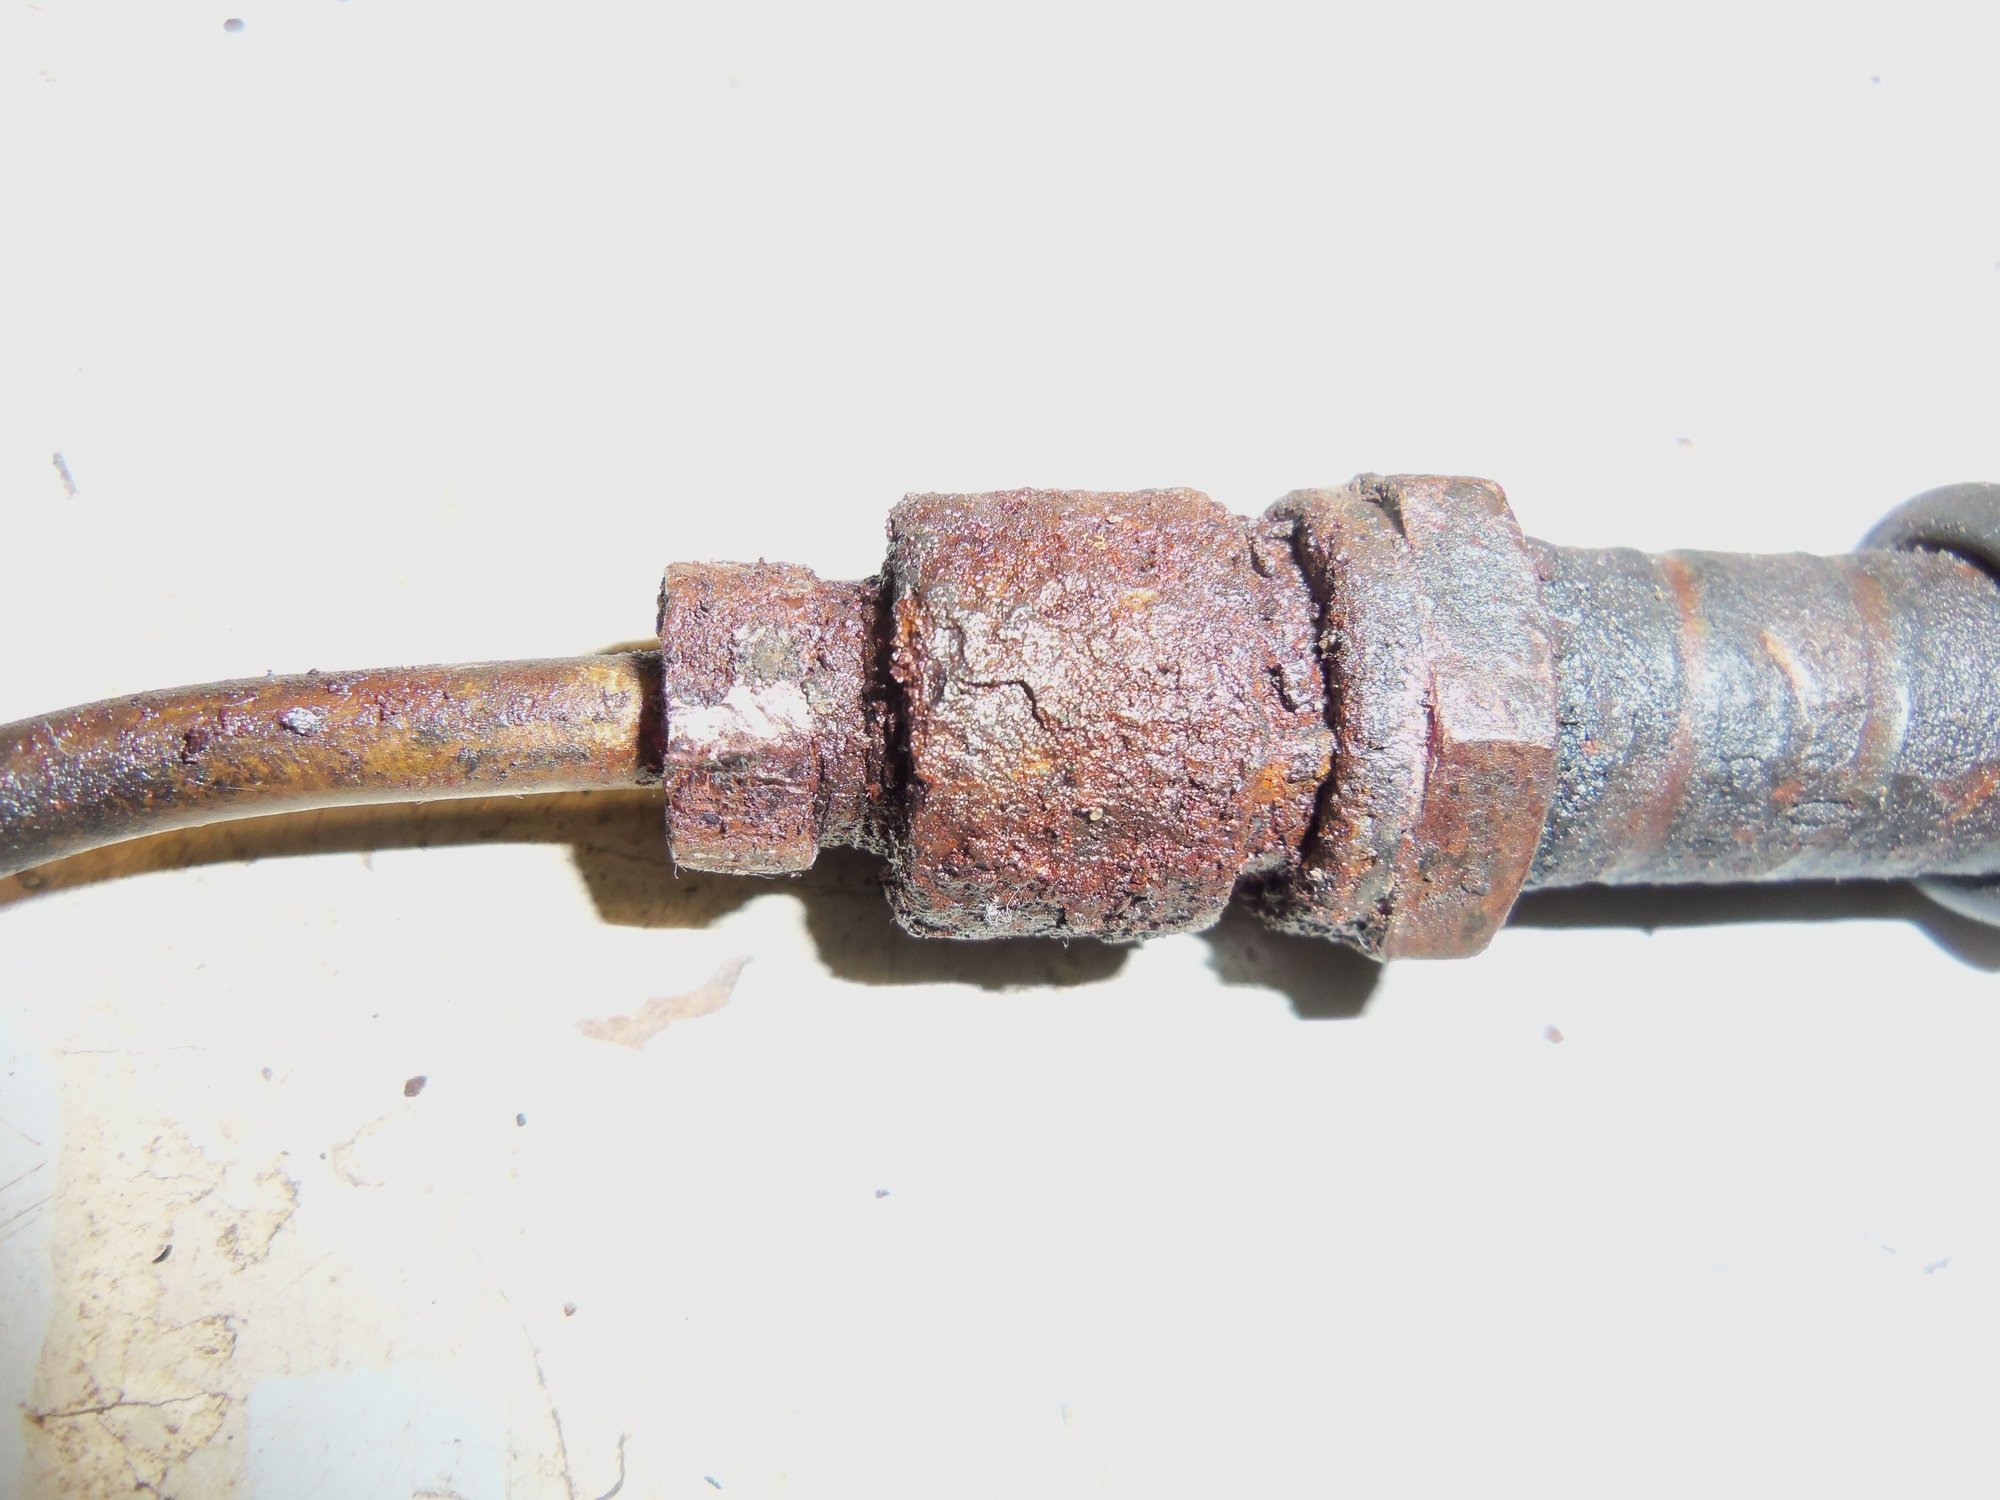
Passenger's side line at the outer nylon clamp.
Driver's side line at the hose connection.
Next step is to install and route the rear body ABS harnesses...
Guessing that you are very interested in suggestions on the brake lines now that you have them done and in place...
There's always a story to illustrate a lesson I learn:
Several years ago, I managed to introduce some air into the brakes while doing an annual fluid flush and replacement. That little bit of air dogged me for a long time, surviving several flush-and-bleed exercises. Symptom was a pedal a little low and a little soft. Not enough to render the car unsafe, just a little annoying as I knew already what the brakes were supposed to feel like.
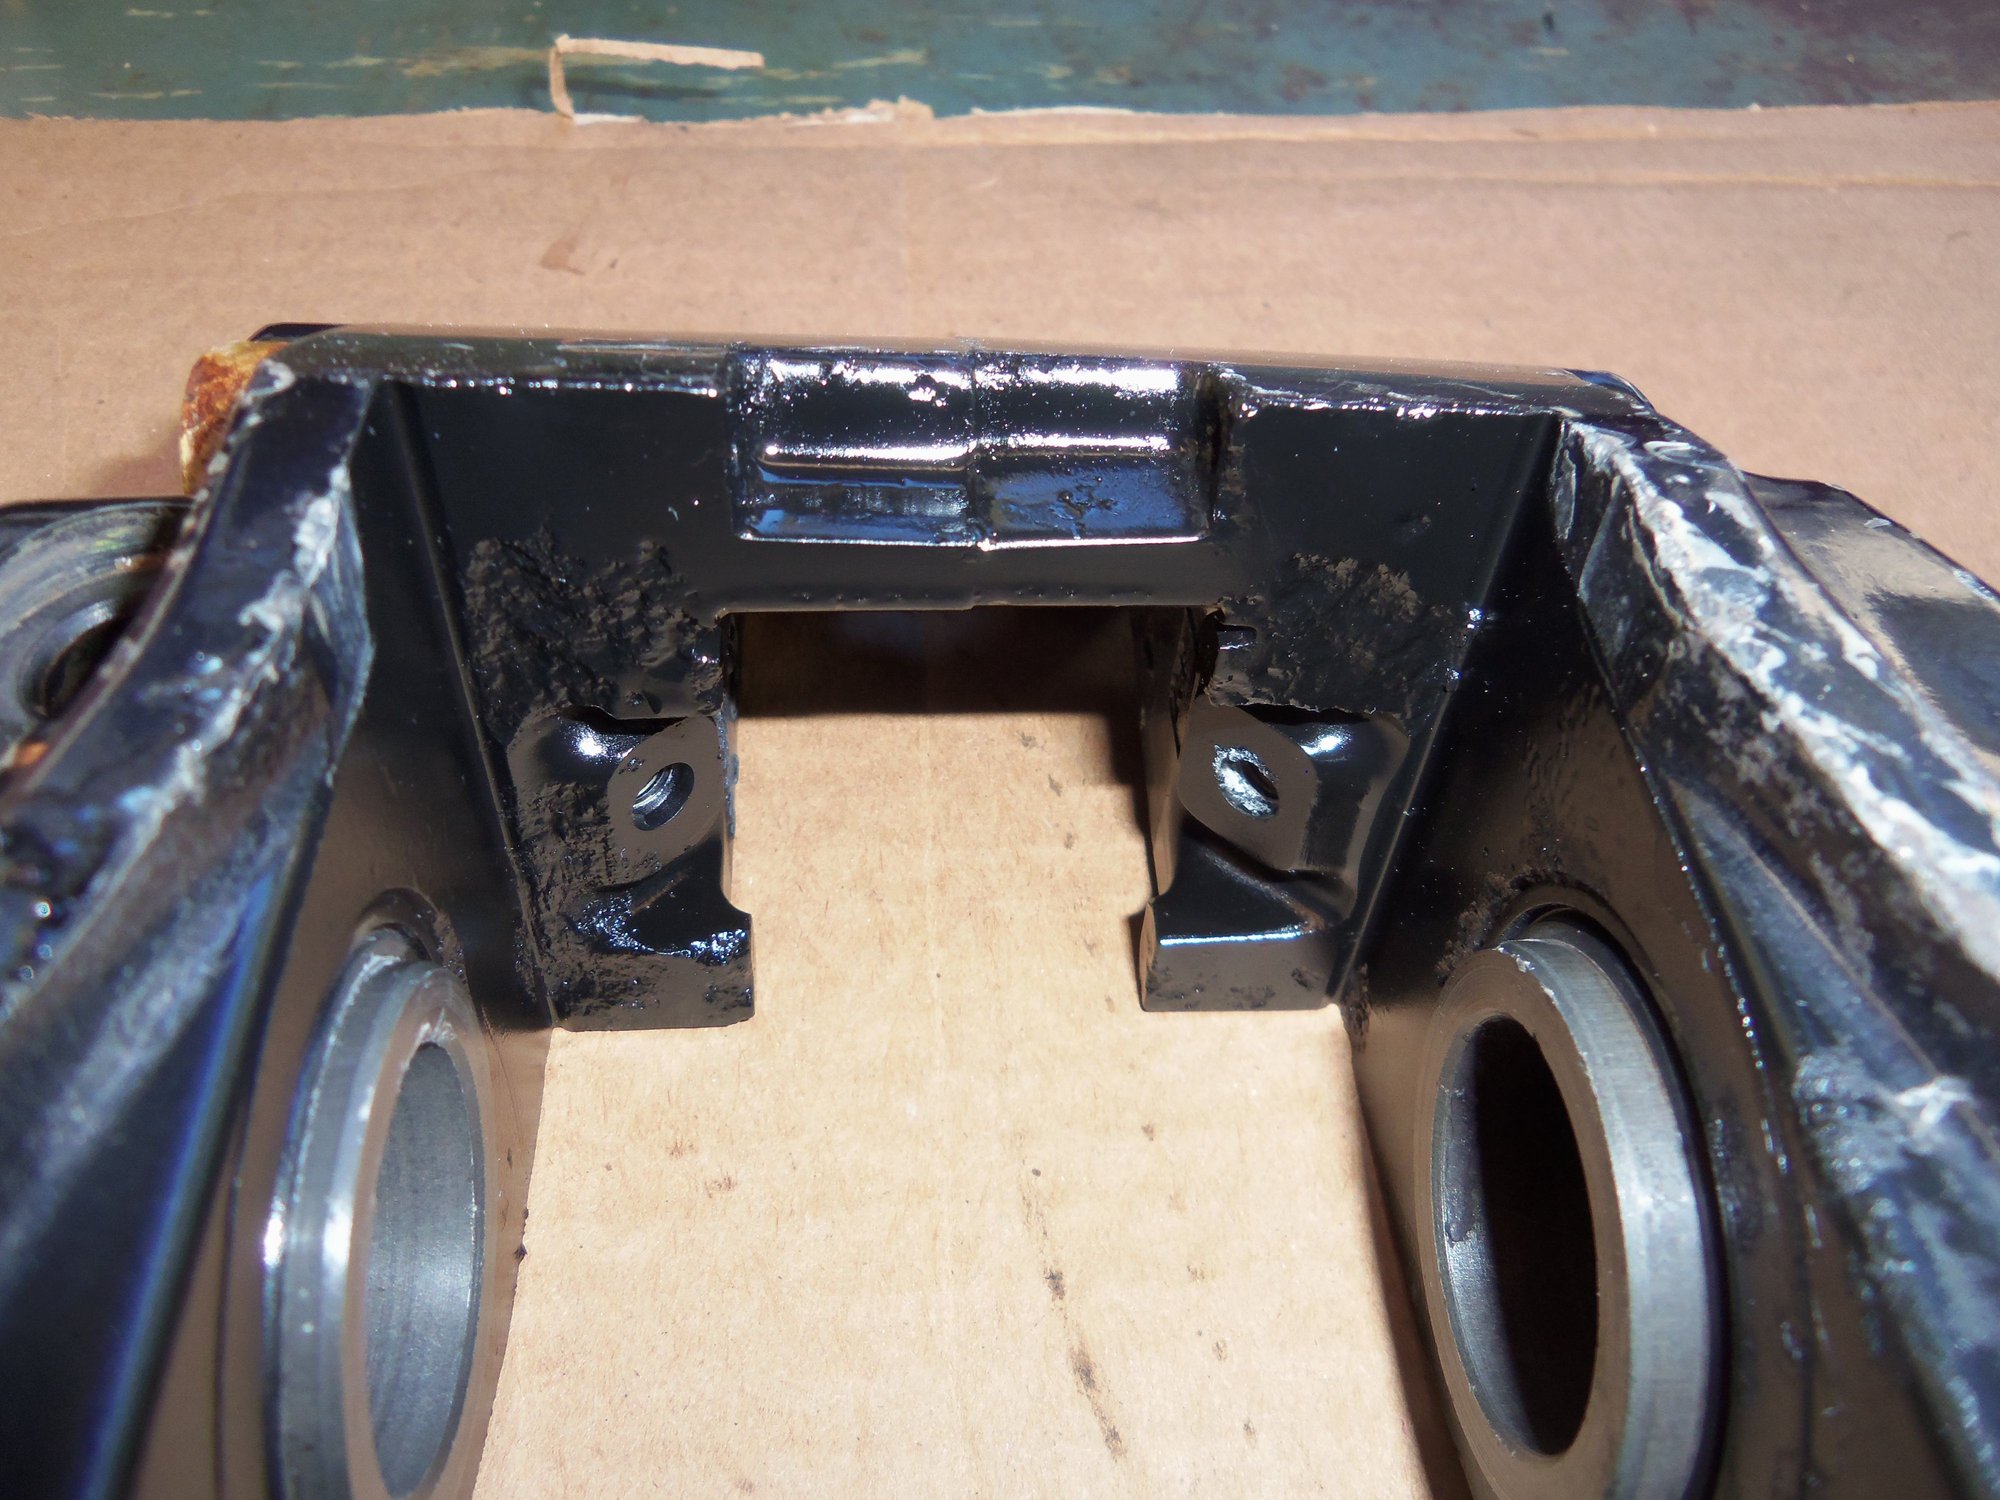
The brake rotors were to a point where they deserved replacement, calipers were looking kinda shabby, pads due, and I had some time to go through the system. I closed the end of each line to the calipers as I took the old hoses off, so air wouldn't get in. Then went after the air in the system with a vengeance. I ended up taking the lines apart so I could evacuate and refill each section, determined to purge every possible high spot in the system, including the ABS unit. Also including the little loop where the main line from the ABS unit connects to that T between the rear brake lines.
How does this apply to you? You added another high spot when you looped the excess tubing up rather than down. You've added another handy air bubble trap. If you find when you are done that your pedal isn't very firm with a high brake engagement point, air trapped in the high points may be your problem.
My "solution" was to disconnect the lines at the master cylinder one by one, and evacuate them using a vacuum pump with a liquid trap. At the other end, where I'd used vacuum tubing and a hemostat to secure the line, the end of that hose went into the brake fluid container and the hemostat relaxed to allow fluid to be drawn through. The vacuum pump pulled the air out first, so there was nothing to keep the fluid from filling every high spot, starting at the lowest points (where the hoses connect...) at each wheel. If your system has been drained (as it surely has with those hoses and lines removed), plan on a vacuum bleed effort to restore the system. It may not need to be quite so extensive as what I did. Maybe.
However. The system is not drained. Master cylinder reservoir has been kept full, and a thin plastic baggie has been placed under the cap to block off the breather port.
As a line was disconnected, it was capped. Note the first photo, you can see the rubber cap zip tied to the end of the hose.
Yes, the rear lines are now dry, and I had not thought about the high spot. Might be worth the effort to remove the lines again, cap one end, fill each line with brake fluid, cap the other end. Carefully reinstall.
I am going to have to think about this one.
As well, I would still be facing dry lines with the OEM replacements, just no self induced high spots.
Thanks for giving me a heads-up on this! I very much appreciate it!
For what it is worth, I have read posts on your exploits and on Nicole's car dealing with air in the lines. With that in mind, I have been dilligent on keeping the lines capped and the master cylinder full.
My normal procedure when replacing a brake line is to allow it to gravity bleed, followed by a good pressure bleed. If the pedal is still spongy, go to the standby of 'stomp the pedal' to get some fluid moving to push the air bubble out.
If that doesn't work, start over and try again. Until it does.
For what it is worth, the loops I added are facing down. Taking your message to heart, I climbed back under the Red Witch to look and think. The excess brake line loops down gently to follow the contours of the rear floor pan and clear any obstacles.
I am still going to remove the lines and vacuum fill them with brake fluid, cap both ends, then reinstall them. I will remove the plastic film and cap from the master cylinder then connect the supply line to the brass Tee fitting. I want fluid to flow, and not just drain out and create an air space. One at a time, I will uncap the near end of each rear brake line, then connect it to the brass Tee fitting. Once done, I will uncap the other end of each rear brake line, let it drain until there is good flow of brake fluid, then cap them off again. Finally, I will top off the master cylinder, put plastic film across the top, then the cap back on.
I burned my last two vacation days this past weekend. I was able to get some more brake work done.
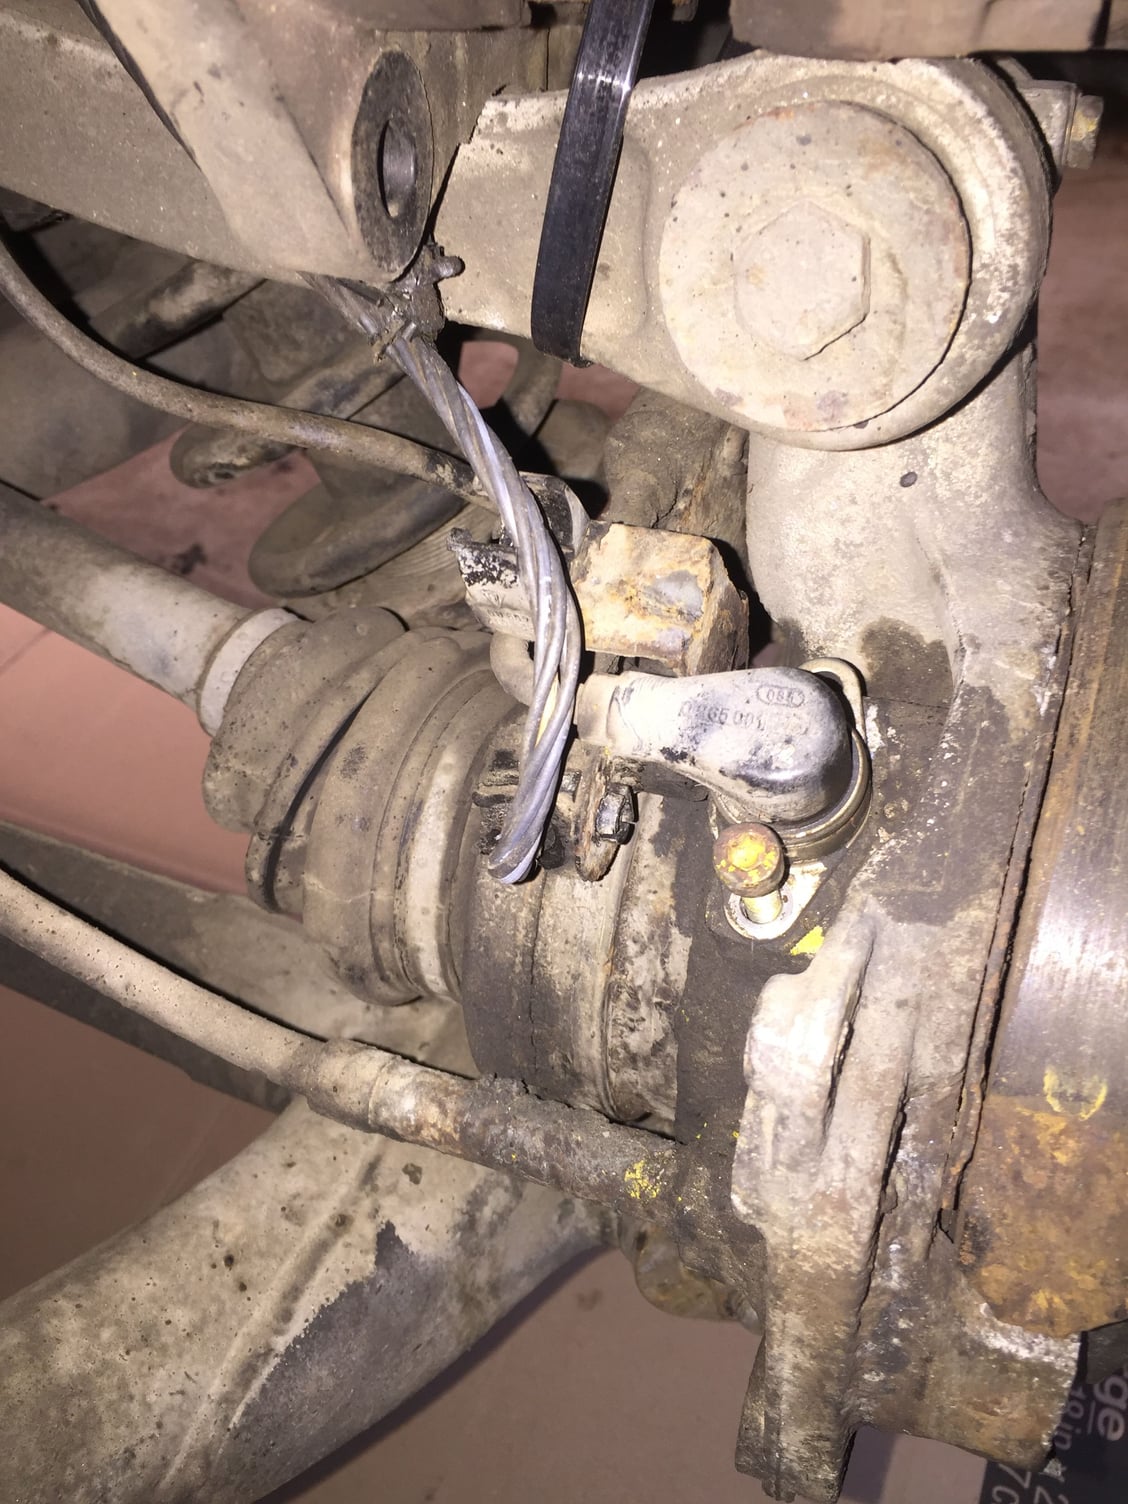
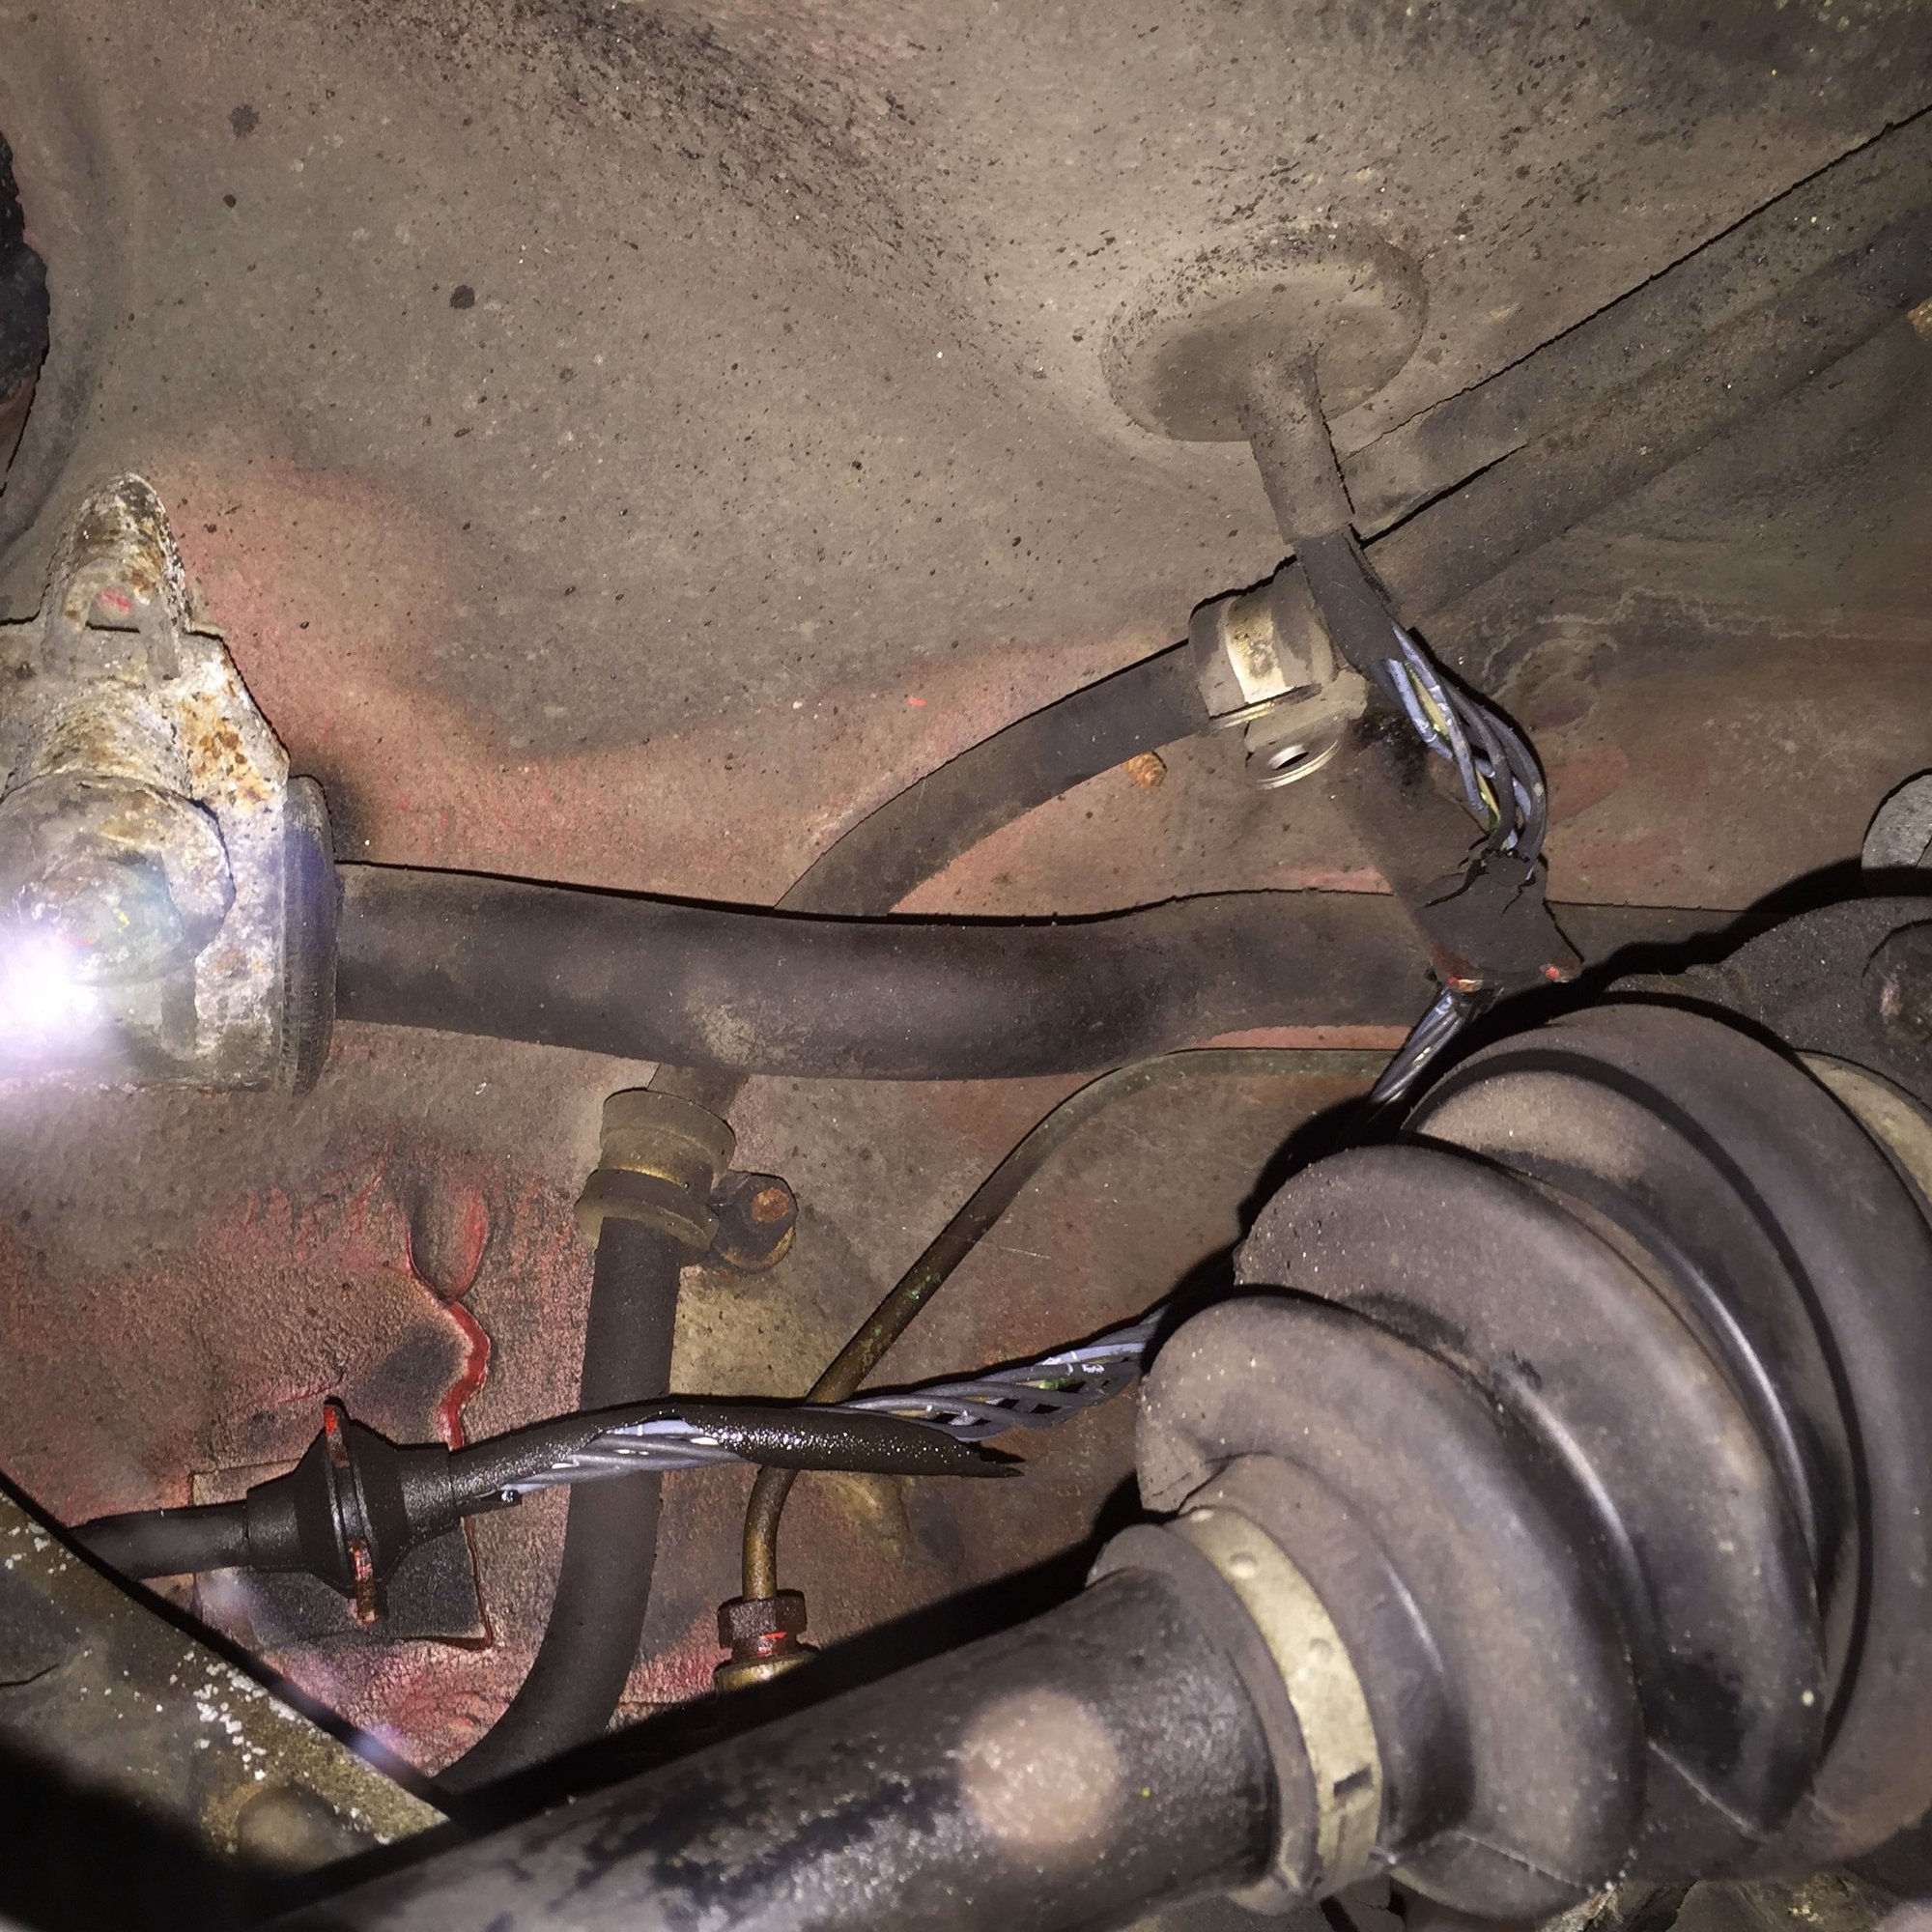
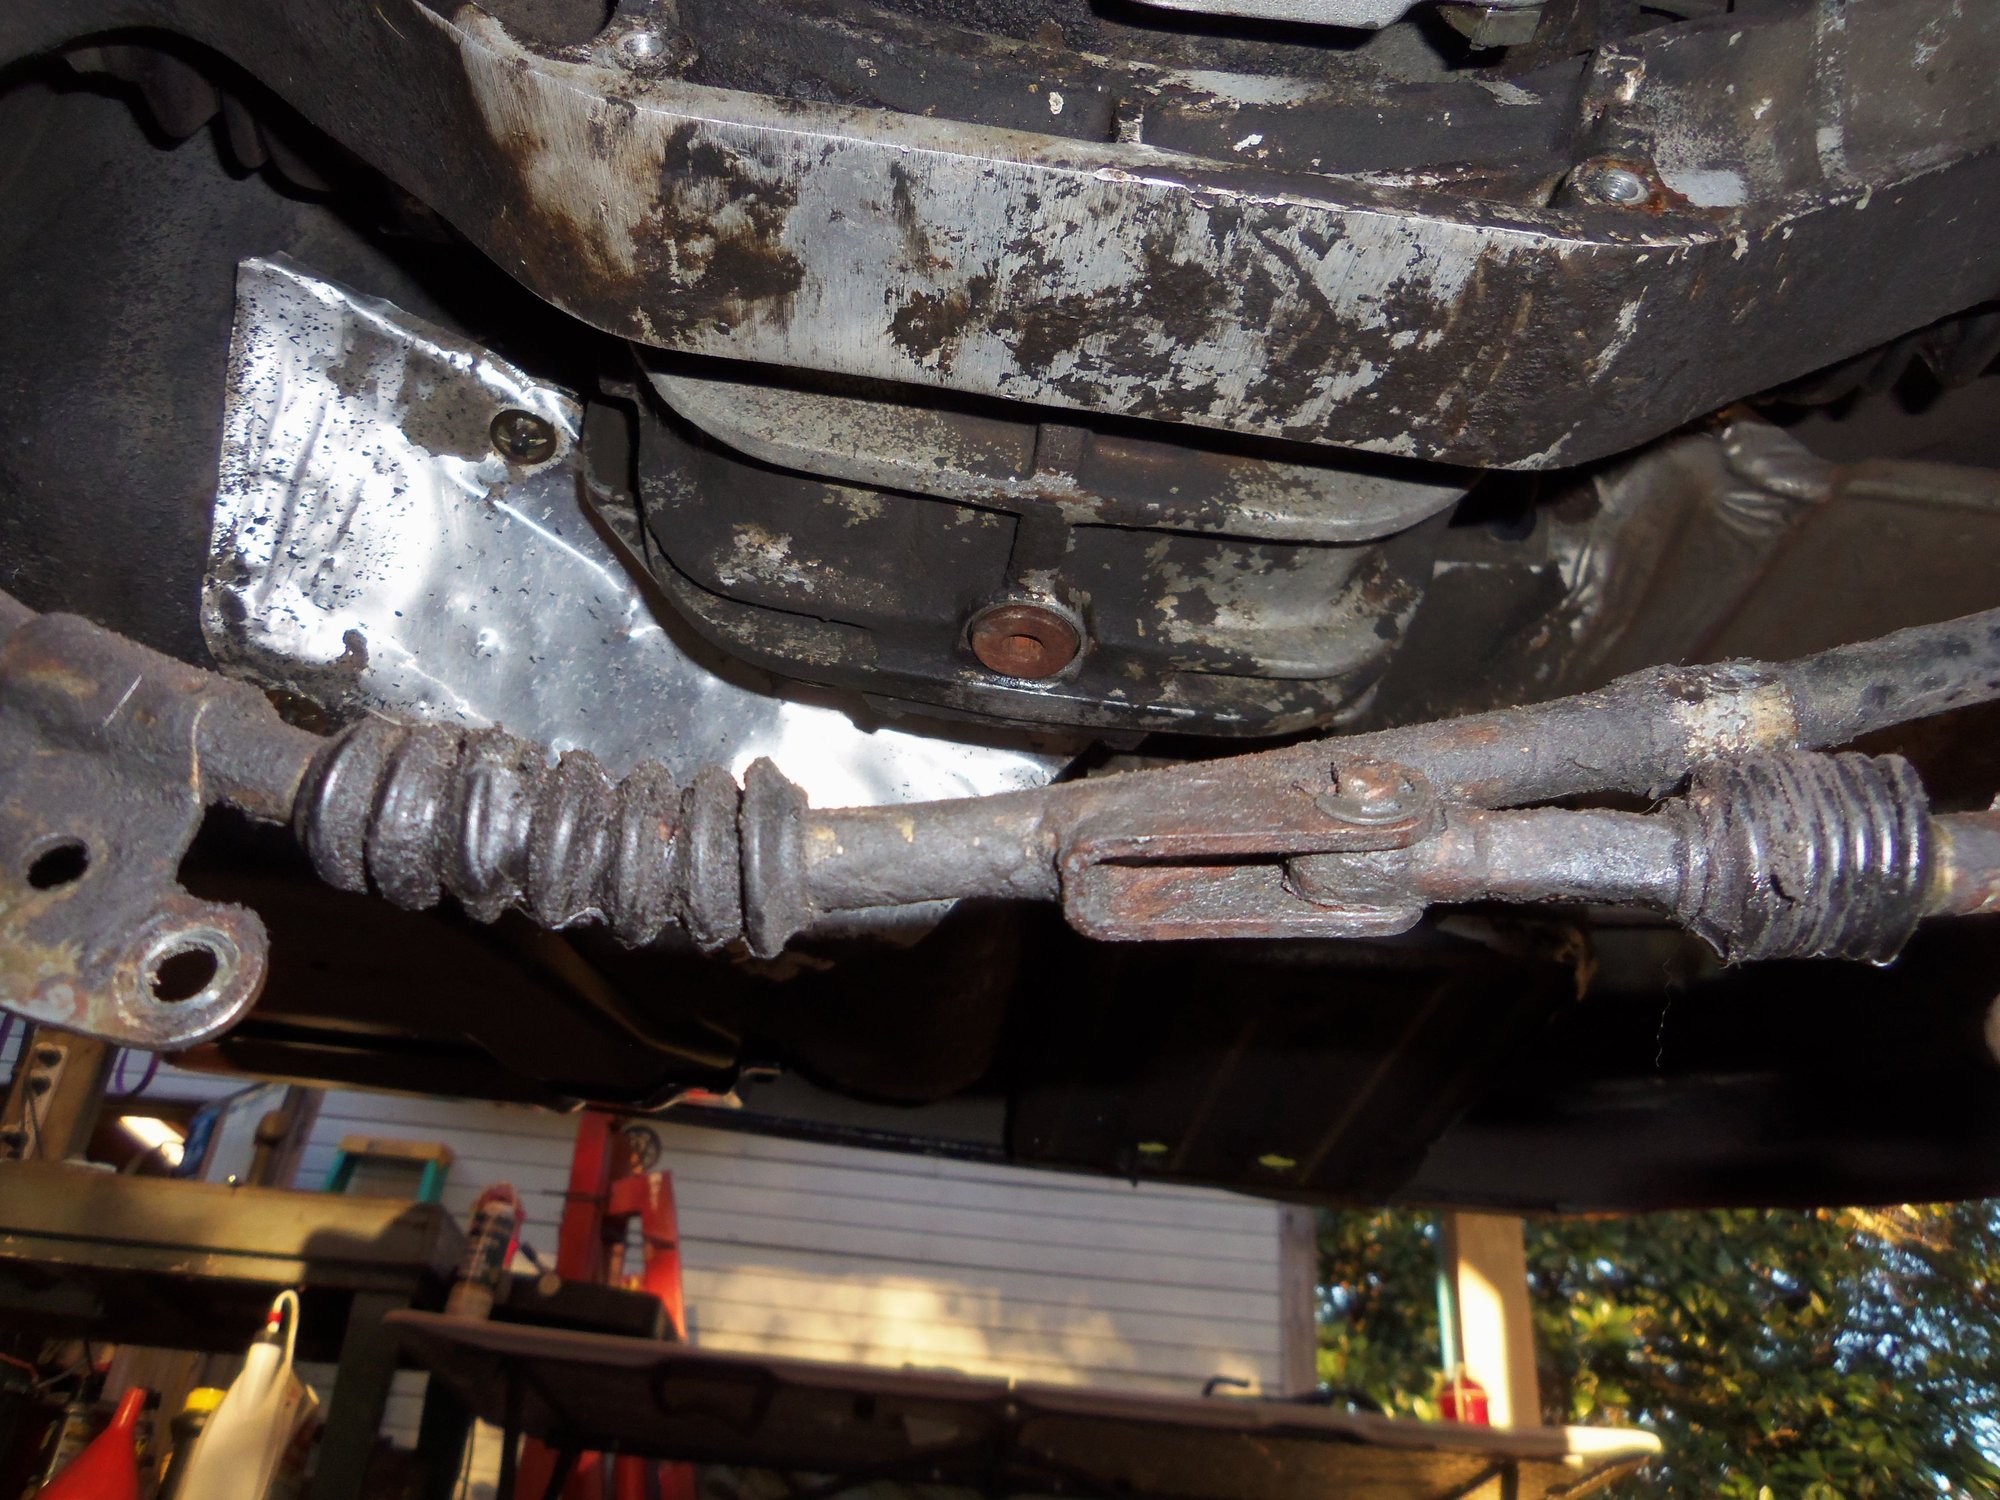
With the help of my new friend and new 928 owner drscottsmith, I reinstalled and routed the rear ABS body harnesses. I was able to create grommets to secure the repaired cables into the various clamps for routing under the body.
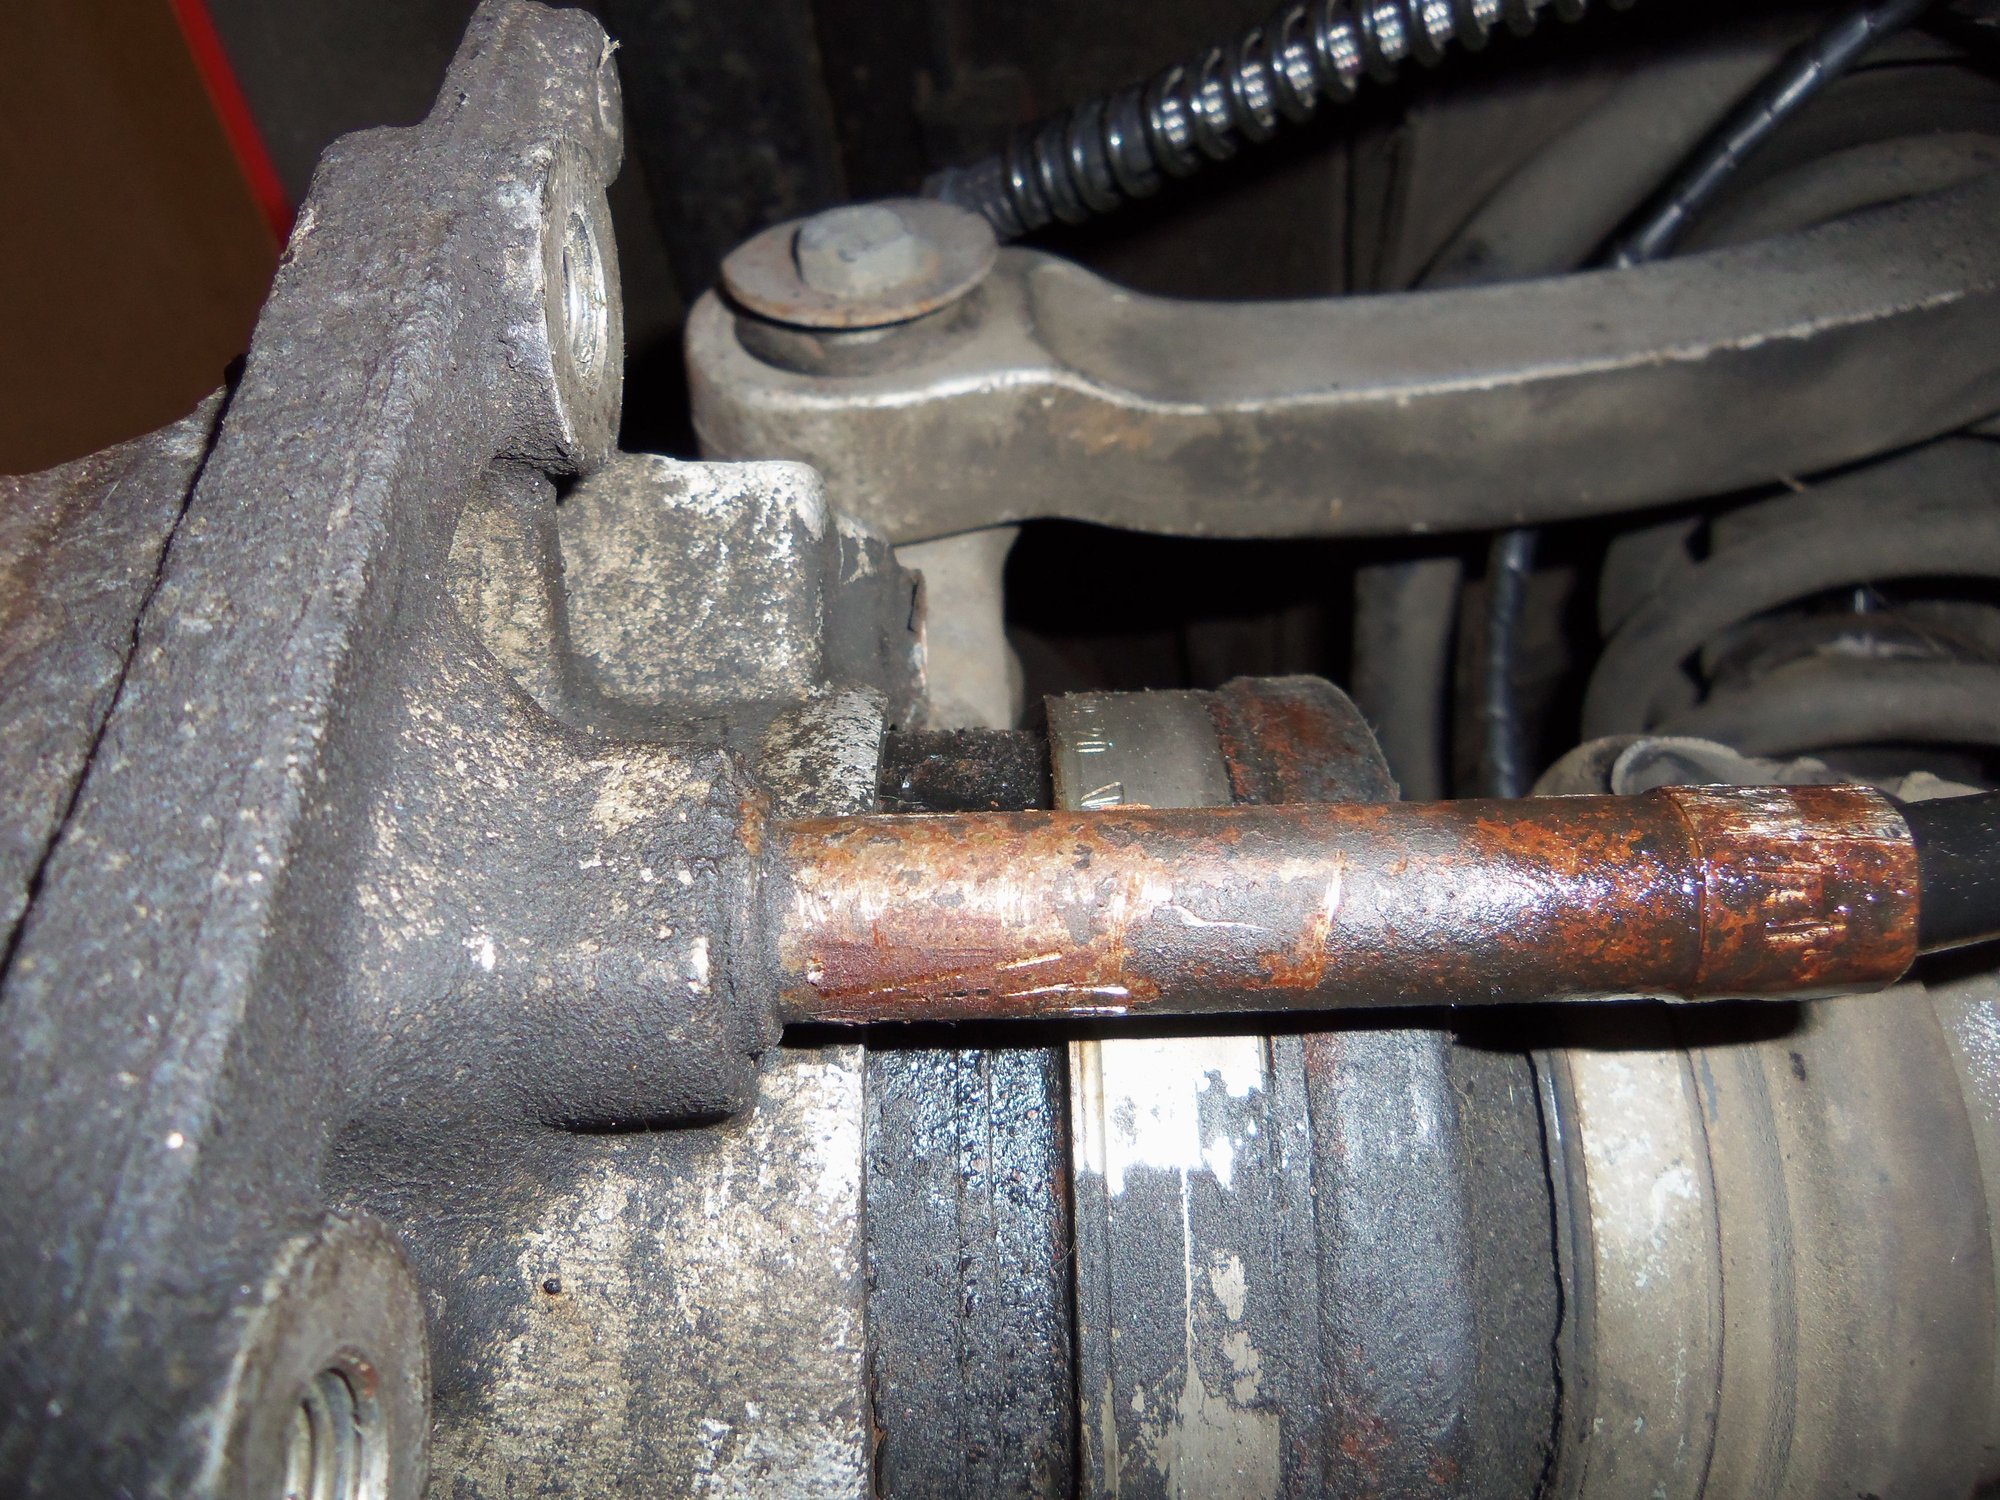
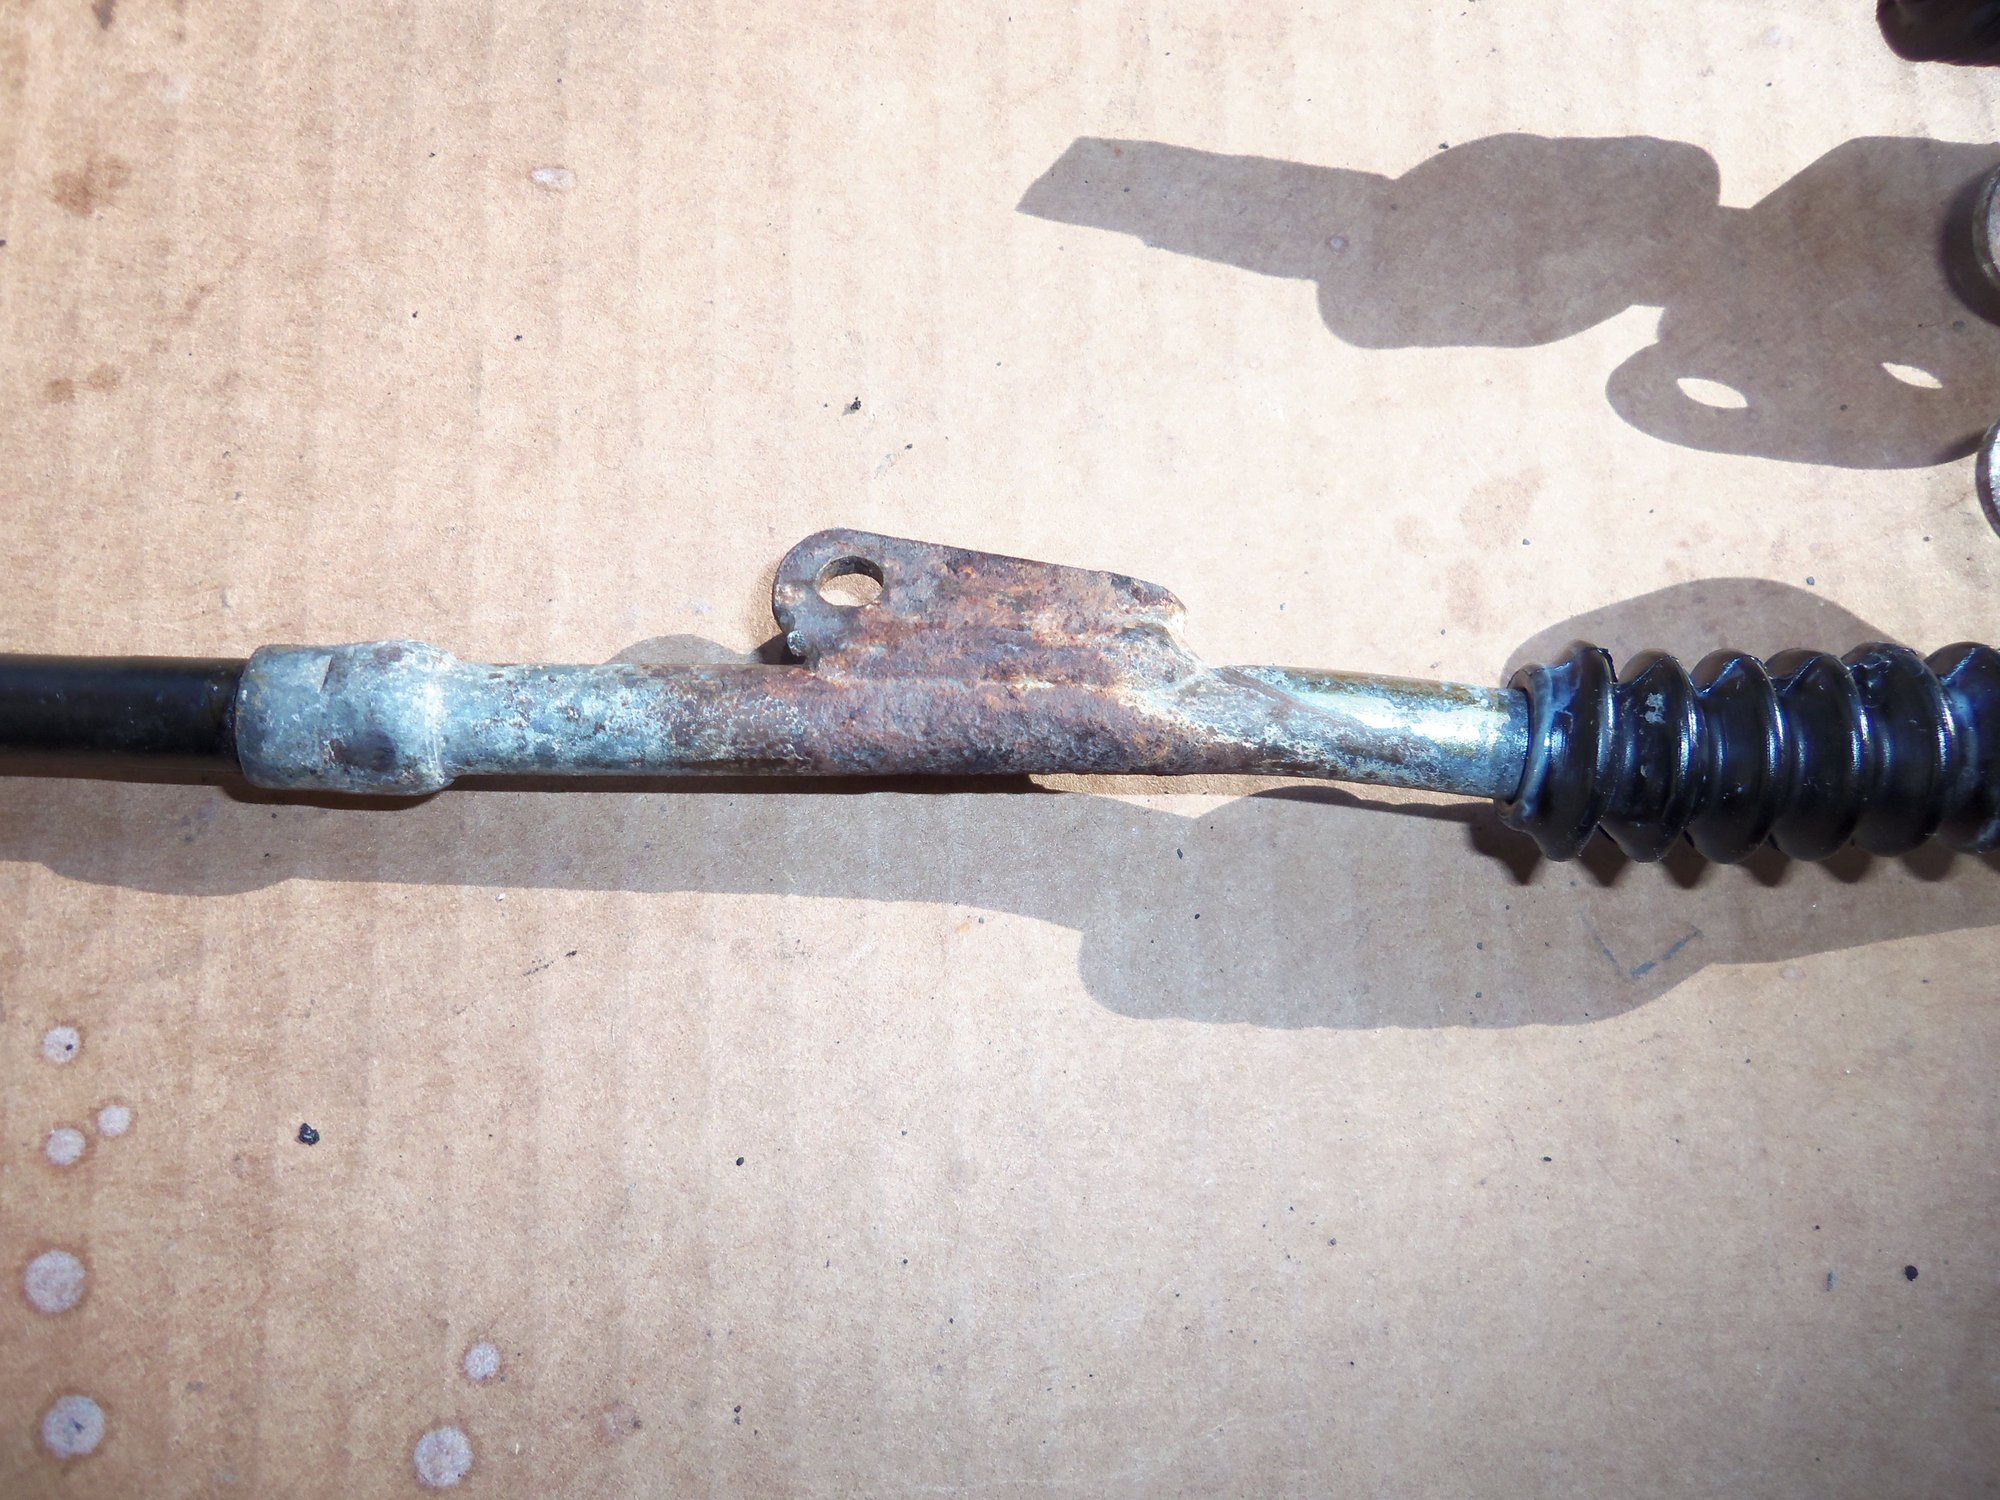
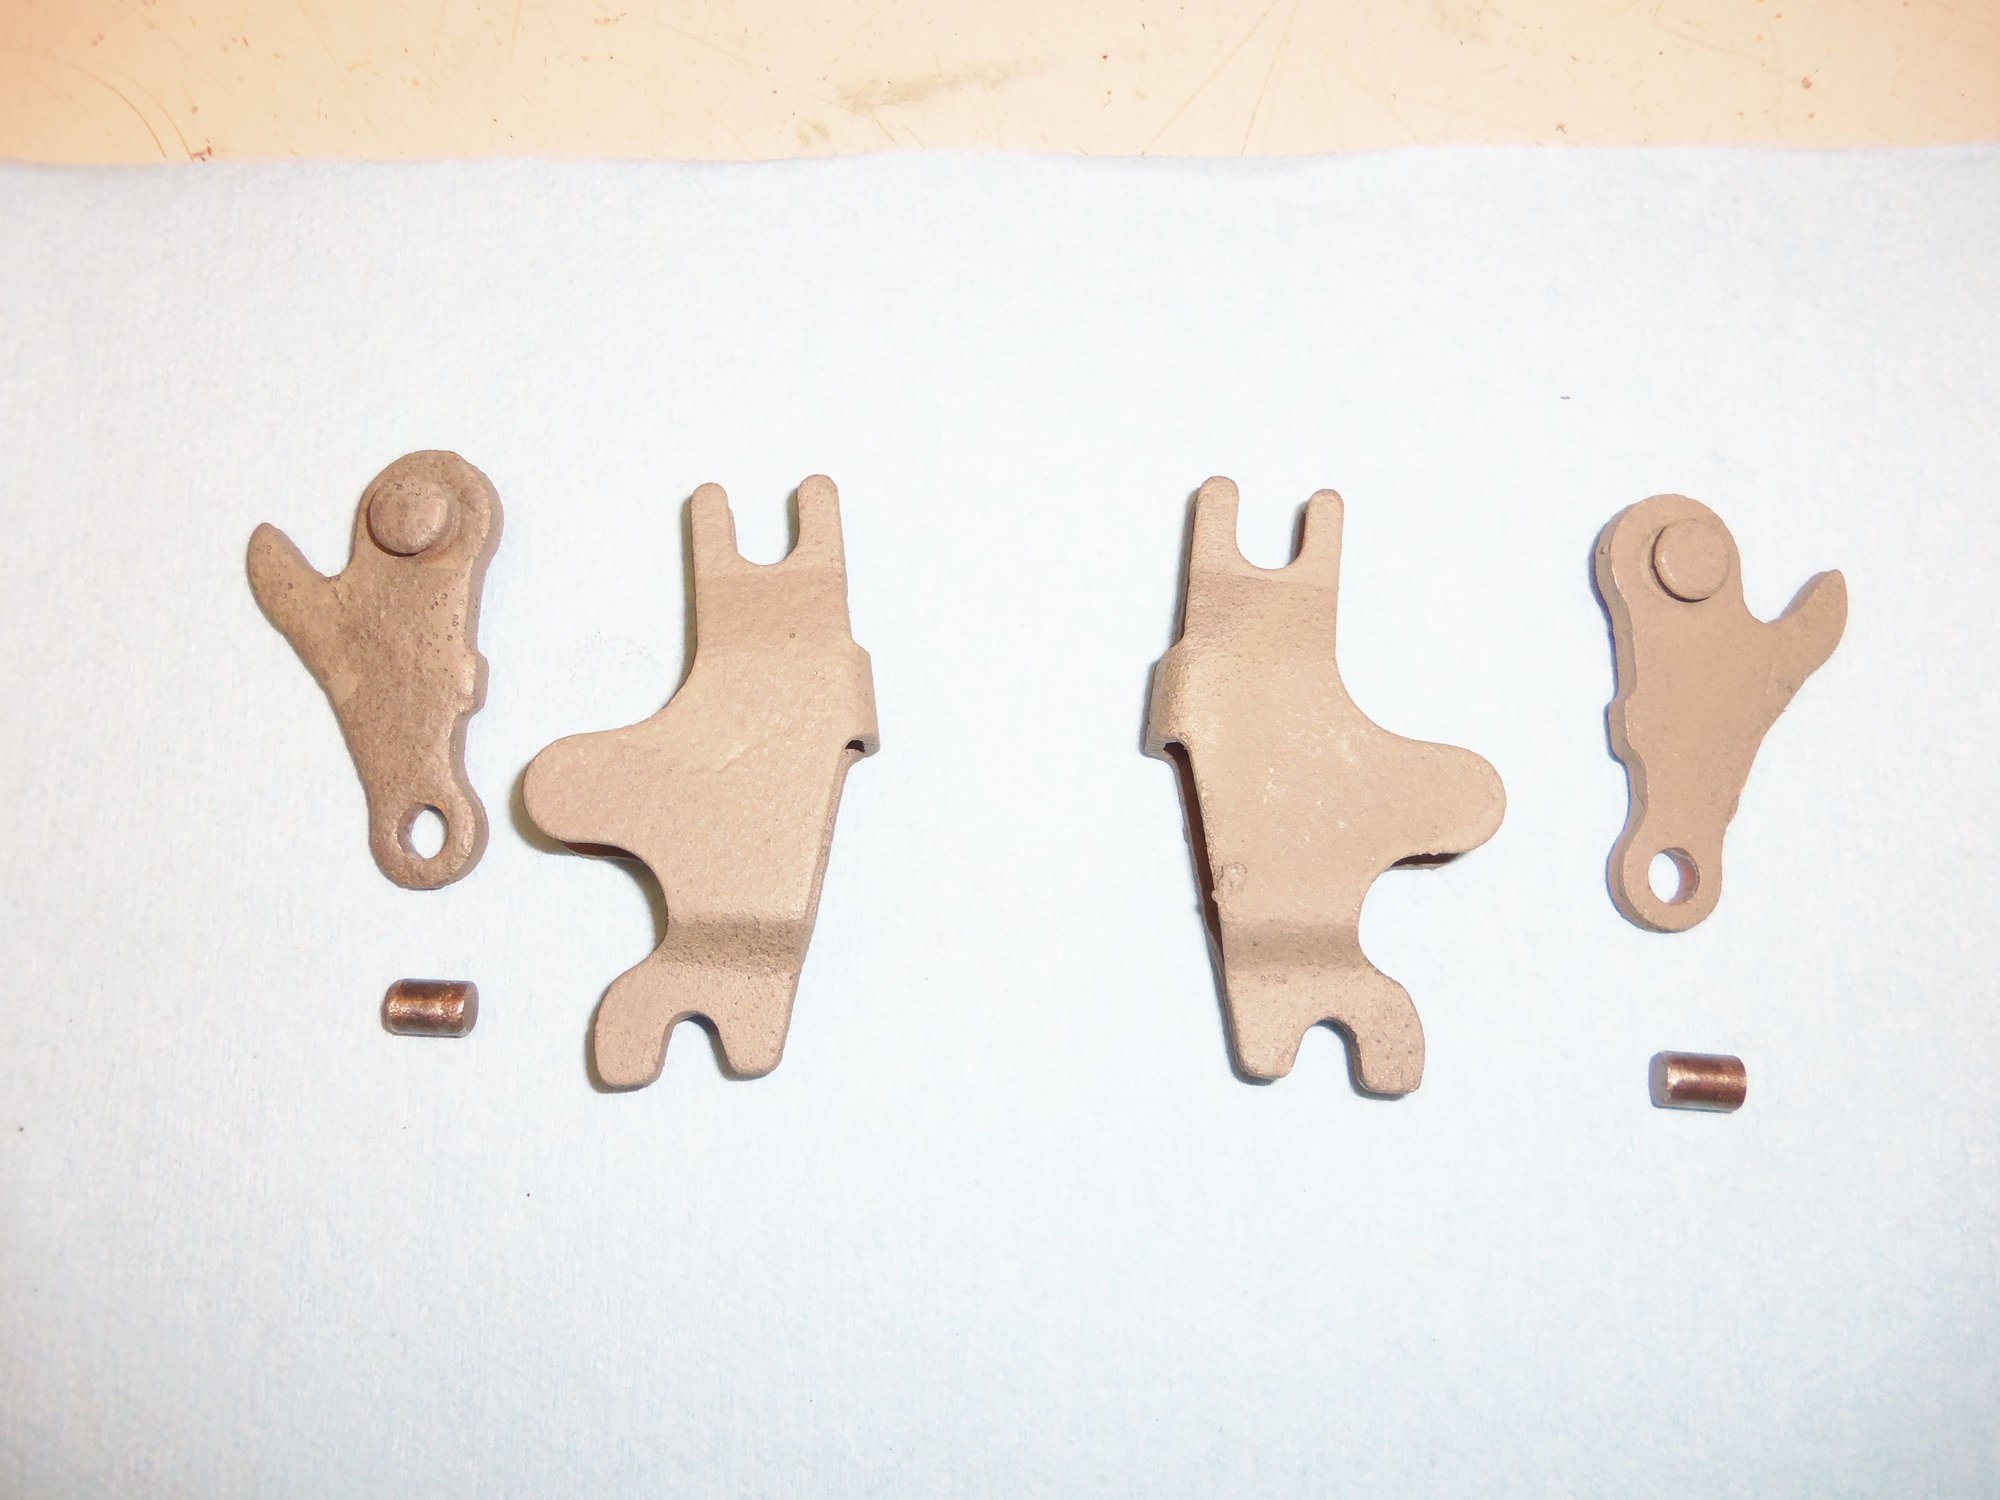
I removed both parking brake cables for cleaning and inspection. Both are raggedy, but serviceable. I will try to get a decent used set from 928 Intl. soon.
I was pleased to see that the parking brake actuating lever assemblies on the ends of the cables were in good condition. They had only a bit of surface rust. The pins pushed out of both cables with only a bit of persuasion.
I cleaned all the pieces with green scotchbrite and brake cleaner, then coated the lever pieces in a dry moly lubricant spray. Mainly for sh*ts and giggles. It might help them stay free and move well. I will reassemble with antiseize.
It took some doing, but I was able to get all three ends of the cables loose from their tubes. The body end tube came loose with relatively no drama. I just had to lean on it with a decent set of clamp pliers. The driver's side end came out freely from the tube in the hub carrier. The passenger's side would not give up without a fight. It took a small pipe wrench to get it to break loose, then clamp pliers to turn and wiggle it out. The O-rings are serviceable on all three ends.
The tubes in the rear hub carriers have surface rust on them, but are otherwise OK. I cleaned them out internally with rolled up green scotchbrite and brake cleaner.
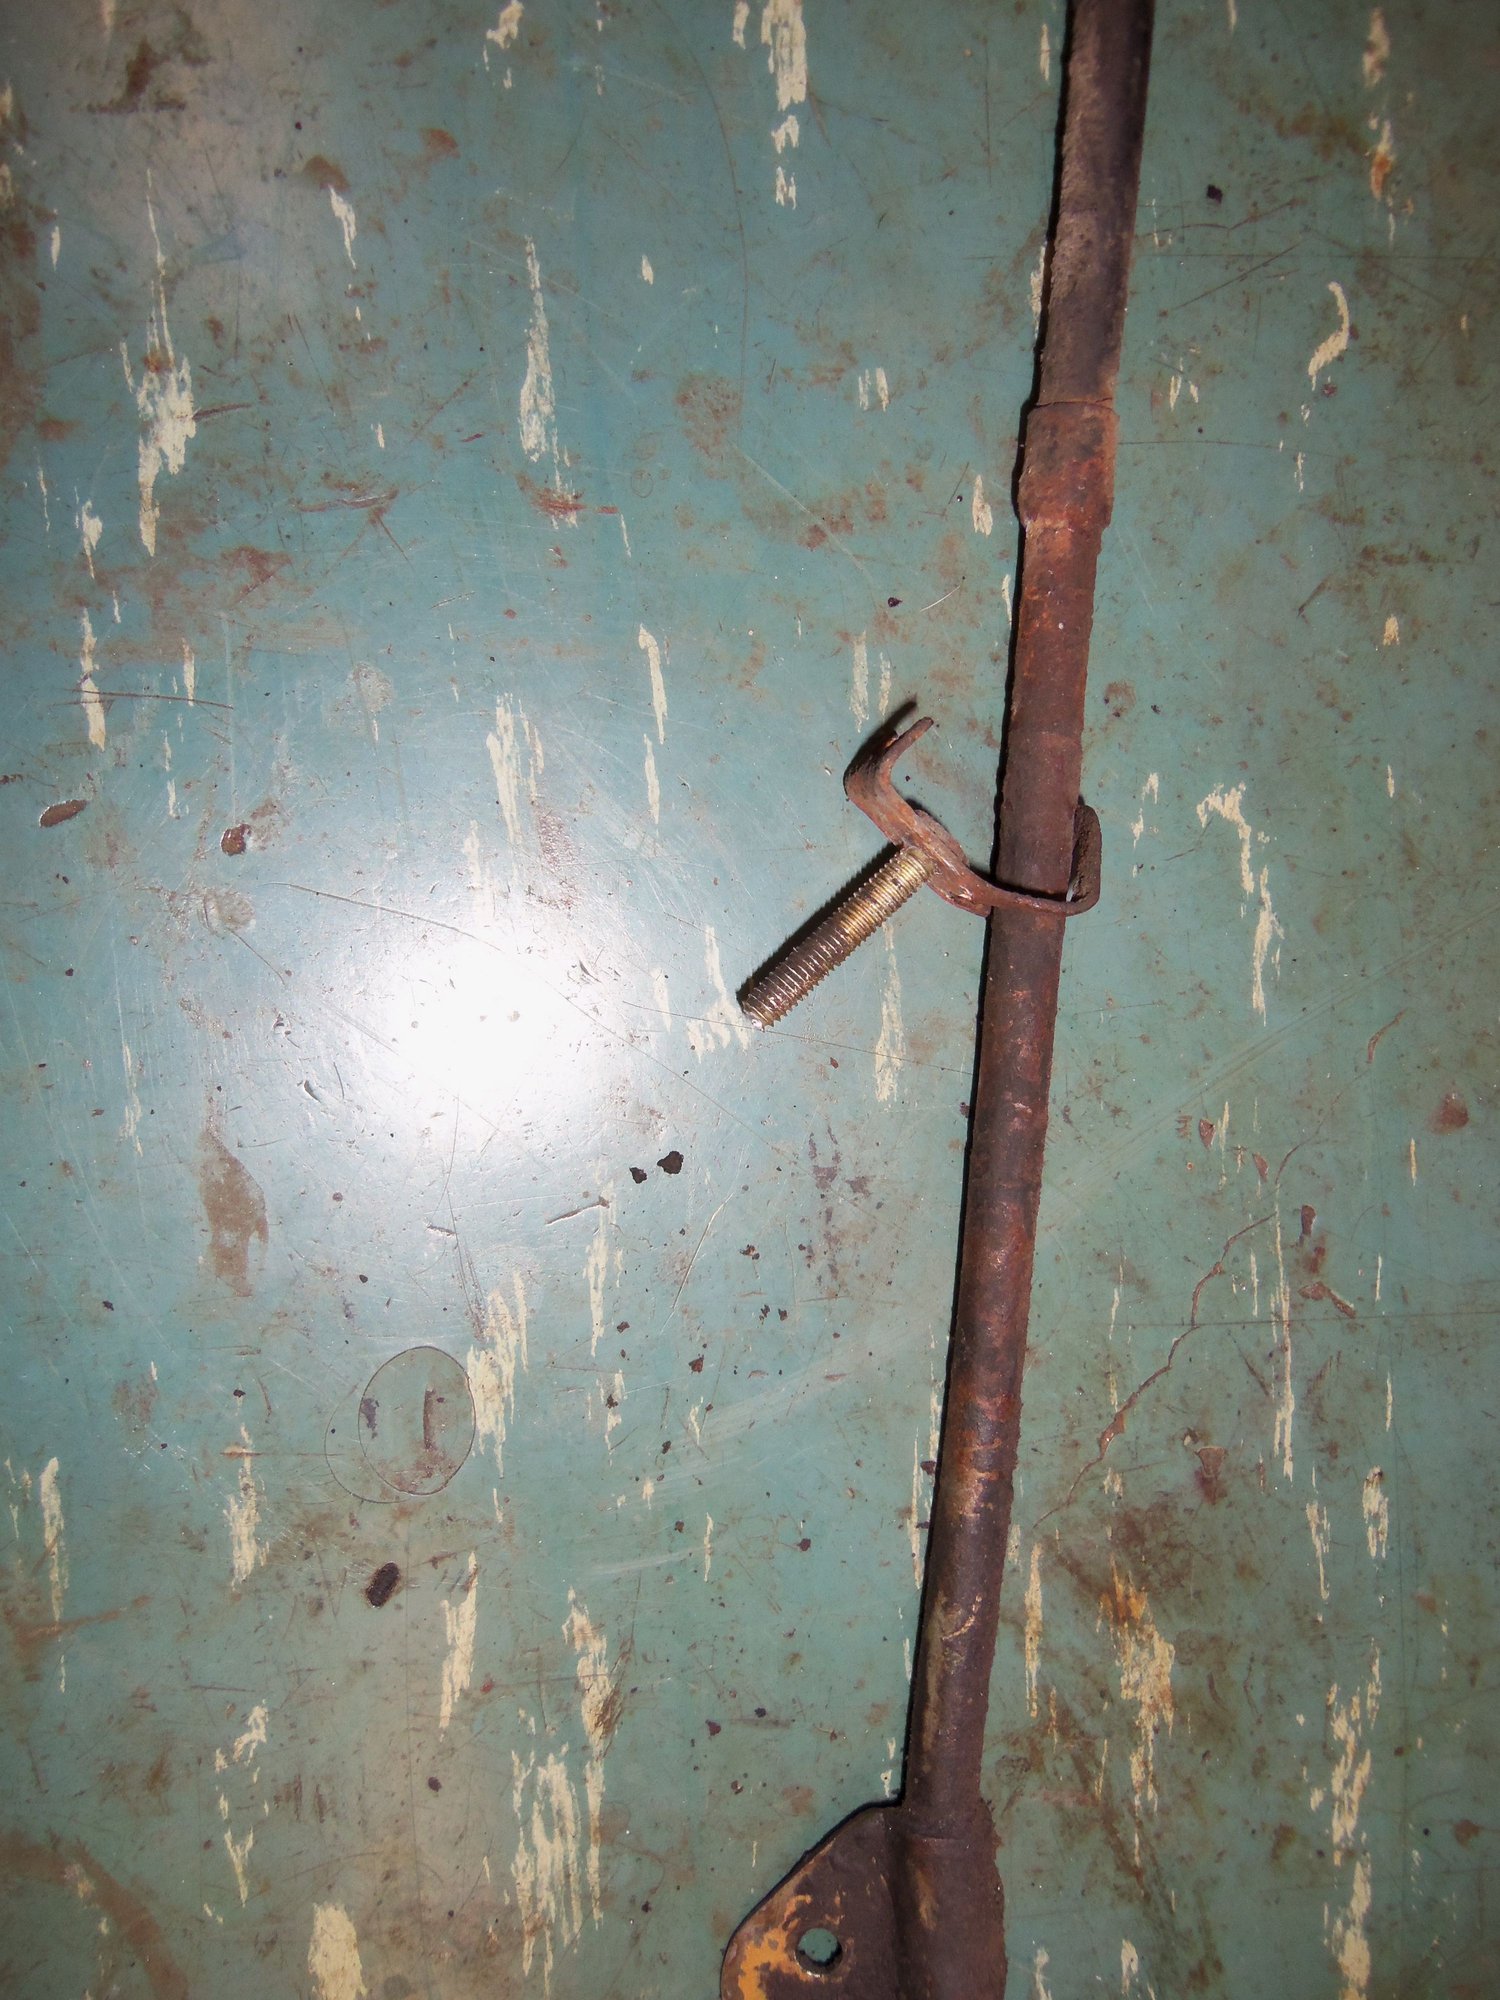
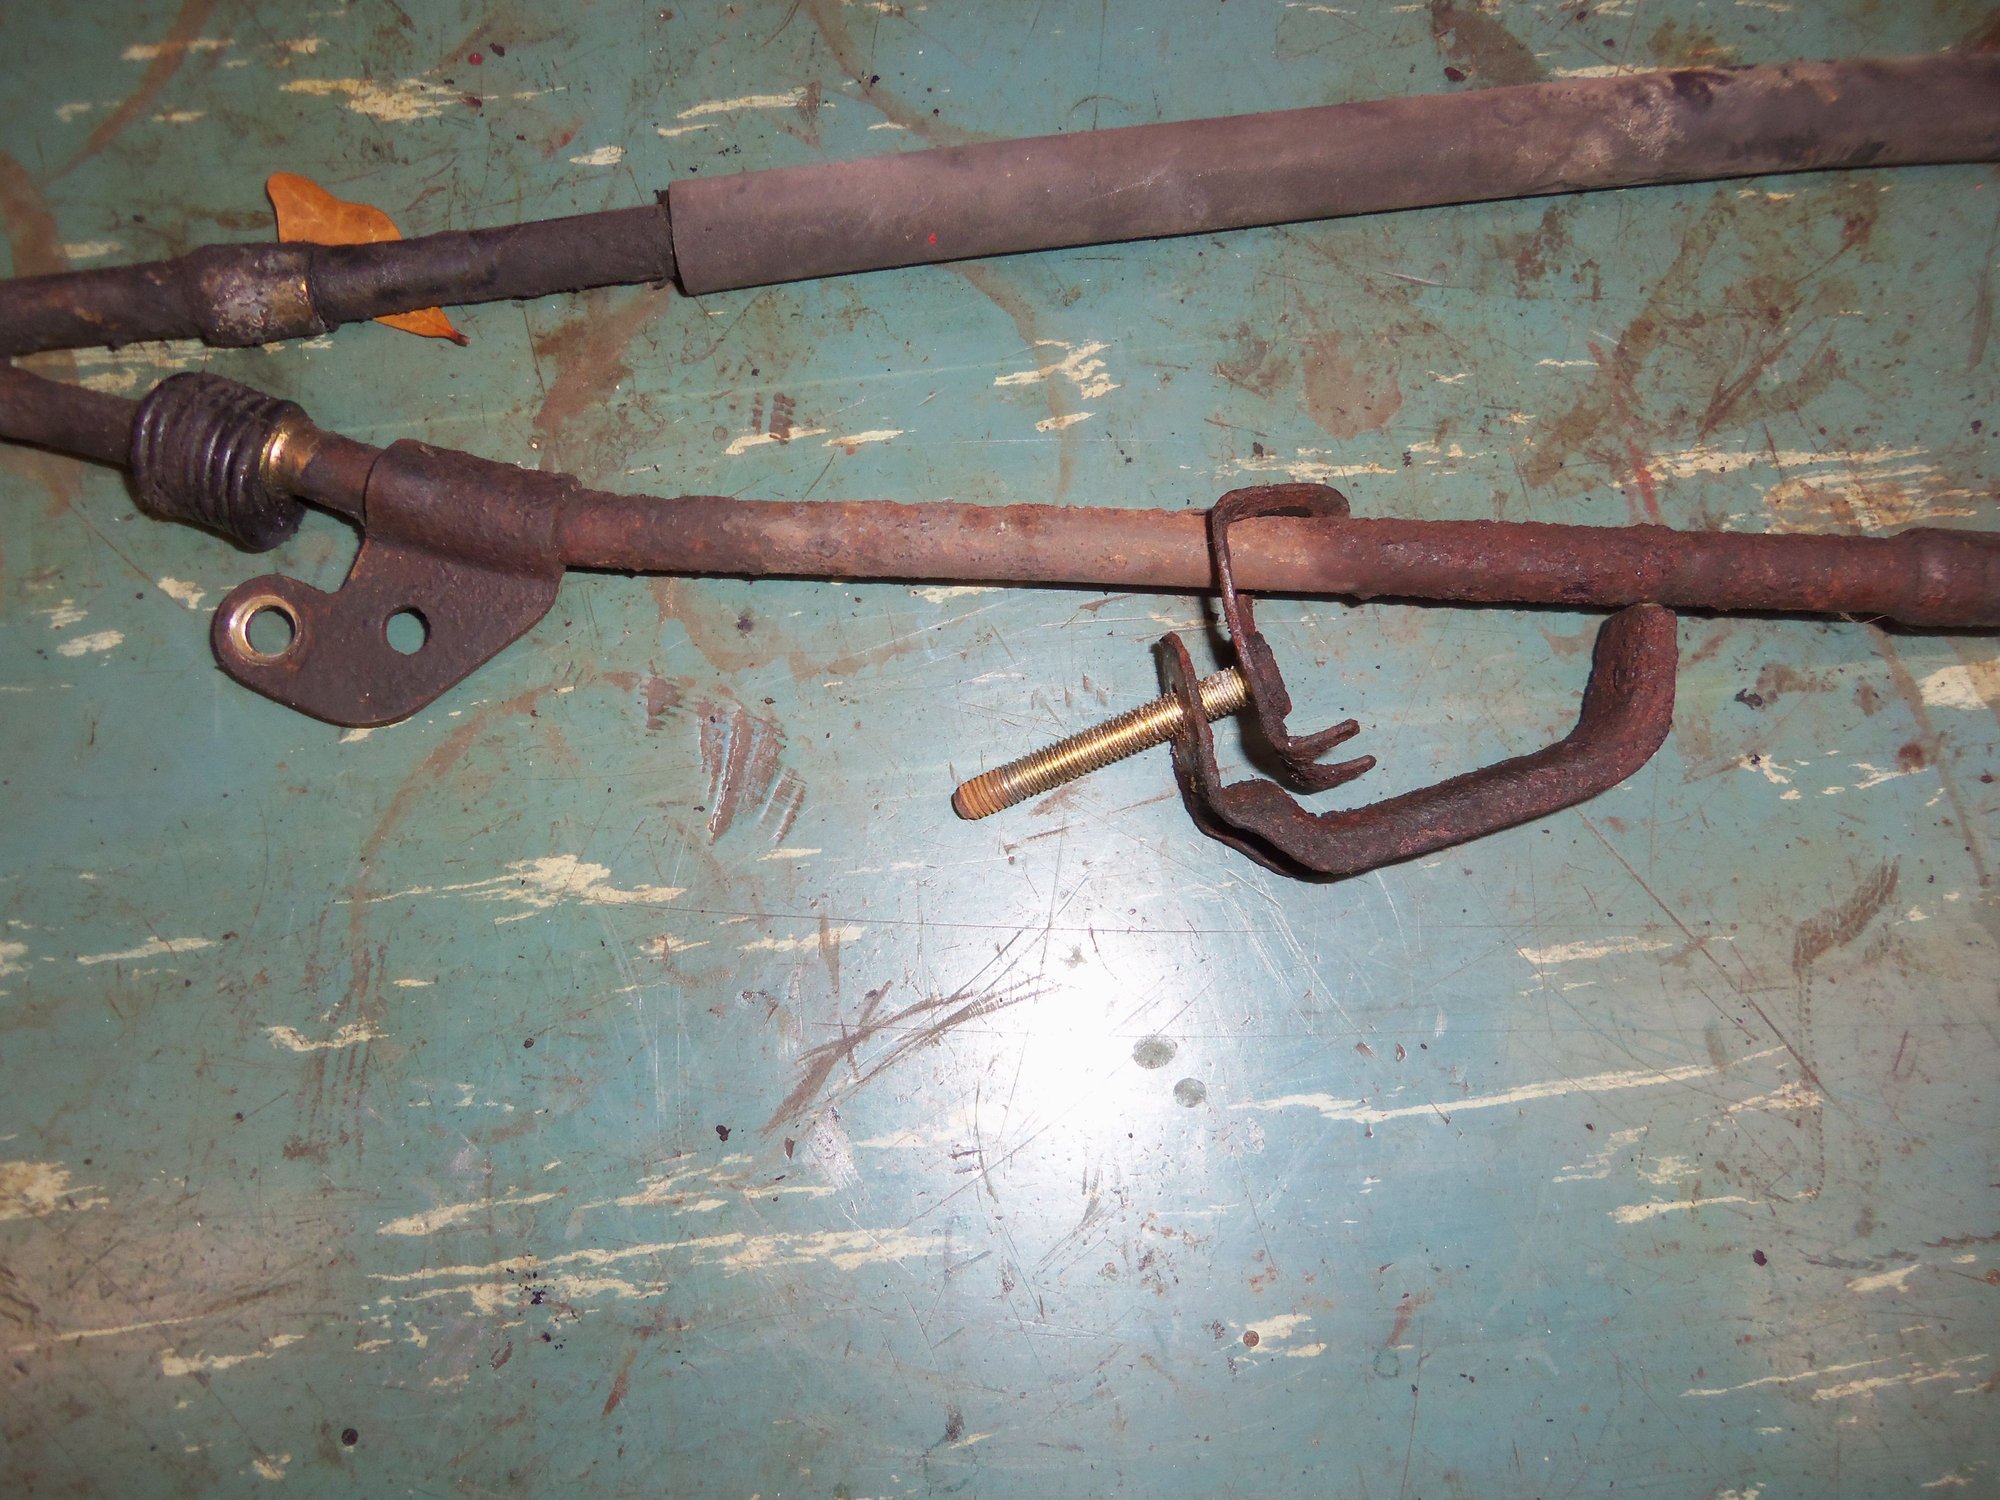
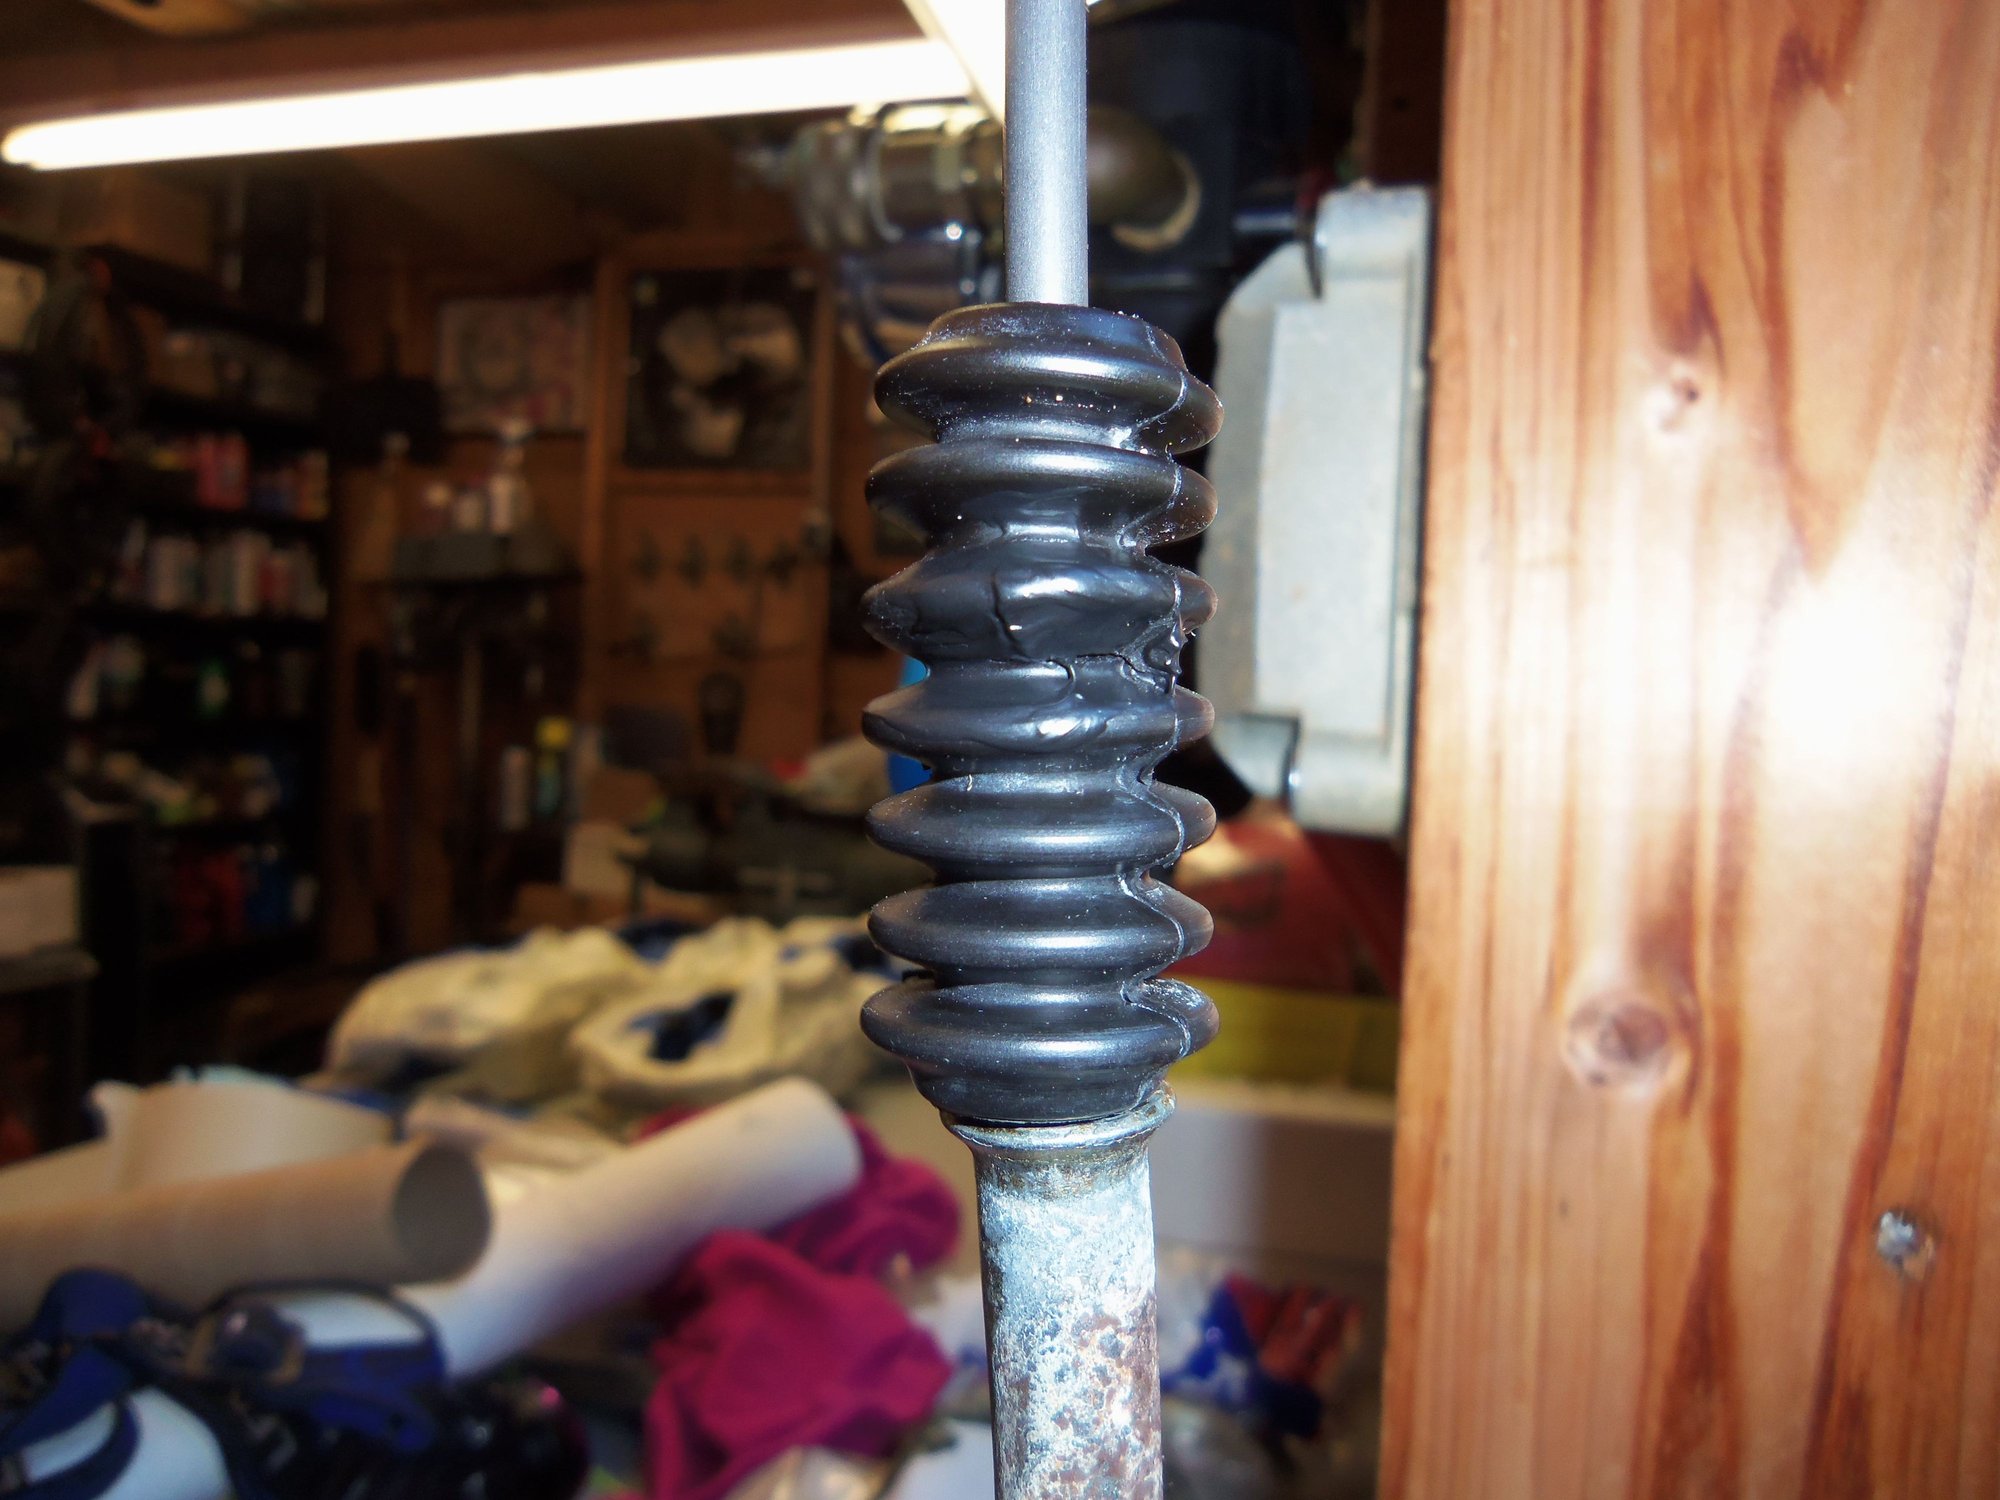
Both boots on the cables had a torn spot in them. I was able to repair the tears with liquid electrical tape. Surprising. I was able to remove the boot from the short cable. I could not figure out how to remove the boot from the long cable. I had bought a pair of automatic shift cable boots as possible replacements for the parking brake cable boots. It didn't work that way.
The actual cables were in good condition, and operated smoothly. I believe the gear oil leaking onto them from the differential pinion seal had something to do with that. I cleaned all cables and jackets with mineral spirits, then sprayed brake cleaner down each jacket.
I am going to guess that the cables were covered in a plastic sheath inside the jackets. On the main cable, that sheath was damaged in the middle. For lack of a better idea, I cut out the damaged part. I lubricated the cables and insides of the jackets and sheaths with a combination of aerosol spray lithium grease and by hand with white lithium grease. All work smoothly.
The metal tubes on the cable jackets are pretty hateful. They have nasty surface rust that is trying to go further. For lack of a better idea, I wire wheeled off the big chunks then sprayed them down with brake cleaner. Once dry, I sprayed them with a coat of Rustoleum Rust Converter Paint. If nothing else, it will keep them from rusting apart until I get replacements.
The cables are now sitting in the shop, awaiting re-installation.
Main cable body penetration.
Driver's side tube and cable.
Passenger's side tube and cable.
Mmmmm...yummy.
Damaged cable sheath.
Torn boot from short cable.
Torn boot on long cable.
Boot repair.
Fixed boot.
Fixed boot.
Crunchy
Levers coated in dry moly lubricant. Pins are clean.
Coat of Rustoleum Rust Converter Paint.
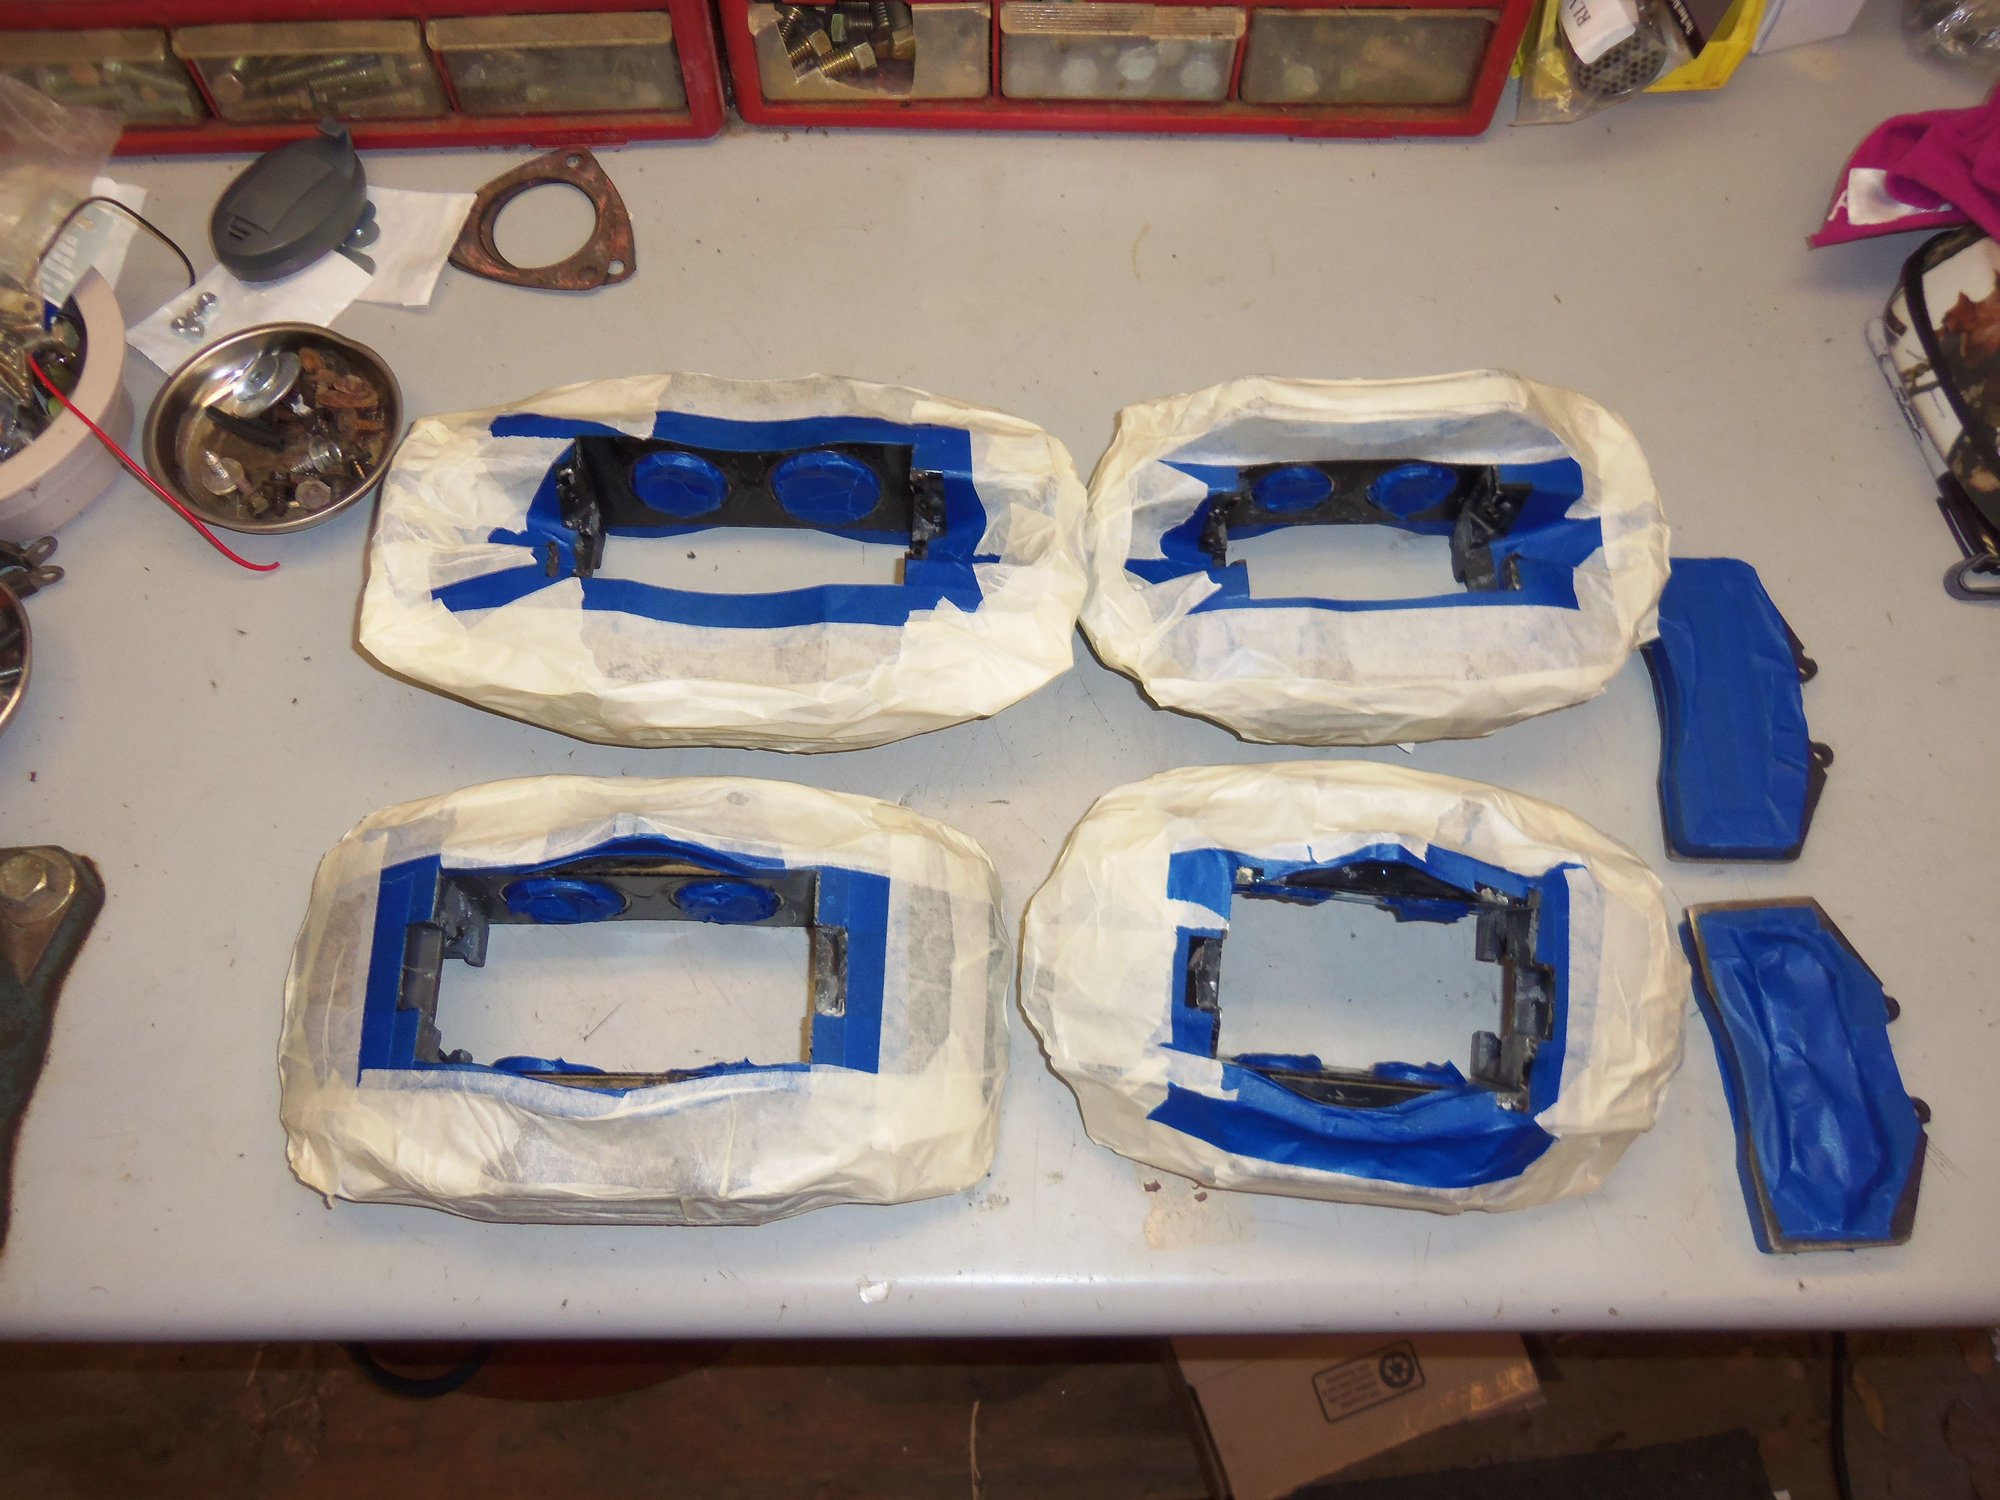
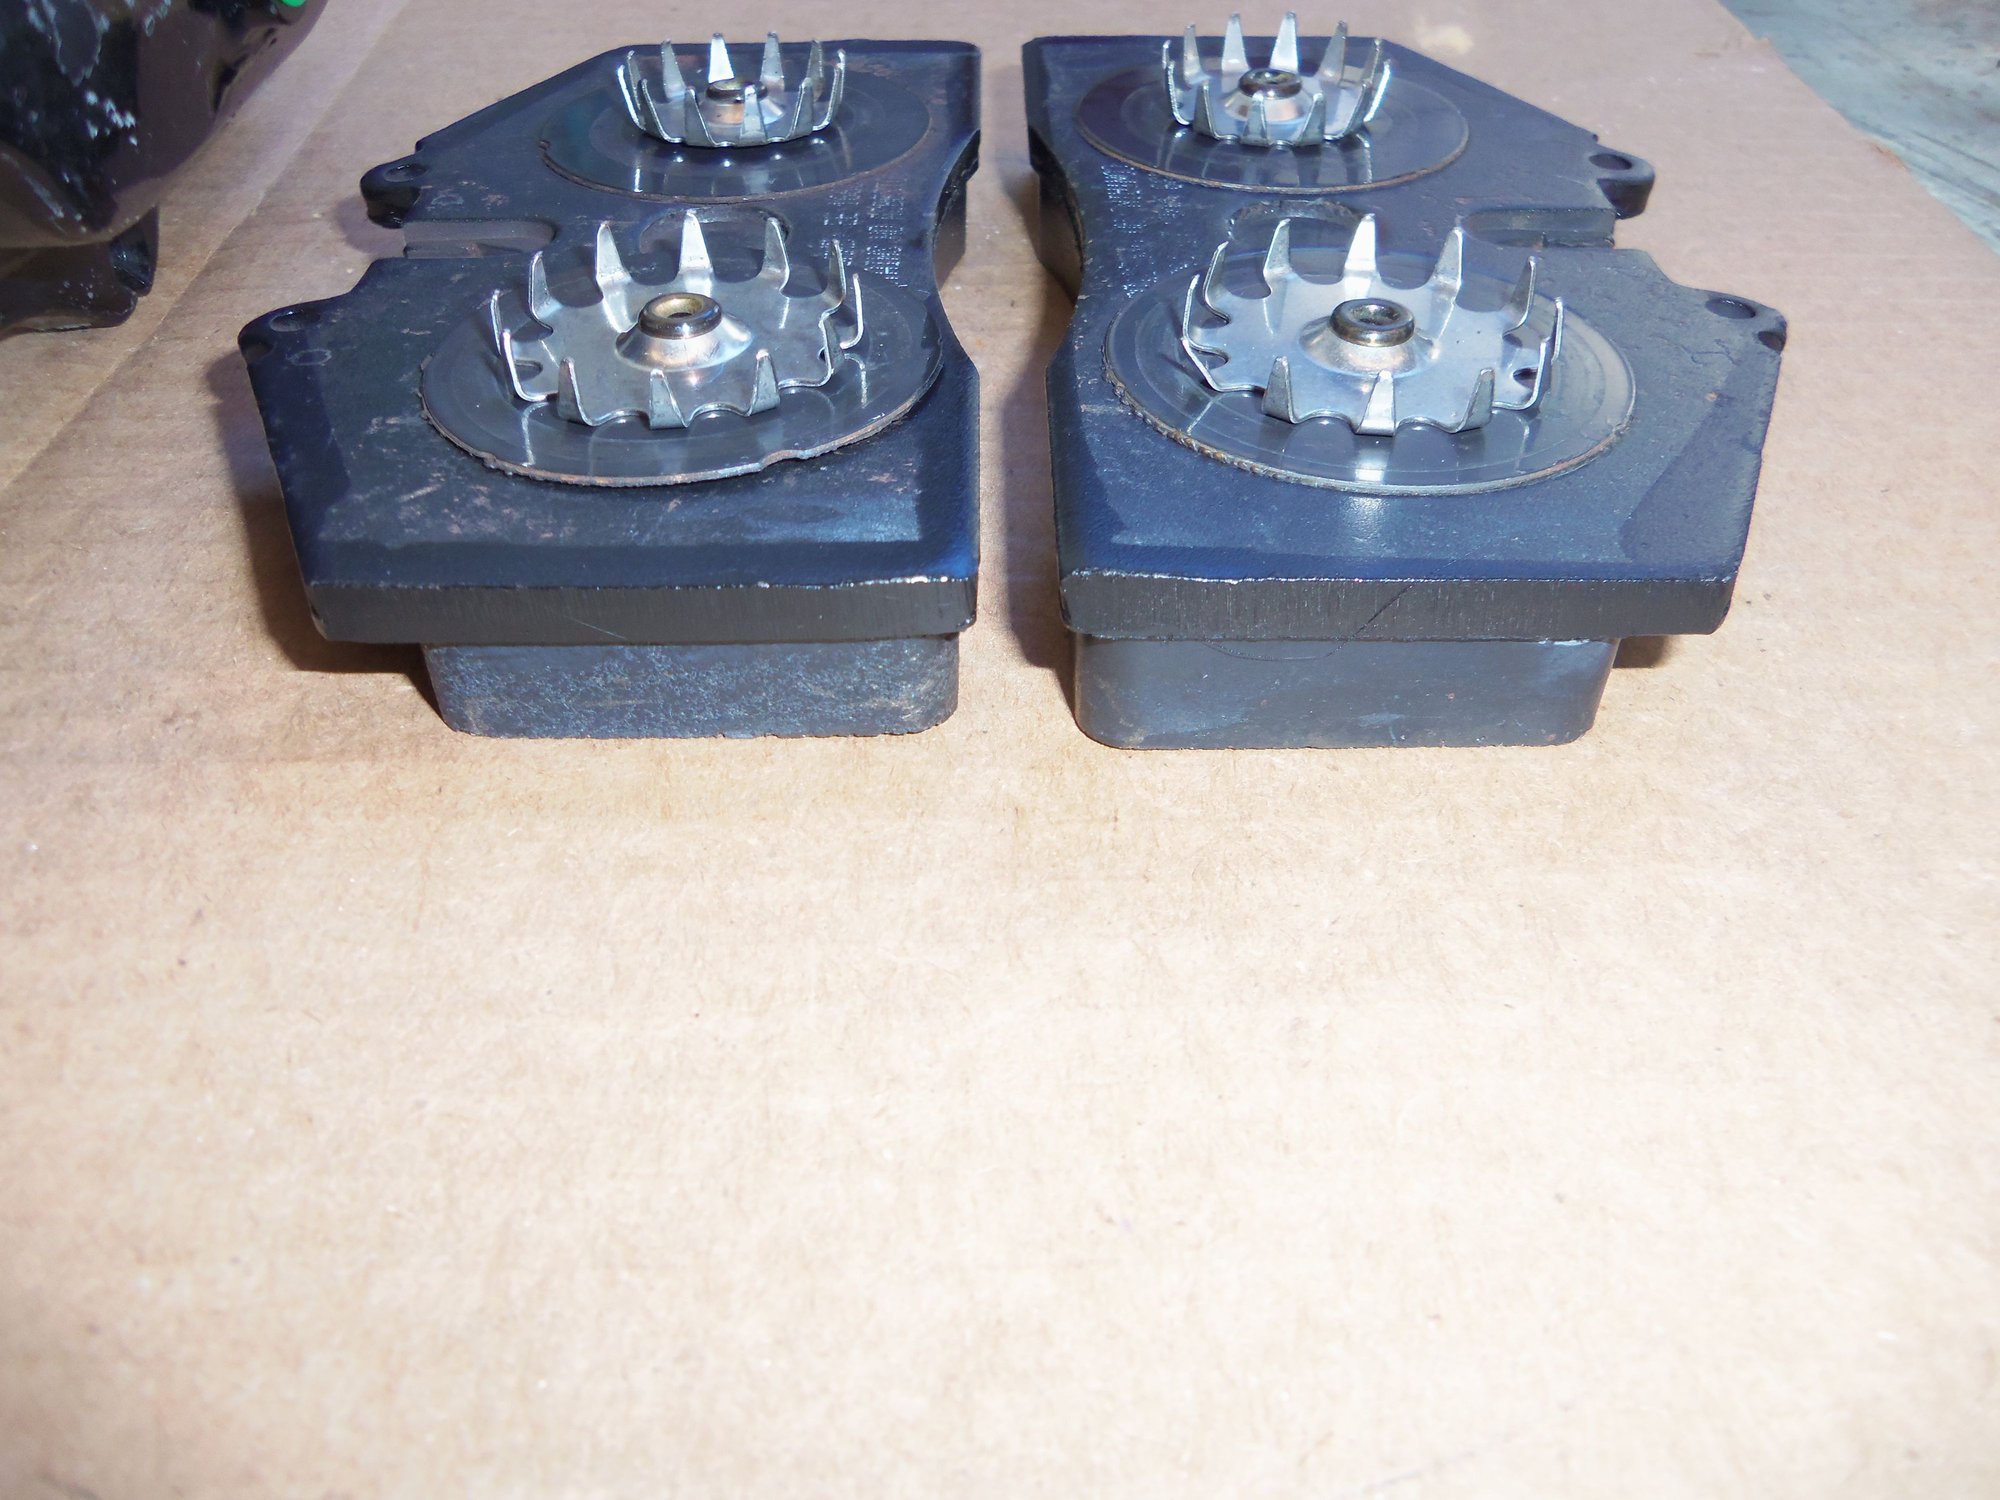
I have FINALLY gotten the corroded areas of the brake calipers masked and painted. I have been trying for weeks to get this finished. For one reason or another, things have gotten in the way. I used blue painter's tape for areas of actual masking, and conventional masking tape for everything else.
I masked all 16 pistons individually. That was a pain in the kazooie. I had to use thin strips to go around the circumference of the piston scraper seal. Then cover the open area of each piston with little pieces of tape. The point of that was to mask the piston seals, but leave the corroded areas next to the seals open for paint.
I plugged the holes for the stainless steel spring plates with 6mm set screws.
I also painted the bare edges of the backing plates on the two front brake pads that had been ground on.
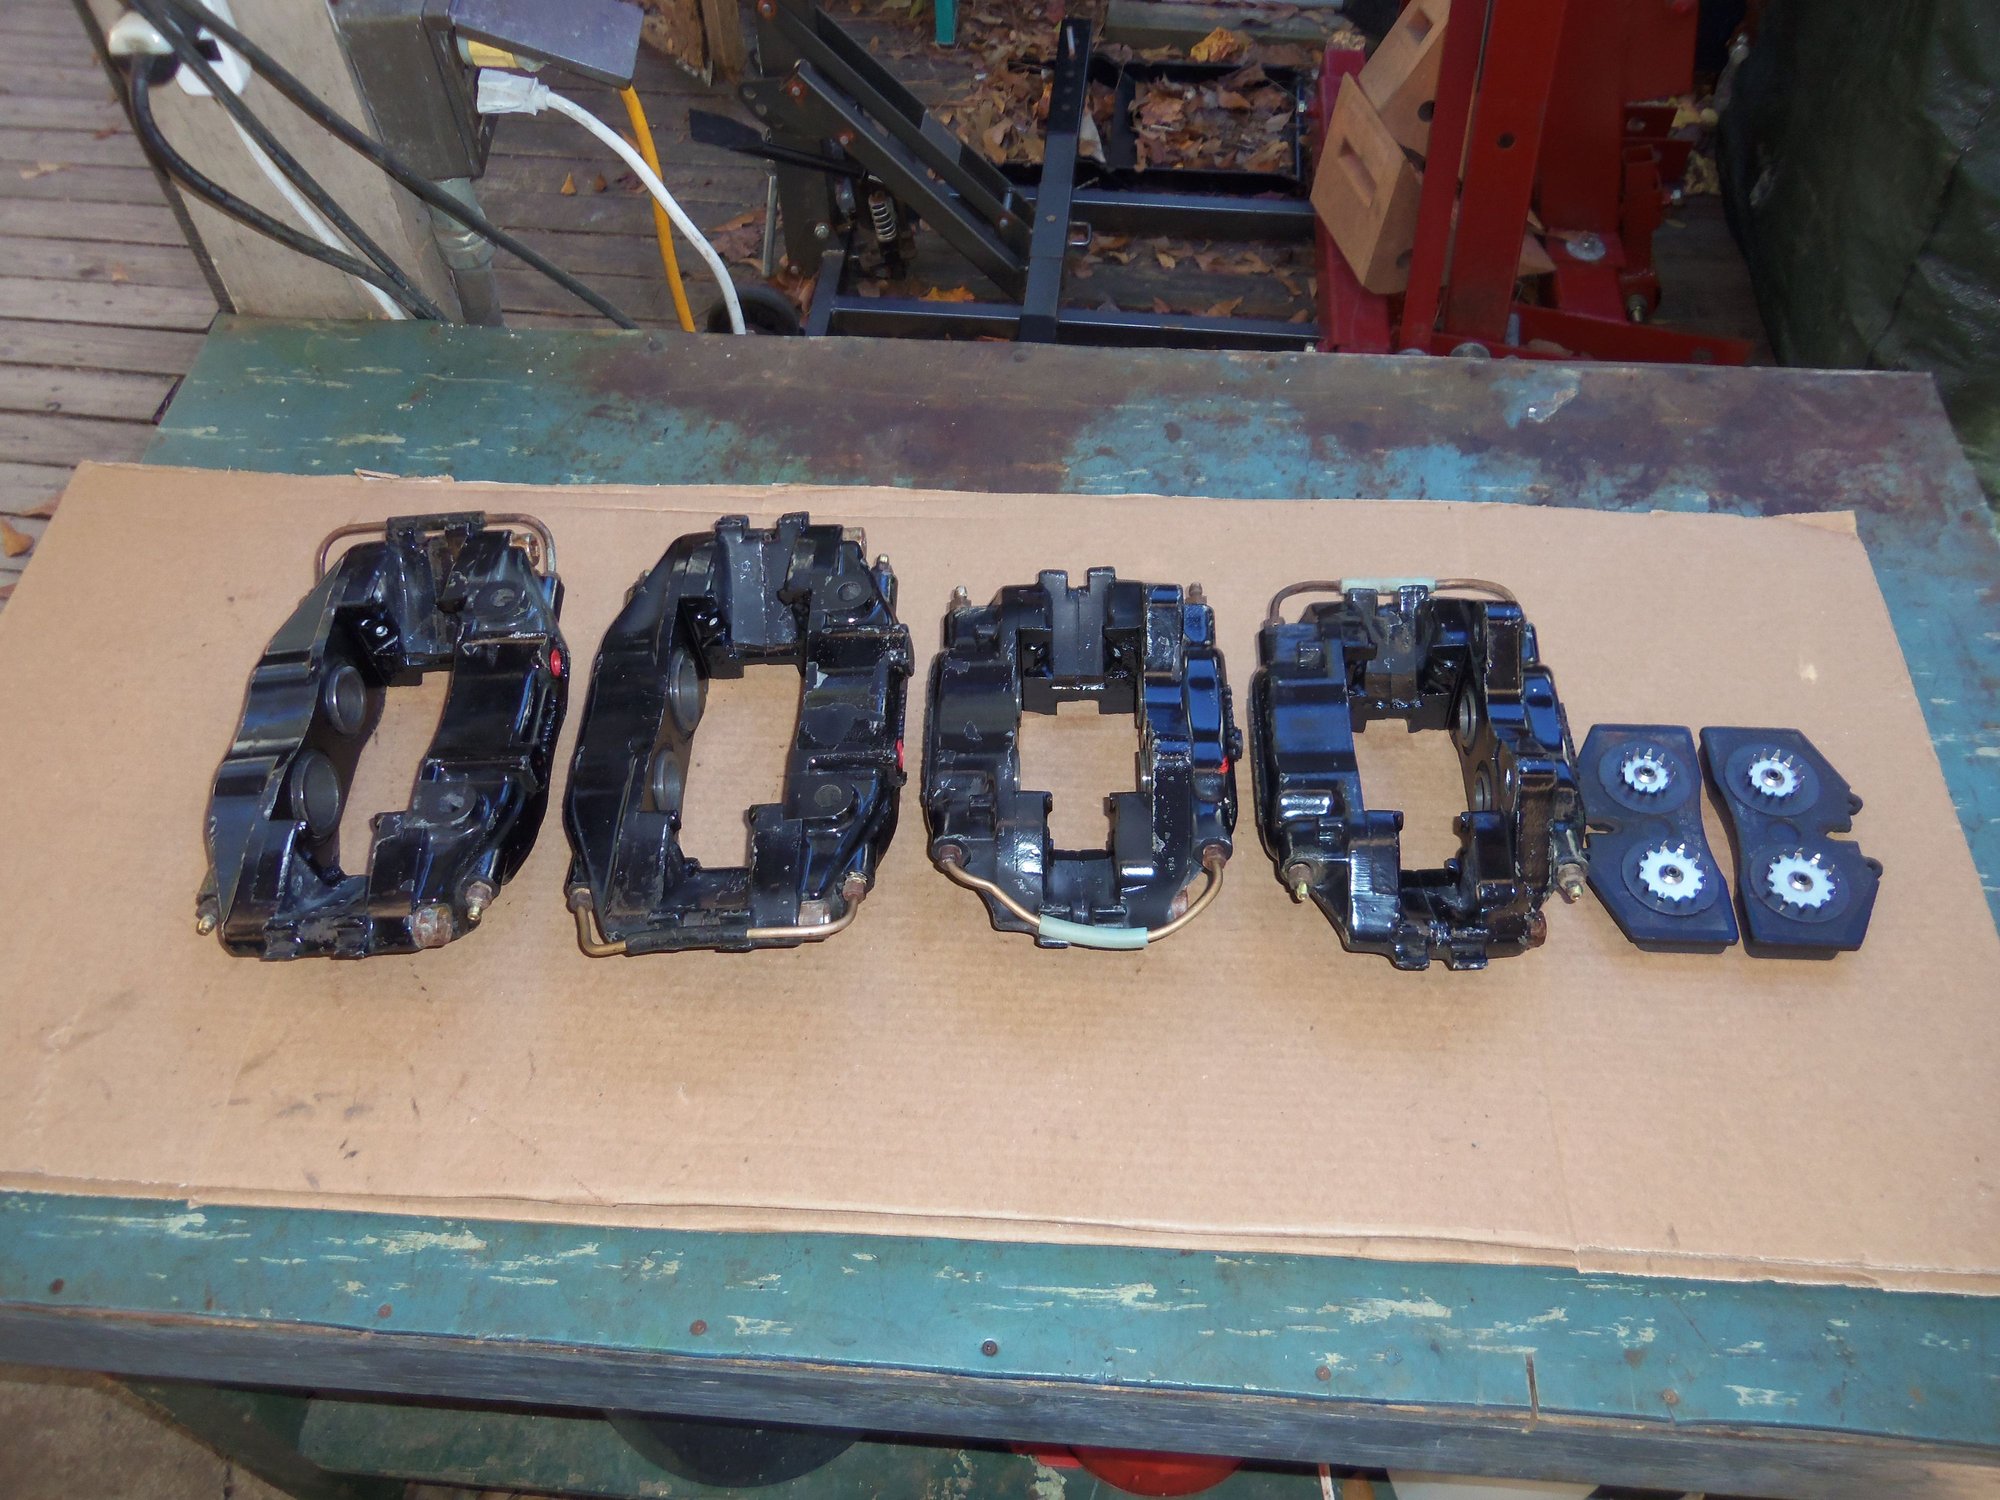
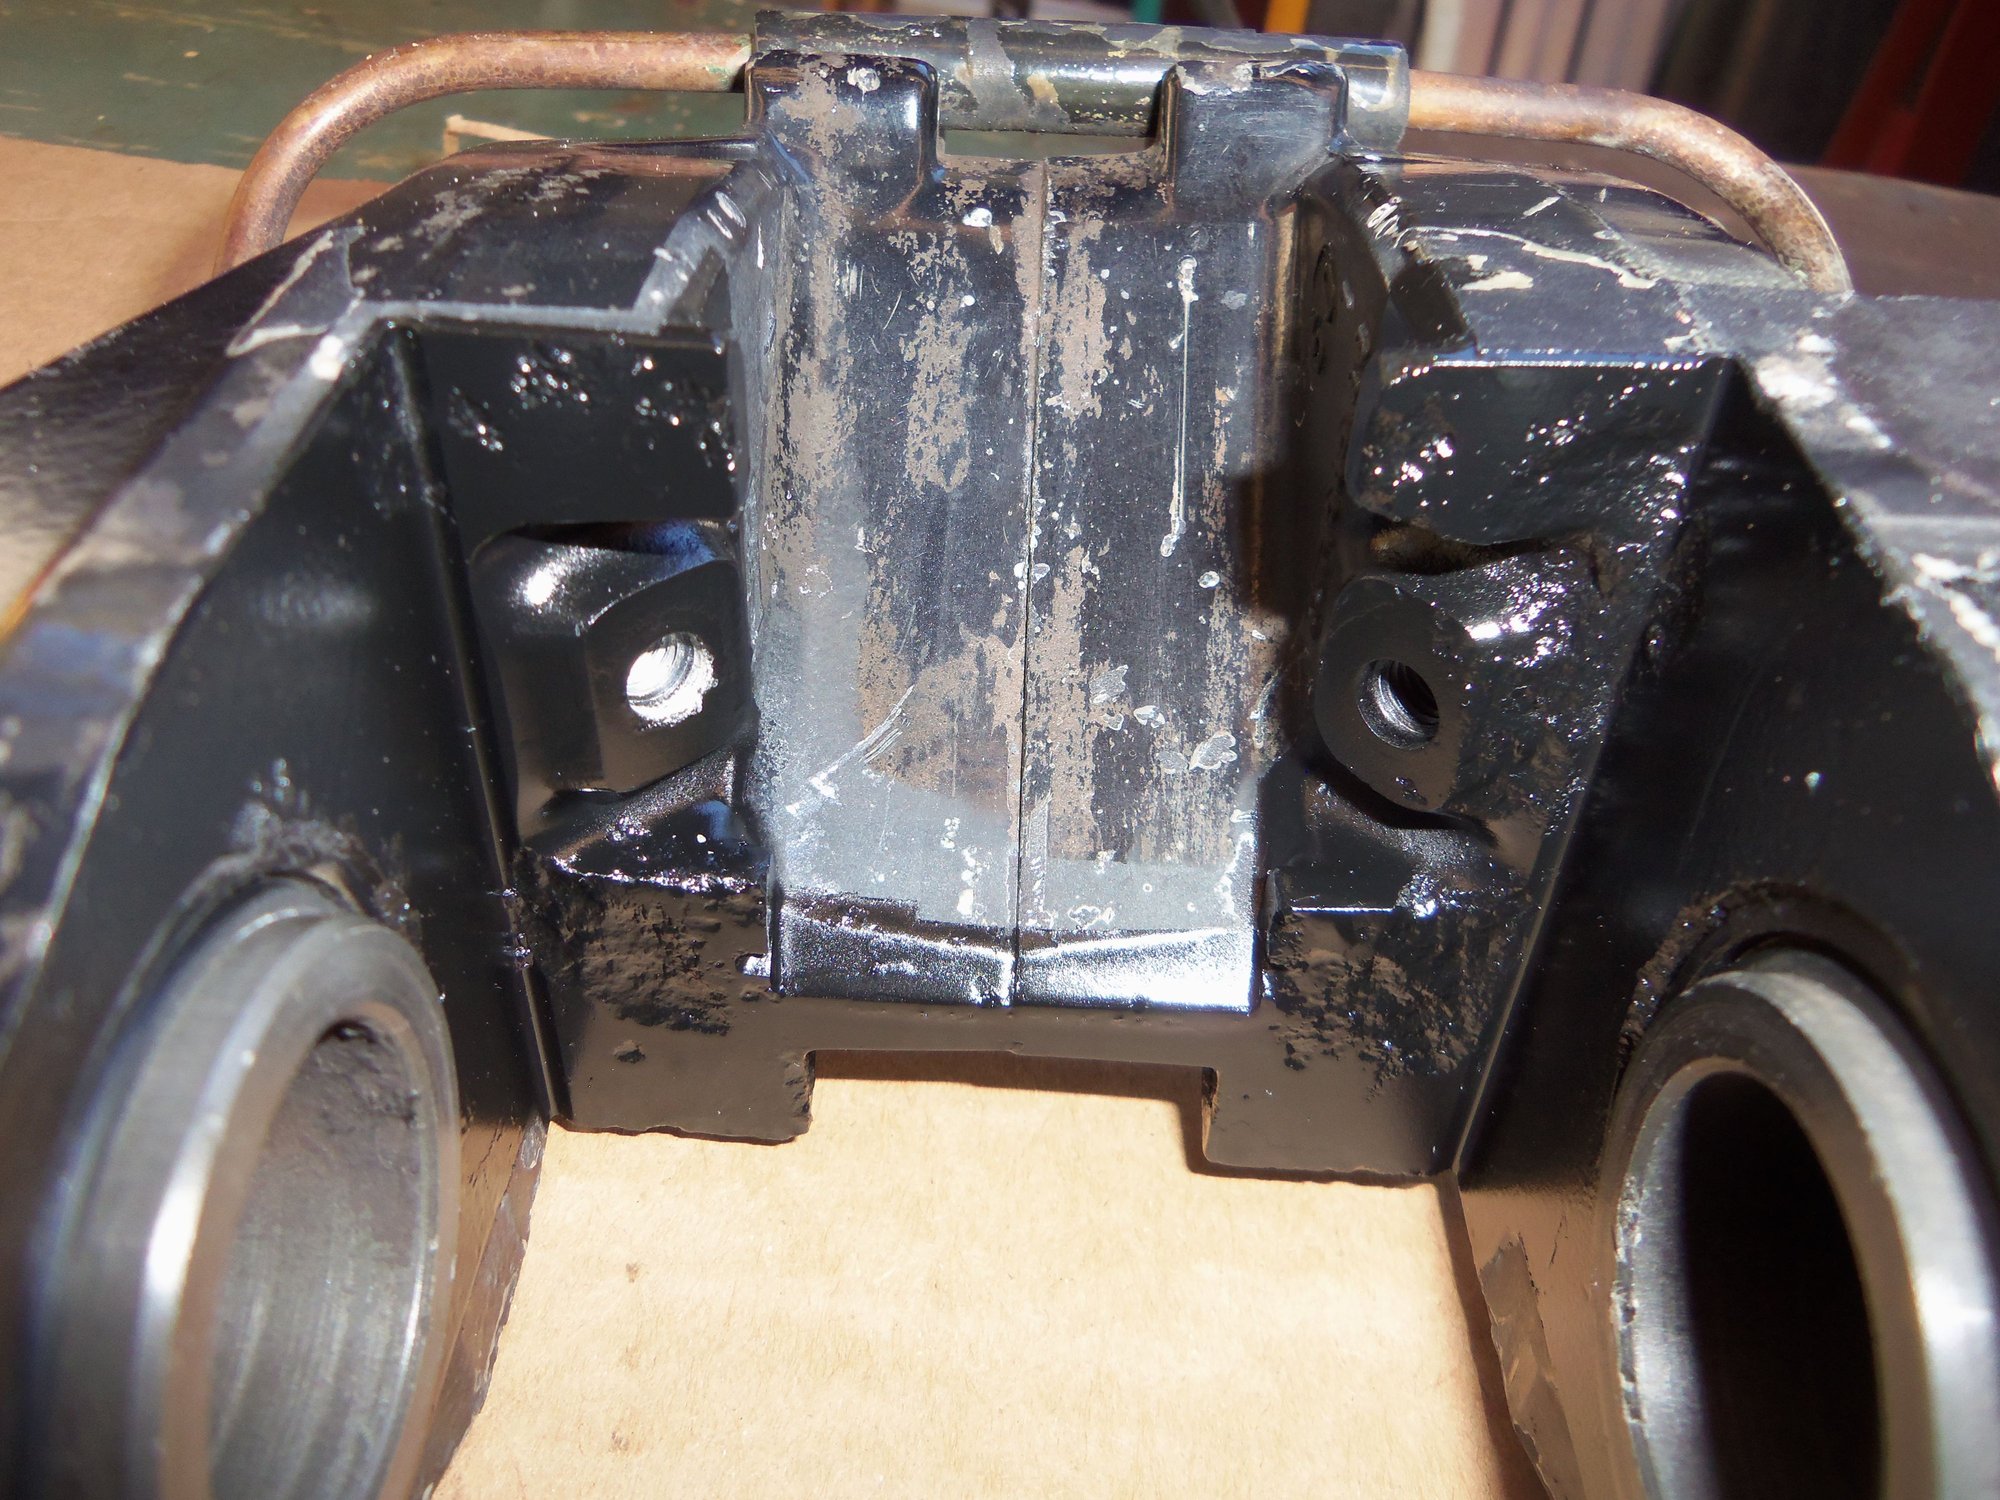
After painting and cleaning, my calipers are still quite fugly. However, they are functional. Plus, I learned that my 1986.5 Brembo calipers are equipped with the unobtanium piston scraper seals. In the future, I may have to buy a set of used S4 calipers to refurbish. We shall see...
Lots of work masking all this.
Happy family! Finally ready for assembly.
Looks horrible, but corroded areas are sealed with paint.

 10-07-2016, 09:50 PM