When you click on links to various merchants on this site and make a purchase, this can result in this site earning a commission. Affiliate programs and affiliations include, but are not limited to, the eBay Partner Network.
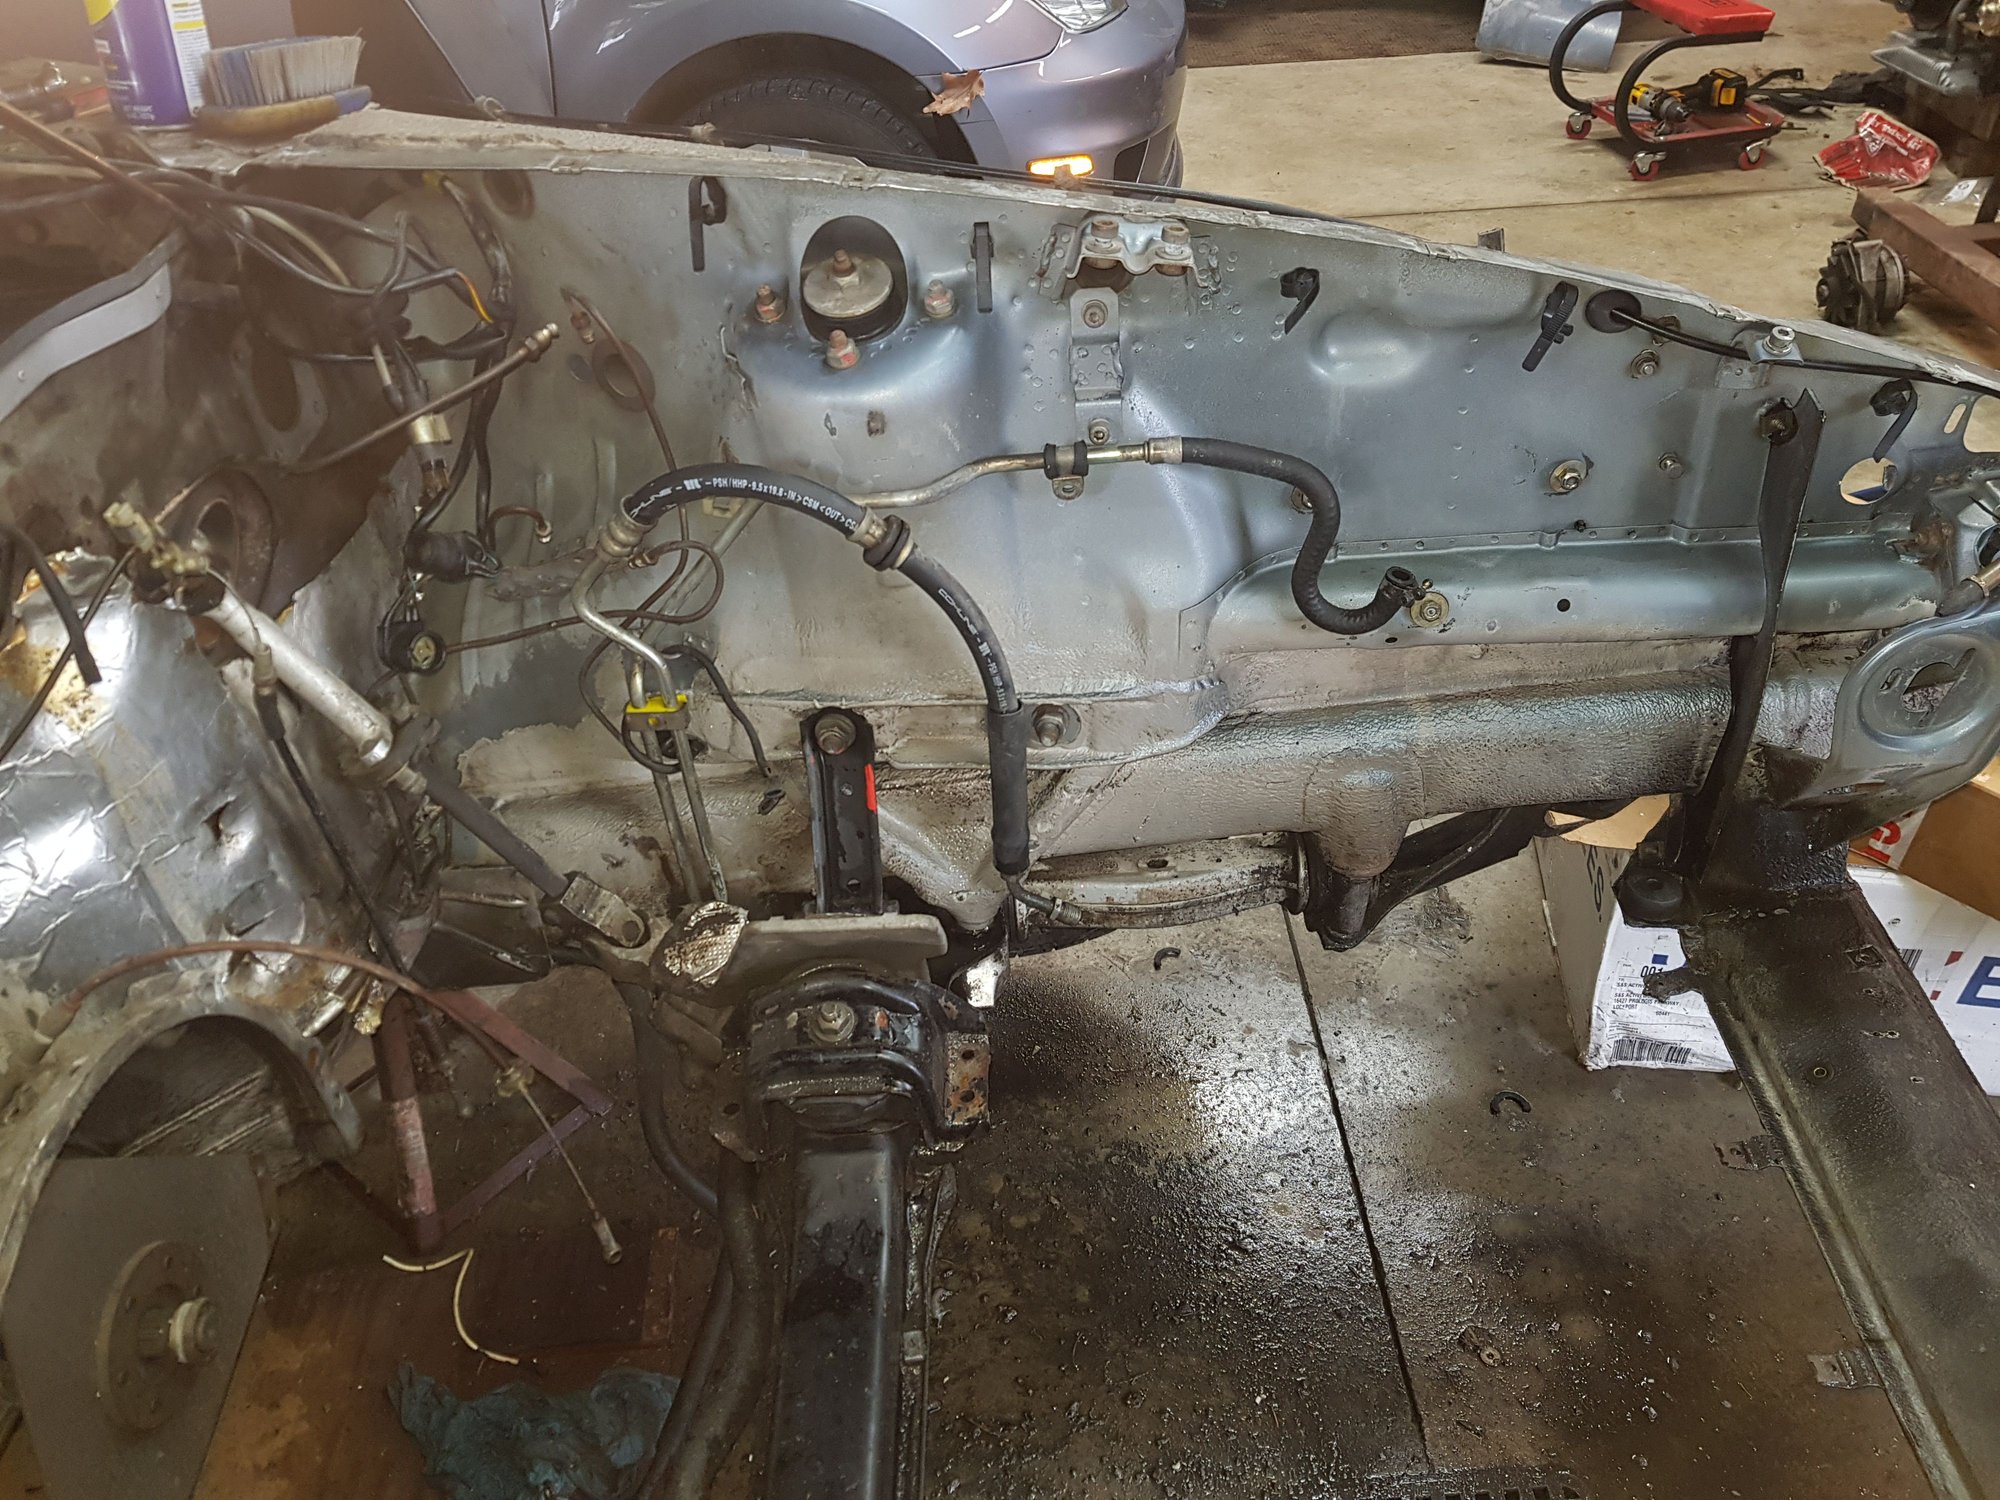
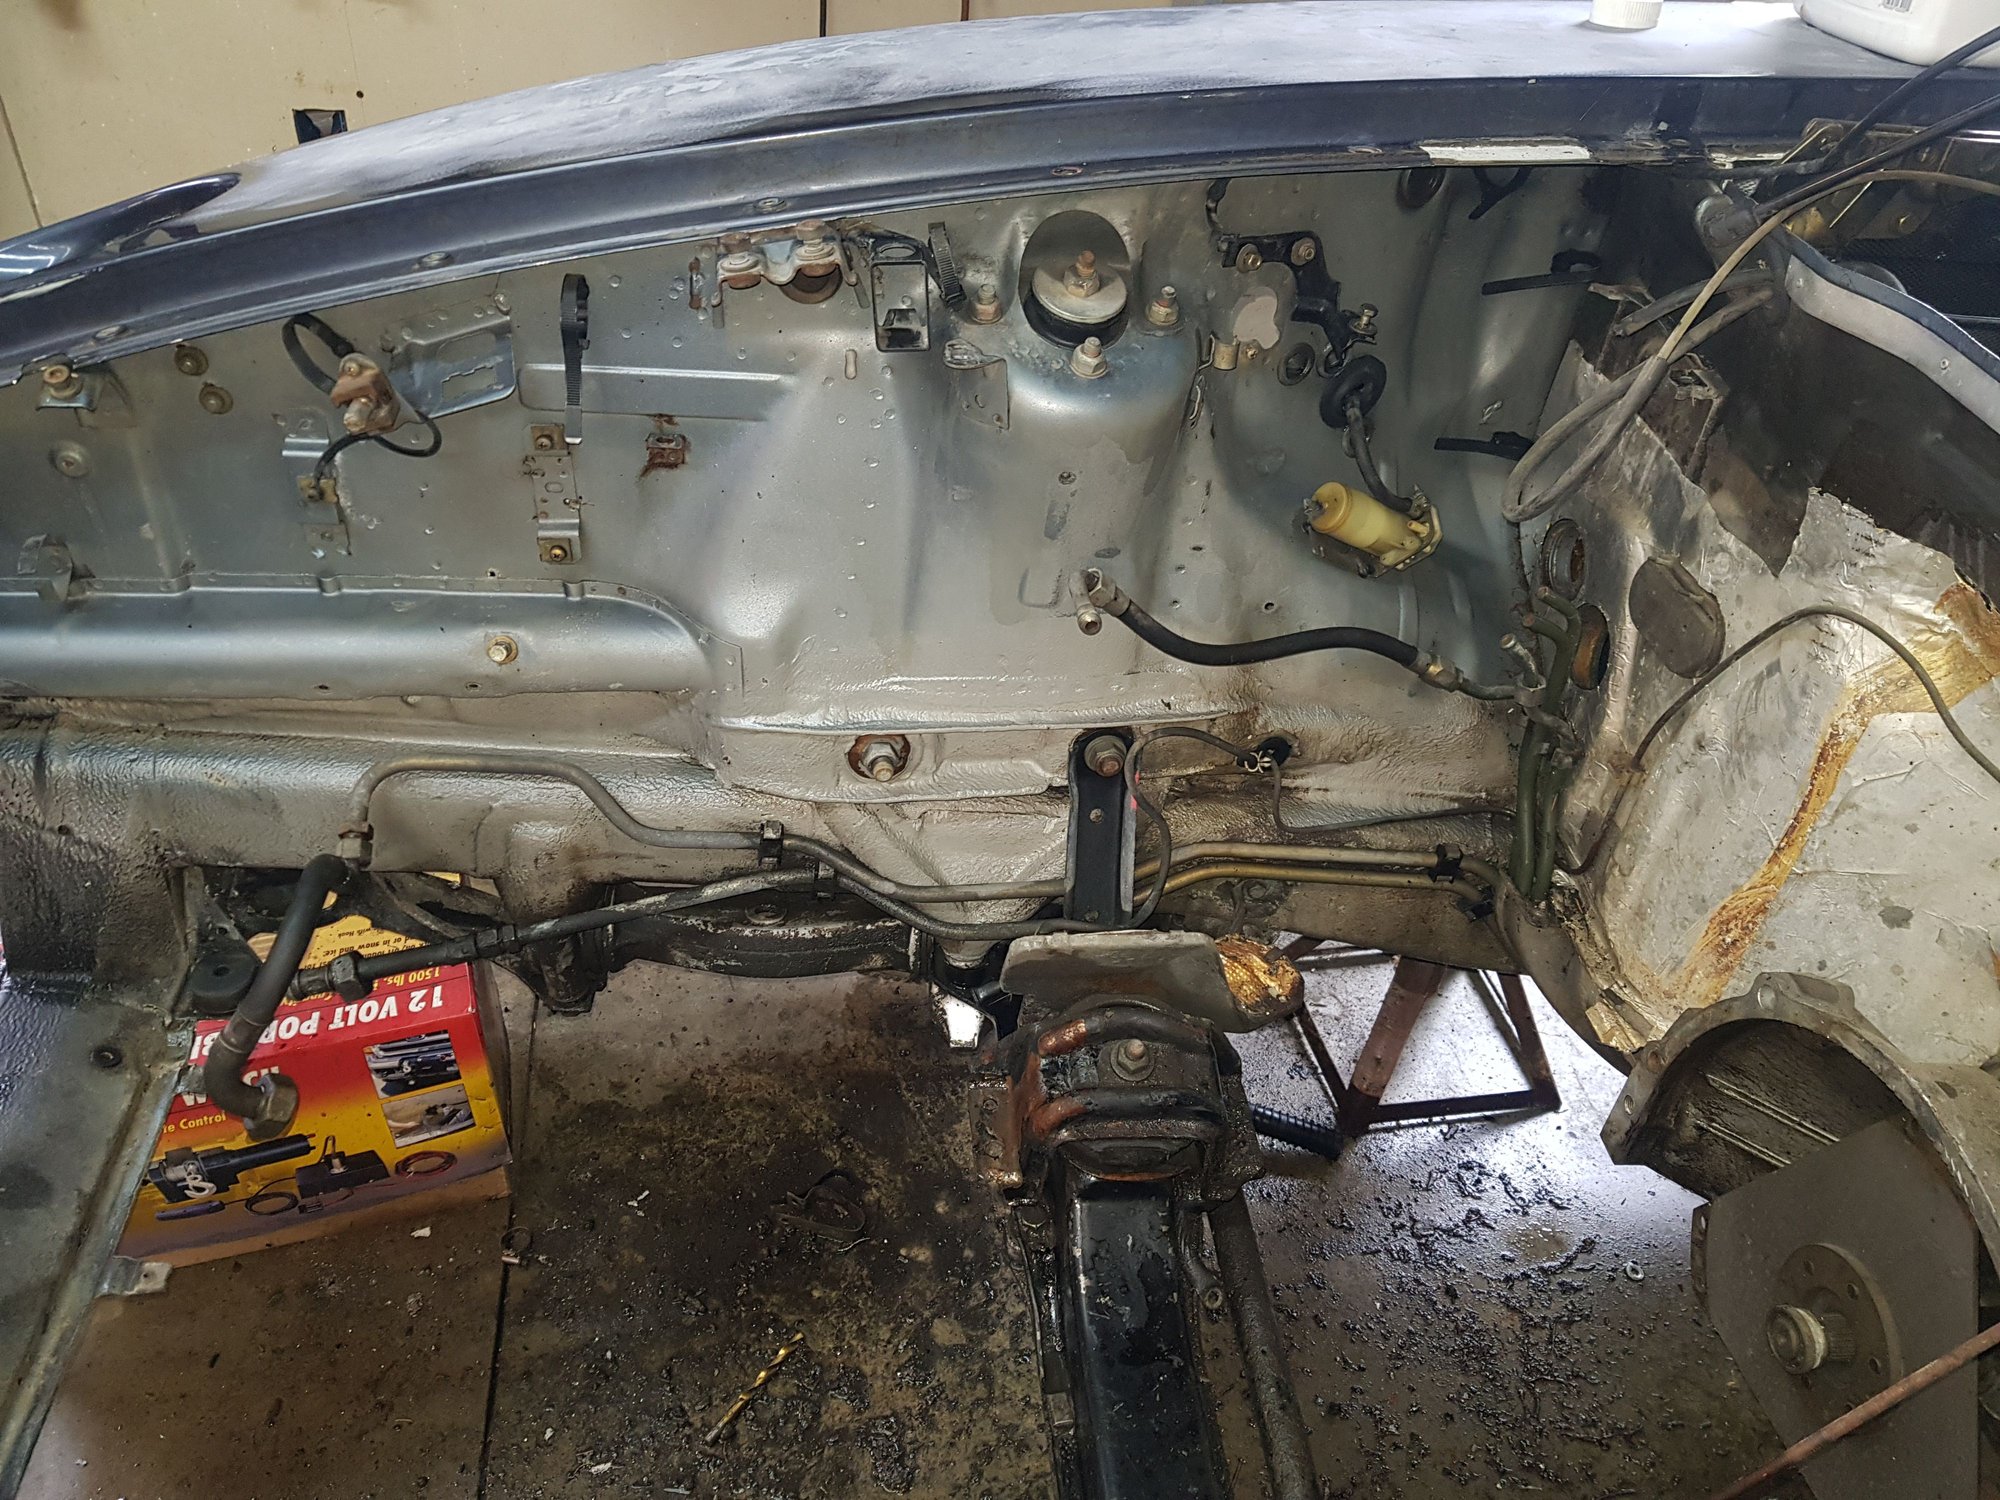
I can do things on a budget but some of the crap I'm finding is ridiculous!! I didn't know these cars ran on silicon, is it a special brand? Haven't checked the motor mounts. Getting cleaning done and hope to drop front suspension tomorrow. Scrubadud dub!!!
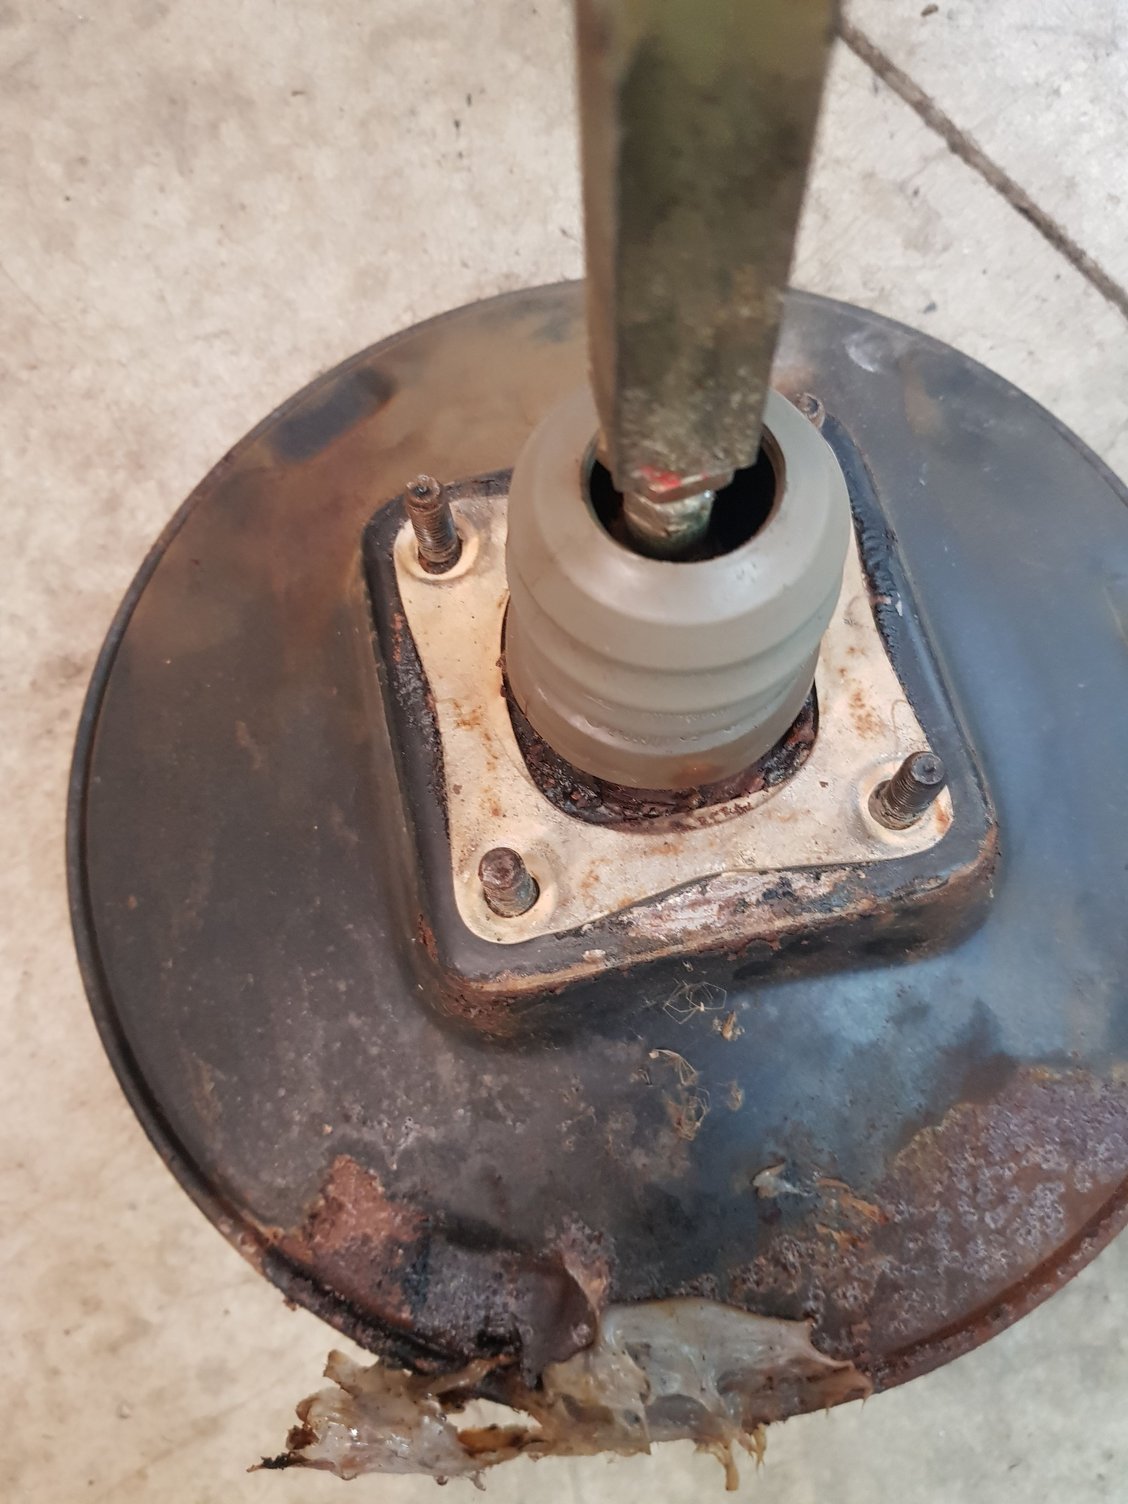
Brake booster wanted, lol.
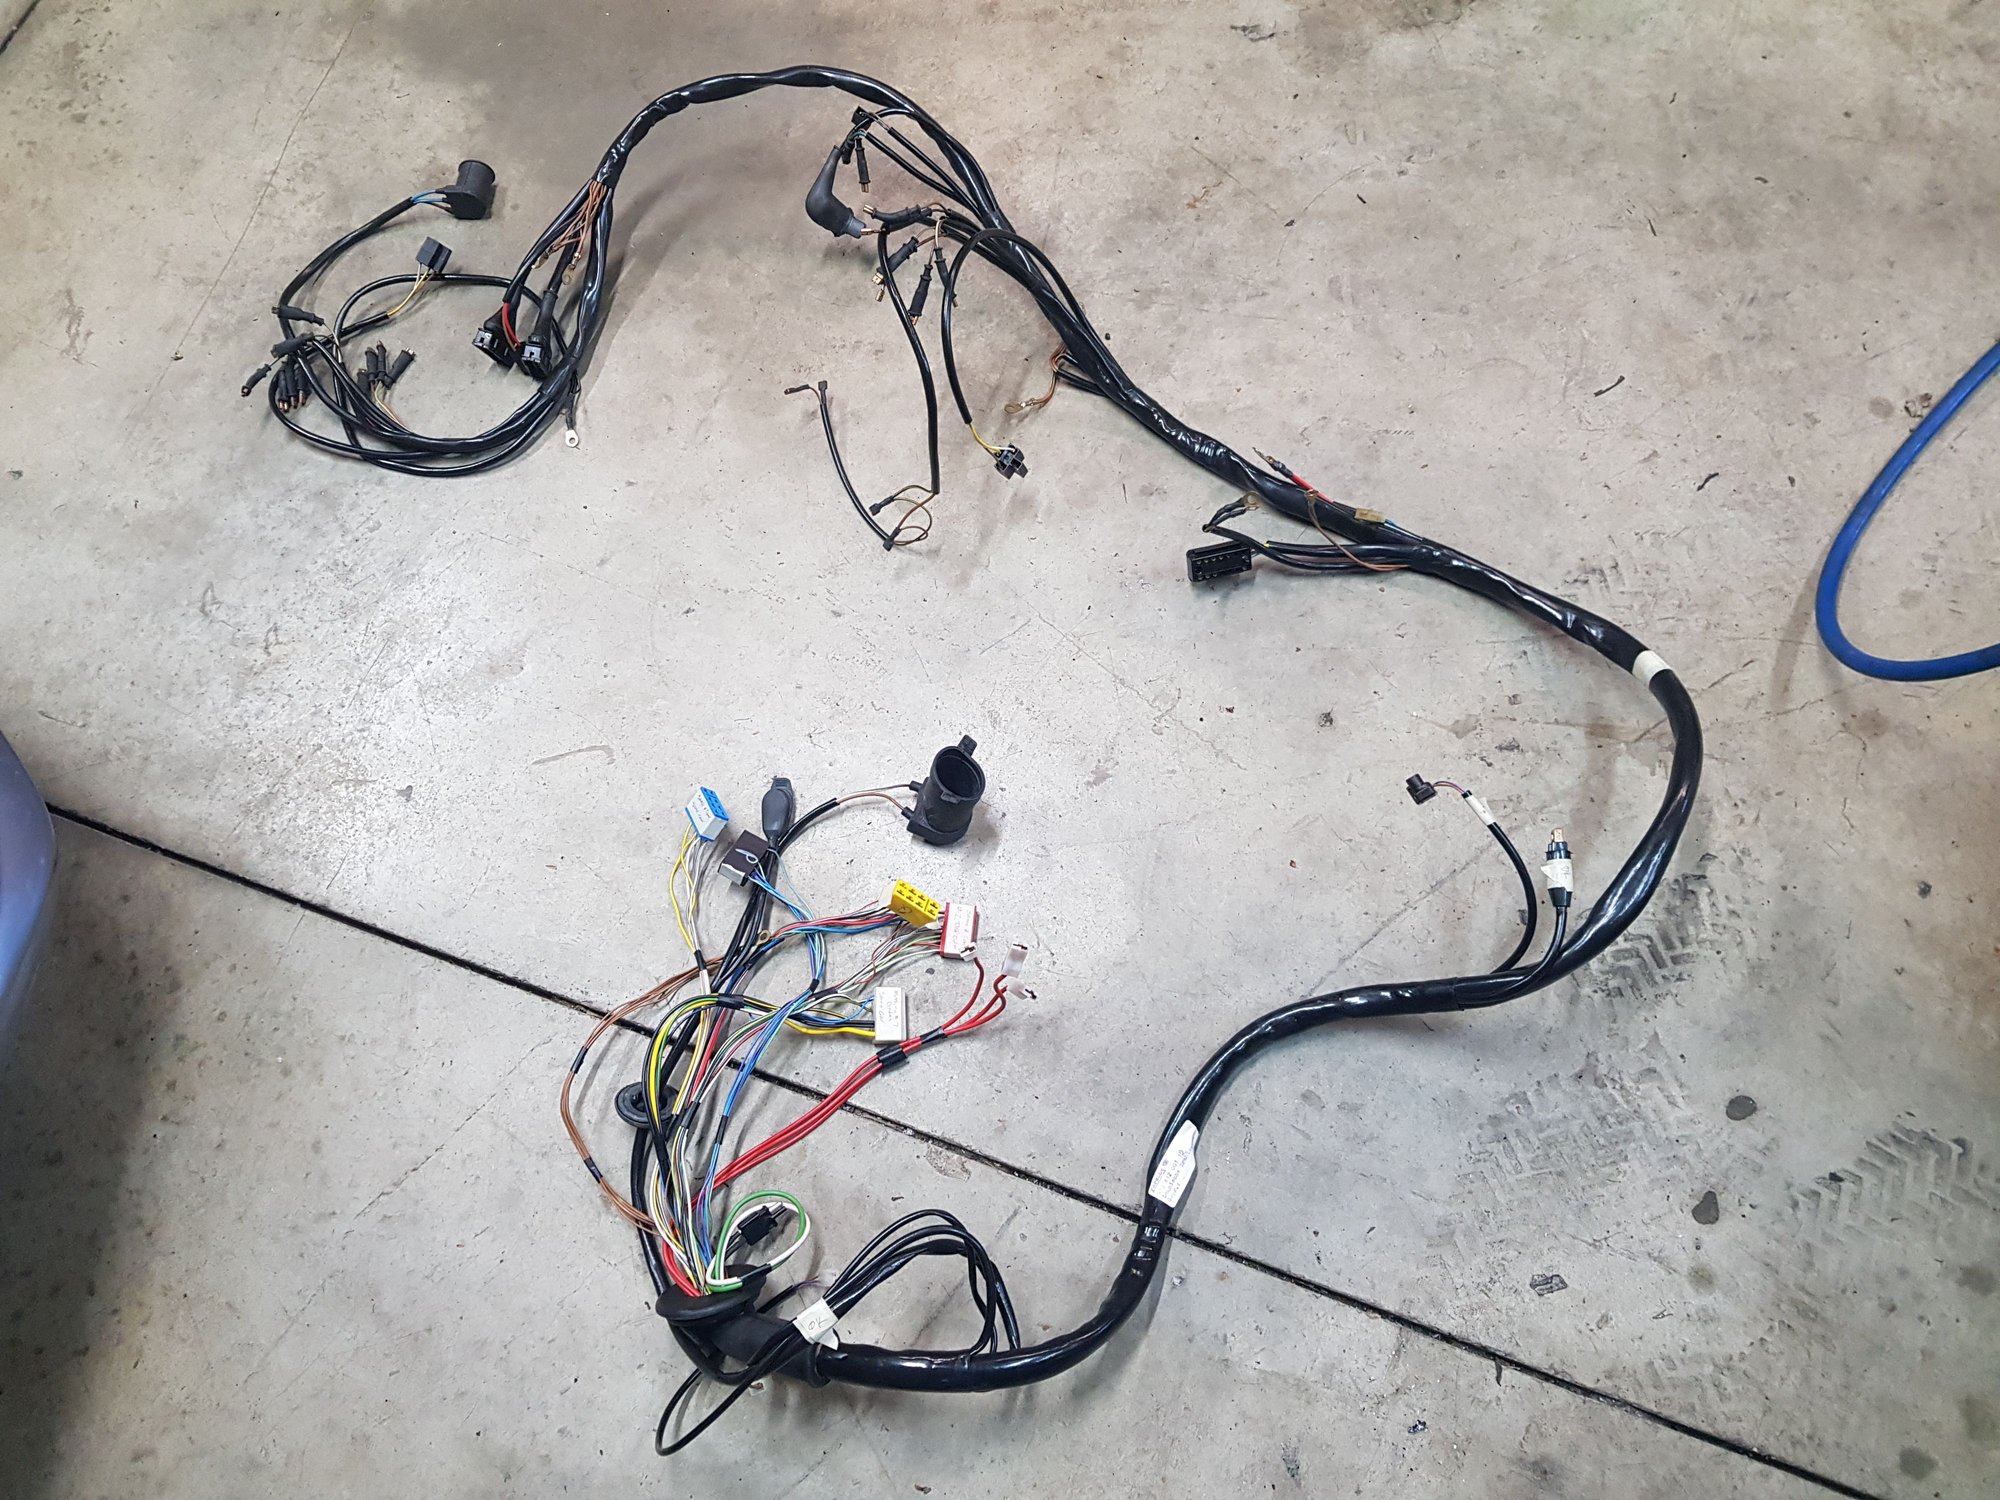
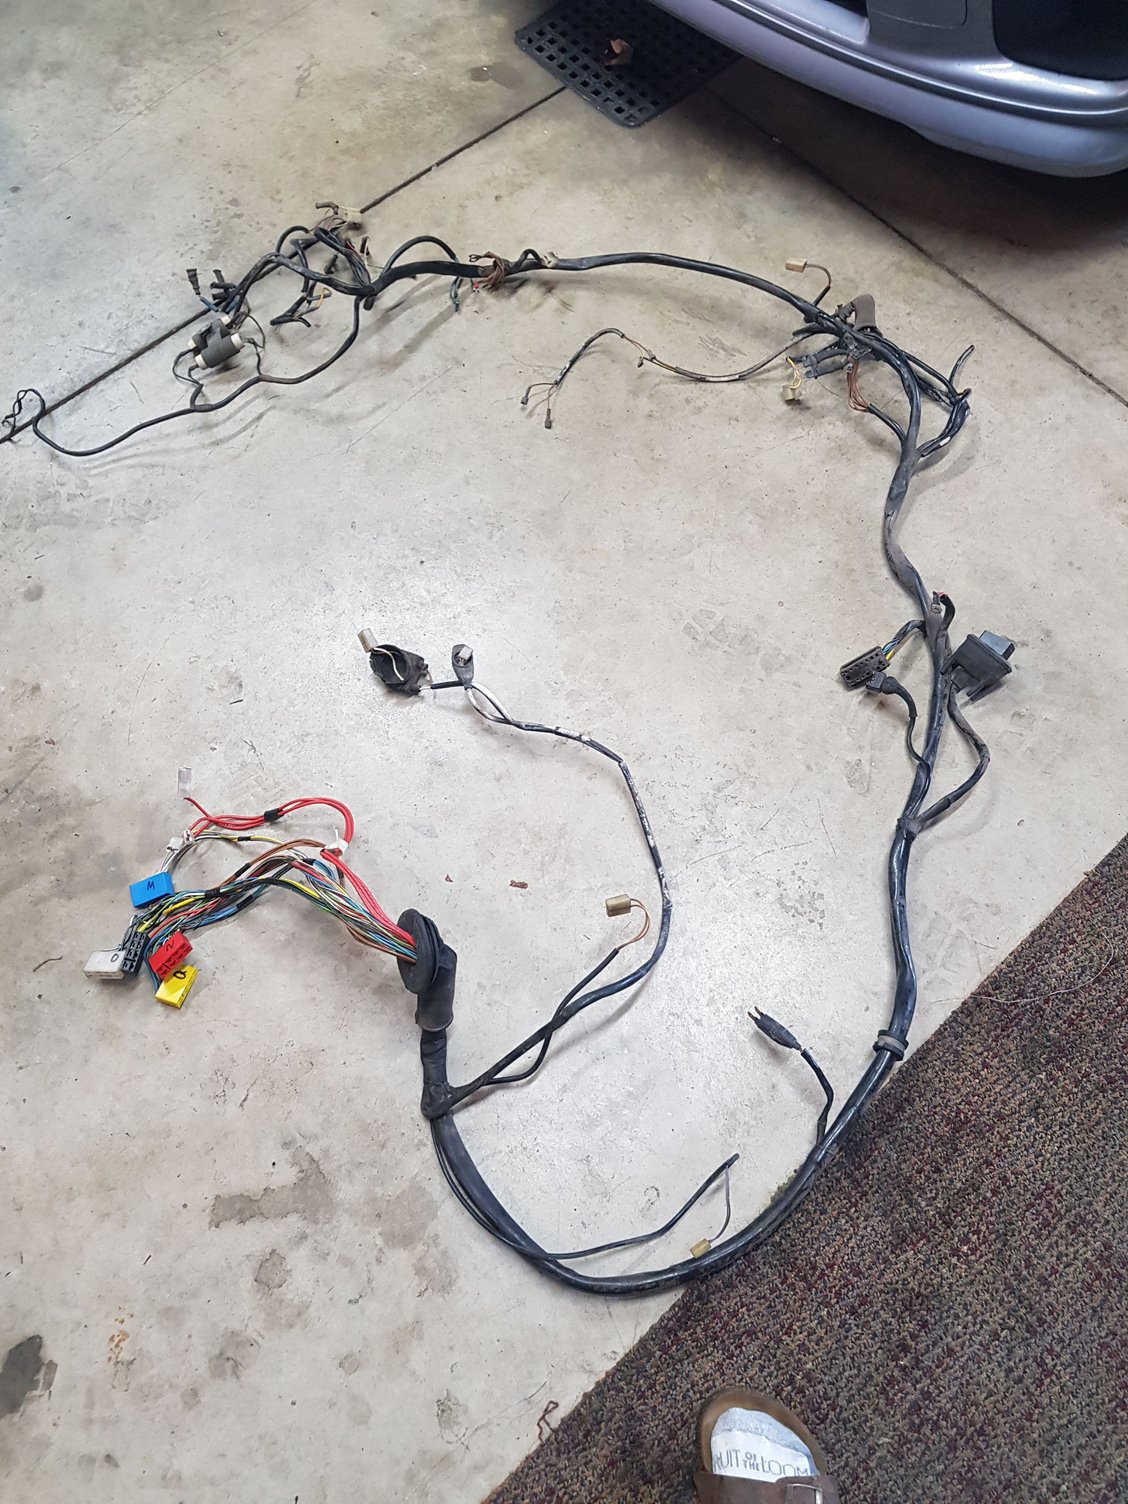
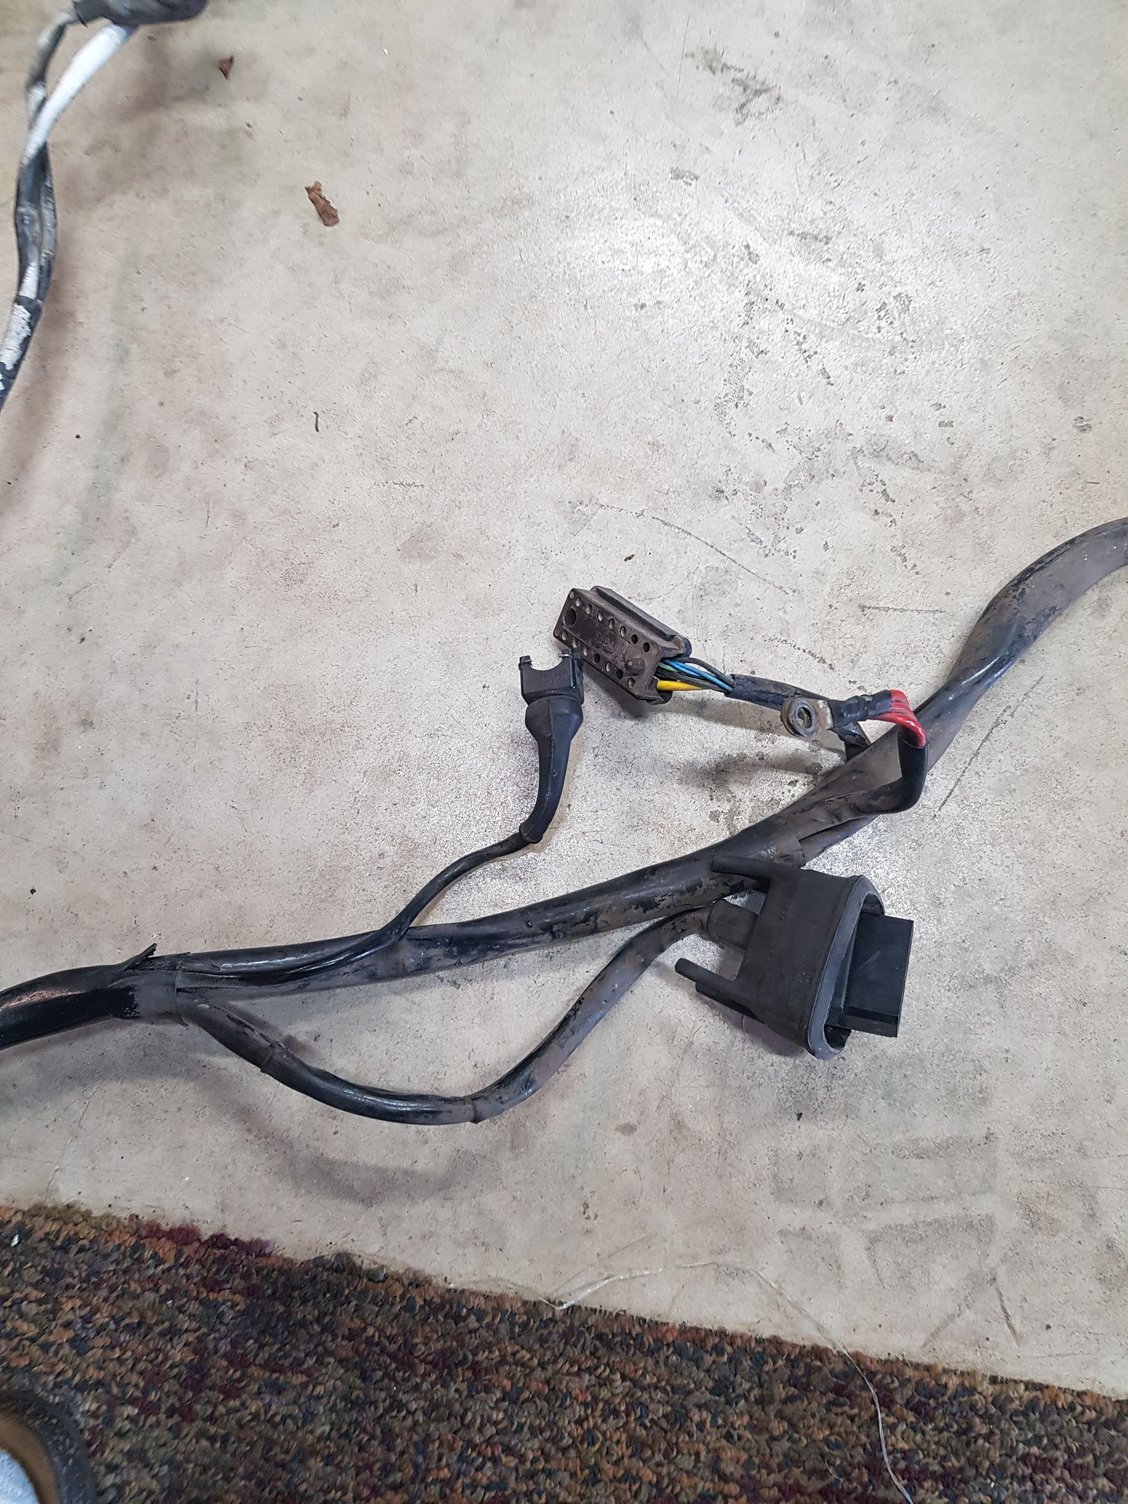
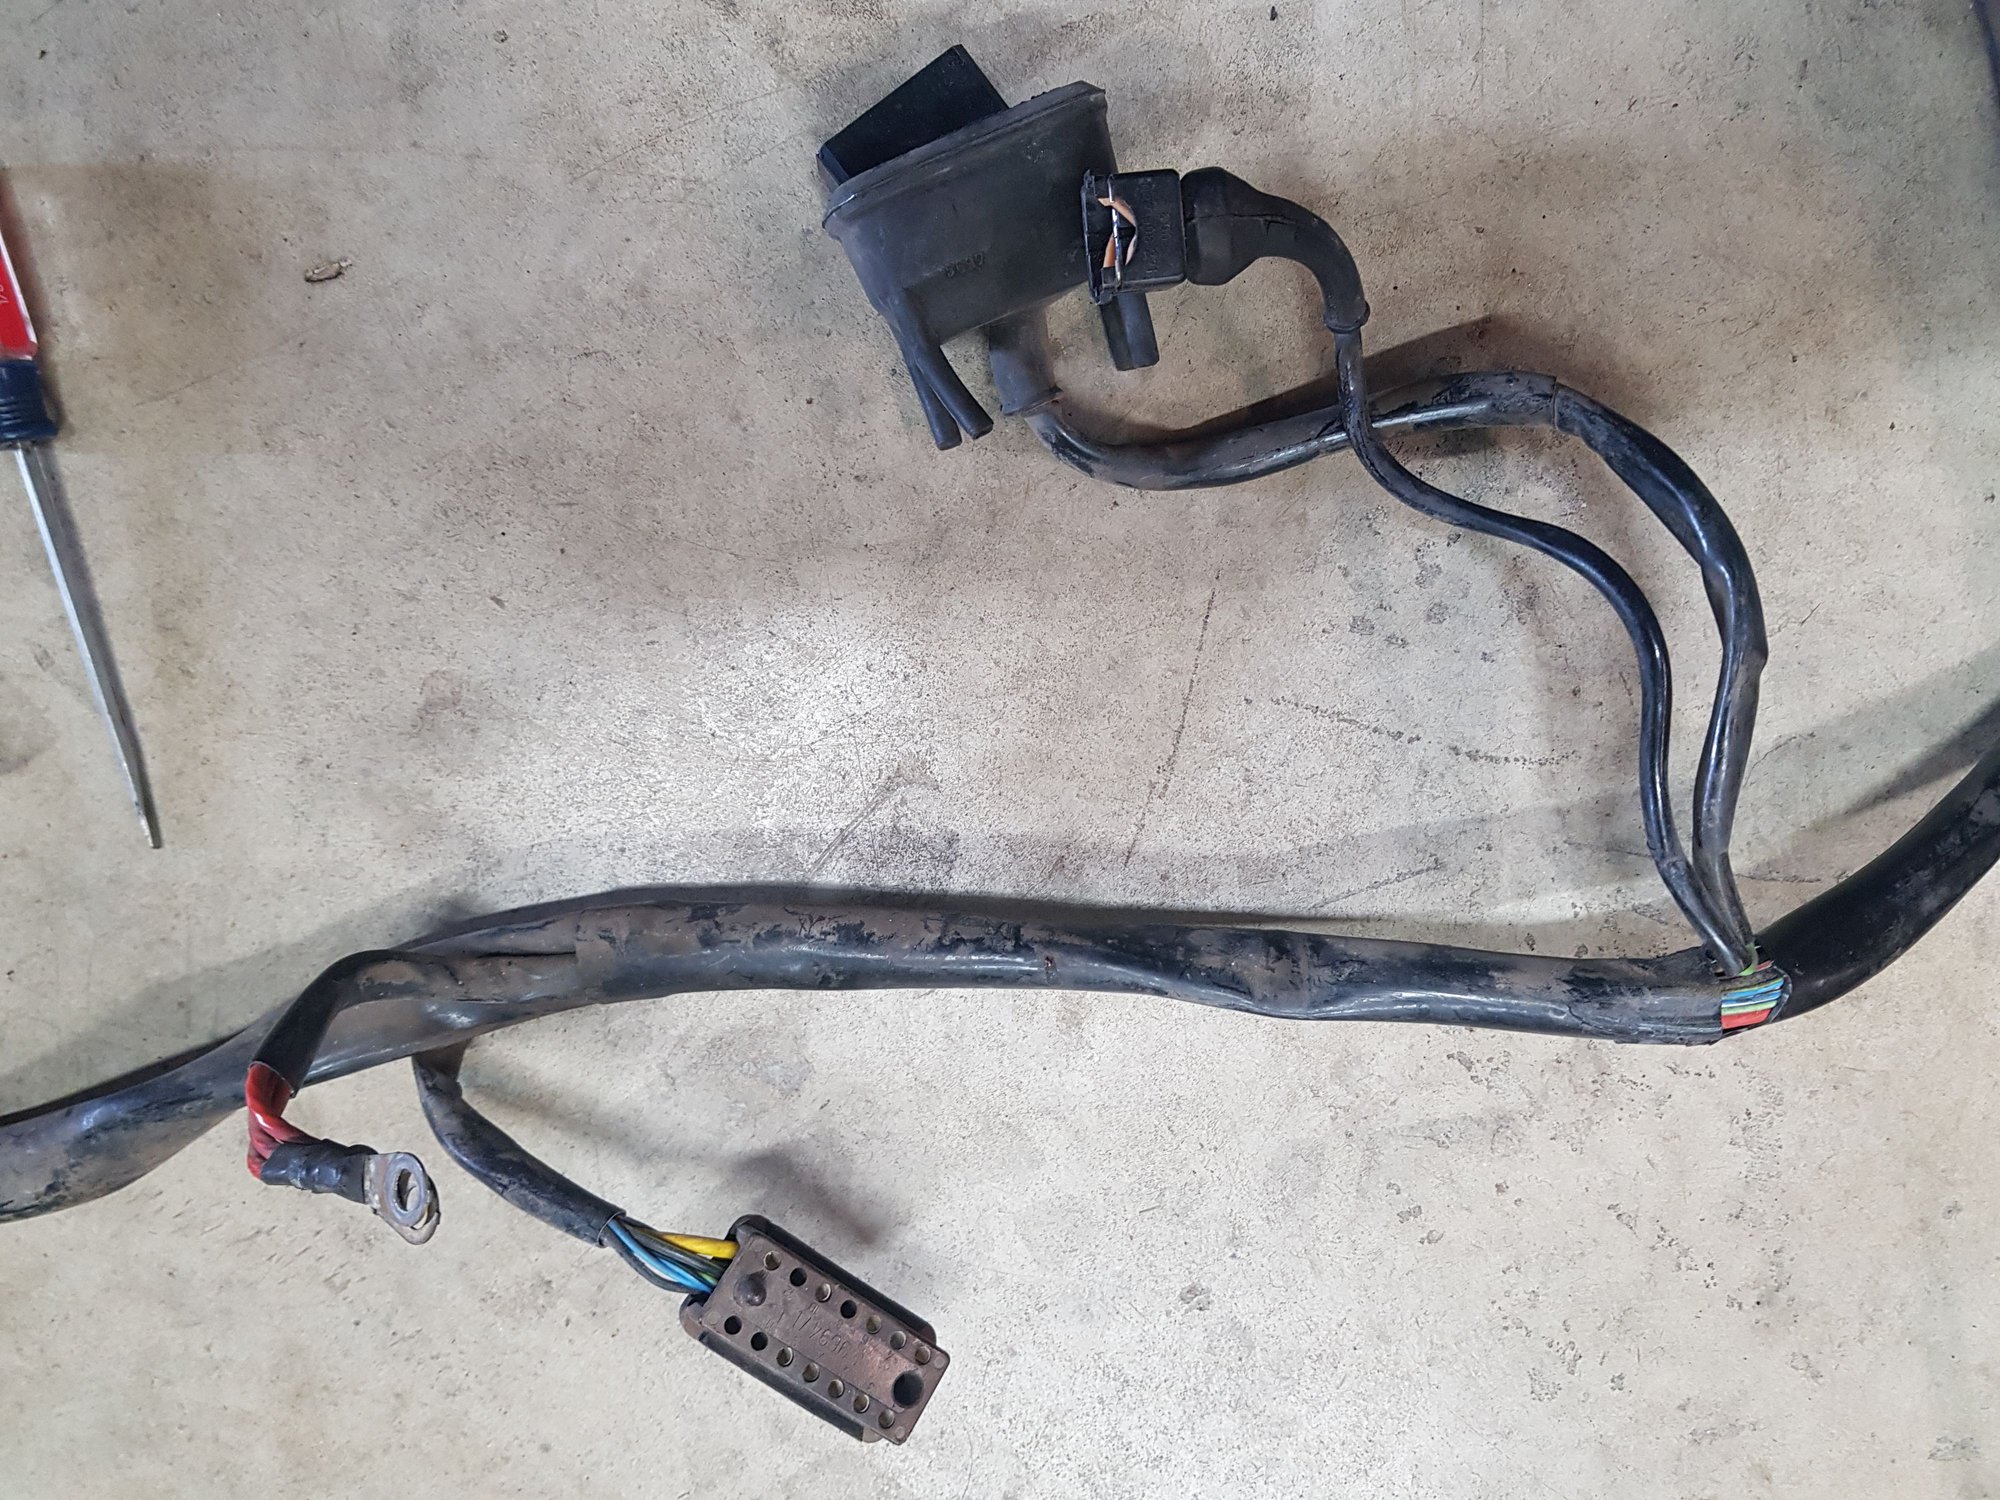
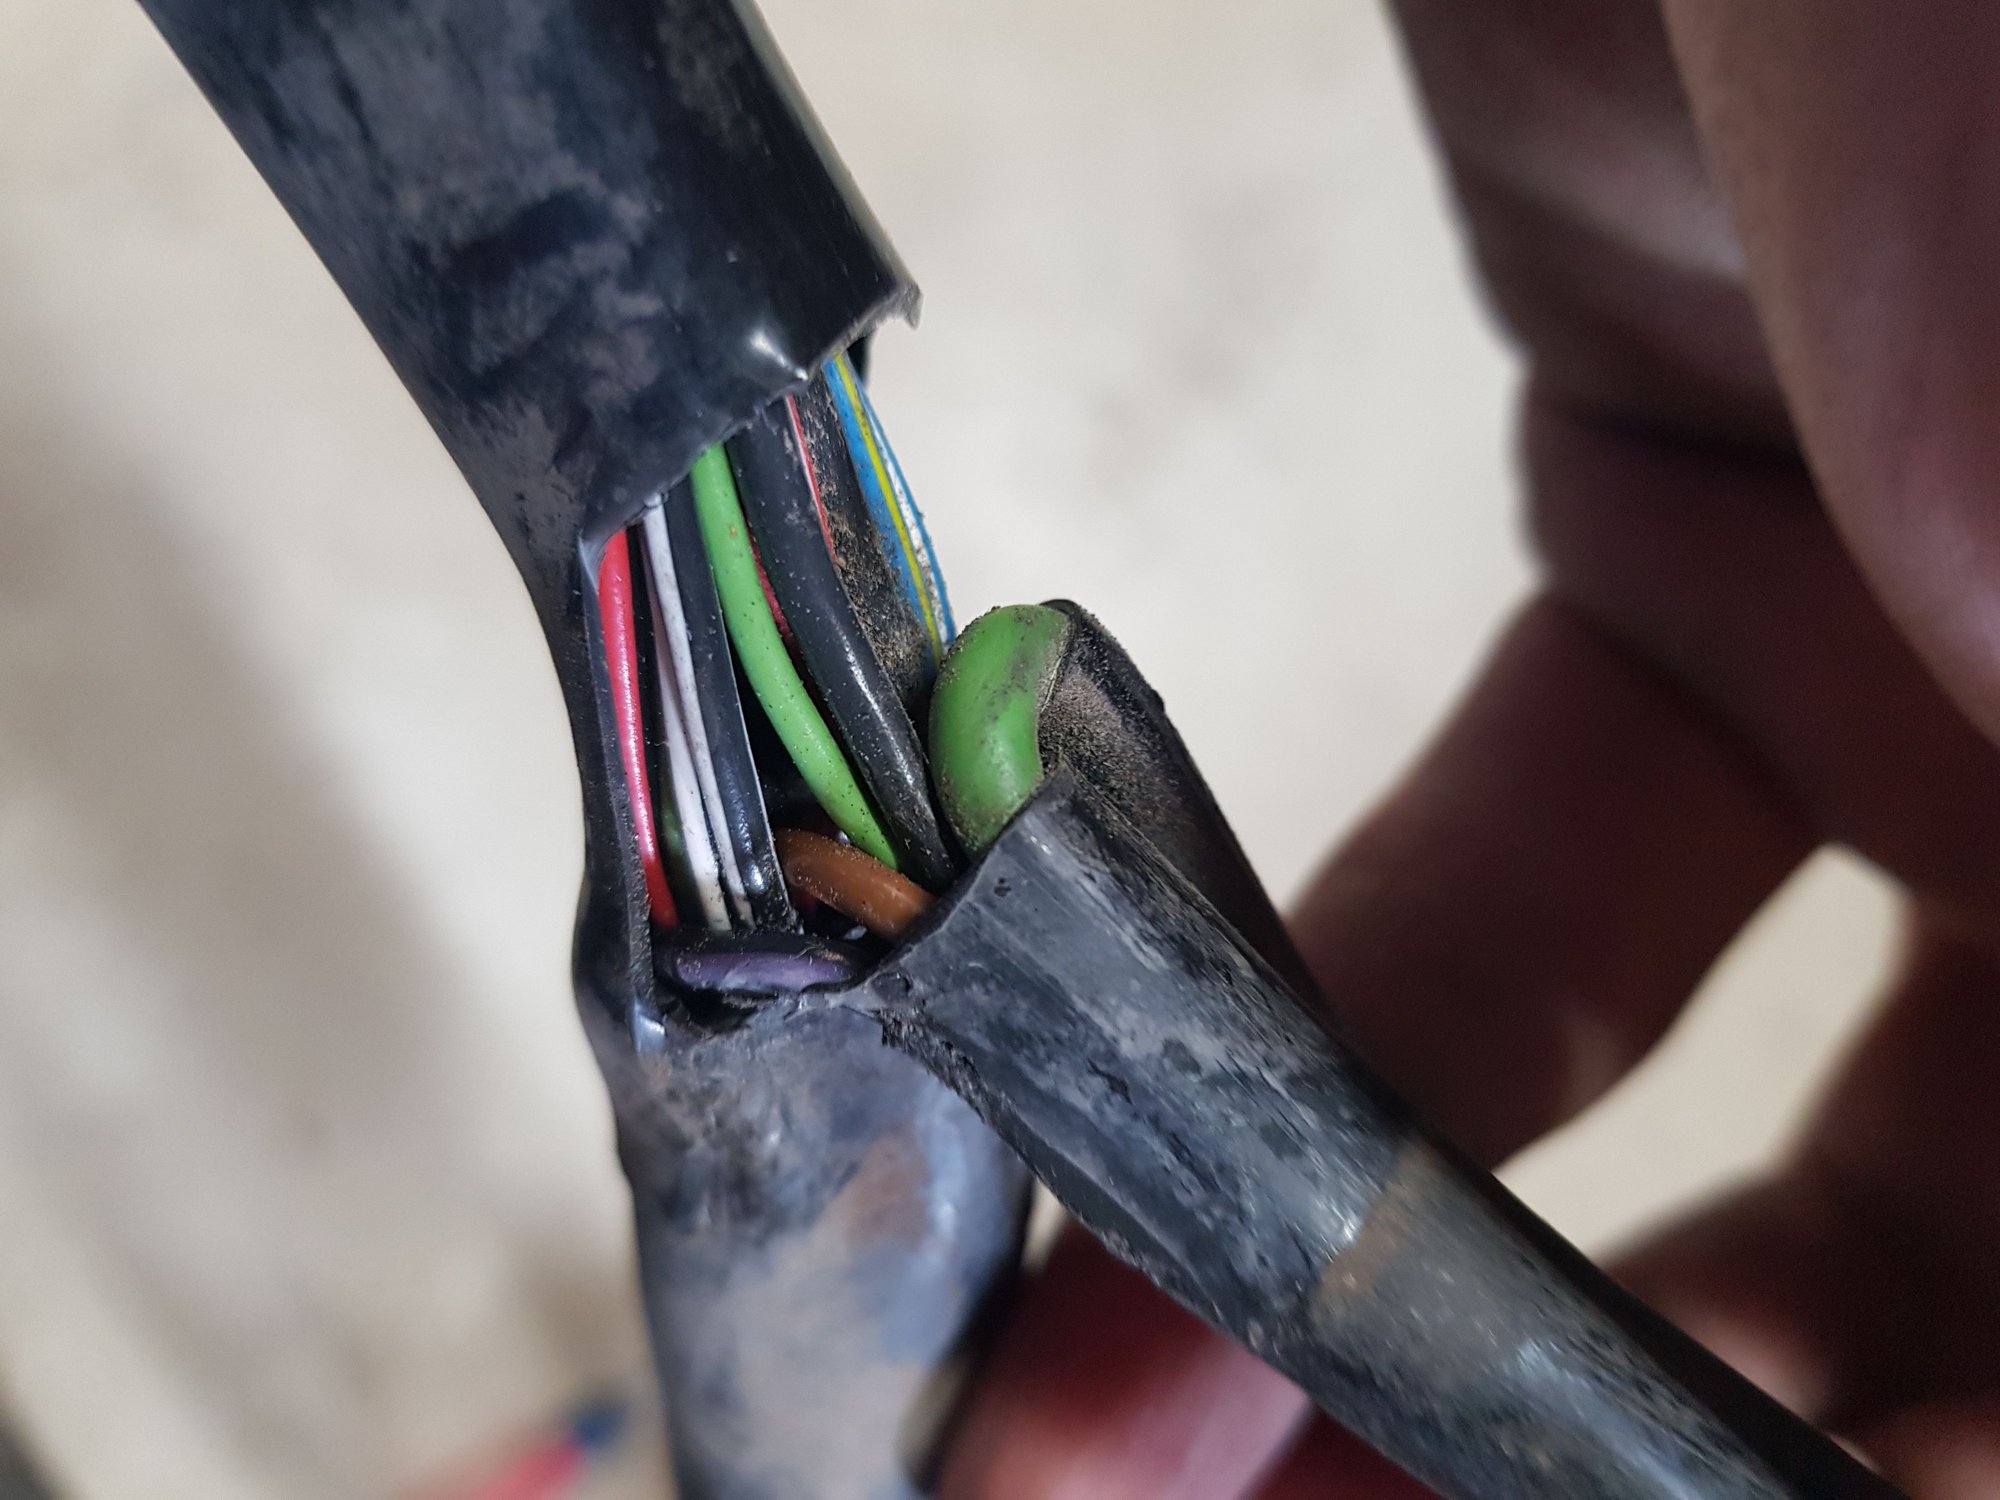
My old harness is in very poor shap . The jack is cracking, wire splices, overspray, and poor fittings plugs. I looked at the cost of new and found a new new Arabian spec for less than half the price. Here is how I am changing it to work in my car. Both are the same MY and wire colors are identical and need to change the ignition circuits. New harness. Old harness. Ignition module and green wire connectors. Old harness at point where ignition circuits exit main harness. Large boot and socket for control module, small socket is green wire which runs right back to large socket. 2 wires, green and black, run back to CE, should be O6 and O7. LH uses 06 and is correct color and 07 is open on plug at CE. (Add)
Sorry to hear about your dad god bless your family.
Thats a really clean engine bay, From your pictures,
replace the coolant bottle and the hard metal coolant line line,
Roger has new double O ringed throttle shaft seals for the throttle body.
I would suggest you buy a new ATE Booster and NEW ATE master cylinder,
they are still available and you will never have to question either of them again. also swap in the 4 SS flex lines.
If your putting in Volvo mounts you can leave off the finger plates so you dont have to paint them.
Good luck with your restoration
Old bushings Cut thru with knife. Both sides until you can drive center out. Start at seam and fold steel bushing in on itself until you can remove it. DON'T hit yer hand, it hurts! Old steel bushing. Clean out the bore. Thin film of grease on bushings and used c clamp and 27mm socket to install. New bushings are installed with the flanges on bottom of rack. There is additional steel protruding above top, trying to find out if these will need peened over.


 11-11-2020 | 01:37 PM