When you click on links to various merchants on this site and make a purchase, this can result in this site earning a commission. Affiliate programs and affiliations include, but are not limited to, the eBay Partner Network.
Thank you, Dave C! I appreciate the kind words.
I may not necessarily be money ahead, but I know exactly what I've got in this alternator and starter. Good to know.
Alright, I got some functional testing done on the starter and solenoid.
I used a jump pack as the power source. The starter operates well. Pull in current is around 100A, with free spinning current around 61A. Not bad. Starter makes no odd noises, and pulls in cleanly.
My first idea to test the continuity across the solenoid contacts did not go so well. I removed the starter wire from the terminal on the solenoid. Applying power to the start terminal on the solenoid produced no results. I forgot, this type of solenoid grounds through the starter. So, I decided to do a functional test under load.
With the starter energized, there was 9.76VDC at the battery post on the solenoid. There was 9.72VDC at the starter post on the solenoid. So, very little voltage drop across the contacts. I declare this solenoid OK, and not needed to disassemble. Which is good, because I am unable to find a replacement that doesn't have a starter attached to it.
Thanks for posting the bench tet numbers! I have to get my fire exposed starter and would rather do it on the bench, particularly because the engine is out, too.
fraggle and BigCavolo: You are both quite welcome! There is not much to either an alternator or a starter. Clean them up, replace what is bad, and you are good to go!
*Disclaimer: I am in no way shape or form saying or even implying that the work and methodology shown above are the same as or better than a proper REMANUFACTURED alternator or starter.
These are just what I do to ensure I have a serviceable unit. Use my ideas freely, but at your own risk.
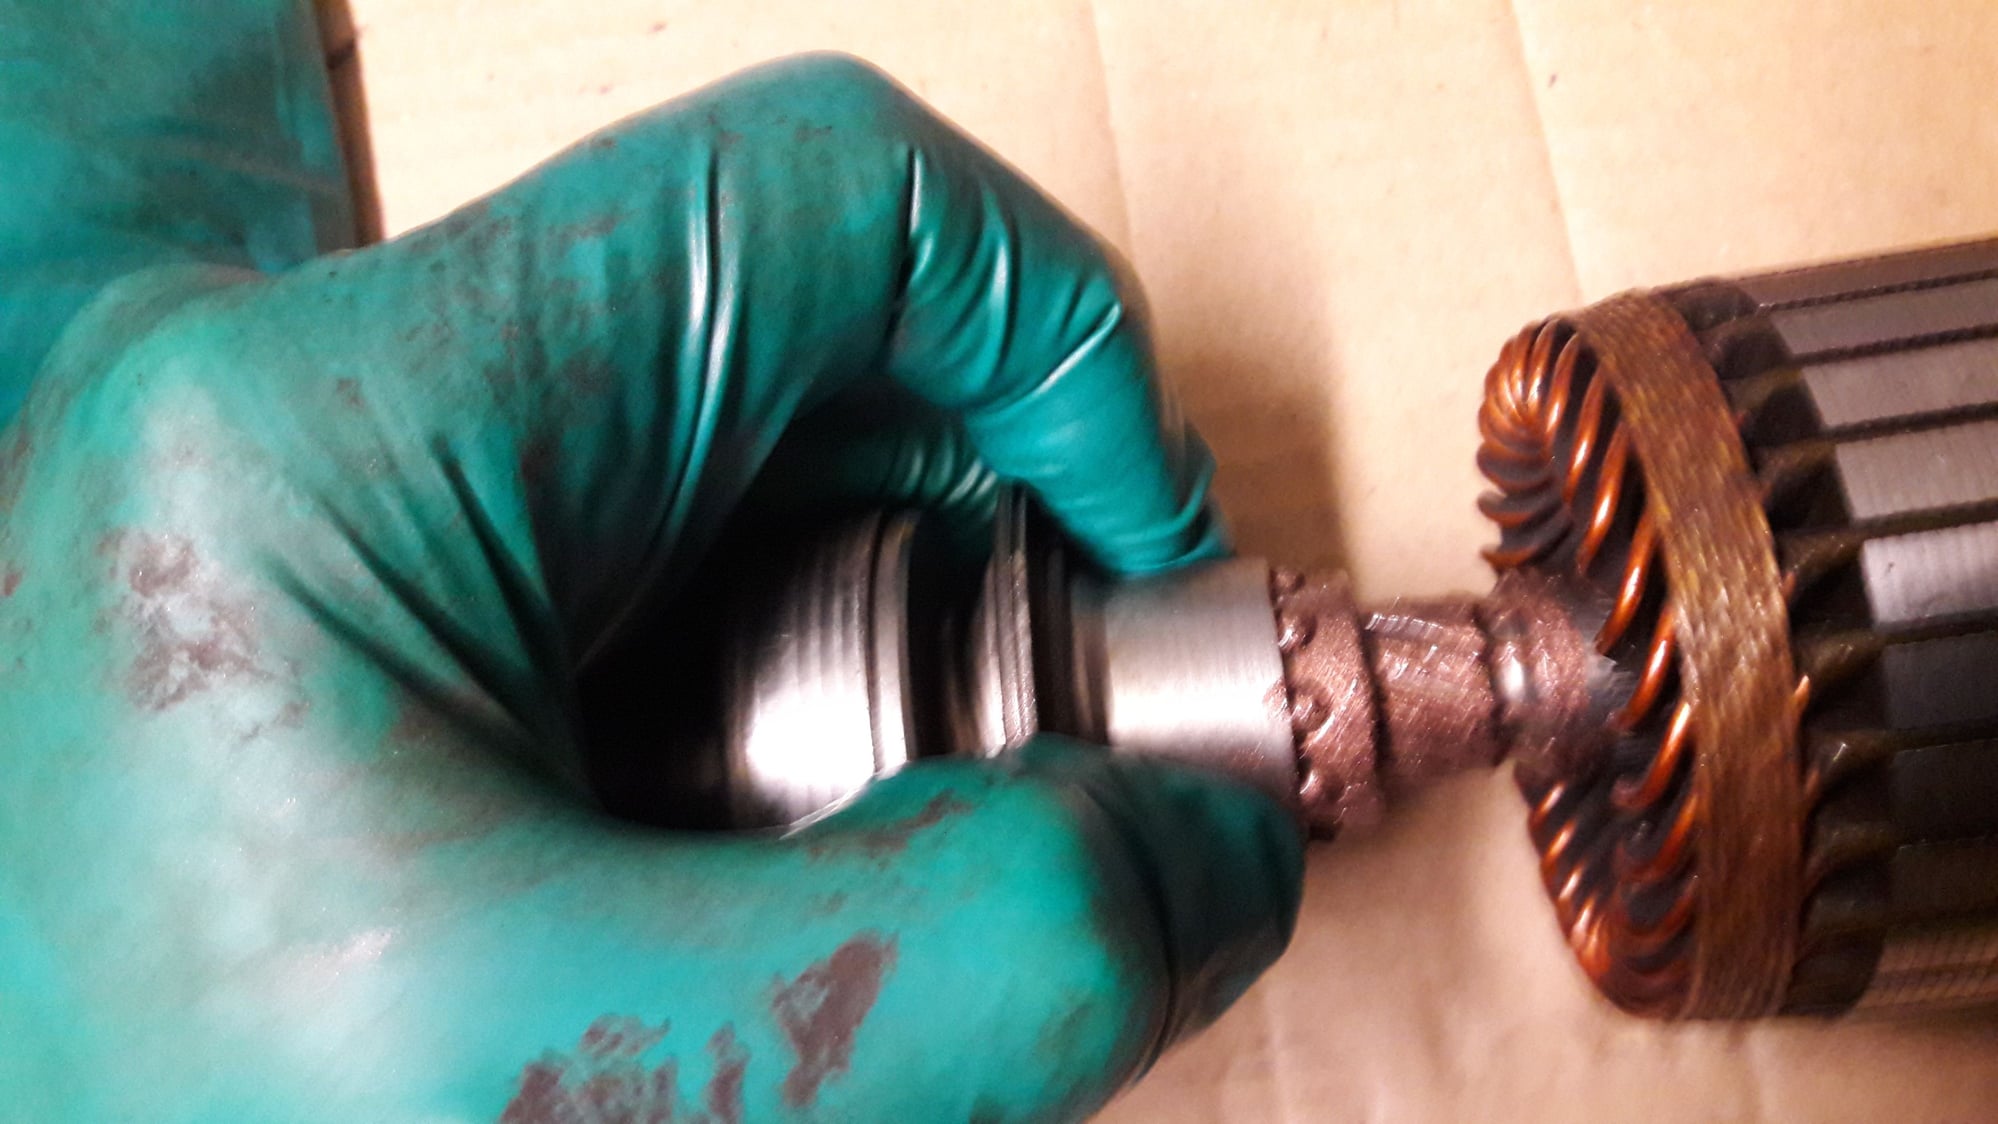
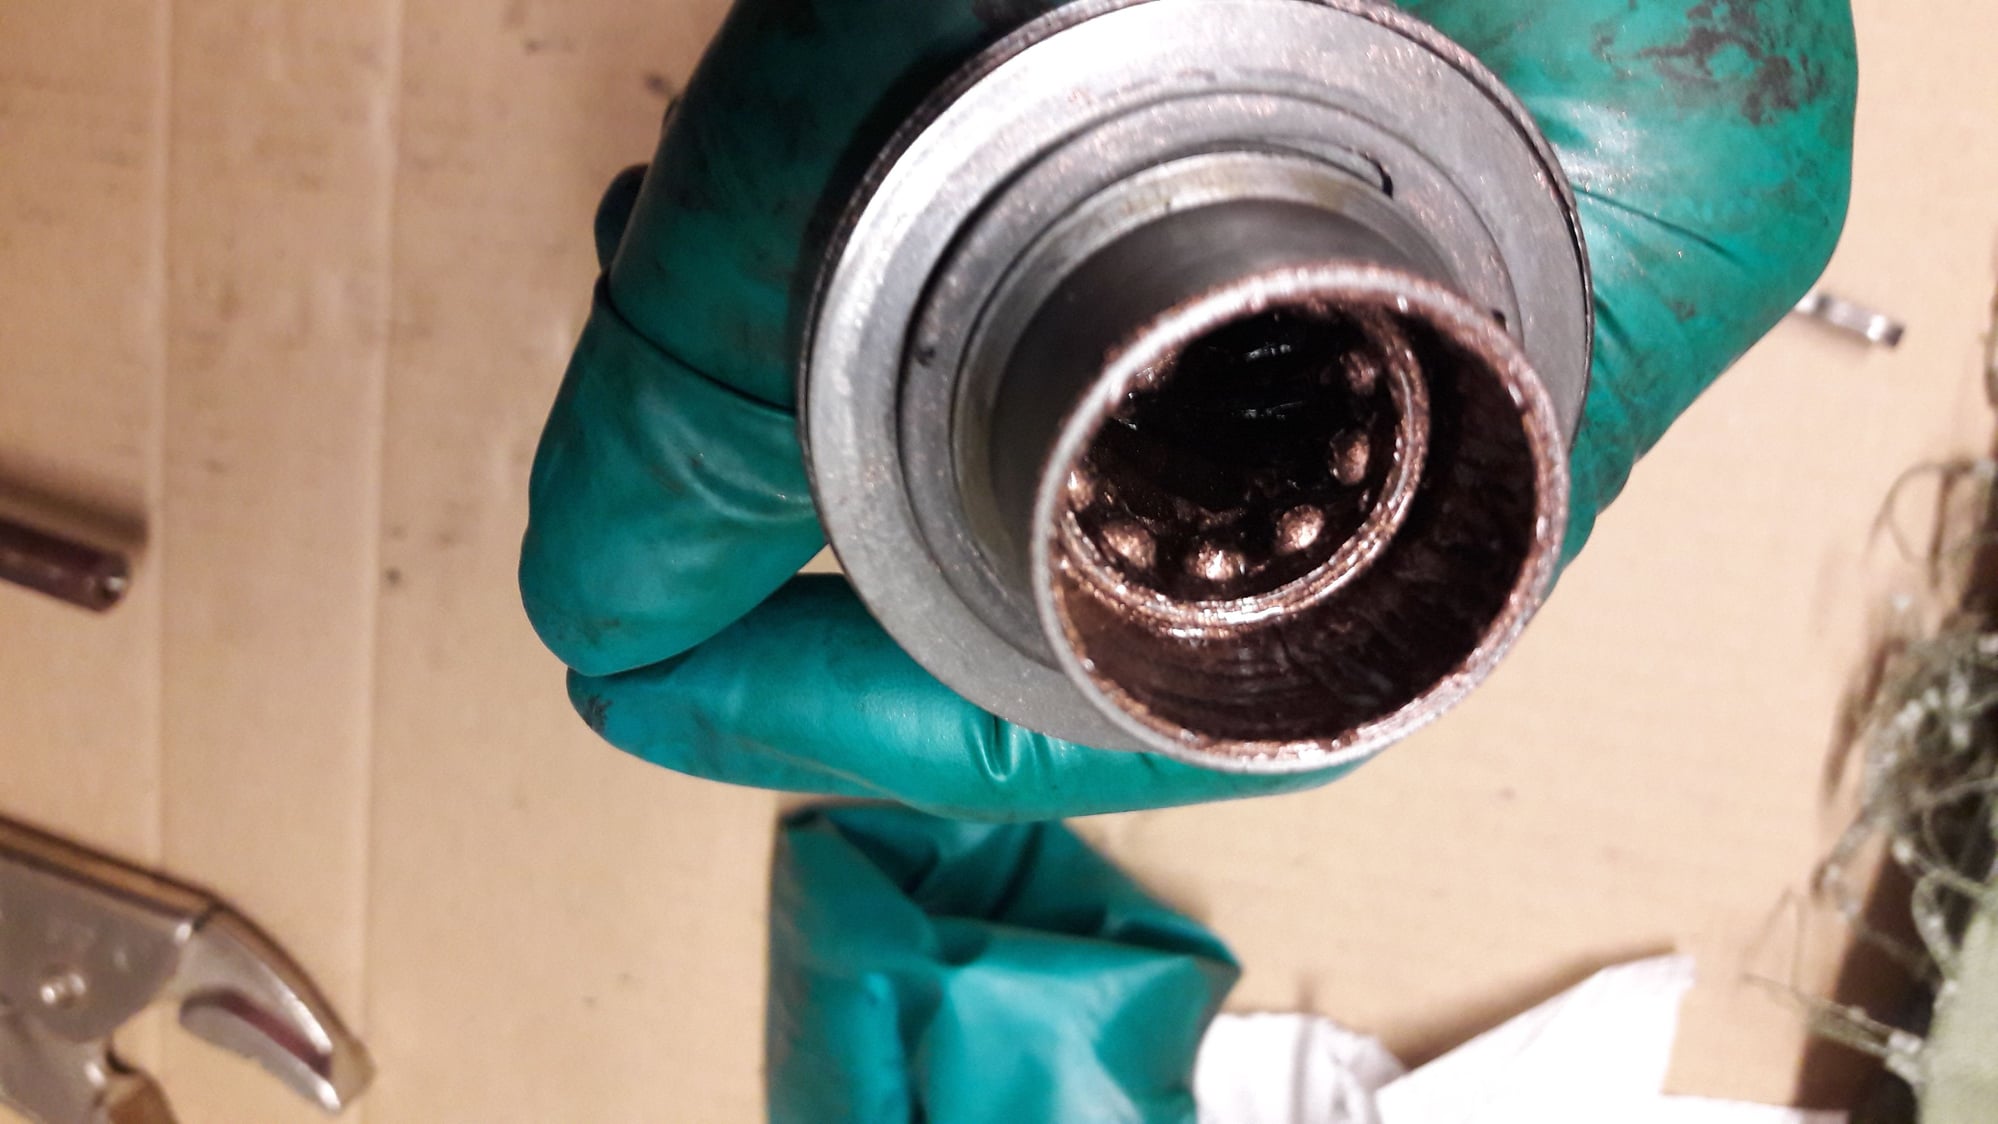
Great write up skpyle, I had a problem with my starter jamming on and the thread was very useful. Bushes/brushes looked good on my unit but the Bendix(?) operation didn't seem to be very smooth. There appears to be a clutch on the end of the drive shaft which was quite tight but smooth atuationg but the "throw out" action that occurs when the yoke is actuated by the solenoid didn't seem to be very smooth on mine. The solenoid pull as you say which pushes the ring and releasing a "latch" between the ring part and 10 ball bearings in a simple cage underneath. This allows the Bendix to extend (and mesh with the flywheel ring gear). If one pulls the ring part back, compressing the spring, it is possible to withdraw the whole end of the shaft. It is then easy to remove the ball bearings, clean and grease lightly. To get it back together is fiddly but grease can be used to hold the ball bearings in the cage whilst the shaft is pushed back in however you will need to retract the ring/compress the spring to open the "latch" Difficult to know of this has fixed the sticking on problem yet as I have yet to test on the car. Bad pictures below, sorry about the quality but I was doing this one (greasy) handed...
C531XHO: Outstanding! Thank you for making my thread that much better. That is some good information there.
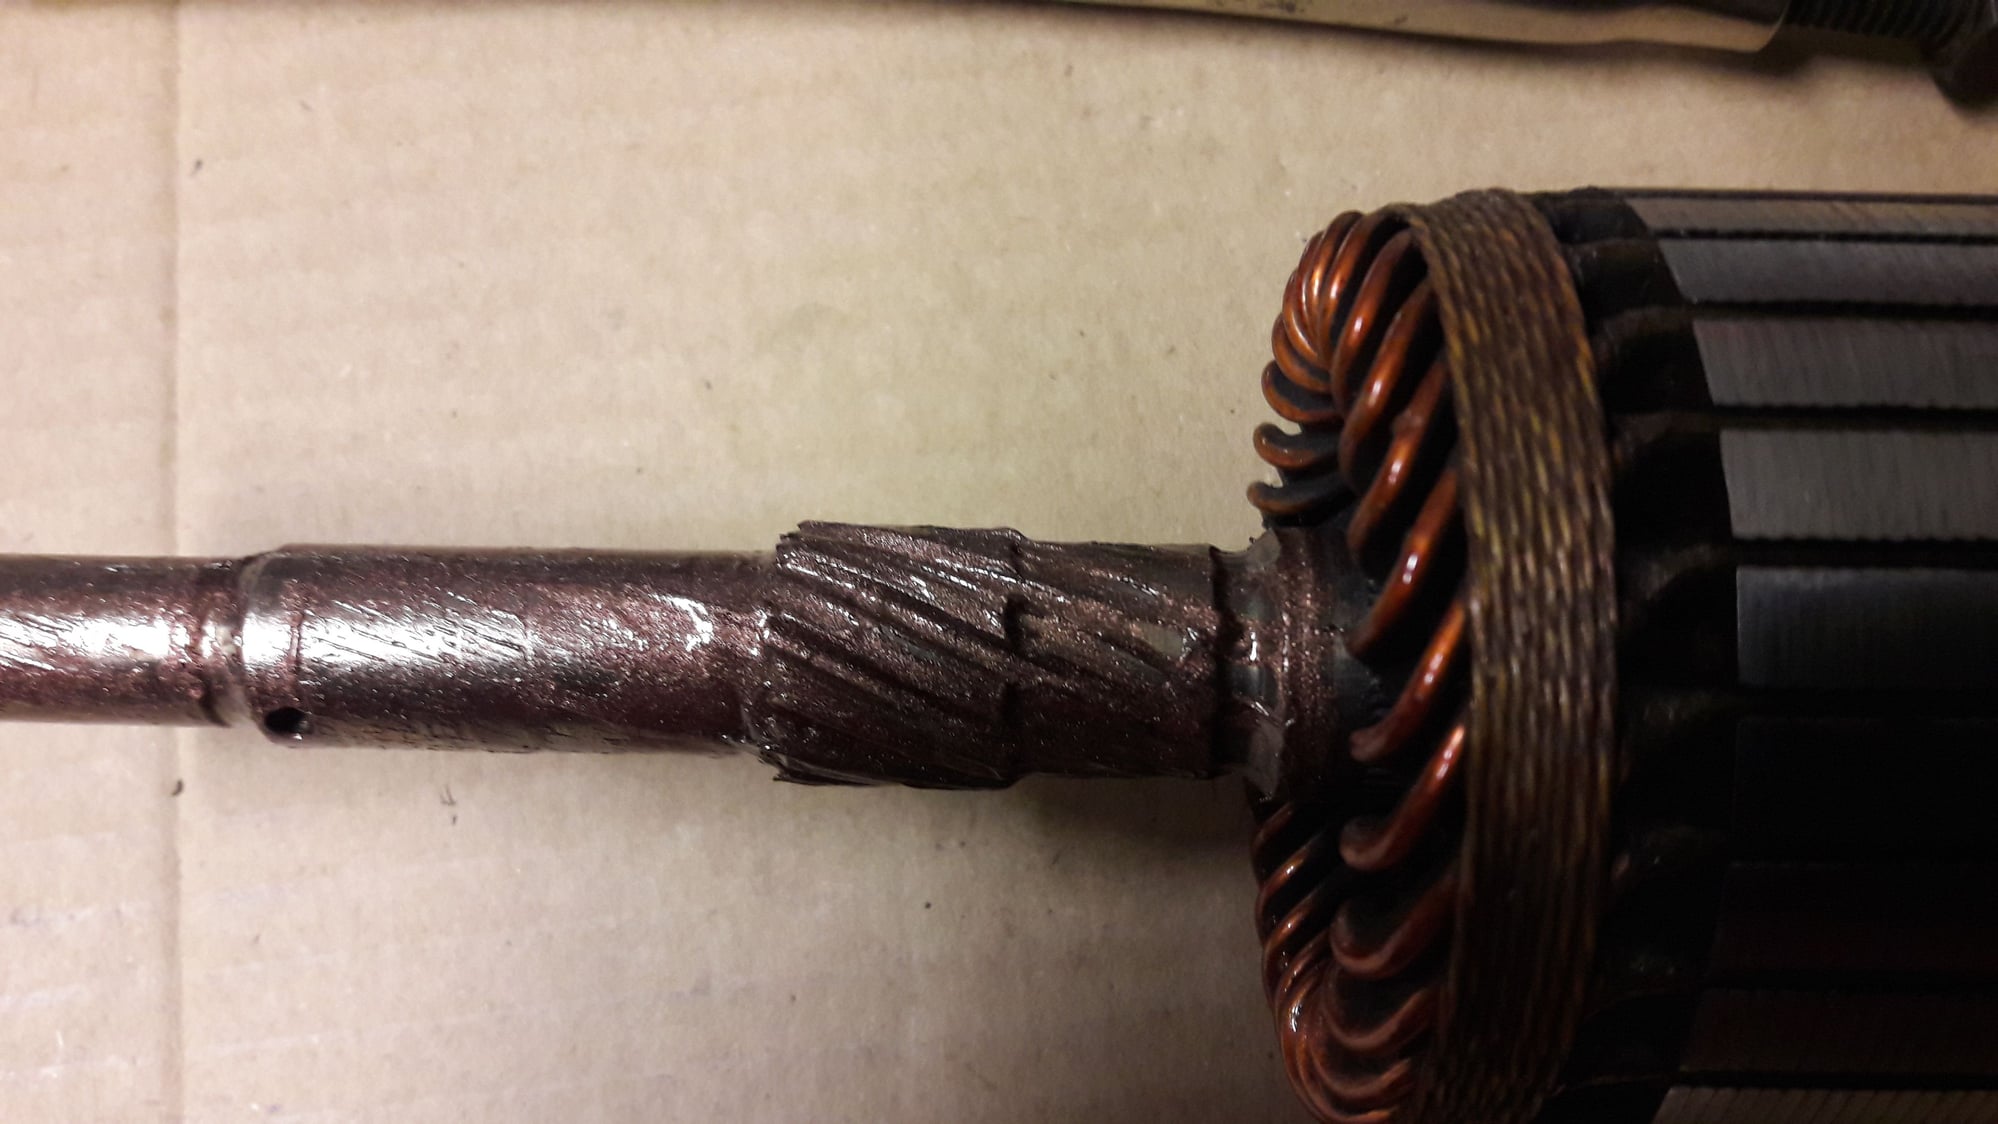
The starter I cleaned up had smooth action on the kick out for the sprag clutch. I am going to leave it alone. However, now I know how to deal with the kick out if it starts getting bound up.
No problem Seth - you lead the way. I will post whether it has fixed the problem or not when I get it back on the car. Getting delayed going through rear end fuel pipe replacement at the moment, a major PITA...


 06-10-2016 | 08:58 PM