When you click on links to various merchants on this site and make a purchase, this can result in this site earning a commission. Affiliate programs and affiliations include, but are not limited to, the eBay Partner Network.
Jerry, I just wanted to say the work you're doing on this project is thrilling to watch. I do have a question for you in setting up and building your forms. Having spent numerous years as a welder/fabricator, I am simply curious. Would it work to box in the corners, then cover the metal areas (plastic wrap, wax paper) then fill the in with an expanded foam (spray foam). From there you have an exact mold of the area. That can easily be fiber glassed to give it strength. I'm interested in your thoughts.
if this starts to clog up the post then by all means PM me.
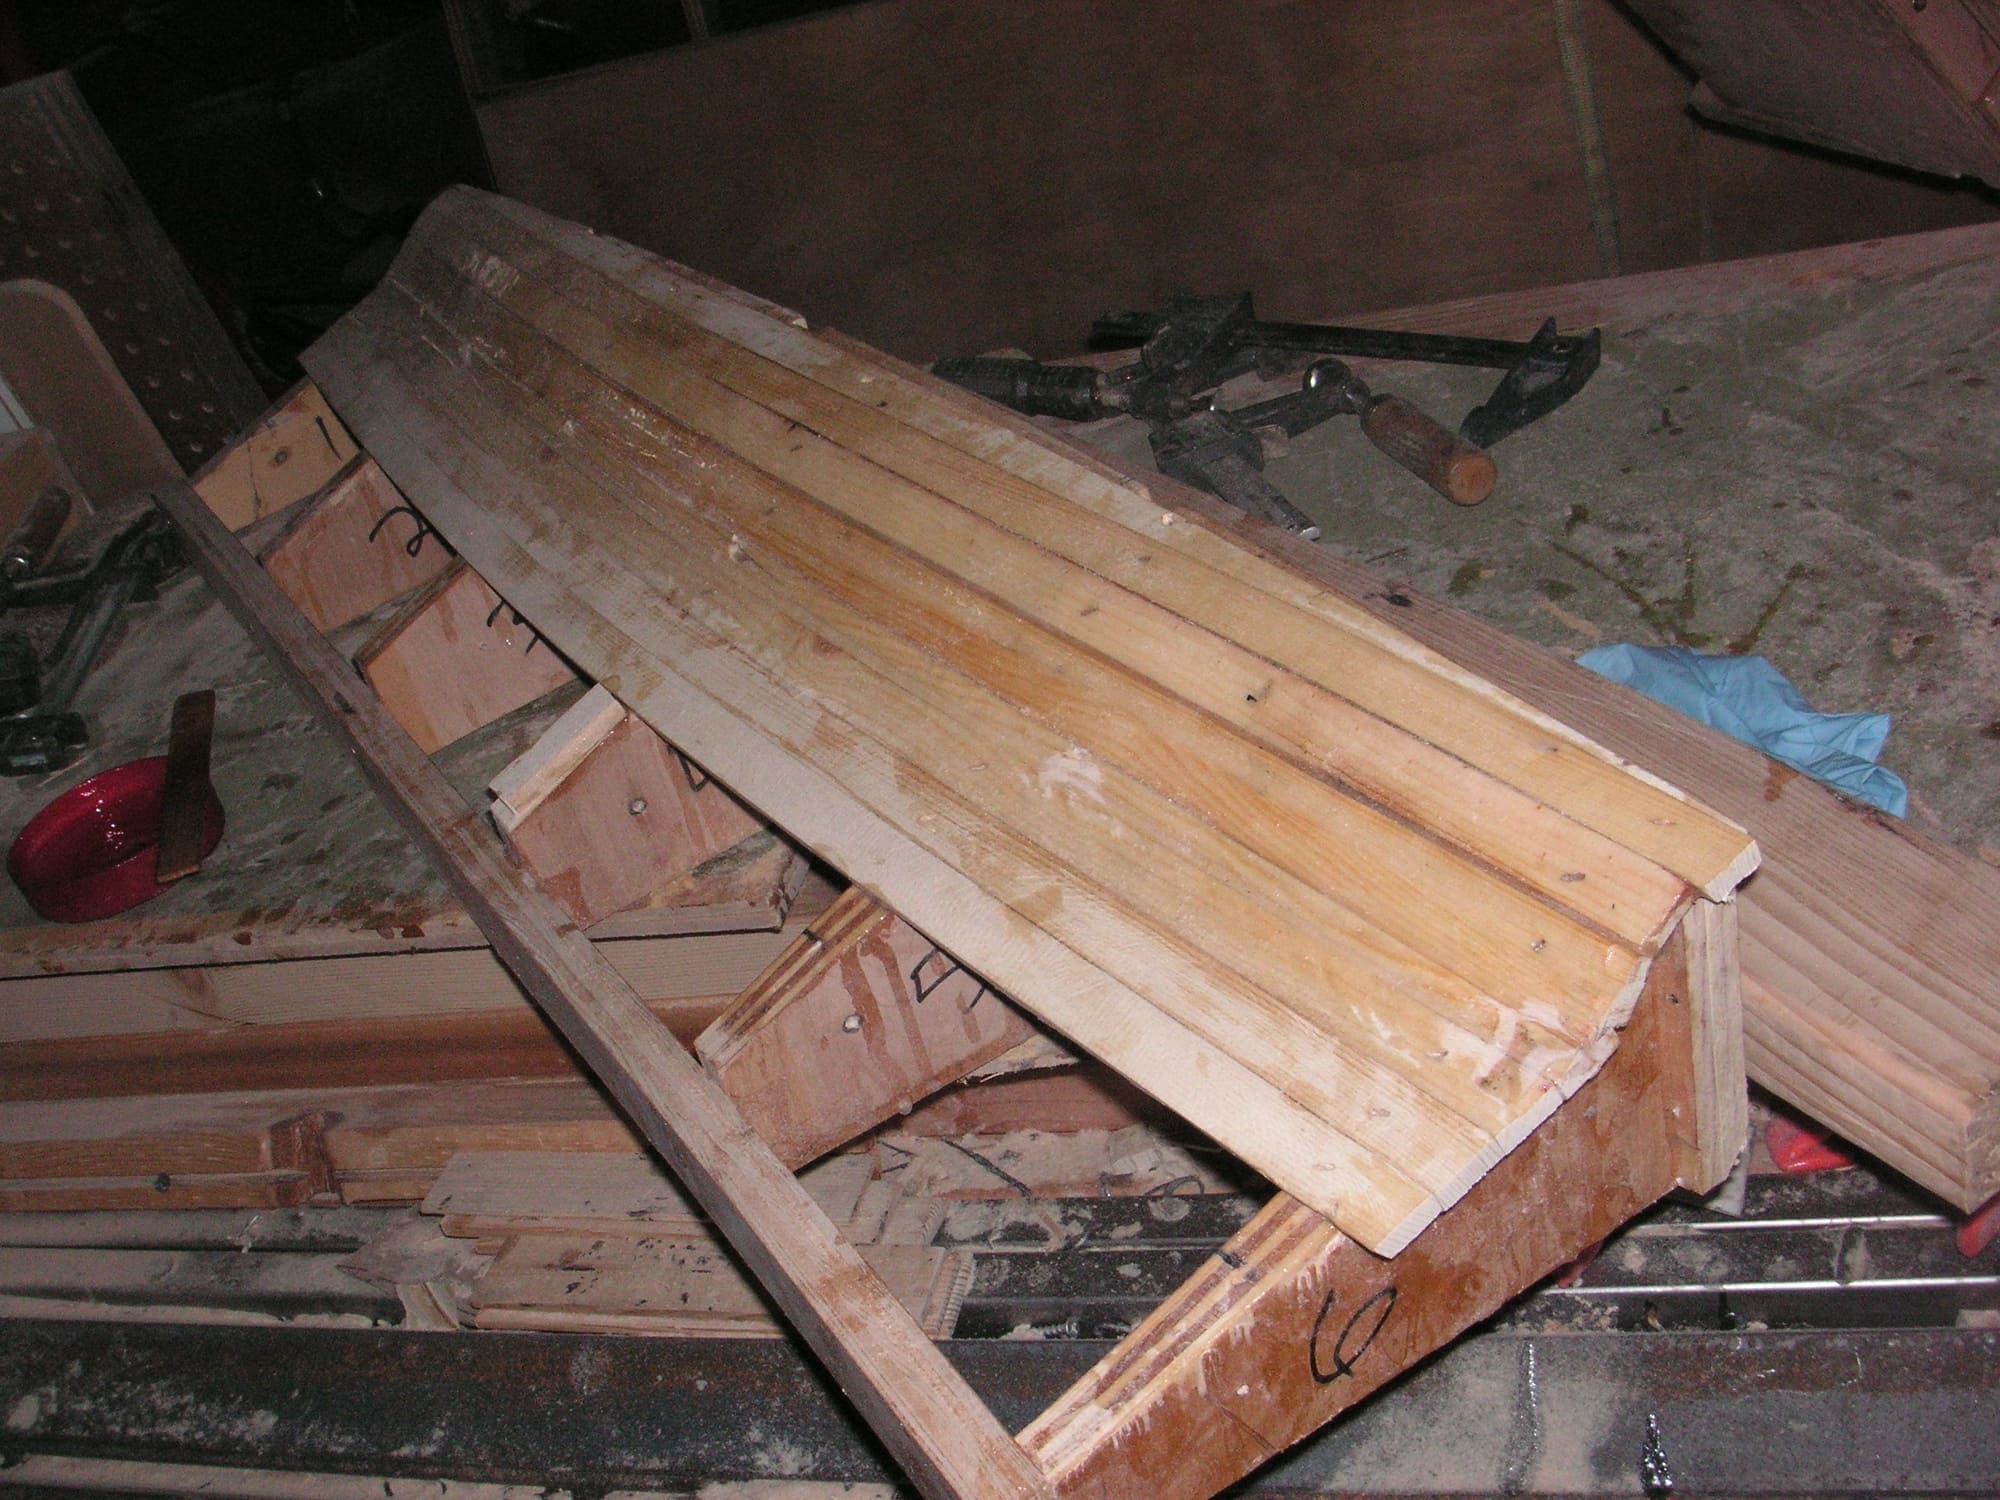
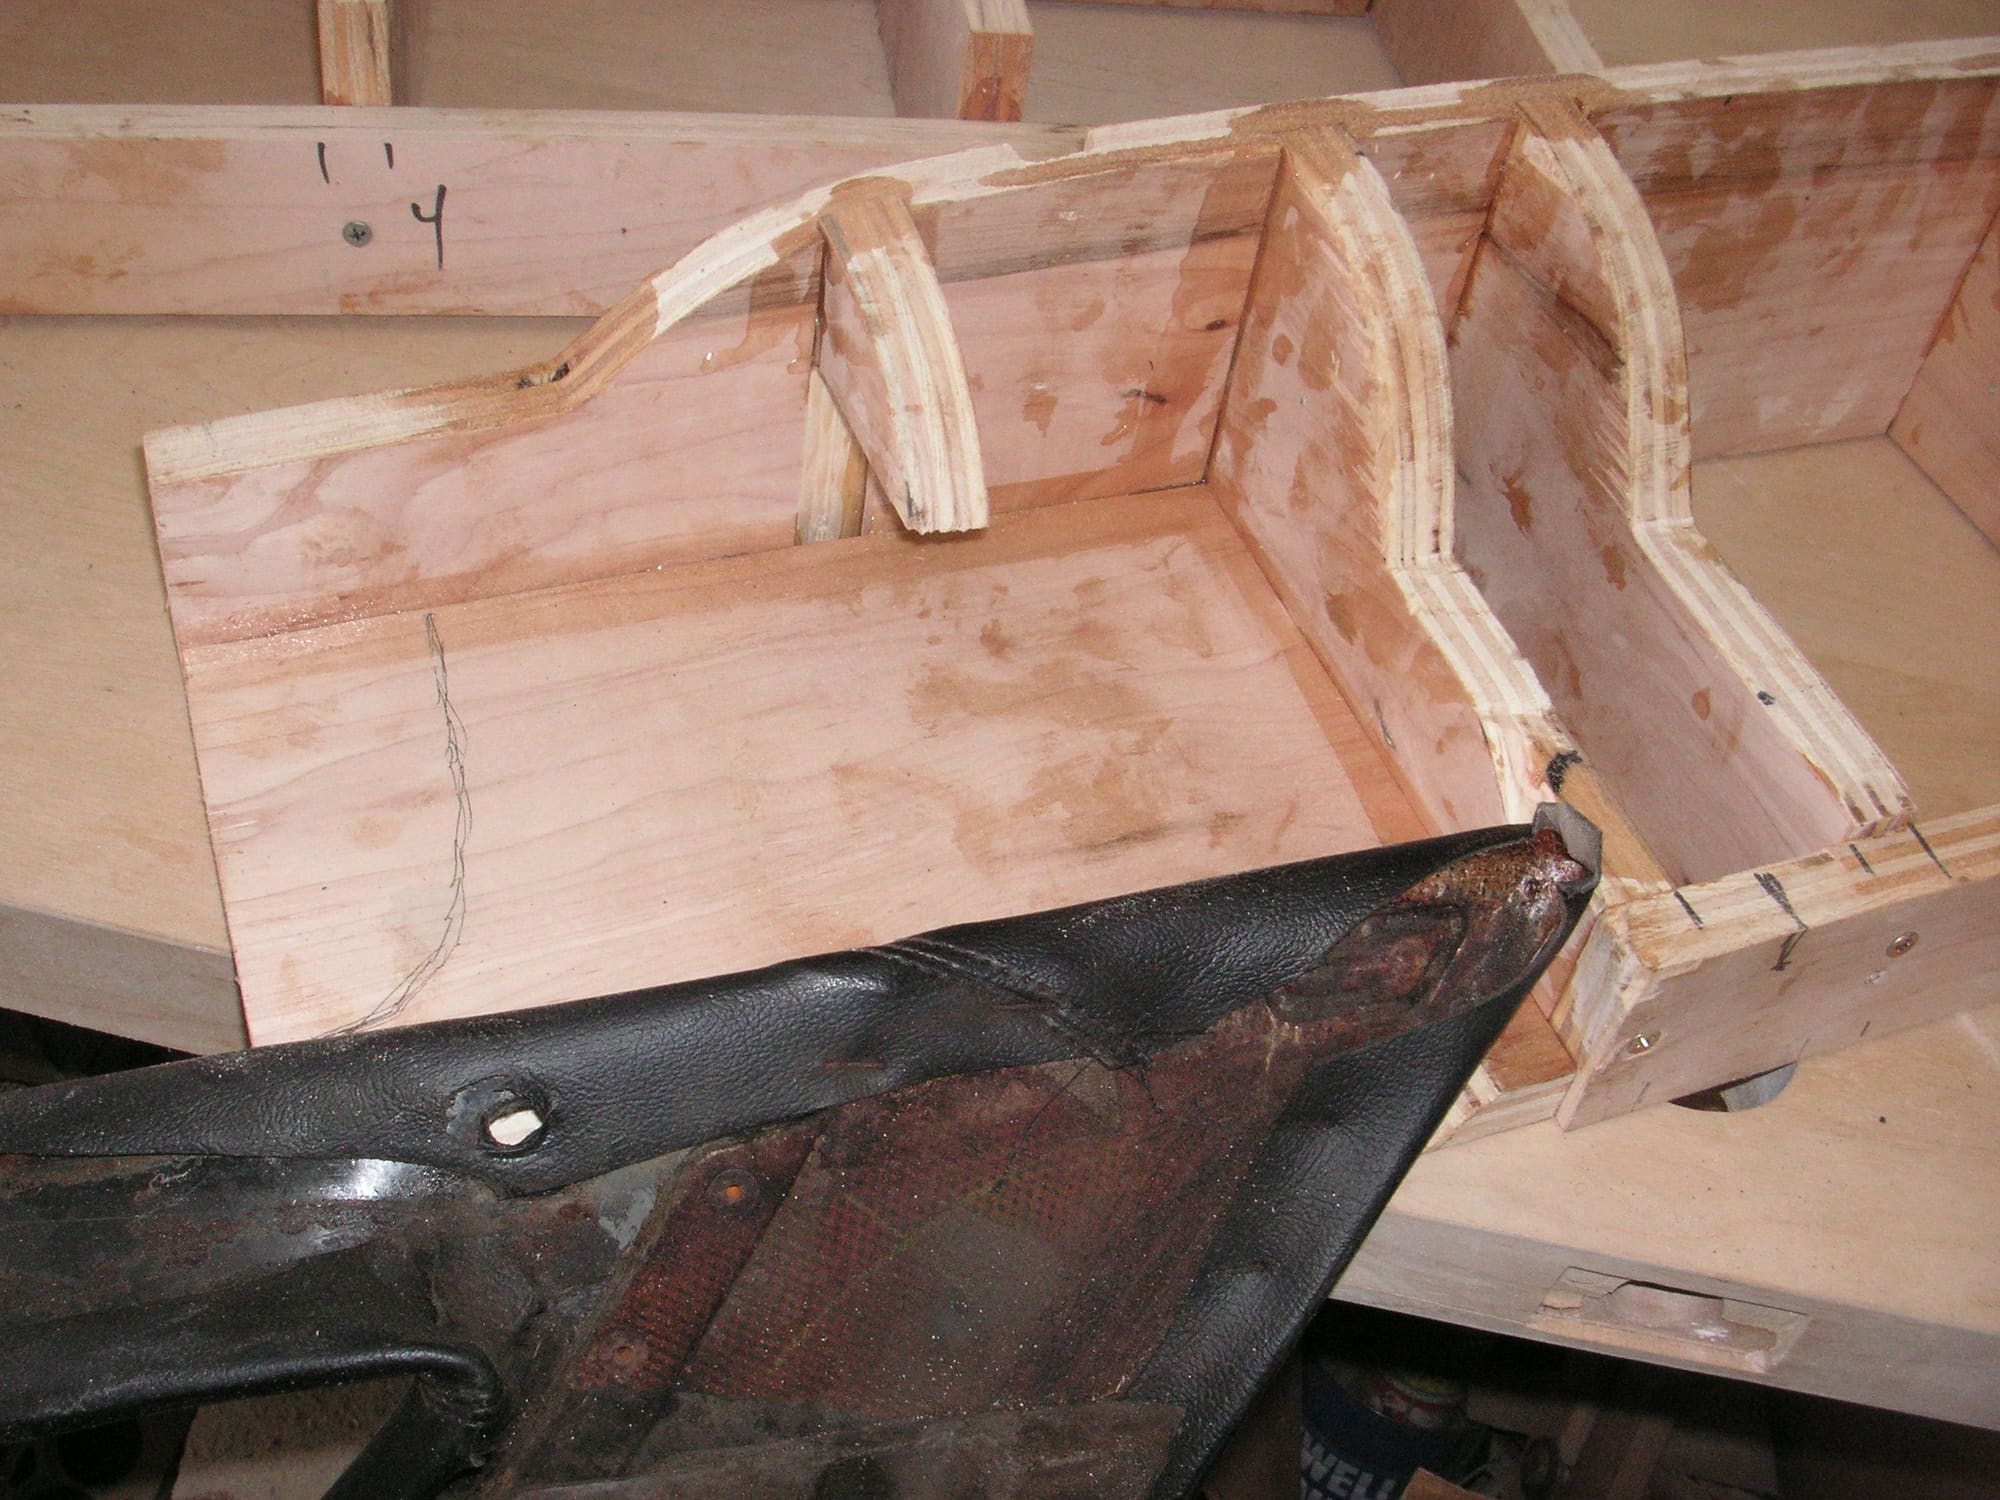
A few strips of wood glued onto the left segment and one more on the front. Today I'll test fit them and then try to figure out the exact shape of the corners which are still driving me nuts. I glued some extra pieces of wood on the front corner where it appeared to be too loose and now have ground most of that off again getting it close to fitting. The rear corners are still kind of a mystery in regard to their shape, but I hope with continued testing the shape will finally come into focus.
I keep laying pieces up in epoxy and then I worked over my make-shift work bench. I think I have the corners figured out. The problem I have been having with the rear corners is that I discovered that the headliner is not very close to the inner sheetmetal at the tops of the B-Posts. I cut the top corner off of one of my spare inside quarter panels and find that there is quite a large space between the liner and the metal. I think with that realization I'll be able to get the rear corners finished shortly.
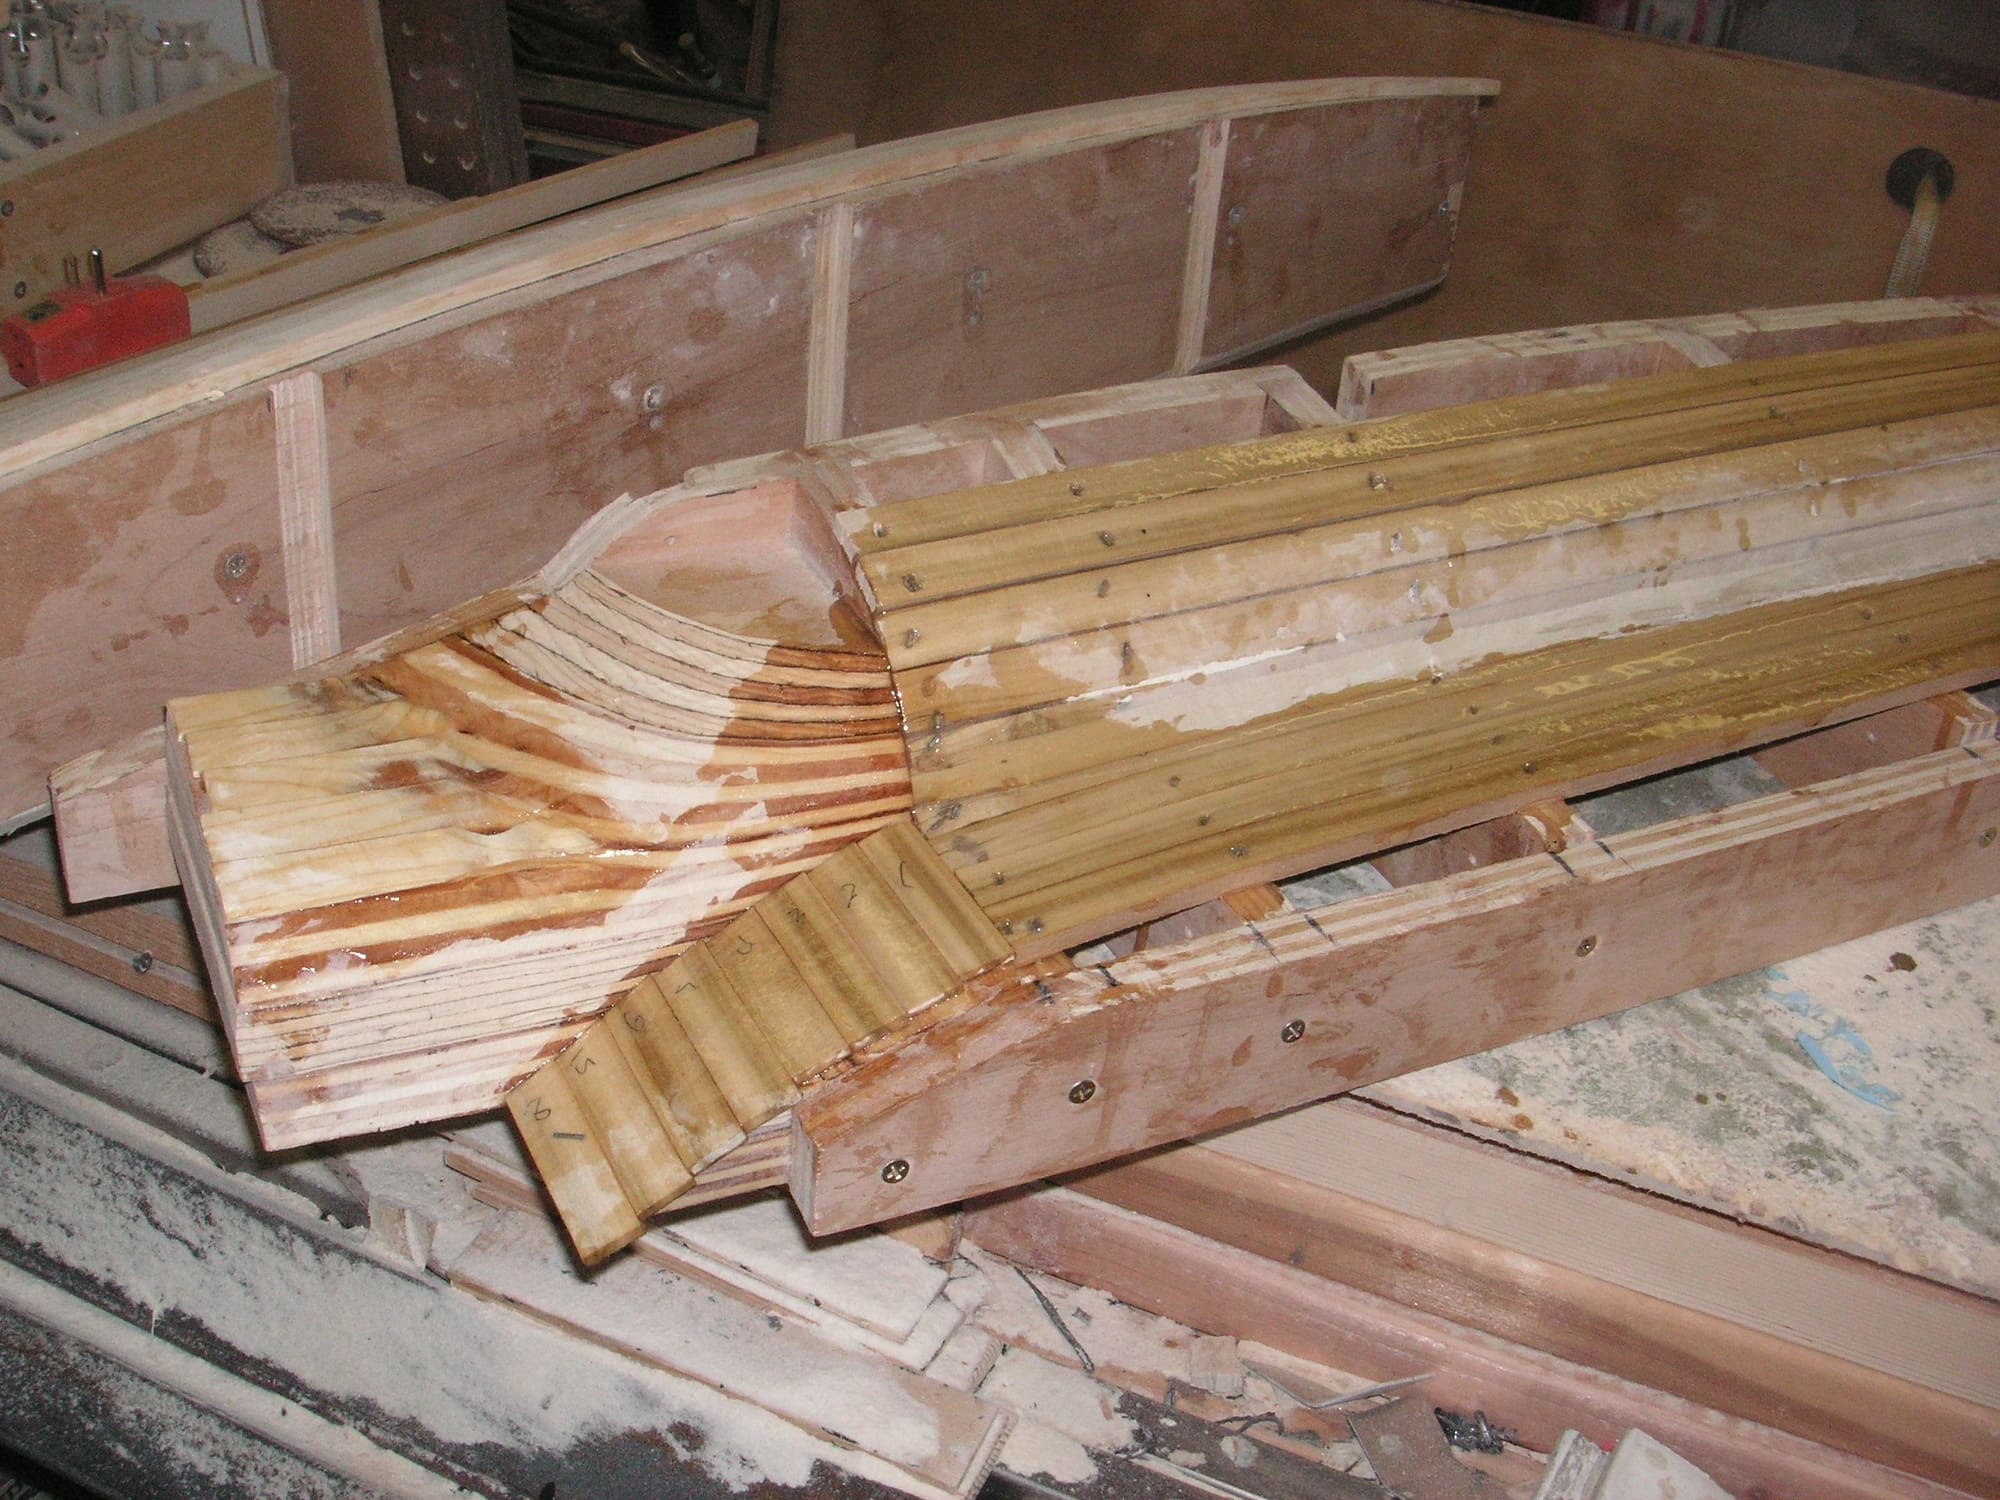
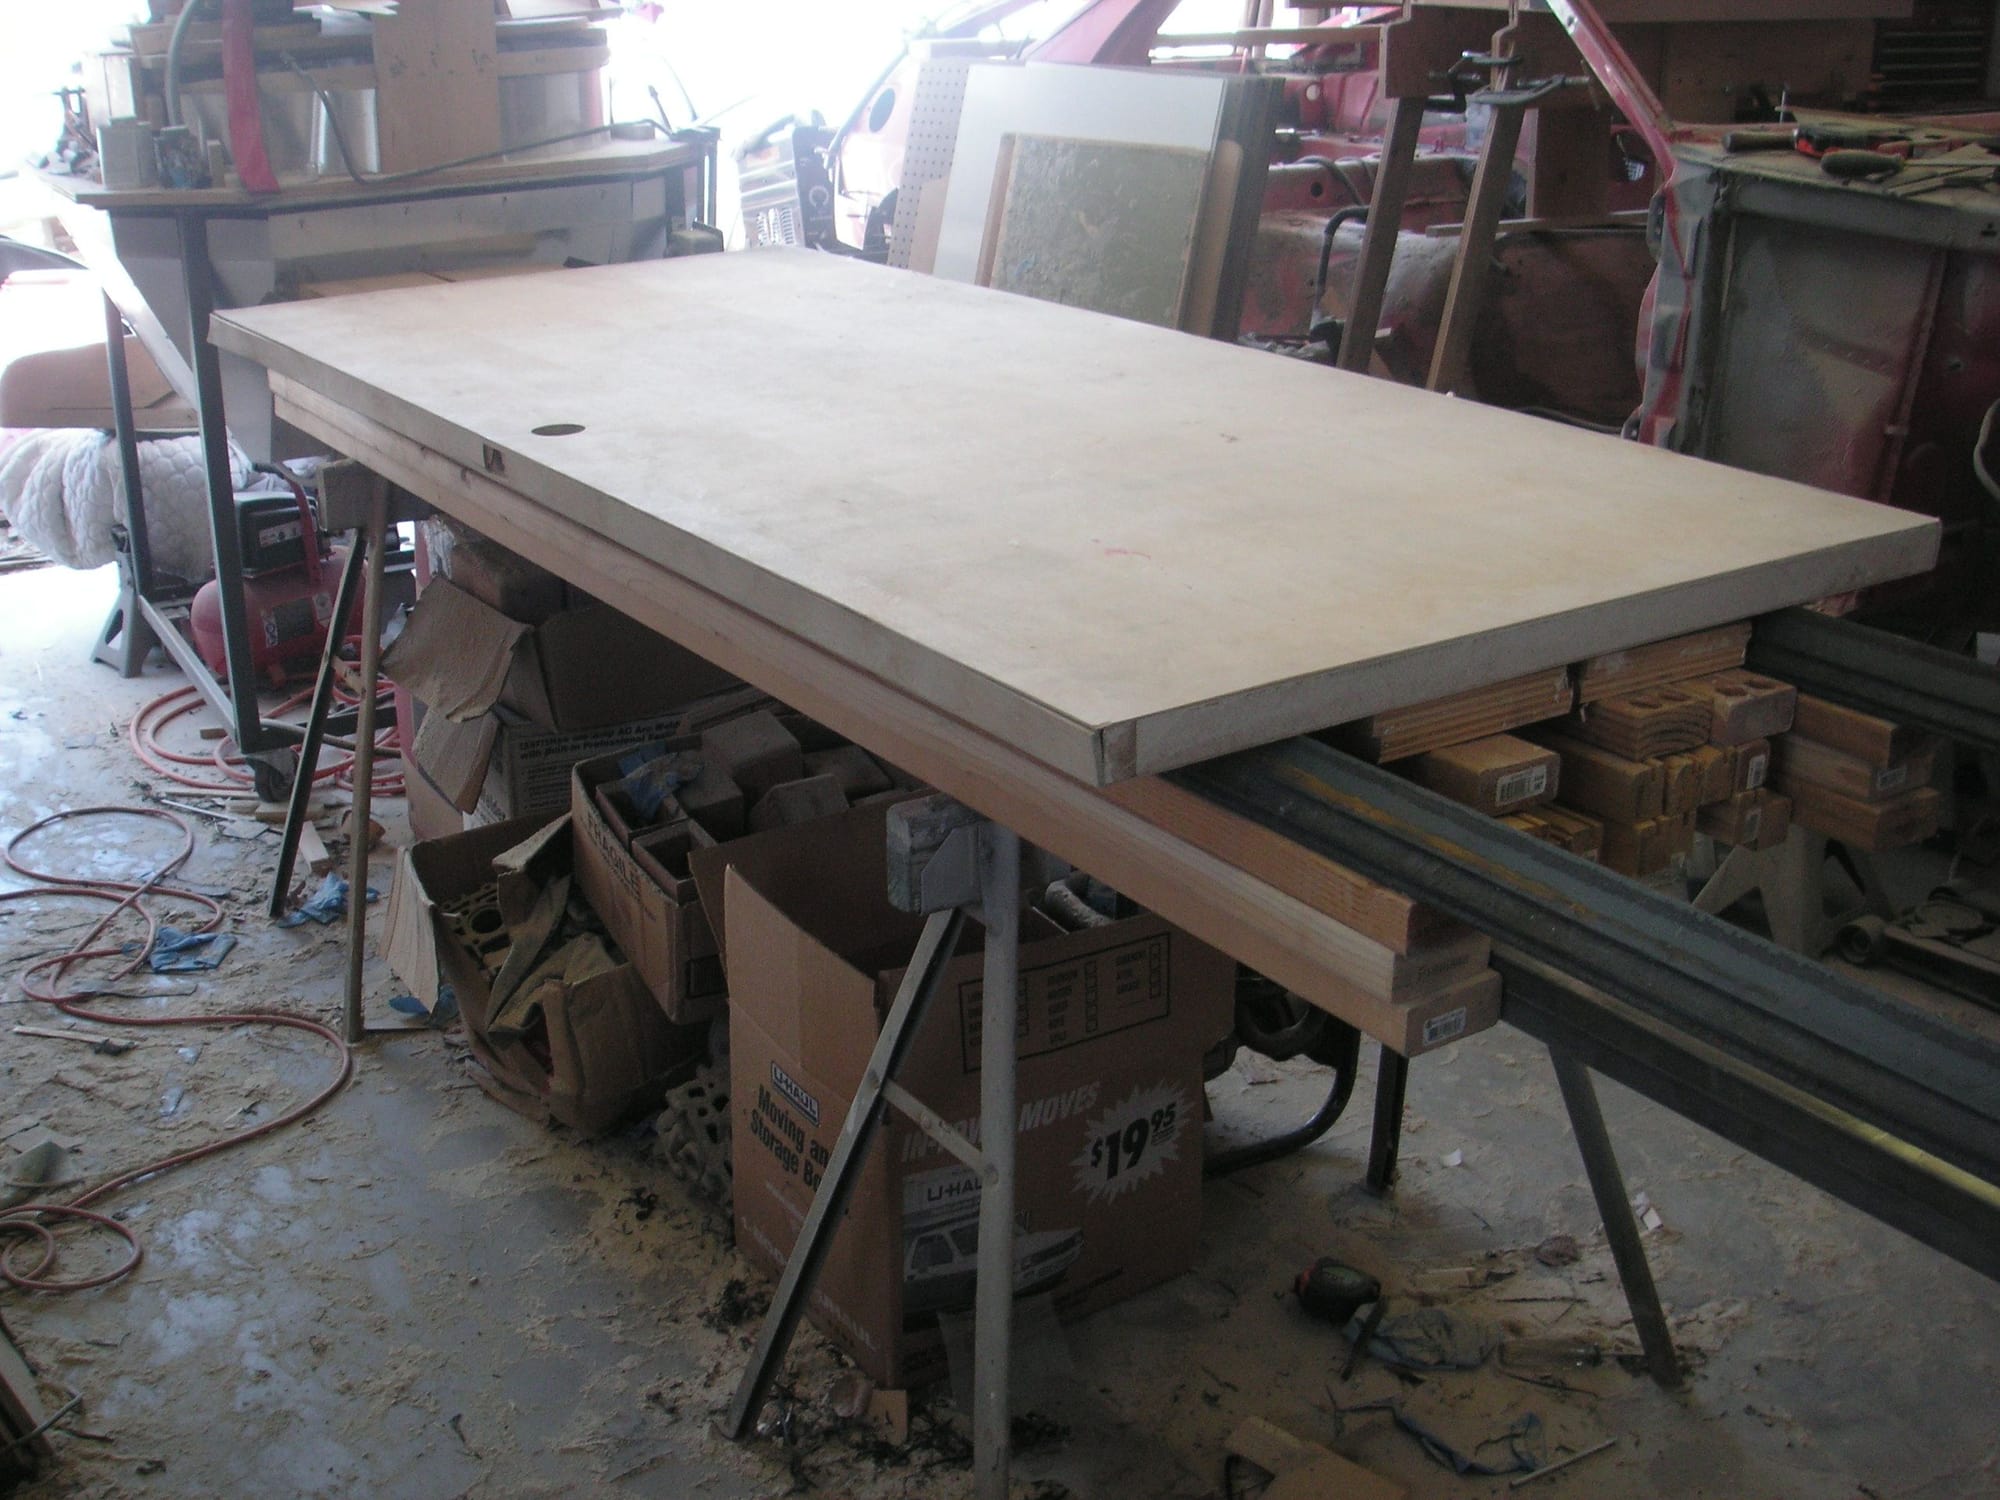
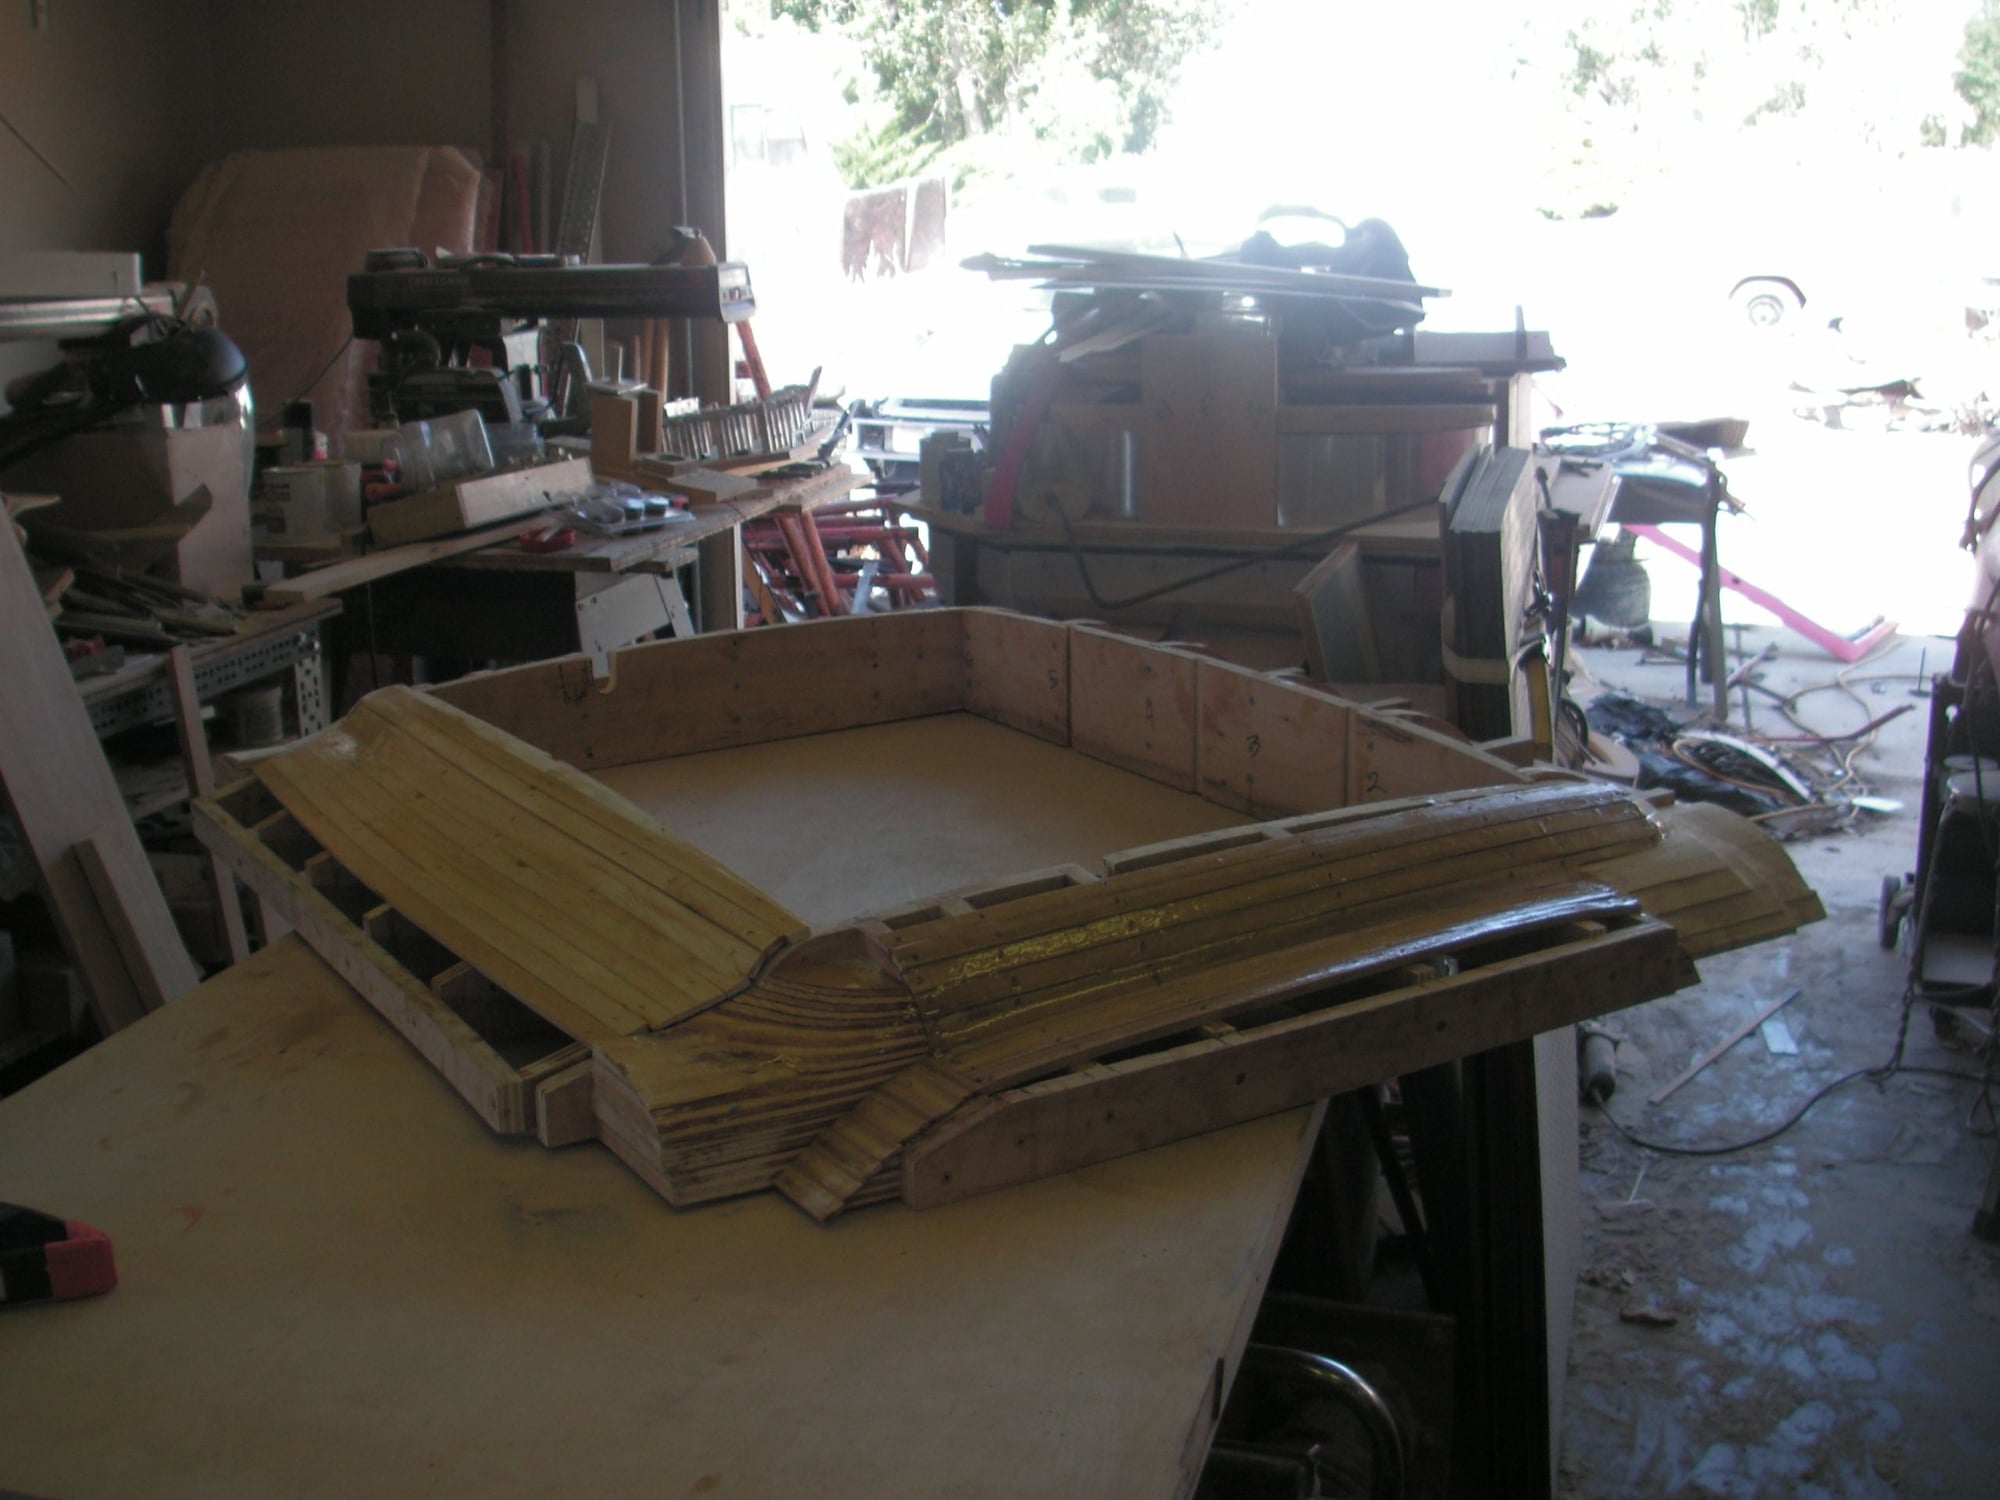
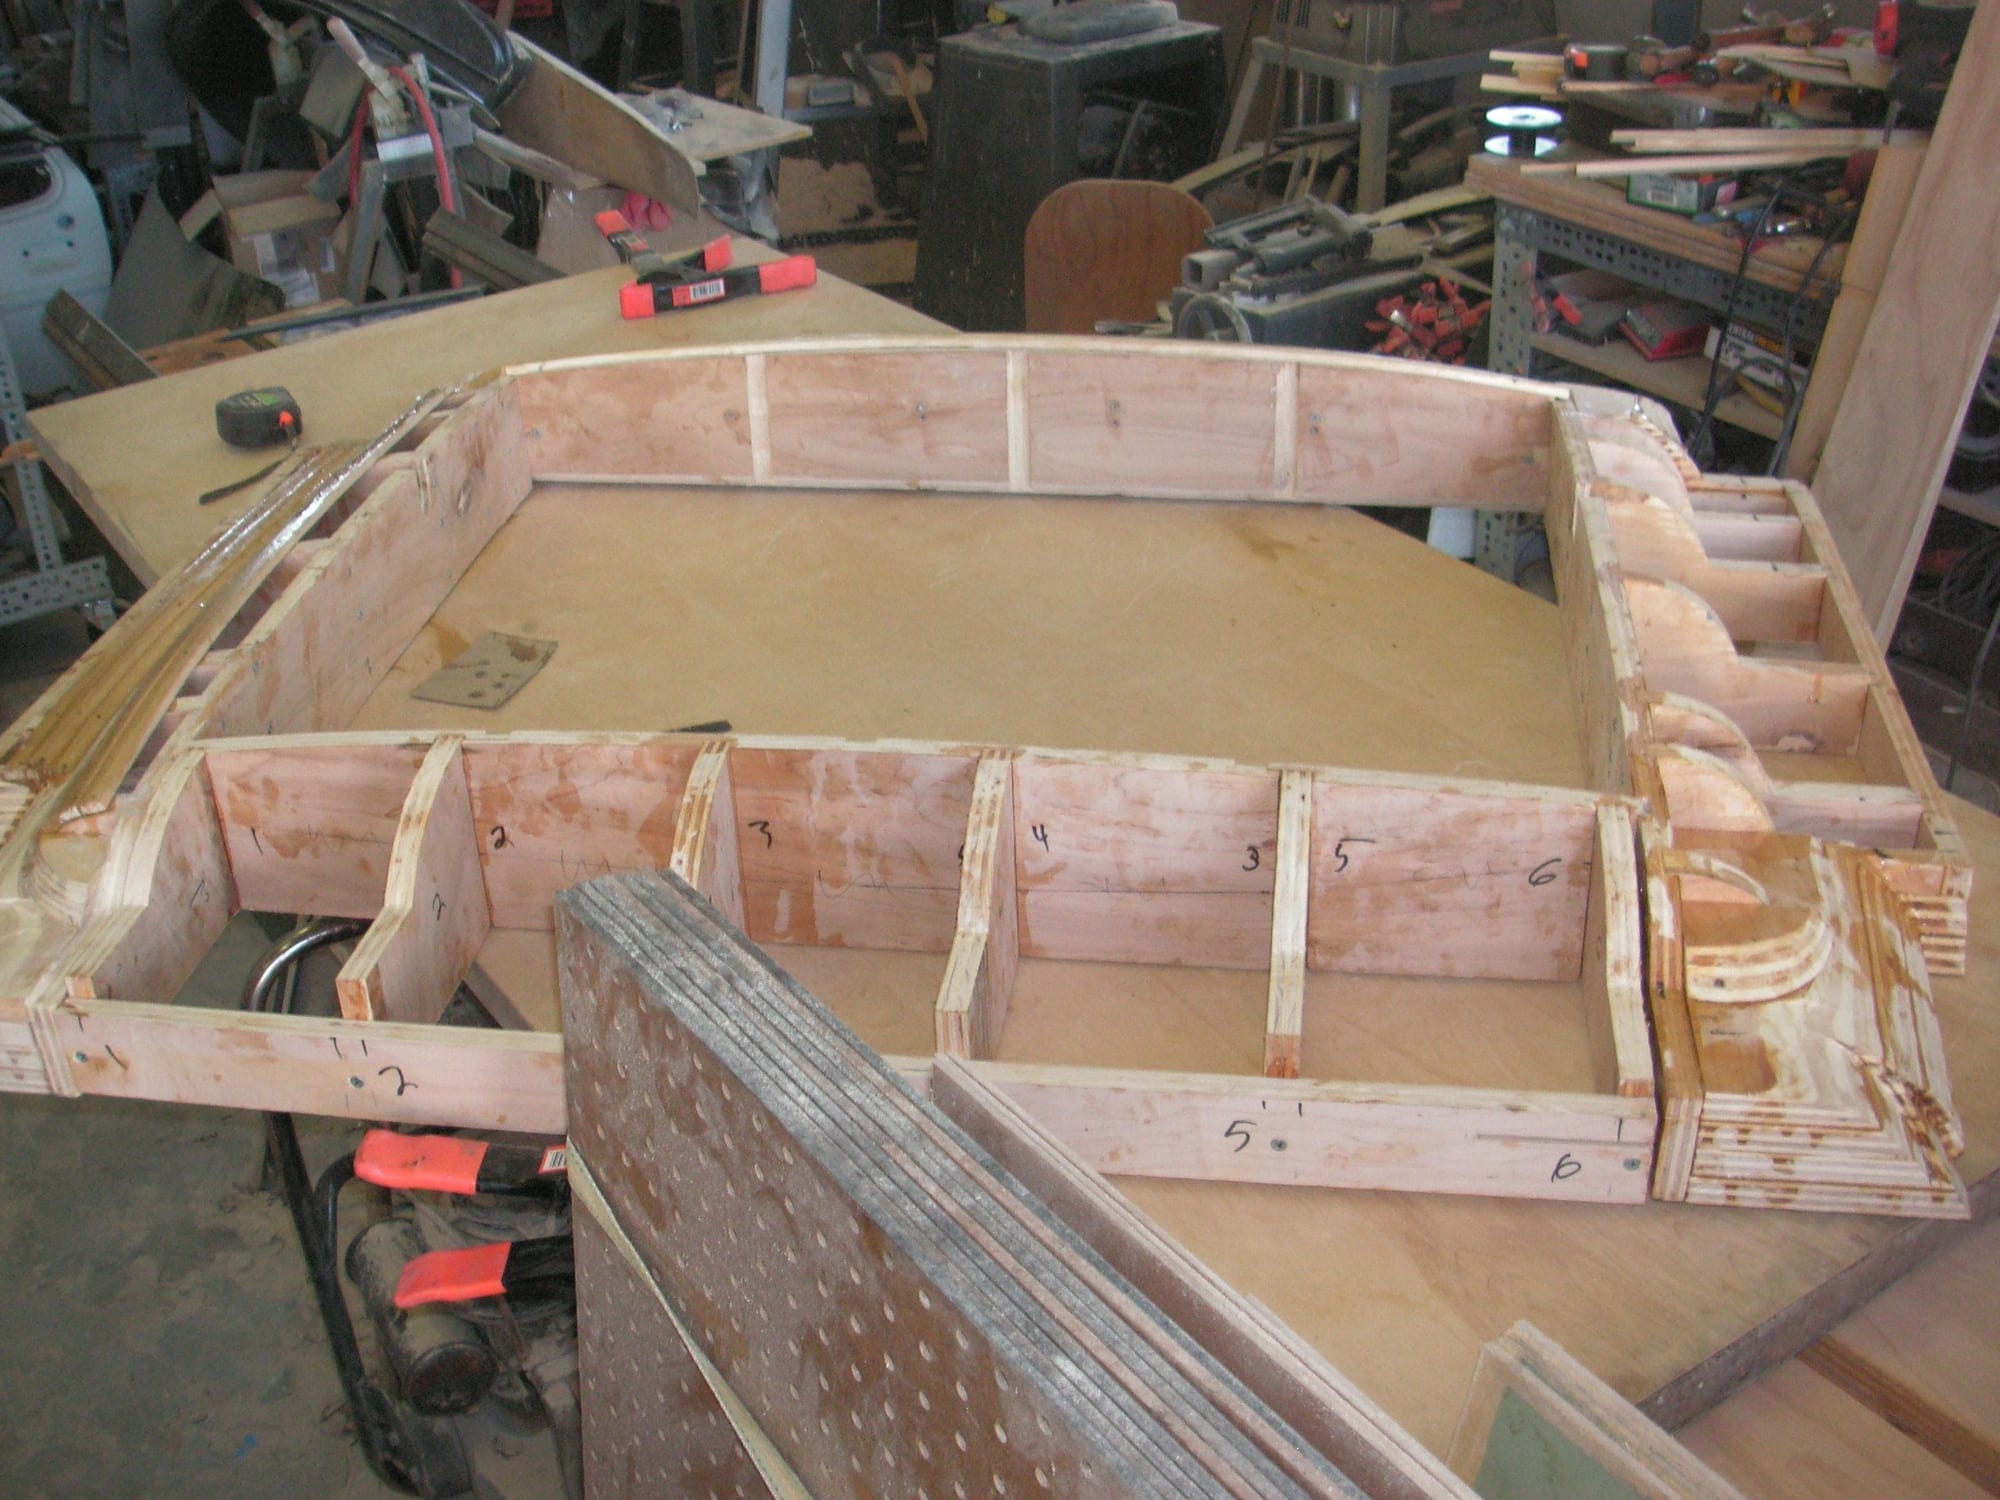
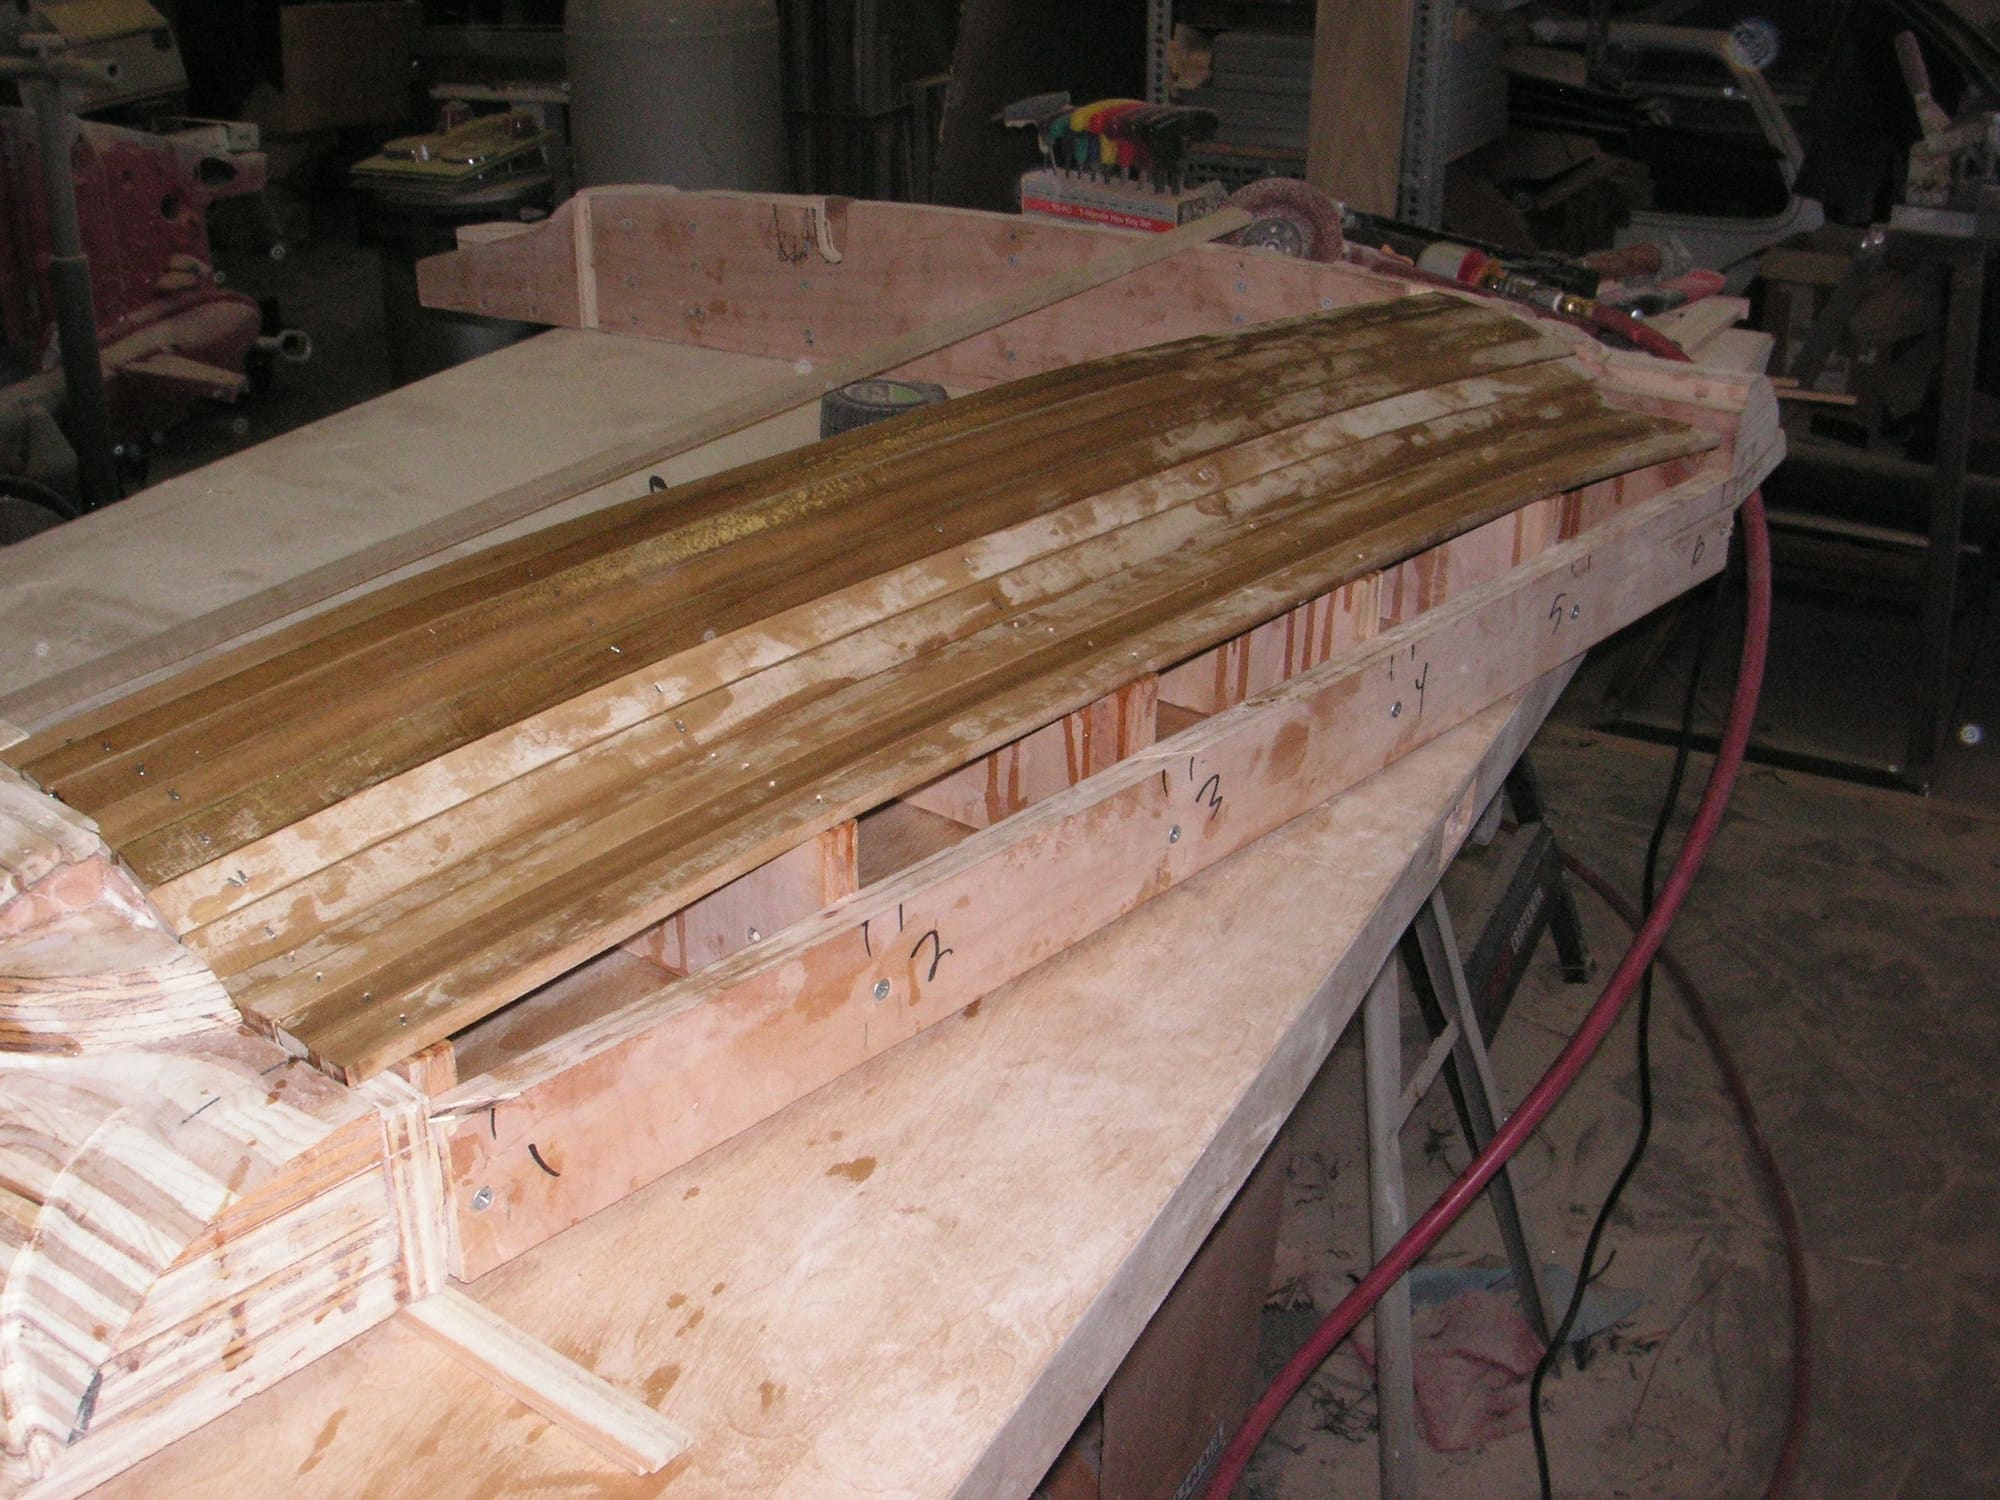
Now I can lay out the four pieces of the mold on my new work space and see how the pieces are going to fit together and begin to envision filling in the center.
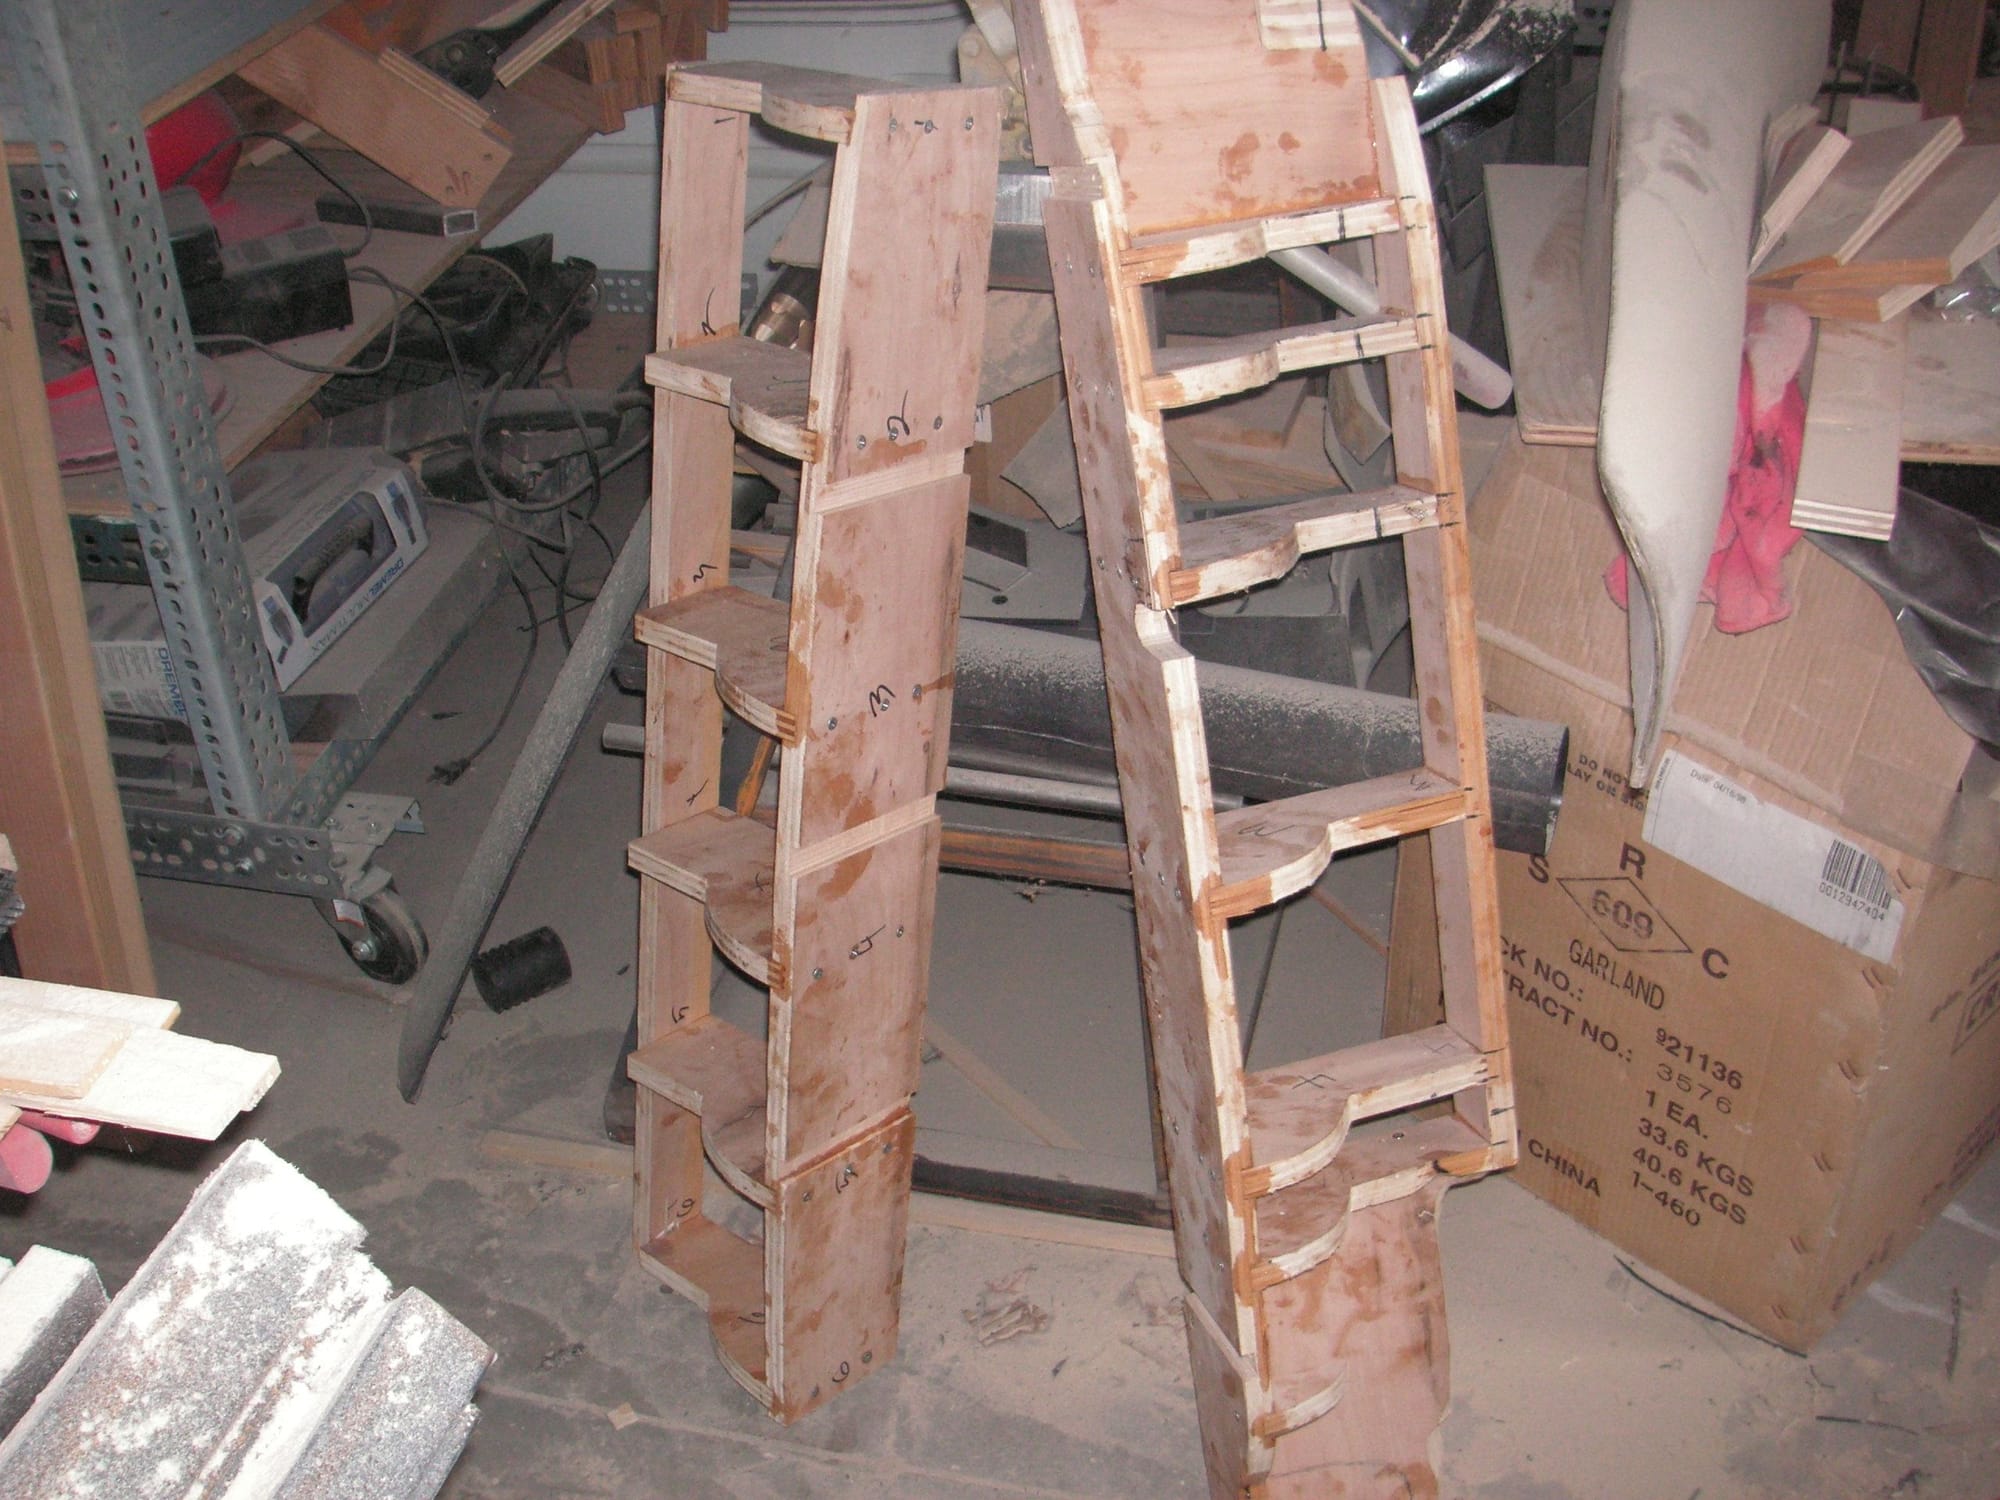
Now that I am beginning to notice how heavy each of the four outer segments of this mold are getting I become concerned about how much the whole thing is going to weigh when it is all glued together and finished. I am wishing now that I had had the forethought to cut chunks of wood out of the pieces before I glued them into place. I suppose I could still use a hole saw and cut holes in various places to help some, and I might, but hindsight is 20/20.
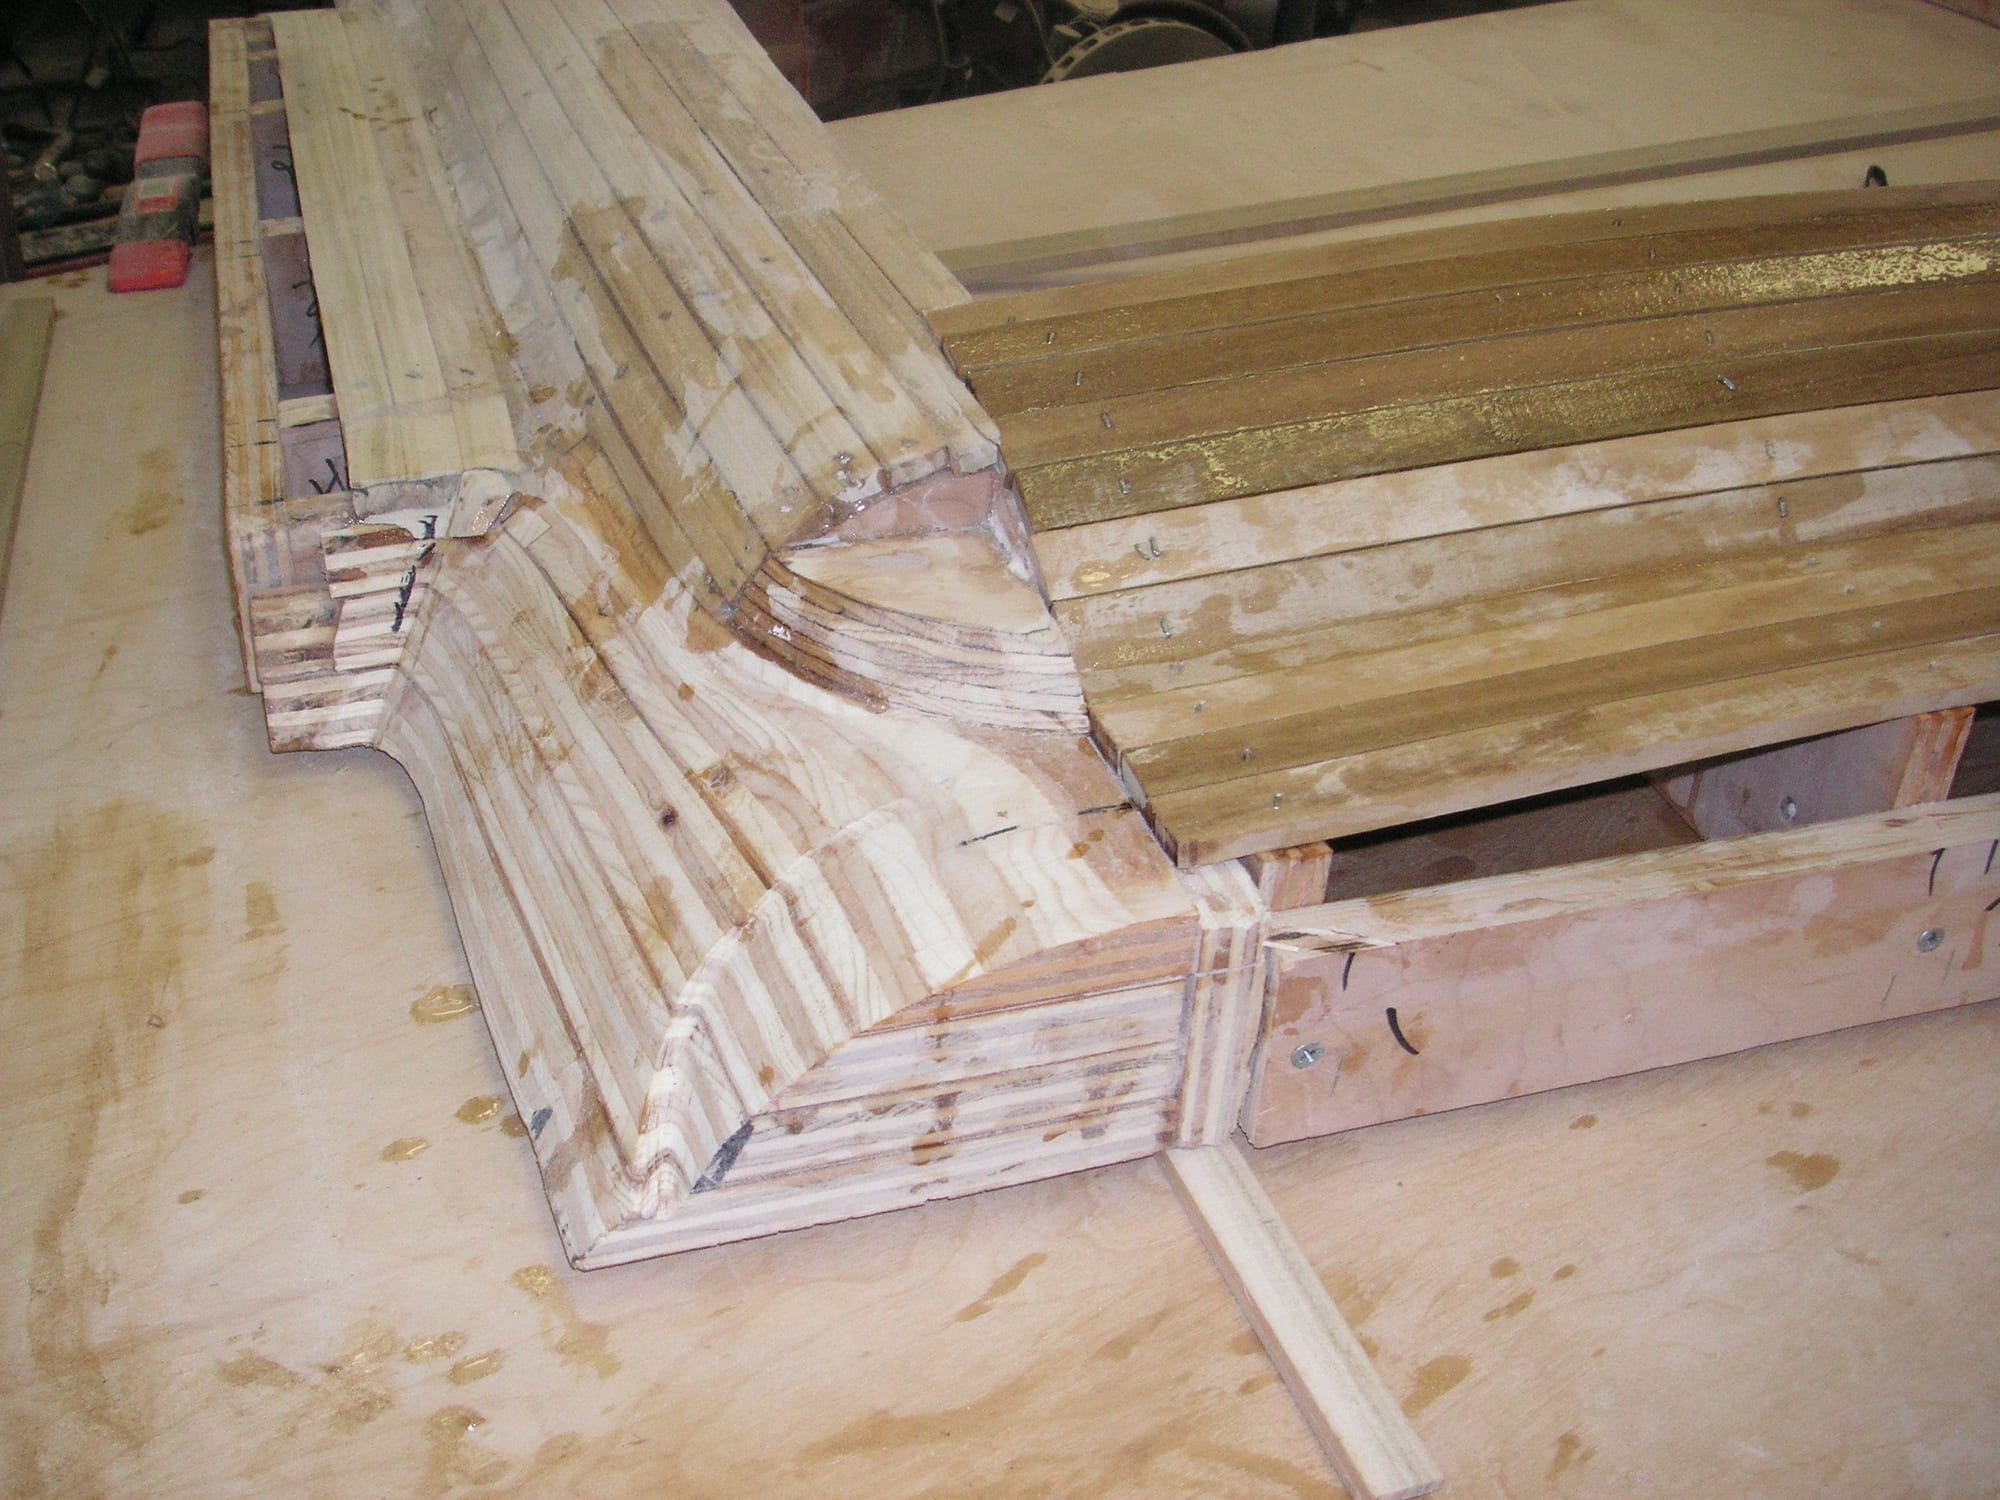
Progress is movement in any direction. I'm making some progress with this mold, but it is sure taking time. I have covered the rear segment and am letting the epoxy set. I have fit the left side again and will need to put some more wood on it is the front since I ground off too much. I think the rear corners are taking shape pretty well.
As soon as I have all four segments closely fit I'll do the setting in Bondo to finalize their shape and them put some pieces of wood on the front and back to create the flair necessary in those locations.
Jerry, how is this project coming? I had been following each step, looking forward to the finished project. I know your currently working on a new steering wheel, but I hope you haven't abandoned this one.
Hi Jim. Thanks for staying tuned. No, this one is not abandoned. Right now I am kind of limited in how much time I can spend in the shop due to family issues, and I think that is kind of why I have gotten back to the steering wheel, since I can can draw circles and fiddle with it much here in the house, where I am kind of stuck. This isn't the place to go into the issues, but they appear to be kind of temporary, so don't give up hope that I'll be back on the custom 928 in a while.
Like I mentioned, family matters, in part, kind of took me away from the Forum and this project, but not entirely. I did get a couple of little things nearly completed, but the darn headliner mold has kind of had me at a wall. I see that this thread has way too much devoted the the mold, but it is still not finished. I'll hope to get back to that as soon as I can and I can clean off the work space I was using for it. I think I have kind of figured out how to deal with the part(s) of it that were in part holding me up.
I did get to do a little bit on the car in the meantime, such as a bit of sectioning at the rear corners of the quarter panels and I have the rear bumper cover both sectioned and with the license plate recess narrowed like I did in the older thread where I was showing Tony what I thought he ought to do with his. I had to learn about welding the poly cover, but find that it not supposed to be weldable, but rather brazable, which is more like hot gluing it. I think it comes out fine and will be as strong or stronger that original.
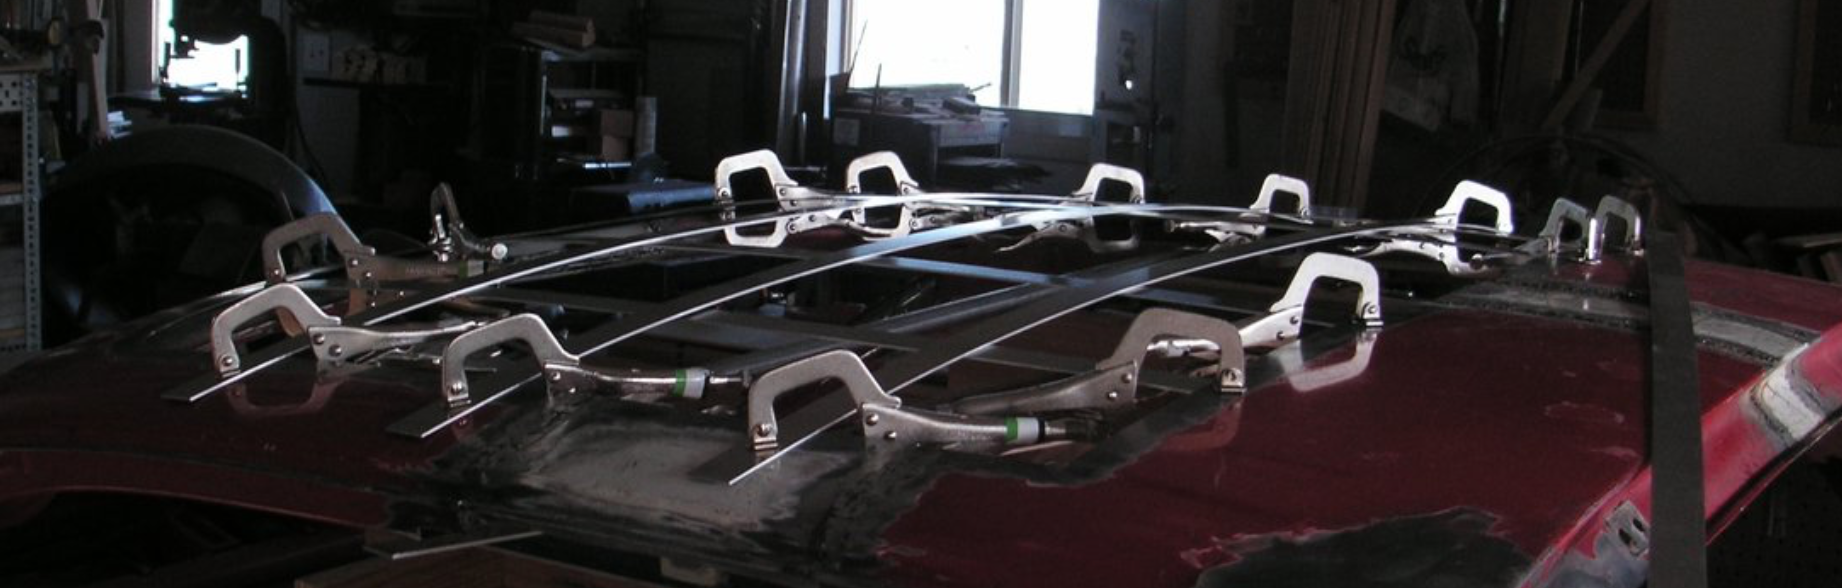
Here are a few pictures or where it is now, given that the mold is just about exactly where it was nearly a year ago.
Last edited by Jerry Feather; 08-04-2019 at 08:38 PM.
The black stuff on the rear bumper cover is called Fiber Flex. It comes in short strips that are about a sixteenth of an inch thick, or a little more, and about a half inch wide. They are simply melted on the cover with a small kind of soldering iron. The actual joint is first made with a different filler that comes in a string about one eighth inch in diameter and it too is melted on, rather than into, the poly material the cover is made of. The joint itself is finished with the edges beveled to provide a groove for the filler. On the inside of the joint the same first rod filler is melted and smeered on with the iron, then I cut strips of fine stainless steel hardware cloth and melted that into the back of the joint. Then both sides of the joint are covered with the black stuff. I put a lot of black stuff on the outside because it is supposed to be sandable, although it is pretty flexible, and I wanted plenty on there so I can shape the cover with the correct curve at the joint. I'll be doing that when I am able to put the cover on and begin some finish body work.
Did you consider using the 3M flexible body repair adhesive? I have used it before with pretty good results, though a smaller project. Now my goto product will probably be West System G Flex, filled with the 402 or 410 filler. Super strong adhesion even to very low energy surfaces, Just gotta keep it out of the light. Perhaps a layer or two of glass on the inside.

 07-03-2018, 07:42 PM