

Double Din Dash Journey
 10-24-2015 | 10:31 AM
#1
Thread Starter
Rennlist Member
Joined: Nov 2009
Posts: 8,608
Likes: 404
From: Dubuque, IA
I'll document this journey down the rabbit hole this morning.
So I got this kit from BigAl
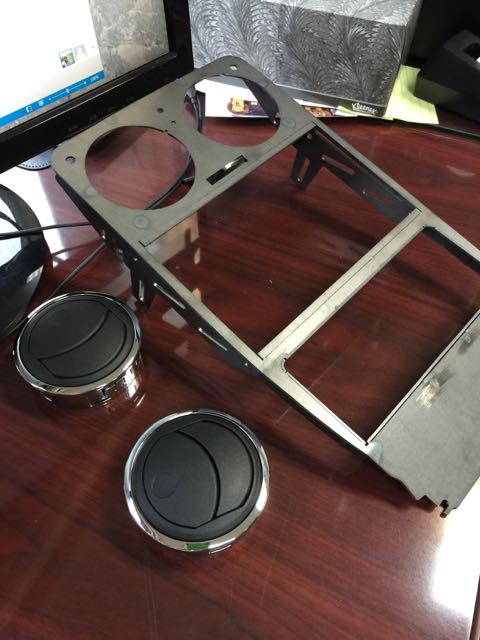
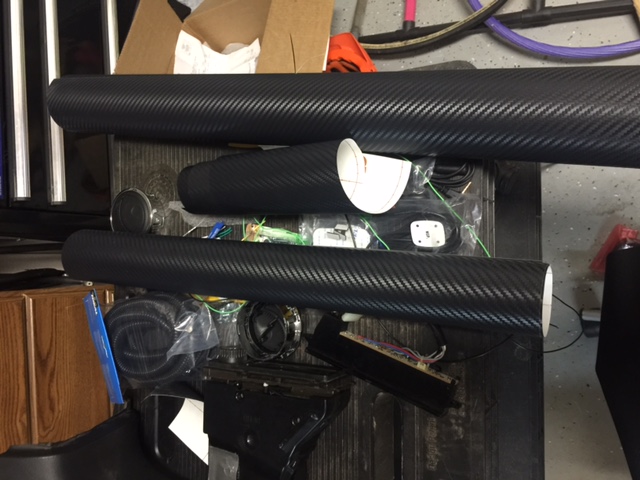
I then bought a spare center console to learn on and some carbon fiber trim material you can apply with adhesive and a heat gun (first time with it be kind)
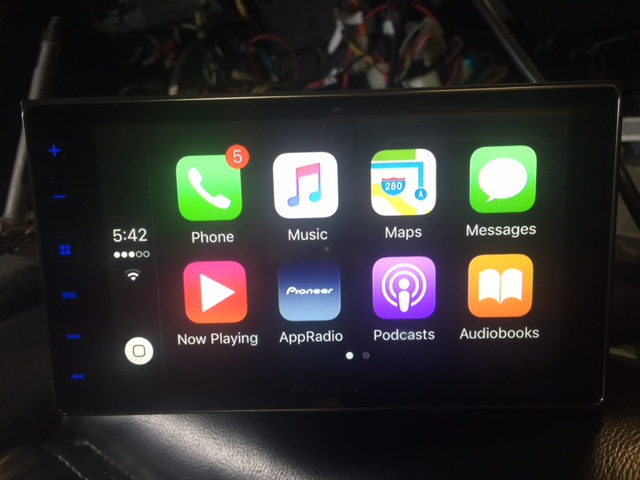
I also got a Pioneer SPH-DA120 from crutchfiled (no affiliation) http://www.crutchfield.com/p_130SPDA...da120&skipvs=T
Why, because it had Apple CarPlay and I wanted that. My clarion NZ503 turned out to be a pile of crap so I binned it.

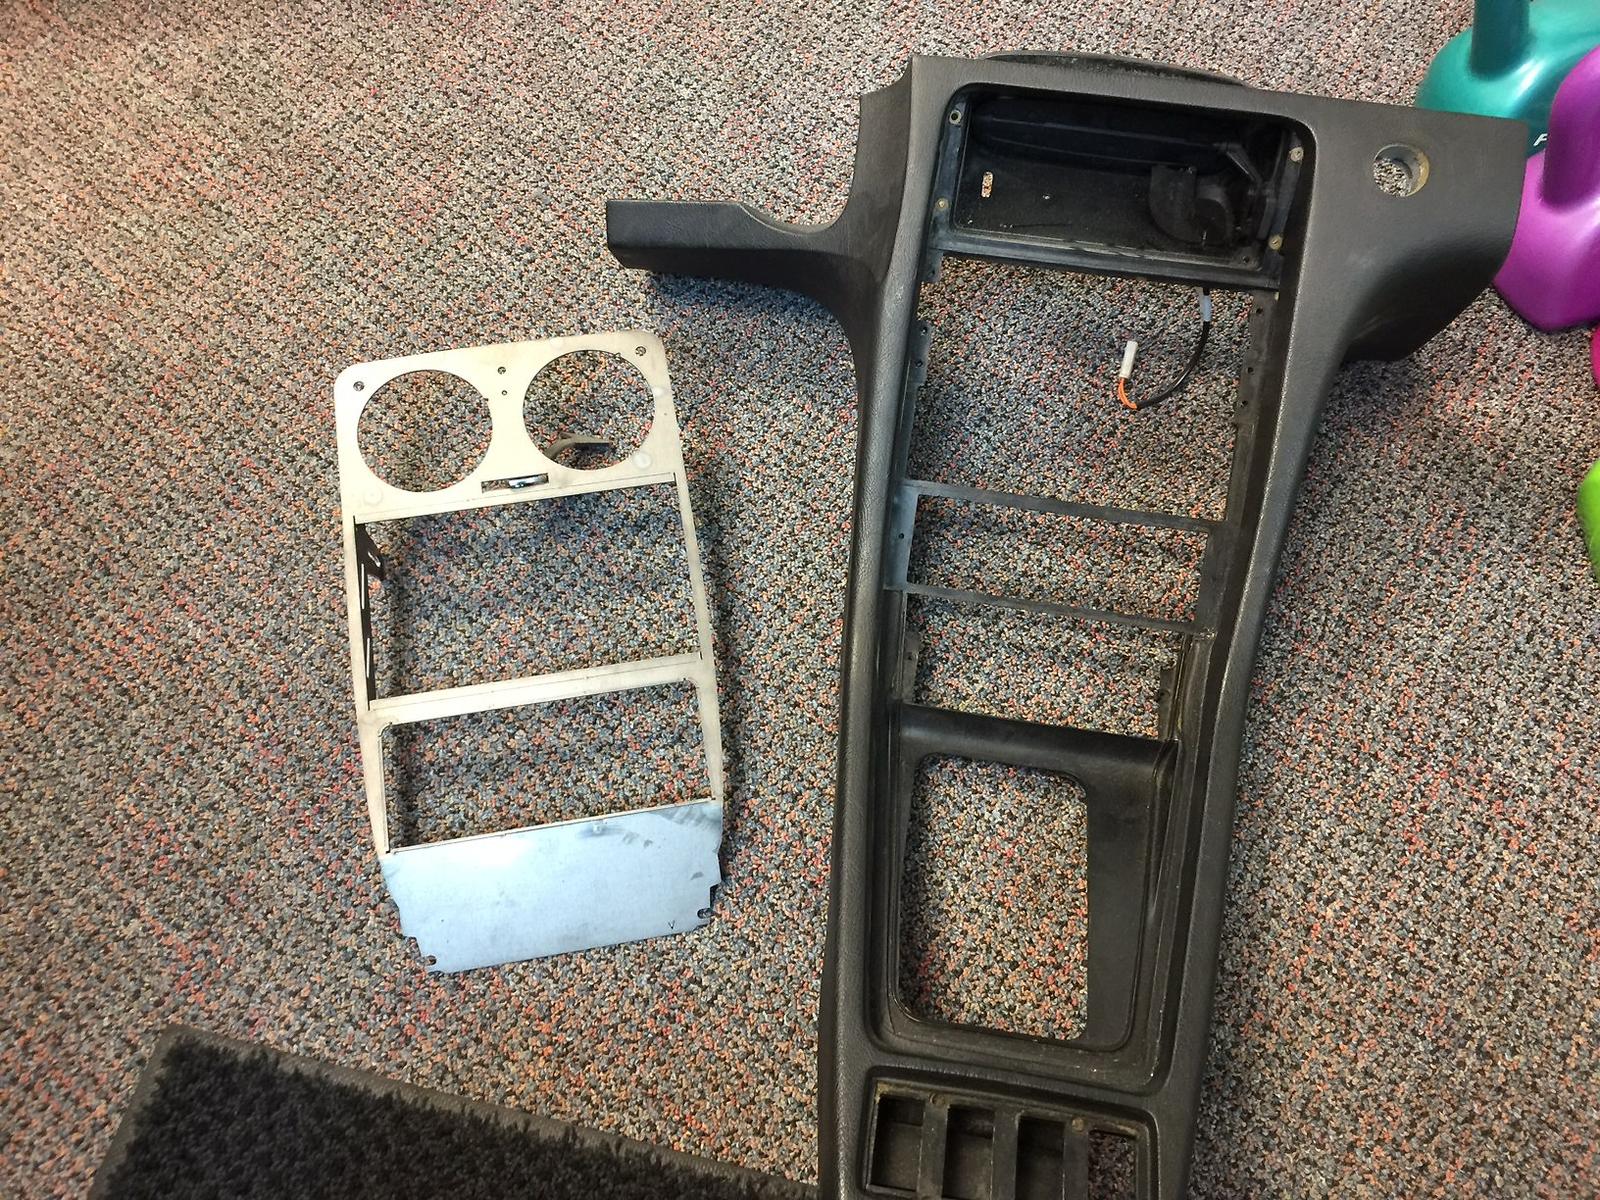
The first thing I did was remove the center console. Have to remove the carpet side panels, the knee bolster (don't forget the bolt in the air duct by the driver's door).
Then remove the bolts in the air vent and the screws down by the window switches. If your console hadn't been out yet too the screw in the glove box may or may not be installed. It's on the left side of the glove box.
Remove the HVAC head unit, the lock switch and your radio. Unplug the rear air, the clock and the power port.
Lift out the center console and THEN remember you have a ribbon cable and power to led going to your window switches. I am labeling every single wire and plug under the center console with a Ptouch labler so I have no confusion and for future sanity.
You are left with
I wrapped the flush dash appliance with 3M carbon fiber heat set wrap. Looks pretty good. Modified the bottom blank plate to take the rear air controls and my boost gage (yes I know it's gauge but its a long joke with me and my friends based on GM dash lights from the 80's).
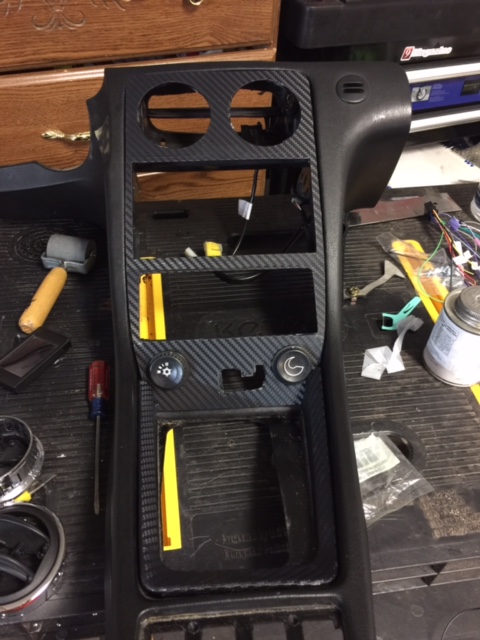
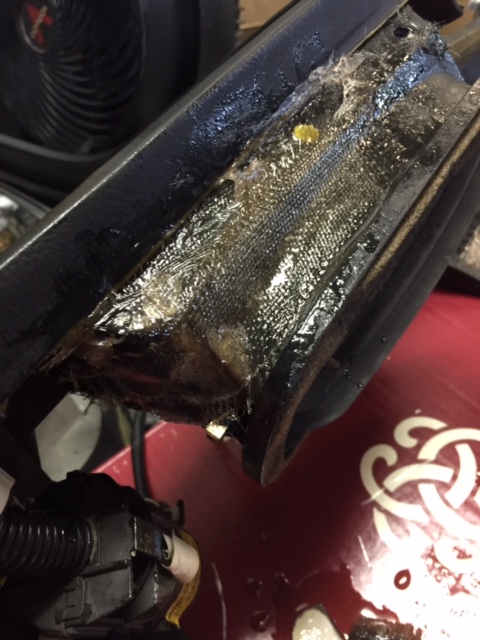
Got the unit ready for radio and HVAC install and found the top of the airvent was cracked and falling apart. Had to bolster it with some fiberglas resin and cloth. Should be tough now.
Here's where I have to stop until Tuesday. Forgot (over the course of a year, really!!) to get an install sleeve and kit for the App Radio. Oh well. Crutchfield is going to have it to me by Tuesday.
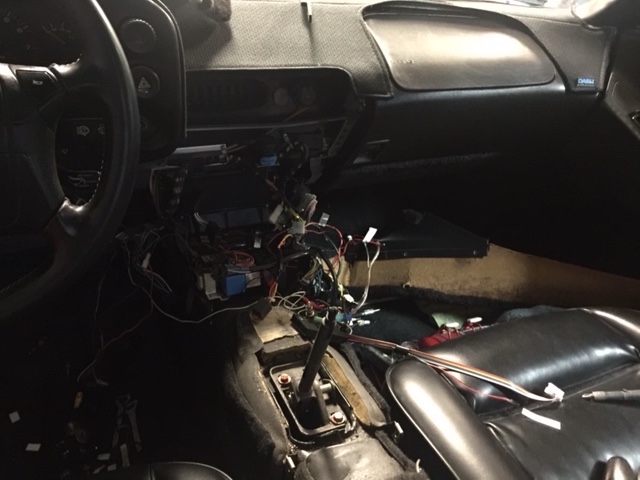
Got this far today.

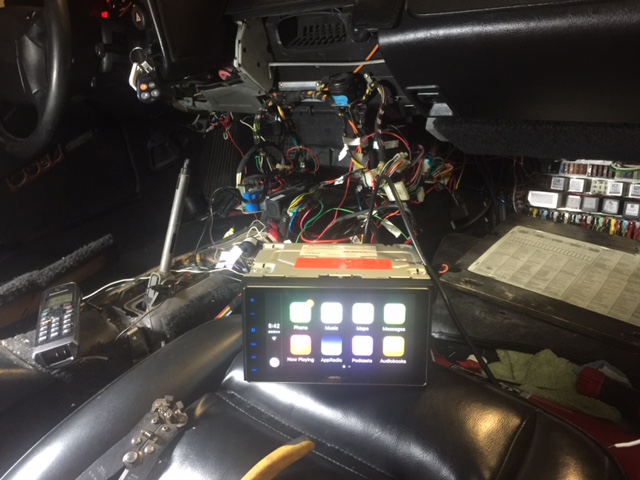
All the wiring is done and ready to plug everything in (well I would like to use the wires Rob Edwards is making me if they get here by Tuesday.)
Head for a vaca next Wednesday and I'll have to get it done by the Tuesday after so its ready to go for 3rd coast.
So I got this kit from BigAl
I then bought a spare center console to learn on and some carbon fiber trim material you can apply with adhesive and a heat gun (first time with it be kind)
I also got a Pioneer SPH-DA120 from crutchfiled (no affiliation) http://www.crutchfield.com/p_130SPDA...da120&skipvs=T
Why, because it had Apple CarPlay and I wanted that. My clarion NZ503 turned out to be a pile of crap so I binned it.
The first thing I did was remove the center console. Have to remove the carpet side panels, the knee bolster (don't forget the bolt in the air duct by the driver's door).
Then remove the bolts in the air vent and the screws down by the window switches. If your console hadn't been out yet too the screw in the glove box may or may not be installed. It's on the left side of the glove box.
Remove the HVAC head unit, the lock switch and your radio. Unplug the rear air, the clock and the power port.
Lift out the center console and THEN remember you have a ribbon cable and power to led going to your window switches. I am labeling every single wire and plug under the center console with a Ptouch labler so I have no confusion and for future sanity.
You are left with
I wrapped the flush dash appliance with 3M carbon fiber heat set wrap. Looks pretty good. Modified the bottom blank plate to take the rear air controls and my boost gage (yes I know it's gauge but its a long joke with me and my friends based on GM dash lights from the 80's).
Got the unit ready for radio and HVAC install and found the top of the airvent was cracked and falling apart. Had to bolster it with some fiberglas resin and cloth. Should be tough now.
Here's where I have to stop until Tuesday. Forgot (over the course of a year, really!!) to get an install sleeve and kit for the App Radio. Oh well. Crutchfield is going to have it to me by Tuesday.
Got this far today.
All the wiring is done and ready to plug everything in (well I would like to use the wires Rob Edwards is making me if they get here by Tuesday.)
Head for a vaca next Wednesday and I'll have to get it done by the Tuesday after so its ready to go for 3rd coast.
Last edited by jeff spahn; 10-24-2015 at 07:48 PM.
10-24-2015 | 10:47 AM
#2
Rennlist Member
Joined: Dec 2010
Posts: 1,955
Likes: 18
From: Morehead City NC
Looks like what I just went through....
My kit had the three circular knockouts on the bottom.
I have temoroarially installed my old single din until I get the new double din..
Here is a pic of it installed.... Hope I am not hijacking.....
My kit had the three circular knockouts on the bottom.
I have temoroarially installed my old single din until I get the new double din..
Here is a pic of it installed.... Hope I am not hijacking.....
10-24-2015 | 12:37 PM
#5
Rennlist Member
Joined: May 2008
Posts: 6,689
Likes: 627
From: 2706 Skyline Drive, Grand Junction CO 81506
Nice going, Jeff. However, I think that the spare console you bought is not the correct one for the airbag dash. Check on that before you start cutting it up or out.
10-24-2015 | 01:20 PM
#6
Thread Starter
Rennlist Member
Joined: Nov 2009
Posts: 8,608
Likes: 404
From: Dubuque, IA
Jerry,
What is the difference between the two? Is it a dimension or a tab or something? I have them both side by side and I can't see a difference. Your input would be a big help.
EDIT: I now see a minor profile difference on the passenger side. I haven't installed yet. I'll just duplicate the modifications on the original center console that I did to the spare I have. Second time will be much easier. Too bad I changed over the interior temp sensor already. Not a biggie to move it back. Bummer too because the replacement center console had nicer looking vinyl.
10-24-2015 | 01:51 PM
#7
Rennlist Member
Joined: May 2008
Posts: 6,689
Likes: 627
From: 2706 Skyline Drive, Grand Junction CO 81506
That rounded corner is the main difference. The other differences are very minor and would not come into play in your conversion. They do in mine, a little bit.
Trending Topics
10-24-2015 | 02:26 PM
#8
Thread Starter
Rennlist Member
Joined: Nov 2009
Posts: 8,608
Likes: 404
From: Dubuque, IA


