Notices
928 Forum 1978-1995
Sponsored by:
Sponsored by: 928 Specialists

Caliper Refurb 1981 4.5

Thread Tools
 
Search this Thread
 
Old 09-04-2015, 09:50 AM
  #1  
LeonLewis
Advanced
Thread Starter
 
LeonLewis's Avatar
 
Join Date: May 2015
Location: Nice
Posts: 83
Received 5 Likes on 4 Posts
Default Caliper Refurb 1981 4.5

The idea of this post is just to share a few images and experiences of the brake caliper refurbishment on my 1981 porsche 928 4.5, its not a complete guide.


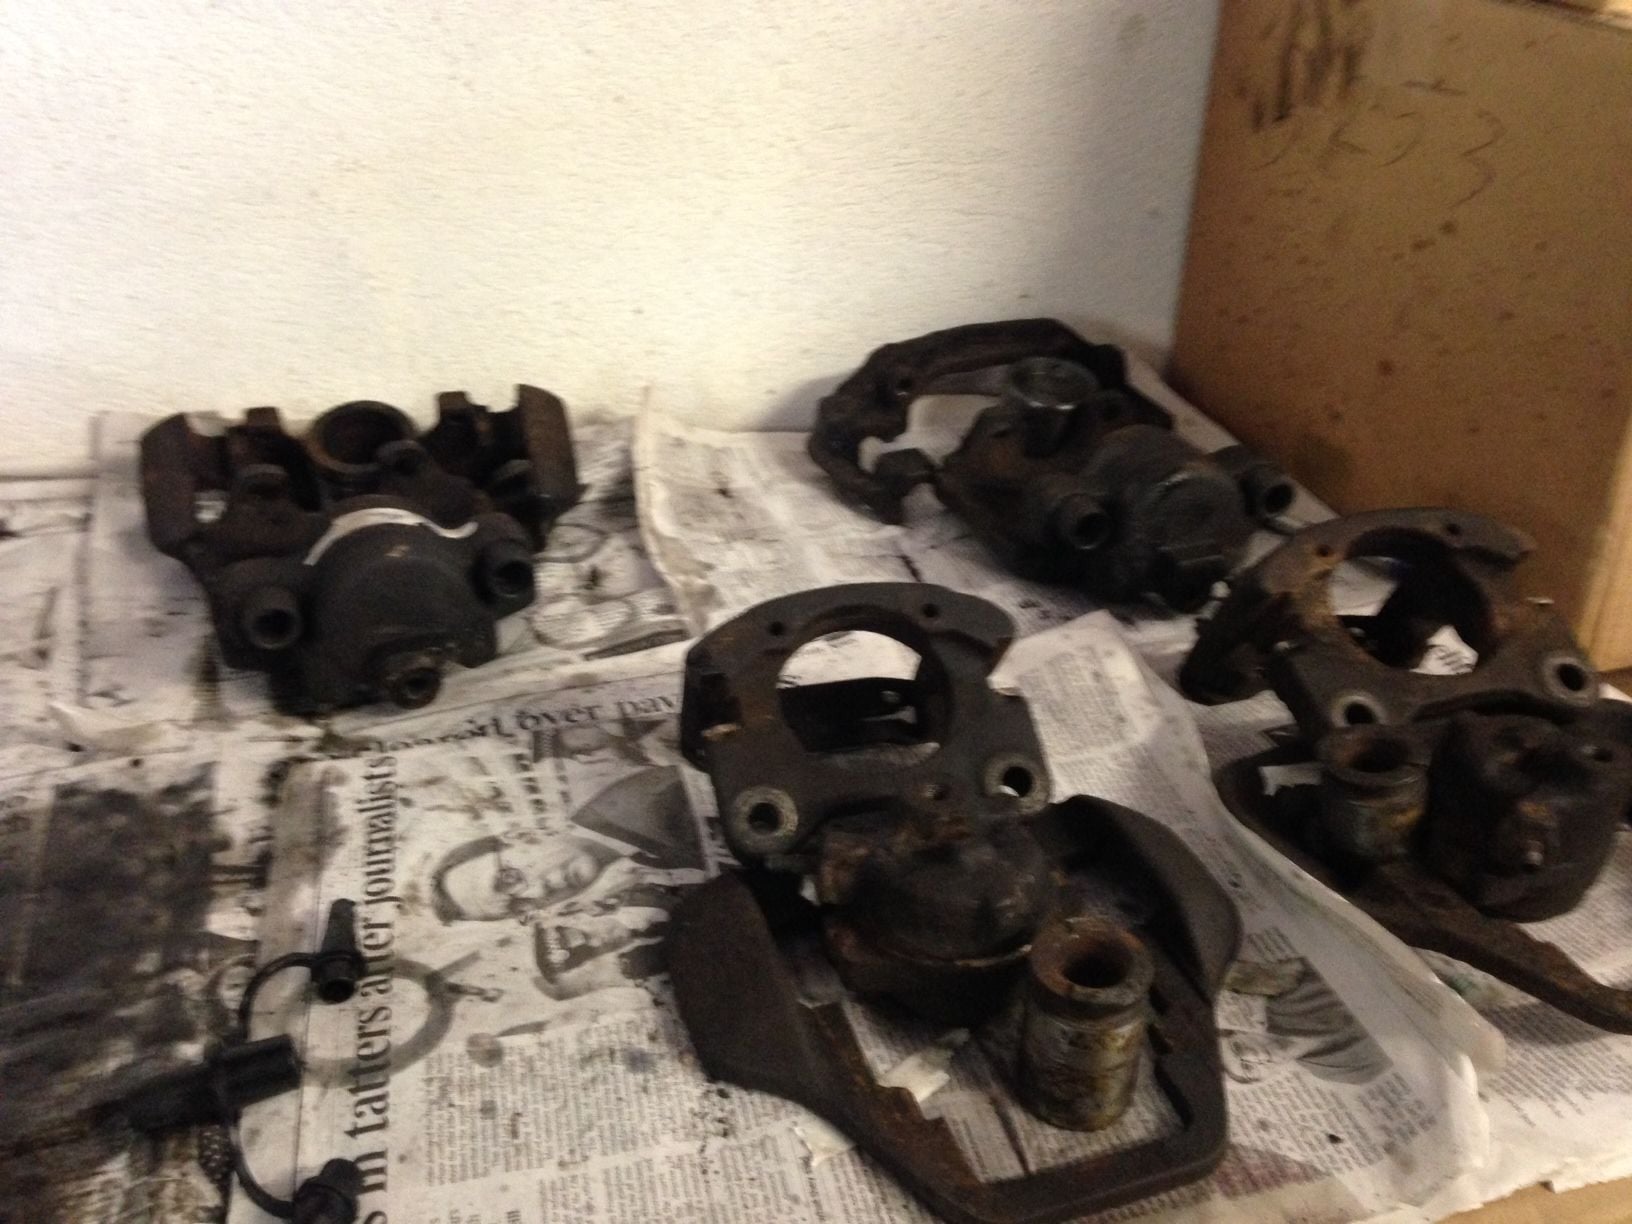
I did front and back calipers at the same time. It was quite a big job :-). I am a bit of a novice. This is probably the biggest job Ive taken on as yet.

I used two really helpful links:

https://rennlist.com/forums/928-foru...with-pics.html

http://928intl.com/tips/BrakeCaliperRefurb.htm


Without those It would have been a lot harder...


My callipers were in fairly bad shape. Firstly I had to use a blow torch and vice grip to get out some old bleen screws.


Then I had to remove all the grease and dirt off the calipers. I didn't have a blast shop nearby and I didnt want to mess around with Petrol so the way I did this was by soaking them in a vineagar&salt solution for 24-48 hours and then using a wire brush fixture with a drill, got most of it off. This was quite effective.


I then did a few thin coats of primer. Followed by a few thin coats of caliper paint and then a clear varnish. This worked quite well. I used MOTIP paint.


I bought the caliper refub kits from 928Intl which included a new seal, rubber boot and boot clip. These were fairly easy to install and appear to be good quality and work well.


I then reassembled everything. And attempted to bleed the brakes. After bleeding the brakes, the brakes were still very soft. This led me to the conclusion that my Master Cylinder was gone. I thought maybe I must of pressed the brake when there was no fluid inside. So I bought a new one. Installed it and still same problem!!


So then realized that one of threads was gone on one of the calipers which was causing a small leak! So was going to try a re thread but then found a used caliper from 928intl (Last photo). This was only 50$ and was in great condition. I Cleaned it up a bit. Painted it, and installed it and all working !!
I suppose what I should have done is checked the threads before I refurbished! Would have saved me a lot of time & Hassle.


I also in the process changed the Discs and Flexible hoses, brake shoes and brake pad sensors. These jobs were fairly straight forward apart from the Brake hoses. This was a big job as the rear hoses were stuck on and I had to cut the copper pipe to get them off. I then called a mechanic to repair the pipe and install the hose as I didnt want to risk it..


So pretty much a new brake system..!!


So main lessons learned for me were:


1. If you have a machine shop nearby get them blasted there, much less hassle compared to what I did
2. Thoroughly check threads before starting refurb. If theres one gone, save a lot of time and hassle knowing about it at that stage
3. Check thoroughly for leaks whilst bleeding as don't want to jump to conclusions about master cylinder being broken etc..


Attached Images               

Last edited by LeonLewis; 09-05-2015 at 06:43 AM.
The following users liked this post:
fatmanontwowheels (04-20-2020)
Old 09-04-2015, 09:34 PM
  #2  
hlee96
Rennlist Member
 
hlee96's Avatar
 
Join Date: Jan 2015
Location: Near Mushroom Capital of the World
Posts: 3,018
Received 196 Likes on 124 Posts
Default

Good job. Nice write up on what to lookout for during refurb process.m thanks for posting this, bc I'm adding brake refurb to my '78 rehab
Old 09-05-2015, 03:25 PM
  #3  
Jetdriver69
Banned
 
Jetdriver69's Avatar
 
Join Date: Apr 2013
Location: Humble, TX
Posts: 850
Likes: 0
Received 5 Likes on 4 Posts
Default

I did the same on my 82 a while back. A little work makes everything look so much better. OK a lot of work...
Attached Images  
The following users liked this post:
fatmanontwowheels (04-20-2020)
Old 09-05-2015, 10:04 PM
  #4  
ltoolio
Rennlist Member
 
ltoolio's Avatar
 
Join Date: Mar 2015
Location: Lisle, IL
Posts: 1,415
Received 3 Likes on 2 Posts
Default

What's the trick to get the Porsche letters so precise? A steady hand?
Old 09-05-2015, 10:33 PM
  #5  
Jetdriver69
Banned
 
Jetdriver69's Avatar
 
Join Date: Apr 2013
Location: Humble, TX
Posts: 850
Likes: 0
Received 5 Likes on 4 Posts
Default

You can buy the lettering in a 3 size sheet off eBay.

Just make sure the caliper is uber clean an then over spray with a clear hi temp coating.

The Porsche is a sort of reverse transfer. Just pull the back paper n stick it on.
Old 09-07-2015, 03:51 AM
  #6  
LeonLewis
Advanced
Thread Starter
 
LeonLewis's Avatar
 
Join Date: May 2015
Location: Nice
Posts: 83
Received 5 Likes on 4 Posts
Default

Originally Posted by Jetdriver69
I did the same on my 82 a while back. A little work makes everything look so much better. OK a lot of work...
That looks awsome!!
Old 09-07-2015, 05:14 AM
  #7  
The Deputy
Drifting
 
The Deputy's Avatar
 
Join Date: Dec 2014
Location: Michigan
Posts: 2,177
Likes: 0
Received 2 Likes on 2 Posts
Default

Very nice. Made quite the improvement. It's on the list for my 78 and 84.

Thank you, for sharing.

Brian.
Old 09-11-2015, 09:52 AM
  #8  
Chuck Schreiber
Addict
Rennlist Member

 
Chuck Schreiber's Avatar
 
Join Date: Aug 2002
Location: Plano, Tx.
Posts: 3,453
Received 124 Likes on 81 Posts
Default

Very nice guys!!!
Old 09-12-2015, 11:31 PM
  #9  
granprixweiss928
Three Wheelin'
 
granprixweiss928's Avatar
 
Join Date: Jun 2013
Location: Norcal
Posts: 1,391
Received 26 Likes on 14 Posts
Default

Nice!


I did mine too about a year ago, but I plated everything.

The following users liked this post:
fatmanontwowheels (04-20-2020)
Old 09-13-2015, 09:40 AM
  #10  
Jetdriver69
Banned
 
Jetdriver69's Avatar
 
Join Date: Apr 2013
Location: Humble, TX
Posts: 850
Likes: 0
Received 5 Likes on 4 Posts
Default

Now that's a weekend project!
Old 09-13-2015, 12:09 PM
  #11  
ltoolio
Rennlist Member
 
ltoolio's Avatar
 
Join Date: Mar 2015
Location: Lisle, IL
Posts: 1,415
Received 3 Likes on 2 Posts
Default

Originally Posted by granprixweiss928
Nice!


I did mine too about a year ago, but I plated everything.


What did you use to plate the bus, bolts, screws, mounting bars, e.g. all the"non-brake stuff".
Old 09-13-2015, 12:53 PM
  #12  
Ad0911
Rennlist Member
 
Ad0911's Avatar
 
Join Date: Jan 2003
Location: Netherlands
Posts: 1,954
Received 61 Likes on 28 Posts
Default

Originally Posted by ltoolio
What did you use to plate the bus, bolts, screws, mounting bars, e.g. all the"non-brake stuff".
Good question! I wanted all hardware and brake calipers plated but the plating did not stick to the brake parts. They cane out grey wihout zinc. Must be a different chemucal composition of the baths.
Old 09-13-2015, 01:08 PM
  #13  
granprixweiss928
Three Wheelin'
 
granprixweiss928's Avatar
 
Join Date: Jun 2013
Location: Norcal
Posts: 1,391
Received 26 Likes on 14 Posts
Default

The hardware and the calipers themselves are yellow Zinc. The calipers were then cleared and baked in my oven so the finish would not tarnish.

The rear backing plates are aluminum so they were done in Alodine.

The discs were done in silver-zinc and the turned on the brake lathe to remove the zinc layer on the pad surface.
Old 04-20-2020, 05:04 AM
  #14  
LeonLewis
Advanced
Thread Starter
 
LeonLewis's Avatar
 
Join Date: May 2015
Location: Nice
Posts: 83
Received 5 Likes on 4 Posts
Default

Originally Posted by granprixweiss928
Nice!


I did mine too about a year ago, but I plated everything.

That is awesome! Did you do that in some kind of special plating shop or something?


Quick Reply: Caliper Refurb 1981 4.5


All times are GMT -3. The time now is 02:56 PM.