When you click on links to various merchants on this site and make a purchase, this can result in this site earning a commission. Affiliate programs and affiliations include, but are not limited to, the eBay Partner Network.
After reading many posts in here about how to clean the CE panel, I decided that it was something I can do. Following are some pictures for sharing.
- Remove the ground cable in the trunk.
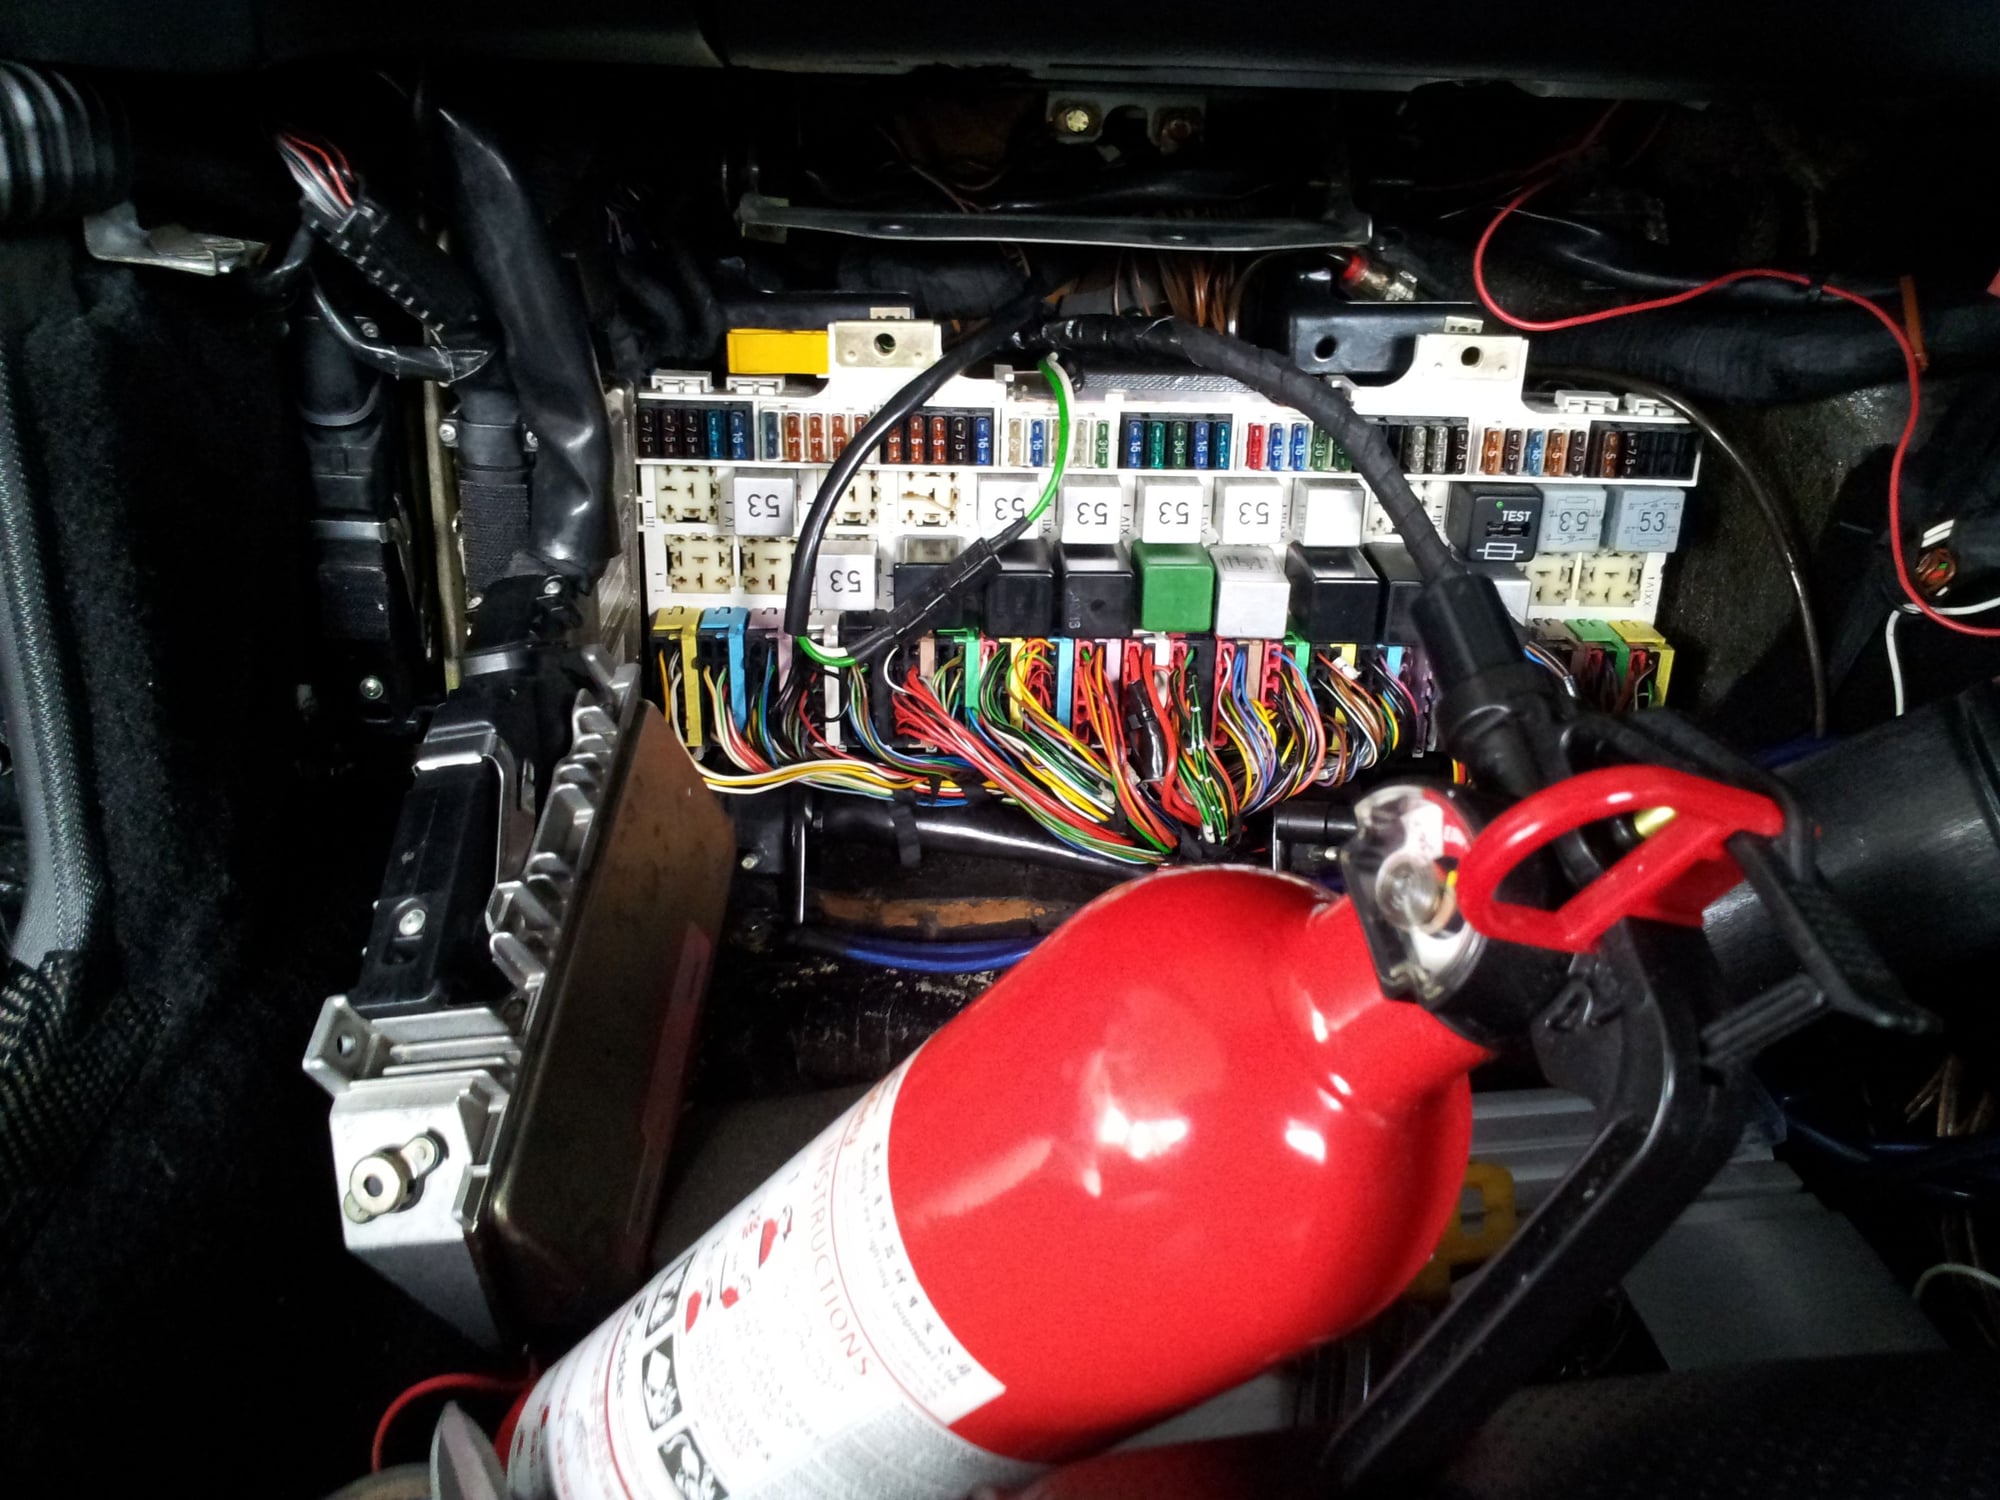
- Get the fire extinguisher ready.
- Remove the passenger side dash lower tray.
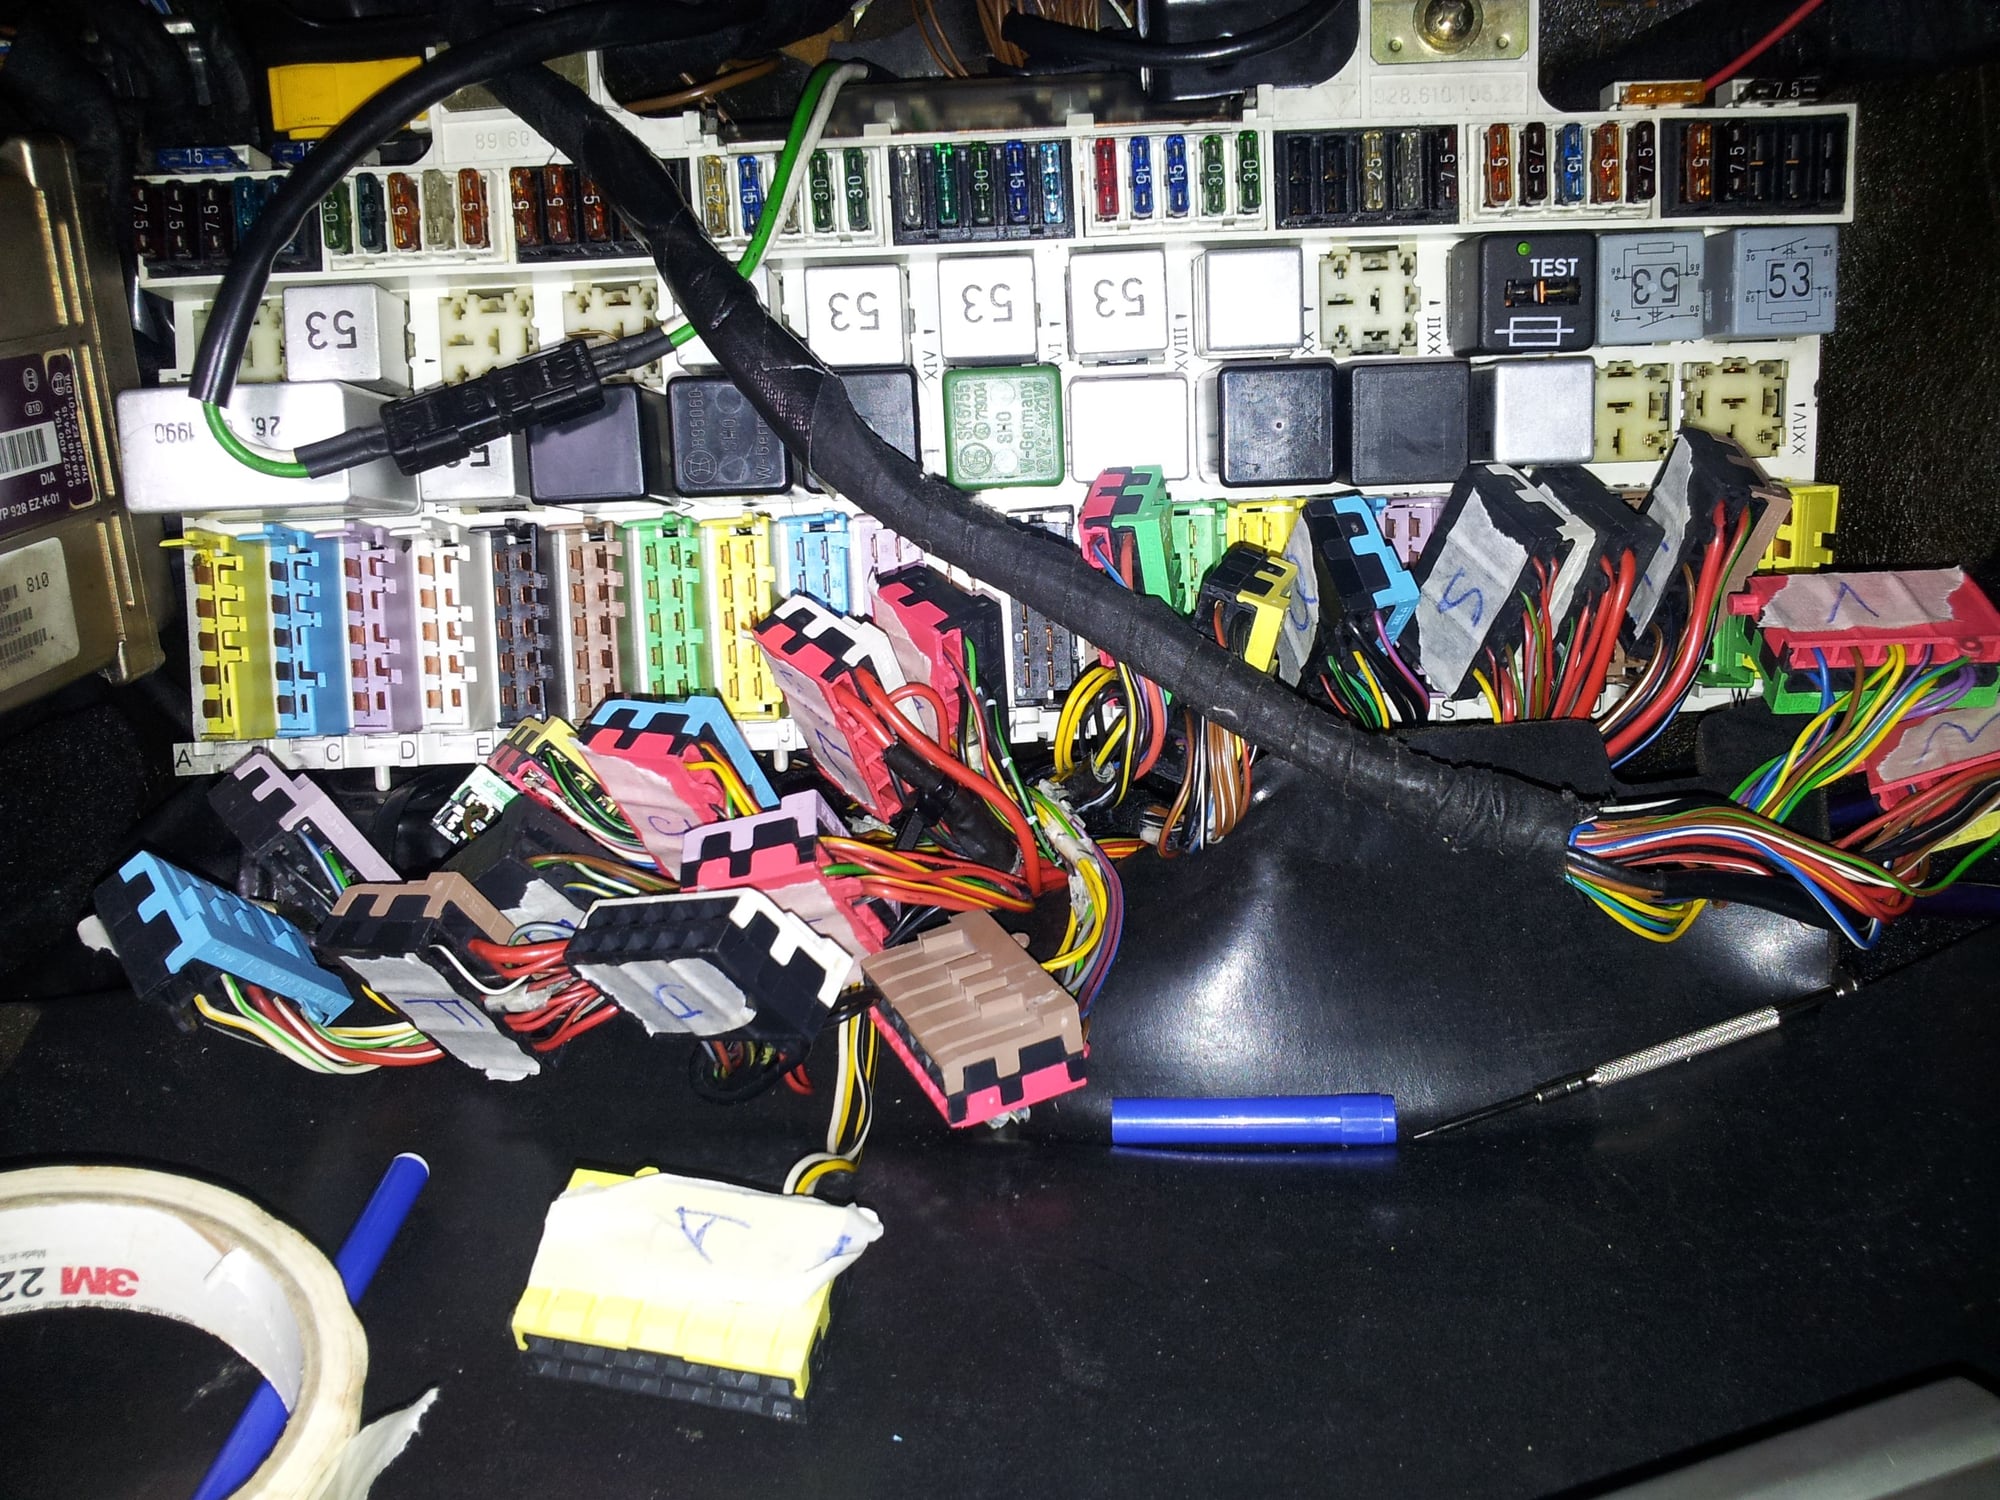
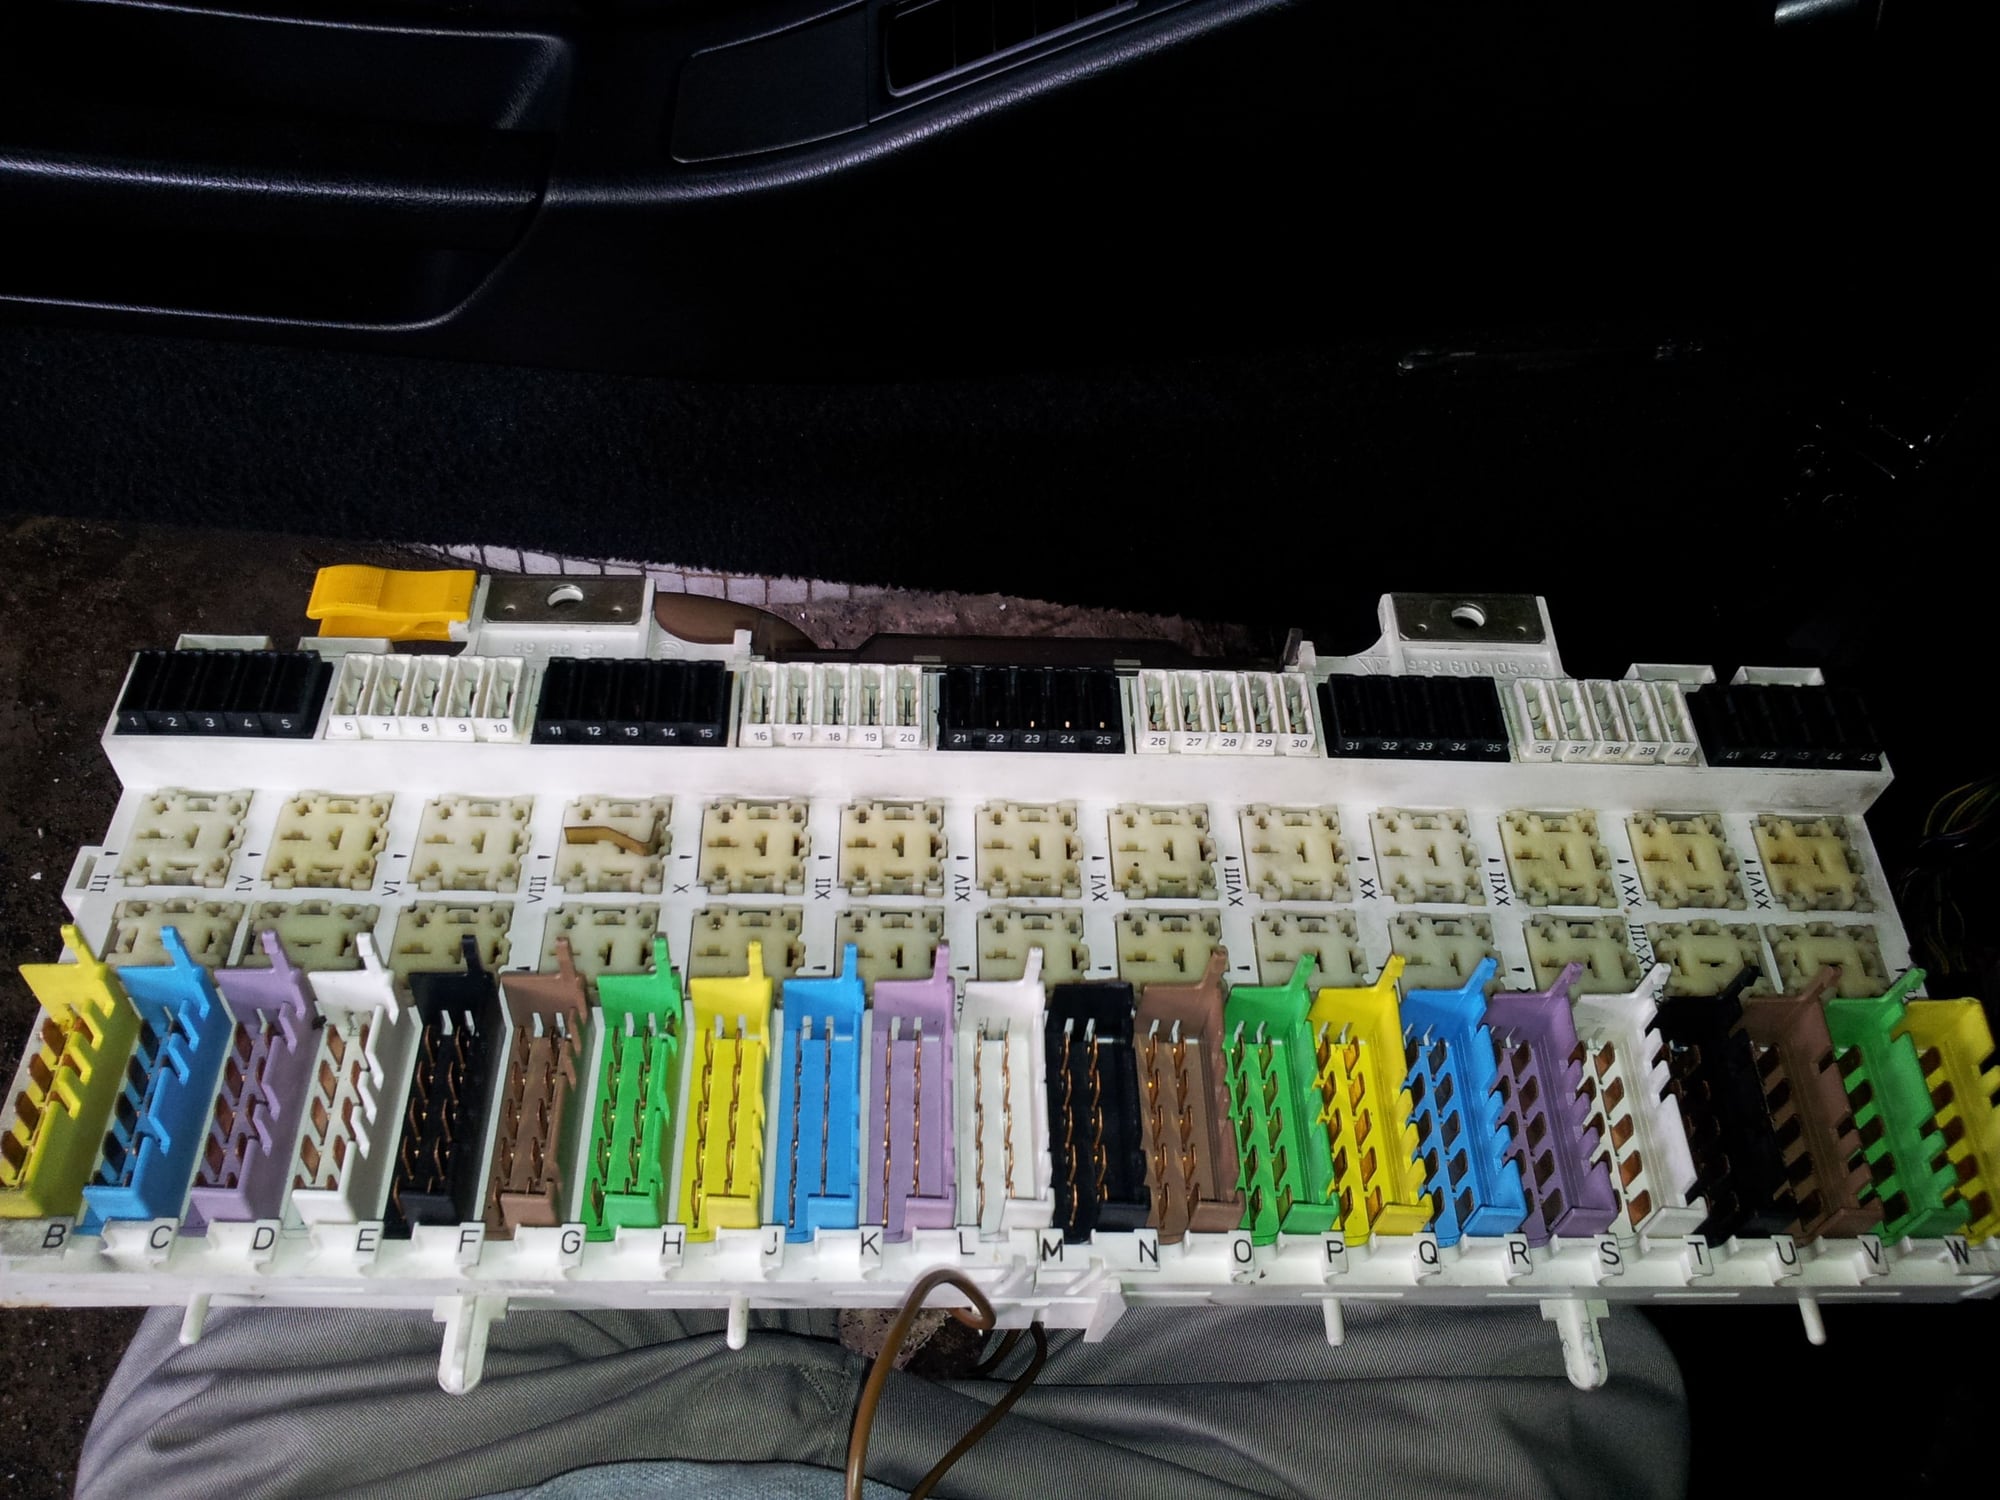
1. Remove all the connectors and label them. Actually you don't have to label because you can tell their position by their colors but I just want to be safe. ( There was no connector "R" in my car, don't know if it is normal). Remove the 2 screws on the top of the panel, then the panel can be moved out.
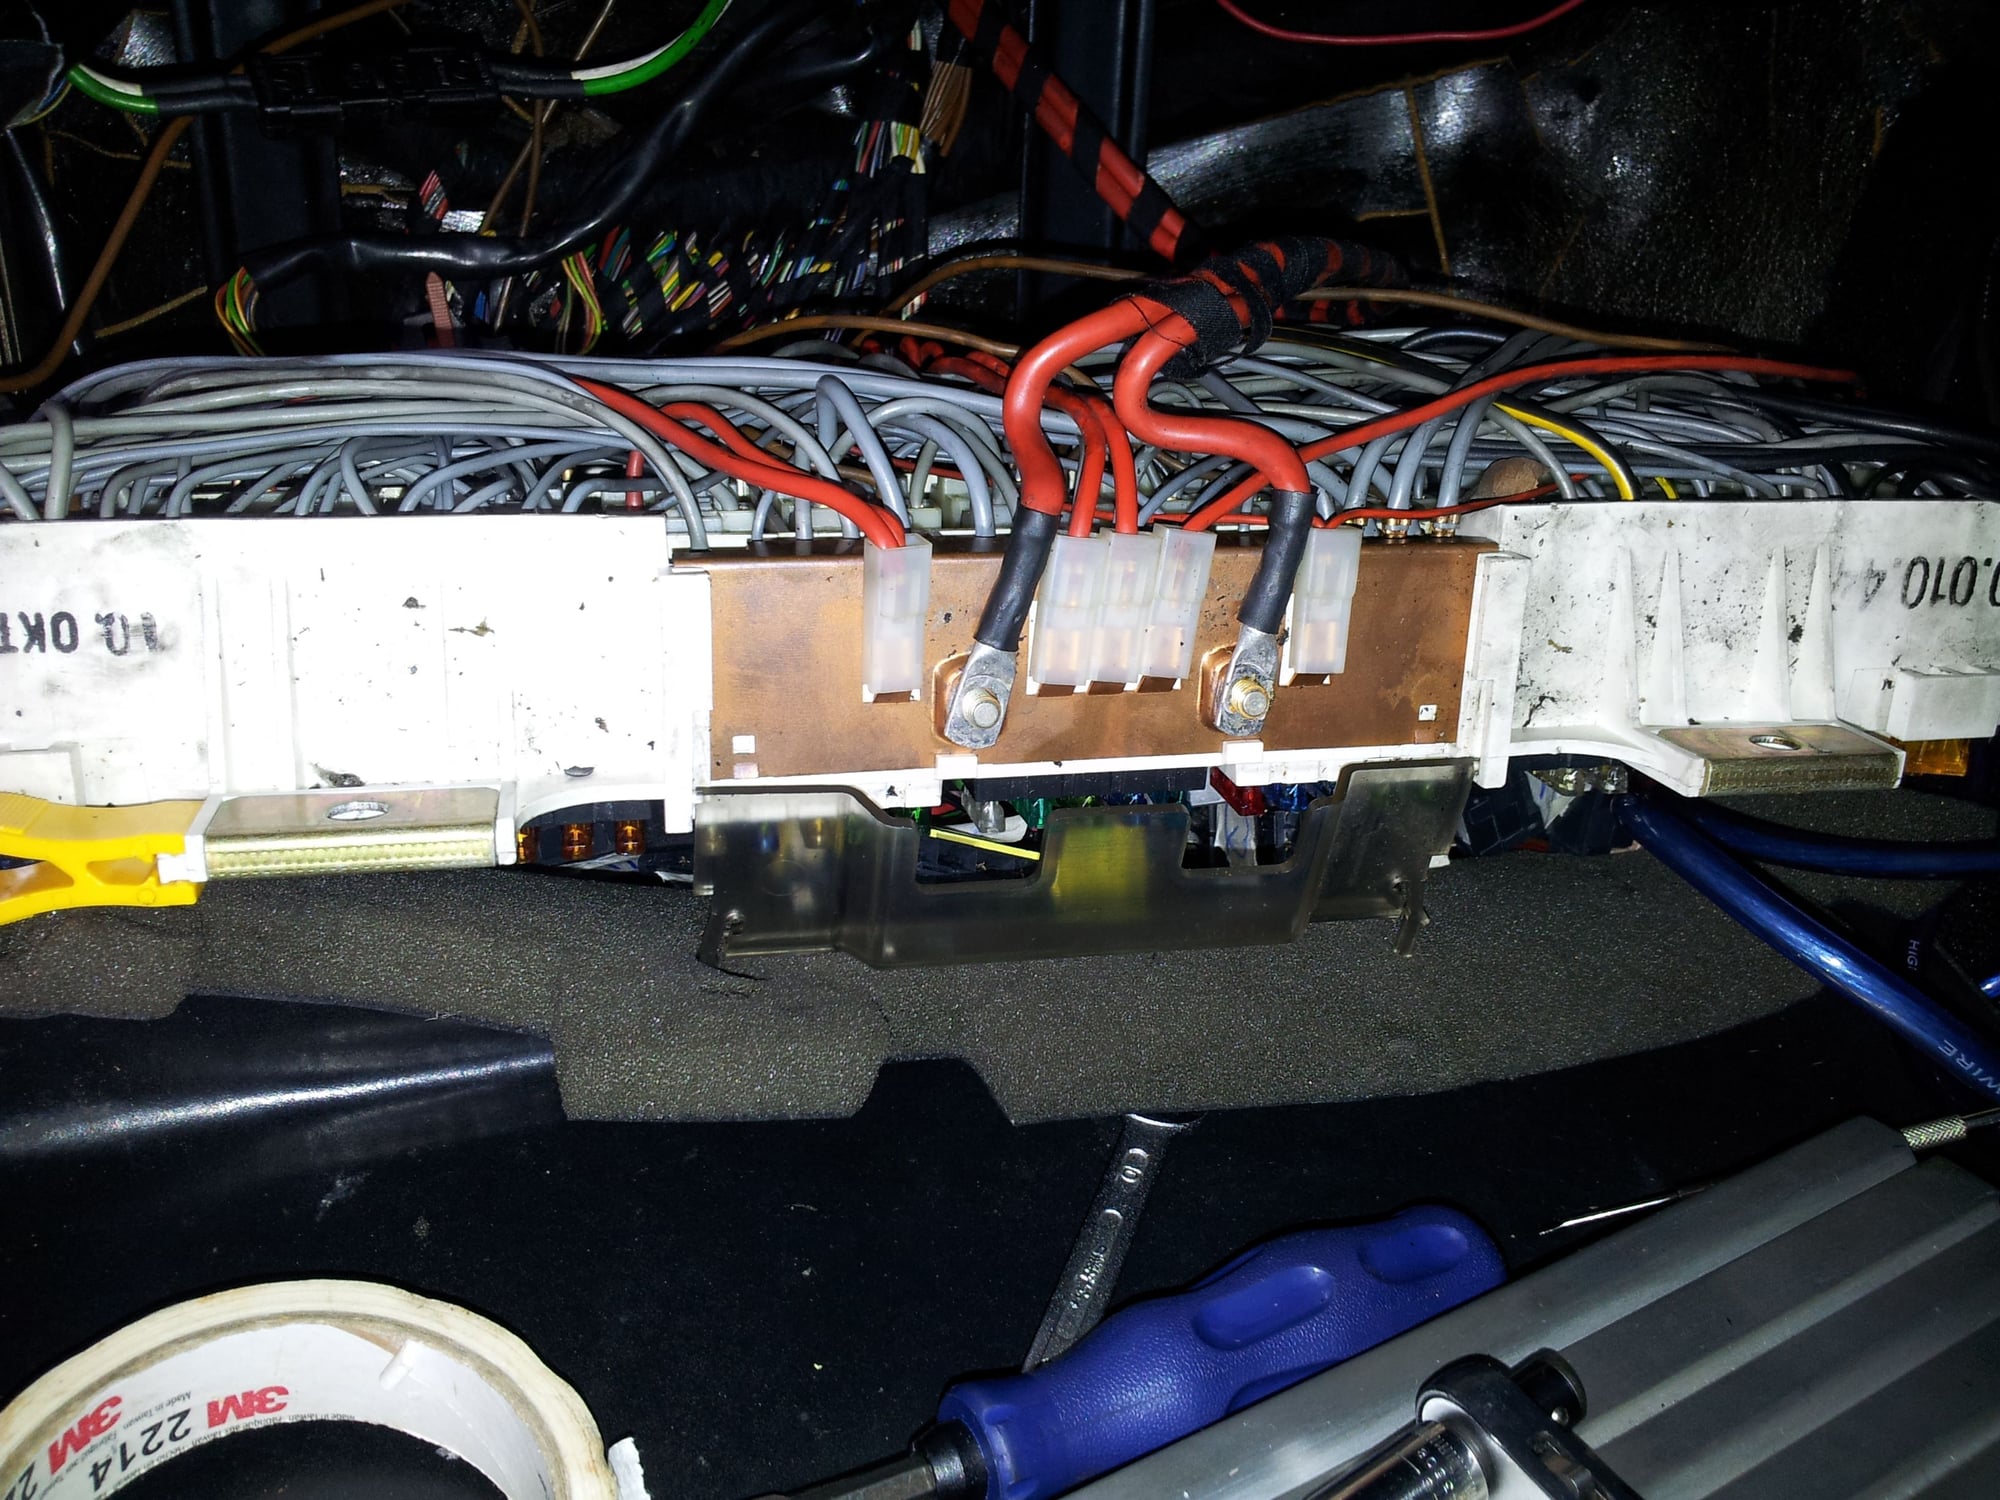
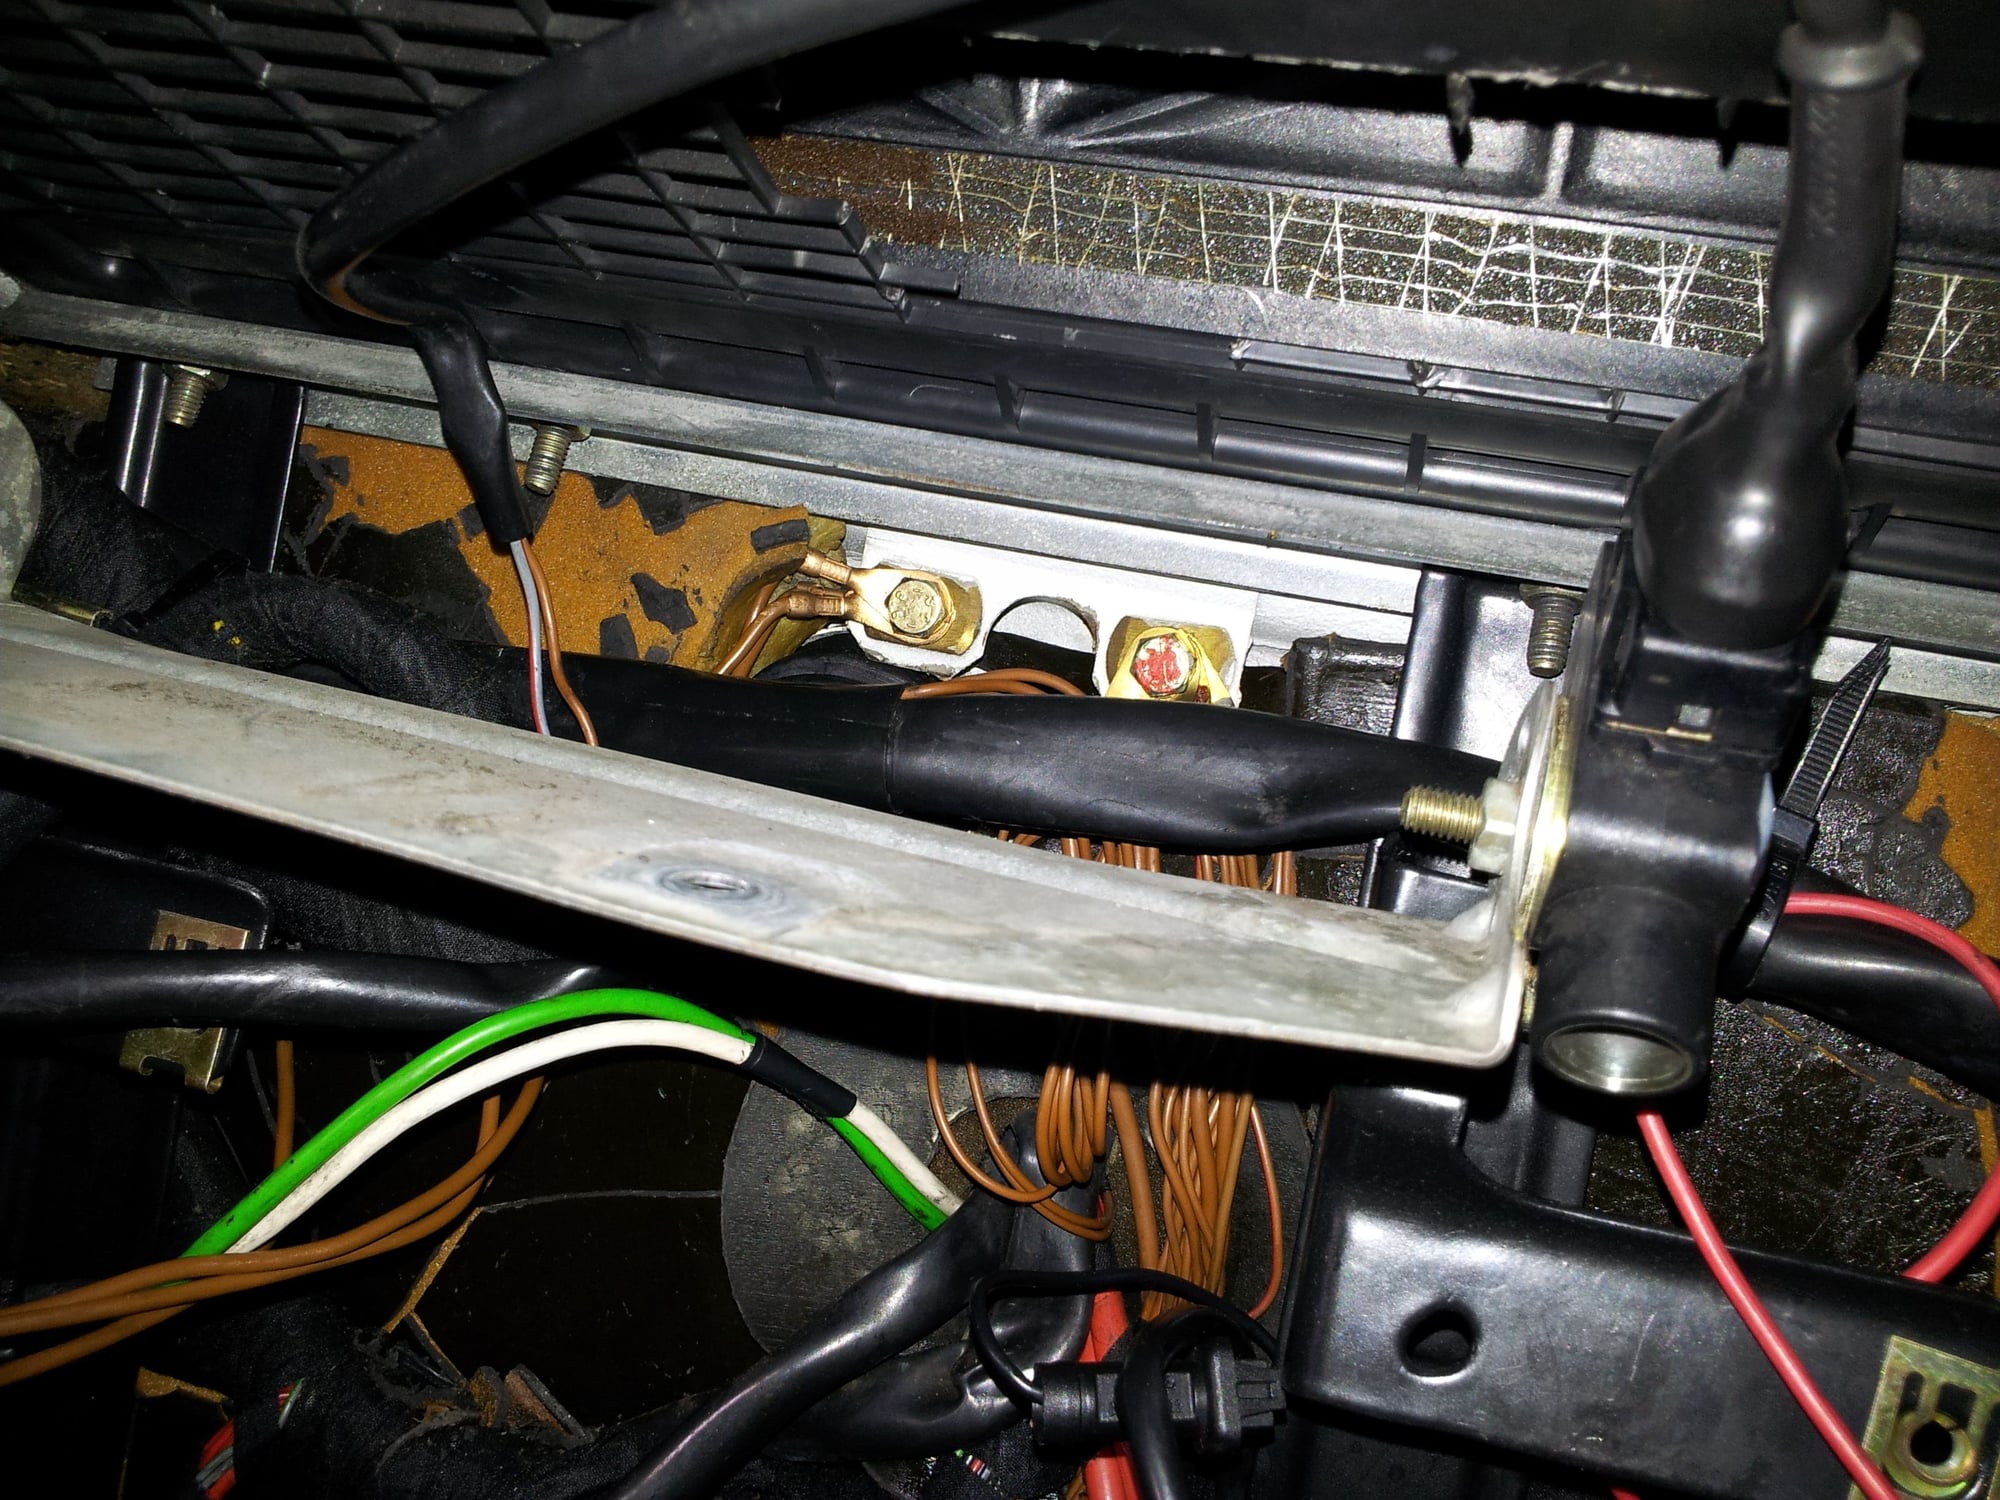
2. Remove the 2 positive cables from the top of the panel.
3. At the back of the panel, there are still 3 ground cables connecting to the grounding point.
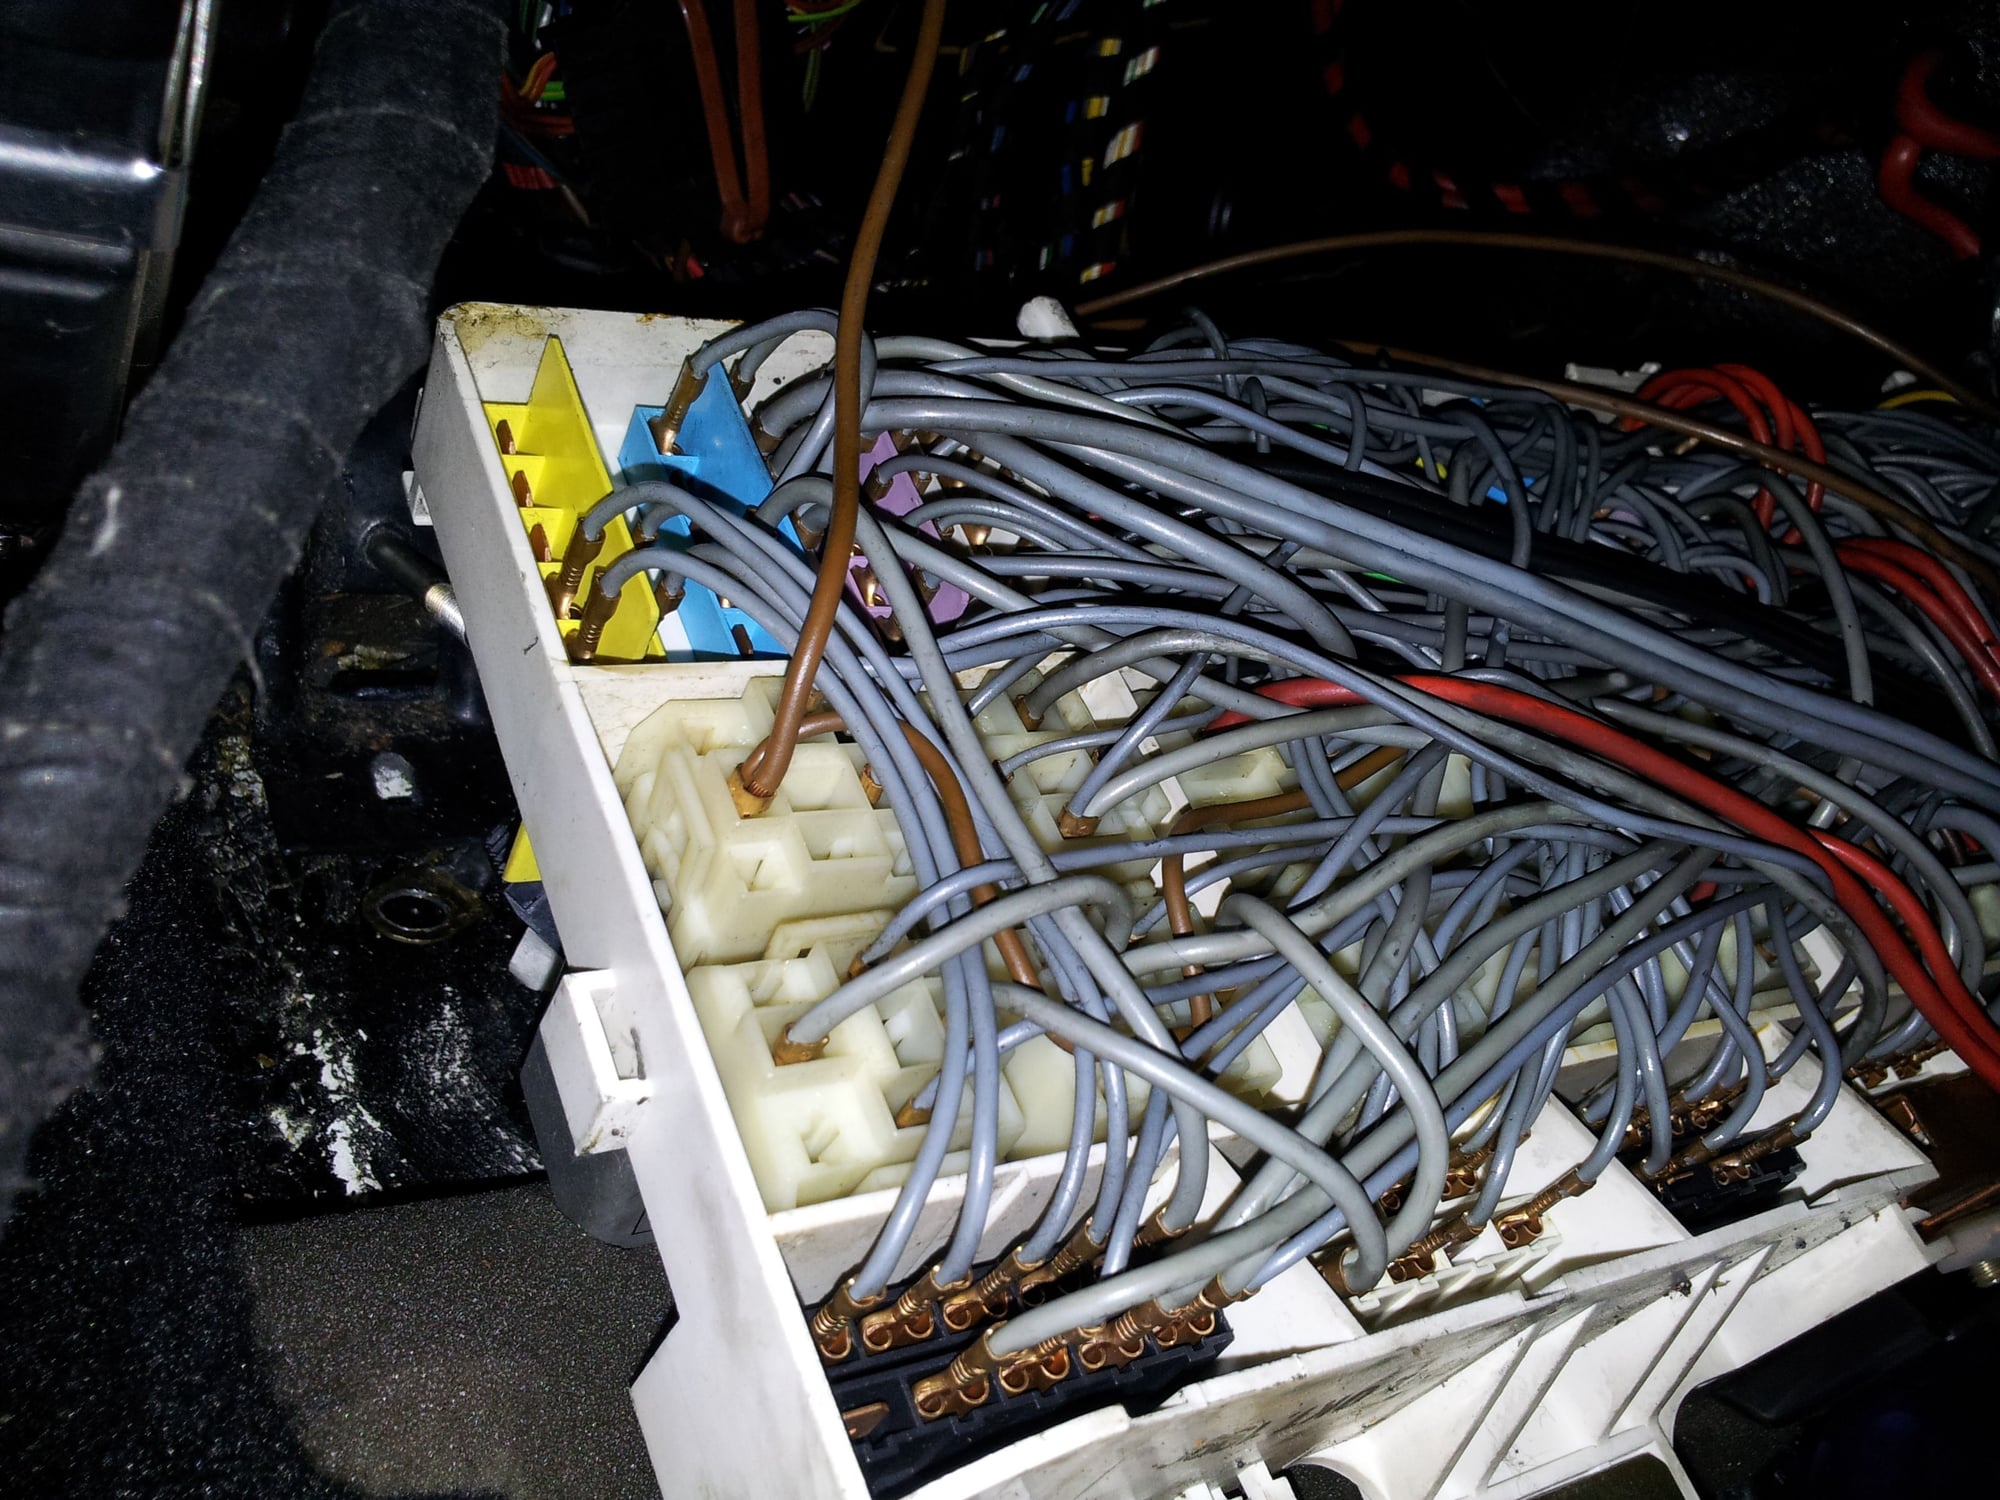
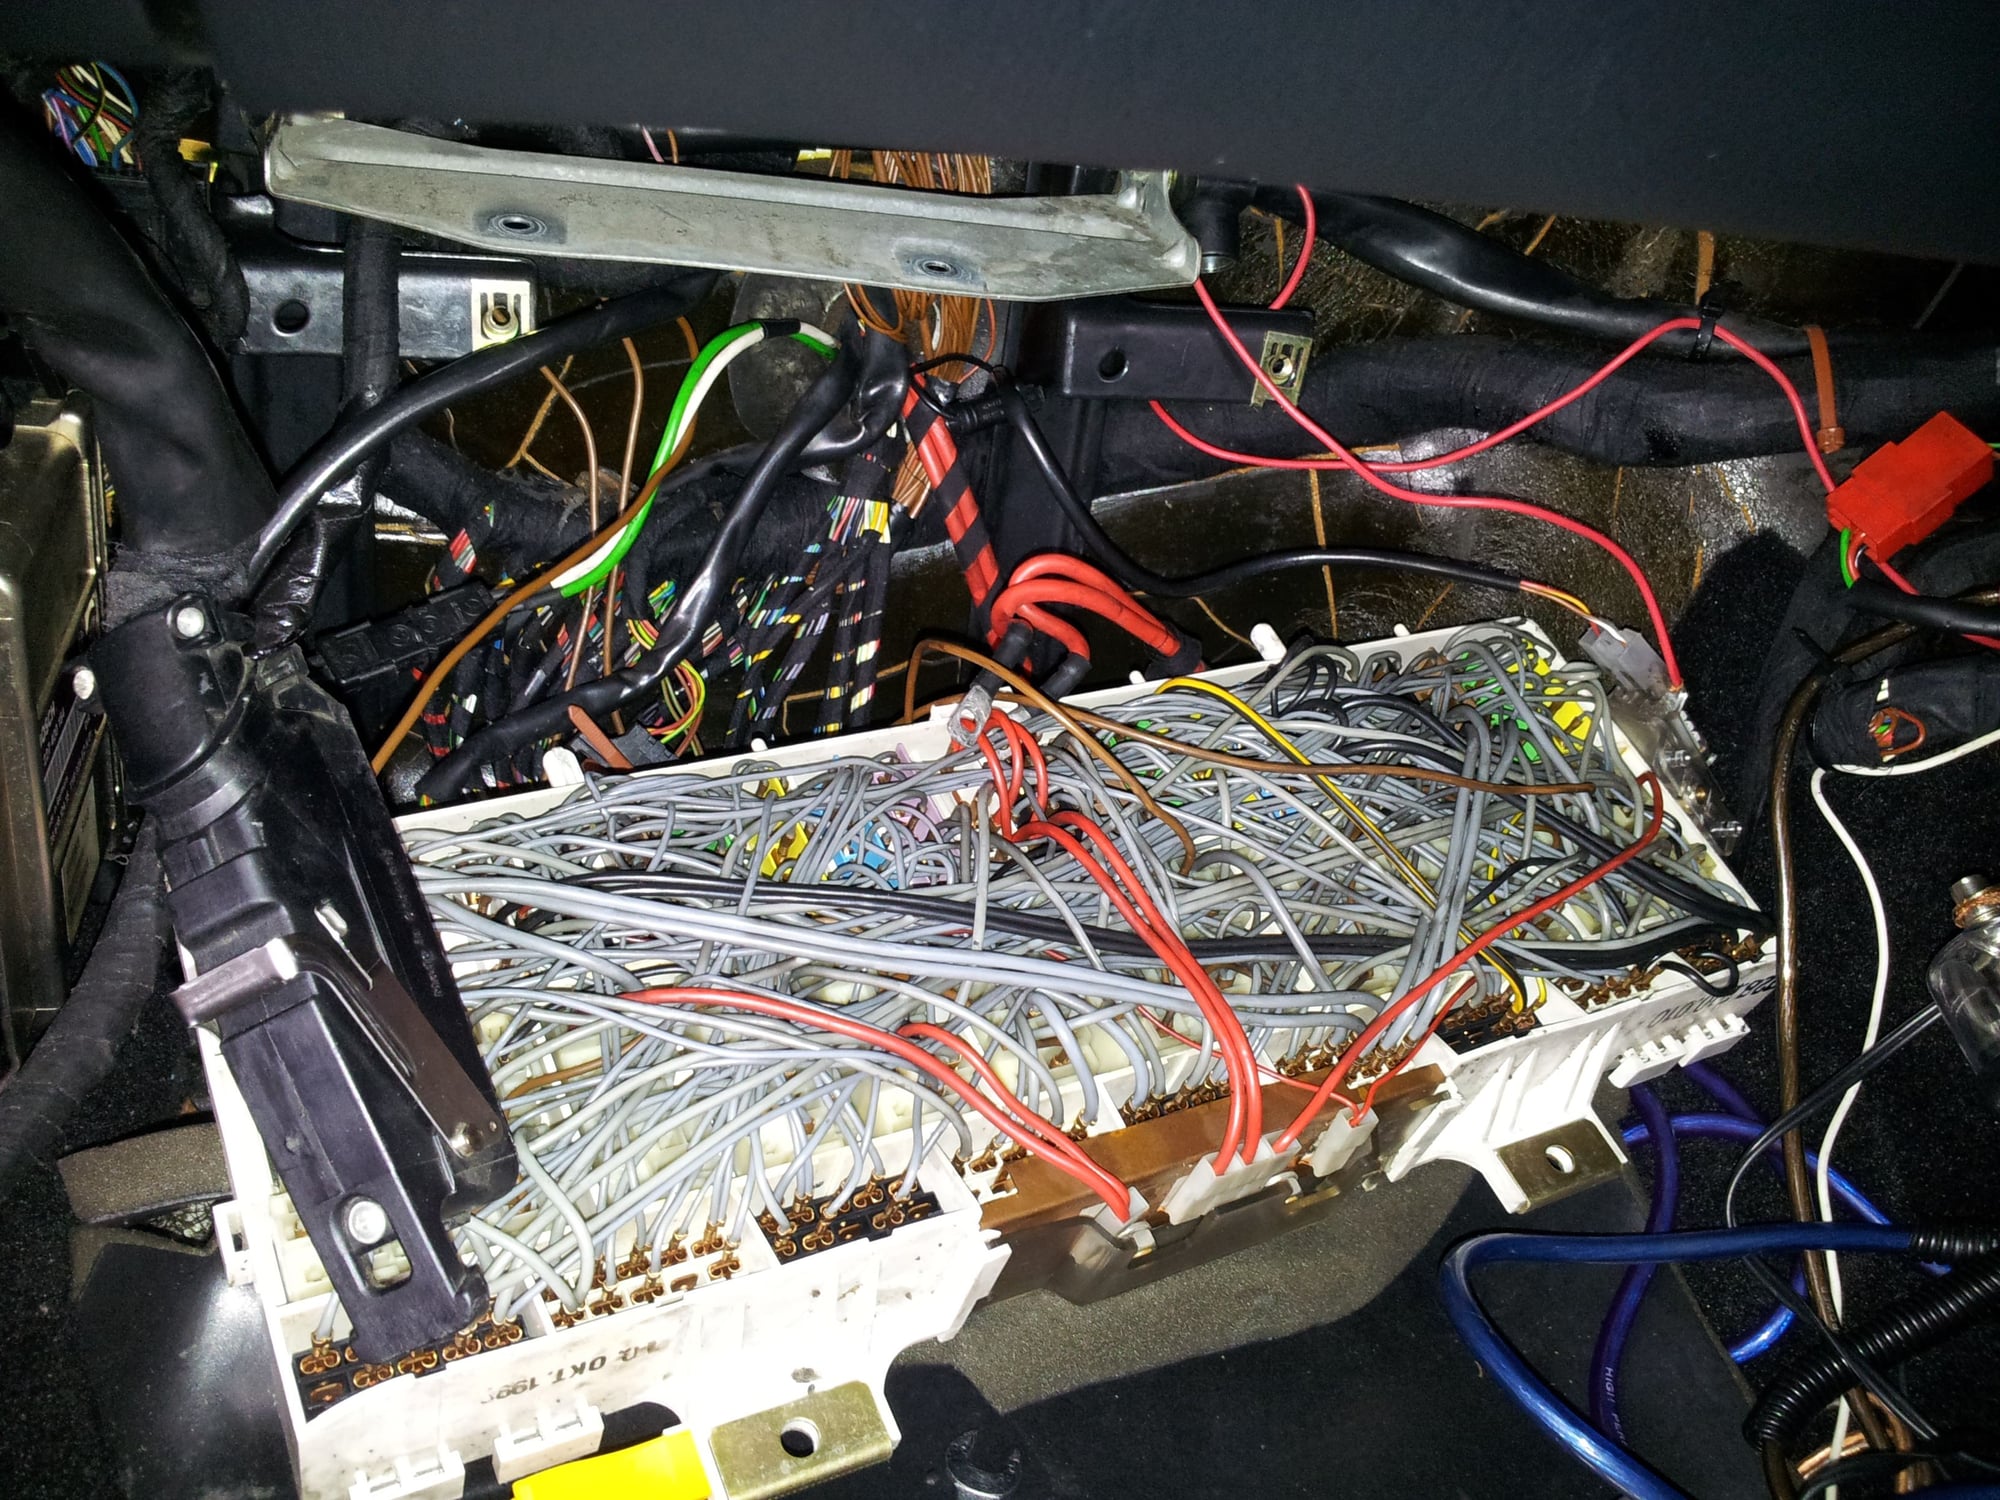
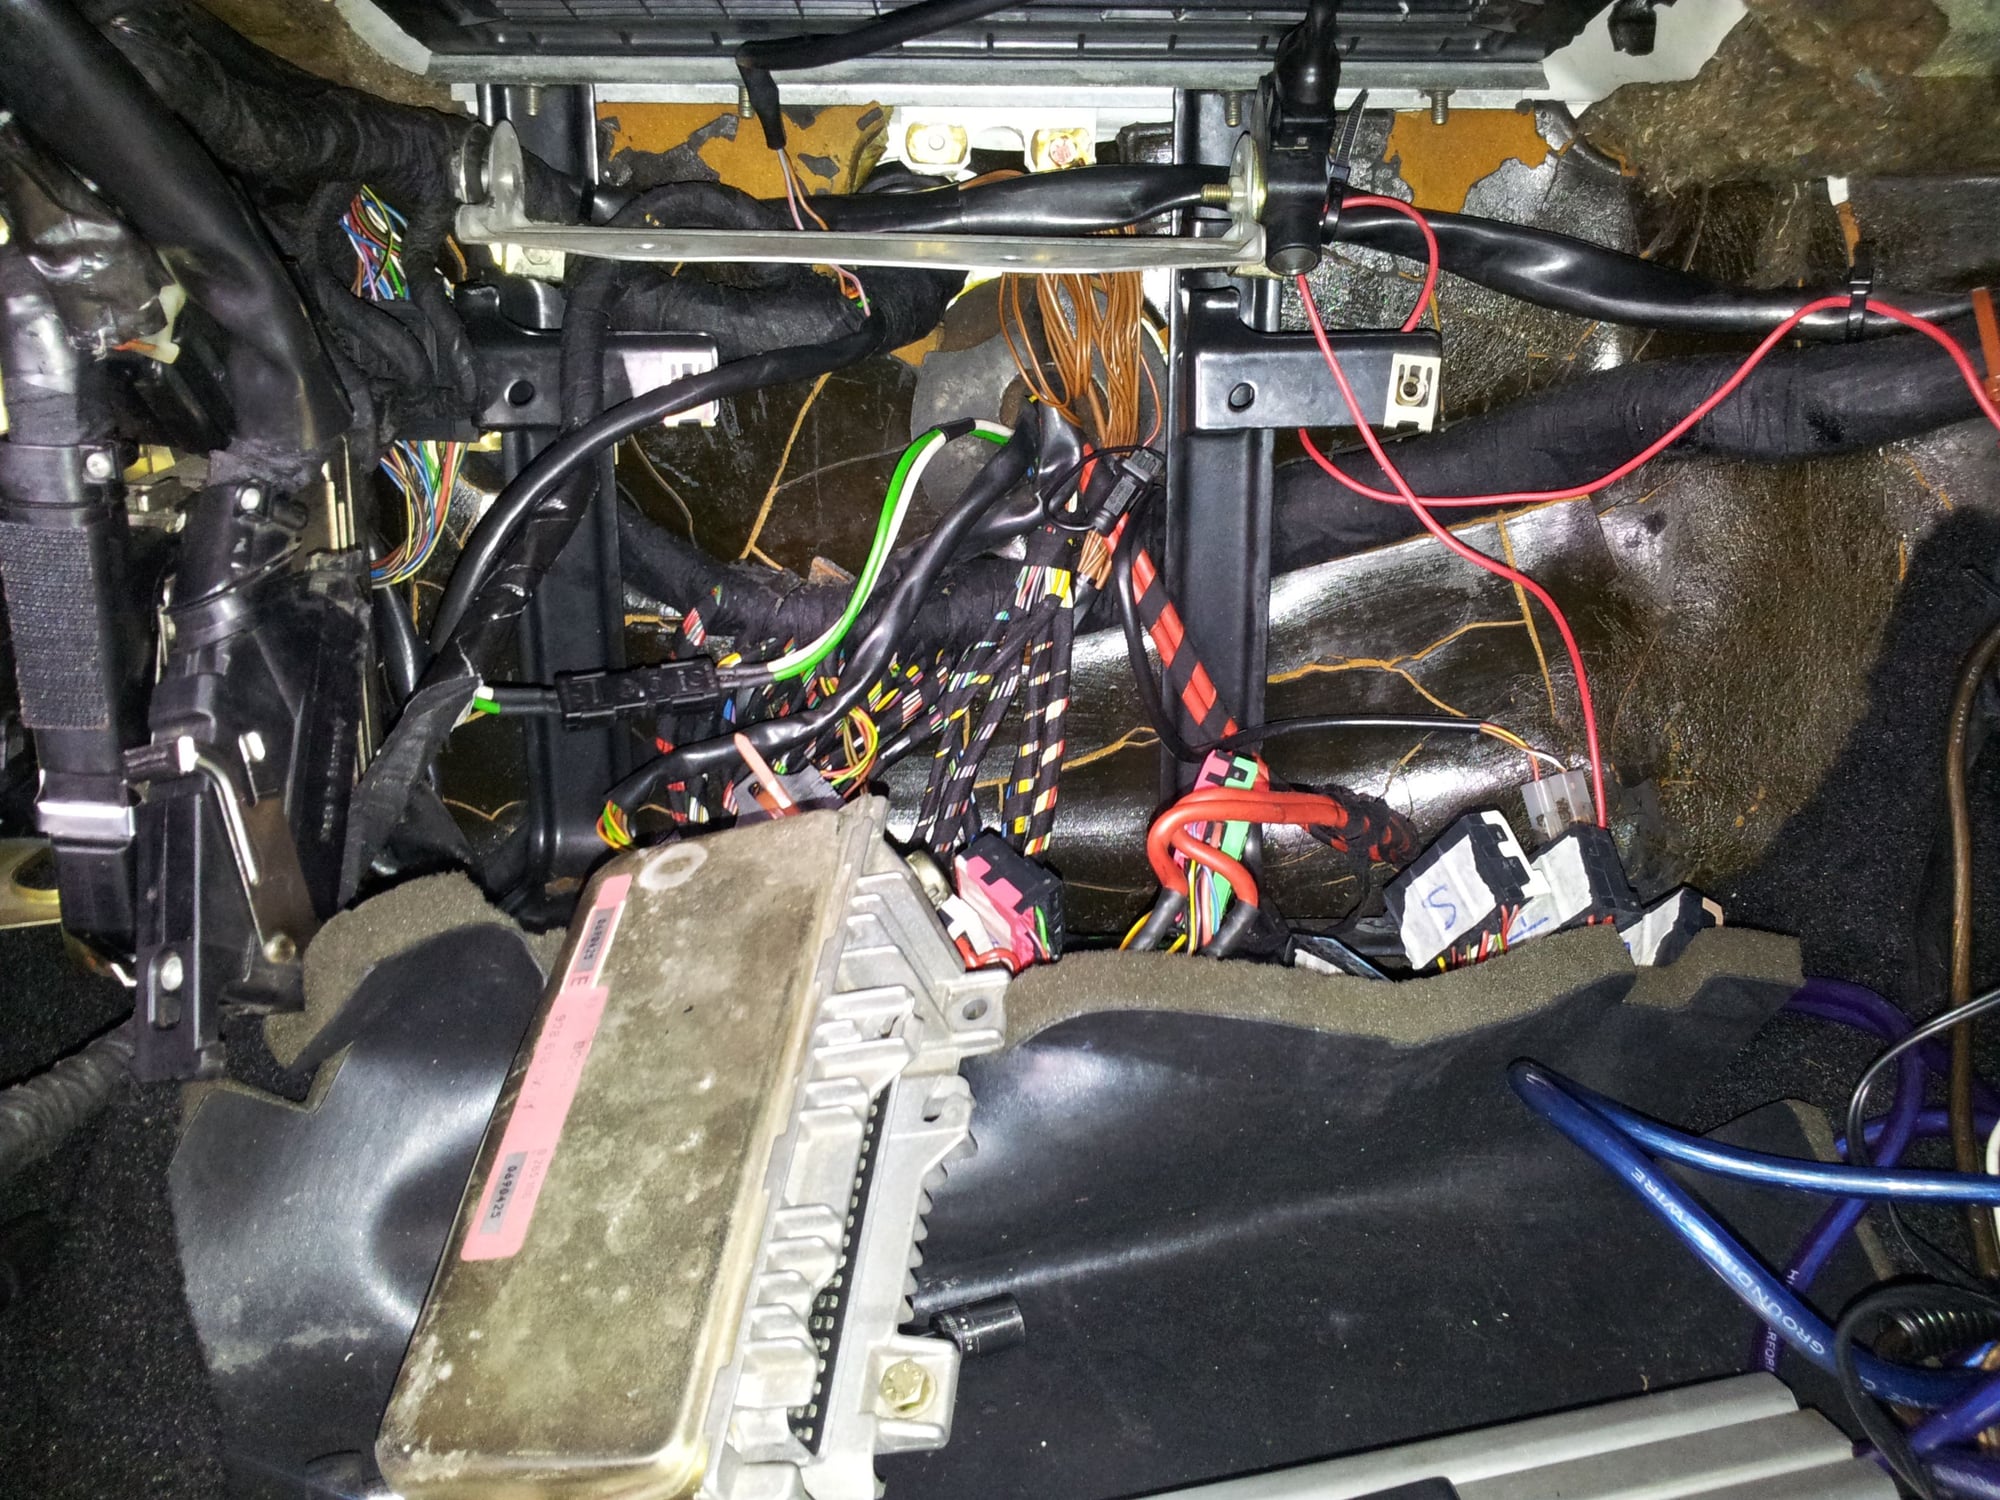
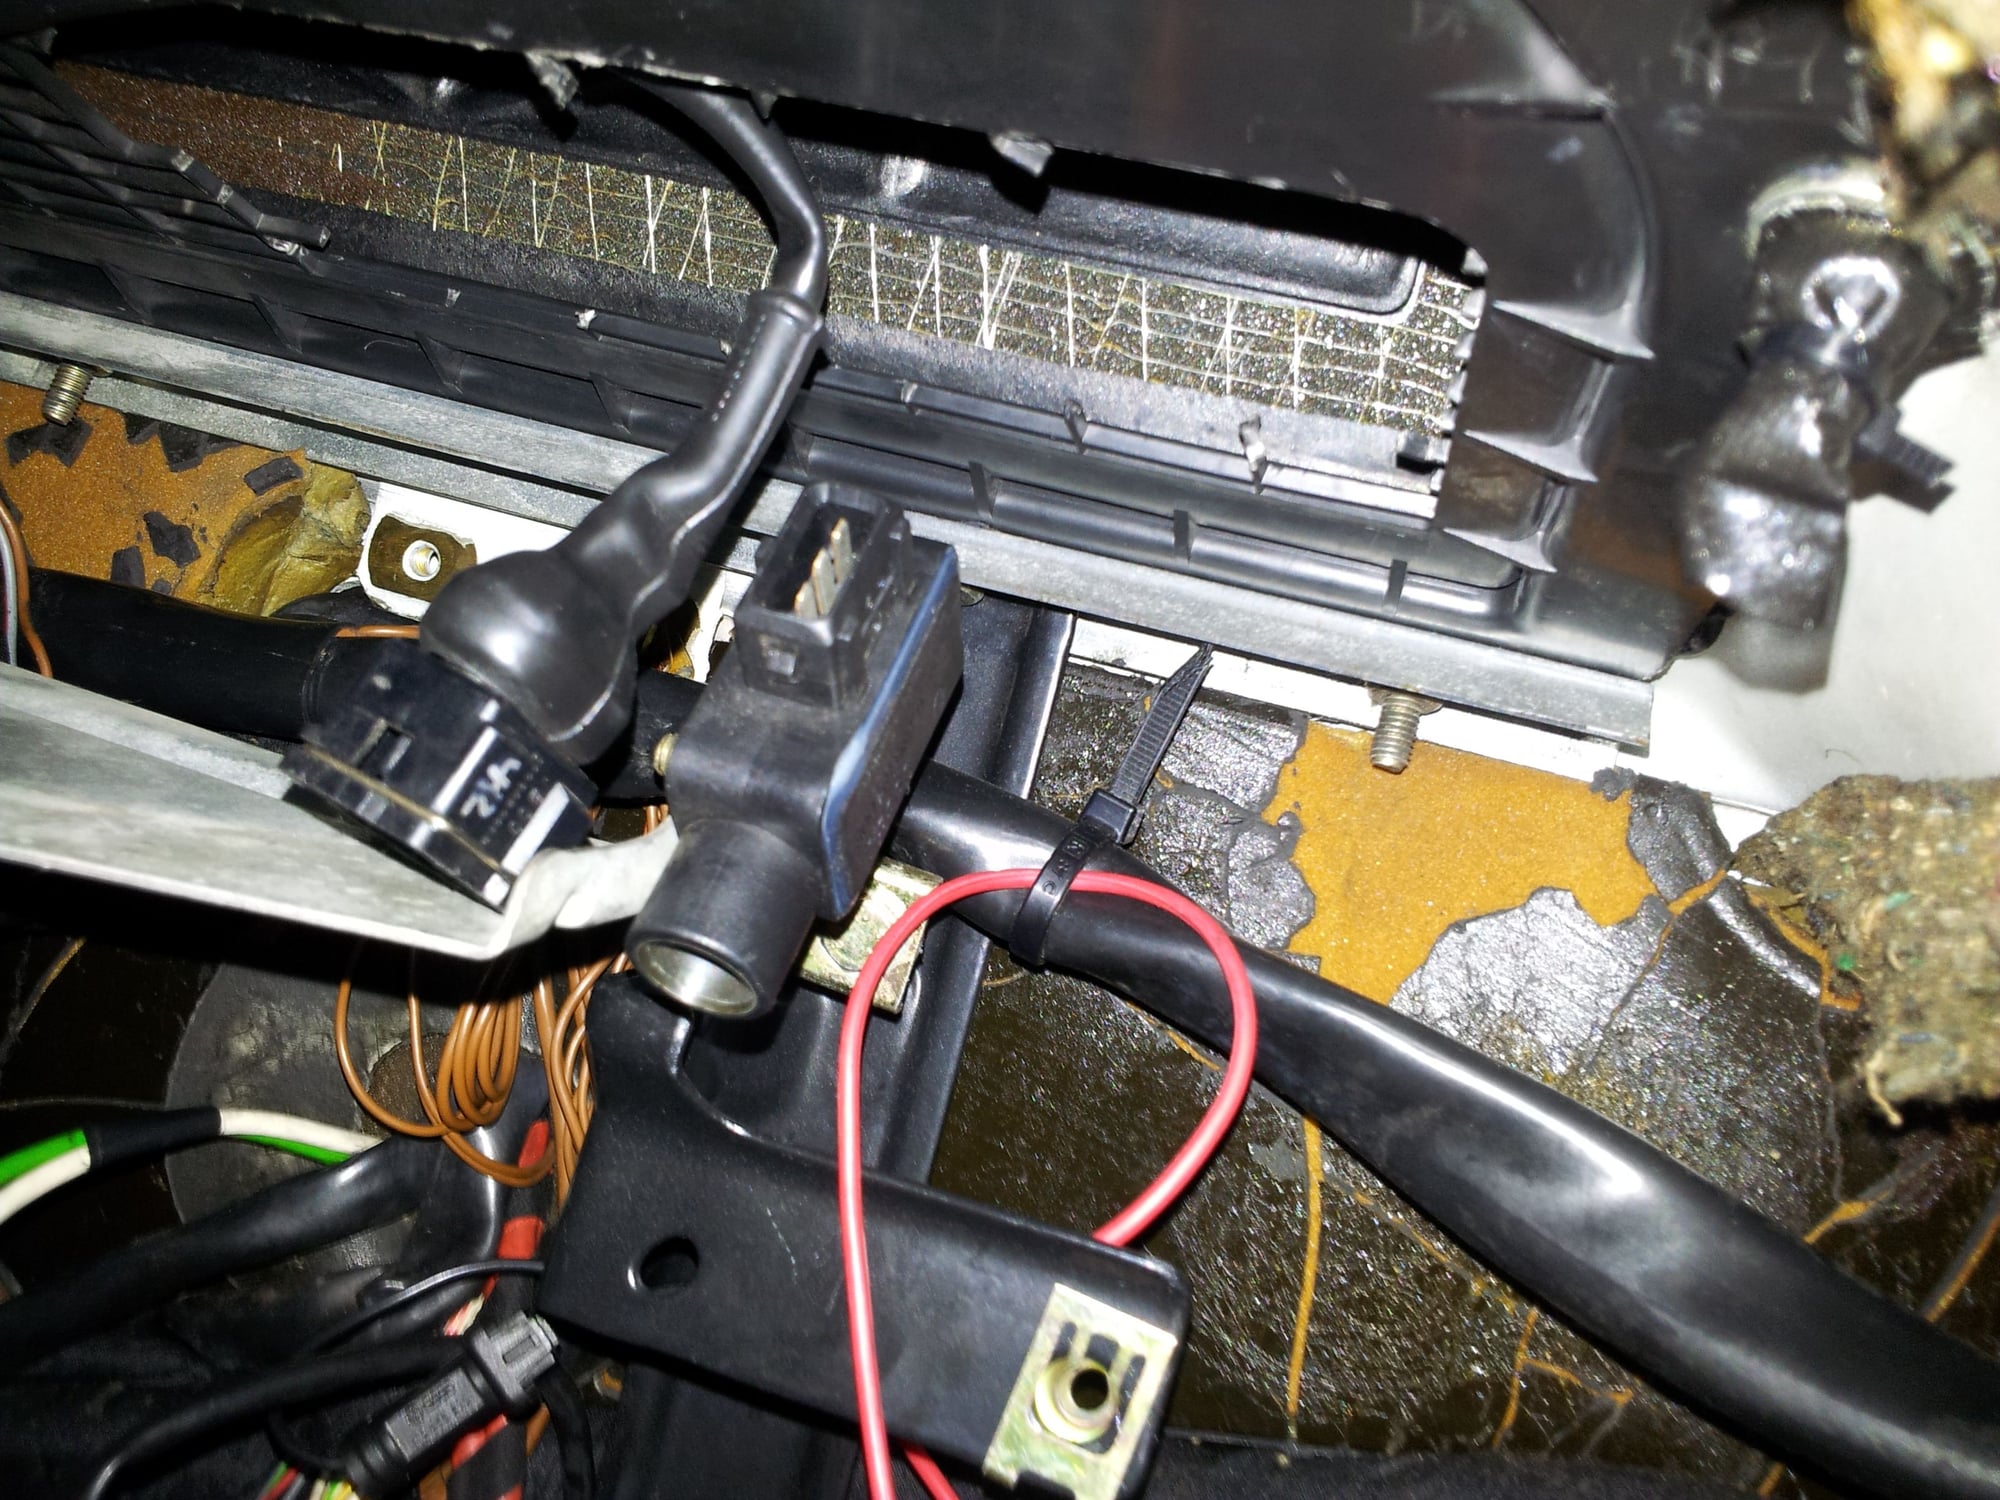
4. Remove the ABS module and you can see the grounding points. Remove the left side to release those 3 ground wires.
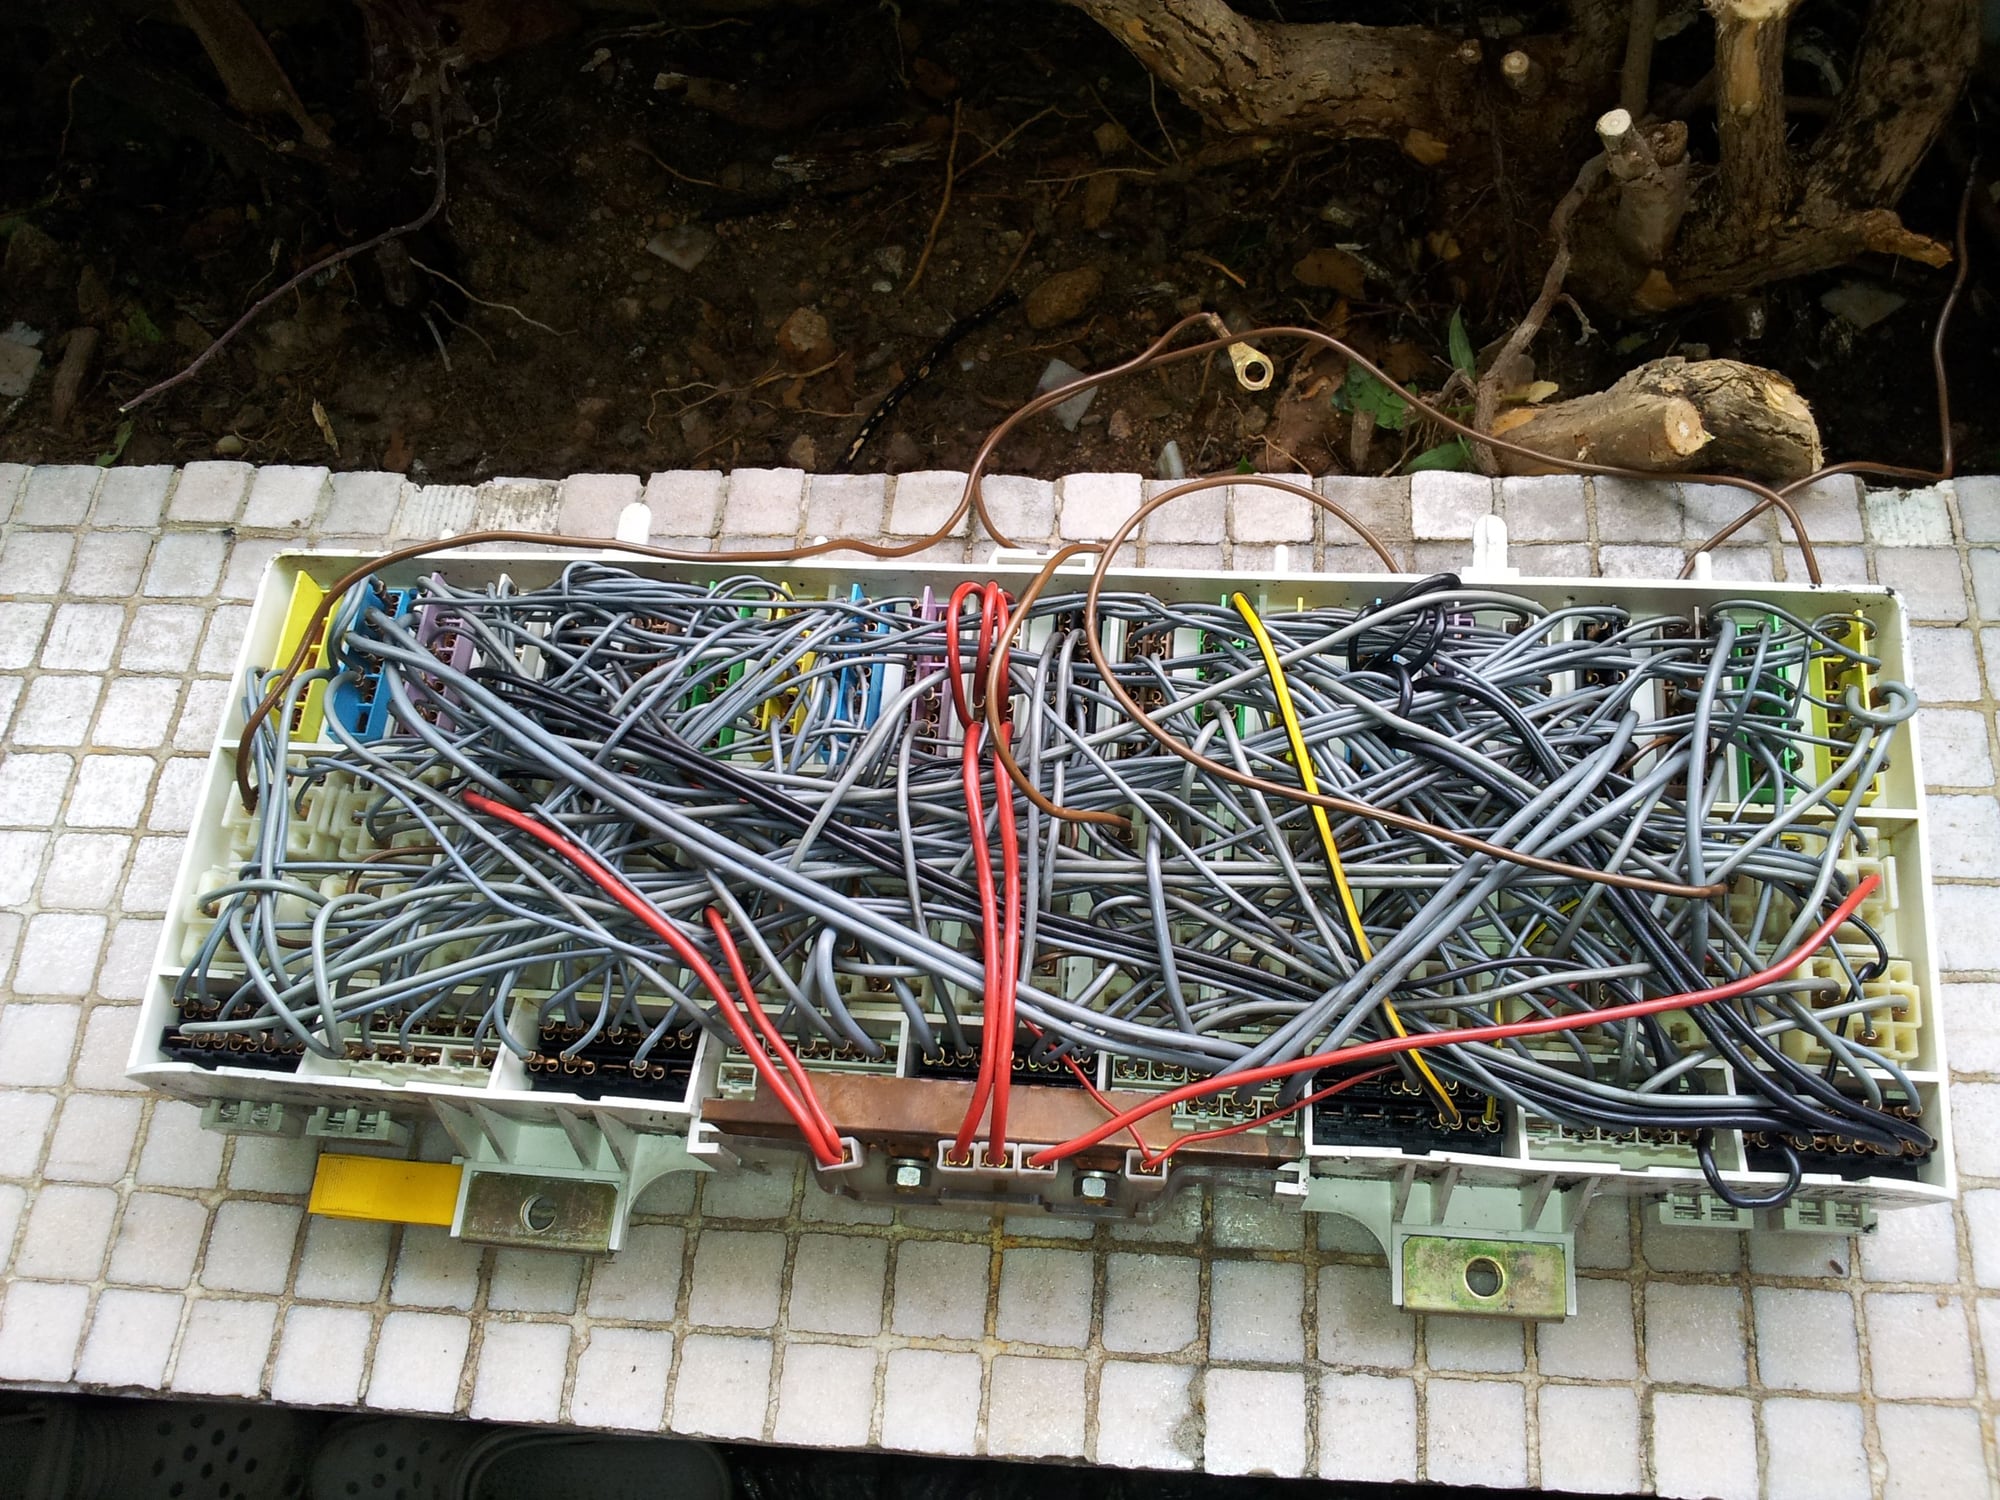
5. The panel can be totally removed.
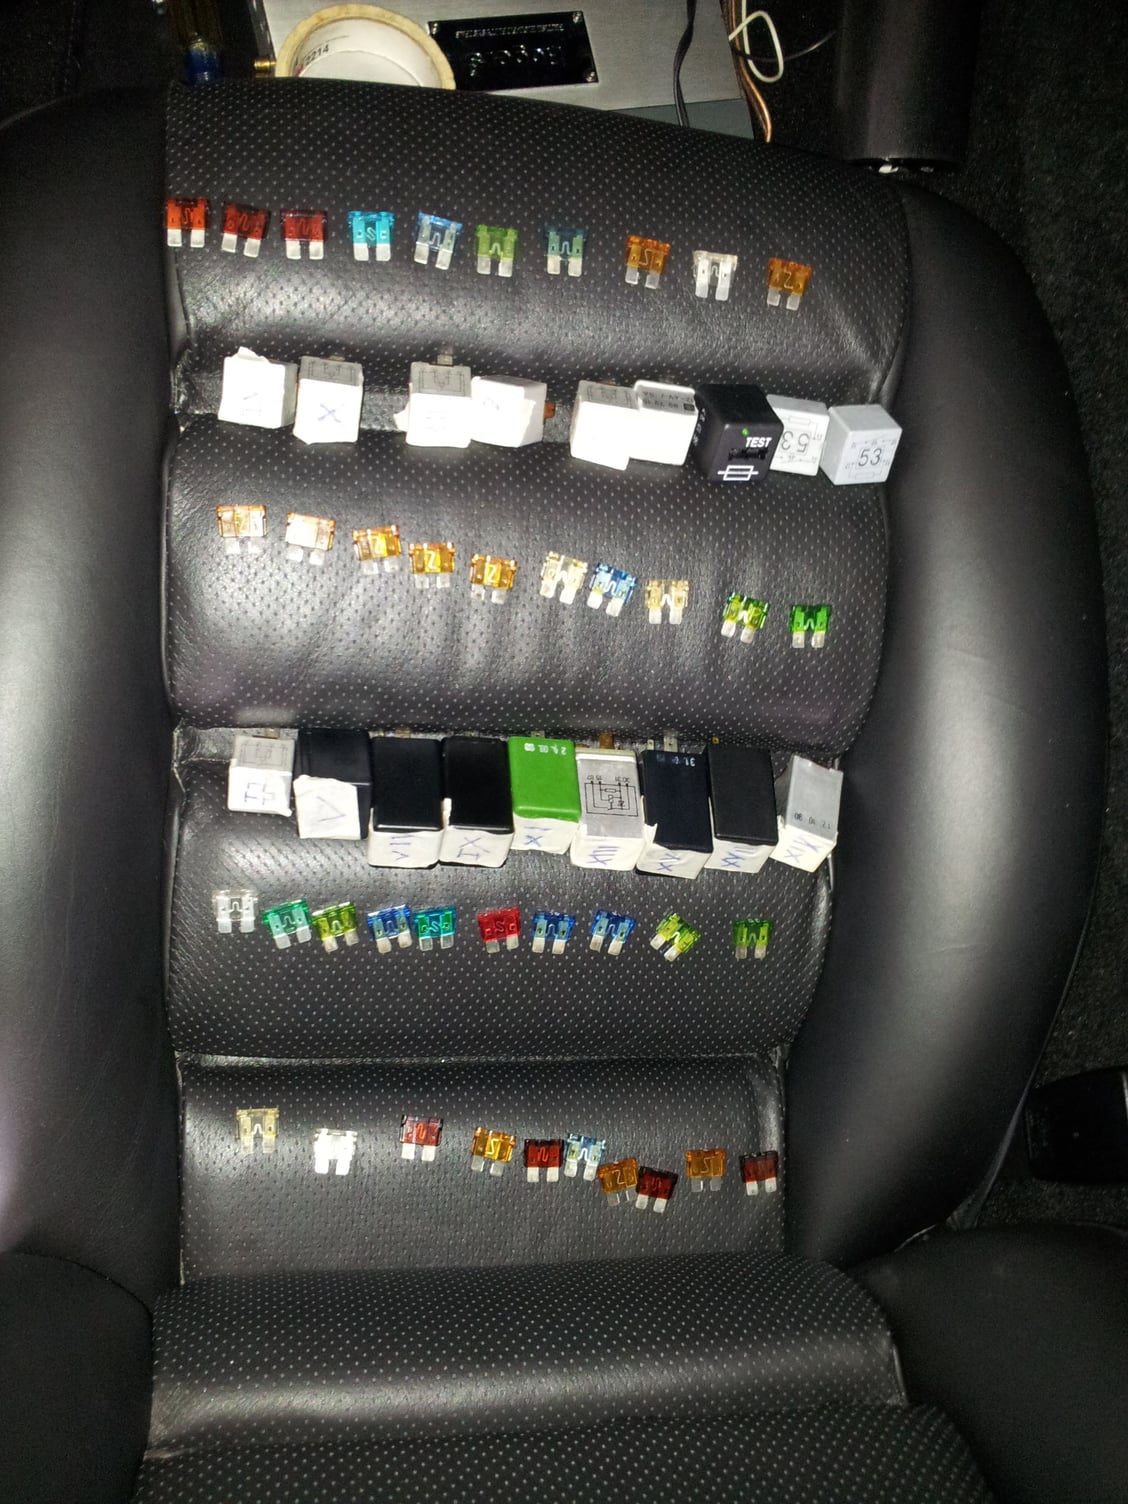
6. Next, I remove all the fuses and relays and place them in order for easy re-installation later.
7. Finally, I can clean up all those connections with a quick dry electronic cleaner
What is this thing for???????
8. After cleaning, put all the fuses and relays back. Be careful about the relay XIX for the speedometer, it is very easy to put back wrongly and your speedometer will not work.
9. Put the panel back and double check all the fuses, relays and connections for tightness. Get the fire extinguisher ready, connect the battery ground cable in the trunk again. I put the key in to the position 1, checked all the accessories, turn the key to position 2, I make sure that there was no smoke or anything strange then I started the car, had a test drive. All seems fine, job done.
Put the ABS module back and install back the tray.
This maybe was the first cleaning for 20+ years and hopefully it will not need cleaning again in another 20+ years . Total time used: 5 hrs.
So far, what I can tell after cleaning is the accuracy of the dash voltmeter is higher. Counter checked with a multimeter, both read 13.7V in cold start up.
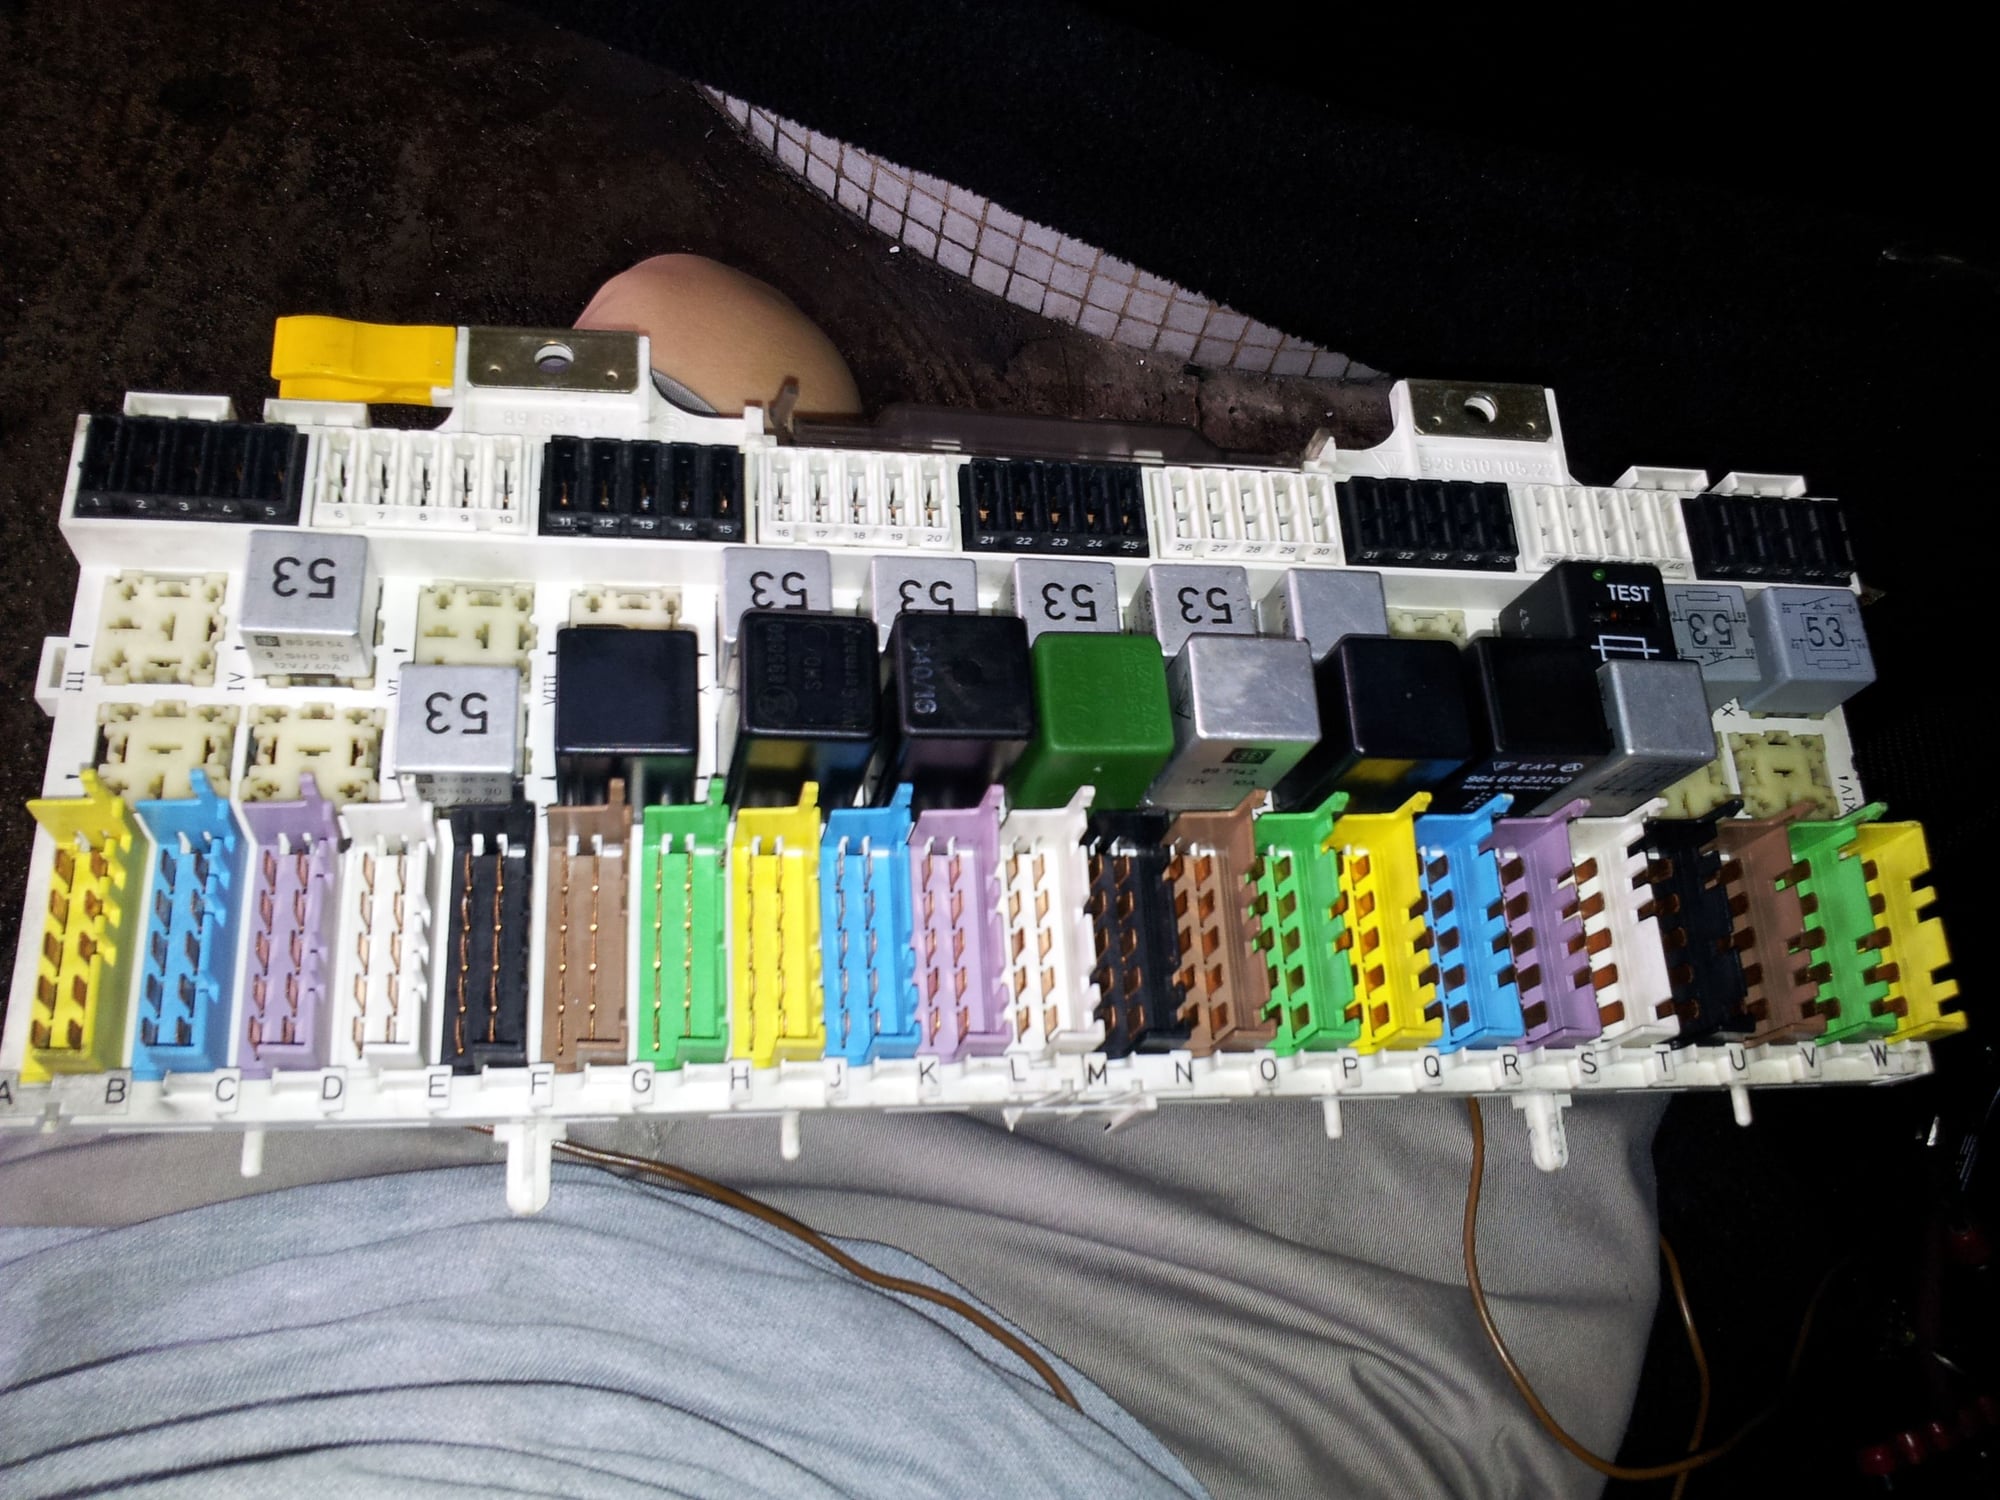
On the 85+ larger panels - No connector R is the norm (only a few years have one). Note that you cannot physically install the correctly colored plug in the wrong slot of the same color. So just match the colors:
Also all the plugs are already labelled - see photo.
One tip. On my 86.5 panel, there is a red tab at the bottom middle of the panel that when pulled outward cleverly releases the lock for colored plugs. I nearly broke the first plug in half before I figured this out. When you get the panel out you can cycle the tab and see the clever design that shifts a long bar with semi-circular cutouts that go over corresponding round plastic pins in the bottom of each plug.
I never noticed that the plugs are lettered. The colors worked for me. I also had the one missing plug. I had to go back to my digital photo and zoom in to make sure I hadn't missed something.

 05-24-2015, 08:22 AM