When you click on links to various merchants on this site and make a purchase, this can result in this site earning a commission. Affiliate programs and affiliations include, but are not limited to, the eBay Partner Network.
Kicked the job off today, going slowly trying not to mess anything up. Car has 112k, TB done at 60k right after I bought the car by Omega Motorsports in Jacksonville prior to picking it up and driving it back to California in 2007. Have had lots of problems with the warning circuit ending with me giving up and shorting it a couple of years ago, but tension has been dead on, in the high side of the Kempf window and since I lost the warning light I've been doing the checks every 5k miles or so.
I stopped seven hours in having the belt ready to come off. Some pictures and questions below.
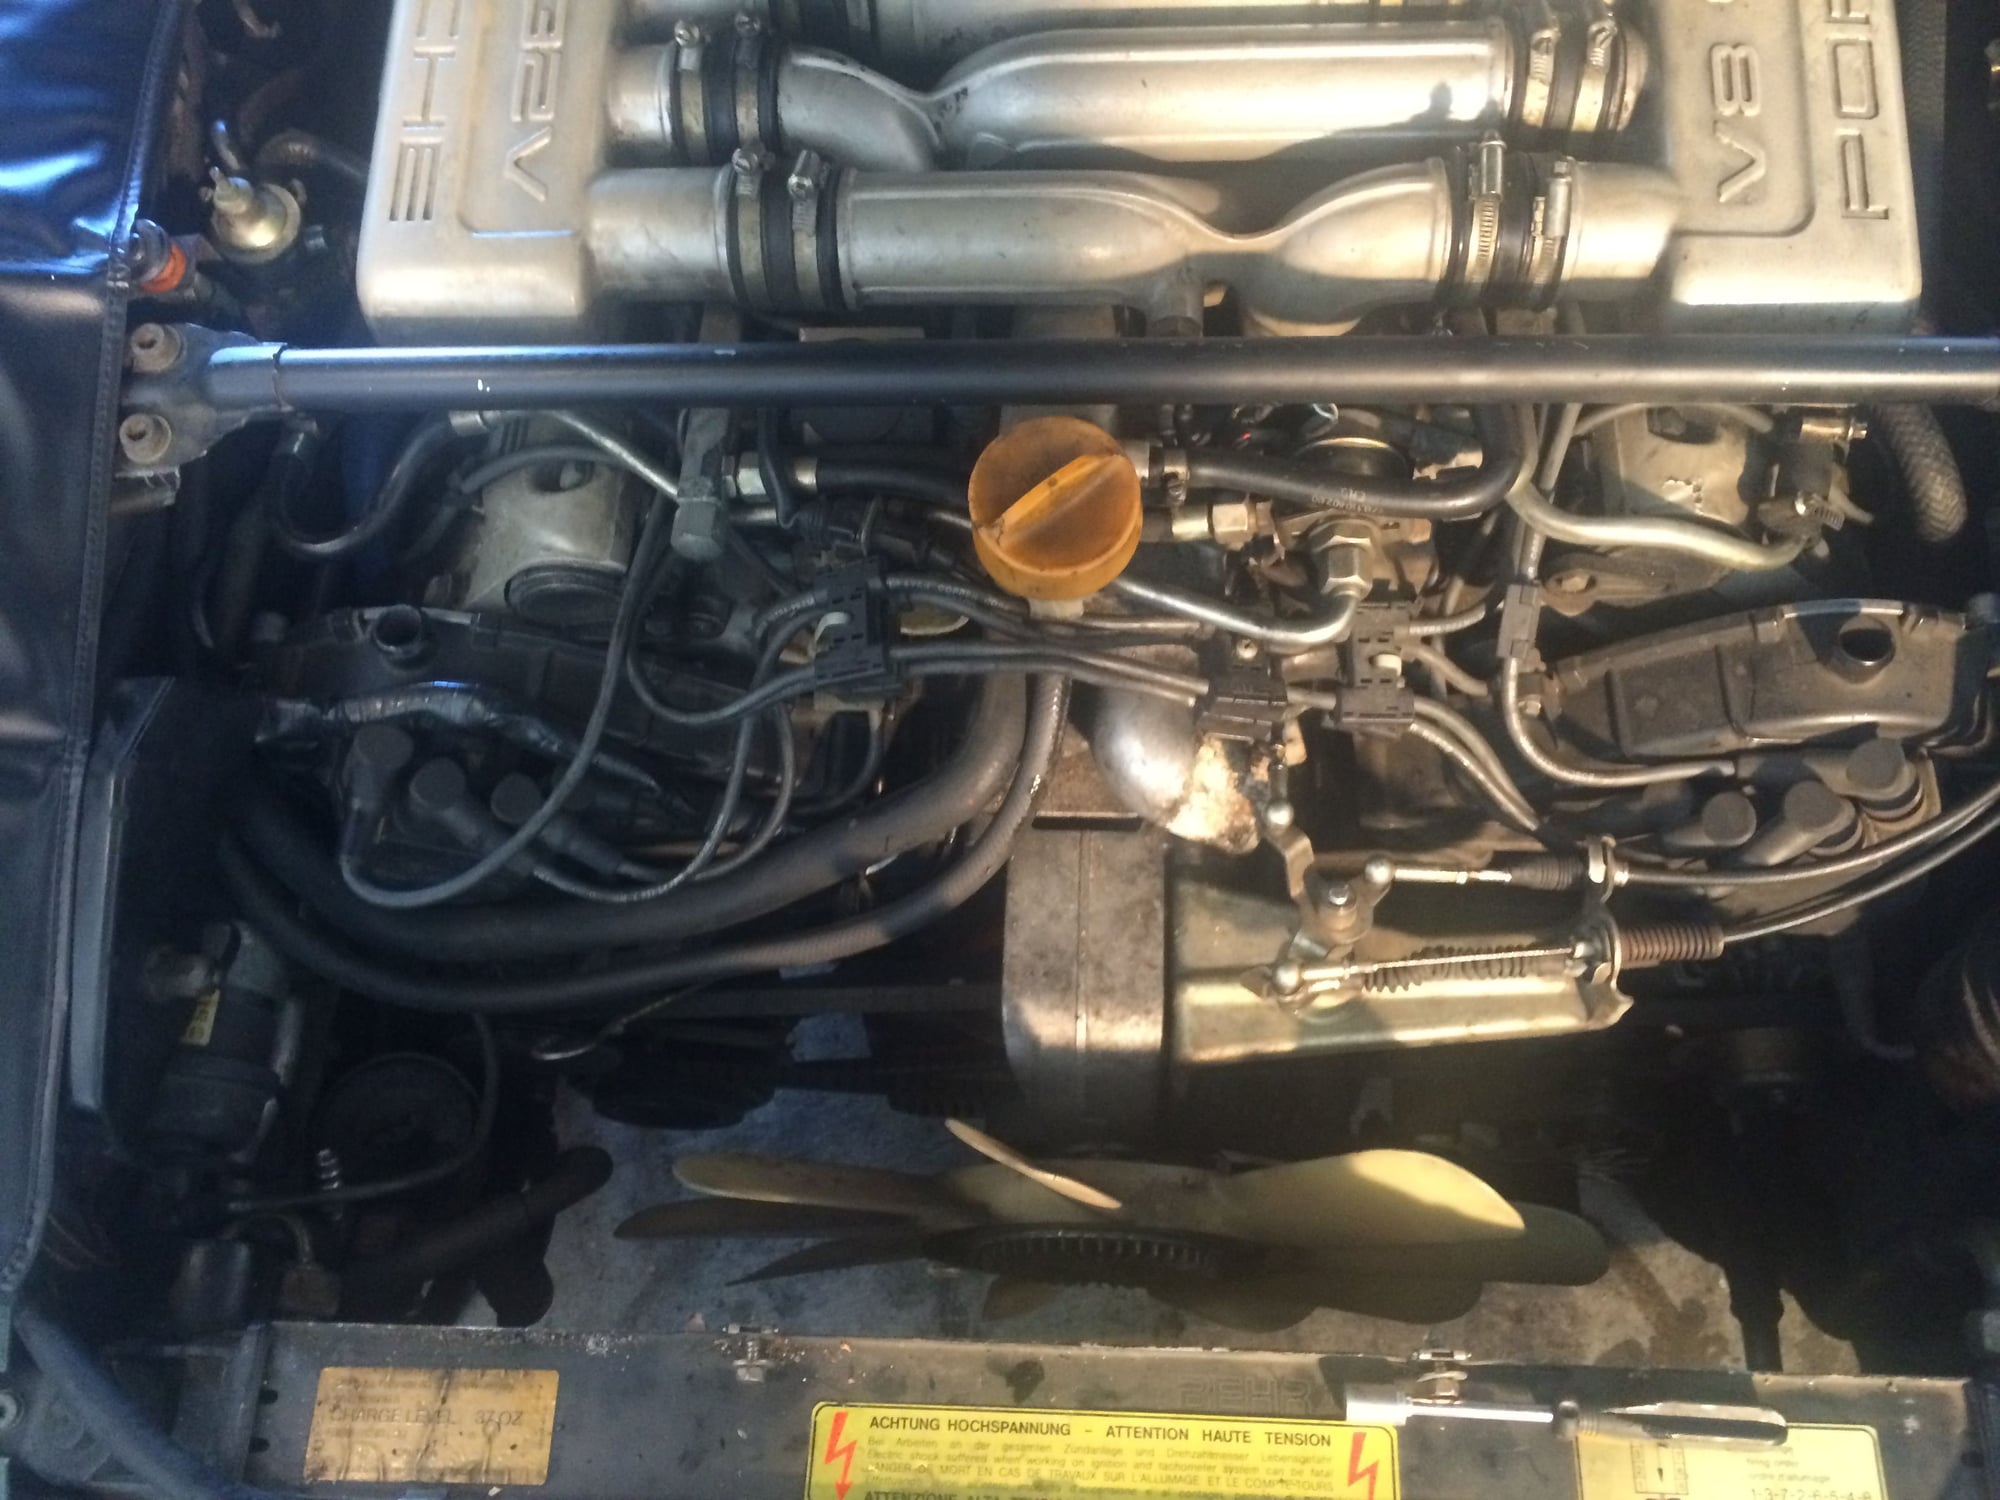
Coolant drained and hoses off. Did not remove the radiator. Evidently the lower hose was quite bad judging by the amount of scale left behind
Covers off, Passenger's side cam at TDC
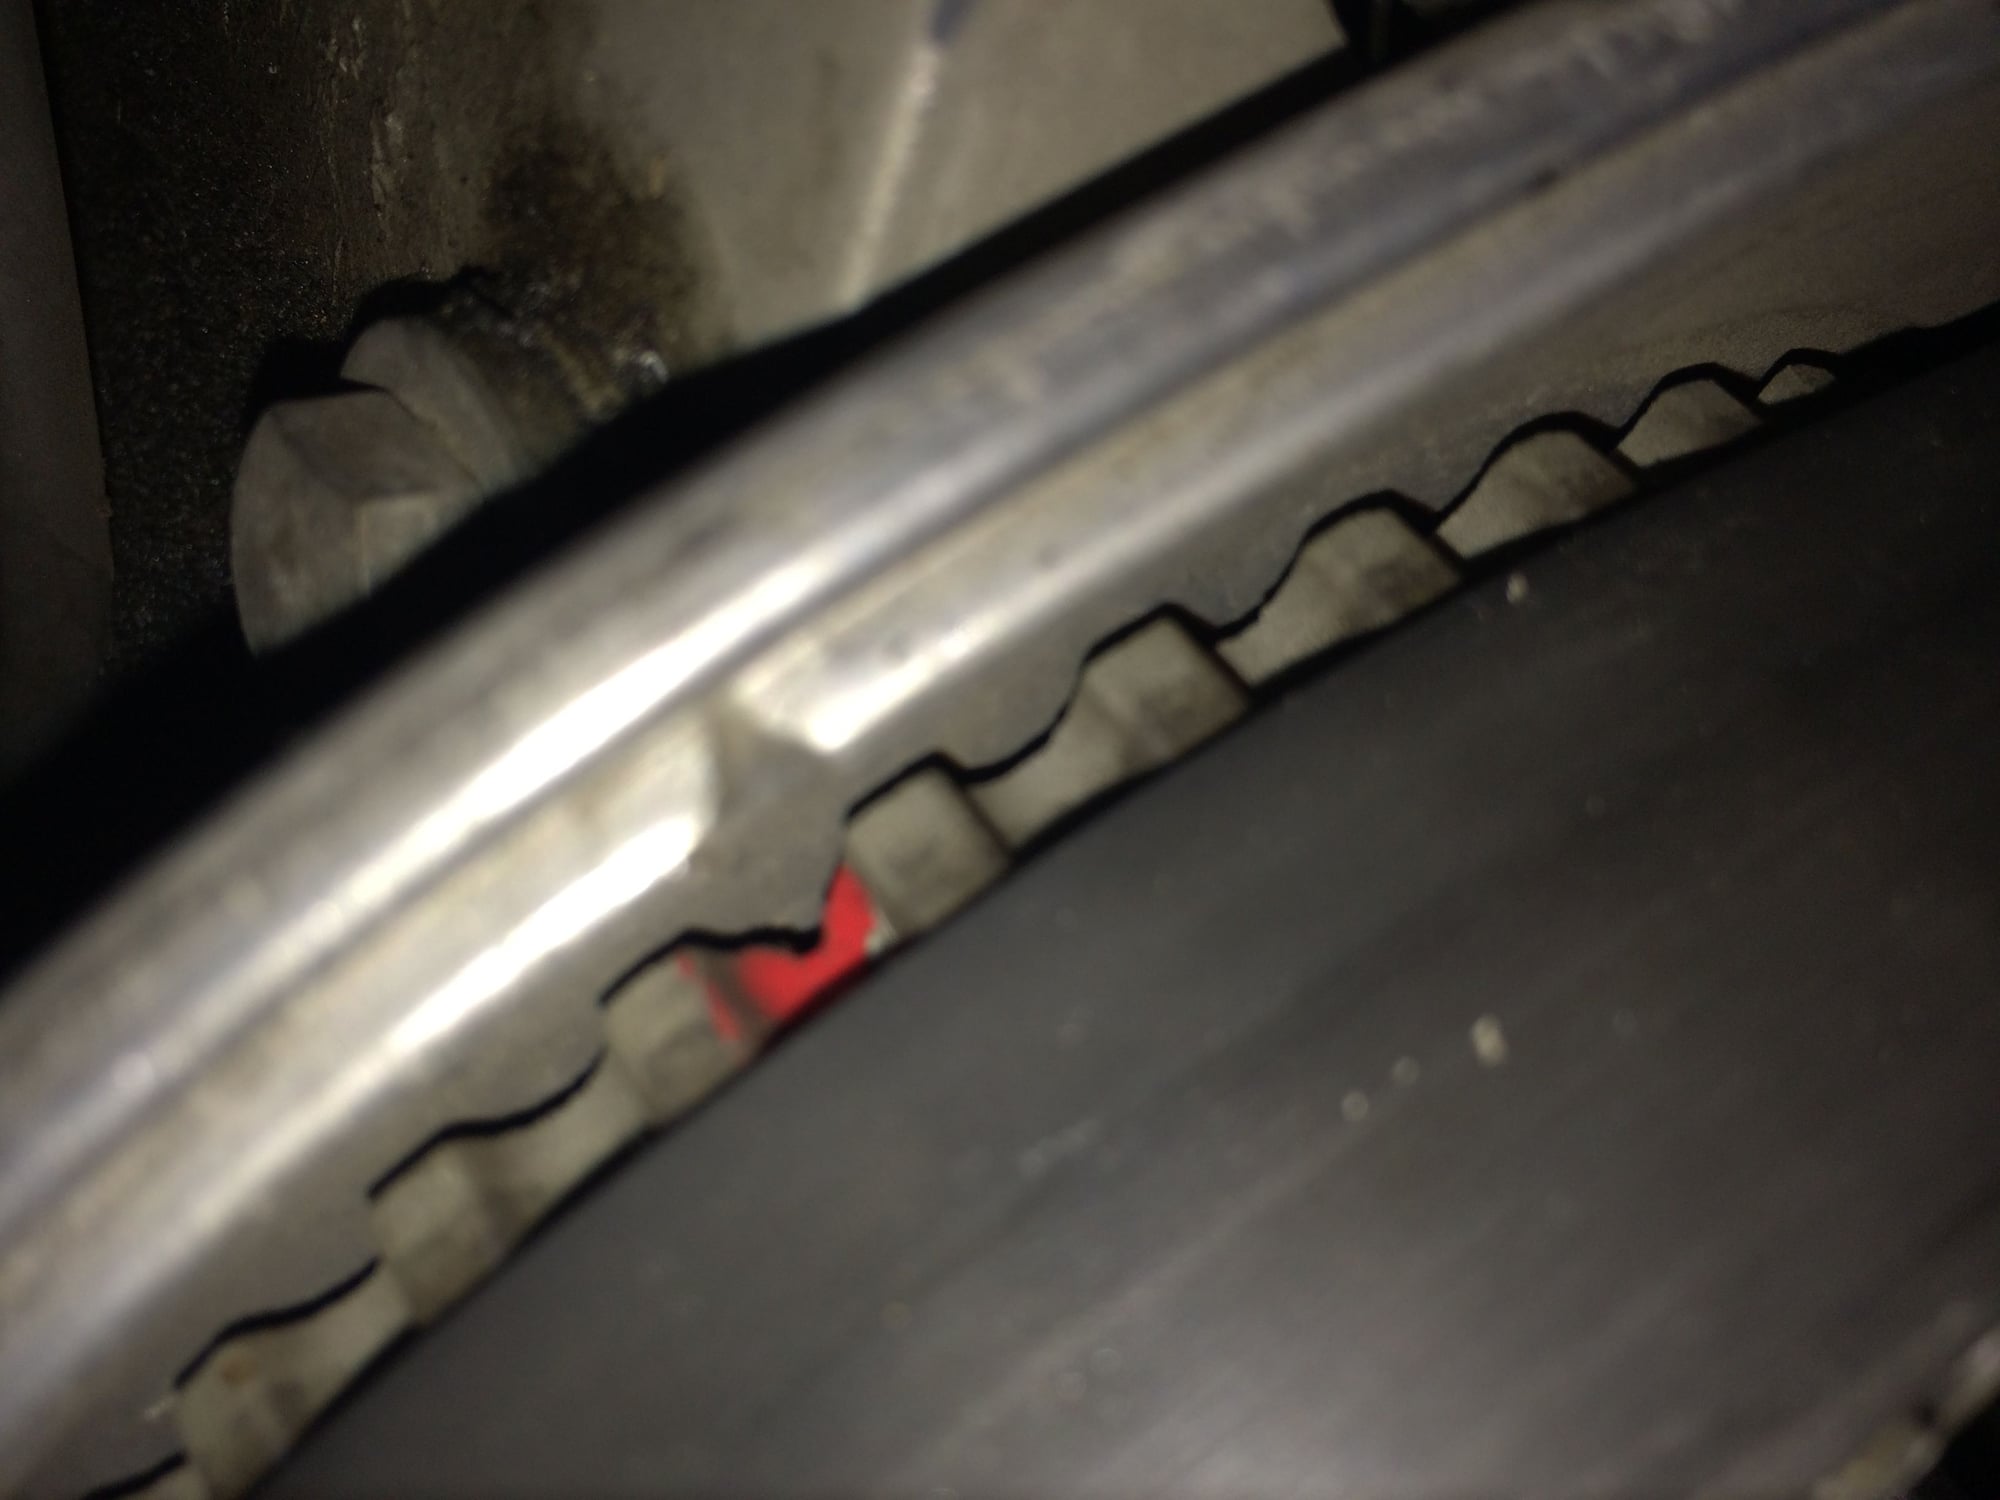
And here's the Driver's side. Maybe a half tooth off?
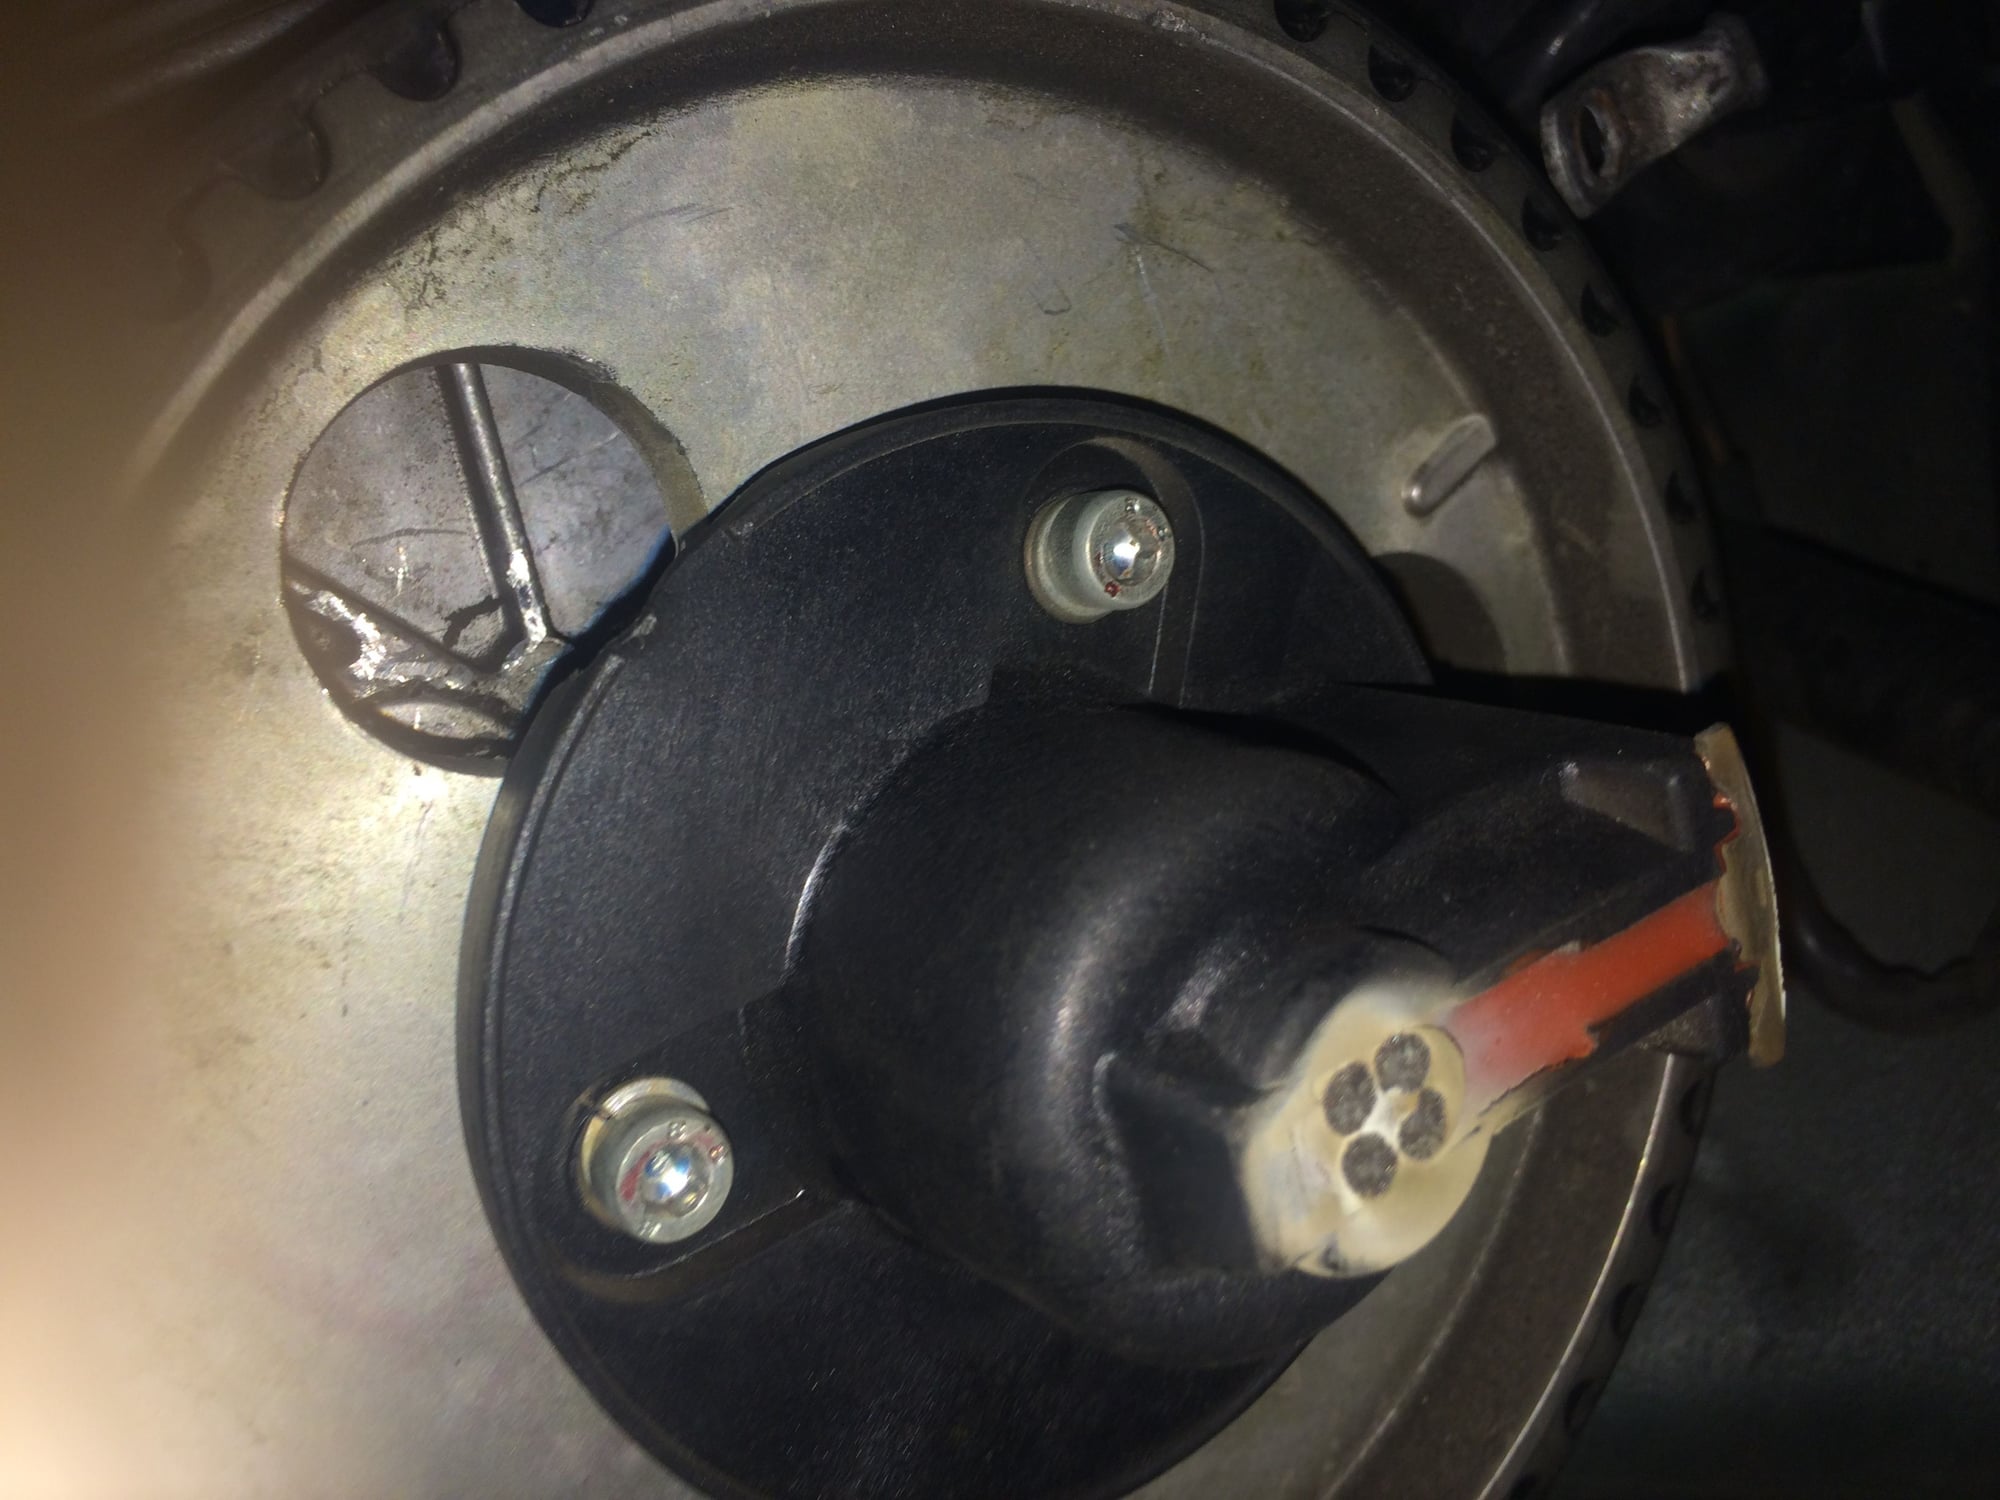
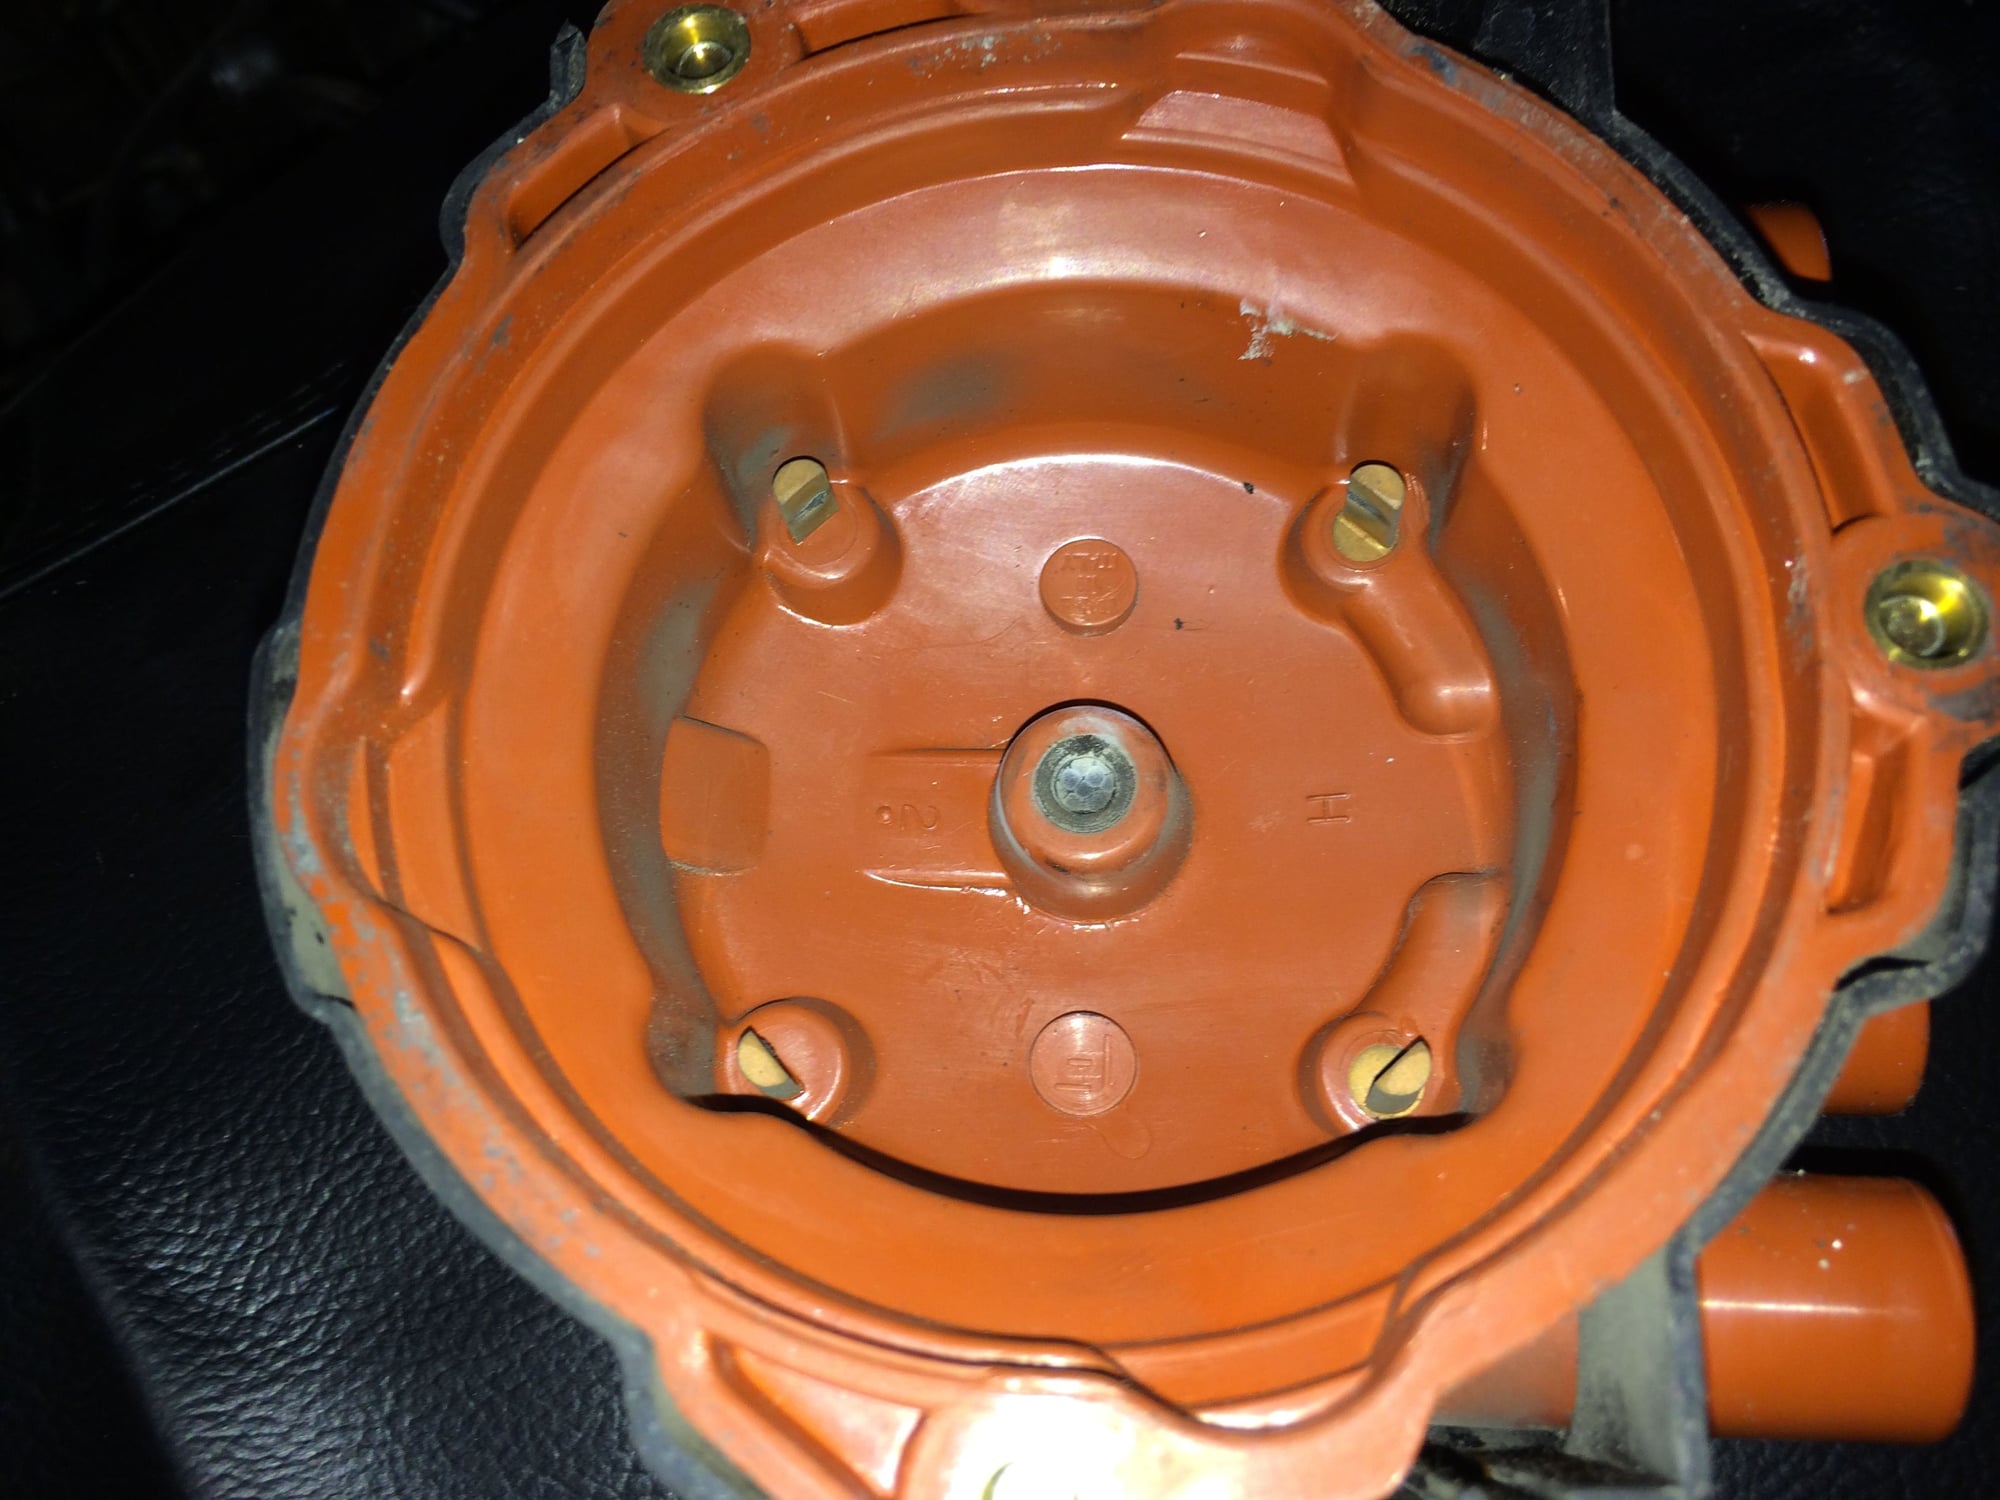
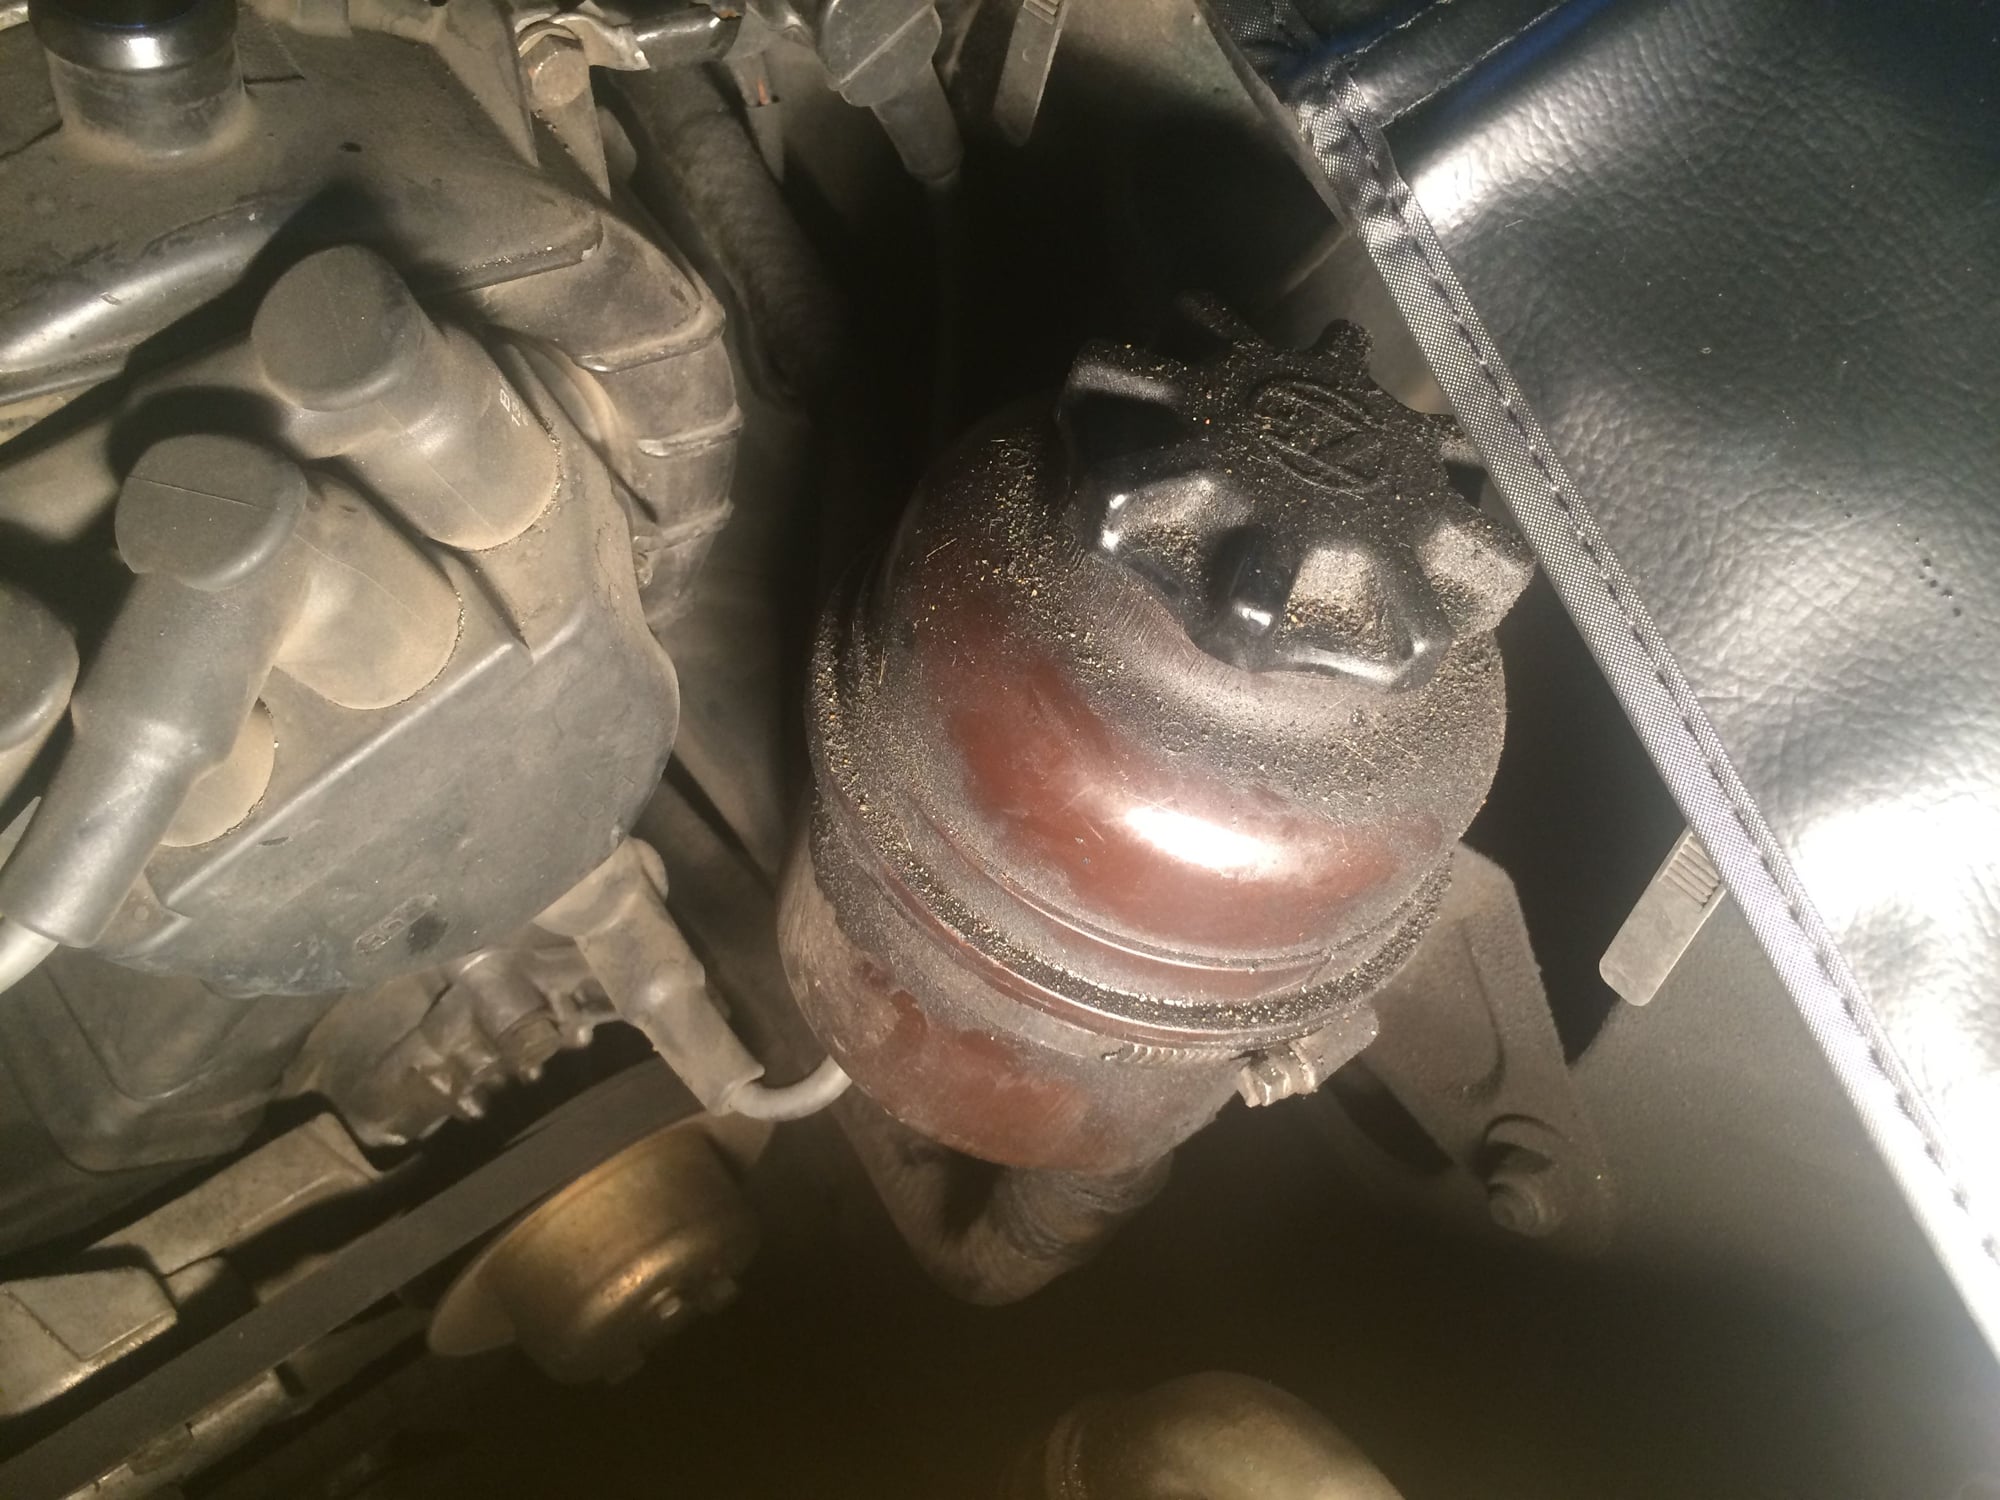
OK this is weird - PS side cap and rotor looked great, but driver's side looks like this.
Rotor has been making aggressive contact with the cap and has warn through the center nub. I have been noticing a bit of a midrange miss but assume it was fuel/intake related and am planning that job shortly after I get this one finished. Seems like the car would struggle to run at all with the cap in this state.
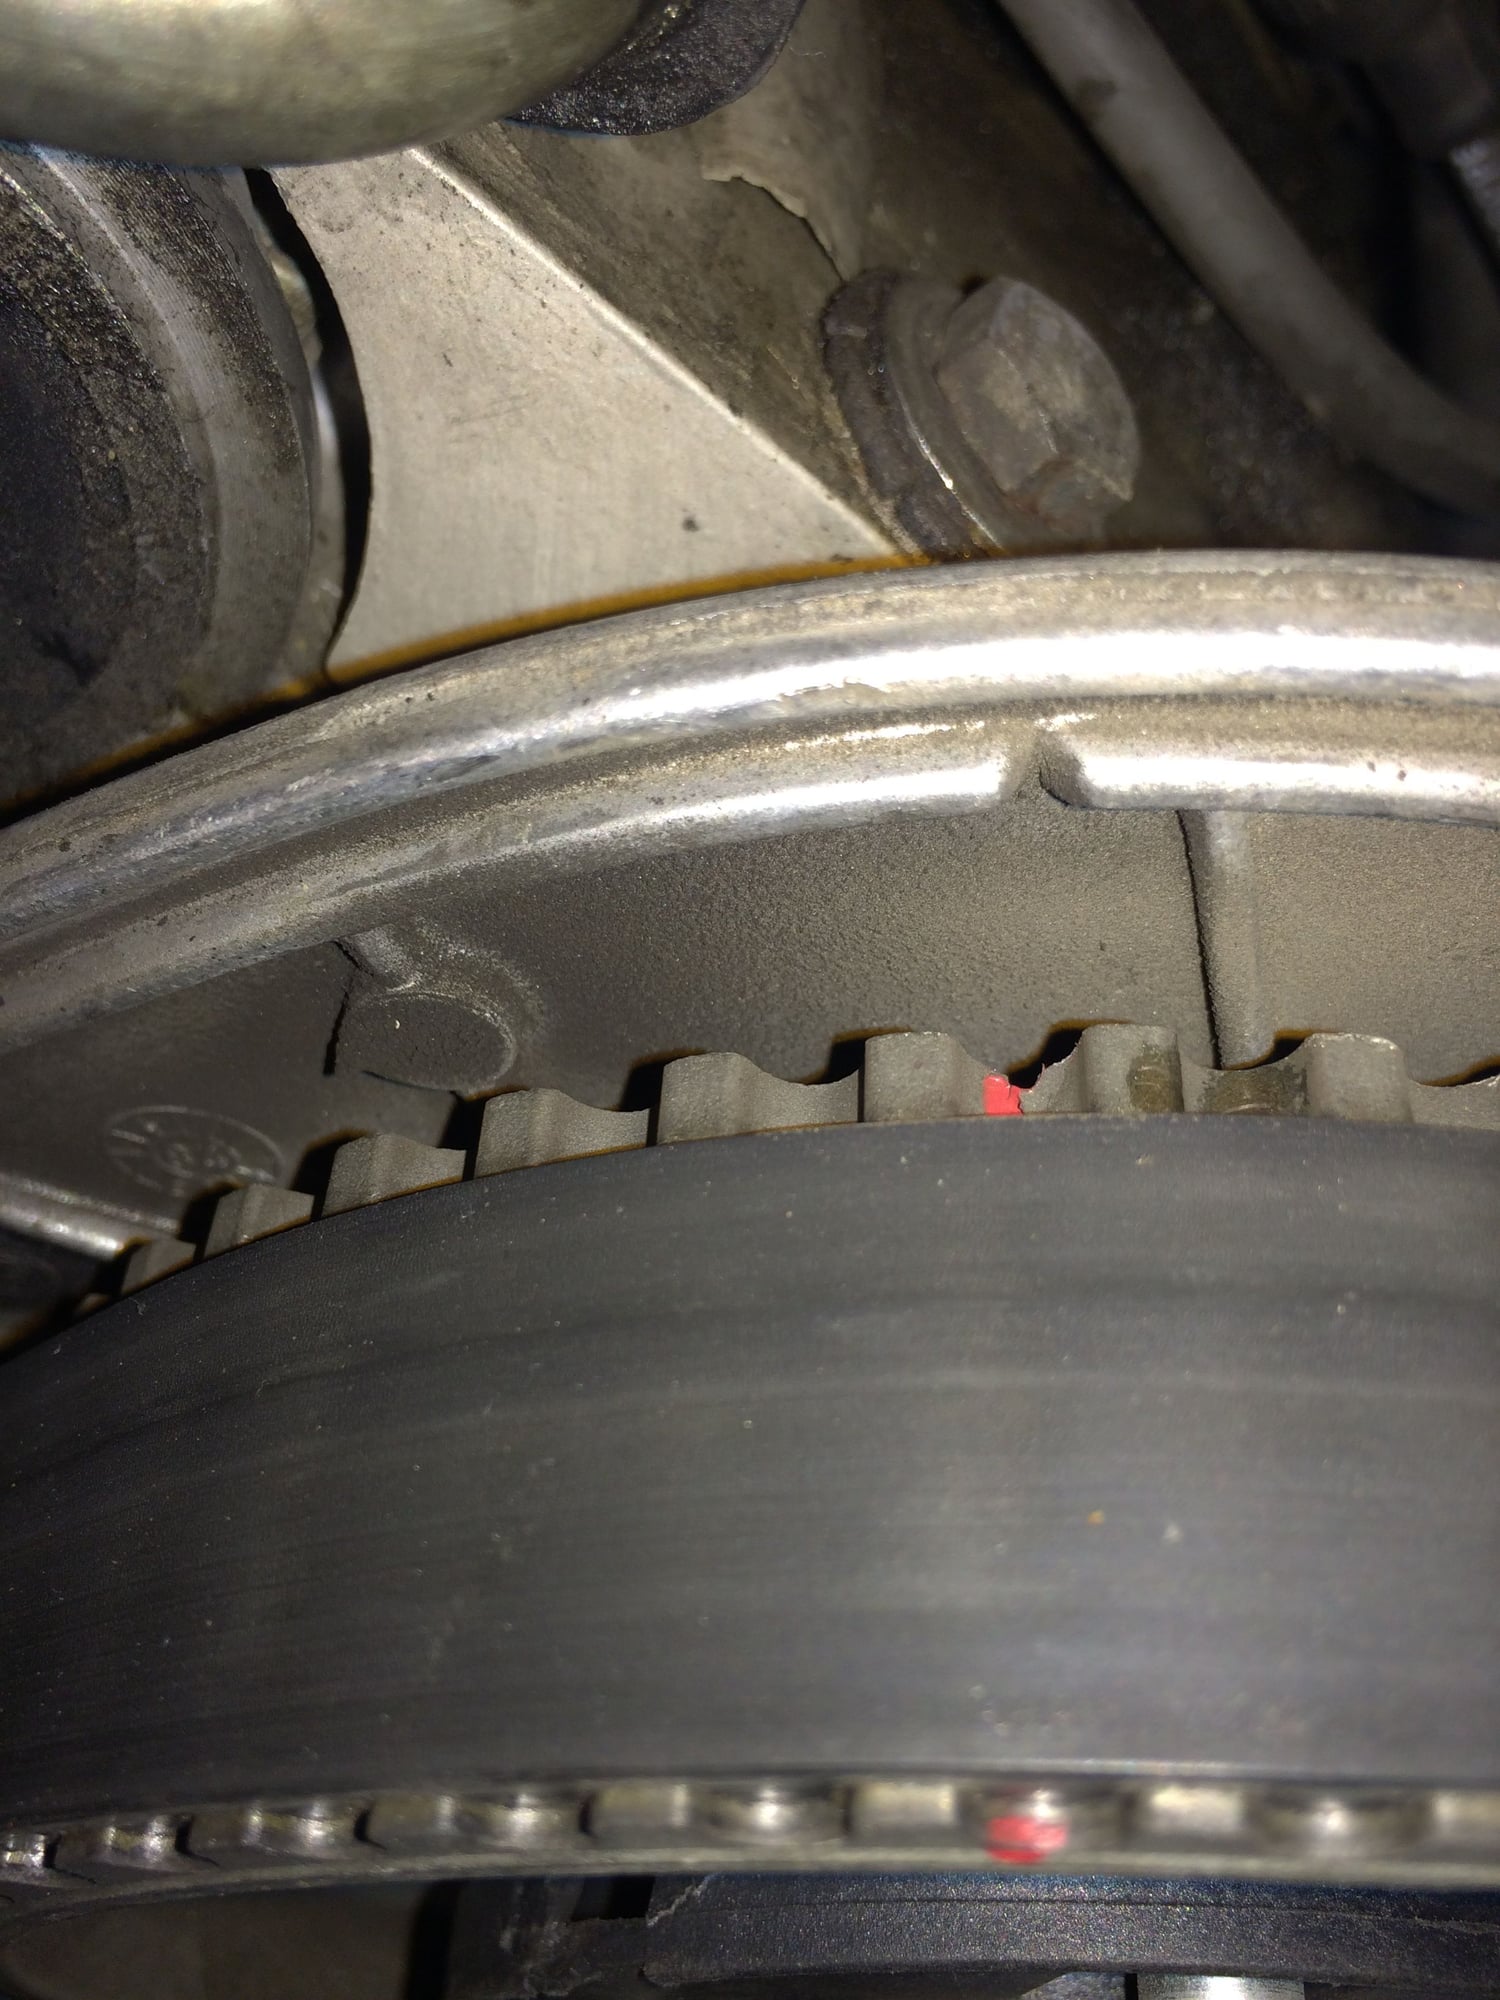
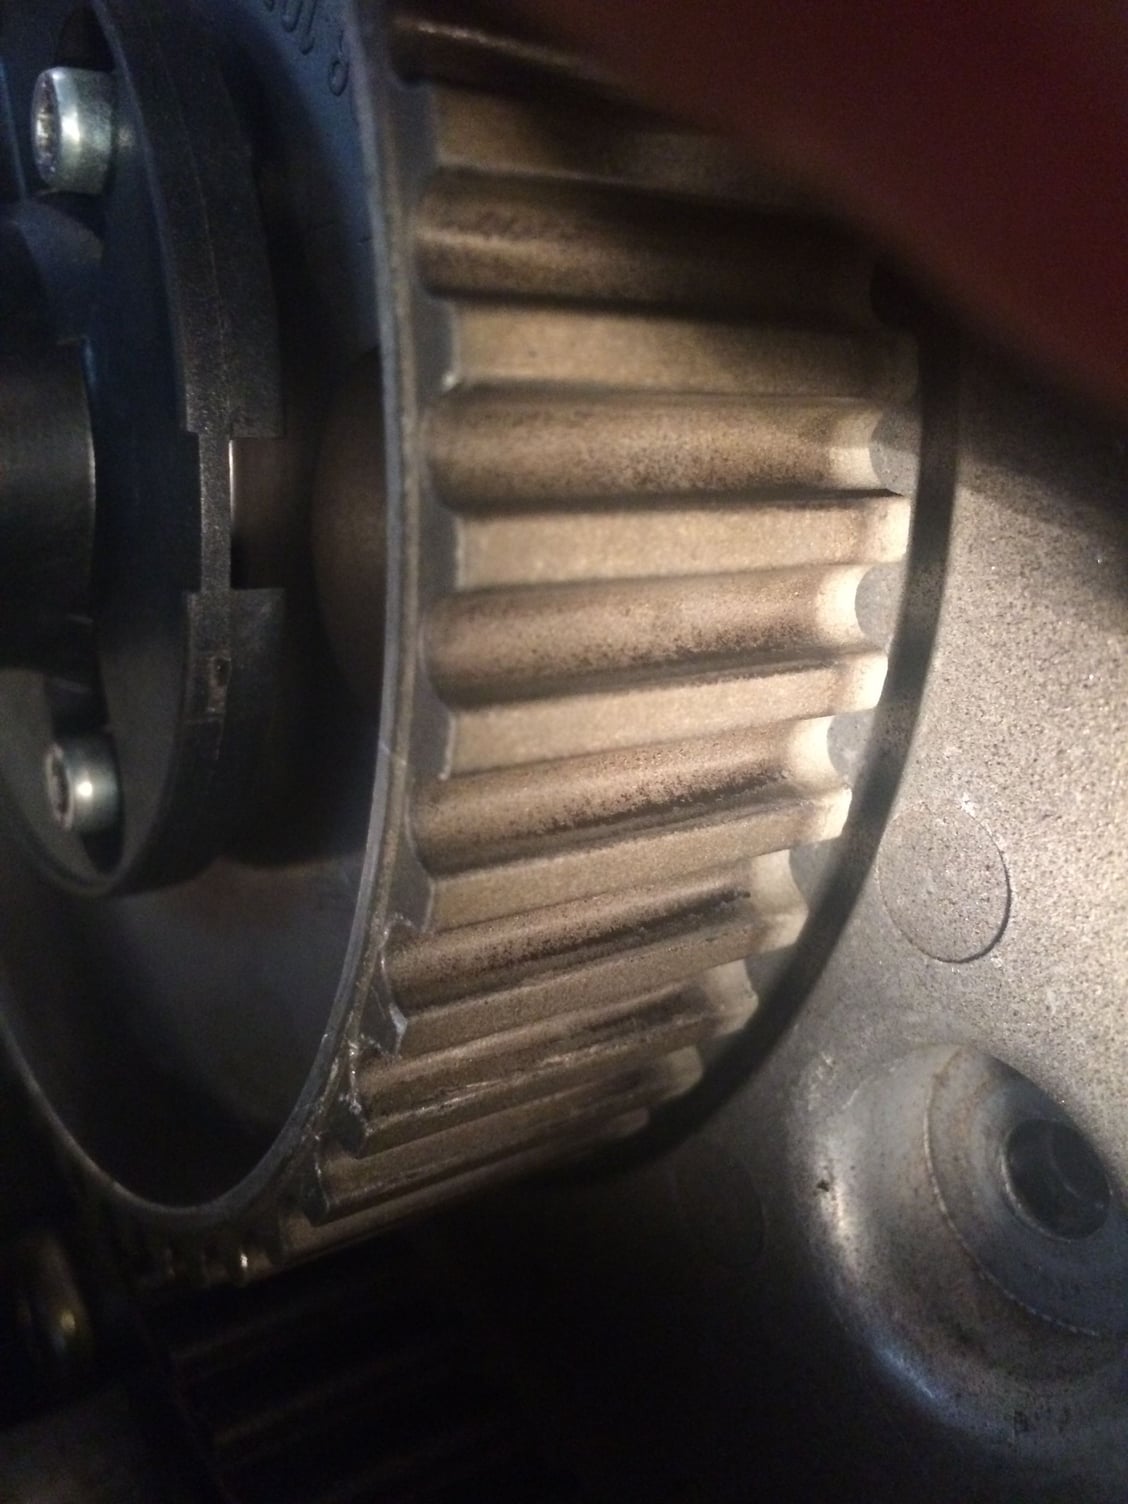
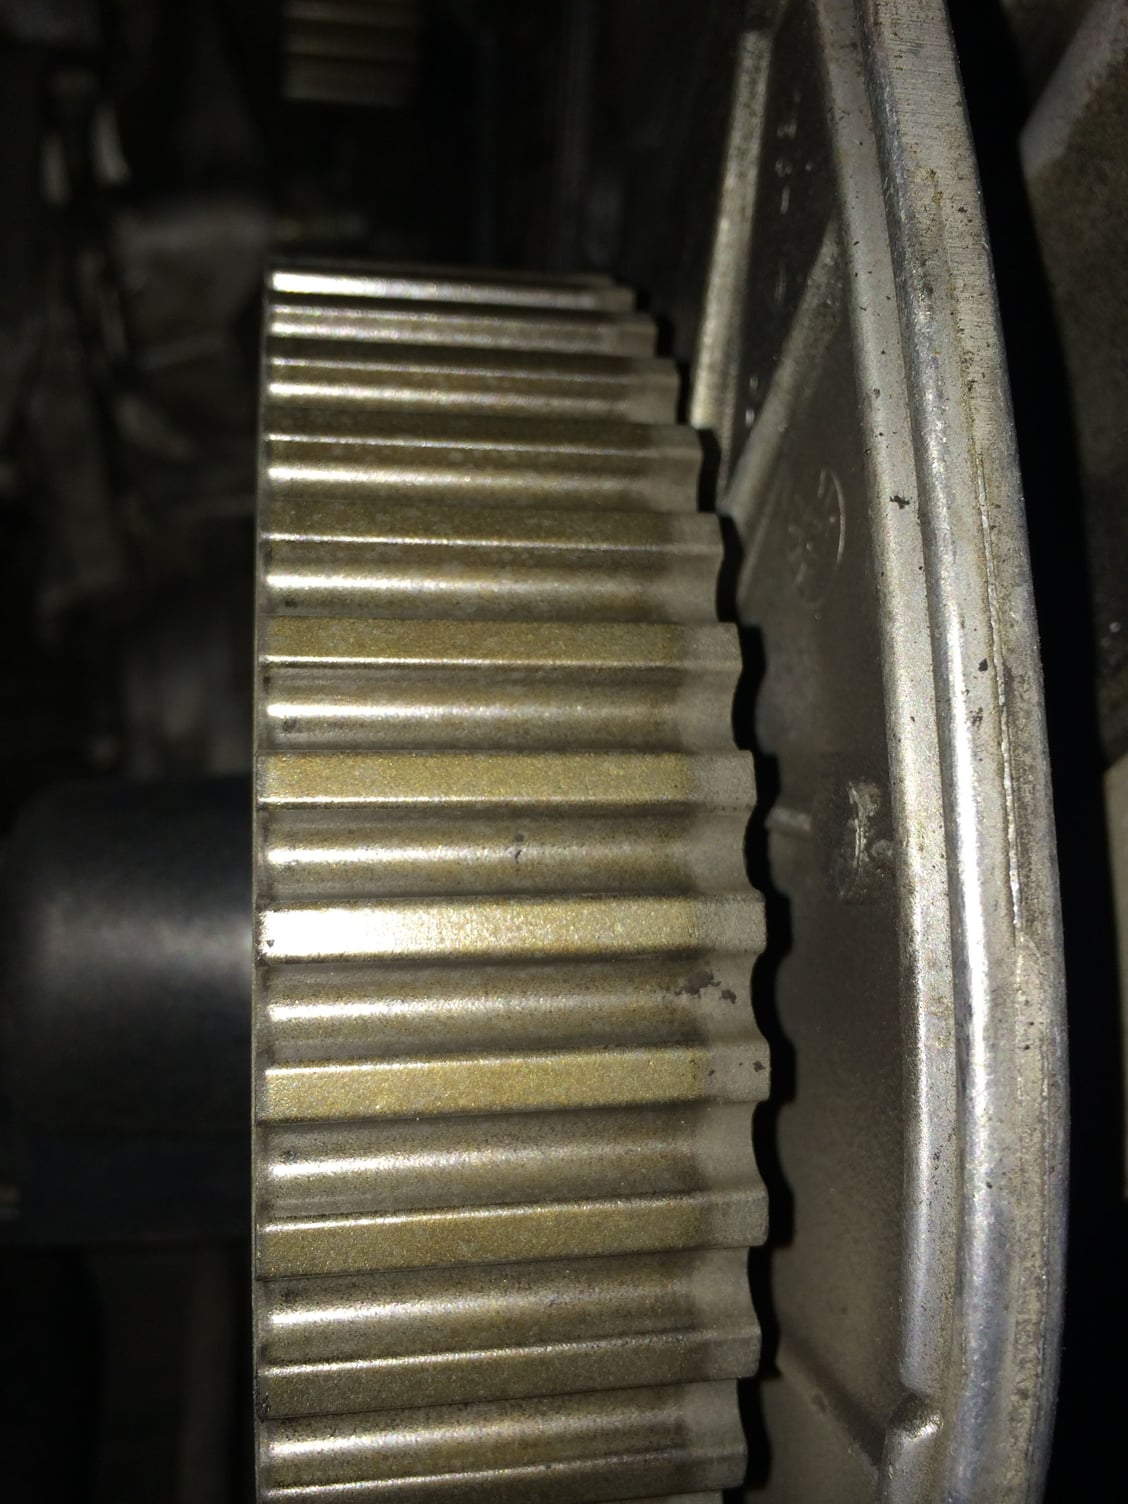
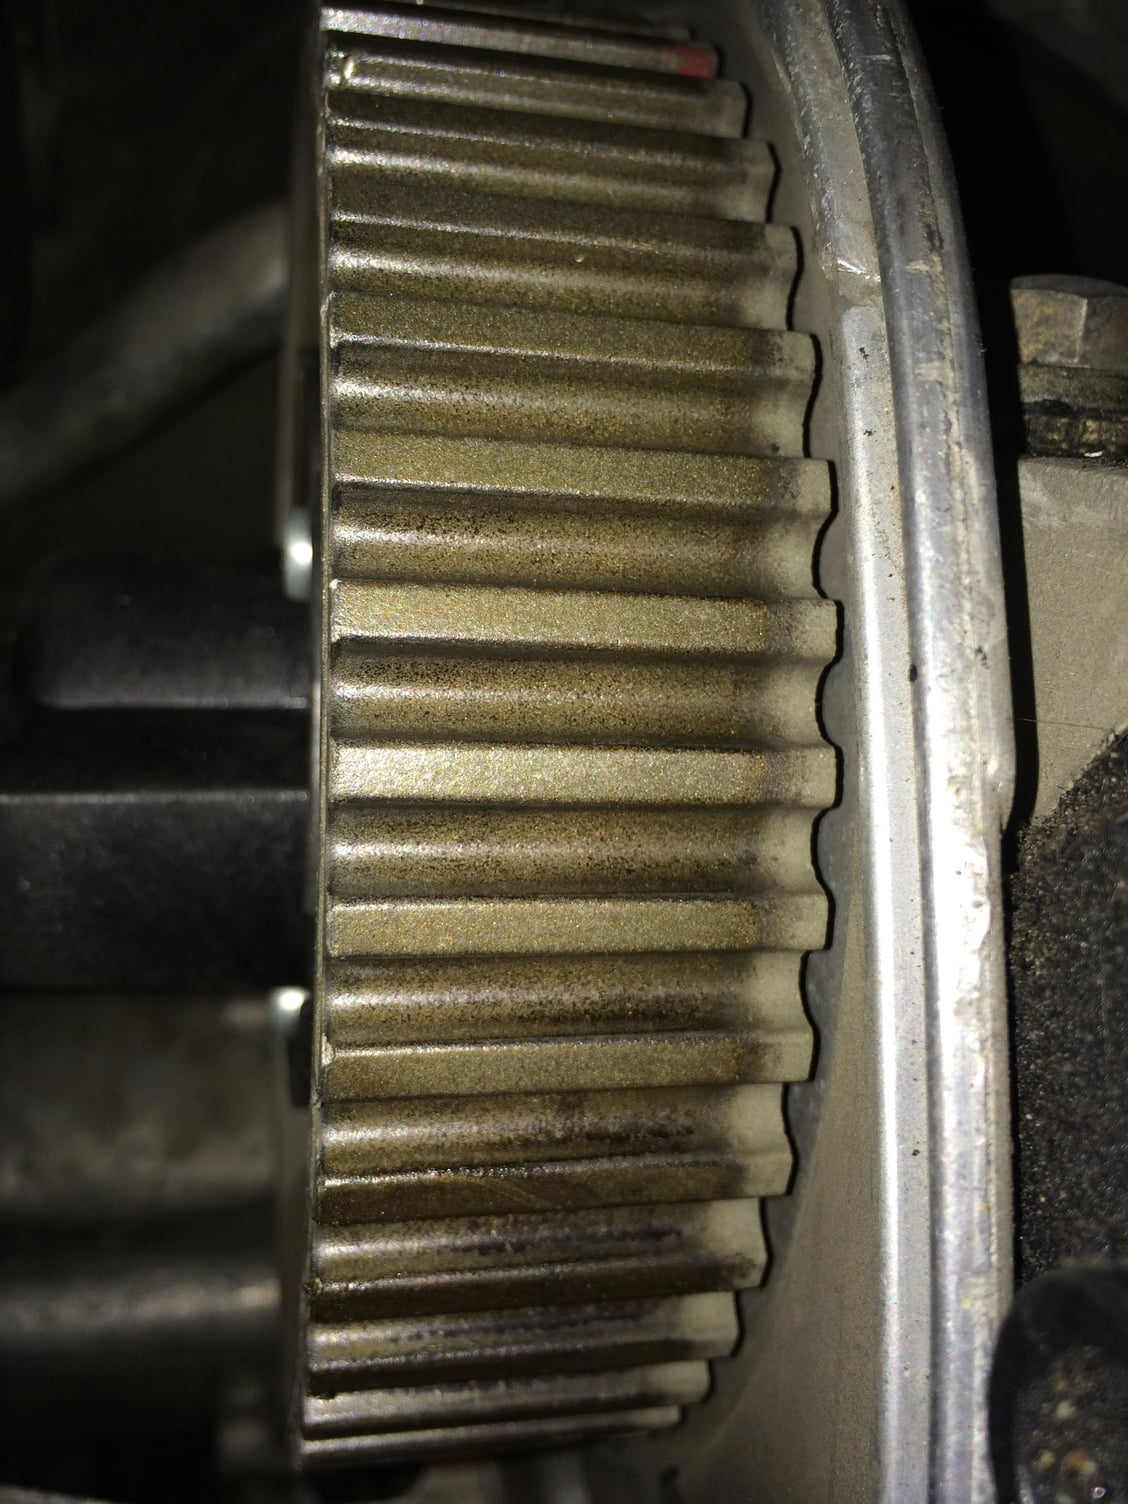
Passenger side Cam Gear wear preview. Coating still all there but that wear on the trailing edge of the gear doesn't look good, right?
Looks like cam seals need to be ordered. Passenger side.
Easy replacement on all those leaking parts. The seals for the cam end caps aren't at all tough. The power steering reservoir is in your way, so it's time to think about replavcement. The reservoir includes the internal filter, and is on the same replacement schedule as the auto trans fluid and filter at 25-50k miles (depending on where you look). The hoses to the reservoir need attention too as they are likely a little crispy if original. You'll have the pump loose for the belt so access to the hose connections there is easier.
The cam timing marks are typical. There's no way to move the heads to get them 'perfect' WRT the marks, so don't lose sleep over that. What counts is the actual cam timing.
The distributor cap originally had a carbon brush sticking out on a spring to make contact with the center pad on the rotor. You can see the four arc scars on the top of the rotor, corresponding to the four spark events that go through that cap and rotor. Replace both, along with plugs and probably wires.
----
When I did my first timing belt, I lined up a long table next to the car to accept parts in order as I took them off. I also ran the video camera with narration for the whole disassembly process, and step-wise for the assembly. It was a great help with remembering what went where, and in what order. I used John Pirtle's guide, which seemed the most complete of those available at the time.
Some people believe that slow-and-careful is important. I can't argue directly with that, but can tell you that the longer something is apart, the greater the chance that something will be disturbed. Might be parts and pieces that get moved, or a memory that shifts. I encourage you to get things back together as soon as your parts order shows up.
That first belt project started with a call to 928 International, where Jim Bailey put together a "care package" of parts and pieces I'd need for the project. I figured I'd start out with everything, and I could send back the parts I didn't need. Nothing was returned. Some probably didn't need replacement instantly, but would not be perfect all the way through the next belt cycle. Jim isn't at 928 International anymore so you might not be able to get the exact 'care package' he put together for me, but Tom or Mark can, and I'll speculate that Roger, Dave and Jeannie, and others could do it for you too. It saved a lot of potential frustration on stoooopid stuff like the clips for the lower bearing console under the crank gear. The small stuff where you might be tempted to short-cut your project if a part isn't there already. I saved enough on project time to easily justify what might appear to be an expensive package.
I also replaced ALL the coolant hoses, including heater hoses, and the heater valve. With coolant out already for the job, it pnly made sense to put in replacements for all those original hoses.
Buy a couple torque wrenches for reassembly if you don't already have them. The 6mm bolts (10mm heads) used in the water pump get replaced with nes (in your 'care package'), low torque (72 inch/lbs) that needs a 1/4" drive torque wrench to be done right. Even the cheap Harbor Freight click-type torque wrenches ($9.99 each on sale this weekend) in 1/4, 3/8 and 1/2" sizes will do fine for what you are doing.
Take your time as it fits your schedule and work habits, have fun, and don't be afraid to ask if something doesn't go the way you think it should.
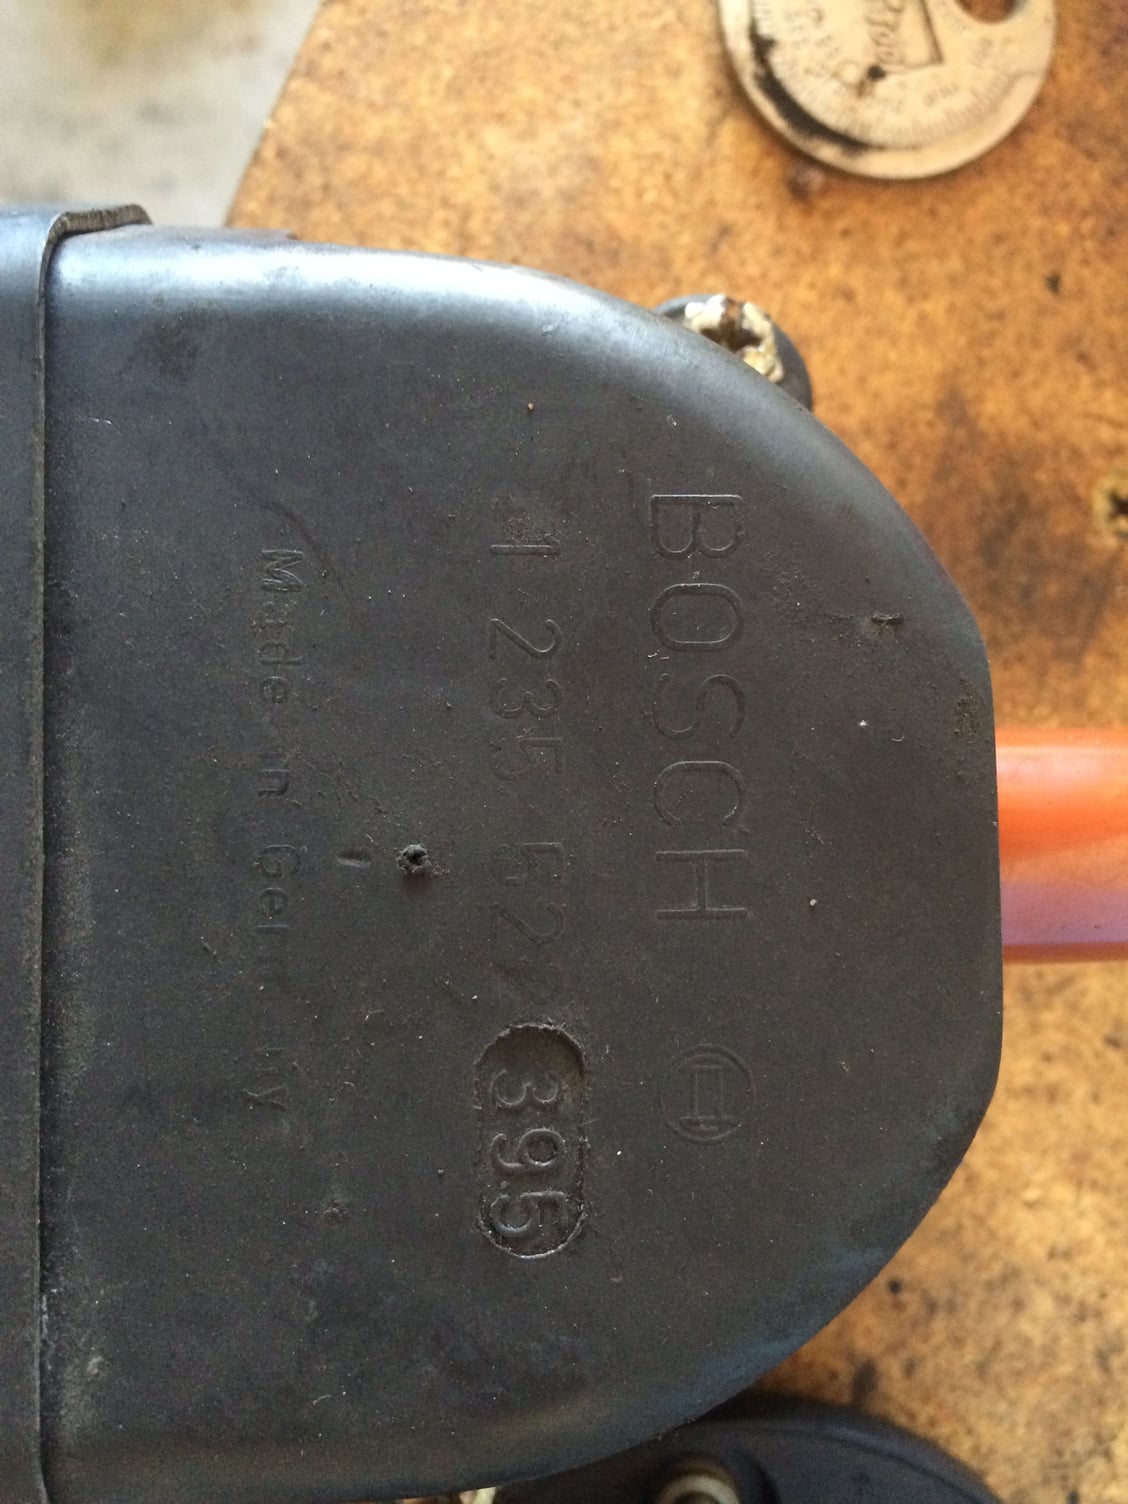
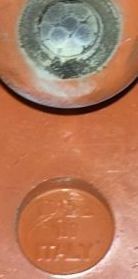
it appears that you do not have a bosch cap it says made in Italy.
I would suggest that if this is the case spend the extra dollars and make the system perform as well as it can by using the original spec Bosch parts
@ Dr. Bob, thanks for the feedback, I did get a care package from Roger and a quote for new Cam, Crank and Oil Pump gears just in case. New list now includes cam seals, radiator hoses, ps reservoir, ps hoses and caps and rotors. I will probably do plug wires as well.
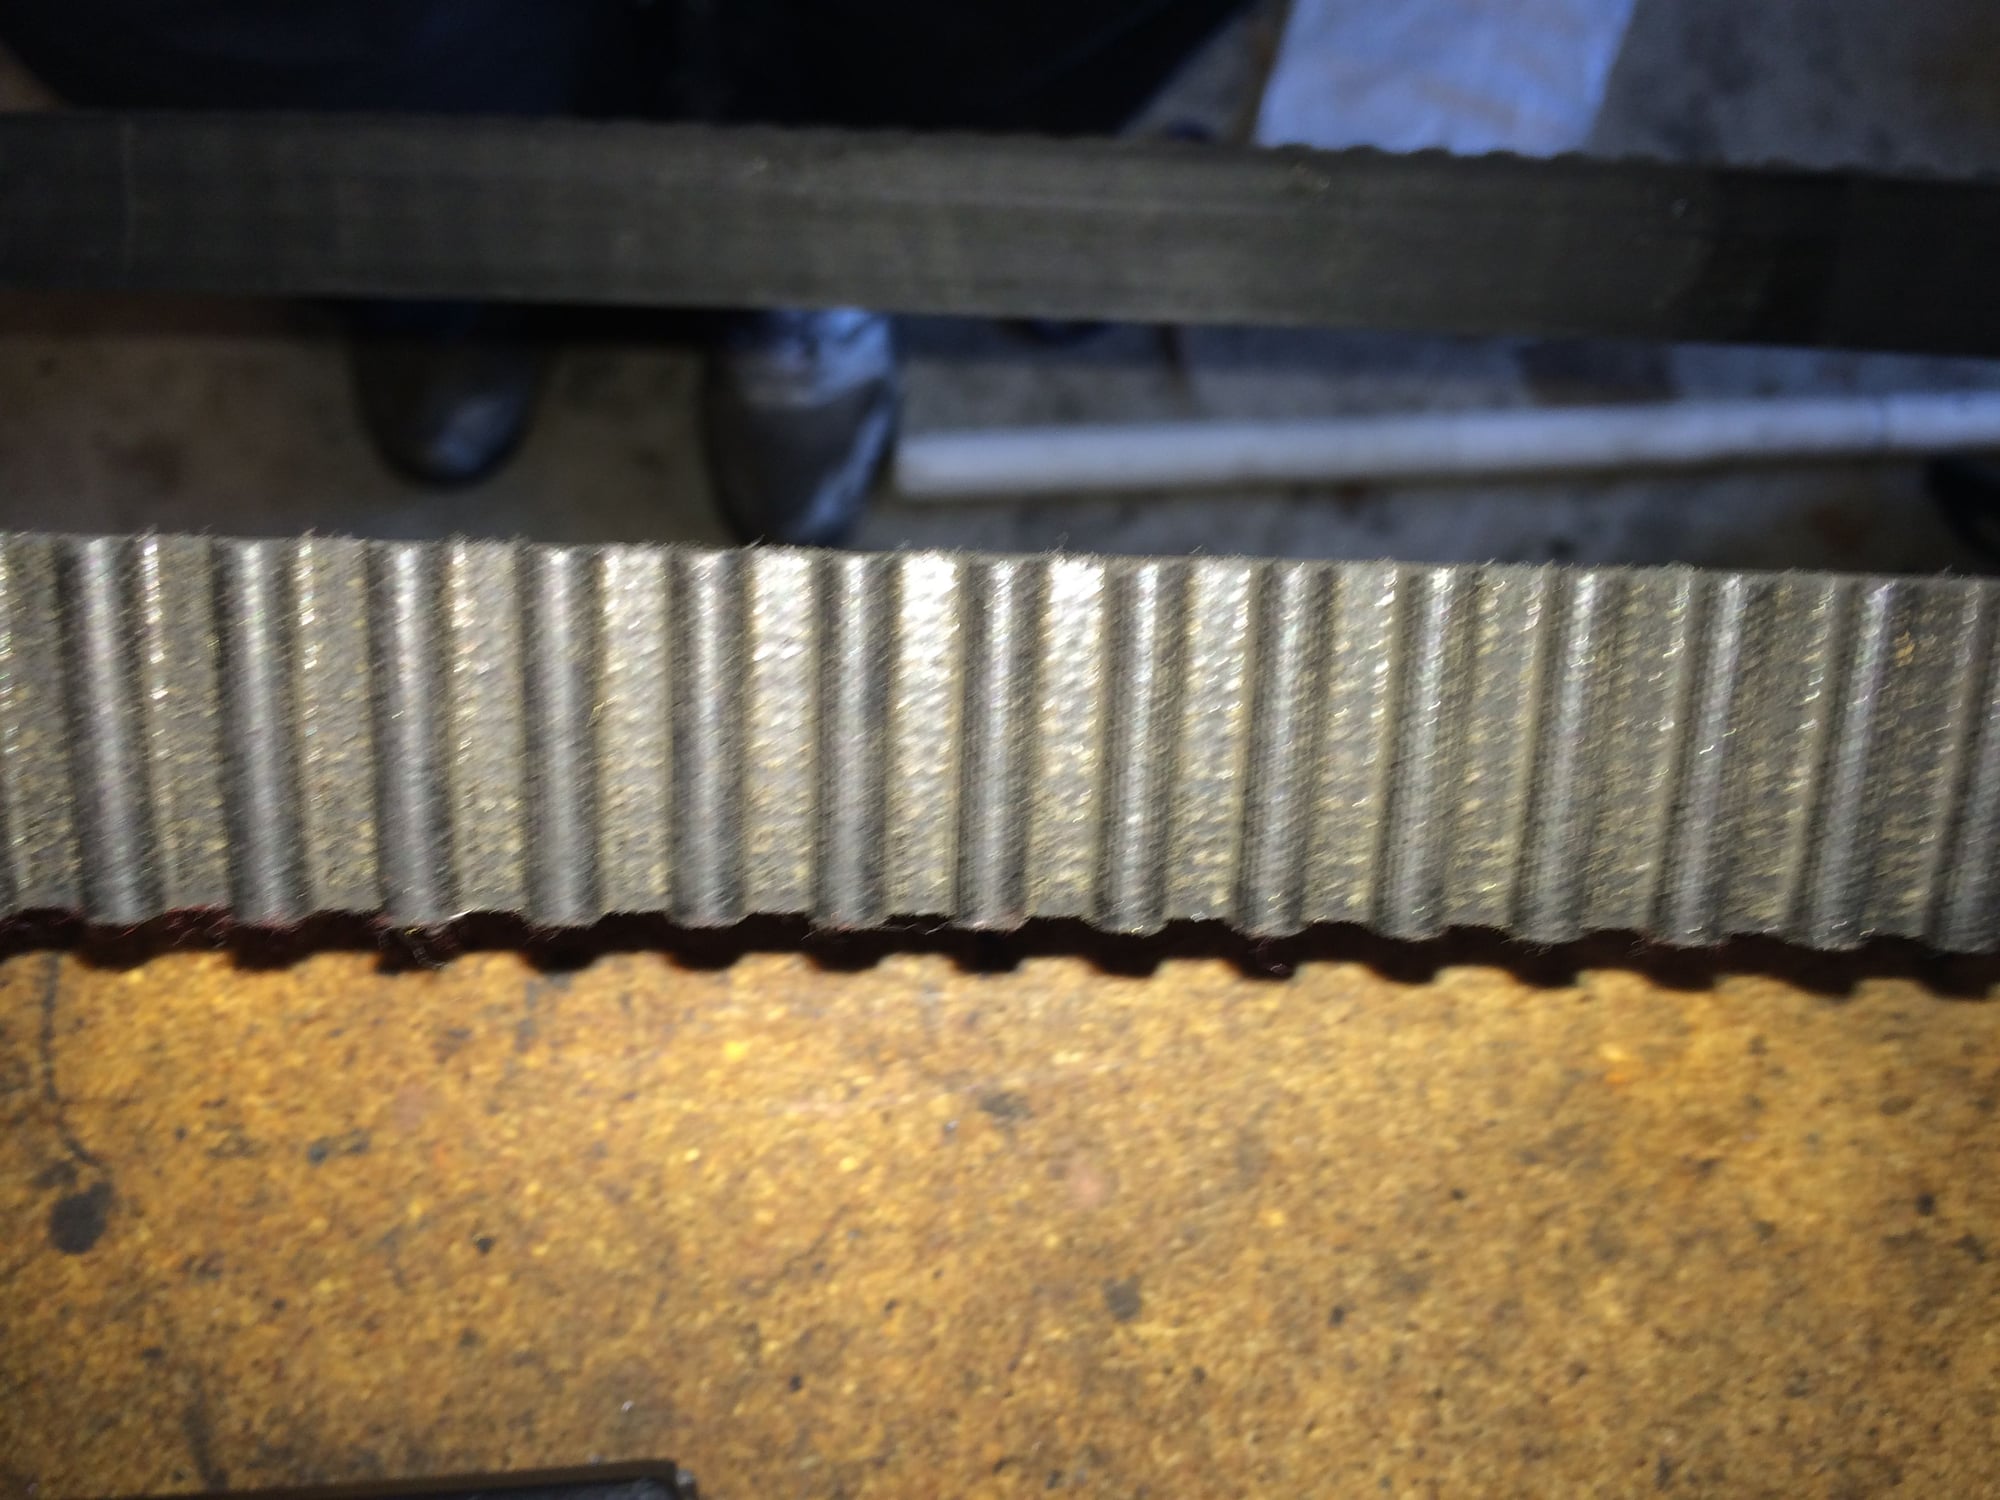
Belt off this morning, Conti in very good shape at 53k. Crank was locked at TDC and I knew to expect the cams the snap when the belt came off but it startled me nonetheless.
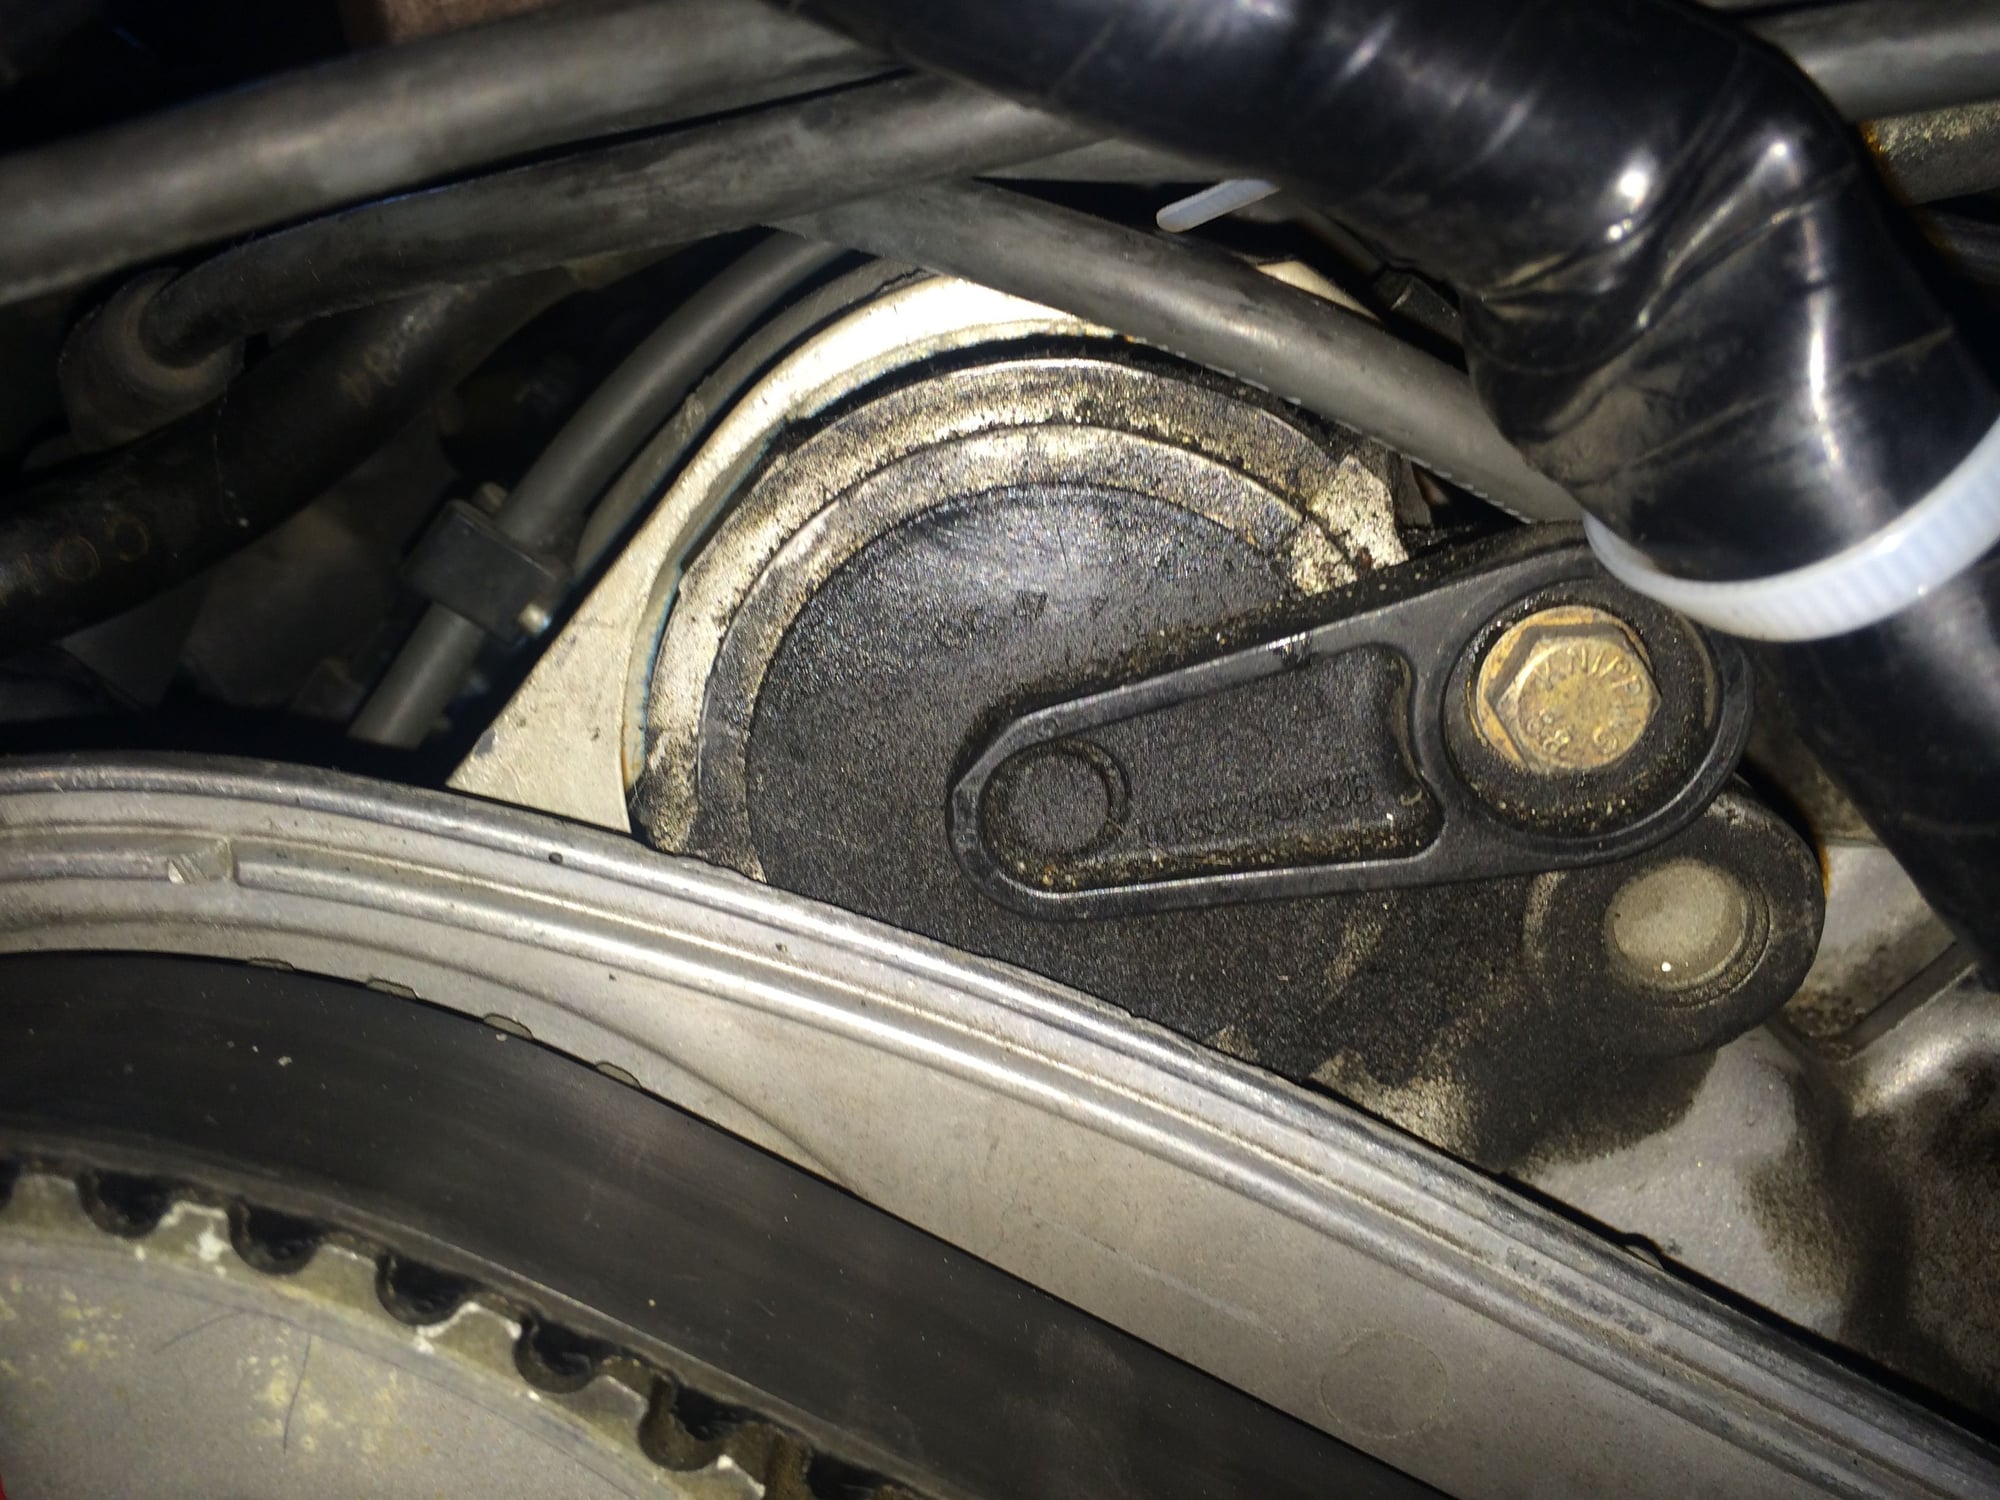
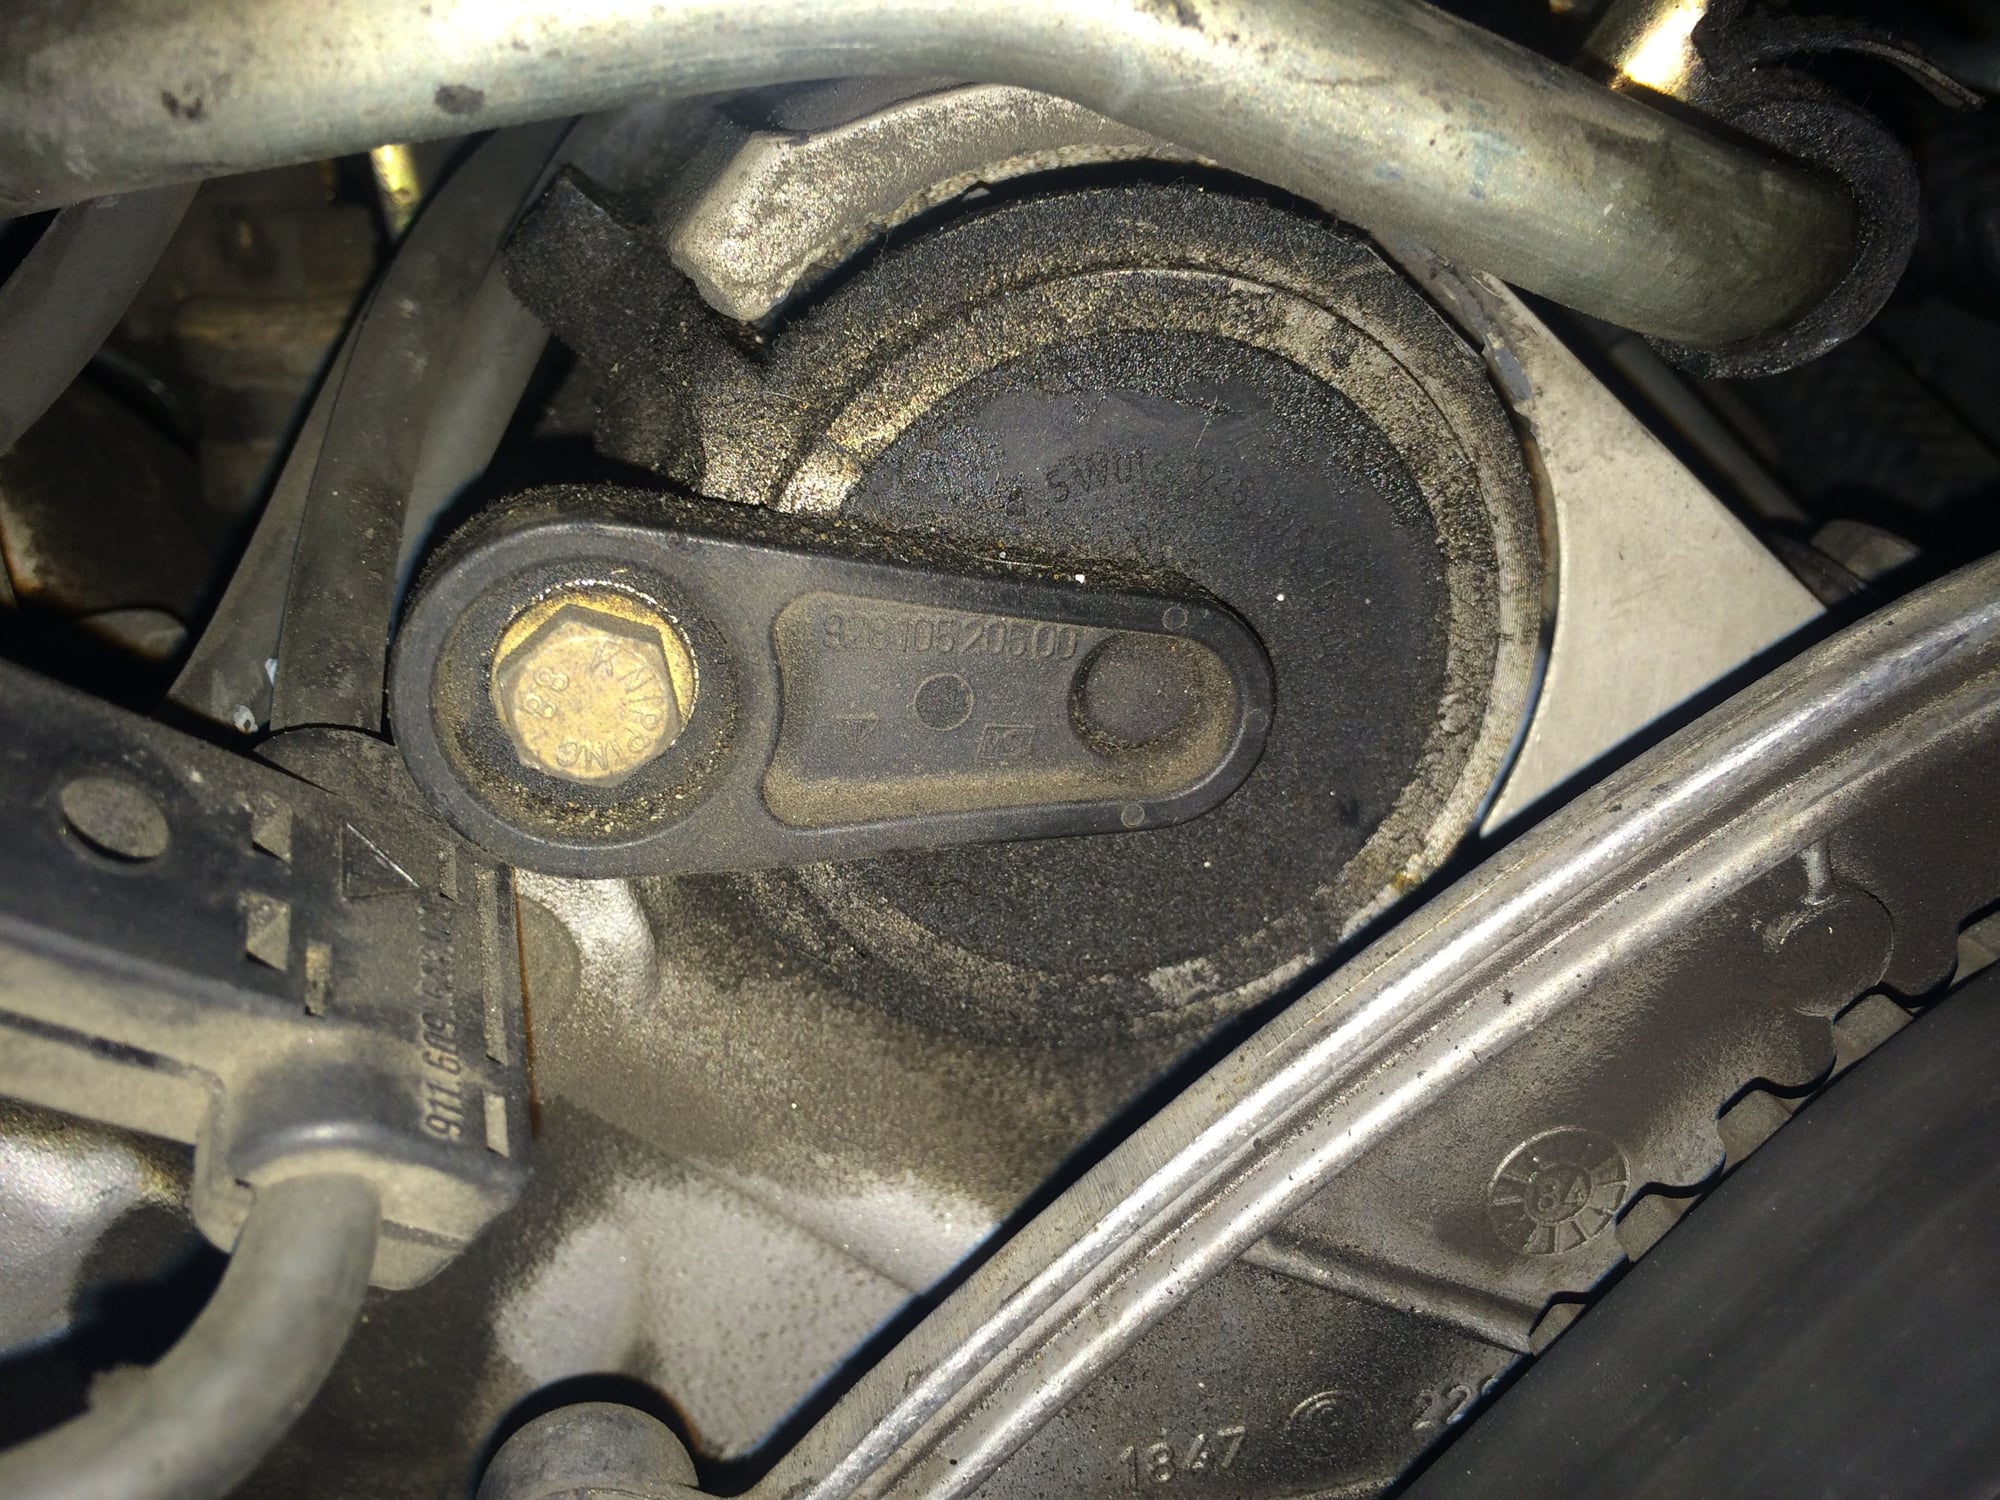
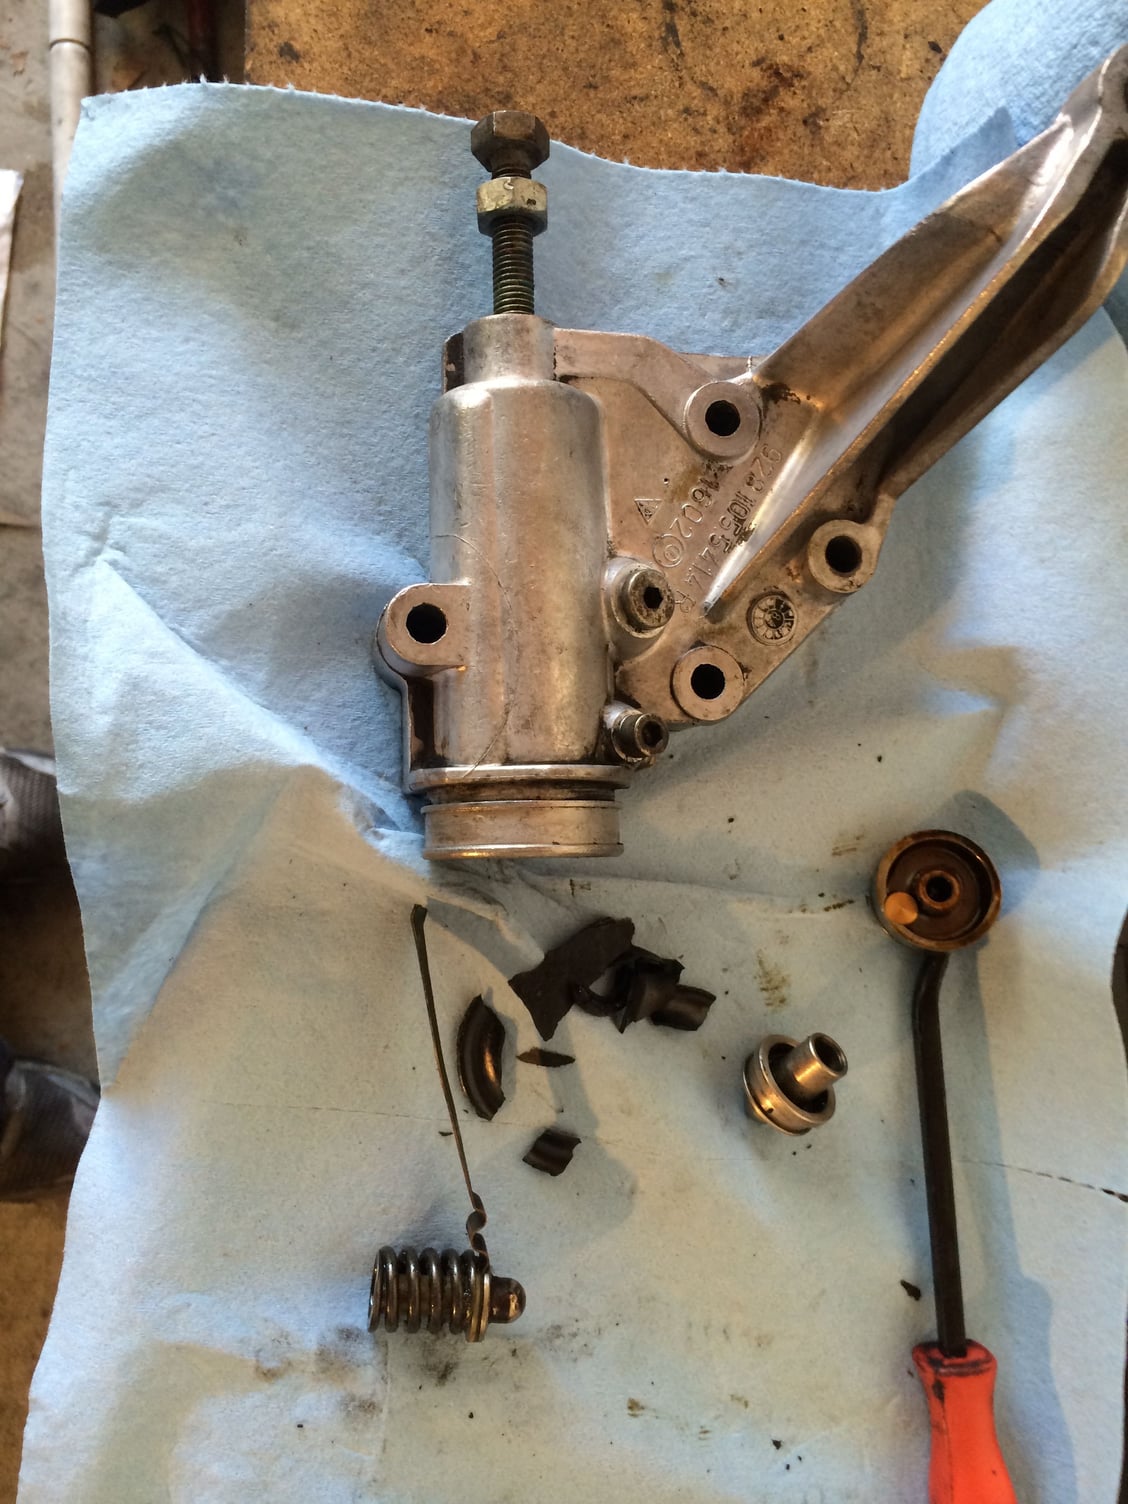
Tensioner boot was literally hard as plastic and disintegrated as soon as I touched it. Also no sign of the boot spring clip, one more for my Roger list.
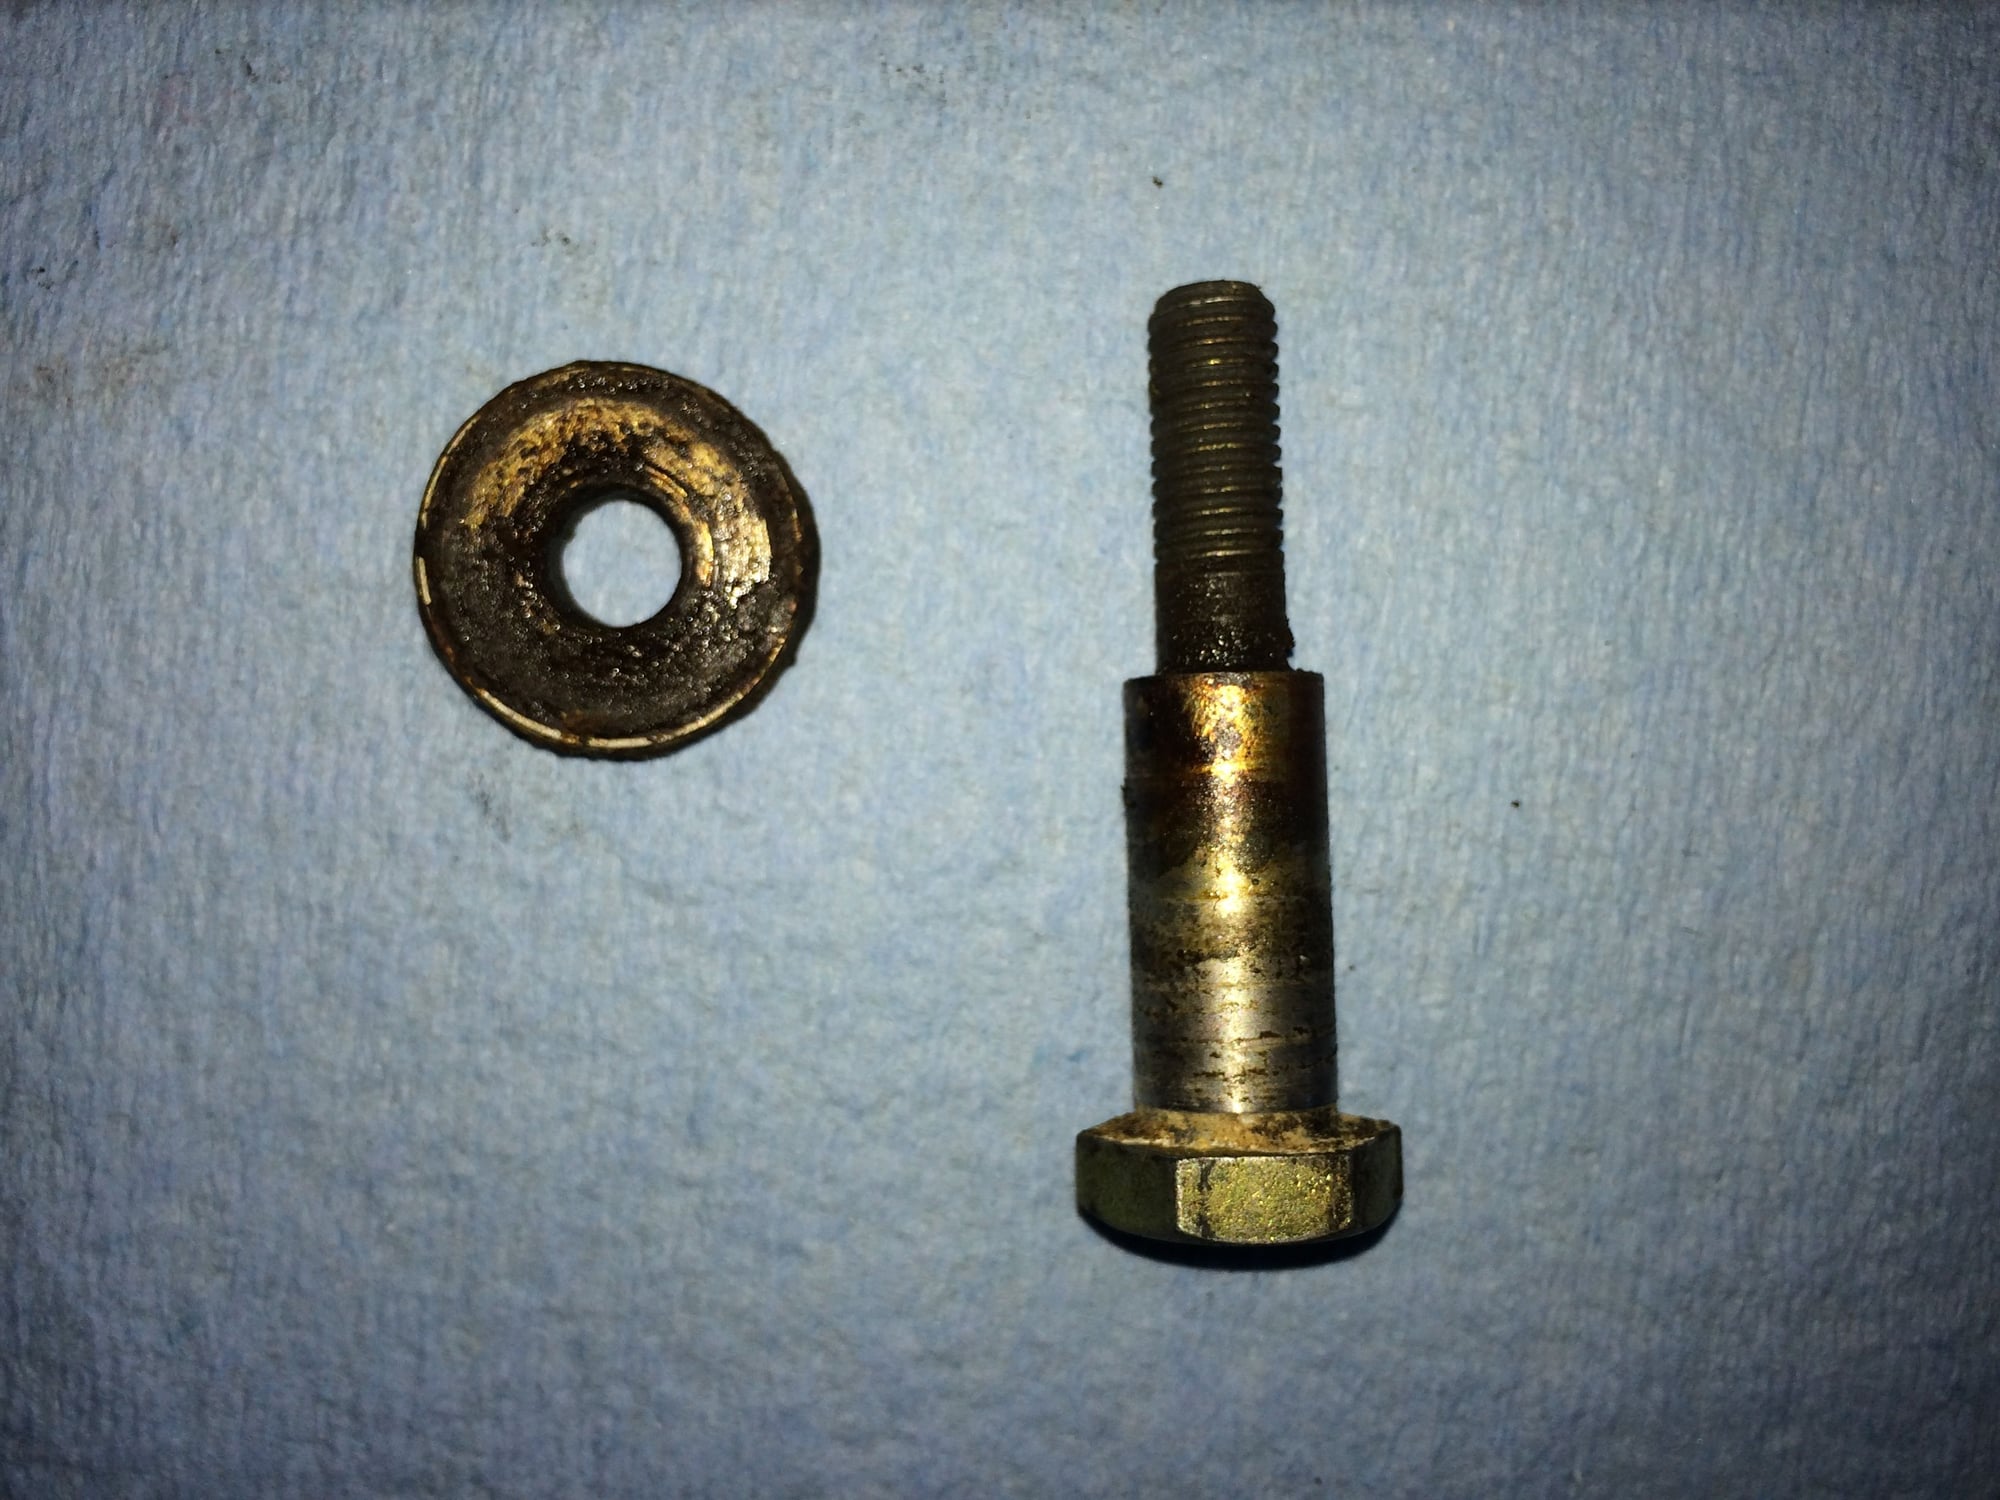
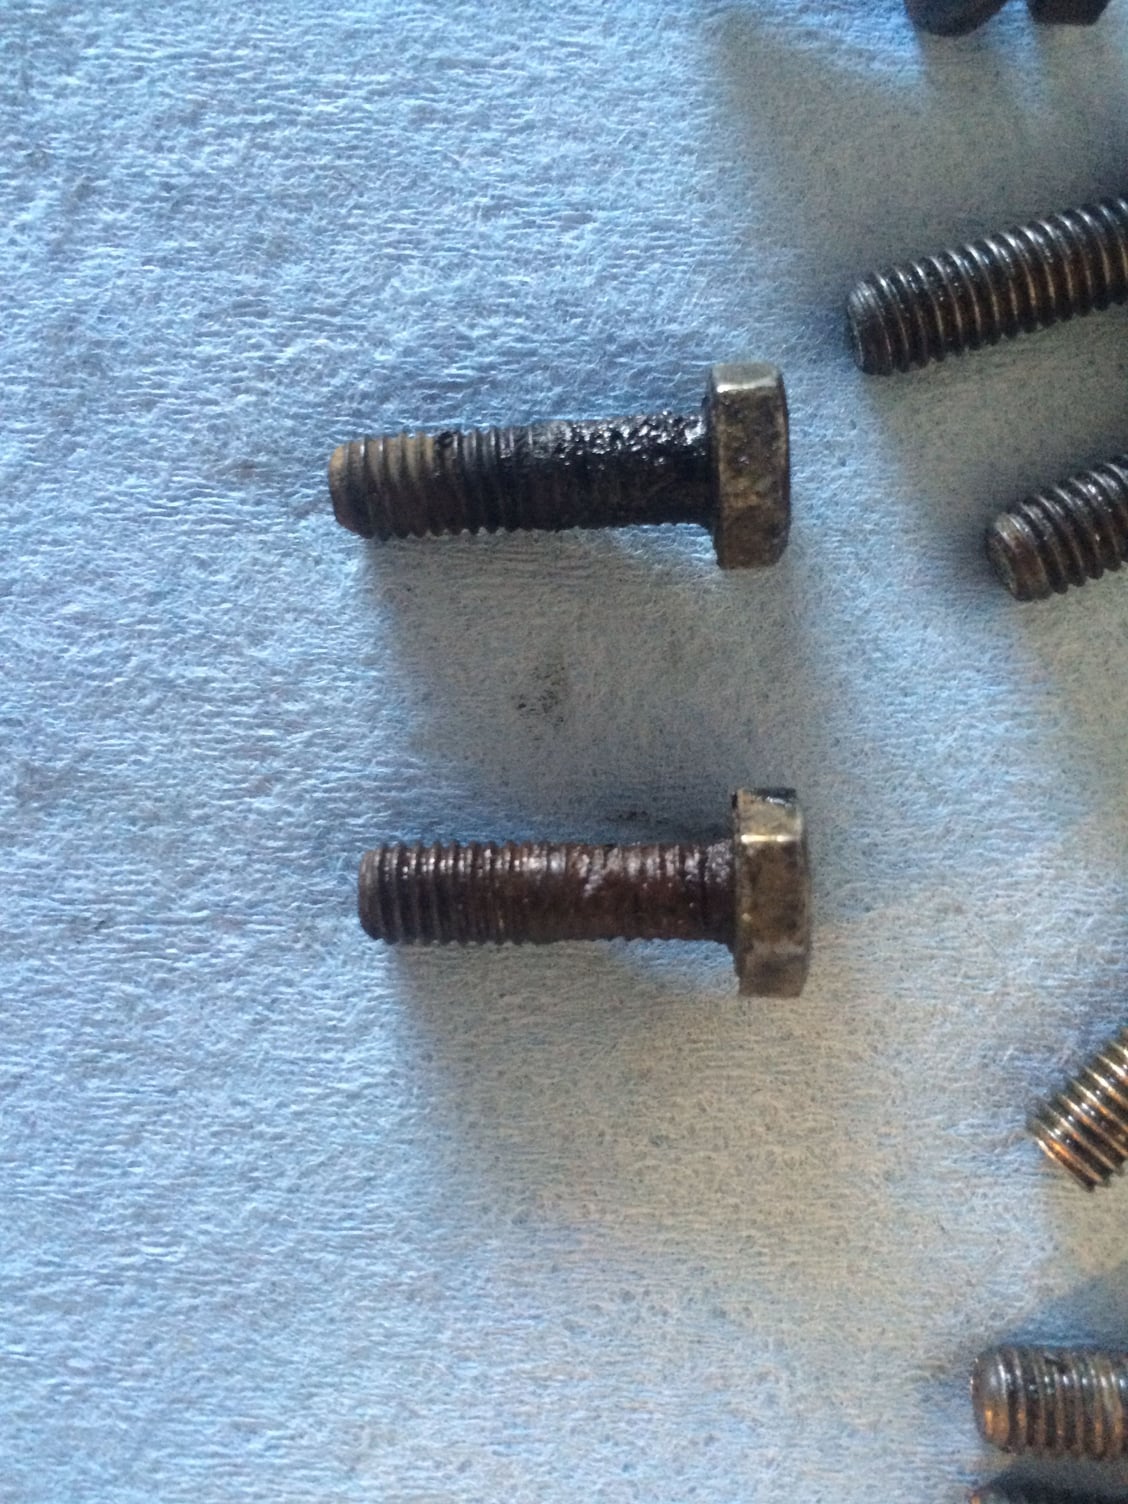
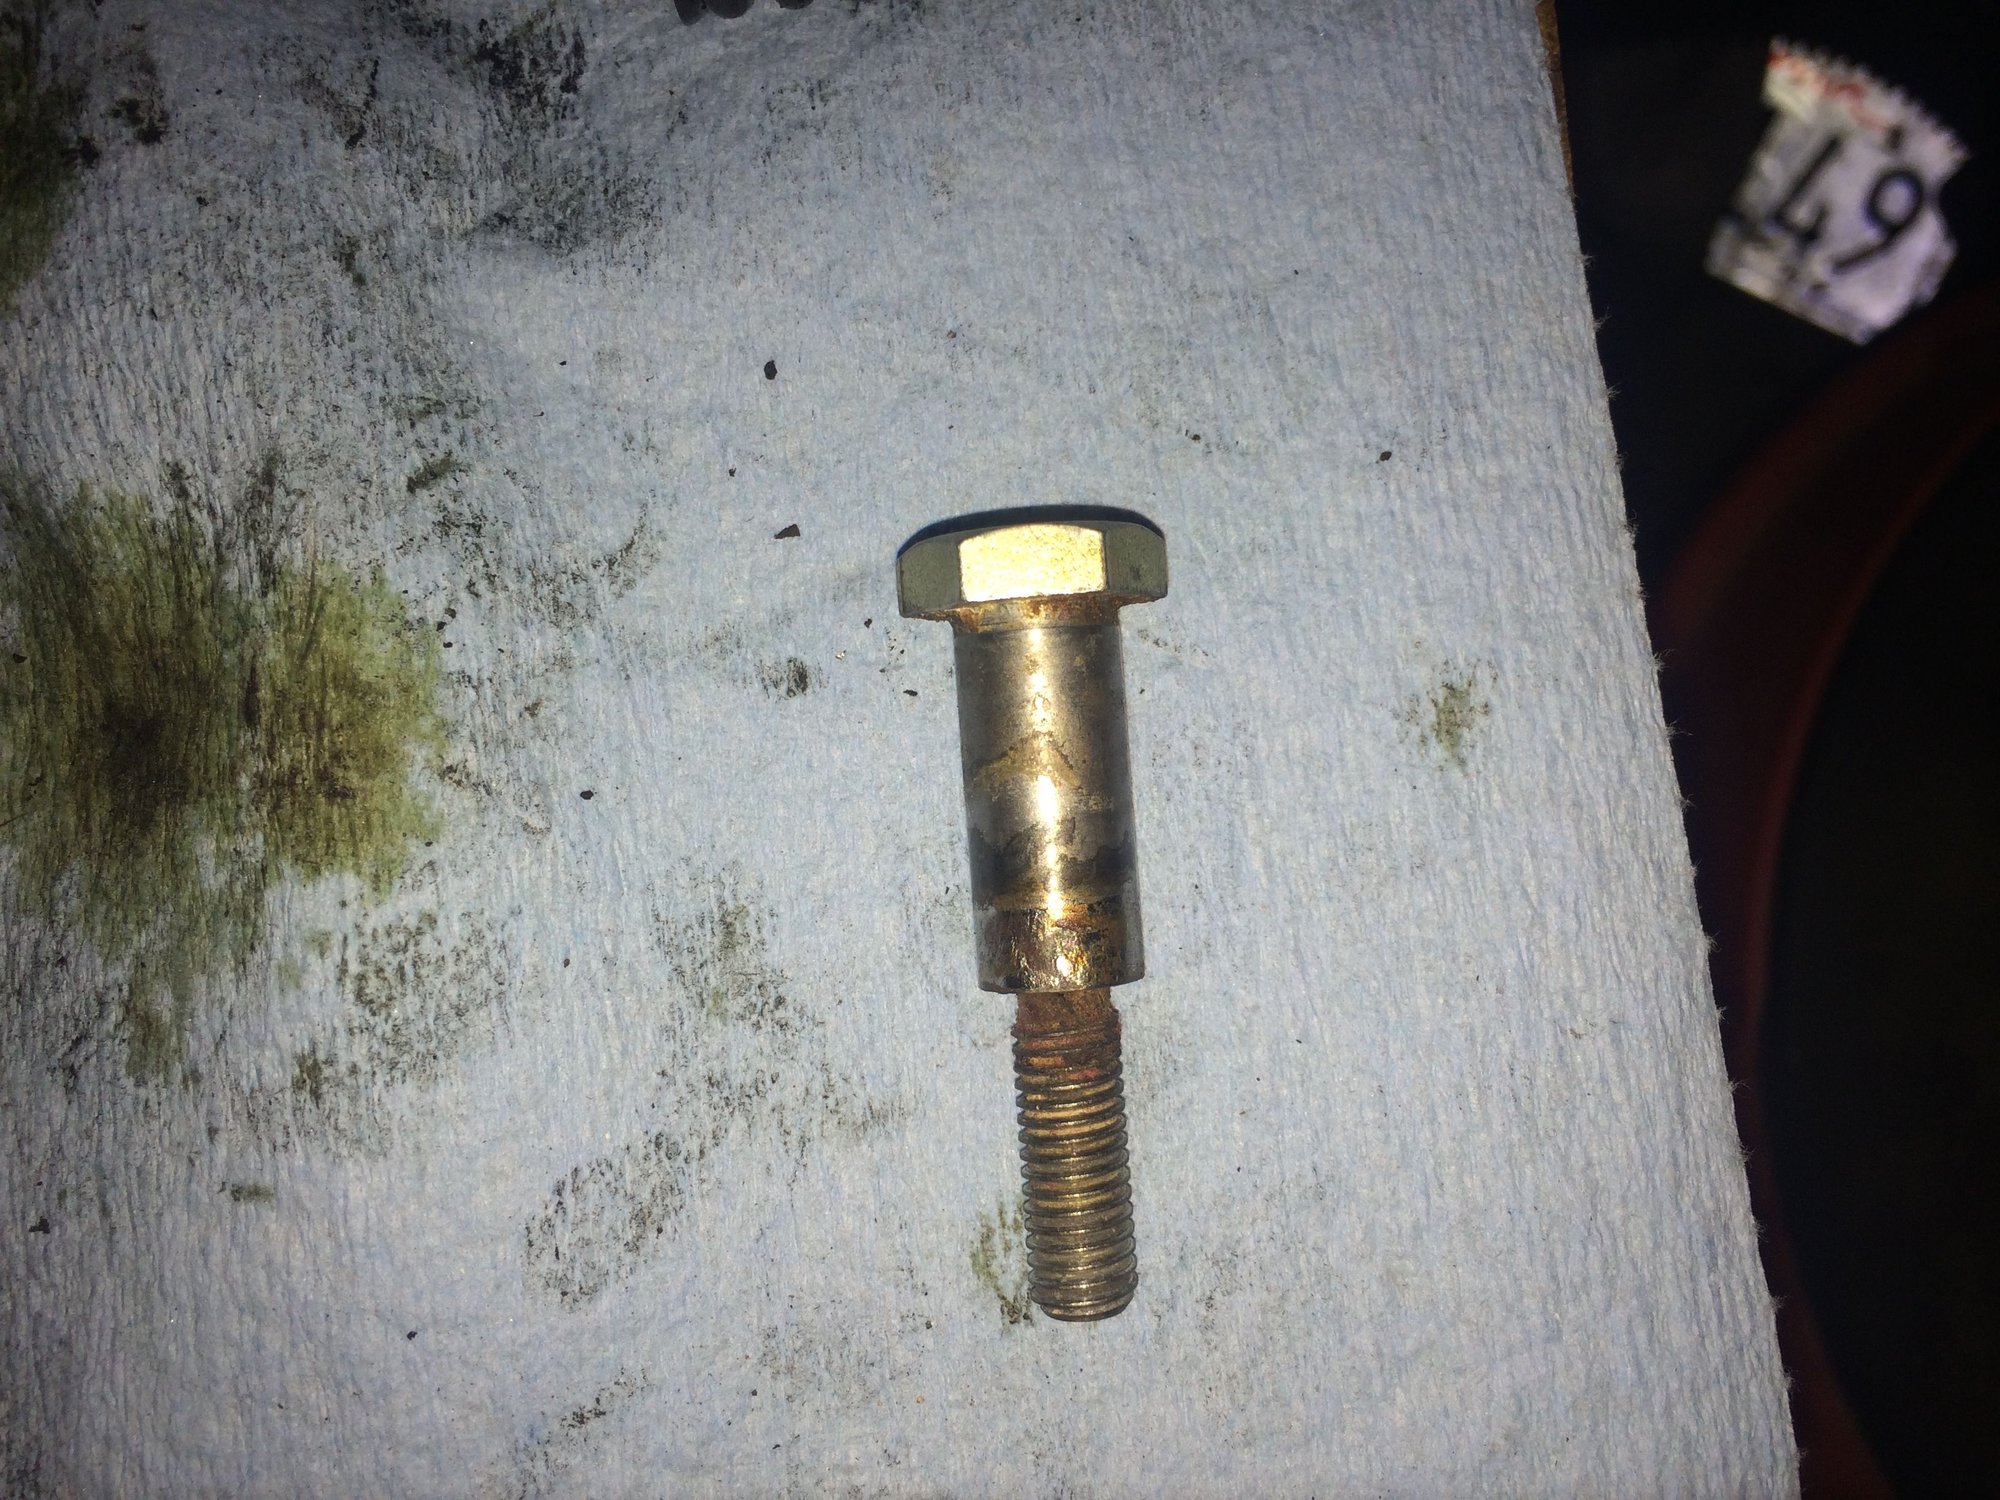
Lots of corrosion on the tensioner arm bolt. Is this good to clean up and re-use?
it appears that you do not have a bosch cap it says made in Italy.
I would suggest that if this is the case spend the extra dollars and make the system perform as well as it can by using the original spec Bosch parts
Originally Posted by Mrmerlin
well the outside cover is Bosch Note the made in Germany.
Note the inside thats all burned up looks to be something else,
it appears to say made in Italy.
the black grounding covers are transferable.
The burned up rotor also looks to be non Bosch
OK I did not know that, I guess that explains the condition then.
Roger sells the good Bosch parts for good prices, cam pulleys look to be in good condition.
see if the oil pump gear is aluminum or steel, use a magnet
if alu then swap in a steel version and remove the 1mm spacer washer thats behind the alu gear.
I also suggest to use Hondabond 4 on the new tensioner gasket,
and then use STP oil treatment inside the tensioner
Belt off this morning, Conti in very good shape at 53k. Crank was locked at TDC and I knew to expect the cams the snap when the belt came off but it startled me nonetheless.
Cam gears, can I get one more cycle out of them?
At the risk of costing Roger a sale, your cam gears look fine to me. Once they wear off the coating they start to get shiny in the inside, not rough. It wouldn't hurt to replace them, because once the coating is off, the gear wears quickly. One of those 'while you are in there' decisions. What's your time worth?
Repl both cap and rotor, make sure the grounding wire on each side is present from the coil clamp, over to the engine. One per side I think on the 85.
Don't worry about the gears moving a bit. When you thread the belt back on, you'll start on the crank, then the oil, then the drivers gear, and the water pump. Use a couple of those large black paper clips to keep the belt in place on the drivers cam gear. Feed the belt around the tensioner(rebuilt with new seals of course), put a 17mm on the pax cam gear and you can carefully move the cam gear toward you from over the right fender as you guide the belt into the right groove. Of course, easier with two people, one to hold the cam, one to fit the belt but it can be done by one person. Once you have it on, run the tension bolt up a bit, and double check your marks before doing tension.
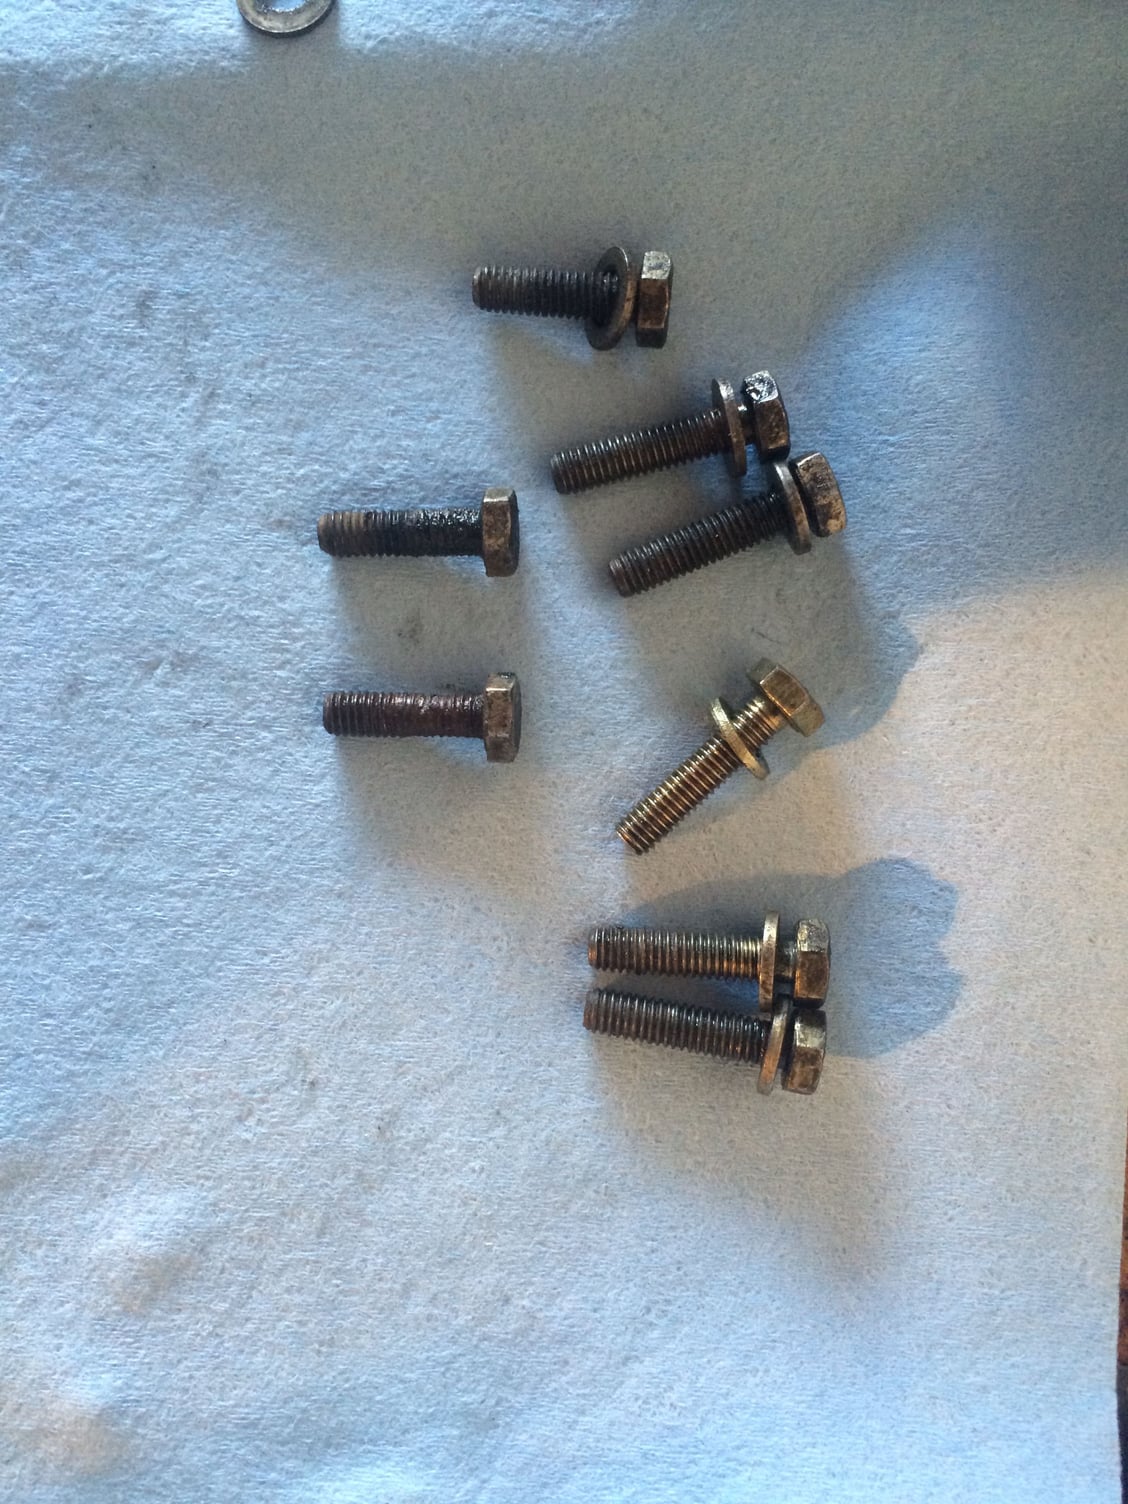
Slow progress after removing the tensioner. Had to go get a two jaw puller for the idler roller and while I was doing that I soaked the water pump bolts with PBlaster. There wasn't a lot of room for the puller to grab the roller so that took a bit of fiddling, but it ended up coming off ok and it was on to the water pump. I'm very nervous about this as I don't have a very steady hand and the idea of drilling out a bunch of bolts has been giving me night sweats. I gave the bolts another pass of penetrant and then gave each a couple of sharp whacks with a punch before trying to ease them out. I've decided to give up at the first sign of resistance and so far I've gotten eight out, six of them fairly easy but two of the shorter bolts were pretty corroded and had me holding my breath.
The five that required more effort to break are soaking some more. Am I overreacting? Anything else I can do?
there is something you can do,
since your replacing the water pump you can get a small sharp drill bit and drill a hole into the top side of each stuck bolt shank,
drill just under the head once you get through the wall of the pump then hit the bolt with a mapp gas torch then fill the hole with PB blaster or Kroil then tap on the bolt and let it sit for a few hours.
NOTE make sure the block is drained out first so the torch heat will have the most effect
I remember when you bought this Shark, sure doesn't seem like it was 8 years ago, wow time flys. I was the one who recommended you have Steve at Omega do the ppi on it & I happened to go by when your car was there. It was a nice 928, dark green with a full black leather interior. IIRC, I think the previous owner was an airplane mechanic, maybe in the Navy here. Looked like it had been well cared for. Good luck with your TB/WP success.

 03-08-2015, 05:10 AM