When you click on links to various merchants on this site and make a purchase, this can result in this site earning a commission. Affiliate programs and affiliations include, but are not limited to, the eBay Partner Network.
There aren't many threads about replacing transmission mounts. The ones I found are brief and the methods vary from thread to thread. Some remove the exhaust and someone removed the axles. Both would help make abundant space - but I didn't find it necessary to remove anything to reach the mounts. However, I did remove the two small 10 mm bolts/nuts that hold the parking brake mechanism to the cross member directly beneath the lower trans mount bolts. This allowed it to move enough to get a straight shot for the socket on long extension to reach the lower bolts.
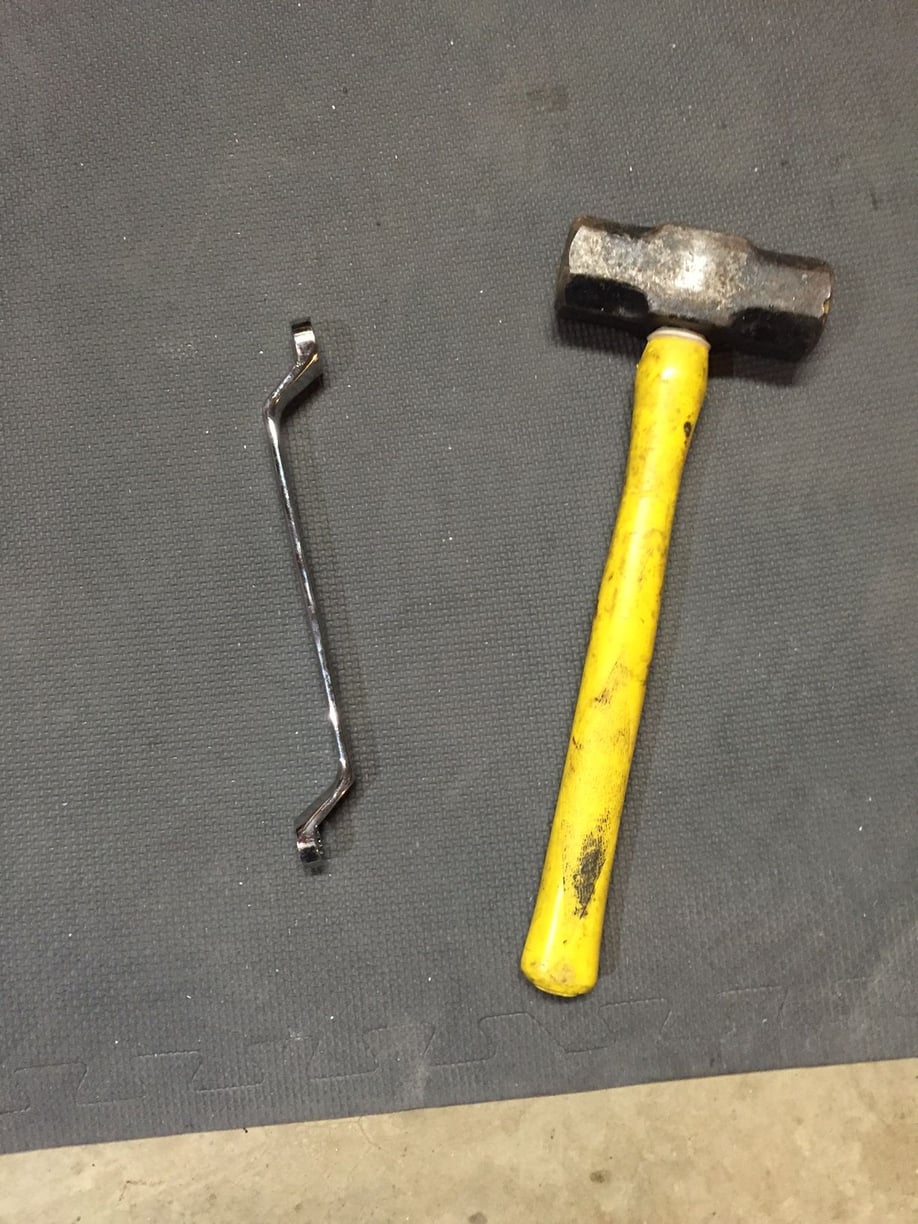
I started by breaking free the upper and lower mount bolts. I used 20 inch breaker bar, 8 inch extension, and 19 mm socket, to crack the lower bolts. I tried to loosen the upper bolts with my two longest extensions connected to make longer one. I was able to get the socket on the bolts through the wheel wells, but there was too much flex/twist in the extensions. So I got back underneath and looked up at each bolt and thought I might be able to use an offset closed-end wrench and small sledge to tap the bolts free, then use the extensions method for removal. It worked. I ended up using just a single 12 inch extension, universal joint, and socket. I actually found three different angles to insert the extension with universal and socket. The universal opened up more possibilities.
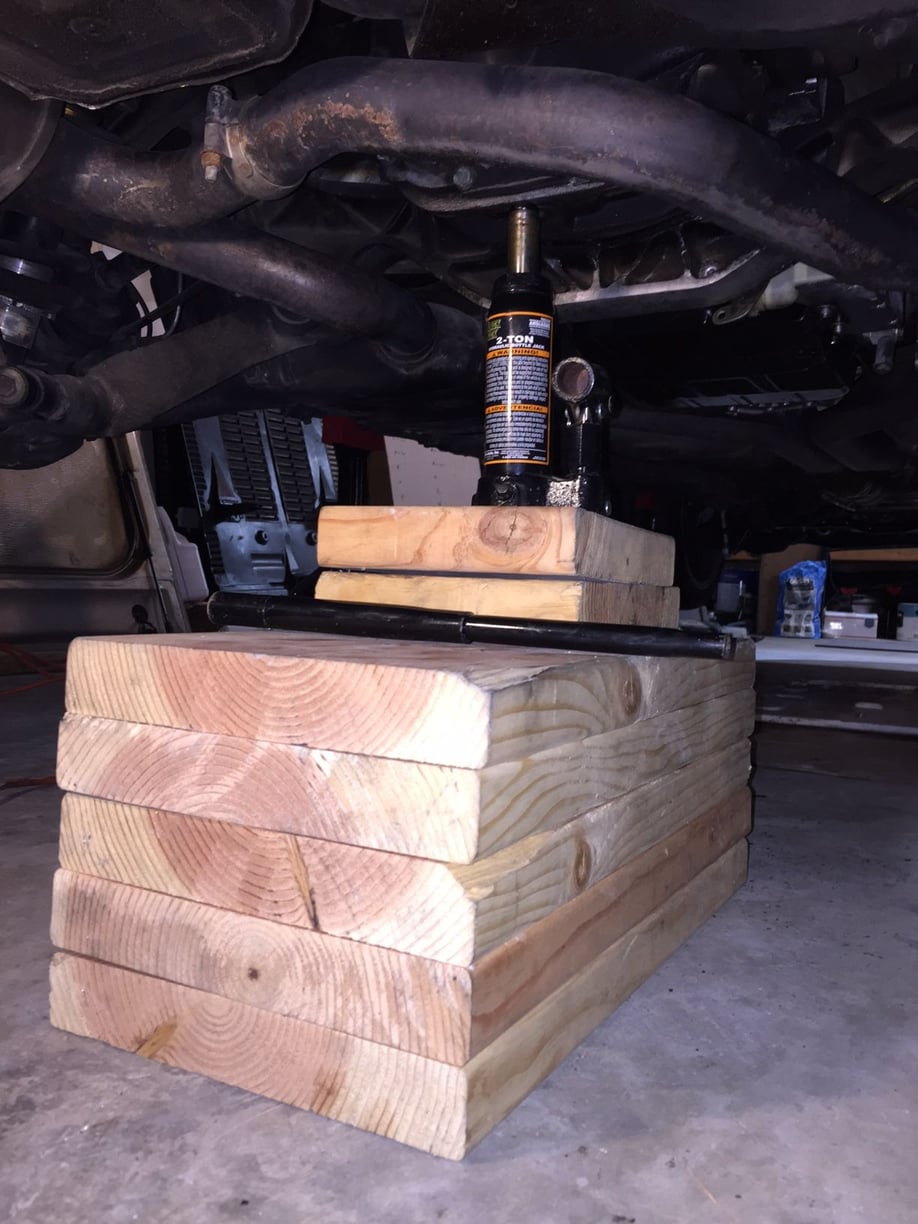
After loosening the bolts I jacked up the transmission as shown below.
Then removal of the loose bolts was easy. Used the extension and socket to remove the lower bolts. No easy way to get fingers on them.
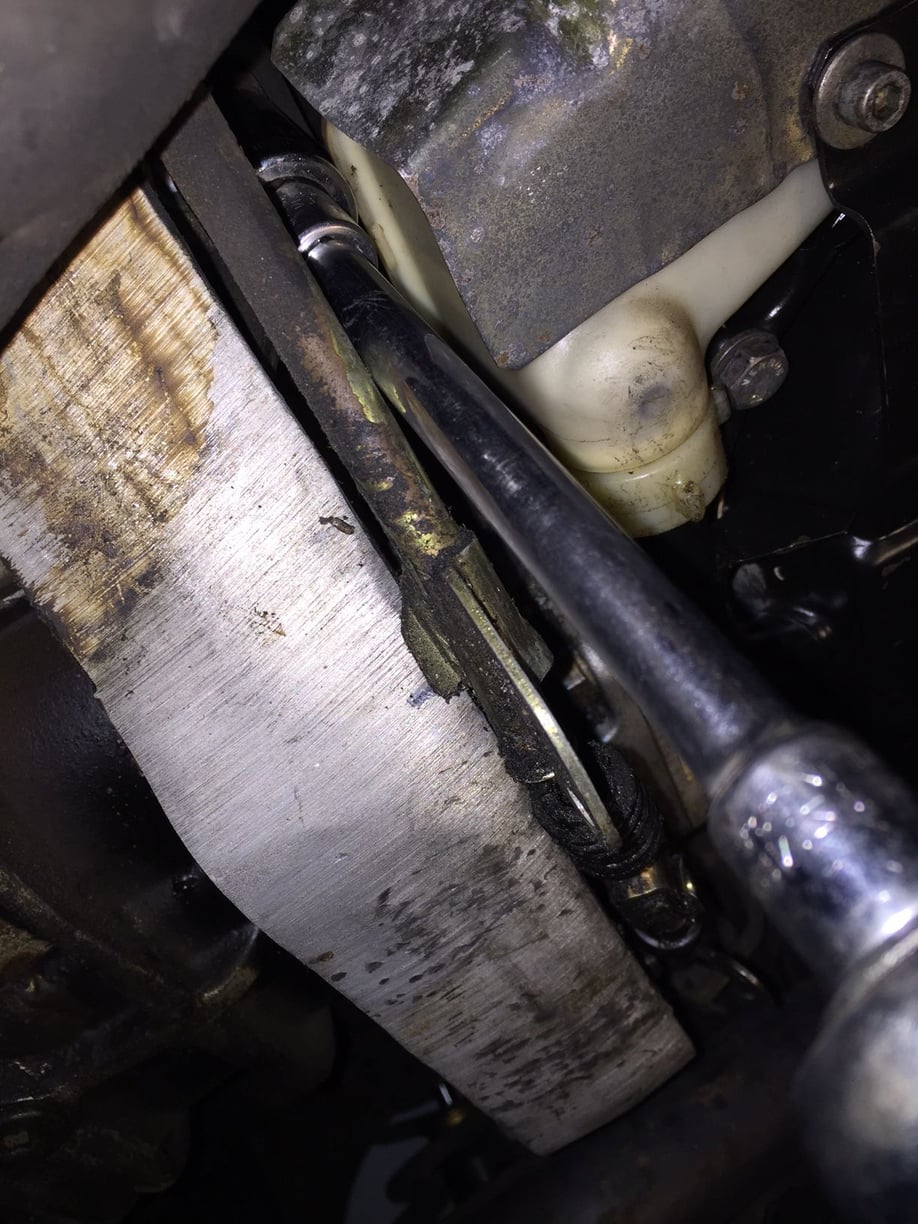
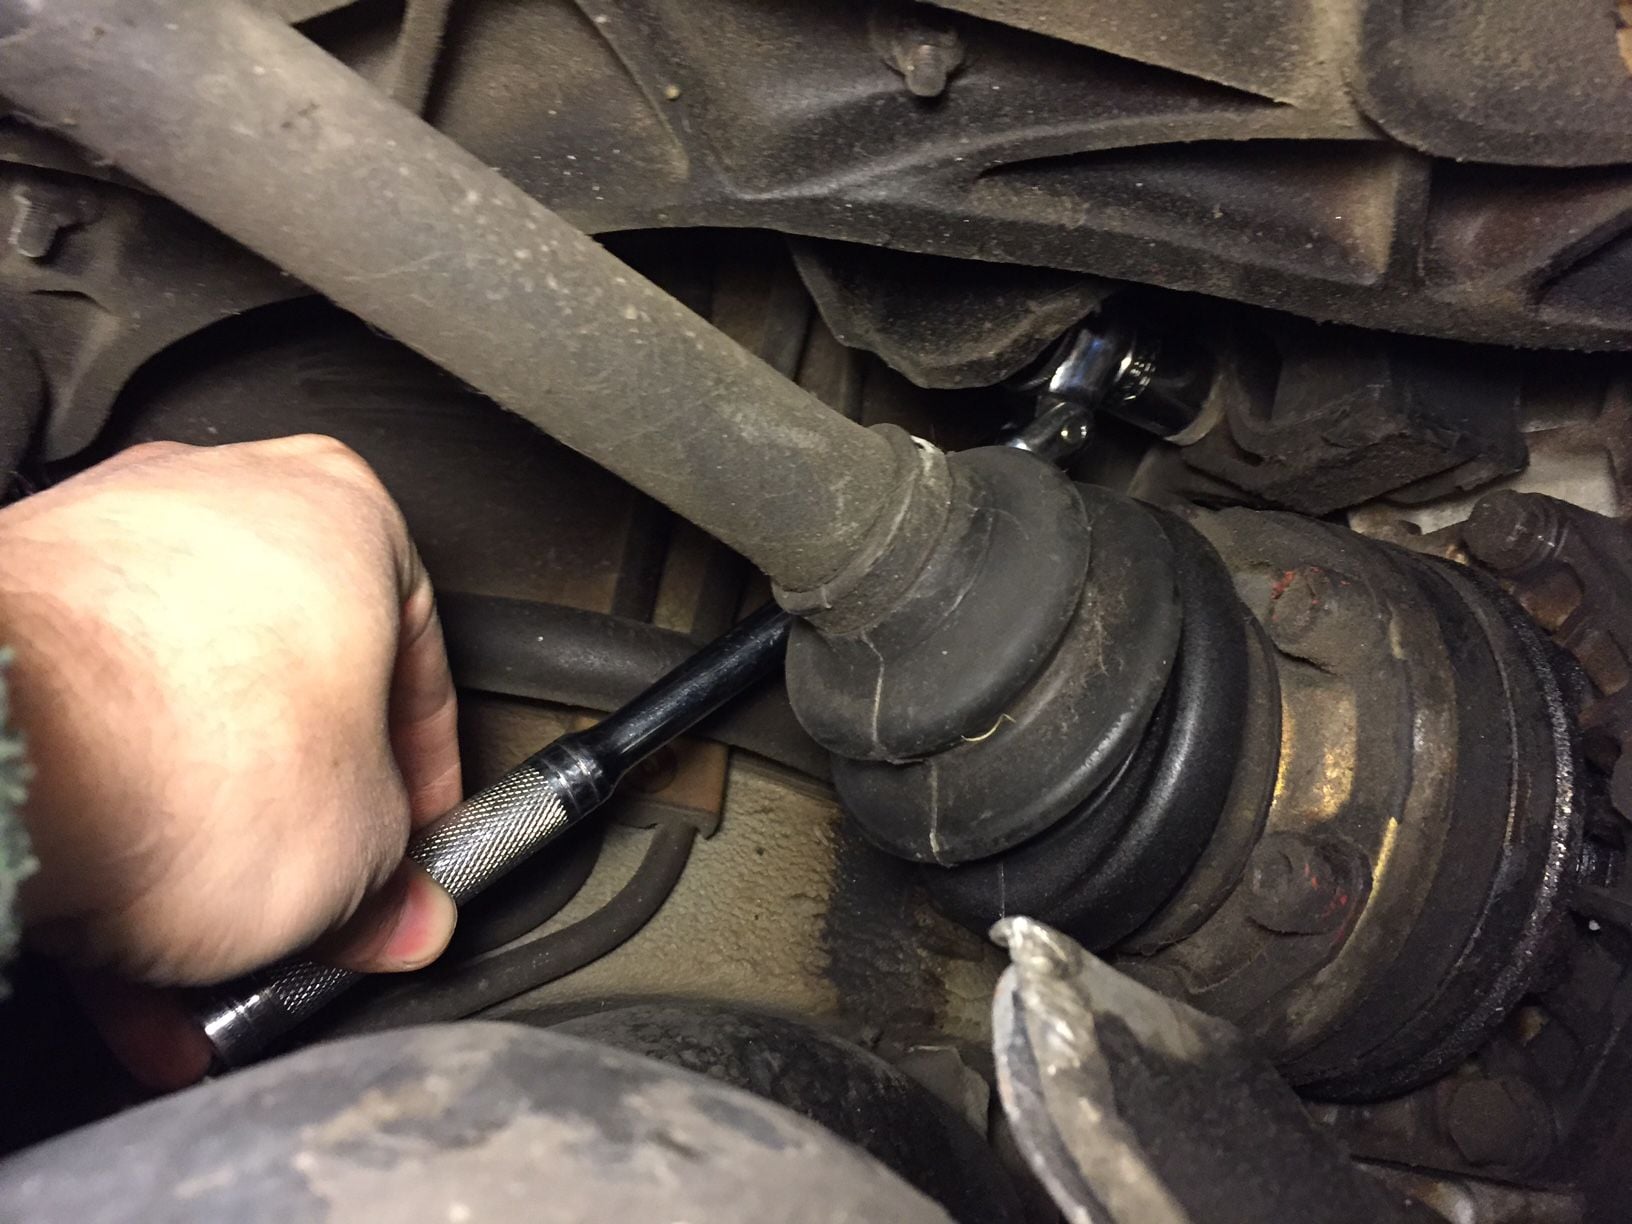
After the upper bolts felt loose enough I used my fingers to remove them. For the left bolt (driver's side) I reached up from beneath and removed the bolt easily. For the right side I first loosed the bolt as much as possible with the ratchet with flex head. The best angle was to reach up and over the axle from the rear as shown. When too loose to ratchet I removed with my fingers. Way easier than trying to keep a wrench or socket on it.
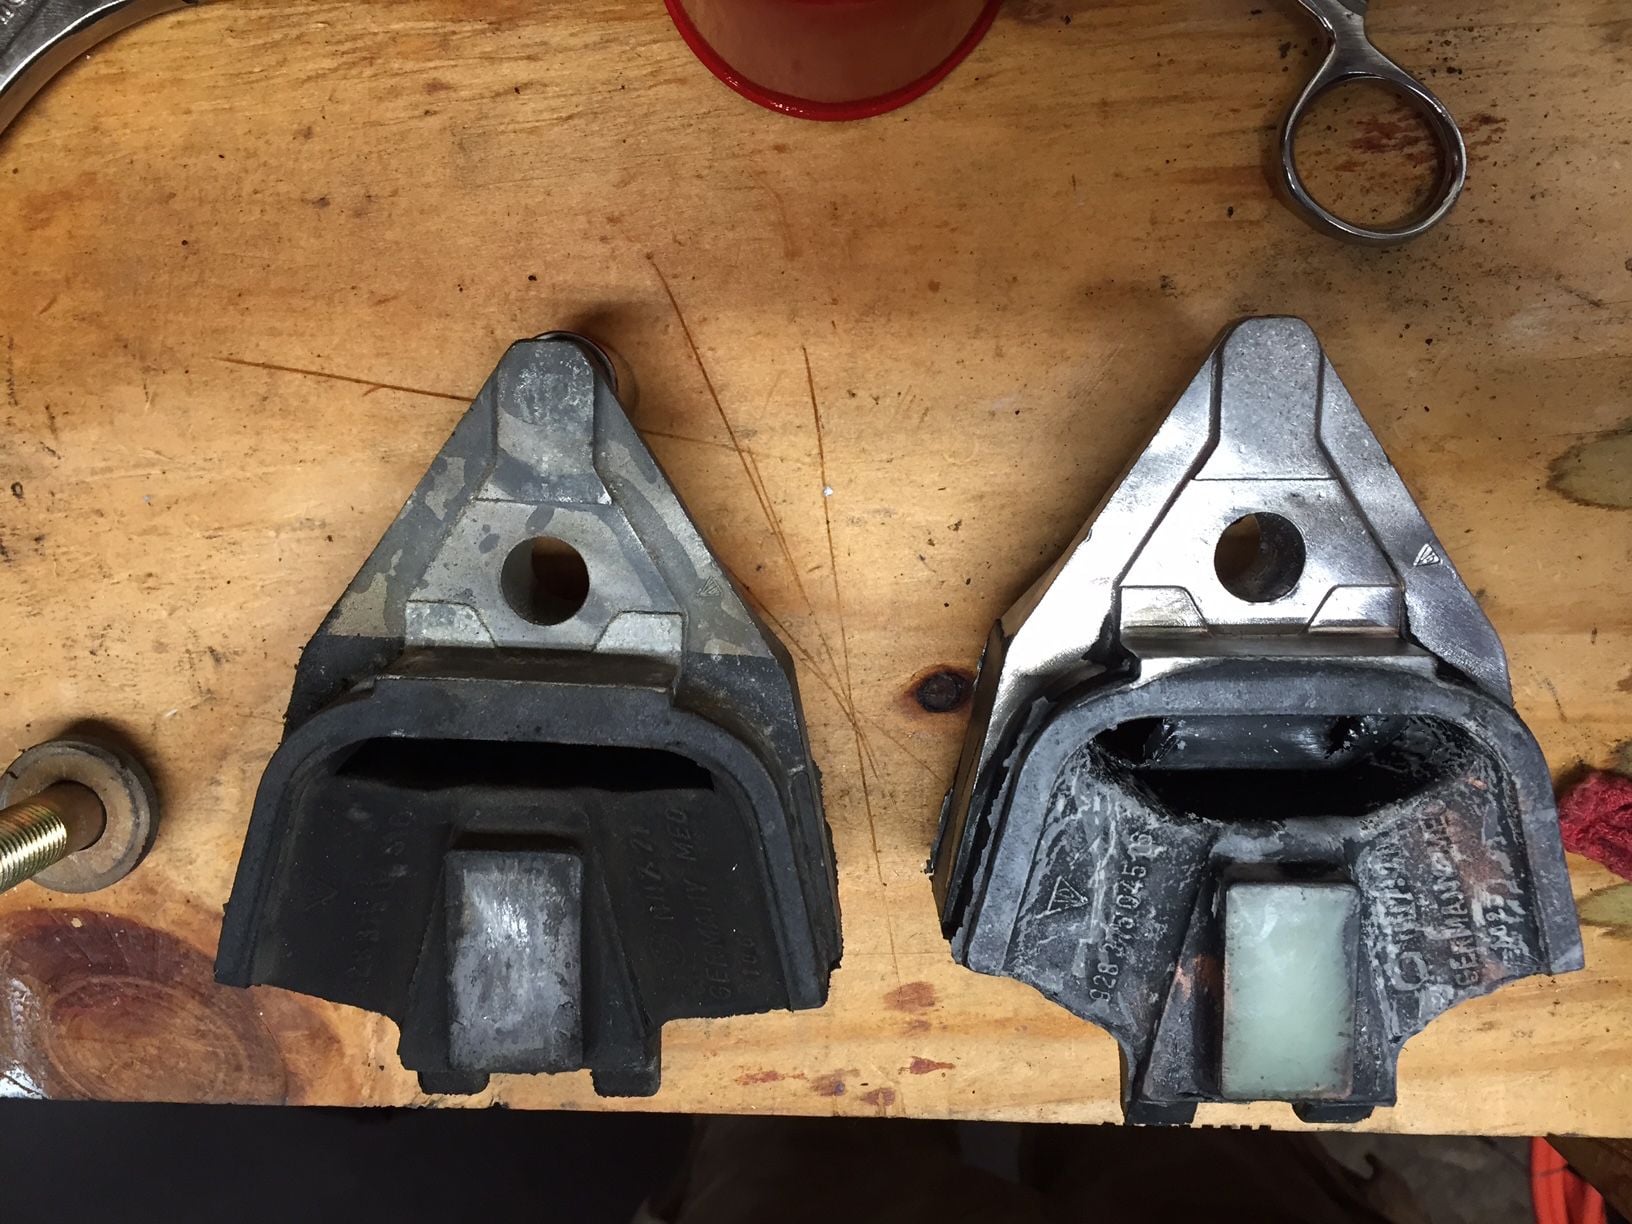
Removing the old mounts was straightforward. I looked carefully for shims but didn't find any. The old mounts appear to be original. Interestingly, the copper anti seize on the lower bolts looked like new. Upper bolts didn't have anti seize applied. They were harder to free up, too.
Here is the worn left mount next to a new mount. As others have noted I found the left mount to be more collapsed than the right side. I imagine this has to do with torque wrap.
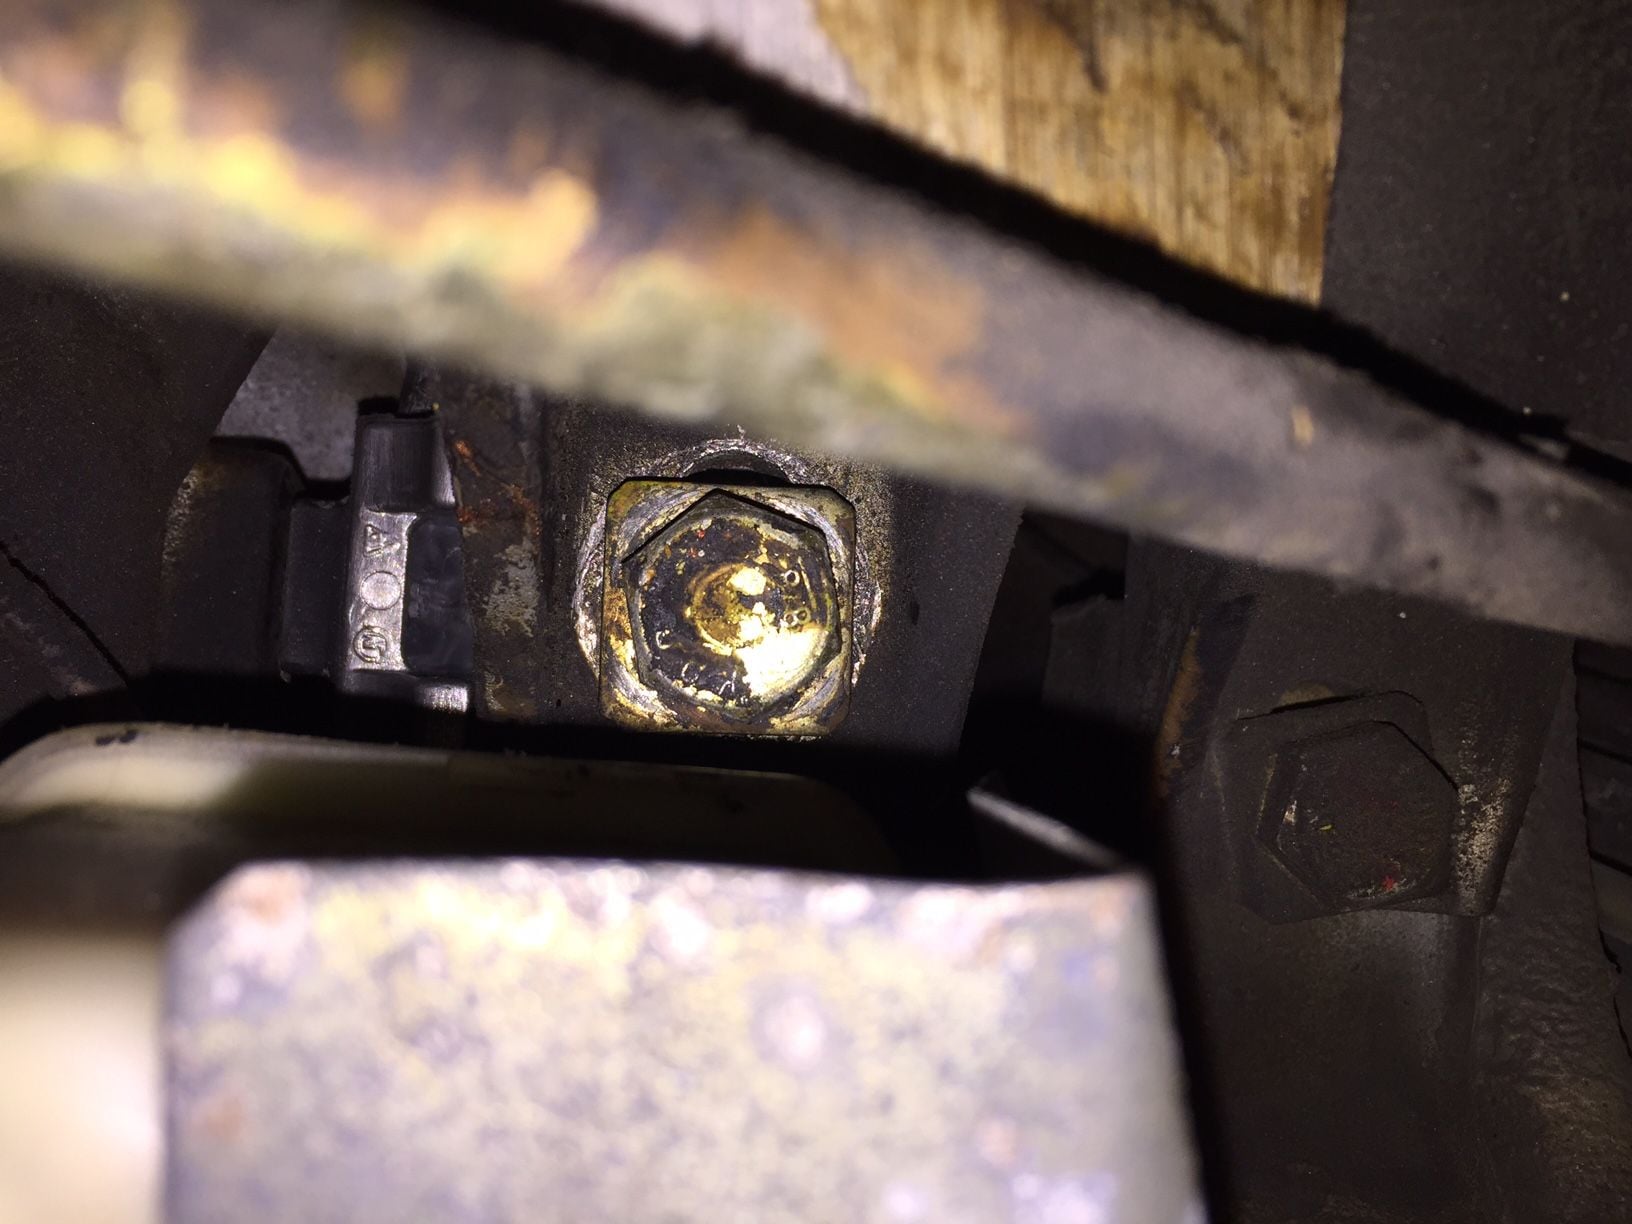
I decided to not thoroughly clean the mounting points on the cross member. The cosmoline coating left shadows of where the old mounts were attached, including where the lower bolts and square washers were positioned. The outlines of the bolts and the two tines that appear to help resist lateral shear were invaluable for positioning the mounts in the exact position as the originals (the lower bolt passes through a slot in the lower mounting point on the crossmember. Nice not having to guess where in that slot to snug it).
I cleaned the bolts and applied copper anti-seize. Started each upper bolt by hand, then used the extension and socket to start the lower bolts. I snugged the bolts and then backed them off enough to allow them to be positioned. Then lowered the jack slowly and pried the mounts into alignment with all the cosmoline indicators. Then tightened all the bolts, and reinstalled the small 10 mm bolts holding the e-brake mechanism in place.
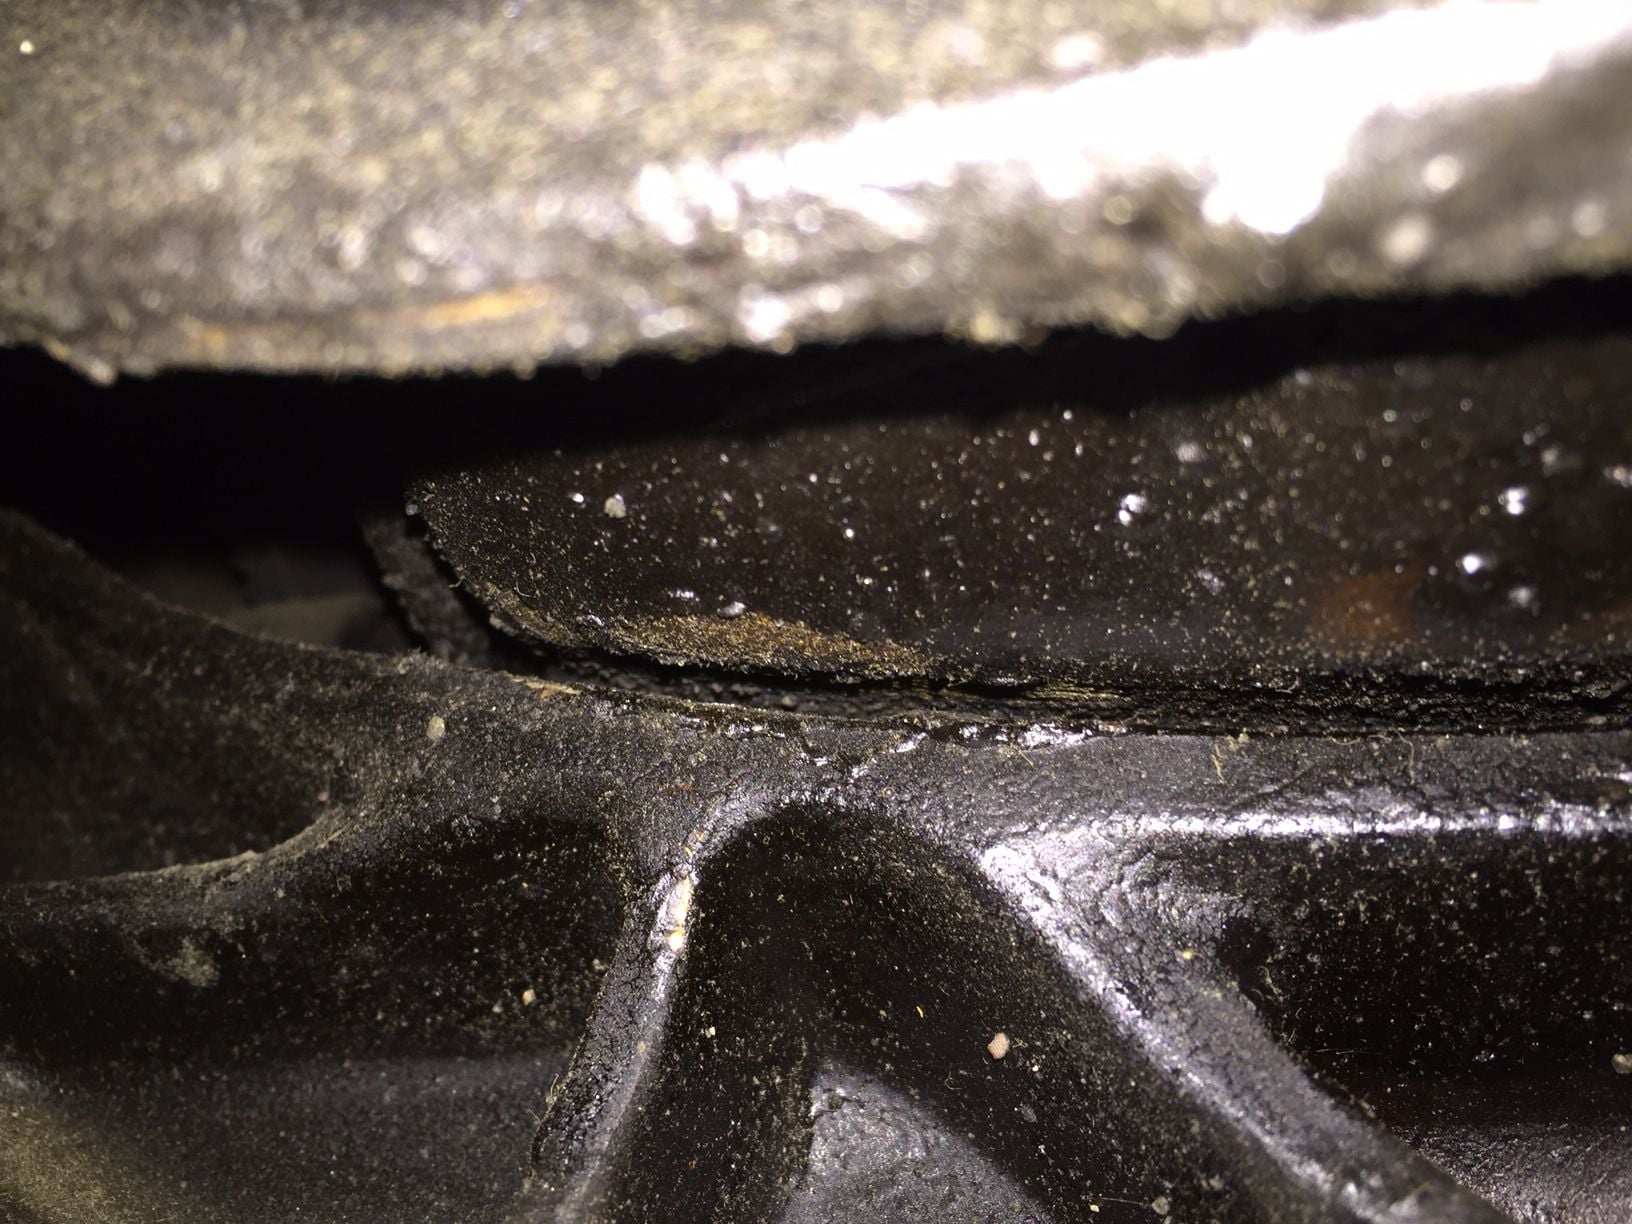
BEFORE: very little clearance between differential and cross member. The two were making contact during hard acceleration and while turning and accelerating even slightly.
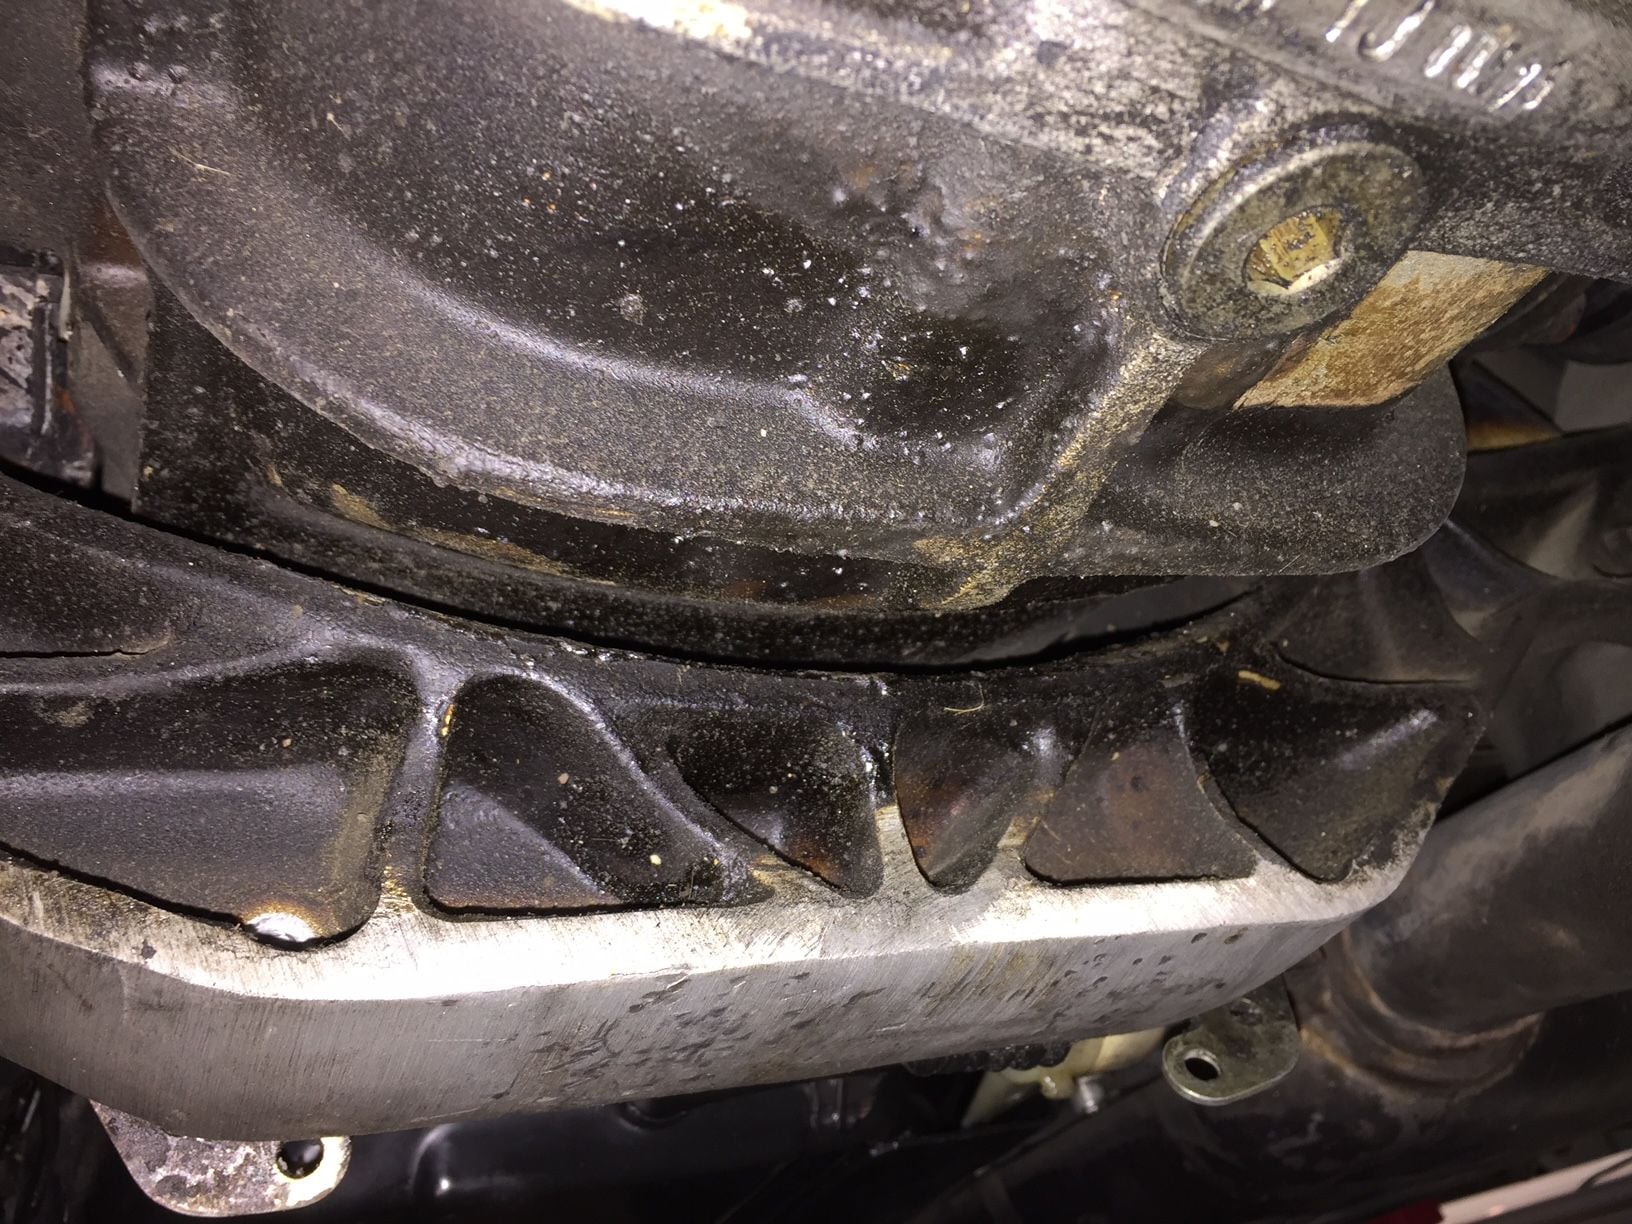
AFTER: There's much more space than apparent in the picture.
Thanks for superb write-up and photos. Was planning this job for future (my transmission has reasonable clearance at cross-member) and like you had looked at various write-ups/posts but never seen one as comprehensive as yours.
How far did you have to jack up the tranny to remove the bolts?
When starting to loosen the bolts I thought I'd just jack up the tranny enough to unload the mounts. But this was easier said than done because if jacked up a little too high the mounts are then in tension, making it harder to remove the top bolts, and also would be impossible to install new, uncompressed (and taller) mounts. I needed to find a way to make it easy to install the mounts and have an easy time aligning the upper bolt holes in the new mounts and side of the tranny case.
I decided to remove the lower mount bolts, then slowly jack up the transmission until I observed/felt any resistance. I think I raised the transmission about 5 cm. This left the bottom of the old mounts suspended about 1.5 cm above the mounting point on the crossmember. Then it was easy to remove the upper mount bolts with my fingers and extract the mounts. It was also not a big challenge to get the upper bolts started when installing the new mounts. The clearance between mounting point on crossmember and bottom of new mounts with top bolt installed was about 5 mm. There was enough space to get the mounts in position easily. I started the bottom bolts and then lowered the tranny slowly, using a small pry bar to gently nudge the mounts into position. This was a bit of a juggling act as I was both prying the mount bolts and lowering the jack at the same time. It was a bit like trying to dock the Apollo 13 LEM with the Command Module.
HINT: When installing the new mounts, hold them upward so the aluminum "shelf" below the upper hole in the mount is pressed upward against a corresponding flat surface on the transmission. This will assure that the upper bolt hole in the mount is aligned vertically. Then note the pointy top of the mount above the bolt hole. There is a buttress coming off the transmission that corresponds to the raised flat area on the mount (looks a bit like an inverted capital Y, with bolt hole in notch of the Y). Feeling for the buttress and aligning the point of the mount with it assured the bolt hole was aligned horizontally. Somehow I managed to hold the mount with slight upward pressure so it would not move while I started the bolts. It all went really quick.
NOTE. Someone cross threaded an upper bolt during installation of new mounts. I was being very cautious to avoid doing so.
Thanks Bertrand. I've received a huge amount of guidance from the forum. Glad to give something back. After doing this job and noting how few threads/posts on the topic, I sense there will be many more of us doing this job soon. Too bad the mounts aren't just $75 each anymore!
nice write up.
what is the clearance between transmission and cross member with the new mounts in mm just so as to have a reference of what it should be.
Phil - Compared to Bertrand's car it looks like the clearance with worn mounts was less on my car. The differential case and crossmember were making frequent contact on my car. You can see where the Cosmoline is squished out from contact.
The final resulting clearance looks the same as Bertrand's. Mine might appear to have a bit more clearance, but it hasn't been driven and I expect some settling.
Jon - out of curiosity, did you notice any difference in driving when the new mounts were on?
Yes...the main difference was the bottom of the transmission no longer made contact with the cross member. I also felt the mass of the transmission was better controlled/located, but this could have been subjective. I thought it helped to raise the transmission to match up with the raised engine better. New Volvo mounts and old trans mounts would leave the driveline tilted toward the rear. The car remains very smooth with good vibration isolating mounts front and rear.

 02-28-2015, 10:35 PM