

928s euro intake removal
 12-09-2013, 08:12 PM
#16
Shameful Thread Killer
Rennlist Member
Rennlist Member
 12-10-2013, 03:43 AM
#17
Rennlist Member
Just to complete the pics ... here is the base of the mount that you need to get out of the threaded holes in the block.
It's thread seize that makes them stubborn to remove, and not because they've been tightened too much, which is very difficult to do with a bonded rubber mount. Standard thread .. anticlockwise to loosen.
What docmirror said works well.
It's thread seize that makes them stubborn to remove, and not because they've been tightened too much, which is very difficult to do with a bonded rubber mount. Standard thread .. anticlockwise to loosen.
What docmirror said works well.
 It's a good idea to pull it all off to clean... not a big deal, and after it done, you'll be glad you did....
The following users liked this post:
glee (06-02-2022)
01-16-2014, 12:07 AM
#20
Team Owner
Spectacular results
01-16-2014, 12:57 AM
#22
Addict extrordinare
Rennlist Member
Rennlist Member
01-16-2014, 01:03 AM
#23
Addict extrordinare
Rennlist Member
Rennlist Member
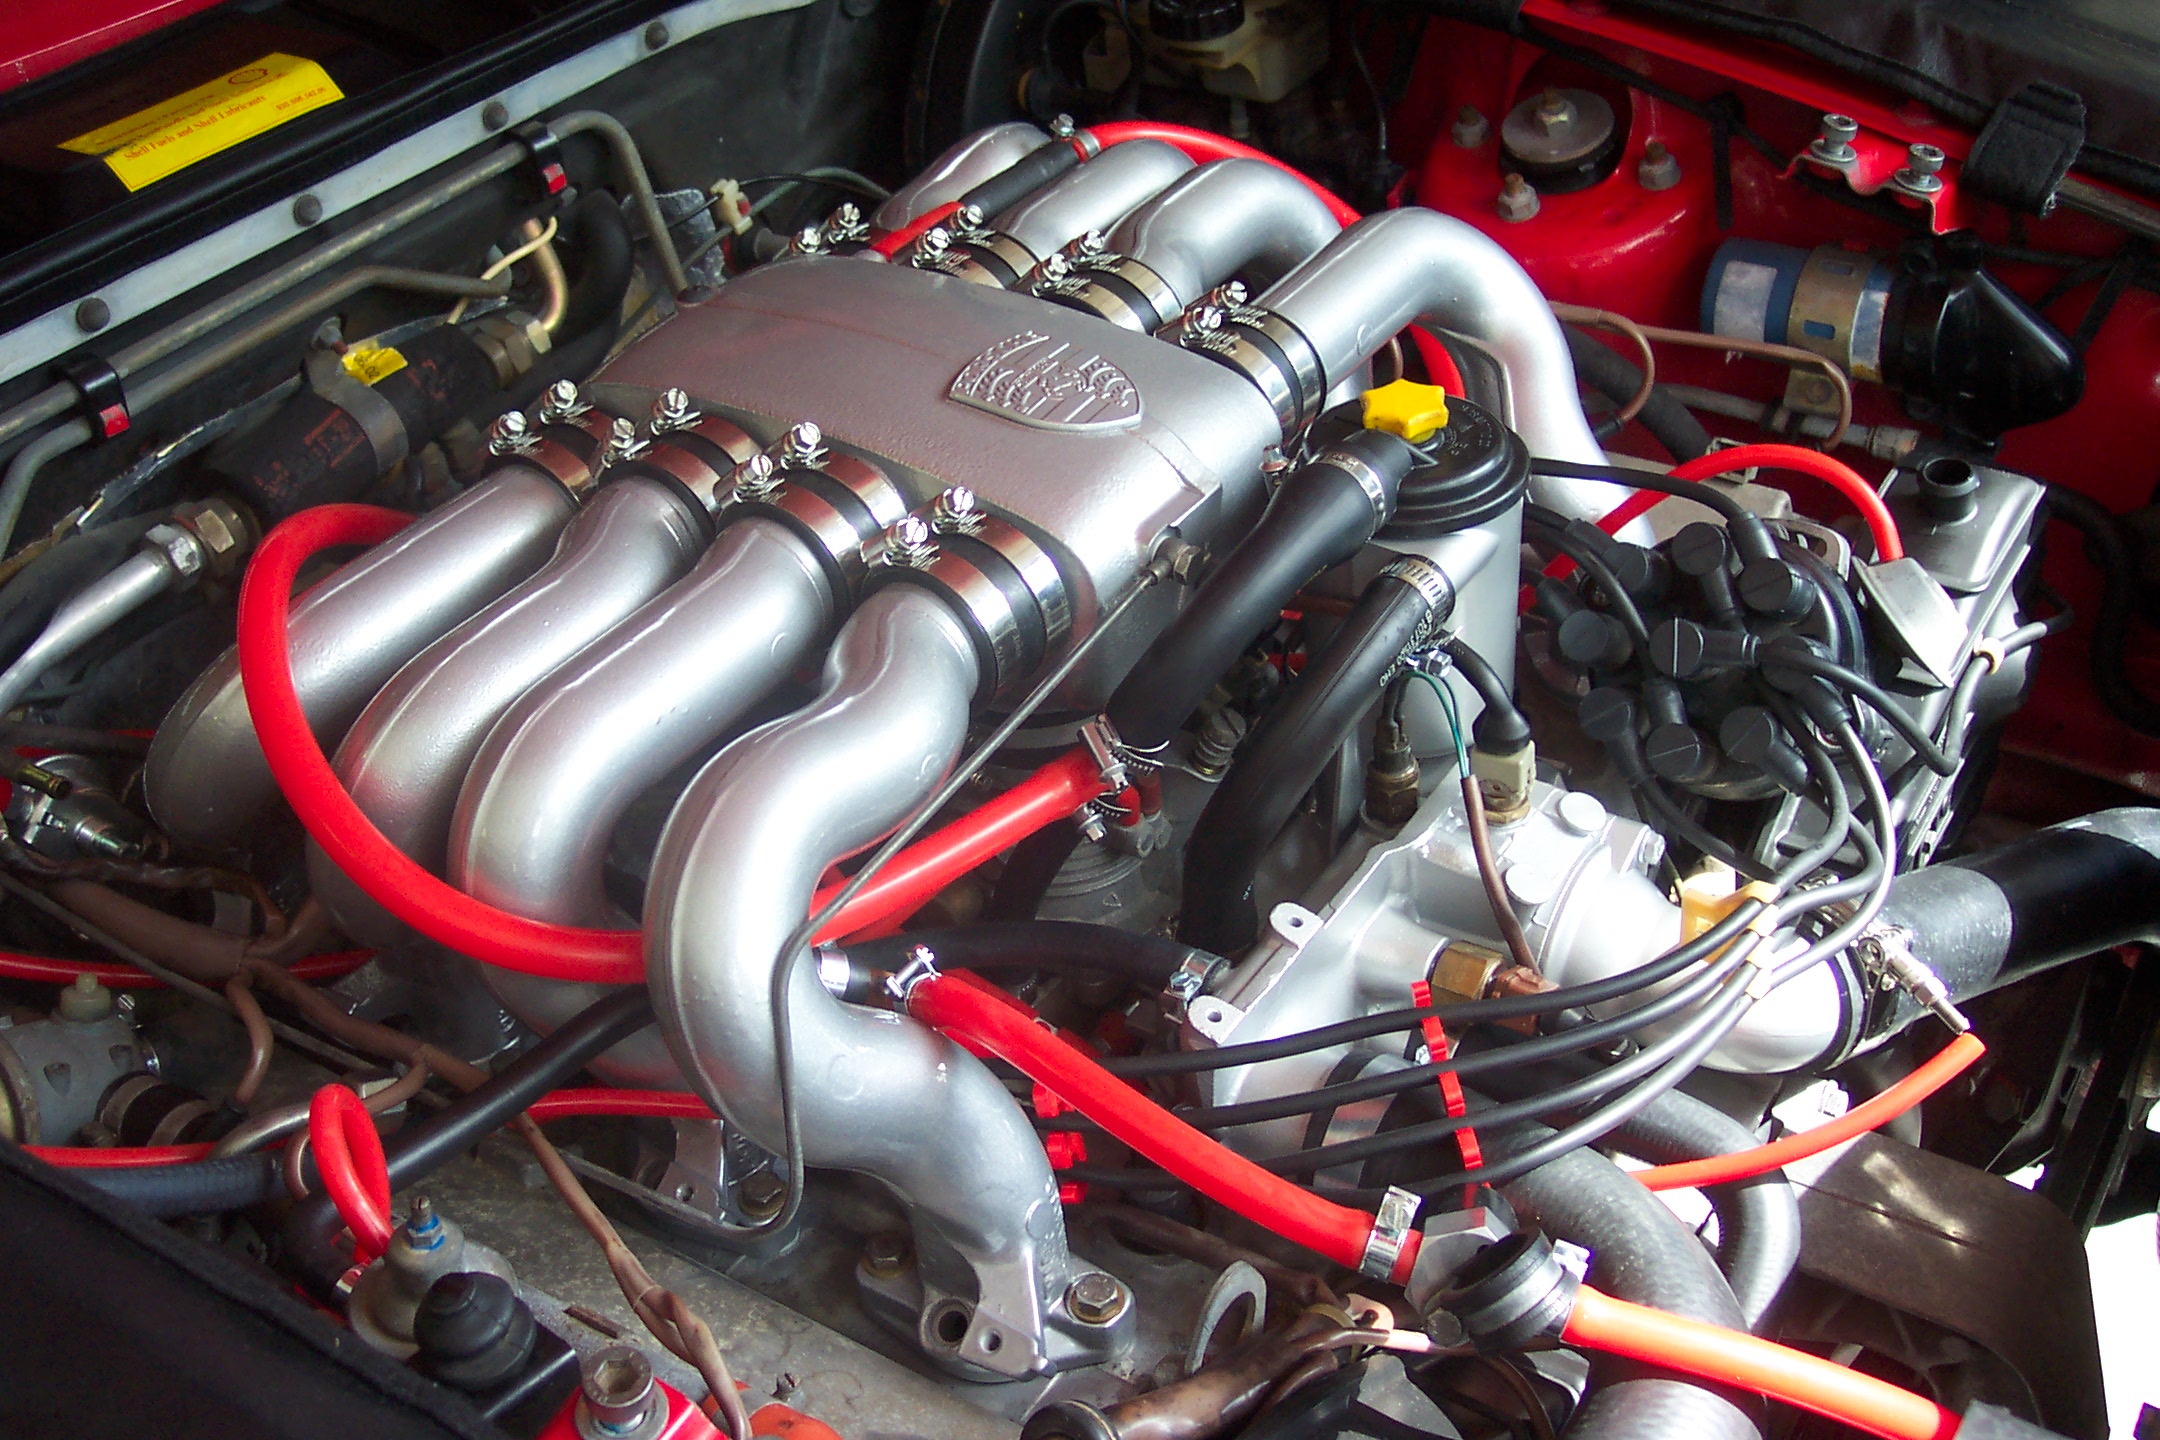
Attachment 786008It's a good idea to pull it all off to clean... not a big deal, and after it done, you'll be glad you did....
Here is mine after I did a total intake refresh.
Here is mine after I did a total intake refresh.
01-18-2014, 04:46 AM
#24
Advanced
Thread Starter
Join Date: Nov 2013
Location: Hungary, Budapest
Posts: 56
Likes: 0
Received 0 Likes
on
0 Posts
Attachment 786008It's a good idea to pull it all off to clean... not a big deal, and after it done, you'll be glad you did....
Here is mine after I did a total intake refresh.
Here is mine after I did a total intake refresh.
Just perfect...
 01-18-2014, 11:07 AM
#25
Advanced
Thread Starter
Join Date: Nov 2013
Location: Hungary, Budapest
Posts: 56
Likes: 0
Received 0 Likes
on
0 Posts
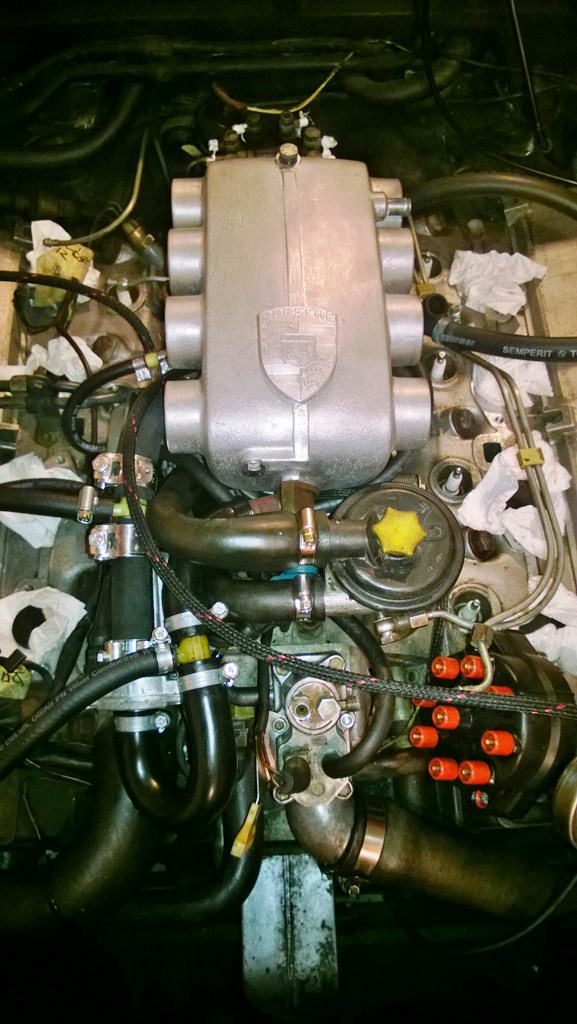
Update:
Slow, but step by step finishing intake refurbish. New injectors are on the way, old ones despite ultrasonic cleaning were wasted. 2 of them were perfet , 1 did not opened at all, even at higher pressure, and the rest was flooding fuel, instead of sparying. Vacum lines are changed, cleand all that grease and dust off.
some pics:
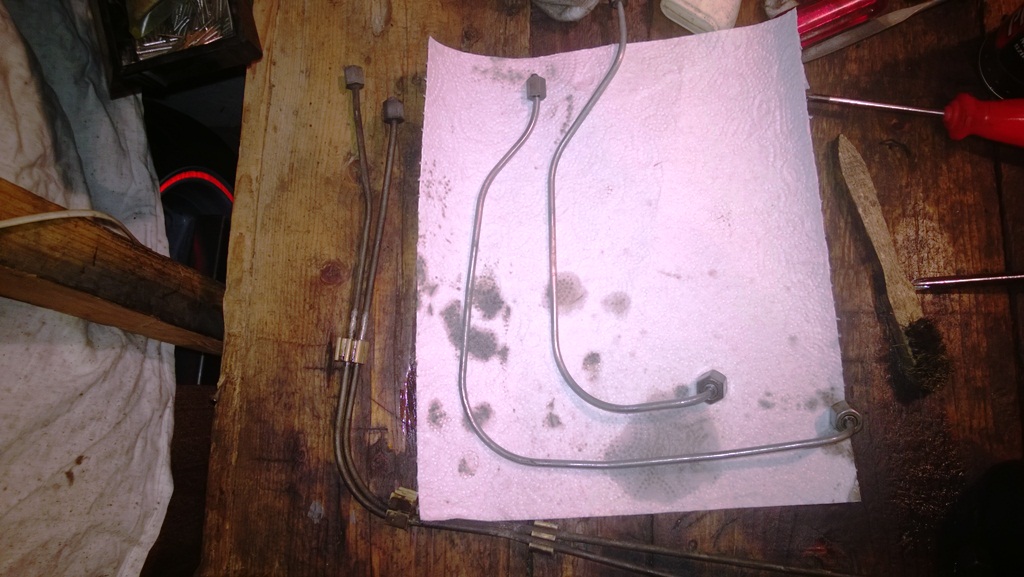
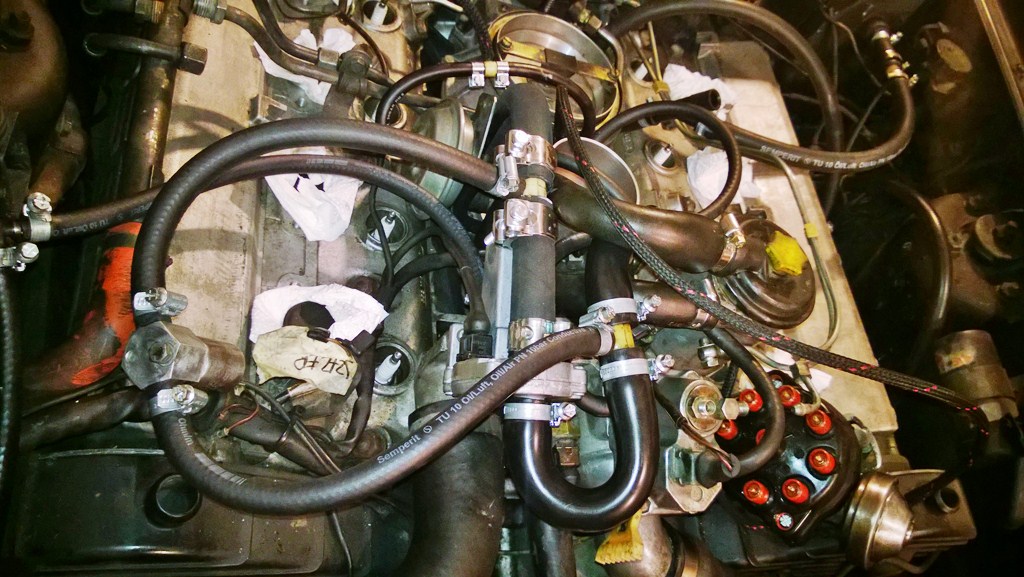
Last edited by fedaykin; 01-18-2014 at 11:31 AM.
01-18-2014, 11:08 AM
#26
Race Car
Sigh....I remember when my Euro engine bay looked similar to that.
Worth mentioning in my opinion in case some youthful exhuberant should ping into this thread in the future- the debris and material below the intake could, perhaps have combustable stuff mixed in, care if using an electric vacuum cleaner is warranted.
BTW- I like the intake clamps. Stainless? Any brand or sourcing info?
Last edited by SMTCapeCod; 01-18-2014 at 11:21 AM. Reason: typos

 01-18-2014, 11:13 AM
#28
Advanced
Thread Starter
Join Date: Nov 2013
Location: Hungary, Budapest
Posts: 56
Likes: 0
Received 0 Likes
on
0 Posts
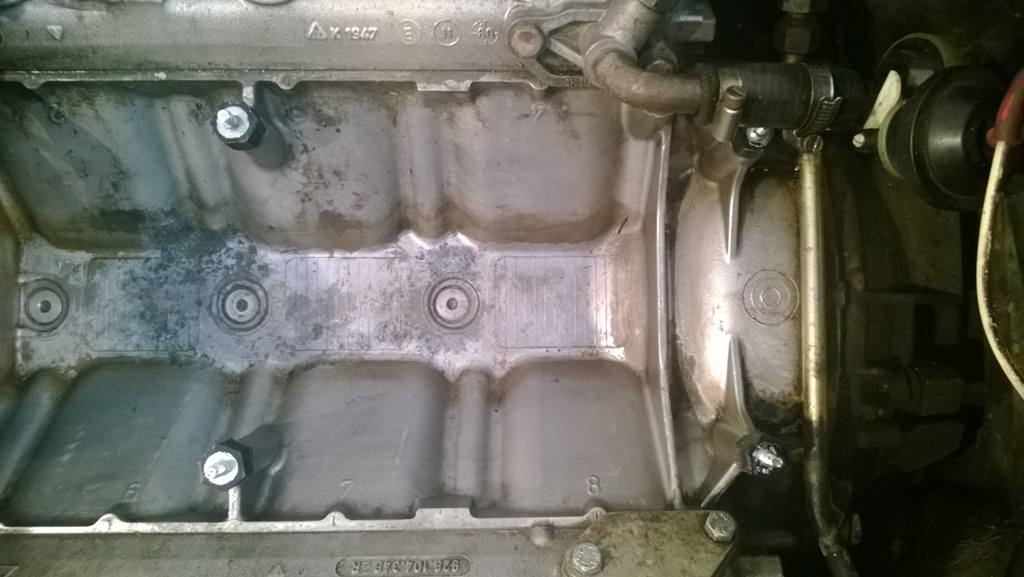
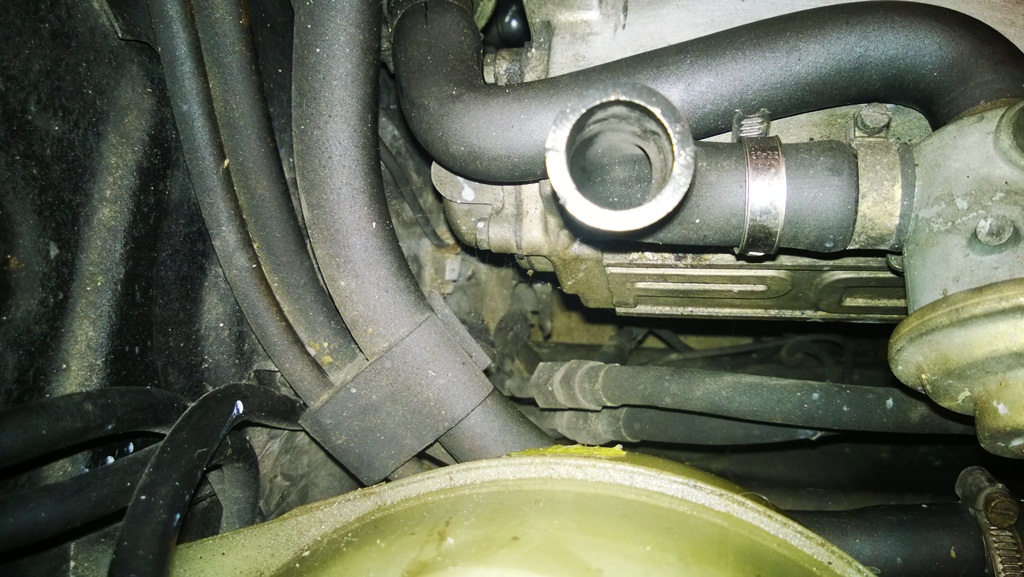
i know, i have to change the fuel lines in the engine bay, but one question:
- how do i loose that 2 bolts, there is no space for the wrench..maybe from below??
any ideas??
- how do i loose that 2 bolts, there is no space for the wrench..maybe from below??
any ideas??
01-18-2014, 11:15 AM
#29
Burning Brakes
01-18-2014, 11:18 AM
#30
Advanced
Thread Starter
Join Date: Nov 2013
Location: Hungary, Budapest
Posts: 56
Likes: 0
Received 0 Likes
on
0 Posts
Sigh....I remember when my Euro enging bay looked similar to that.
Worth mentioning in my opinion in case some youthful exhuberant sould pings into this thread in the future- the debris and material below the intake could, perhaps have comubstable stuff mixed in, care if using an electric vacuum cleaner is warranted.
BTW- I like the intake clamps. Stainless? Any brand or sourcing info?
Last edited by fedaykin; 01-18-2014 at 12:19 PM.